

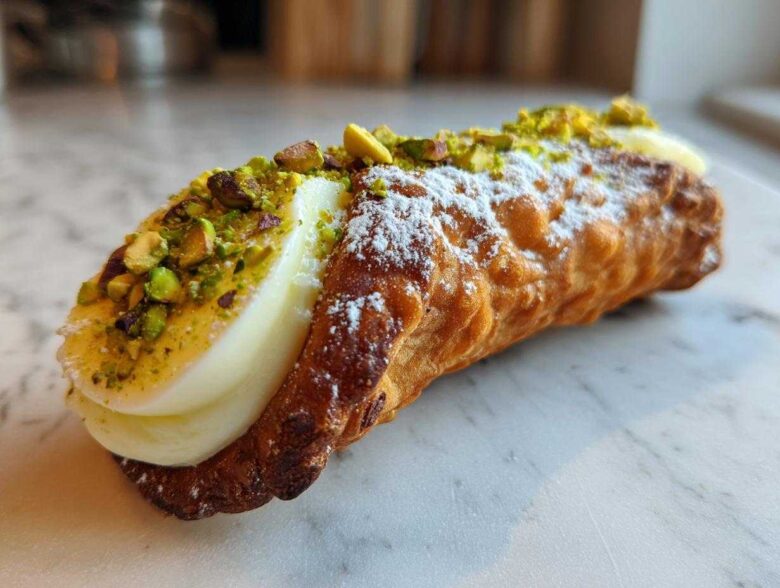
Oh my goodness, if there is one thing that truly transports me straight back to my Nonna’s kitchen in Sicily, it’s the sound of sweet, thin pastry bubbles frying away. Forget those sad, pale shells you find sometimes—we are skipping straight past that disappointment! Making Homemade Cannoli from scratch is total therapy, and trust me, it’s easier than you think once you learn the little tricks. This isn’t some quick, modern cheat version; this is the definitive guide to getting that perfectly crisp, golden shell cradling the richest, sweetest ricotta cream imaginable. I spent years failing until I unlocked the secret to that satisfying crunch. Get ready, because today we’re achieving authentic Sicilian pastry perfection right here in your own kitchen!
Why This is the Best Homemade Cannoli Recipe You Need
Listen, when you’re aiming for true Homemade Cannoli, attention to detail is everything. These shells don’t just get crispy on their own; they need our help! This recipe, which is truly an Authentic Italian Cannoli Recipe, focuses on technique, not shortcuts. This guarantees that shatteringly crisp shell that fights off sogginess like a champ.
- The dough uses white wine and vinegar—that acid causes amazing bubbles when it hits the hot oil!
- We *must* drain the ricotta for hours, or your filling will weep all over those perfect shells.
- Frying is controlled: no guesswork allows us to hit that perfect golden color every time.
Essential Equipment for Perfect Homemade Cannoli
You can’t make great Cannoli without the right gear. Honestly, forget trying any substitutes for the actual tubes; they just don’t work the same way. You absolutely need small metal cannoli tubes for shaping. Also, since we’re deep-frying, grab a heavy-bottomed pot and a candy or deep-fry thermometer. Getting the oil temperature right is a non-negotiable step for truly crispy shells!
Ingredients for Authentic Homemade Cannoli Shells
Okay, let’s look at the shells first because they are the true test of your Homemade Cannoli efforts! You’ll want to gather these dry and wet components. Getting your butter nice and cold before starting is super important for the right dough structure. We need all-purpose flour, a touch of cinnamon for that classic background flavor, salt, and only a bit of sugar—the sweetness comes mostly from the filling, remember? Don’t forget the magic duo: the white wine and vinegar—they are essential for those big, flaky bubbles!
- 1 1/2 cups all-purpose flour
- 1/4 cup granulated sugar
- 1/4 teaspoon salt
- 1/2 teaspoon ground cinnamon
- 1/4 cup unsalted butter, cold and cubed
- 1 large egg yolk
- 1/4 cup dry white wine (like Marsala or Pinot Grigio)
- 1 tablespoon white vinegar
- Vegetable oil or lard, for frying
Crafting the Best Homemade Cannoli Filling: Ricotta Cream
This is where the rich, sweet symphony happens! If you want the absolute Best Homemade Cannoli Filling, the secret involves one dreaded but necessary step: draining the ricotta. Seriously, you need to let that whole milk ricotta work *overnight* in the fridge, maybe over cheesecloth. If you skip this, your beautiful **Homemade Cannoli** shells will instantly turn into soggy puddles. Once it’s drained well, it gets whipped with a few simple, beautiful things!
- 1 1/2 cups whole milk ricotta cheese, drained overnight
- 1/2 cup powdered sugar, sifted
- 1 teaspoon vanilla extract
- 1/4 teaspoon orange zest
- 1/4 cup mini chocolate chips (optional)
Whip it until it’s velvety smooth after straining. A little citrus zest brightens everything up so nicely!
Step-by-Step Instructions for Homemade Cannoli
Alright, deep breath! This is where the magic truly happens. We’re moving from simple pantry staples to an incredible From Scratch Italian Pastries project. Remember, the key to ultimate success with your **Homemade Cannoli** recipes is patience during the cooling and oil management phases. We’ll tackle the dough first, then get those beautiful shapes made, and finally, we face the hot oil. Keep that thermometer close when you get to frying; consistent heat is your best friend for thin, non-greasy shells!
Making the Dough and Resting for Homemade Cannoli
First up, mix your dry bits, and then quickly cut in that cold butter until it looks like coarse sand—don’t overwork it! Pour in the wet treasures (wine and vinegar—yep, wine!) and quickly bring it all together into a shaggy ball. As soon as it cleans the bowl, wrap your **Homemade Cannoli** dough tight and get it into the fridge for at least an hour. Resting is essential so the gluten relaxes; this means easier rolling later!
Rolling and Shaping Crispy Homemade Cannoli Shells
Take a small piece of rested dough and roll it out until it’s practically see-through, aiming for about 1/16 of an inch. If you can see your countertop clearly, you’re doing great for **How to make Cannoli Shells crispy**! Cut out your 4-inch rounds. Now, grease those metal tubes really well, wrap the dough around them overlapping slightly, and seal that seam with a tiny bit of water or egg white. This seal makes or breaks your shell shape!
Frying Cannoli Dough at Home Safely
Time to heat the oil! You want it exactly at 375°F (190°C). If it’s too cold, your dough soaks up grease like a sponge. Carefully drop 2 or 3 shell/tube combos into the hot fat. Use tongs to press the tube down so the shell cooks evenly all around, maybe 1 to 2 minutes per side until it’s beautifully golden brown. When they’re done bubbling, lift them quickly and slide them right onto paper towels to drain!
Tips for How to Make Cannoli Shells Crispy
If there’s one thing that ruins a perfect batch of **Homemade Cannoli**, it’s a floppy shell! You put all that glorious effort into the dough and the filling, only for the shell to collapse the second you try to eat it. Don’t let that happen! The key to unbelievable crispness starts right after frying. Make sure you slide the hot dough off the tube immediately and place it on a rack lined with paper towels to drain every last drop of oil. Don’t leave them sitting in pools of grease!
Another technique for keeping those **Homemade Cannoli** shells perfect is managing the dough’s hydration. If the dough is too wet, it steams instead of frying crisply. That little bit of wine and vinegar mixture does its job, but make sure you don’t add extra liquid if your dough feels stiff—it should feel firm but pliable.
And seriously, use that thermometer! Keeping the oil steady around 375°F is essential because if it’s too low, they’ll absorb fat and get heavy, defeating the purpose of a light, crispy shell. Check out my guide on crispy baked potato wedges; the principle of constant, high heat for crisp texture is the same!
The Perfect Cannoli Assembly and Garnishing
We’ve done the hard work—the shells are crisp, the ricotta is chilling, and now comes the fun part! The golden rule for perfect Homemade Cannoli: never, ever fill them ahead of time. Seriously, if you fill them hours before your guests arrive, the moisture from the cream will turn your beautiful shells into sweet, limp cardboard. Fill them right before you serve them!
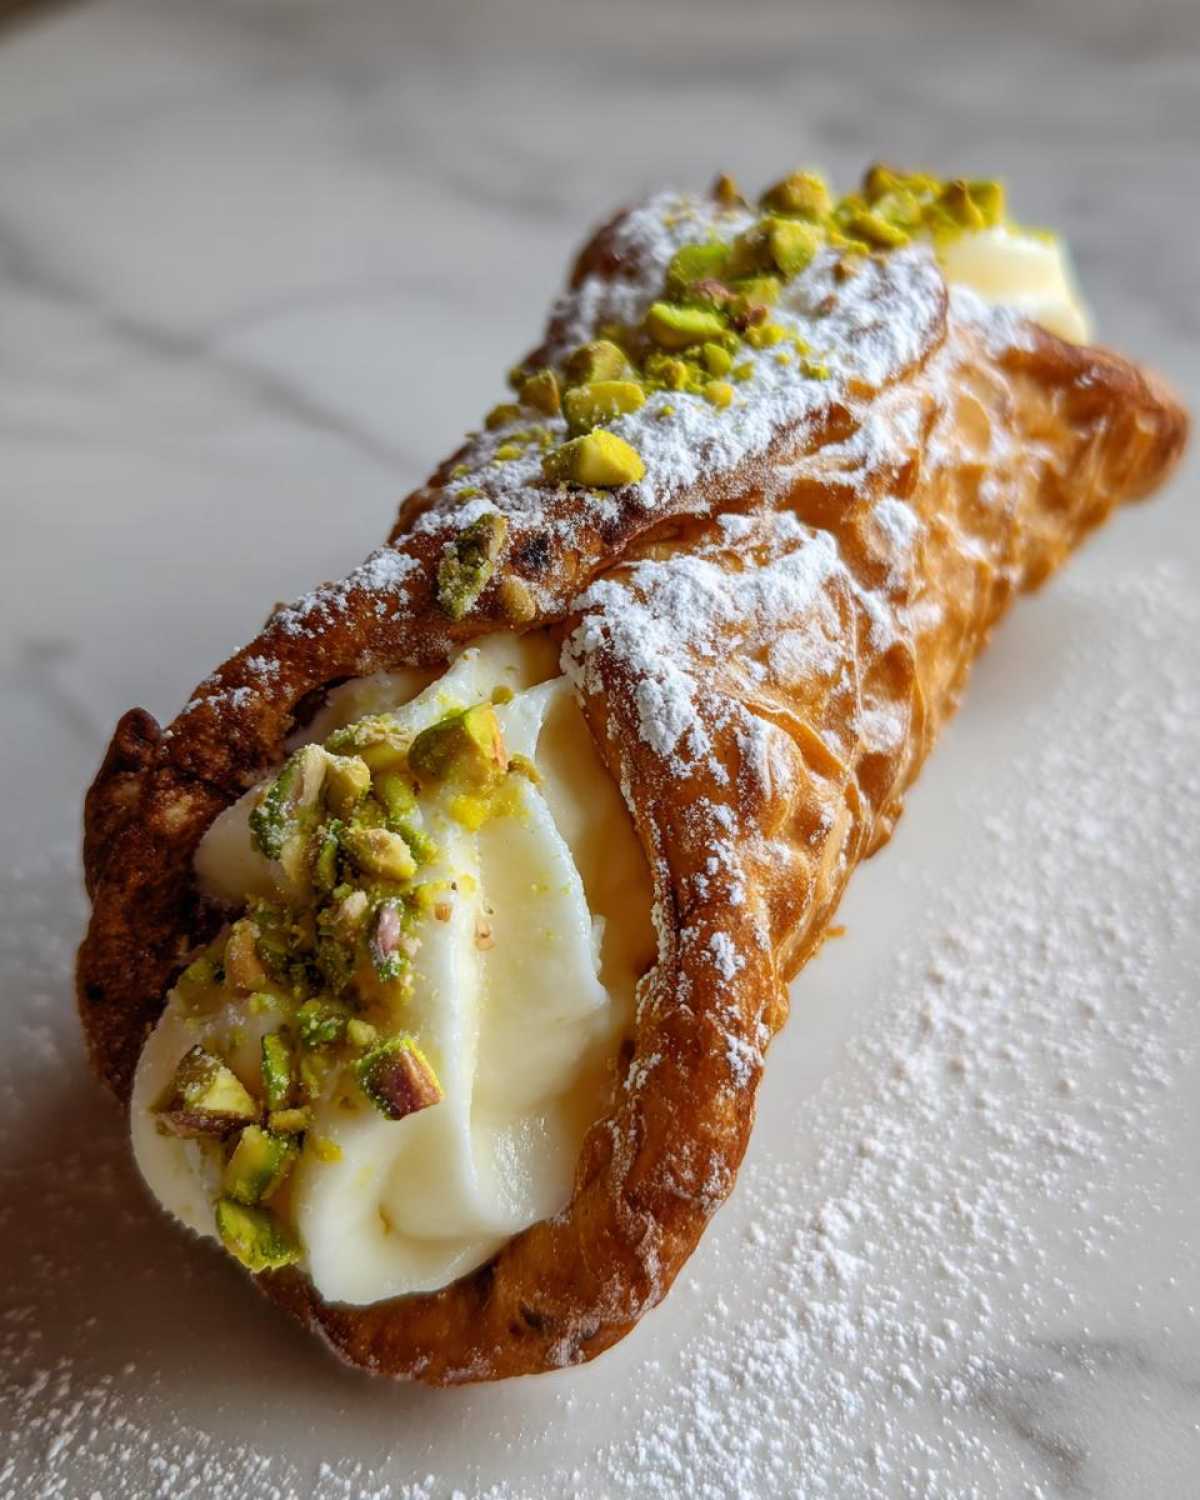
Take that luscious, chilled Ricotta Cream for Cannoli and load it into a piping bag—or just use a sturdy spoon if you don’t have one. You want to pipe the filling evenly into both ends of the cooled shell until it’s slightly mounded in the center. It looks so much better that way, doesn’t it?
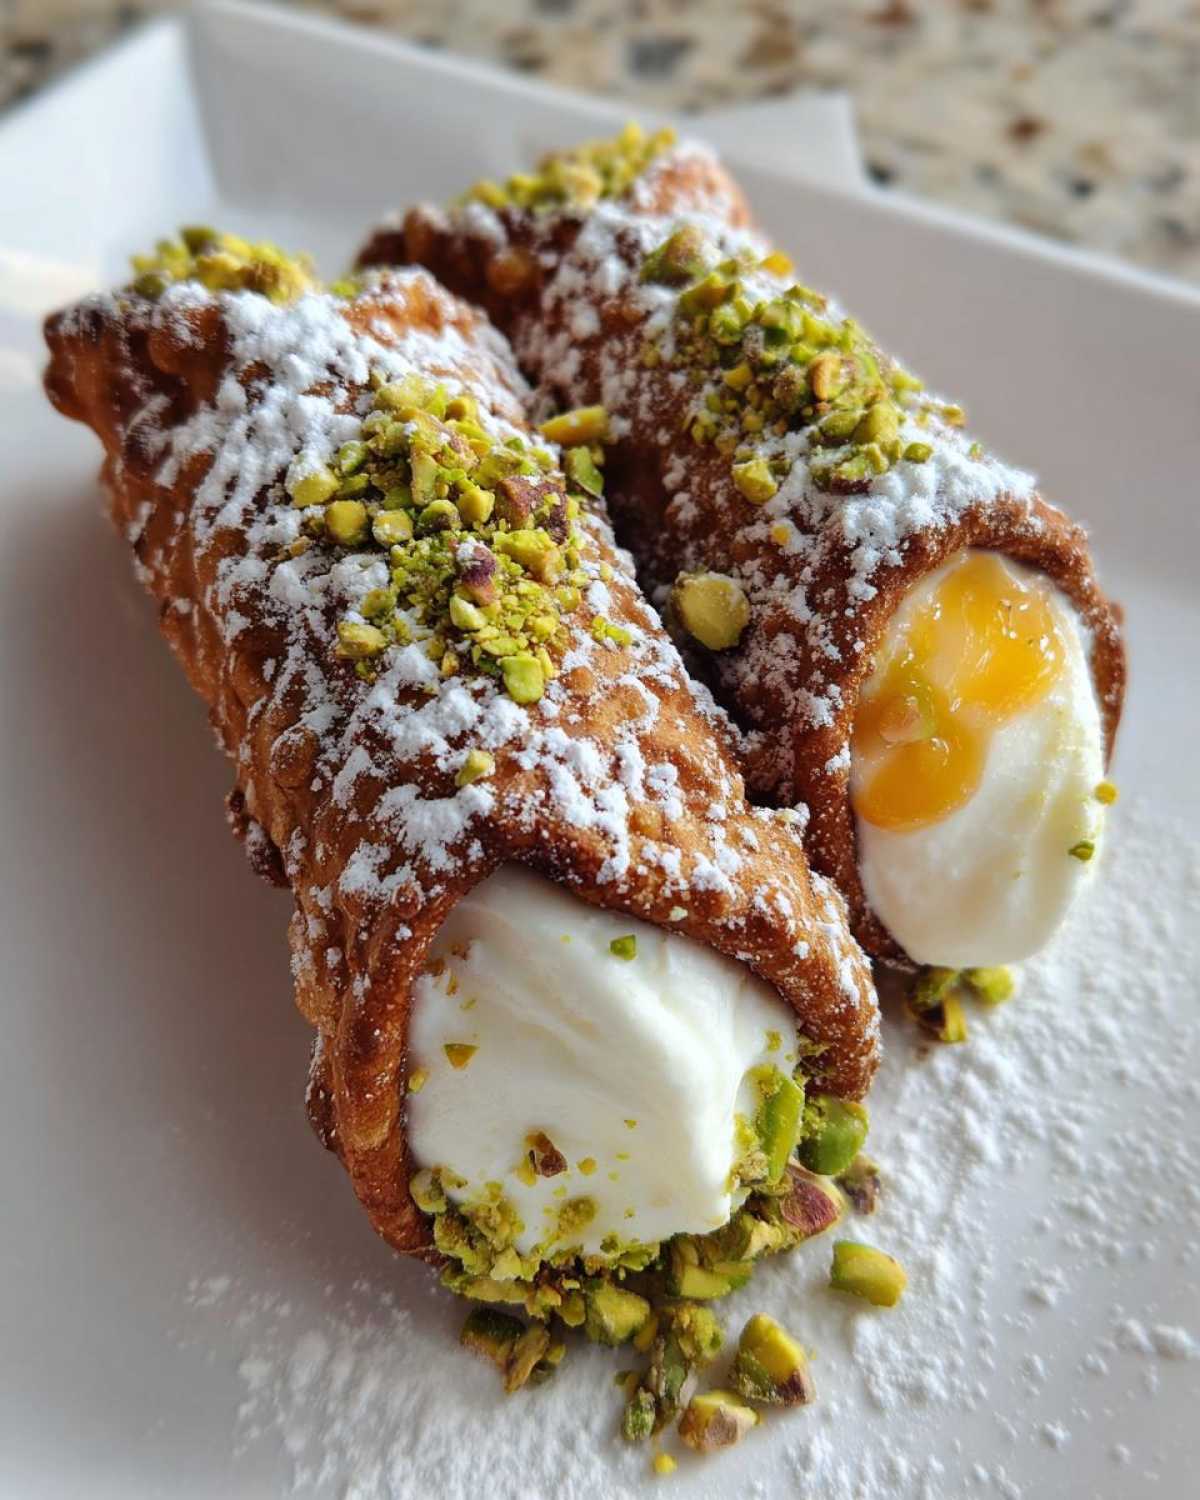
For the finishing touch on your spectacular Homemade Cannoli, you have classic options. For texture contrast, gently dip the filled ends into finely chopped pistachios—they add a lovely color pop. Or maybe you prefer a scattering of those mini chocolate chips inside, or just a very delicate dusting of powdered sugar over the top. Decide quickly, because once they are filled, they are ready to eat!
Storage and Make-Ahead Guidance for Homemade Cannoli
Because we worked so hard achieving that perfect crispness, we cannot let them get soggy! For the very best Homemade Cannoli experience, keep the components strictly separate. Store the cooled, empty shells in an airtight container at room temperature for up to three days; humidity is their enemy, so keep them dry!
The ricotta filling, on the other hand, should stay covered in the fridge for up to two days. Only assemble large batches right before you plan to serve them. Even with perfectly drained ricotta, that moisture will eventually sneak in and soften the pastry. Never store filled cannoli!
Frequently Asked Questions About Homemade Cannoli
I always get so many questions after people try making their first batch of Homemade Cannoli! It’s an involved pastry, so it’s right to ask for clarification. Here are a few things I hear most often when folks are trying to master this Italian Holiday Baking Recipes classic.
What can I use instead of Marsala wine in the dough?
Oh, that happens all the time! If you don’t have Marsala or don’t want to buy a bottle, you can absolutely swap it out. I’ve successfully used dry sherry, white wine vinegar mixed with a tiny bit of water (if you skip the vinegar in the wet mix), or even plain white vinegar mixed with cold water to maintain that necessary acidity needed for the shells to puff up. Just keep the liquid amount the same!
Is there a way to skip frying my Homemade Cannoli shells?
I know, deep frying sounds intimidating! People ask about baking *Sweet Fried Pastry Shells* all the time. While you *can* bake them, honestly, you won’t get that authentic, bubbly, super-crispy texture that defines a real Traditional Sicilian Dessert Recipe. Baking tends to make them cracker-like instead of airy. For mastering the Sicilian Pasticceria at Home, you really need to embrace the oil. Just promise me you’ll use a thermometer!
How long do the finished, filled cannoli last?
This is the *most* important question for your Perfect Cannoli Assembly! The answer is: not long, and that’s a good thing! Because we worked so hard on making the Cream Filling for Fried Pastries just right and keeping the shells dry, you need to respect the timeline. Eat them within an hour of assembling them for peak crispness. If you must make them ahead, keep the shells stored separately, and fill them just 30 minutes before serving!
Estimated Nutritional Data for Homemade Cannoli
Now, listen up, because while these are heavenly delights, they are certainly a treat! This nutritional estimate is based on one single cannolo made using the recipe proportions we followed, plus optional chocolate chips and pistachios. Of course, these are just ballpark figures, as the exact ricotta fat content can shift things around a bit, but it gives you a general idea of what you’re enjoying! For more details on our site processes, you can always review our privacy policy.
- Serving Size: 1 cannolo
- Calories: 350
- Sugar: 25g
- Fat: 18g
- Protein: 10g
As always with my recipes, please remember these numbers are estimates derived from the ingredients list. If you are watching your sugar, that’s where you can make minor tweaks, but honestly, don’t stress the math too much—just enjoy the incredible results of your hard work!
PrintHomemade Cannoli: Authentic Shells and Ricotta Filling

Follow these detailed steps to make traditional, crispy Italian cannoli shells and a rich, sweet ricotta filling from scratch.
- Prep Time: 45 min
- Cook Time: 20 min
- Total Time: 125 min
- Yield: 12-14 cannoli
- Category: Dessert
- Method: Deep Frying
- Cuisine: Italian
- Diet: Vegetarian
Ingredients
- 1 1/2 cups all-purpose flour
- 1/4 cup granulated sugar
- 1/4 teaspoon salt
- 1/2 teaspoon ground cinnamon
- 1/4 cup unsalted butter, cold and cubed
- 1 large egg yolk
- 1/4 cup dry white wine (like Marsala or Pinot Grigio)
- 1 tablespoon white vinegar
- Vegetable oil or lard, for frying
- 1 1/2 cups whole milk ricotta cheese, drained overnight
- 1/2 cup powdered sugar, sifted
- 1 teaspoon vanilla extract
- 1/4 teaspoon orange zest
- 1/4 cup mini chocolate chips (optional)
- 1/4 cup chopped pistachios for garnish (optional)
Instructions
- Prepare the Dough: In a large bowl, whisk together the flour, granulated sugar, salt, and cinnamon. Cut in the cold butter using a pastry blender or your fingers until the mixture resembles coarse crumbs.
- Mix Wet Ingredients: In a separate small bowl, whisk the egg yolk, white wine, and vinegar. Pour this mixture into the dry ingredients. Mix until a shaggy dough forms.
- Knead and Rest: Turn the dough onto a lightly floured surface and knead briefly, about 2 minutes, until smooth. Wrap the dough tightly in plastic wrap and refrigerate for at least 1 hour.
- Roll the Dough: Divide the chilled dough into four equal pieces. Working with one piece at a time (keep the others covered), roll the dough out very thinly, aiming for about 1/16 inch thickness. Use a 4-inch round cutter to cut circles.
- Shape the Shells: Lightly grease your metal cannoli tubes. Wrap each dough circle around a tube, overlapping the edges slightly. Moisten the overlapping edge with a dab of water or egg white to seal it securely.
- Fry the Shells: Heat 2-3 inches of frying oil in a deep, heavy-bottomed pot to 375°F (190°C). Carefully place 2-3 shells at a time into the hot oil, using tongs to hold the tube submerged until the shell bubbles and turns golden brown, about 1-2 minutes per side.
- Cool the Shells: Remove the shells from the oil and immediately slide them off the tubes onto a wire rack lined with paper towels to drain excess oil. Let them cool completely before removing the tubes.
- Prepare the Filling: Press the drained ricotta cheese through a fine-mesh sieve into a bowl to remove lumps. Mix in the powdered sugar, vanilla extract, and orange zest until smooth. Fold in chocolate chips, if using. Chill the filling for at least 30 minutes.
- Assemble: Just before serving, use a piping bag or a small spoon to fill the cooled shells completely with the ricotta cream.
- Garnish: Dip the ends of the filled cannoli into chopped pistachios or dust lightly with powdered sugar.
Notes
- Drain the ricotta cheese for at least 4 hours, or preferably overnight in the refrigerator, to prevent a watery filling.
- To keep shells crispy, do not fill them until you are ready to serve them. Filling them too early causes the moisture from the cream to soften the shell.
- Maintain the oil temperature between 365°F and 375°F for optimal frying; oil that is too cool results in greasy shells, and oil that is too hot burns the dough before it cooks through.
Nutrition
- Serving Size: 1 cannolo
- Calories: 350
- Sugar: 25
- Sodium: 80
- Fat: 18
- Saturated Fat: 10
- Unsaturated Fat: 8
- Trans Fat: 0
- Carbohydrates: 40
- Fiber: 1
- Protein: 10
- Cholesterol: 65