

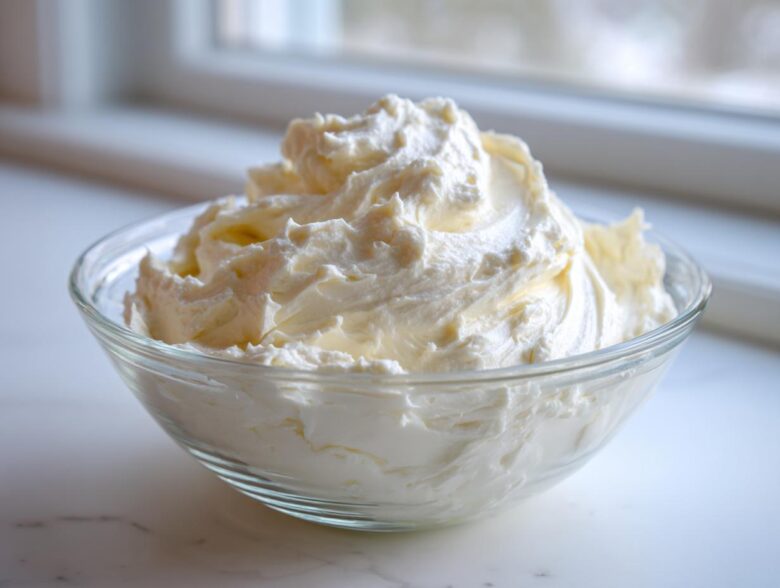
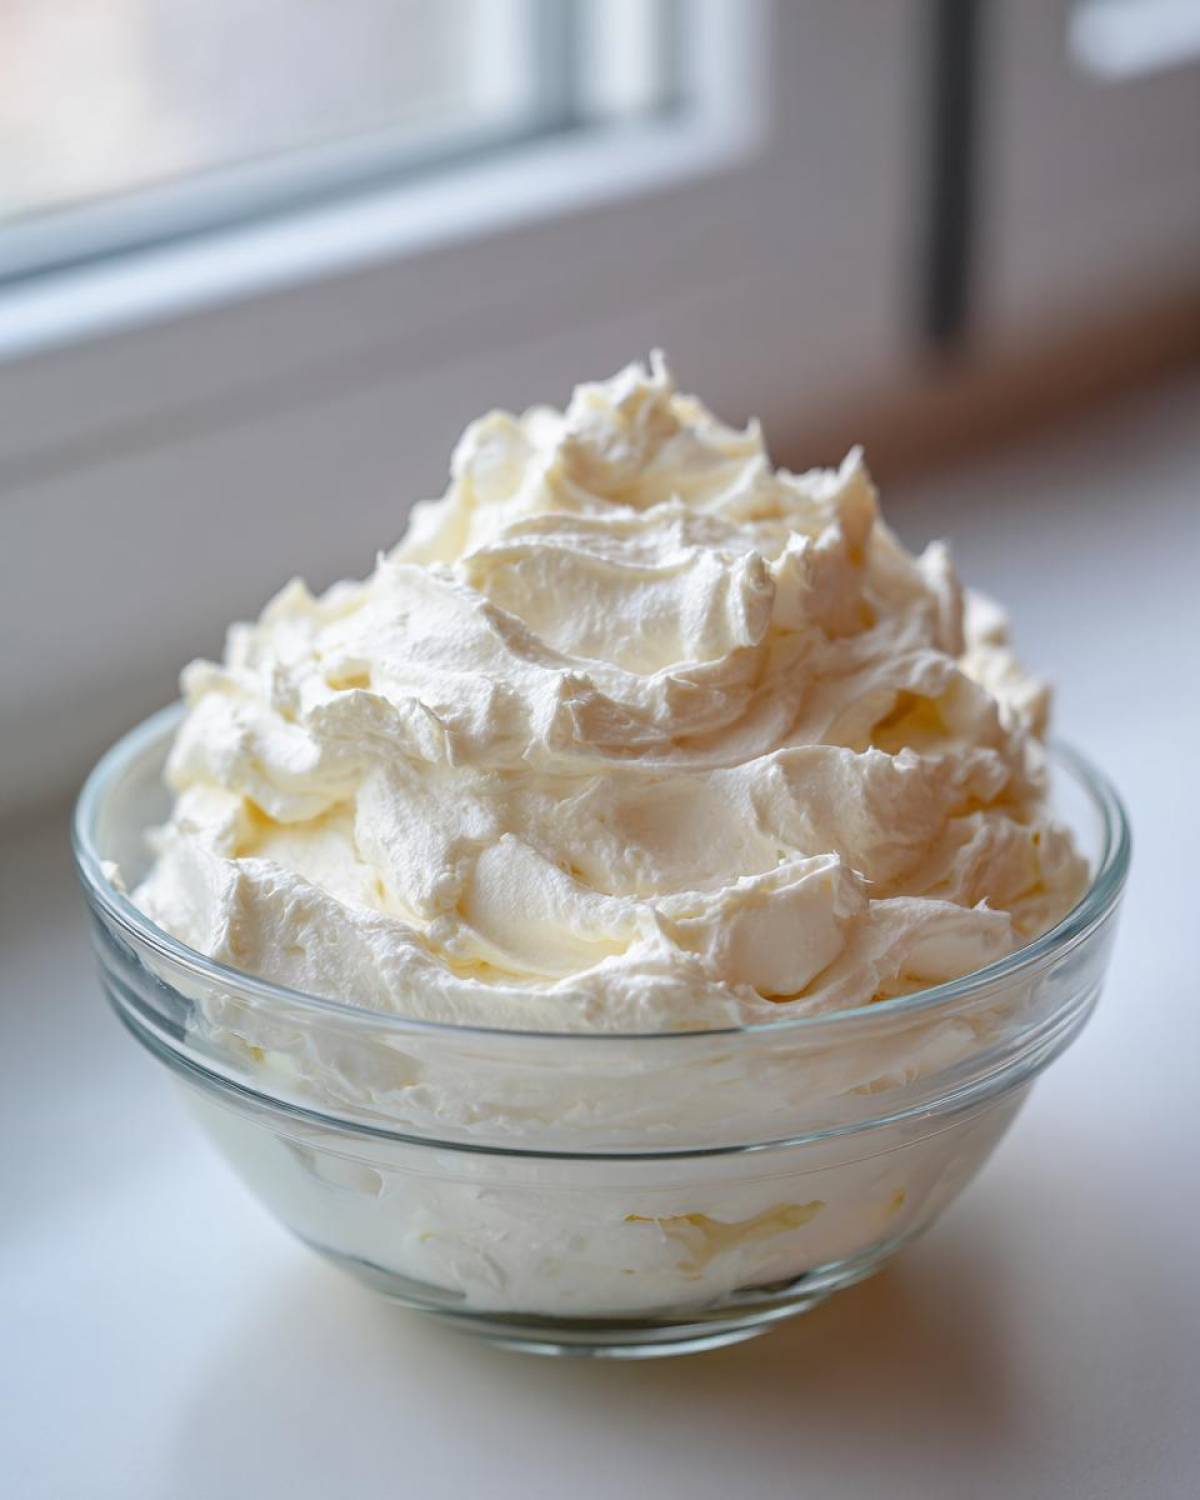
Let’s be real: a perfect cake or cupcake is only halfway done without the right topping. I used to spend hours scrolling through beautiful finishes, terrified I couldn’t replicate that dreamy texture. That’s why nailing down the absolute best vanilla buttercream frosting became my personal mission. I needed a plan, something Amelia (The Project Manager) could map out so Jacob (The Lead Artist) could execute perfection! This classic American buttercream is our definitive 10-minute solution for creamy, smooth frosting that actually works for piping. Forget worrying if it’ll hold its shape; this recipe is foolproof planning at its best.
Why This Classic American vanilla buttercream frosting is Your New Go-To
When I plan a dessert project, I need results, and this recipe delivers pure confidence. This isn’t just another **vanilla buttercream frosting**; it’s designed to check every box you have—creamy, fluffy, and absolutely reliable. Jacob never has to worry when we use this base, and that tells you everything you need to know! It’s the simplest way to guarantee a gourmet finish for your `baked goods`.
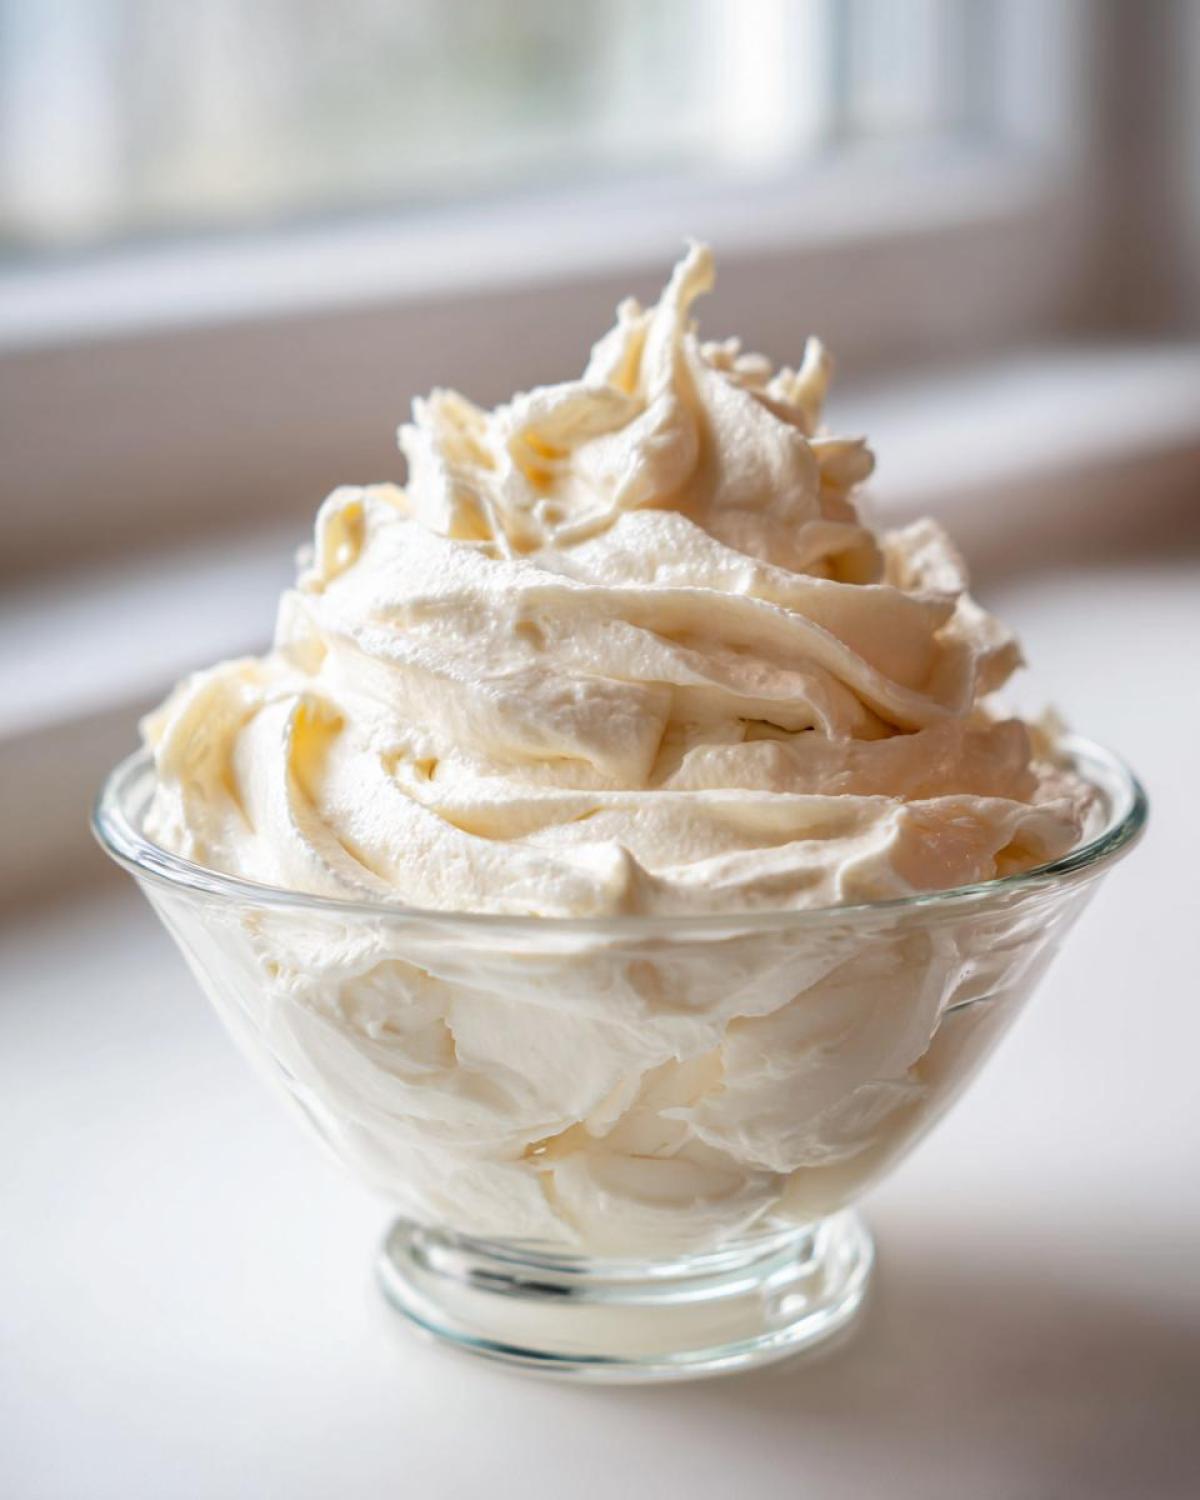
- It’s genuinely fluffy without needing strange stabilizers.
- The texture is incredibly smooth—no grainy sugar here!
- It tastes exactly like rich, pure vanilla should.
- Zero cooking required, which is a huge win on busy nights.
Quick Prep Time for Your vanilla buttercream frosting
Honestly, I love how fast this comes together. From start to finish, you’re looking at maybe 10 minutes total! That speed means we can whip up a batch while the cake is cooling, keeping the whole process simple. It’s the absolute definition of an **easy homemade frosting**.
Perfect Piping Consistency Every Time
This is where most recipes fail, but because we carefully control the butter temperature, this mixture holds its shape beautifully. If you’re dreaming of sharp star tips and elegant swirls, this **buttercream frosting piping consistency** is what you need. It stays stable! Trust me, we’ve used this recipe for professional-looking birthday cakes more times than I can count.
Ingredients for the Best creamy vanilla frosting recipe
This is where my planning skills really kick in. For a truly perfect, **creamy vanilla frosting recipe**, ingredient state is everything—more important than the mixing time sometimes! We need the right balance of fat, sweetness, and just enough liquid stabilizer. When Jacob starts, he always lays out four things that need special attention before we even turn on the mixer. You’ll need the classic five components: butter, powdered sugar, vanilla, cream, and salt. Don’t skimp on the quality here; it makes a huge difference when you’re aiming for that smooth, homemade frosting finish.
- We start with one cup of unsalted butter, and I mean *unsalted*. If you use salted, you throw off the entire balance of this **classic American buttercream**.
- Four cups of powdered sugar, and listen closely: it absolutely *must* be sifted. Sifting knocks out those tiny, hard lumps that ruin a perfectly smooth buttercream.
- Don’t skip the salt—just a pinch balances the intense sweetness.
Ingredient Notes and Substitutions for vanilla buttercream frosting
Because we want the absolute best flavor profile for this **vanilla buttercream frosting**, a few insider tips really help Amelia’s plan succeed. First, for the liquid, I always push for heavy cream over milk. Cream gives you a richer mouthfeel and helps the frosting stay stable longer, which is fantastic for cakes. If you only have milk, that’s okay, but you’ll likely need less of it, and the texture will be slightly lighter.
Now, the vanilla! Pure vanilla extract is my baseline, but if you want that gorgeous vanilla bean speckle throughout your **whipped vanilla frosting**, use vanilla bean paste. It has a deeper, more complex flavor that stands up beautifully against all that sugar. Trust me, Jacob notices the difference when I swap to paste for a special occasion cake!
Step-by-Step Guide to Making Fluffy vanilla icing tutorial
This is where Amelia’s plan meets Jacob’s elbow grease! Getting a truly fluffy batch of **vanilla buttercream frosting** is all about technique, not time. We break this down into three critical phases to ensure you get that gorgeous, cloud-like texture perfect for topping any of our favorite baked goods. Seriously, follow these steps, and you’ll have the best buttercream for cakes you’ve ever made.
The Crucial Creaming Stage for smooth buttercream
Don’t you dare touch that sugar yet! Step one is all about the butter. It needs to be room temperature—soft, but cool to the touch. If it’s warm, it’s over. I remember one disastrous attempt when Jacob was in a rush; the butter was slightly melty, and when he added the sugar, it just turned into an oily, greasy mess. Oops! You need to beat that butter until it is completely smooth and pale. This initial whipping incorporates the first layer of air necessary for that light texture in your final **vanilla buttercream frosting**.
Achieving Perfect Whipped vanilla frosting Consistency
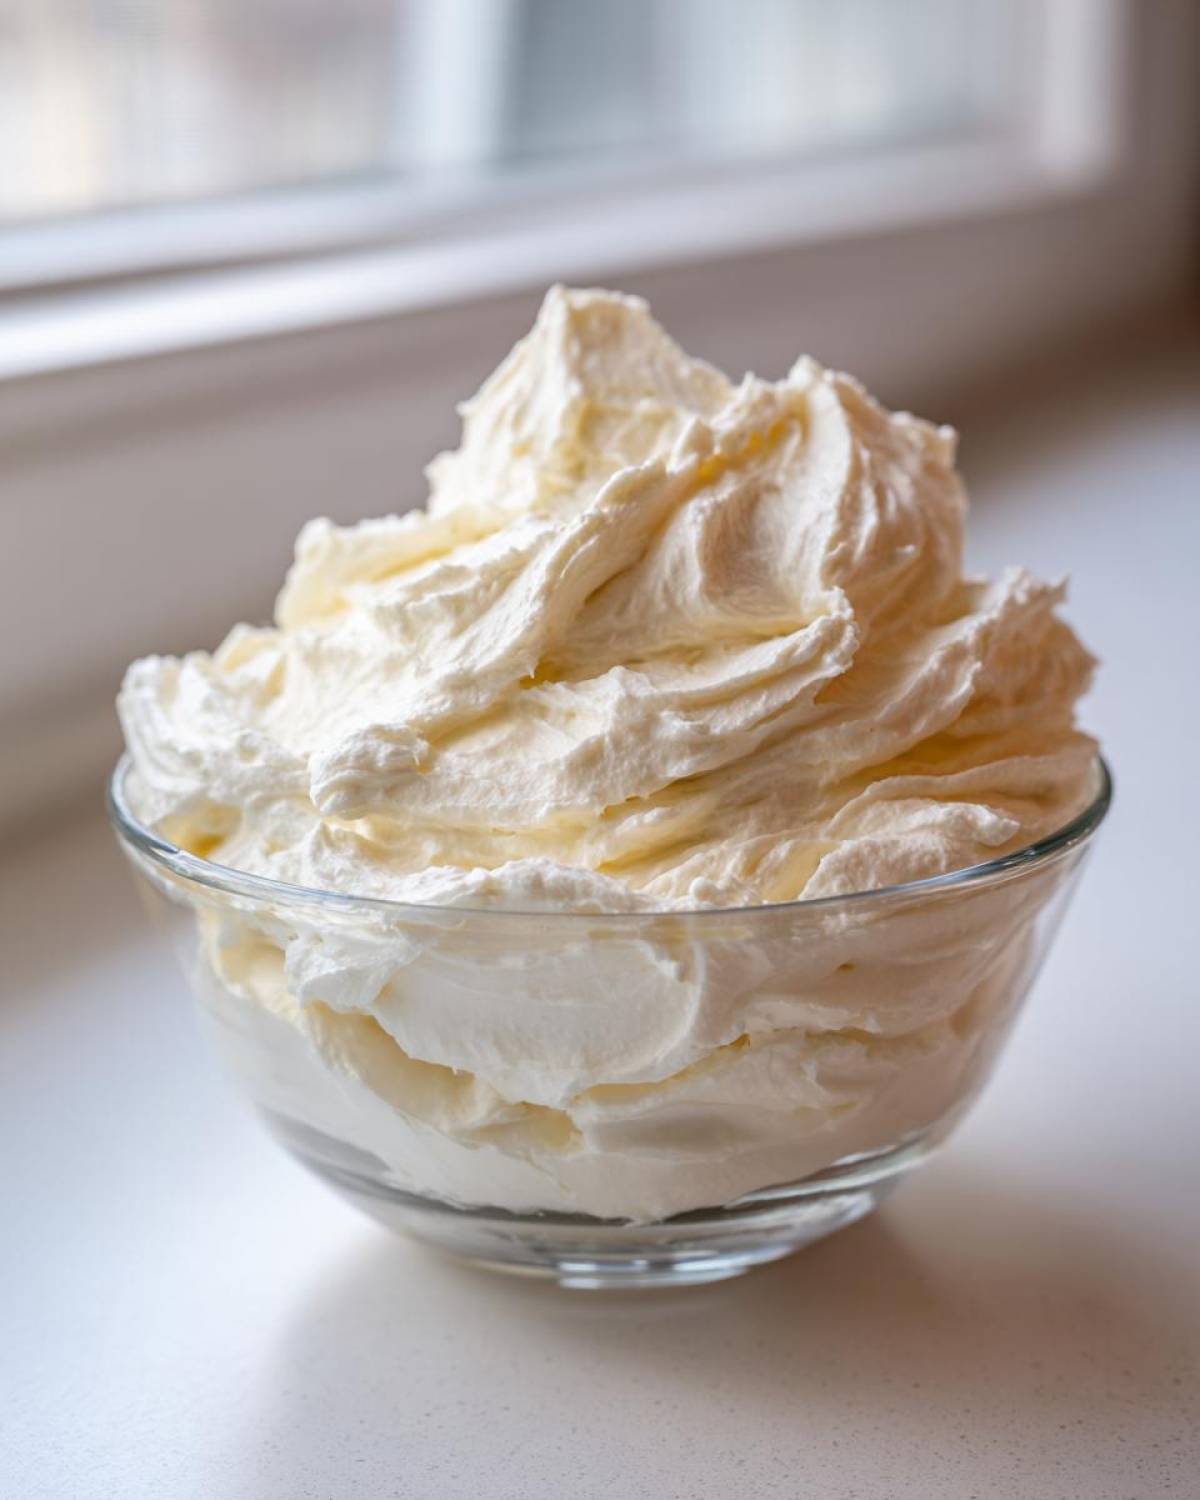
Once the sugar is in and mixed low, we hit the magic step: the long beat. After those first additions of cream or milk, you need to ramp the mixer up to medium-high and let it go for a full three to five minutes. People often stop too soon! This extended whipping time is what transforms heavy blobs into light, airy clouds—that’s what gives you that superior **whipped vanilla frosting** finish. If it still looks too stiff to spread easily, now is the time to add that last tablespoon or two of liquid, spoonful by spoonful. Be patient; those extra minutes make all the difference for smooth, easy decorating.
Expert Tips for the best buttercream for cakes
Okay, so you’ve made the batter, but maybe things got a little hectic, right? Don’t panic! A successful batch of **best buttercream for cakes** hangs entirely on temperature management. If your butter is warm and greasy, your frosting will look sloppy and won’t hold its shape for piping. It’ll just spread sadly across your cakes. My biggest pointer, repeated from the recipe notes found over at The Best Vanilla Buttercream Frosting, is all about that butter temperature.
If you notice your frosting starting to look a little curdled or separated once you add the cream—maybe it looks like it has tiny butter chunks floating around—I know how scary that is! But stick with it. We need to incorporate more air. Just crank that mixer up to high speed and let it run for a full extra minute. Seriously, keep beating, and almost every time, that high-speed whipping forces the fats and liquids back into a beautiful emulsion. It transforms ugly separation into that gorgeous, silky smooth finish we’re after. Honestly, this troubleshooting tip has saved many a dessert project here at Taste Portfolio!
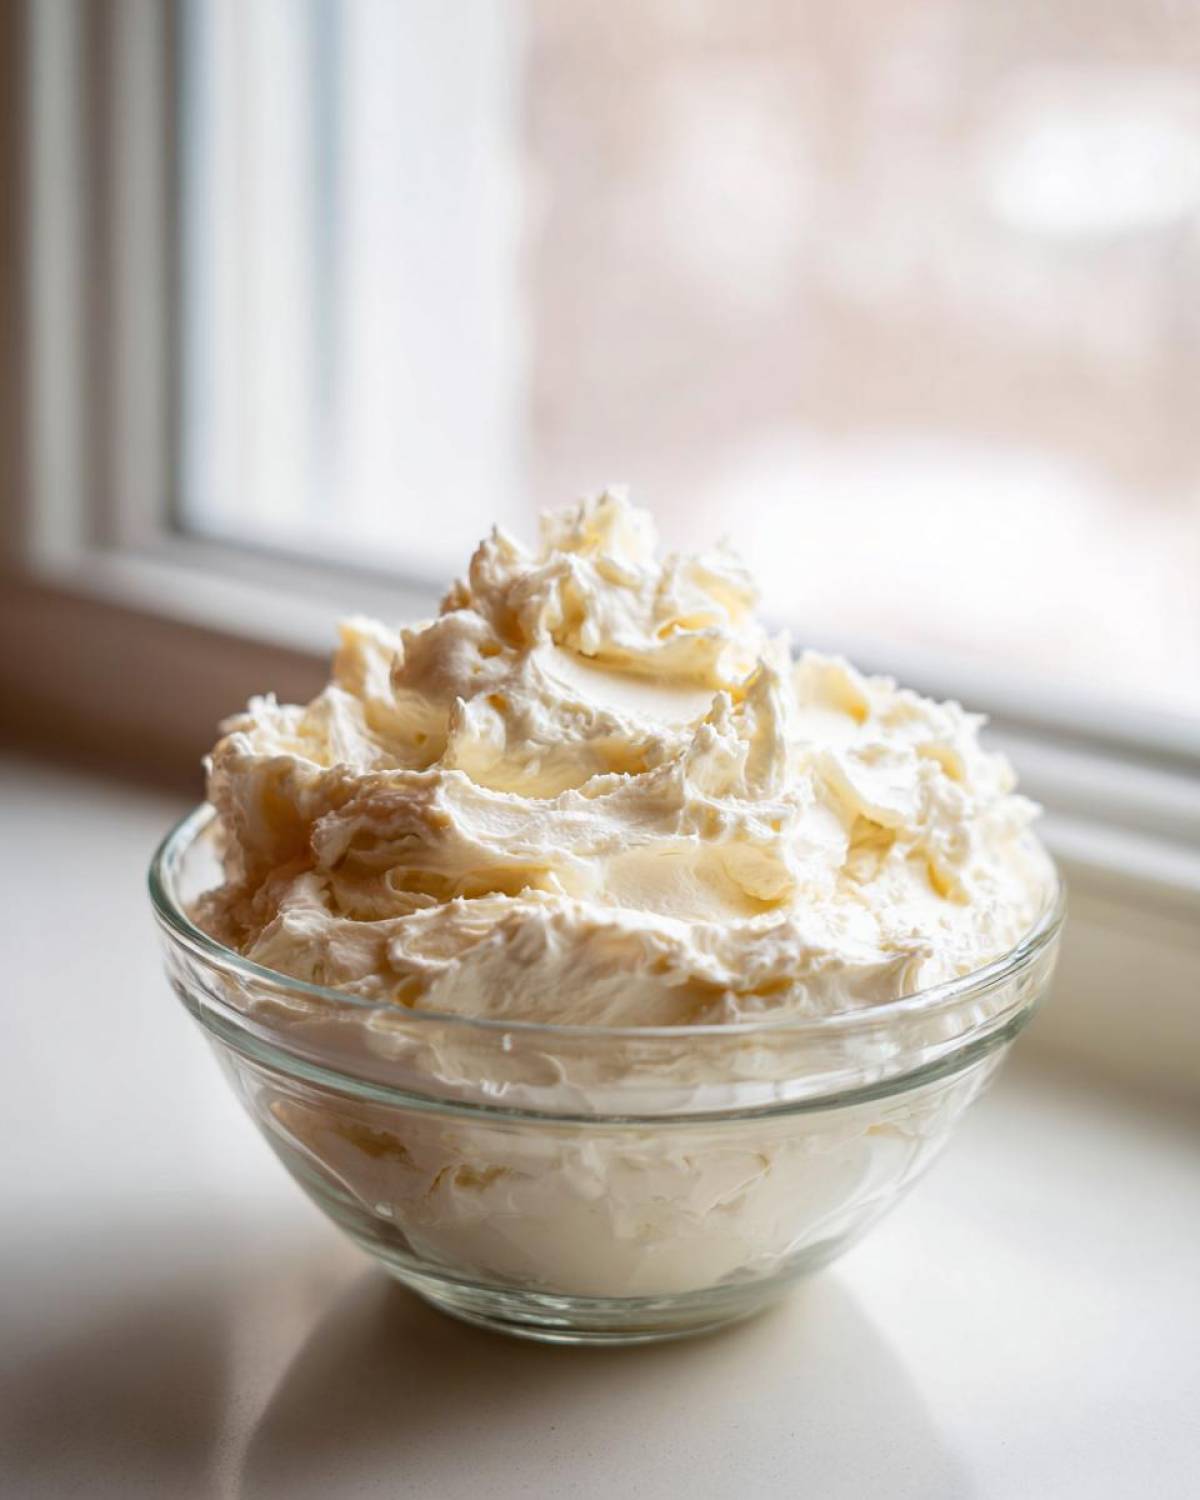
Also, remember that rule about using only unsalted butter when making this homemade vanilla cake frosting? If you accidentally used salted, don’t try to fix the flavor during the mix—just add a tiny bit more sugar next time, or slightly reduce the salt pinch until it tastes right. We want the **best buttercream for cakes** to taste sweet and vanilla-forward, not salty!
Making Your vanilla buttercream frosting Stable for Piping
If you’ve followed the recipe for our vanilla buttercream frosting and you taste it—yum!—but then you load it into a piping bag and it just oozes out like sad pancake batter, I know exactly what happened. Usually, it means we added just a touch too much cream early on, or perhaps the kitchen is just too warm today! Don’t sweat it; we planned for this recovery.
To fix a frosting that’s too soft for decorations, you need to thicken it up without making it tough. That’s why the recipe notes mention adding more powdered sugar! Slowly introduce maybe a quarter cup of extra sifted powdered sugar, beating on medium speed until it fully incorporates. This addition locks in moisture and tightens the structure. We are intentionally aiming for a slightly stiffer consistency than you might use for simple spreading.
A frosting intended for beautiful rosettes and sharp edges requires excellent **buttercream frosting piping consistency**. If you follow the recipe precisely and still find it a little too loose, beating it for an extra minute on high speed can sometimes miraculously thicken it by incorporating more air. But generally, a touch more sifted sugar is the secret weapon to guarantee those beautiful, stable designs on your sugar cookies or cupcakes.
Storage and Reheating Instructions for Homemade vanilla cake frosting
Even though this **vanilla buttercream frosting** is so good you might be tempted to eat it all right away, sometimes we make too much! Or maybe you whipped up a batch for Sunday’s cupcakes and need to save some for Tuesday’s. Good news: storing this American buttercream is super simple, but you have to respect the butter!
If you’re keeping your leftover **homemade vanilla cake frosting** out on the counter for a day or so (like if you’re just decorating a few things the next morning), put it in a truly airtight container. Keep it away from heat or direct sunlight. Room temperature is great, but if your kitchen gets warm, that butter might start to soften too much, and you’ll lose that amazing piping structure we worked so hard to achieve.
For longer storage, the fridge is your friend. Place your frosting in a container and press a layer of plastic wrap directly onto the surface of the frosting before sealing the lid. That barrier stops any fridge odors from seeping in. When you take it out, let it sit on the counter for at least an hour to come back toward room temperature. Then, pop it into the mixer—no added liquid needed yet—and beat it on medium speed for two or three minutes. This re-whipping step brings all the air back in, making it light and fluffy again. It’s perfect for finishing up those pistachio muffins later in the week!
Variations on Classic vanilla buttercream frosting
Once you master the basic plan for this incredibly reliable **vanilla buttercream frosting**, suddenly the possibilities open right up! It’s such a great foundation that Jacob and I rarely stick to just vanilla, especially when we tackle complicated projects like Amelia’s holiday cranberry orange cake.
For a brighter note, try swapping out half the vanilla extract for fresh lemon or orange zest. You might need just a tiny splash more heavy cream to account for the volume of the zest, but oh my goodness, the zest pairs so well with the buttery base. Another fun idea is dividing the batch! If you make a double batch, you can color half neon pink for cupcakes while keeping the other half pure white for borders. It’s so fun to see how quickly we can transform this simple **vanilla buttercream frosting** into something totally custom just through flavor tweaks!
Frequently Asked Questions about Buttercream
I know, planning out a dessert project can bring up so many little technical hiccups! That’s why Amelia keeps these FAQs handy for Jacob. We’ve run into almost every issue imaginable while perfecting our **vanilla buttercream frosting**, so here are the quick answers for your own kitchen adventures. I hope this saves you from any panic!
Can I use salted butter in this easy homemade frosting?
It’s a common question, especially when you’re making an **easy homemade frosting** in a pinch! While you *can* use it, I strongly advise against it if you value the flavor balance. This **classic American buttercream** relies on unsalted butter because we want to control the saltiness ourselves with just that tiny pinch we added at the end. If you use salted, you might find the final product tastes noticeably saltier, overriding the pure vanilla notes. If that’s all you have, stick to the recipe but omit the pinch of salt entirely, and taste before adding any more!
How do I fix vanilla frosting that is too thin or runny?
Oh, the dreaded runny mess! This usually happens because the kitchen is too warm or a little too much liquid snuck in. The fix is incredibly straightforward and relies on one of our main ingredients: sugar. If your **vanilla buttercream frosting** gets too thin for spreading or piping, just grab your powdered sugar, sift it again (I always tell Jacob to sift it twice just to be safe!), and start adding it one tablespoon at a time while the mixer is running on medium speed. Beat it well after each addition, and watch it thicken right back up into that perfect texture needed for **buttercream frosting piping consistency**.
Is this a no-cook buttercream recipe?
Yes, absolutely! This is a true **no-cook buttercream recipe**. That’s one of the biggest advantages of this Classic American style. We aren’t heating any egg whites or making a meringue base; we are relying purely on the high speed of the mixer to whip air into the fat and sugar mixture. That whipping action creates the fluffiness! It means you can whip up this topping for your oatmeal pancakes or cupcakes in under ten minutes—no waiting for anything to cool down!
Nutritional Estimates for Your Simple Desserts Topping
Even though this **vanilla buttercream frosting** is pure joy in a piping bag, Amelia insists on tracking the important numbers, even for our finishes! Now, before we get into the details, I have to give you our standard Taste Portfolio disclaimer: these numbers are estimates. They are based on the specific recipe measurements we used here, and remember, the brand of butter or the exact amount of heavy cream you use can shift things slightly. This is just a guide for your simple desserts topping!
For a quarter cup serving size, here’s the general breakdown of what’s in this delicious **butter and sugar frosting**:
- Calories: 340
- Sugar: 48g (Yes, it’s sweet! That’s the trademark of a good American buttercream.)
- Fat: 17g (The butter is working hard for us!)
- Saturated Fat: 10g
- Cholesterol: 45mg
- Sodium: 55mg
The main thing to remember is that this is a rich topping, meant to be enjoyed in moderation over a perfectly baked cake or cupcake. We focus on getting that perfect texture and flavor; the nutrition is just a little added context for our planning binder!
PrintThe Best Classic American Vanilla Buttercream Frosting
Follow this easy tutorial to make creamy, smooth, and fluffy vanilla buttercream frosting perfect for piping onto your favorite cakes and cupcakes. This classic American buttercream comes together quickly.
- Prep Time: 10 min
- Cook Time: 0 min
- Total Time: 10 min
- Yield: About 3 cups
- Category: Dessert Topping
- Method: Mixing
- Cuisine: American
- Diet: Vegetarian
Ingredients
- 1 cup (2 sticks or 226g) unsalted butter, softened to cool room temperature
- 4 cups (480g) powdered sugar, sifted
- 1 teaspoon pure vanilla extract
- 3 to 4 tablespoons heavy cream or whole milk
- Pinch of salt
Instructions
- Place the softened butter into the bowl of a stand mixer fitted with the paddle attachment (or use a large bowl with a hand mixer). Beat the butter on medium speed until it is completely smooth and creamy, about 2 minutes. Scrape down the sides of the bowl.
- Gradually add the sifted powdered sugar, one cup at a time, mixing on low speed until just combined after each addition. This prevents a sugar cloud in your kitchen.
- Once all the sugar is incorporated, add the vanilla extract and a pinch of salt. Mix on low speed for 30 seconds.
- Add 3 tablespoons of heavy cream or milk. Increase the mixer speed to medium-high and beat for 3 to 5 minutes. You must beat it thoroughly to incorporate air, which makes the vanilla buttercream frosting light and fluffy.
- Check the consistency. If the frosting is too stiff for spreading or piping, add the remaining 1 tablespoon of cream, one teaspoon at a time, until you reach your desired smooth buttercream consistency.
- If the frosting seems too soft, add a quarter cup more sifted powdered sugar and beat again until smooth.
- Use immediately for frosting cakes or piping decorations.
Notes
- Use cool, room temperature butter. If the butter is too warm, your frosting will be greasy and won’t hold its shape for piping consistency.
- Sift your powdered sugar to prevent lumps in your smooth buttercream.
- For a stronger vanilla flavor, use vanilla bean paste instead of extract.
- If your frosting separates or looks curdled after adding the liquid, continue beating on high speed for another minute; this usually brings it back together.
Nutrition
- Serving Size: 1/4 cup
- Calories: 340
- Sugar: 48
- Sodium: 55
- Fat: 17
- Saturated Fat: 10
- Unsaturated Fat: 7
- Trans Fat: 0
- Carbohydrates: 48
- Fiber: 0
- Protein: 0
- Cholesterol: 45