

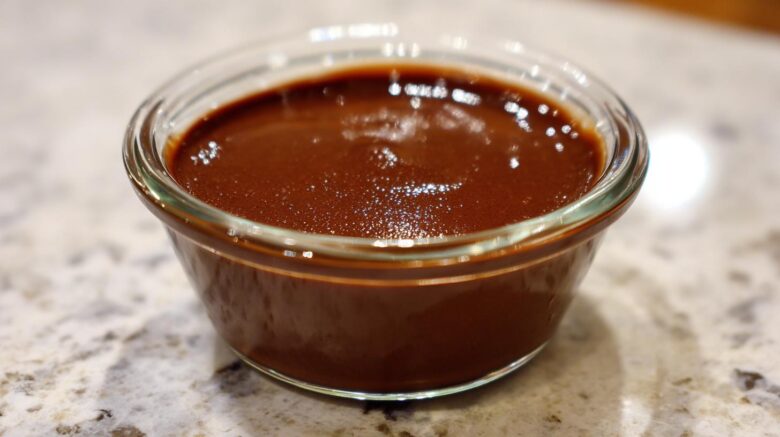
The BEST Creamy & Easy Homemade Chocolate Pudding from Scratch
Forget those sad, grainy boxes you buy at the store. I’m Amelia, and I promise this is the absolute best chocolate pudding recipe you’ll ever make. Jacob and I spent weeks perfecting this stovetop method. We wanted something truly rich. This version gives you that luxurious, creamy pudding texture. It comes together so fast, too. Seriously, this homemade chocolate pudding is ready before you can even decide on toppings.
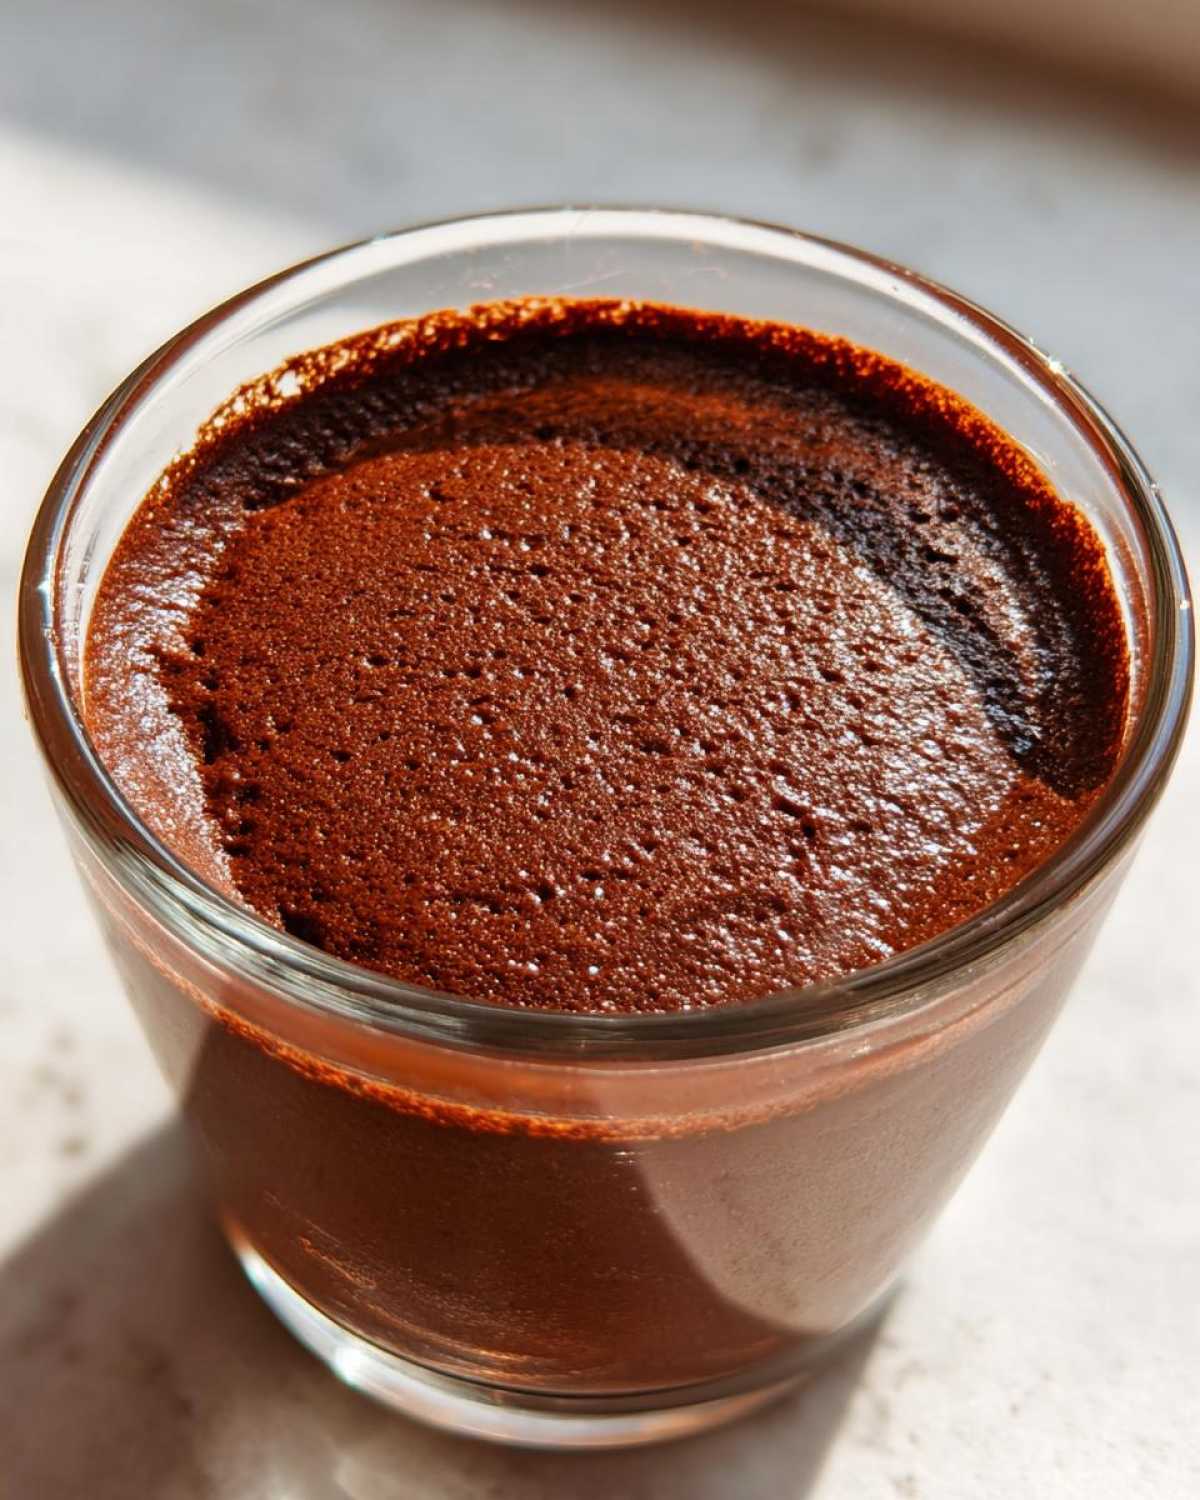
Why This Homemade chocolate pudding Recipe Belongs in Your Portfolio
Jacob and I tested so many versions. We chased that perfect, velvety mouthfeel. This recipe beats any store-bought option, hands down. It’s our family’s favorite dessert now. We refined the ratios until it was foolproof. You get deep chocolate flavor every time. That’s the standard we hold for every piece in our Taste Portfolio.
Quick Overview of Your chocolate pudding Project
This project moves quickly. You need minimal hands-on time. Here are the basics:
- Prep Time: 5 minutes
- Cook Time: 10 minutes
- Total Time: 15 minutes (plus chill)
- Yield: 4 happy servings
Gathering Ingredients for Your Silky chocolate pudding
Getting ready to make this amazing chocolate pudding is half the fun. Planning is my specialty, remember? For this recipe, ingredient quality really matters. Good cocoa powder makes a huge difference here. We need simple items for a complex flavor profile. Gather these things before you start cooking.
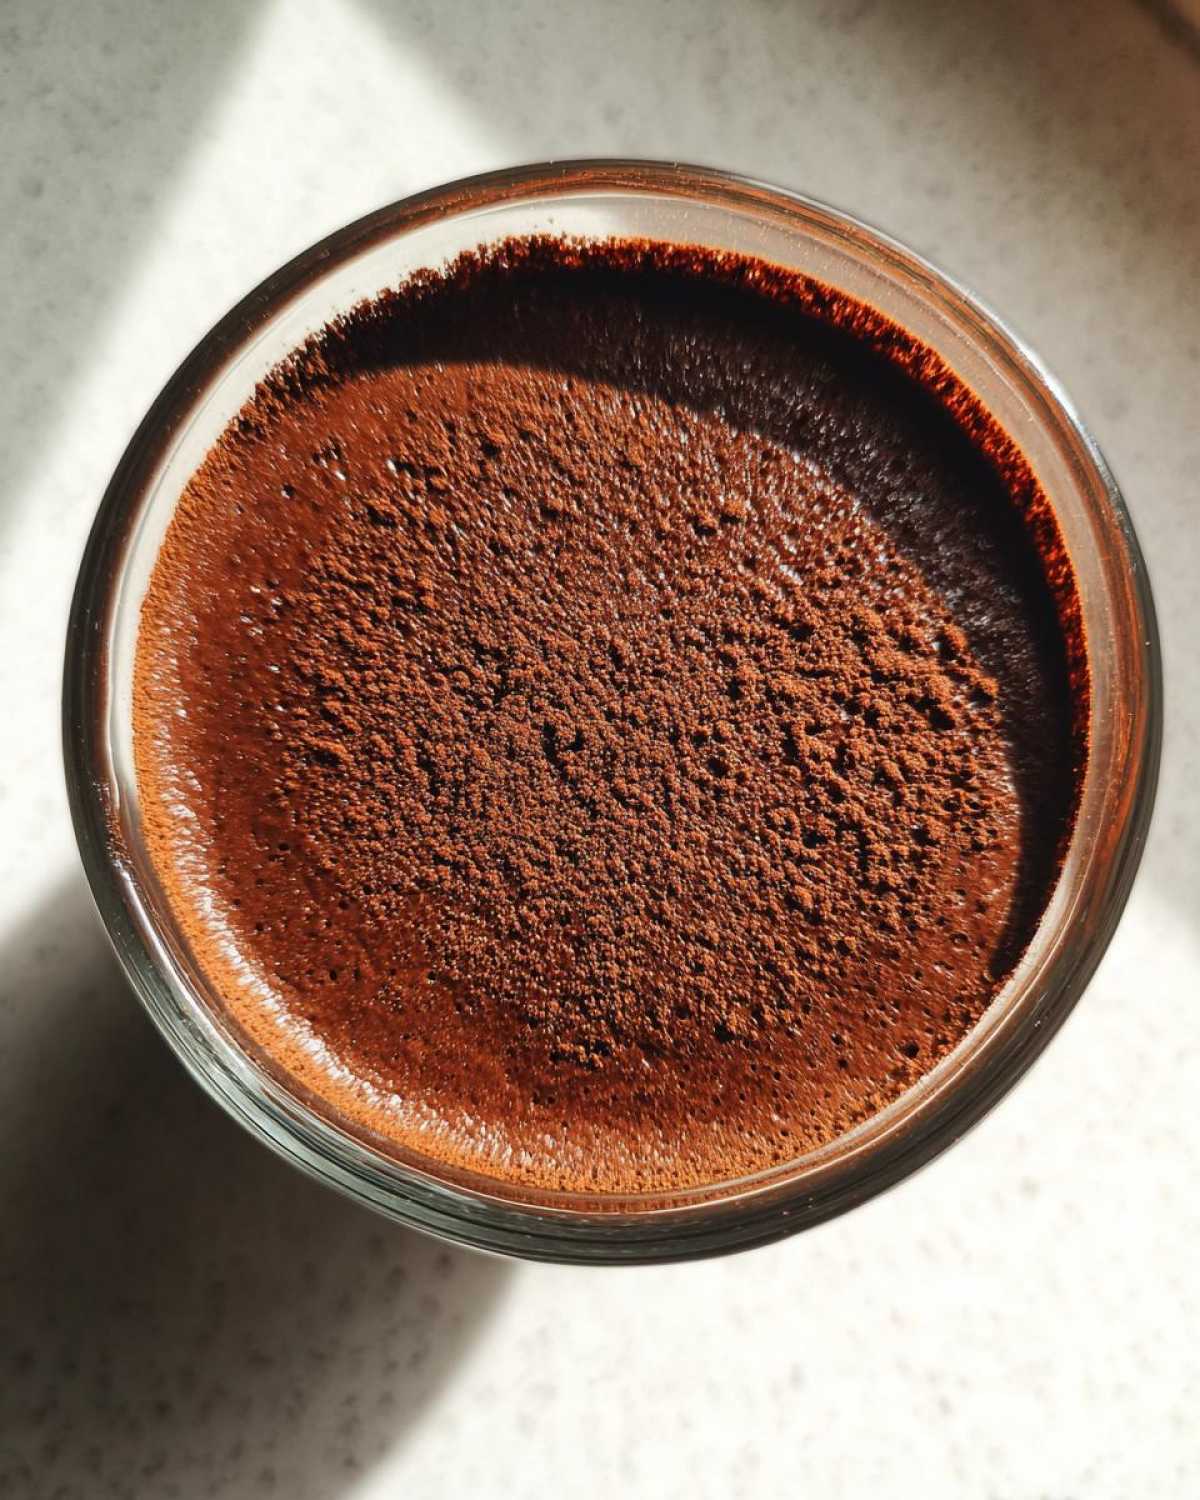
Essential Ingredients List
- Milk (whole or 2%): 2 cups
- Sugar: 1/2 cup
- Cocoa Powder (unsweetened): 1/3 cup
- Cornstarch: 3 tablespoons
- Salt: 1/4 teaspoon
- Unsalted Butter: 2 tablespoons
- Vanilla Extract: 1 teaspoon
Ingredient Notes and Substitutions for Creamy chocolate pudding
I strongly suggest using whole milk. It gives the creamiest result possible. Don’t skimp on the cocoa powder either. Use a good quality brand for deep flavor. If you use low-fat milk, the texture will be slightly lighter. We found that 2% is a good compromise if whole milk isn’t available. Remember, this is a classic stovetop recipe, not a complicated one. Dark chocolate flavor is key.
Equipment Needed for Your Easy chocolate pudding
Since this is an easy dessert, you don’t need fancy gadgets. Jacob loves working with simple tools for this. We keep the cleanup fast too. You likely have everything already. Grab these few items for success:
- Medium saucepan
- Whisk
- Measuring cups and spoons
- Serving dishes or bowls
Step-by-Step Instructions for Perfect chocolate pudding
Now for the fun part: making the magic happen on the stove. This process moves fast once you start heating things up. Pay close attention during the cooking phase. Constant motion prevents any scorching on the bottom. We are aiming for that flawless, thick texture. Follow these simple steps for amazing homemade chocolate pudding.
Combining Dry Components of Your chocolate pudding
Grab your medium saucepan first. Add the sugar, cocoa powder, cornstarch, and salt right in. Now, take your whisk. Whisk these dry things together really well. You need zero lumps later. Mixing them now ensures even distribution. This step is key for smooth results.
Cooking the creamy chocolate pudding Base
Next, slowly pour in your milk. Whisk constantly while adding it. Make sure everything dissolves smoothly. Place the pan over medium heat. Keep stirring without stopping. Stir until the mixture starts to bubble thickly. Once it bubbles, cook it for exactly one more minute. Stir the whole time. Then, pull the pan off the heat immediately.
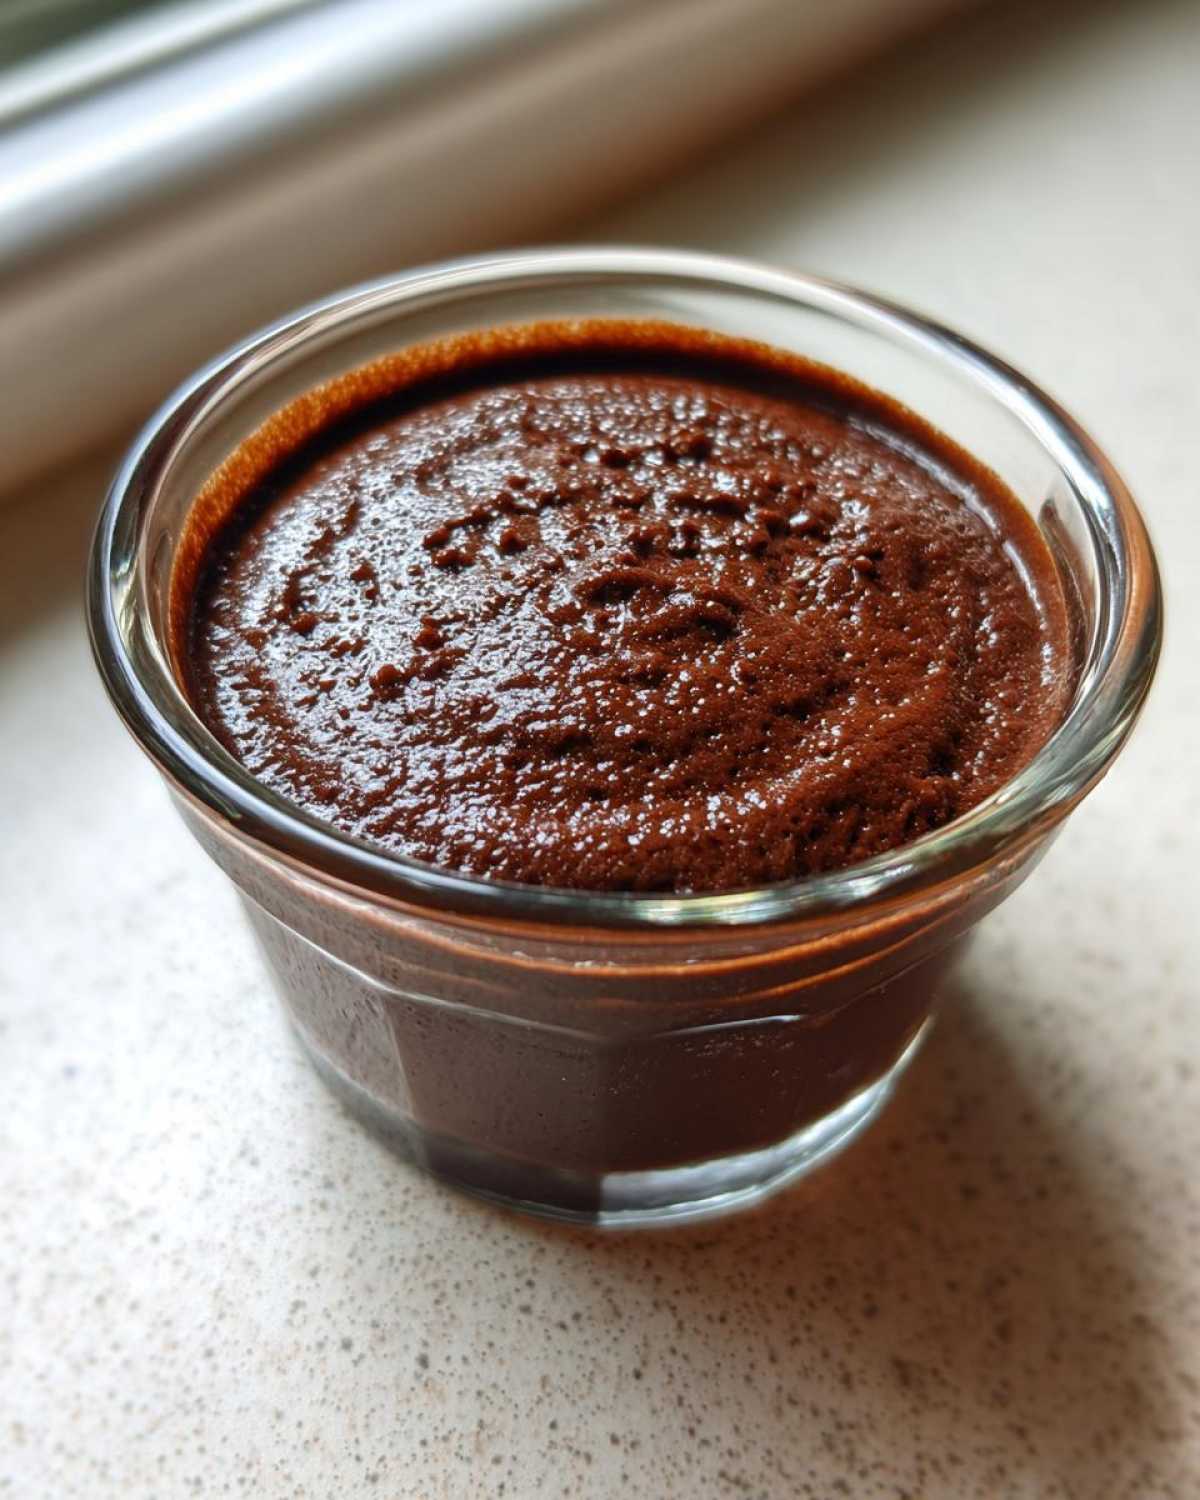
Finishing and Setting Your Homemade chocolate pudding
Remove the pan from the burner right away. Stir in your butter pieces until they melt completely. Add the vanilla extract last. Whisk until everything looks glossy and smooth. Pour the hot chocolate pudding into your serving bowls. This next part is crucial for texture. Press plastic wrap directly onto the pudding surface. This stops a skin from forming while chilling. Refrigerate for at least two hours before serving.
Tips for Success with Your chocolate pudding
Even simple recipes need good technique. I learned this the hard way once. Remember, constant stirring is non-negotiable. Don’t walk away from the stove! Scorching ruins the flavor fast. That burnt taste is hard to hide. Proper temperature control is vital when cooking starches.
Also, taste testing is important here. Cocoa powder strength varies greatly. Before chilling, give your warm pudding a quick taste. Do you want it sweeter? Fix it now. Once cold, adjustments are much harder.
We use high-quality cocoa powder always. It makes the chocolate flavor pop. For extra silkiness, only use whole milk. This fat content helps the texture immensely. Follow these pointers for success.
Serving Suggestions for Your Decadent chocolate pudding
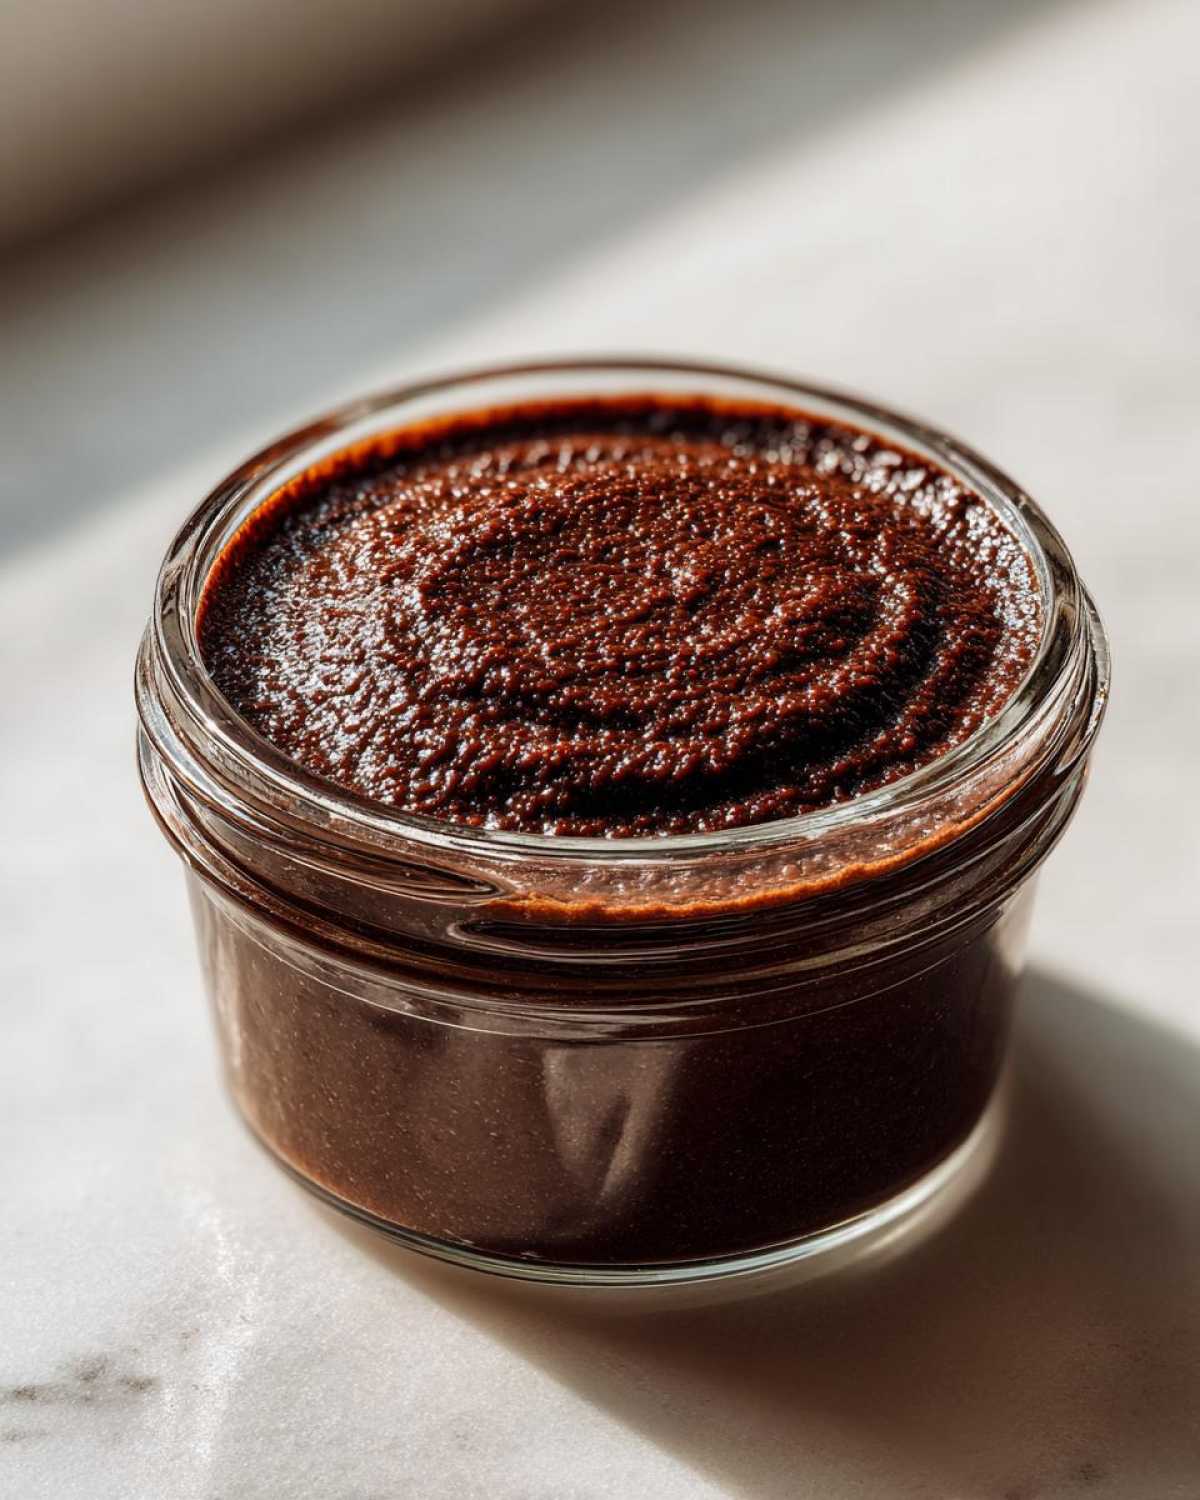
What’s better than perfect pudding? Great toppings, of course! This rich chocolate pudding begs for something special. We usually keep it simple here. Think fresh raspberries or a dollop of homemade whipped cream. A sprinkle of flaky sea salt is amazing too. Even a few chocolate shavings work wonders. Enjoy this creamy treat your way. Try our chocolate dipped orange slices on the side!
Storing and Reheating chocolate pudding
Proper storage keeps this dessert tasting fresh. Cover each serving directly with plastic wrap. This keeps that awful skin from forming. Store your homemade pudding in the fridge. It stays good for about four days easily. Don’t leave it out too long.
When serving cold, it firms up nicely. If you prefer a softer texture, let it sit out briefly. Five minutes on the counter helps. Reheating is tricky for this type. Gently warm leftovers on the stove. Whisk constantly over very low heat. Do not let it boil again.
Frequently Asked Questions About Easy chocolate pudding
Got lingering questions about your new favorite dessert? I totally get it. Cooking from scratch brings up new queries sometimes. We want your experience making this easy dessert to be perfect. Here are some common things readers ask us about this creamy pudding.
How long does homemade chocolate pudding last in the fridge
When stored correctly, your homemade chocolate pudding lasts about four days. Remember that crucial step: plastic wrap touching the surface. This keeps it safe and smooth. Always keep it well-chilled in the refrigerator. It tastes best within the first two days, though!
Can I make this chocolate pudding without cornstarch
That’s a great question about achieving that creamy pudding texture. Cornstarch is the main thickener here. It’s what gives us that classic pudding body. If you skip it, you risk a very thin, soupy result. You could try using arrowroot powder as a substitute. Use slightly less, maybe two tablespoons. But honestly, cornstarch works best for this stovetop recipe.
Estimating the Nutrition for this chocolate pudding
I am Amelia the planner, not a nutritionist! I focus on flavor. The exact numbers change based on your milk choice. We are focusing on taste here. For more dessert ideas, check out our snacks category.
For planning purposes, think of this as a treat. We estimate Calories, Carbs, Fat, and Protein per serving. These are just rough figures, remember. Check a reliable nutrition calculator online for precise data if you need it. What are your favorite healthy toppings for this dessert?
Print5 minute chocolate pudding: Badly good recipe
Make the best creamy and easy homemade chocolate pudding from scratch. This recipe delivers a rich, decadent dessert ready fast, surpassing any box mix.
- Prep Time: 5 minutes
- Cook Time: 10 minutes
- Total Time: 15 minutes plus chilling time
- Yield: 4 servings
- Category: Dessert
- Method: Stovetop
- Cuisine: American
- Diet: Vegetarian
Ingredients
- Milk (whole or 2%)
- Sugar
- Cocoa Powder (unsweetened)
- Cornstarch
- Salt
- Unsalted Butter
- Vanilla Extract
Instructions
- Whisk sugar, cocoa powder, cornstarch, and salt together in a medium saucepan.
- Gradually whisk in the milk until the mixture is smooth.
- Place the saucepan over medium heat. Stir constantly until the mixture thickens and begins to bubble.
- Cook for one minute, continuing to stir, then remove from heat.
- Stir in the butter and vanilla extract until fully combined and smooth.
- Pour the pudding into individual serving dishes or one large bowl.
- Cover the surface directly with plastic wrap to prevent a skin from forming.
- Chill in the refrigerator for at least two hours, or until completely cold and set.
Notes
- Use high-quality cocoa powder for the best chocolate flavor.
- Stir constantly while heating to prevent scorching on the bottom of the pan.
- For extra richness, use only whole milk.
- Taste before chilling; adjust sweetener if your cocoa is particularly bitter.
Nutrition
- Serving Size: 1/4 of recipe
- Calories: Estimate based on ingredients
- Sugar: Estimate based on ingredients
- Sodium: Estimate based on ingredients
- Fat: Estimate based on ingredients
- Saturated Fat: Estimate based on ingredients
- Unsaturated Fat: Estimate based on ingredients
- Trans Fat: 0g
- Carbohydrates: Estimate based on ingredients
- Fiber: Estimate based on ingredients
- Protein: Estimate based on ingredients
- Cholesterol: Estimate based on ingredients