

The Perfect Cookie Icing Recipe for Flawless Decorations
Are you tired of soft, sticky tops on your beautiful sugar cookies? I get it. My pre-Jacob days were full of perfectly cut dough. Then came the icing phase. Disaster!
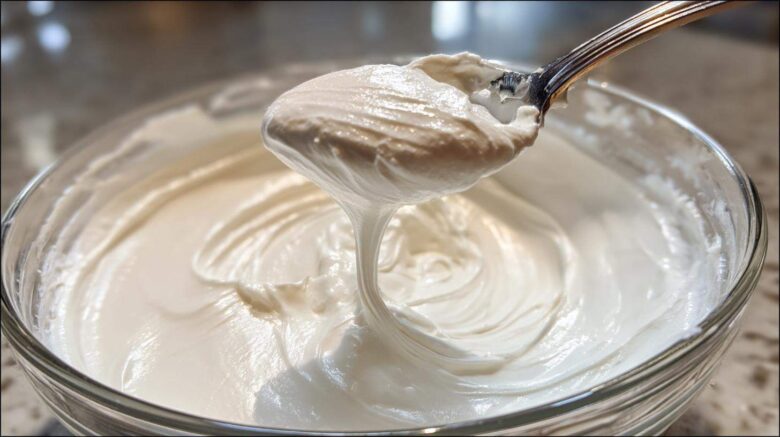
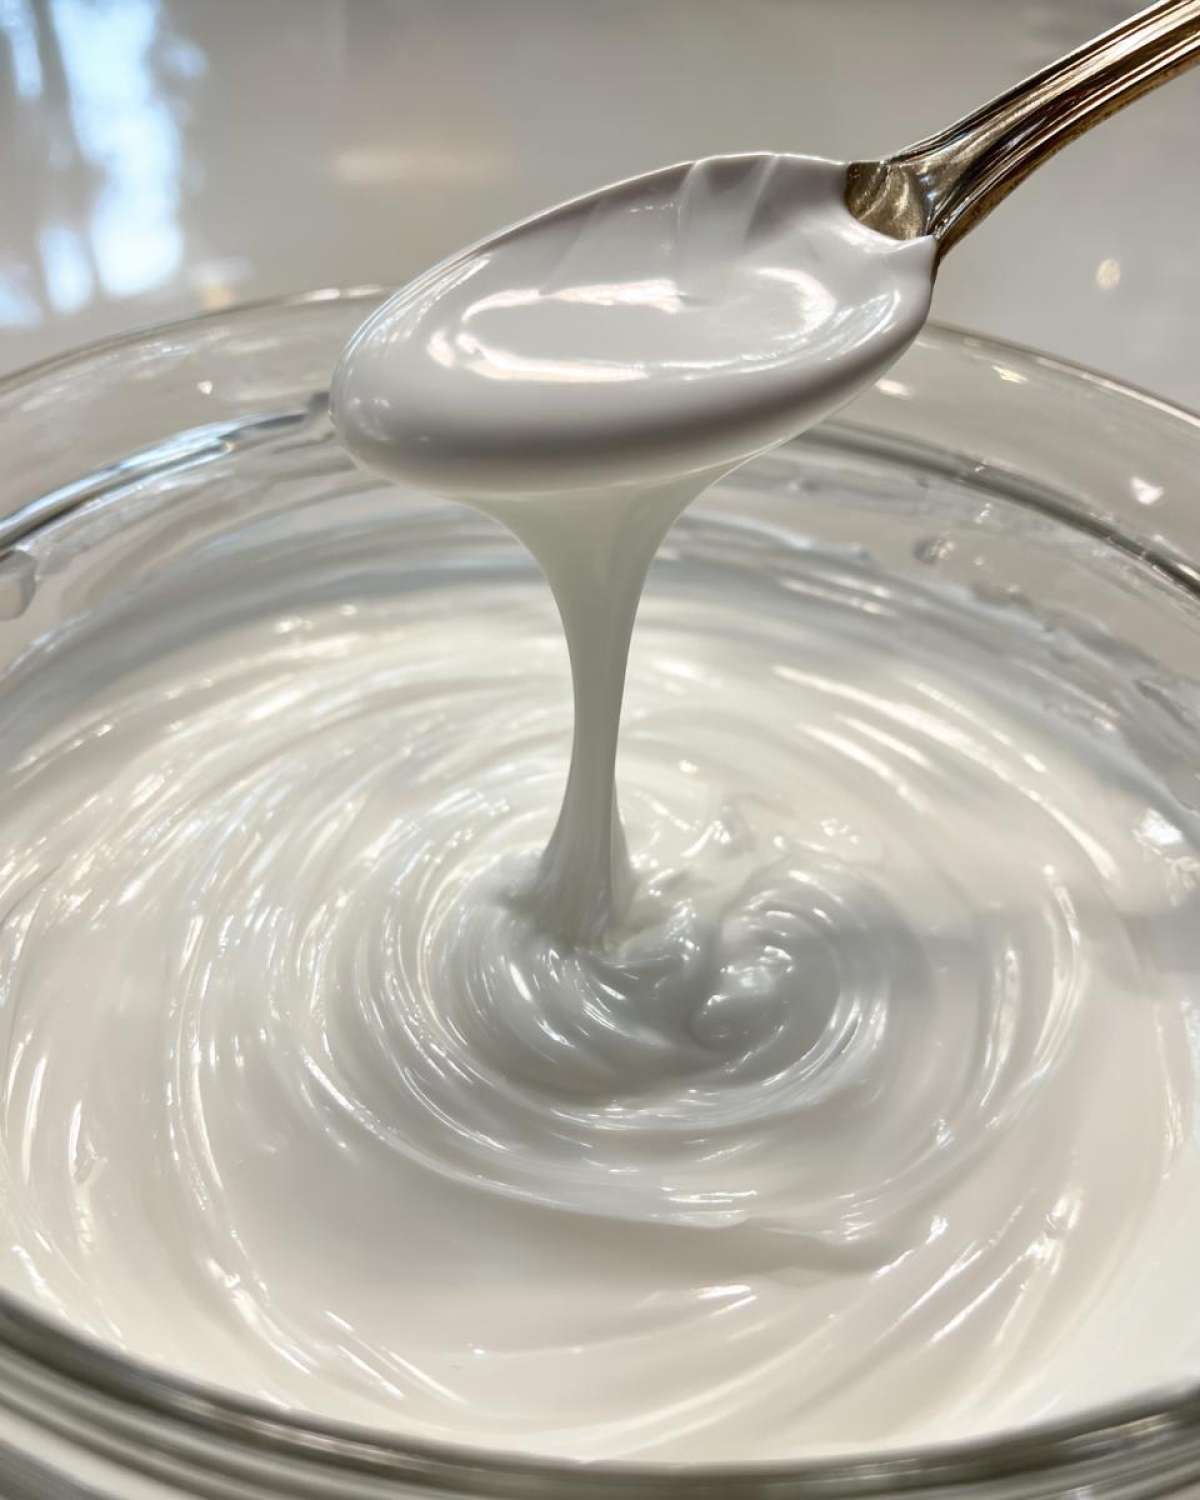
This specific cookie icing recipe changed everything for us. It gives you that smooth, glossy look. Plus, it dries rock hard, which is amazing for stacking. Amelia plans the look; Jacob makes the magic happen.
We perfected this blend over many weekends. It’s truly our go-to sugar cookie decoration base. You need this reliable finish for your next baking project.
Why This Cookie Icing Recipe Stands Apart
This icing is dependable. It doesn’t weep or crack weirdly. That firm-drying quality is non-negotiable for me. I want to gift cookies, not a sweet, sticky mess.
We use meringue powder here. That’s the secret weapon, truly. It guarantees a hard shell every time. Your decorated cookies stay perfect for days. See? Planning pays off!
Essential Components for Your Cookie Icing Recipe
Every great finished project needs quality materials. This simple cookie icing recipe relies on just a few key players. Getting these right makes decorating fun. We focus on what gives us that professional snap.
The magic really comes from choosing the right powders. Forget runny messes. We are aiming for structural integrity here. This is where Jacob’s precision really helps my planning.
Ingredient Clarity for Your Cookie Icing Recipe
You need three cups of sifted powdered sugar. Sifting is not optional, trust me. Lumps are the enemy of smooth icing.
Next is the meringue powder. This is crucial for that firm drying effect. We use four tablespoons of it in our formula.
Water is approximate. Start with five tablespoons of warm water. Add more slowly until you hit the right flow. Vanilla is optional but adds flavor.
Equipment Needed for Smooth Cookie Icing Recipe
Keep your tools simple for this mix. You don’t need fancy gadgets.
- A medium mixing bowl works well.
- A sturdy whisk is better than a spoon.
- Measuring cups and spoons are non-negotiable.
- Small bowls help when coloring portions.
Having these ready speeds up the ten-minute prep time.
Step-by-Step Instructions for the Cookie Icing Recipe
Now for the fun part: mixing! This whole process takes about ten minutes. That’s fast for such a high-quality finish. We break it down simply.
Follow these steps closely. Precision here means perfect cookies later. No stress, we’ll guide you through the texture checks.
Mixing the Base Cookie Icing Recipe
First, you must sift your sugar and meringue powder. Do this into your bowl. This step stops lumps dead in their tracks.
Whisk these dry ingredients together lightly first. Then, start adding warm water slowly. Use five tablespoons to begin with. Whisk until it looks smooth. Keep stirring until no white powder shows.
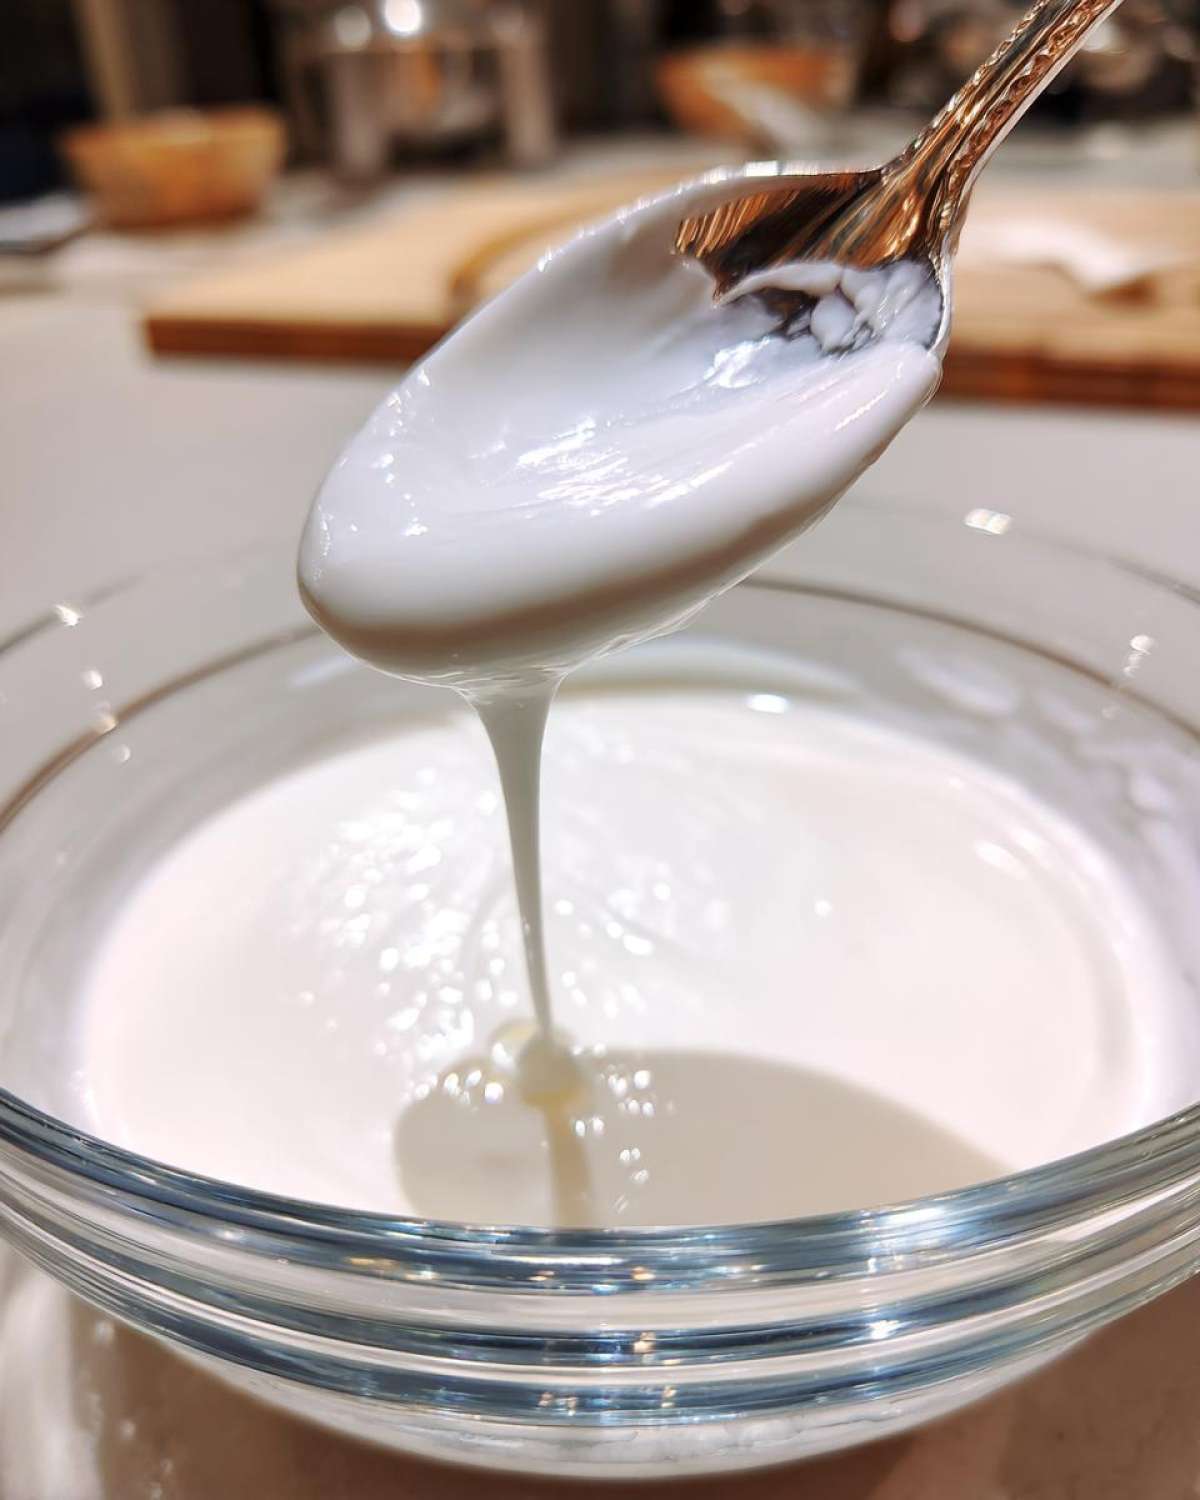
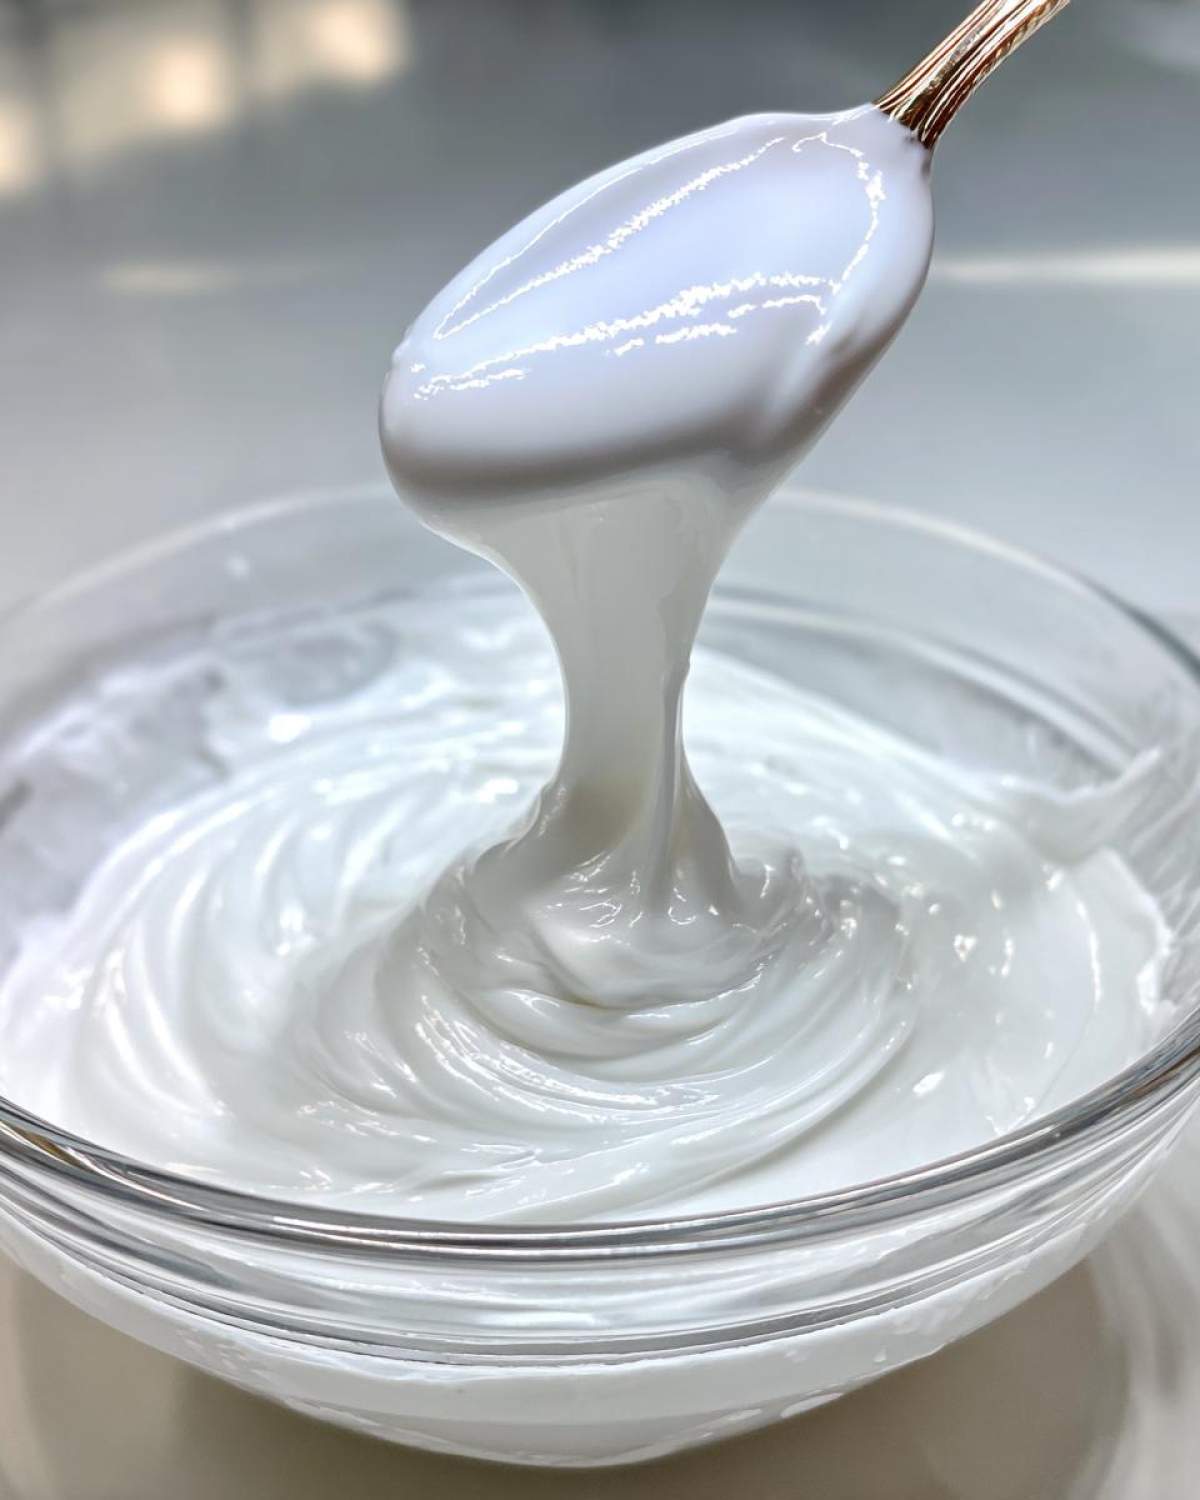
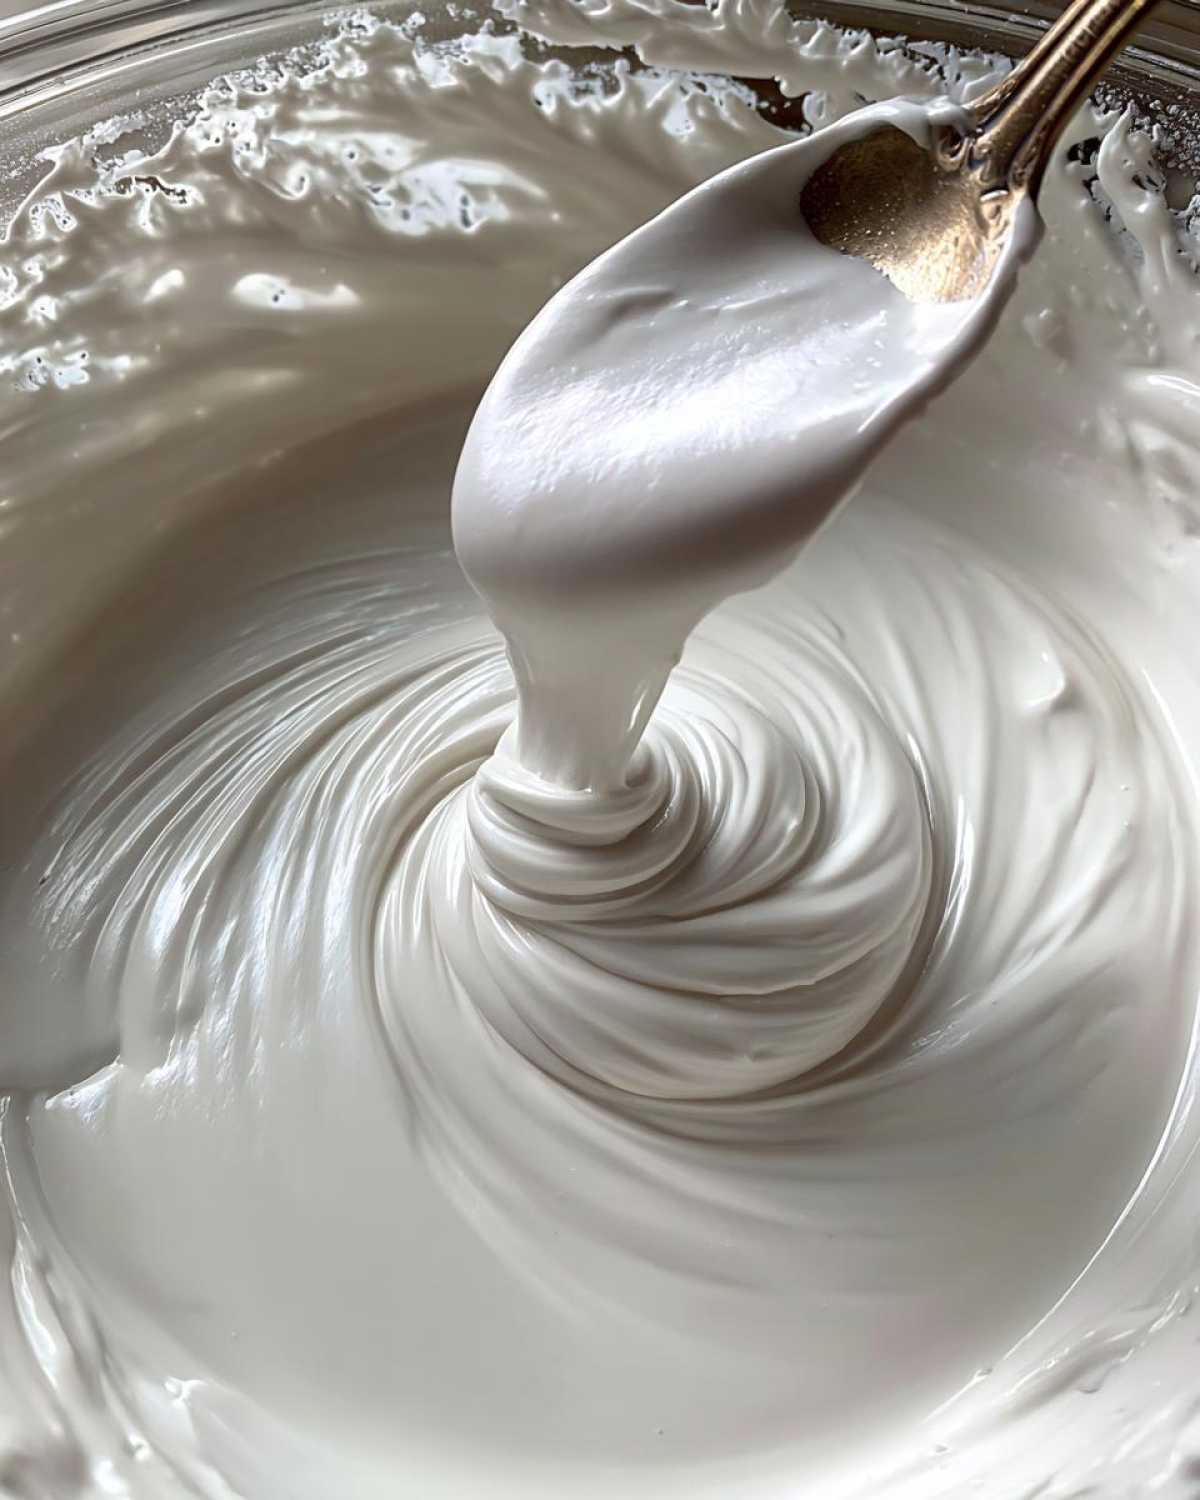
To test the flow, lift your whisk. The icing should fall like a thick ribbon. That ribbon needs to sink slowly. Count to ten while it disappears back in. That’s the sweet spot.
Coloring and Adjusting Your Cookie Icing Recipe Consistency
If you want color, divide the icing now. Put portions into small bowls. Add food coloring drop by drop. Mix until the color is even. Be careful adding color too fast.
Need it thinner? Add water, just a few drops at a time. Too runny? Stir in a spoonful of powdered sugar. We want that perfect flooding consistency. It should coat the back of a spoon nicely.
Application and Drying Time for This Cookie Icing Recipe
Use the icing right away for best results. Outline your cookie edges first. This creates a dam for the next step. Then, flood the inside areas gently.
This icing needs time to set up firm. Leave your decorated cookies alone. They must dry completely at room temperature. This might take several hours. Overnight is even better for a truly hard shell.
Tips for Success with Your Firm-Drying Cookie Icing Recipe
Baking is science, but decorating is art. Getting this cookie icing recipe right builds confidence. I learned these little tricks the hard way.
Always, always sift your powdered sugar first. Seriously, don’t skip this step. Lumps ruin smooth finishes instantly. Also, stick to meringue powder.
Meringue powder ensures that hard exterior you need. Egg whites are tricky for beginners. This powder gives me perfect results every time. Trust the process we laid out.
Troubleshooting Common Cookie Icing Recipe Issues
What if your icing is too thick? Just add water slowly. A few drops at a time is all you need. Don’t rush that addition.
Is it too thin instead? That’s an easy fix too. Whisk in a small amount of extra sifted sugar. A tiny bit makes a big difference.
Storing leftover icing requires care. Cover it tightly with plastic wrap. Press that wrap right onto the icing surface. This stops a crust from forming overnight.
Flavor and Texture Variations for Your Cookie Icing Recipe
This base is wonderful. But you can change it up easily. Want a different taste? Swap vanilla for almond extract. A little lemon zest works too.
For piping fine lines, make a small, thicker batch. Use less water initially. This stiff icing holds its shape beautifully. This detail work is Jacob’s favorite part.
Thicker icing stays put for lettering. Thinner icing flows perfectly for flooding centers. Adjusting texture is simple once you practice.
Storing Leftover Cookie Icing Recipe Batches
Don’t toss any extra icing you have left over. We often make too much intentionally. Storing it correctly keeps it usable later.
This is key for future quick decorating jobs. Nobody wants to remake a whole batch. Proper storage prevents a hard crust.
The biggest enemy is air exposure. Air dries out the moisture quickly. This turns perfect icing into a brick.
Here is the simple method Jacob taught me. It works every single time.
- Get plastic wrap ready immediately.
- Press it directly onto the icing surface.
- Do not leave any air gap there.
- Seal the entire bowl tightly after that.
Store the covered bowl in the fridge. It stays good for a few days this way. You might need to stir it well before using it again.
Frequently Asked Questions About This Cookie Icing Recipe
We get so many questions about decorating. It’s natural for new bakers. Let’s clear up some common points now.
These answers should help you feel secure. You’re ready to decorate like a pro.
Can I Substitute Egg Whites in This Cookie Icing Recipe?
That is a common question. Traditional royal icing uses egg whites. We recommend sticking to meringue powder here.
Meringue powder is much more reliable for us. It helps the icing dry hard consistently. Substituting egg whites requires knowing temperature control. That adds unwanted steps.
If you must use whites, be aware of safety. Meringue powder simplifies the process greatly.
How Long Does This Cookie Icing Recipe Take to Harden?
Hardening time really depends on humidity. It also depends on icing thickness. Generally, allow several hours for a set surface.
For truly stackable, firm cookies, plan for overnight drying. This ensures a quick drying result that lasts.
Thicker icing layers will take longer to set. Thin flooded areas dry faster, of course.
Estimated Nutritional Data for This Cookie Icing Recipe
I know many of you plan your meals carefully. Even decorations count in a full day’s eating. We calculated the rough numbers for this recipe.
Remember, this is just an estimate, folks. It depends on your exact measurements. We based this on a standard serving size.
Here is the breakdown for about 1/4 cup of the finished icing mix:
- Calories: About 180 per serving.
- Total Fat: Zero grams, which is great news!
- Carbohydrates: Roughly 47 grams.
- Sugar Content: High, about 45 grams.
- Protein: Very low, around 1 gram.
- Cholesterol: None listed in our estimate.
This is pure sugar and meringue powder, so keep that in mind. It’s a treat ingredient. We use it sparingly on our cookies!
Share Your Taste Portfolio Cookie Icing Projects
We poured our planning and artistry into this recipe. Now it’s your turn to shine!
We truly hope this cookie icing recipe worked for you. Did you achieve that smooth, firm finish we bragged about? I’d love to see your creations.
Jacob always says a recipe isn’t finished until someone else tries it. This is our collection. We want you in it!
Please rate this recipe below if you enjoyed it. Tell us what you decorated. Share pictures of your hard work online.
Tag us so Amelia and Jacob can see your amazing sugar cookie decoration skills. Happy baking, everyone. We can’t wait to see your portfolio pieces!
PrintPerfect cookie icing recipe: 3 amazing fixes
This recipe delivers a perfectly smooth and glossy cookie icing that dries firm, making your decorated sugar cookies ready for stacking or gifting. It is simple to prepare and offers a reliable finish for any design.
- Prep Time: 10 minutes
- Cook Time: 0 minutes
- Total Time: 10 minutes plus drying time
- Yield: Enough to cover approximately 2 dozen standard-sized cookies
- Category: Baking Decoration
- Method: Whisking/Mixing
- Cuisine: American
- Diet: Vegetarian
Ingredients
- 3 cups powdered sugar, sifted
- 4 tablespoons meringue powder
- 6 tablespoons warm water (approximate)
- 1 teaspoon vanilla extract (optional)
- Food coloring (optional)
Instructions
- Sift the powdered sugar and meringue powder into a medium bowl.
- Gradually whisk in the warm water until the icing is smooth. Start with 5 tablespoons and add more as needed to reach the desired consistency.
- If using, mix in the vanilla extract.
- Divide the icing into separate bowls if you plan to use multiple colors. Add a few drops of food coloring to each portion and mix until uniform.
- To achieve a flooding consistency, the icing should slowly drizzle off a spoon, creating a ribbon that sinks back into the bowl after about 10 seconds. Adjust with small amounts of water if too thick, or a tiny bit more powdered sugar if too thin.
- Use the icing immediately to outline your cookies, then flood the centers.
- Allow the cookies to dry completely at room temperature for several hours, or overnight, until the surface is hard to the touch.
Notes
- Always sift your powdered sugar to prevent lumps in the final icing.
- Meringue powder is key for helping the icing dry hard. Do not substitute with egg whites unless you are familiar with the adjustment process.
- For piping details, make a small portion of the icing much thicker by adding less water initially.
- Store unused icing covered tightly with plastic wrap pressed directly onto the surface to prevent a crust from forming.
Nutrition
- Serving Size: 1/4 cup icing
- Calories: Approx. 180
- Sugar: Approx. 45g
- Sodium: Approx. 10mg
- Fat: 0g
- Saturated Fat: 0g
- Unsaturated Fat: 0g
- Trans Fat: 0g
- Carbohydrates: Approx. 47g
- Fiber: 0g
- Protein: Approx. 1g
- Cholesterol: 0mg