

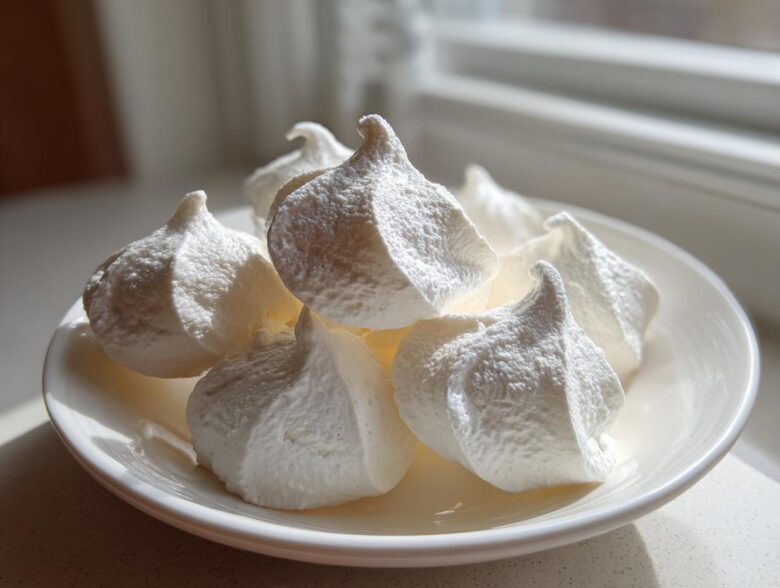
You know those desserts that look incredibly fancy but secretly take almost no effort? That is exactly what we are achieving today with my ultimate meringue cookies recipe! I remember the first time I tried to make these, and they ended up sticky and sad. Who wants a meringue that refuses to cooperate? Trust me, I figured out the magic behind getting that perfect shatteringly crisp shell and that wonderfully melt-in-your-mouth soft cloud right in the middle. We’re using the basic French method here, which seriously couldn’t be easier, but I’m sharing all the tips I learned so yours turn out light and airy every single time. Seriously, these meringue cookies are my go-to when I need a dramatic, delicious, and surprisingly simple sweet treat!
Why This Easy Meringue Cookies Recipe Works for Beginners
If you’re worried about making these beautiful meringue cookies, stop right there! This recipe is designed for real-life kitchens, not professional pastry shops. The secret is keeping things simple and focusing on volume when you whip the egg whites. They look so delicate, but honestly, they are easier than dropping a regular sugar cookie!
- You get those incredibly light and airy cookies you see everywhere.
- It uses the most common **French Meringue Cookies** method, so it’s reliable.
- They come out sturdy enough to store or gift!
Achieving Perfect Meringue Texture
We are aiming for that magical texture, you know? That crisp shell that just dissolves the second it hits your tongue, making the whole thing a lovely, melt in your mouth cookie experience. Because we are using the French method—just beating sugar into raw whites—it requires a little patience during whipping, but it’s very forgiving compared to Swiss or Italian techniques when it comes to temperature control. Just follow the slow sugar steps and you’ll have amazing crispy meringue treats.
Essential Ingredients for Fluffy Meringue Cookies
The list of things you need for these simply stunning meringue cookies is actually pretty short! That’s the beauty of it, but every single item has to be exactly right, or your whites won’t whip up into the clouds we need. Forget heavy cream or complicated syrups; we just need strong structure builders here. Knowing how to properly whip egg whites is half the battle, and great ingredients make the other half easy, much like when I make my vanilla buttercream frosting recipe.
Ingredient Specifications and Notes
First off up, those four large egg whites absolutely have to be at room temperature. I know it seems fussy, but it’s crucial because those **baking with egg whites** get so much fluffier and achieve way more volume when they aren’t ice-cold! For sweetness, we need a full cup, but please, use superfine granulated sugar—sometimes called caster sugar. If you don’t have it, blend regular white sugar in your food processor for just a few seconds; it helps it melt beautifully into the meringue.
How to Make Meringue Cookies: Step-by-Step Instructions
Alright, time to put these beautiful ingredients to work! While I have a full guide on how to make meringue, let me walk you through the most important parts of turning this batter into perfect meringue cookies right now. The entire process hinges on two things: total cleanliness and slow incorporation.
Preparing for Perfect Meringue Kisses Recipe
First things first: your oven needs to be ridiculously cool. Set it to the lowest temperature it can manage, usually around 200°F or 225°F. We aren’t baking these; we are drying them out! Next, grab your stand mixer bowl and whisk attachment. They must be surgically clean, I mean bone dry and completely grease-free. If there is even one smudge of butter or egg yolk in there, your egg whites will refuse to whip up into those magical stiff peaks for your meringue kisses recipe. Wipe the bowl down with a little vinegar or lemon juice just to be safe before you start!
Whipping to Stiff, Glossy Peaks
Start beating your room-temperature egg whites with the cream of tartar and salt until you see soft, foamy peaks forming—that’s when they barely hold a shape. Now comes the slow bit: drizzle in your superfine sugar one tablespoon at a time. Seriously, wait thirty seconds between each addition so the sugar has time to dissolve totally. Once all the sugar is in, crank the speed to high and beat until you have stiff, glossy peaks. You’ll know it’s ready when you lift the whisk and the peak stands straight up, and crucially, when you rub a tiny bit between your fingers, you feel absolutely no graininess. Give it that splash of vanilla right at the end.
Piping and Low-and-Slow Baking
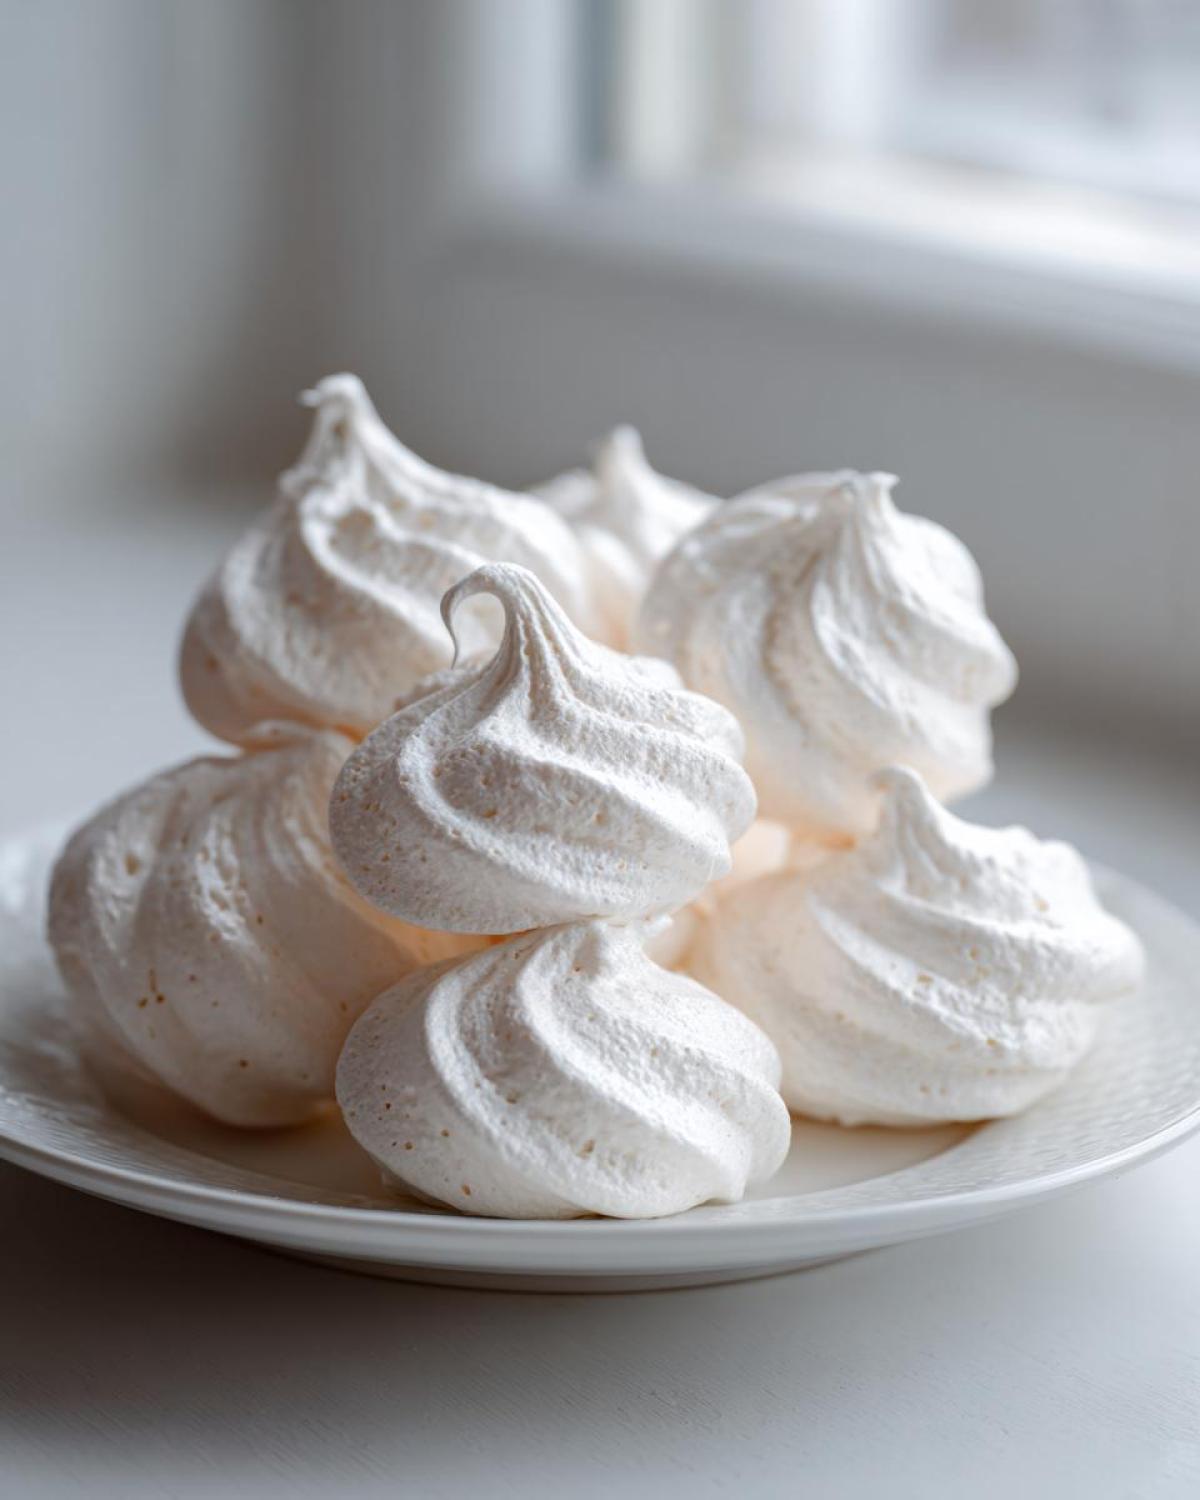
Here’s where you turn batter into actual meringue cookies! Spoon that glorious, stiff meringue into a piping bag fitted with a star tip—that gives you those classic little towers. Pipe little kisses onto parchment-lined sheets, giving them a little room to breathe. Then, pop them into that low oven for about an hour and a half. Remember, we are drying, not browning! Once that time is up, turn the oven off completely, prop the door open with a wooden spoon, and let them stay in there to finish drying for at least an hour. Letting them cool slowly inside prevents them from cracking!
Tips for Success with Your Delicate Sweet Treats
Handling these meringue cookies once they’re baked is almost as important as whipping them correctly! Look, they are delicate, and humidity is our arch-nemesis here. If your kitchen is super damp, you might need to bump that oven temperature up just a tiny bit, or add 15 minutes to the drying time. Above all, you mustn’t open the oven door during the baking phase!
The absolute most important thing for achieving that perfect meringue texture is the cooling process. When the baking time is up, turn the oven off, but do not take the cookies out! Prop the oven door open with a wooden spoon—just a crack—and leave them inside for at least an hour, or honestly, overnight if you can manage it. This slow transition stops them from suddenly hitting cooler air and cracking or, worse, weeping sticky sugar all over your counter. They come out so much drier and crisper this way!
Variations: Flavoring Your Meringue Cookie Recipe
Once you master the basic meringue cookie recipe, you can start making them fun for every holiday or occasion! We aren’t changing the structure here; we are just sneaking in some extra oomph. Since the meringue is so delicate once it gets those stiff peaks, the key to any variation is folding in your added flavor or color *very* gently right at the absolute end of the process. Don’t mix it aggressively, or you’ll deflate all that lovely air we worked so hard to build up!
Making Festive Meringue Kisses
Want something fun? If you’re making peppermint meringue cookies for Christmas, fold in about half a teaspoon of high-quality peppermint extract right after you turn off the mixer. If you saw the amazing pink ones floating around, that was probably Jello powder! For those bright, fun colors, I gently fold in about one tablespoon of Jello powder—vanilla or raspberry works great—just until streaks disappear. It adds a little extra tartness and color without ruining the texture of your lovely meringue kisses.
Storage and Making Ahead for Holiday Meringue Cookie Ideas
Okay, once your hard work is done and your meringue cookies are totally dry, storage is simple but important! Since these are basically pure sugar and egg white, they hate humidity. You want to keep them in a single layer in a good, sturdy, airtight container. Don’t try to stack them too high unless you put parchment paper between the layers—nobody wants crushed meringue cookies!
The best part is that you can absolutely make these ahead! They are fantastic for making early for homemade meringue gifts, sometimes surviving perfectly fine for a solid week if the weather is dry. Just keep them at cool room temperature, away from the stove or sunny windows. If you have a rainy day coming up, wait until the last minute to put them out!
Frequently Asked Questions About Simple Egg White Desserts
I get so many questions about troubleshooting these beautiful meringue cookies because they can be tricky! You’ve done all that work whipping them up, and the last thing you want is a failure. Here are some answers to the most common issues I hear about when people are trying to master these melt in your mouth cookies.
Why are my meringue cookies weeping or sticky?
Oh, the weeping! That’s sugar drawing moisture, and it has two main causes. First, humidity is the enemy—if it’s a rainy day, you need to bake and dry them longer. Second, they are often sticky because they didn’t dry out enough. You might have a low oven temp, but you absolutely must let them finish cooling inside the turned-off oven. If you pull them out too soon, that sudden temperature change causes them to collapse and get sticky.
Can I use regular granulated sugar instead of superfine sugar for meringue cookies?
You can, but it takes more time and effort! Superfine sugar dissolves like a dream because it’s already so fine. If you just have regular granulated sugar, you need to put it in a food processor and pulse it a few times—maybe 10 or 15 quick pulses—just to break down those bigger crystals. If you don’t, those big crystals won’t fully dissolve when you add them slowly, and you’ll end up with gritty, less stable meringue cookie recipes.
Are these meringue cookies naturally Gluten Free Meringues?
Yes, they absolutely are! Since these are just egg whites, sugar, and vanilla, the base recipe is naturally **gluten free meringues**. If you’re adding flavorings like Jello powder or extracts, just double-check those packaging labels, but generally speaking, if you are looking for **simple egg white desserts** that nobody with gluten sensitivities has to worry about, these are perfect! They are a dream to bake for everyone.
Nutritional Estimates for Vanilla Meringue Recipe
Now, I’ll be honest, I don’t usually count calories when I’m making something this light and delicate—I’m usually just thrilled they didn’t weep on me! But since these are such perfectly portioned little vanilla meringue cookies, here are the general estimates based on the recipe I just shared.
Please remember, this is just a helpful starting point, and it’s based on standard measurements for one cookie. Since these are mostly air and sugar, the numbers aren’t too shocking! For reference, one cookie is estimated to have about 45 calories and 11 grams of sugar.
Share Your Perfect Meringue Cookies
I truly hope you’ve conquered your fear of egg whites and these gorgeous meringue cookies turned out beautifully for you! If you loved how easy they were, please leave a rating below—it helps other bakers so much. I’d also love to see your creations! Tag me in your photos when you share your spectacular little meringue cookies online; I just adore seeing them!
PrintThe Ultimate Easy Meringue Cookies Recipe: Light, Crisp, and Perfect Every Time

Make light, airy meringue cookies that are crisp on the outside and melt in your mouth. This simple recipe uses the French meringue method, perfect for beginners.
- Prep Time: 20 min
- Cook Time: 90 min
- Total Time: 110 min
- Yield: About 3 dozen
- Category: Dessert
- Method: Baking
- Cuisine: American
- Diet: Gluten Free
Ingredients
- 4 large egg whites, room temperature
- 1 cup superfine granulated sugar (caster sugar)
- 1 teaspoon pure vanilla extract
- 1/4 teaspoon cream of tartar
- Pinch of salt
Instructions
- Preheat your oven to the lowest setting, typically between 200°F and 225°F (95°C to 105°C). Line two large baking sheets with parchment paper.
- In a very clean, grease-free bowl of a stand mixer fitted with the whisk attachment, combine the egg whites, cream of tartar, and salt.
- Beat the egg whites on medium speed until soft peaks form. This takes about 3 to 5 minutes.
- Slowly add the superfine sugar, one tablespoon at a time, while the mixer runs on medium-high speed. Wait about 30 seconds between each addition.
- Once all the sugar is added, increase the speed to high and beat until stiff, glossy peaks form. The meringue should hold its shape firmly when the whisk is lifted, and you should not feel any sugar granules when you rub a small amount between your fingers.
- Beat in the vanilla extract for the last 30 seconds.
- Transfer the meringue to a large piping bag fitted with your desired tip (a star tip works well for kisses).
- Pipe small mounds or kisses onto the prepared baking sheets, leaving about 1 inch between each cookie.
- Bake for 60 to 90 minutes, depending on the size of your cookies and your oven temperature. The goal is to dry them out, not brown them.
- Turn off the oven, prop the door open slightly with a wooden spoon, and let the cookies cool completely inside the oven for at least 1 hour, or preferably overnight. This helps them dry fully and prevents cracking.
- Store cooled cookies in an airtight container at room temperature.
Notes
- Ensure your mixing bowl and whisk attachment are completely free of any grease or egg yolk; fat prevents the egg whites from whipping properly.
- Use superfine sugar if possible, as it dissolves more easily into the egg whites. If you only have regular granulated sugar, pulse it briefly in a food processor first.
- For a crisp exterior and soft interior, keep the oven temperature low and the baking time long.
- If you want to add color or flavor, gently fold in 1 tablespoon of Jello powder or 1/2 teaspoon of peppermint extract right before the final stiff peak stage.
Nutrition
- Serving Size: 1 cookie
- Calories: 45
- Sugar: 11
- Sodium: 5
- Fat: 0
- Saturated Fat: 0
- Unsaturated Fat: 0
- Trans Fat: 0
- Carbohydrates: 11
- Fiber: 0
- Protein: 0.5
- Cholesterol: 0