

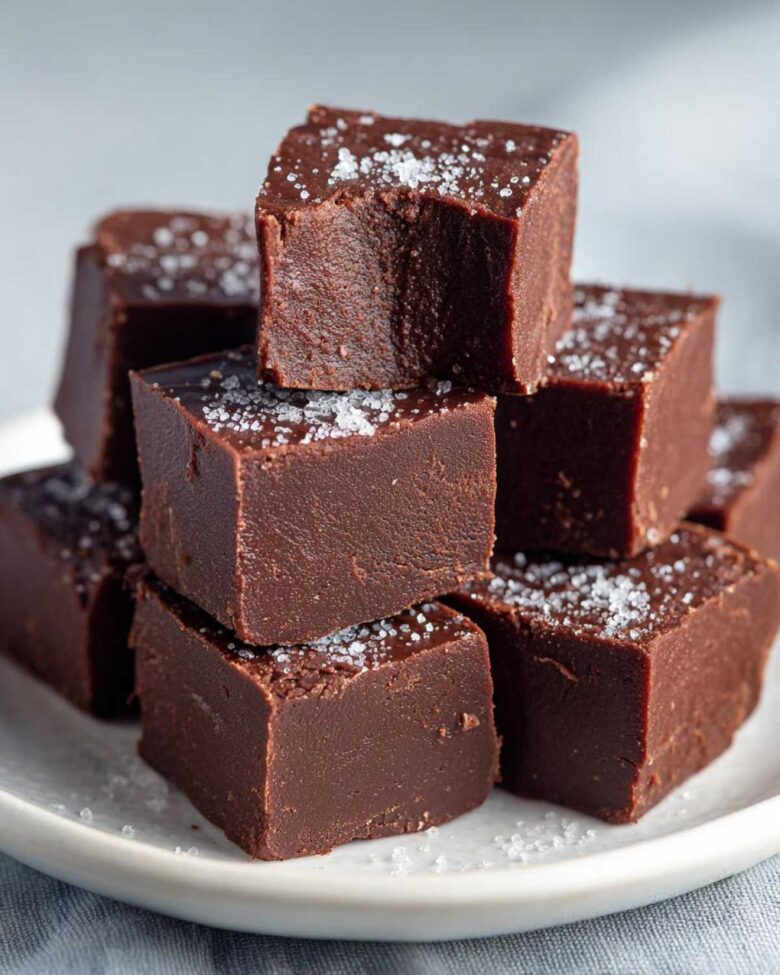
Forget everything you think you know about candy making. Seriously. I used to think making real, creamy fudge was some dark art. It needed constant stirring. It needed precise candy thermometers.
Then Jacob came along. He’s the artist in our kitchen. My planning needed a sweet payoff. So, we perfected this ultimate foolproof 3-ingredient chocolate fudge. It’s unbelievably easy.
This recipe is one of our favorite additions to the Taste Portfolio. It’s pure, dense chocolate joy. Jacob cracked the code for quick results. Now, this simple fudge works every time for me.
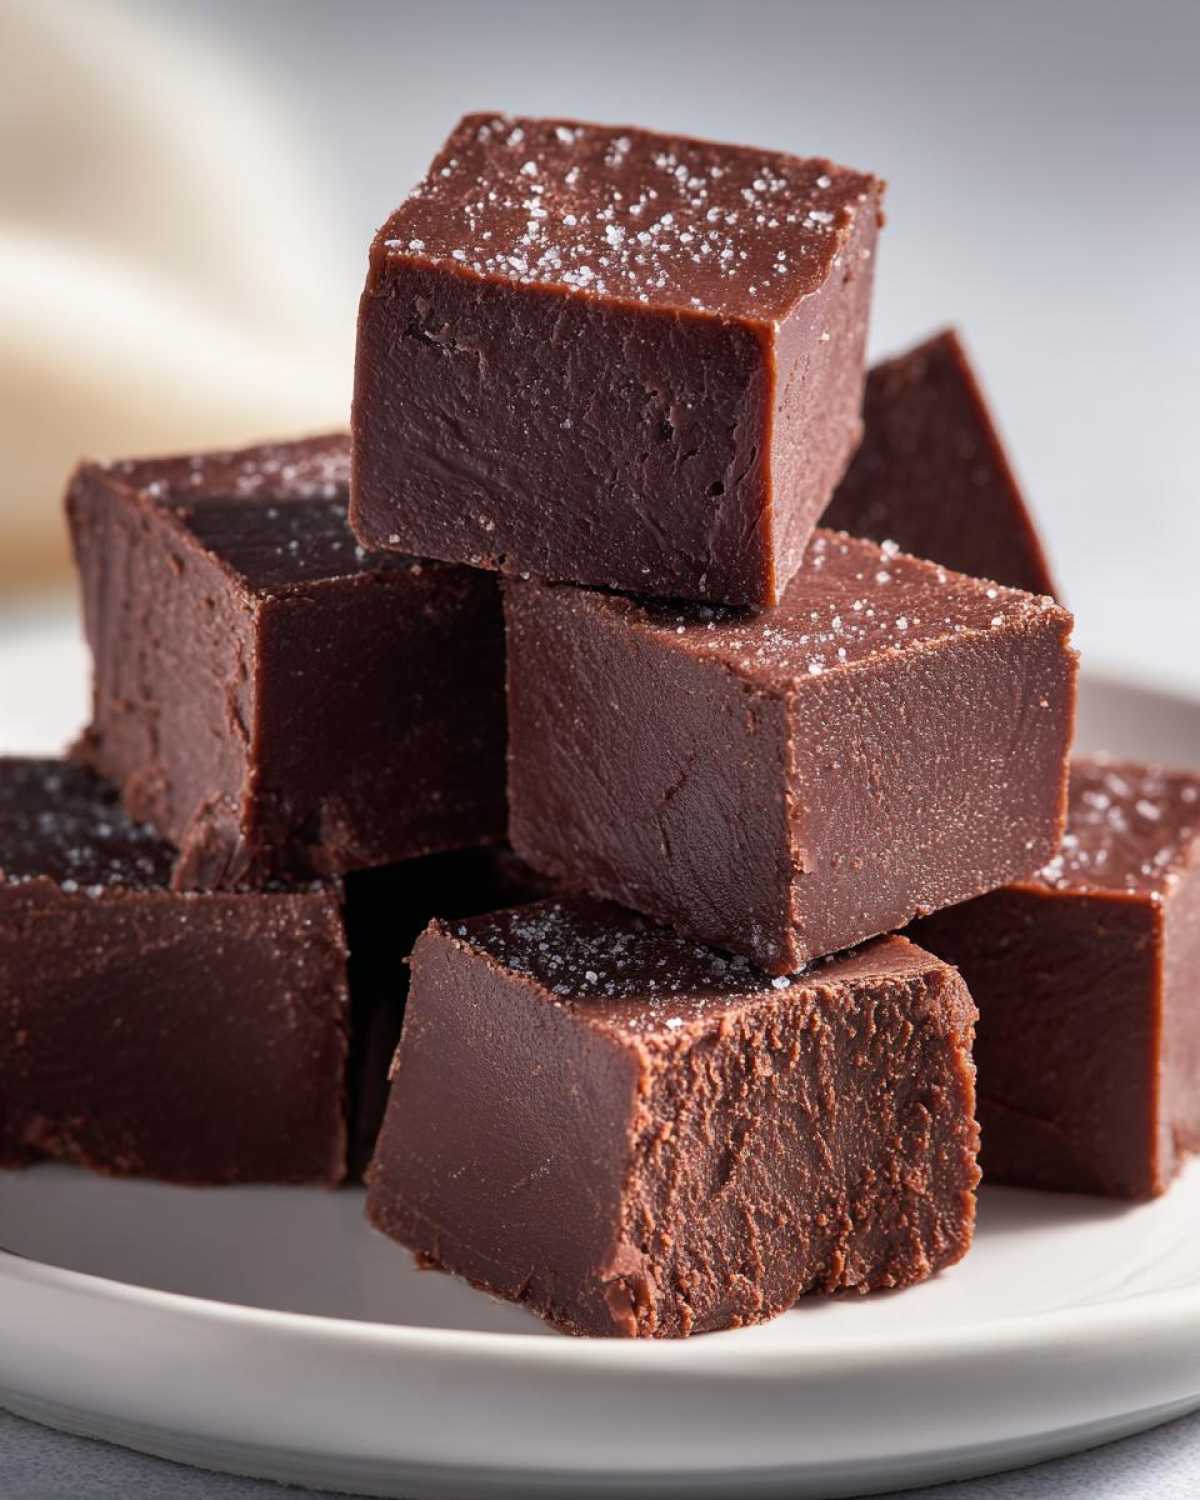
Why This Chocolate Fudge Recipe Belongs In Your Portfolio
You need reliable recipes. We get that. This particular fudge is a kitchen superstar. It earns its spot in your collection easily. It checks every box for quick dessert success. We chose it for its proven track record.
Here is why this recipe is a keeper:
- It requires almost no active cooking time.
- It uses just three basic ingredients.
- It delivers perfect results consistently.
This is the easiest, most satisfying fudge you will ever make.
Speed and Simplicity of This Fudge
Prep time clocks in at only five minutes. You cook it for two minutes total. That is fast food territory, right? You just mix and microwave. There is no complicated tempering involved at all. It is truly beginner-friendly cooking.
Texture You Can Trust
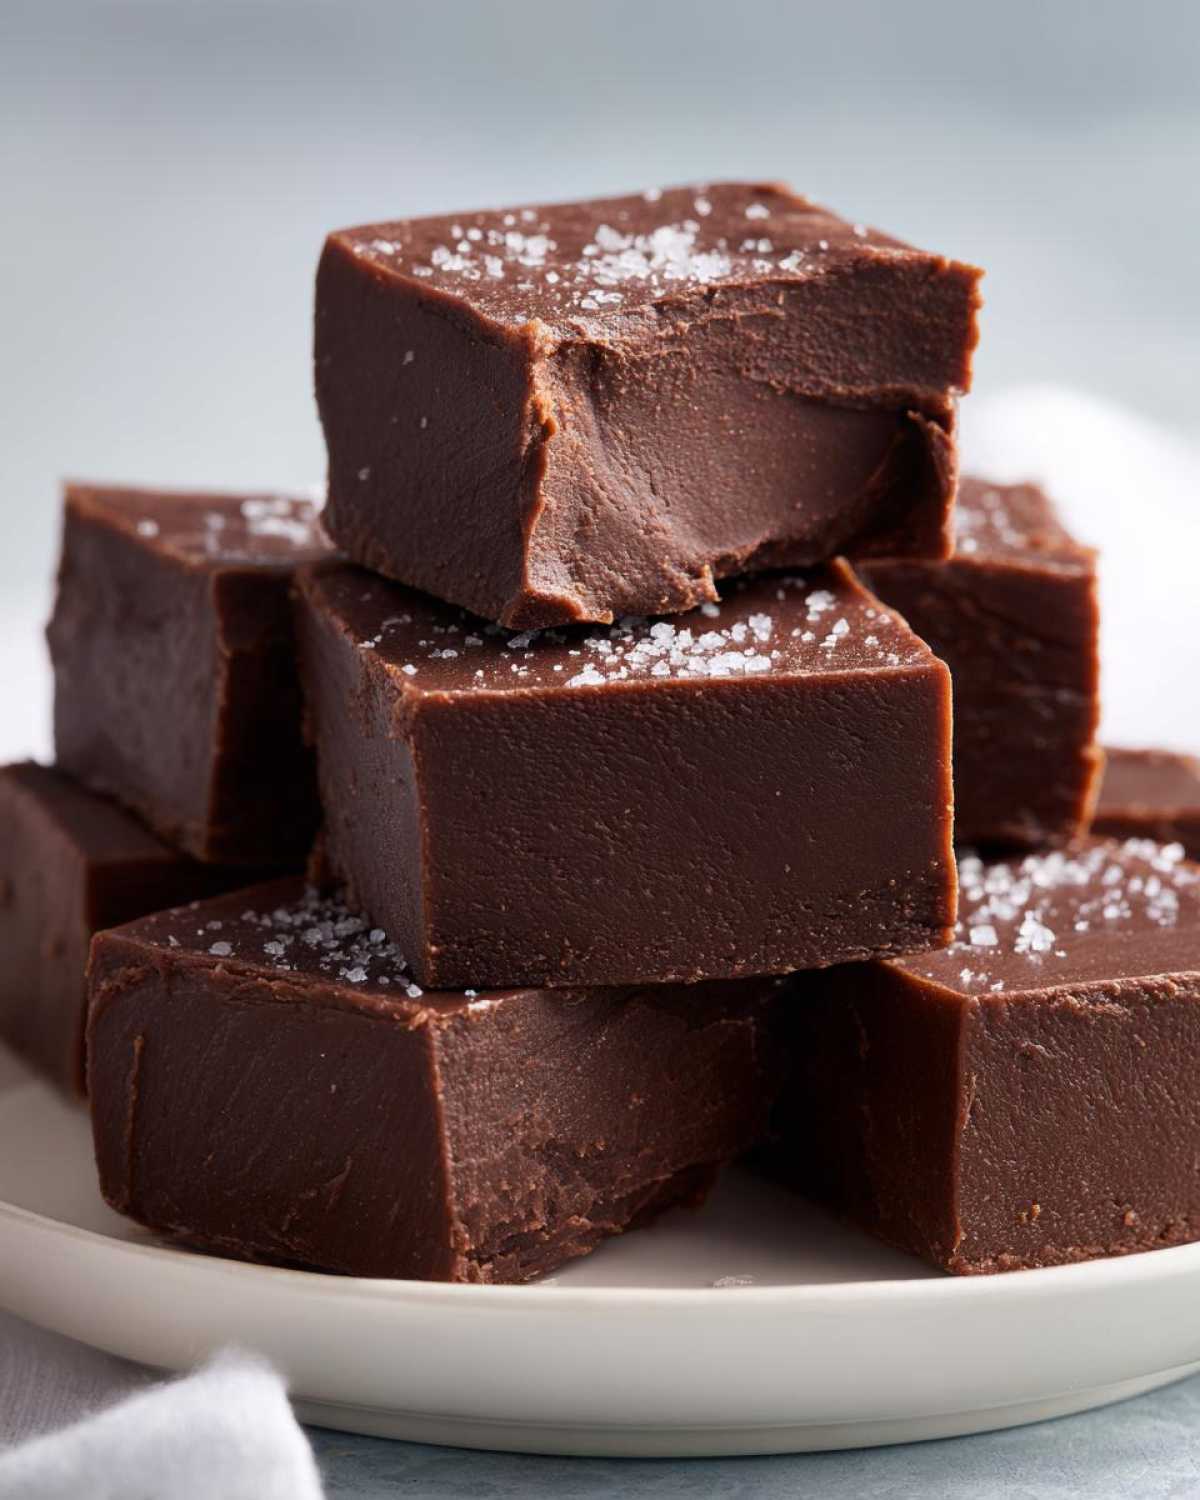
This isn’t grainy candy, trust me. We aimed for that rich, classic mouthfeel. The texture is wonderfully creamy and smooth. It mimics old-fashioned American fudge perfectly. You get that dense, melt-in-your-mouth experience.
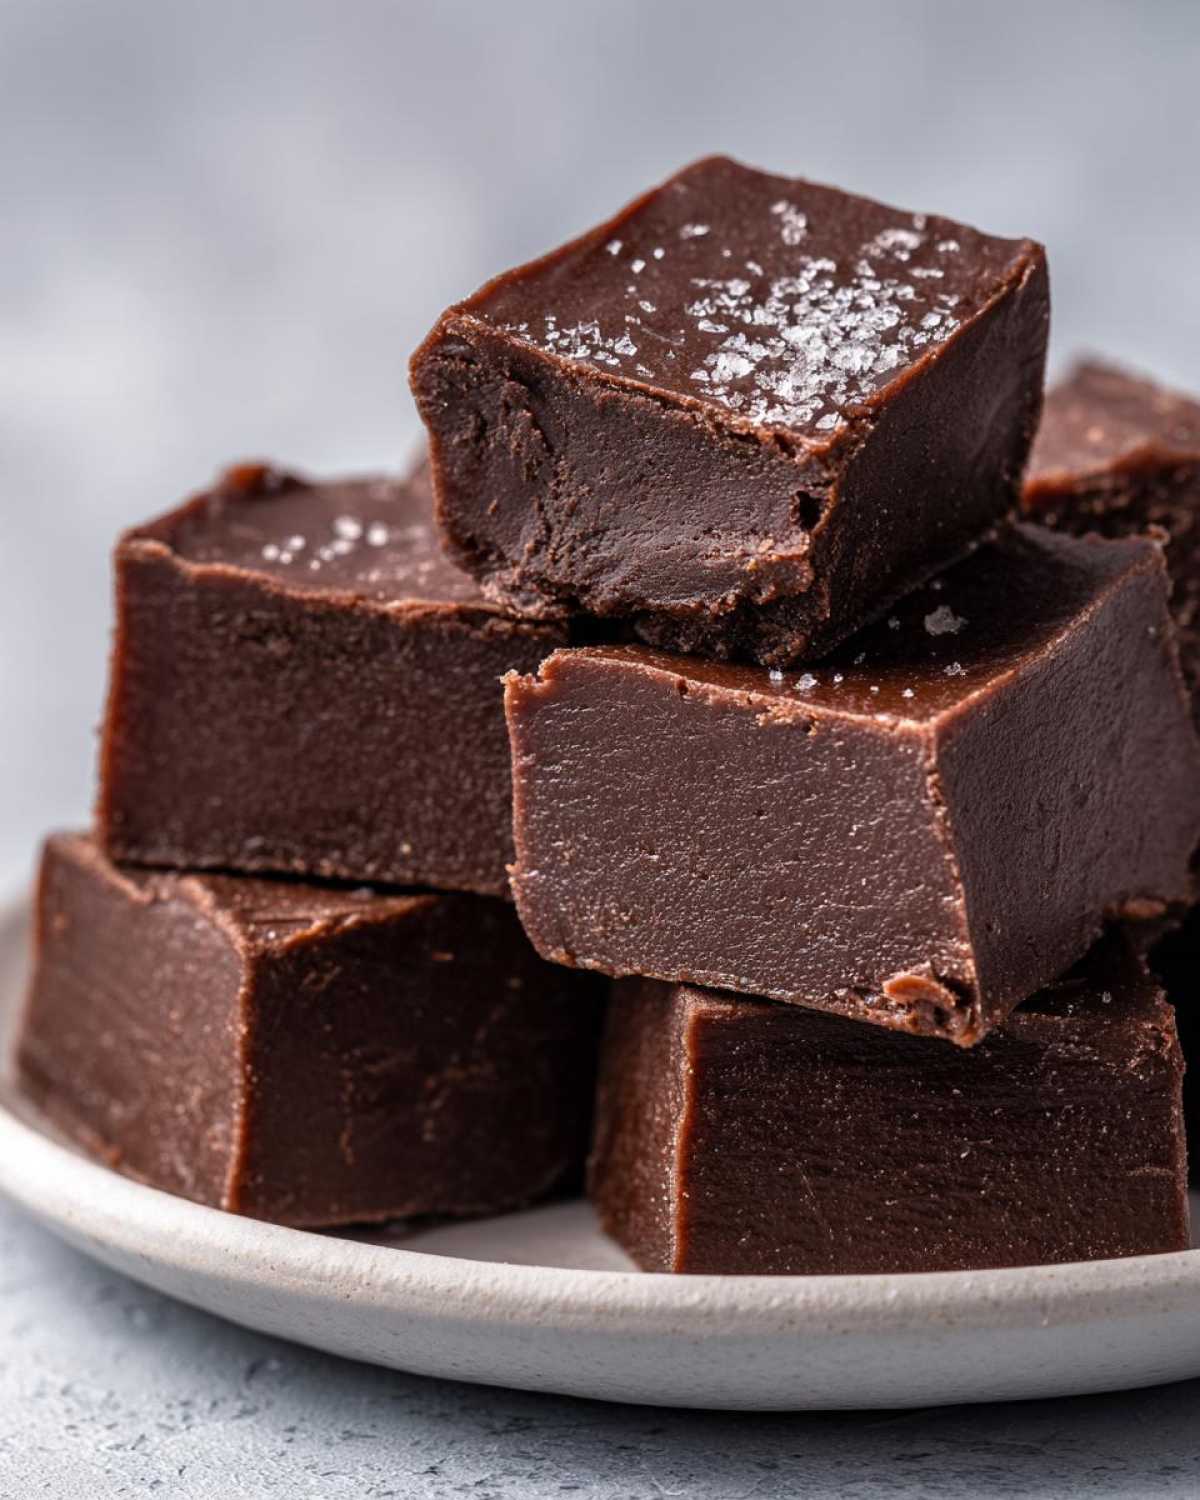
Equipment List for Perfect Fudge
Even the easiest recipes need the right tools. Jacob always says preparation prevents poor performance. For this simple microwave fudge, you don’t need much gear. Keep your setup minimal for success.
Gather these items before you start melting anything:
- One 8×8 inch baking pan.
- Parchment paper. Make sure you have extra!
- A large, microwave-safe mixing bowl.
- A sturdy rubber spatula for stirring.
- A sharp knife for cutting squares later.
That parchment paper overhang is your best friend later. It helps lift the whole block out. Trust me on that little detail.
Ingredients for Easy Fudge
Gathering your supplies is simple here. We only need three core items for this delicious fudge. Quality matters slightly though. Use chocolate chips you actually like eating.
- One (14 ounce) can sweetened condensed milk. Keep it unopened for now.
- Two cups semi-sweet chocolate chips. Measure these after scooping them.
- One teaspoon pure vanilla extract. This boosts the chocolate flavor nicely.
That’s the whole list. Amazing, right?
Ingredient Notes and Substitutions for Your Fudge
Jacob always tweaks things slightly. You can too, within reason. We found one great swap for variety.
For a peanut butter swirl, try this switch. Replace one cup of the chocolate chips. Use one cup of creamy peanut butter instead. Stir it in with the chocolate.
Do you prefer a super thick batch? Use a smaller pan. A 7×7 inch pan works great. This gives you taller squares of creamy fudge. Remember that thicker means longer chilling time.
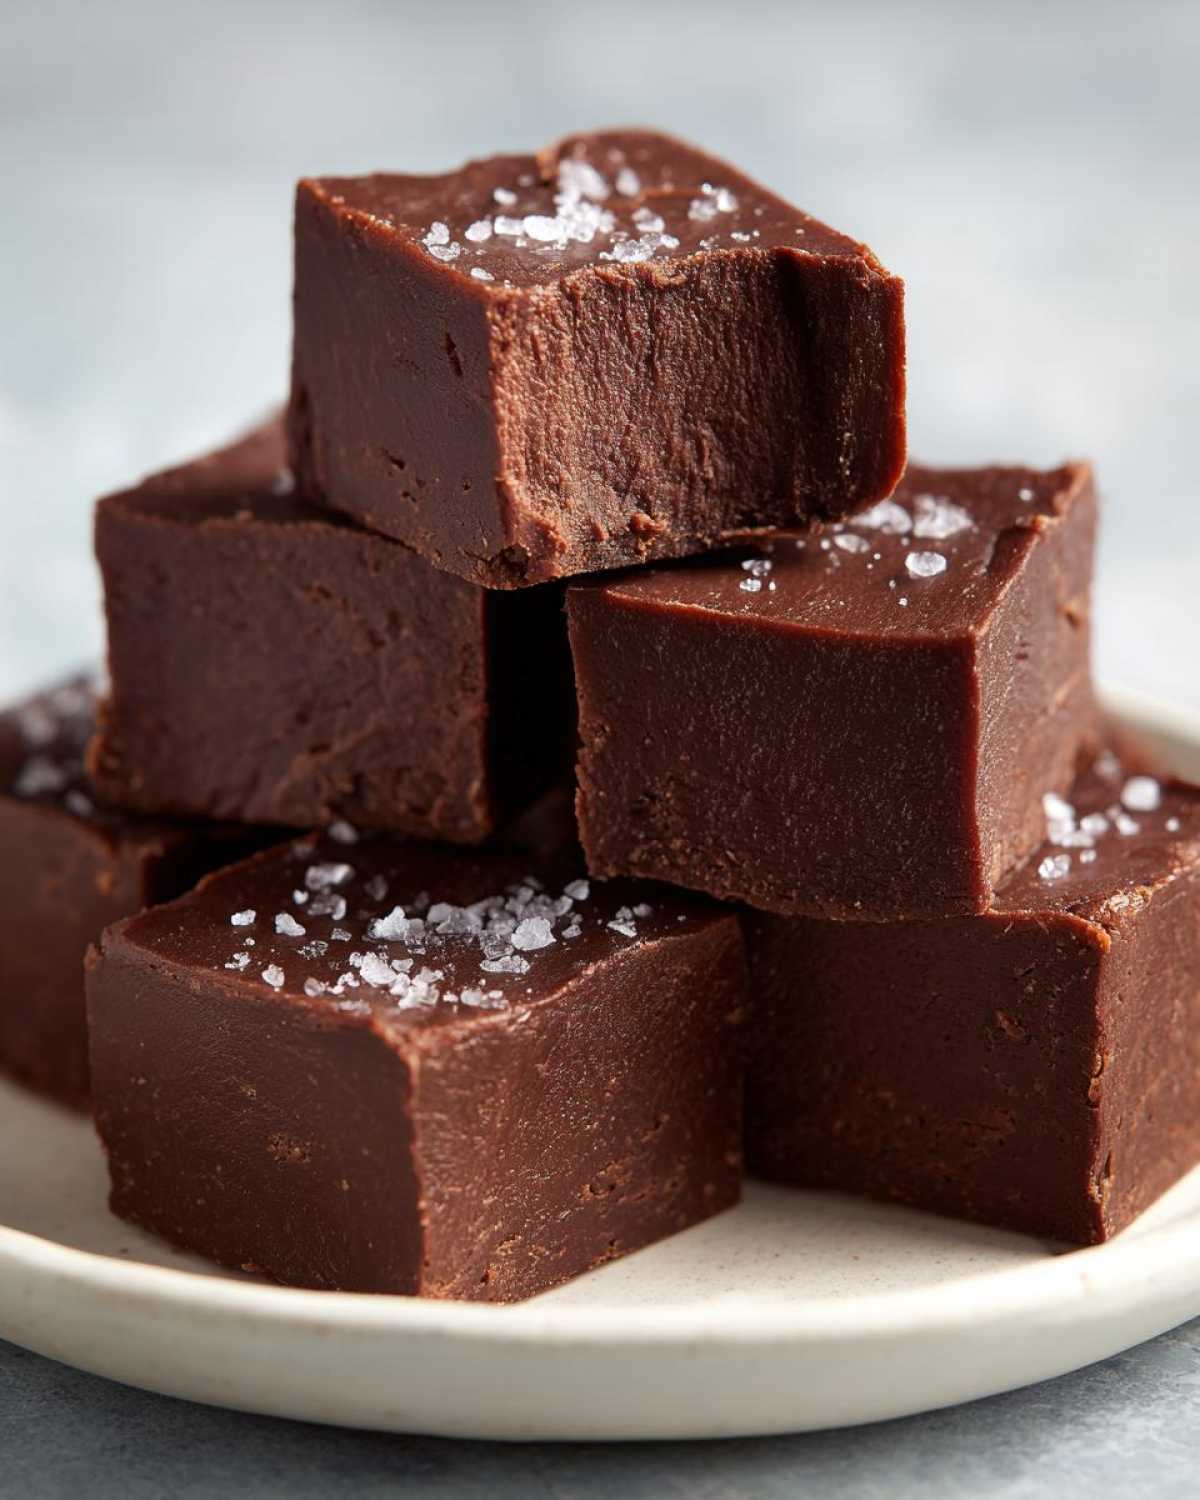
Step-by-Step Instructions for Microwave Fudge
Time to transform these simple ingredients. Jacob manages the timing perfectly. Follow these steps closely. We are aiming for that perfect no-fail texture.
Preparing the Pan and Melting the Fudge Base
First, line your 8×8 inch pan with parchment paper. Make sure the paper hangs over the sides. This overhang is your handle later. It lets you lift the whole thing out easily.
Next, put the condensed milk and chocolate chips into your bowl. Don’t mix yet. Place the bowl in the microwave. Heat it on high power. Use short bursts. Thirty seconds is the magic number here.
Stir very well after every thirty-second burst. This prevents scorching the bottom layer. Keep microwaving and stirring. It usually takes about ninety seconds to two minutes total. Stop when it looks mostly smooth.
Finishing and Setting Your Creamy Fudge
As soon as it’s smooth, pull the bowl out. Stir in the vanilla extract quickly. Mix it in fast until everything blends. This is the final step before setting your delicious fudge.
Pour the warm mixture into your prepared pan. Use your spatula to spread it evenly across the bottom. Make the top look nice and flat.
Now, it needs rest. Place the pan in the refrigerator. Let it chill for at least two hours. Don’t rush this part, please. Once it’s totally firm, use the parchment overhang. Lift it out gently. Cut your homemade fudge into small squares. Enjoy your creation!
Tips for Making the Best Fudge
Even with an easy recipe, small details matter a lot. I learned this the hard way initially. Scorching the chocolate is the biggest pitfall here. Watch that microwave closely always. Never skip stirring between bursts.
When melting, stop heating just before it looks perfectly smooth. The residual heat finishes the job. This keeps your fudge from getting too hot. Too much heat ruins that creamy texture we want in homemade fudge.
Be quick when adding the vanilla extract. You want it incorporated fast. Then, spread the mixture right away. A flat surface chills more evenly. Patience during the chilling stage pays off big time.
If your fudge seems too soft later, just chill it longer. A little extra time builds firmness. This simple chocolate fudge always sets up beautifully.
Variations on This Classic Fudge
Once you master the base, the sky is the limit. This simple fudge is a fantastic canvas. Think of it like a blank slate for your taste buds. We love keeping it pure chocolate, though.
Want a different flavor profile? Try adding extracts. A half teaspoon of peppermint extract is great. That makes a lovely holiday fudge. Orange extract also pairs wonderfully with dark chocolate.
You can stir in mix-ins too. Fold in one cup of mini marshmallows last. This gives you a marshmallow swirl fudge effect. Chopped nuts work well for crunch. Or try swirling in some caramel sauce. Always keep the base recipe the same. This ensures your creamy fudge texture remains perfect.
Serving Suggestions for Homemade Fudge
You’ve made beautiful, perfect fudge. Now what do you do with it? Serving this rich treat is almost as fun as making it. Keep the presentation simple. The flavor does all the heavy lifting here.
This dense chocolate is wonderful all by itself. Serve small squares on a simple white platter. It looks elegant immediately. It pairs beautifully with a hot cup of coffee. The bitterness cuts the sweetness nicely.
Consider serving it after dinner. It’s a rich, satisfying finish. A small bowl of fresh raspberries is a great side. The tartness offers a lovely contrast. You can also add it to a dessert board. Mix it with pretzels or dried fruit. This creamy fudge is truly versatile.
Storing and Reheating Your Fudge
Putting this amazing fudge away is the hardest part. I know you want to eat it all now. Luckily, this recipe stores very well. Proper storage keeps it tasting fresh for weeks.
Keep your cut squares in an airtight container. This is crucial for freshness. Room temperature works fine for short term. It lasts about one week on the counter. Keep it somewhere cool, away from sunlight.
For longer storage, use the fridge. The refrigerator extends its life significantly. It stays great for up to three weeks there. Storing it cold makes it firmer, remember that.
Do you like it firm or soft? That dictates serving temperature. Serve it straight from the fridge for a very firm bite. If you prefer it softer, let it sit out. Allow it to warm up for ten minutes first. This slight softening enhances the creamy texture. Never try to microwave your pieces to reheat them. That will just make a melted mess.
Frequently Asked Questions About Making Fudge
I know you might have some lingering questions. Planning means anticipating problems first. Jacob just wing it, which is sometimes stressful for me! Ask away about your easy fudge worries.
Here are a few things we hear often about this recipe.
Can I Make This Fudge Without a Microwave?
Yes, you absolutely can make this fudge. Use a double boiler method instead. Place your bowl over simmering water. Stir constantly until smooth. Be careful not to let steam touch the chocolate. The microwave is faster, though. This recipe shines with speed.
How Do I Know When My Fudge is Perfectly Smooth?
This is where Jacob’s eye helps my planning! Look for uniformity. There should be no visible streaks of unmelted chocolate chips left. The mixture should look glossy and homogenous. If you see tiny lumps, keep heating briefly. Stirring really helps reveal any hidden solid bits. You want a completely fluid base for creamy fudge.
If it looks dull or grainy, you might have overheated it slightly. Next time, use shorter bursts. This simple chocolate fudge is very forgiving, though. Don’t stress too much!
Nutritional Estimate for This Fudge
We always look at the numbers too. Knowing what you’re eating helps planning. These figures are estimates only. They rely on standard grocery store ingredients.
We calculated this based on thirty-six small squares. Serving size is one piece of this delicious fudge.
- Calories: About 120 per serving.
- Total Fat: 6 grams total fat.
- Carbohydrates: Roughly 16 grams here.
- Protein: A small boost, around 2 grams.
- Sugar Content: This is where the sweetness comes in. Expect about 16 grams.
This is a rich treat, not a health food staple. Enjoy it mindfully. It’s a perfect project completion reward.
Share Your Fudge Masterpiece
Now it’s your turn to cook! You’ve followed the plan perfectly. We hope you loved making this easy fudge. If you are looking for other quick dessert ideas, check out our latest blog posts.
Did this recipe make it into your personal portfolio? We really want to know. Rate this recipe below for us. Tell us how it turned out for you.
Share your photos online. Tag us in your creations. Seeing your success brings us so much joy. We love seeing our projects come to life in your kitchens!
PrintAmazing 3-Ingredient Fudge: 90-Second Treat
You will make the ultimate foolproof chocolate fudge using only three simple ingredients. This recipe delivers a classic, creamy texture that is perfect for beginners and holiday gifts. Jacob perfected this method for Amelia’s structured planning.
- Prep Time: 5 minutes
- Cook Time: 2 minutes
- Total Time: 2 hours 7 minutes
- Yield: About 36 small squares
- Category: Dessert
- Method: Microwave
- Cuisine: American
- Diet: Vegetarian
Ingredients
- 1 (14 ounce) can sweetened condensed milk
- 2 cups semi-sweet chocolate chips
- 1 teaspoon vanilla extract
Instructions
- Line an 8×8 inch pan with parchment paper, leaving an overhang for easy removal.
- Combine the sweetened condensed milk and chocolate chips in a microwave-safe bowl.
- Microwave on high in 30-second intervals, stirring well after each interval, until the mixture is completely smooth. This usually takes about 1.5 to 2 minutes total.
- Remove from the microwave and stir in the vanilla extract quickly.
- Pour the fudge mixture into the prepared pan. Spread evenly.
- Refrigerate for at least 2 hours, or until firm.
- Lift the fudge out using the parchment paper overhang. Cut into small squares before serving.
Notes
- For a peanut butter variation, substitute 1 cup of the chocolate chips with 1 cup of creamy peanut butter.
- If you prefer a thicker fudge, use a 7×7 inch pan.
- Ensure you stir thoroughly after each microwave burst to prevent scorching.
Nutrition
- Serving Size: 1 square
- Calories: 120
- Sugar: 16g
- Sodium: 35mg
- Fat: 6g
- Saturated Fat: 3.5g
- Unsaturated Fat: 2.5g
- Trans Fat: 0g
- Carbohydrates: 16g
- Fiber: 0.5g
- Protein: 2g
- Cholesterol: 10mg