


The Ultimate Chewy Peppermint Chocolate Chip Cookies: Your New Holiday Favorite
Are you ready for the most amazing winter treat?
We’re diving deep into our peppermint chocolate chip cookies recipe today.
This version is pure magic, my friends.
It delivers that perfect chewy center we crave.
Plus, you get a bright, cool peppermint blast.
This one took us three tries to perfect, honestly.
I had the perfect blueprint, of course.
Jacob kept tweaking the sugar ratio until it was just right.
It’s the collaboration that makes these cookies shine.
We tested different chocolate melts extensively.
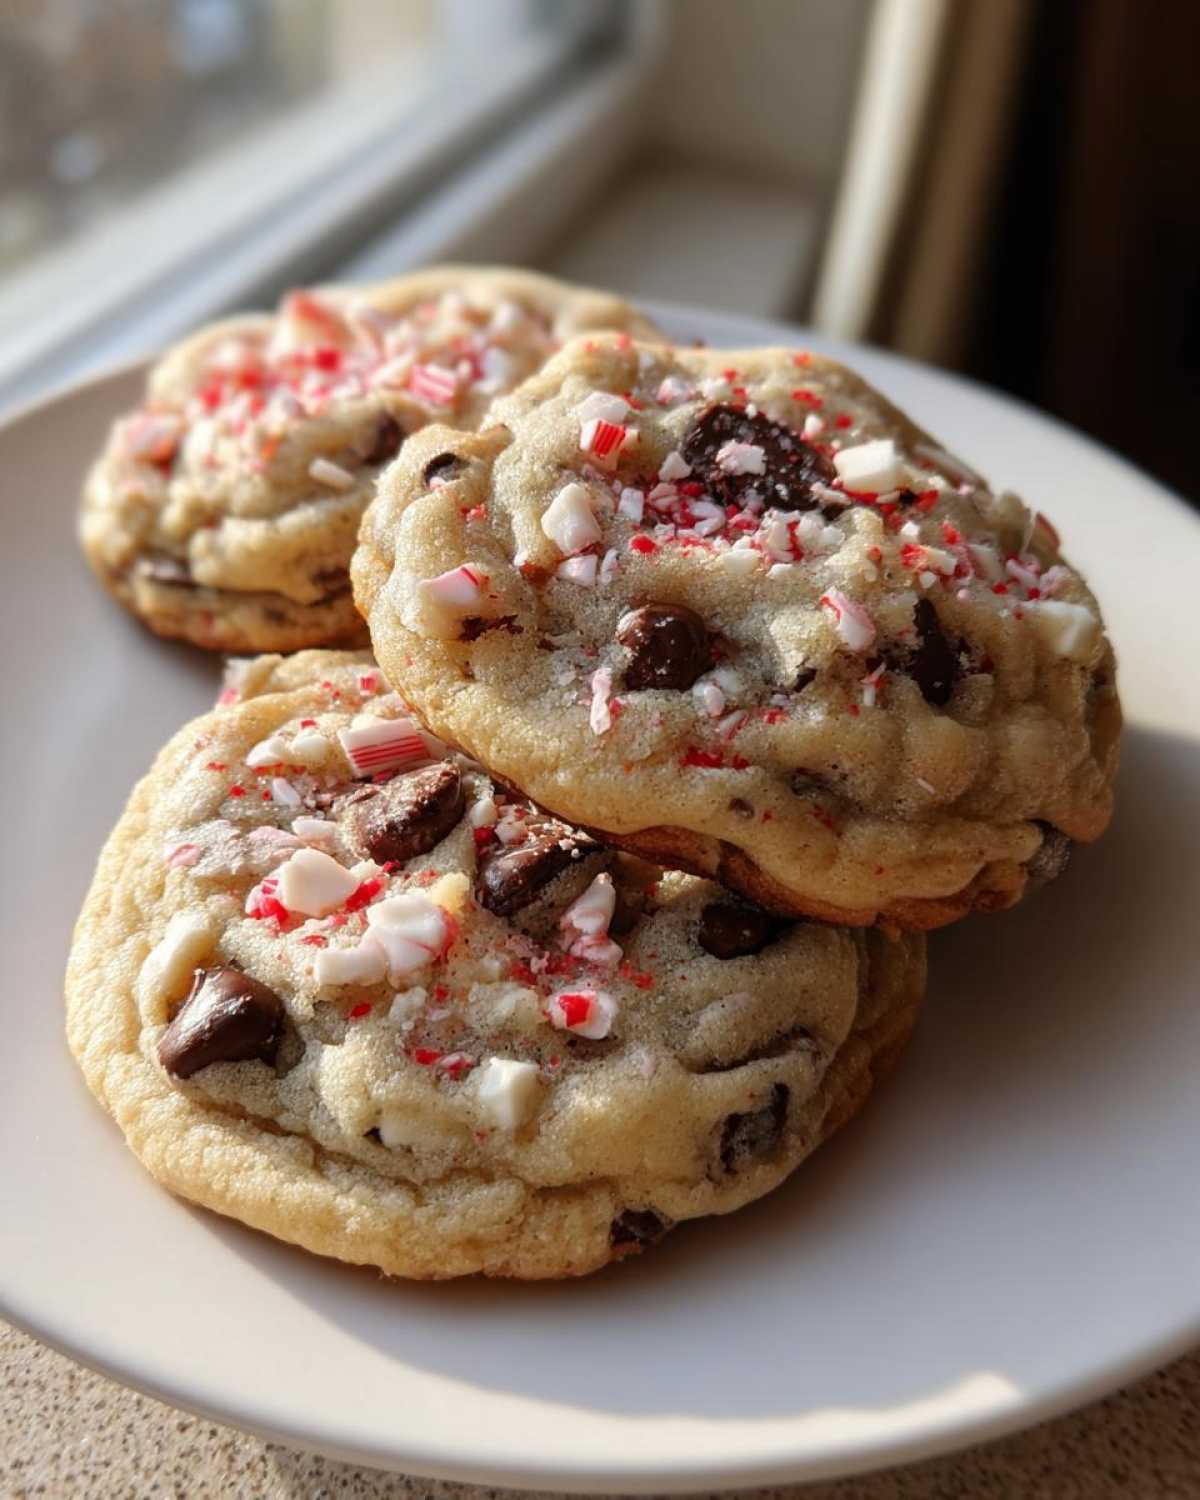
Why This Peppermint Chocolate Chip Cookies Recipe Works
Texture is everything to us here.
We aim for a cookie that sets up crisp on the edge.
The inside must remain soft and slightly gooey.
That balance separates a good cookie from a great one.
The peppermint extract must sing, not shout.
We found the right amount to keep it refreshing.
It complements the rich chocolate beautifully.
We know this formula works every time we bake.
Gather Your Tools for Perfect Peppermint Chocolate Chip Cookies
You don’t need fancy gear for these.
Just a few kitchen staples will do the trick.
Make sure your tools are ready to go.
Here is what you’ll need for success:
- A good stand mixer or hand mixer.
- Two large mixing bowls for dry and wet items.
- A rubber spatula for folding everything in.
- Baking sheets—two are best for rotation.
- Parchment paper saves so much cleanup time.
- A cookie scoop helps keep them uniform.
Essential Ingredients for Perfect Peppermint Chocolate Chip Cookies
Getting the right ingredients matters so much.
Quality components make these peppermint chocolate chip cookies truly special.
It’s where the flavor magic begins, truly.
We don’t compromise on the basics here.
Good butter makes a huge difference in texture.
The right balance of sugars creates chewiness.
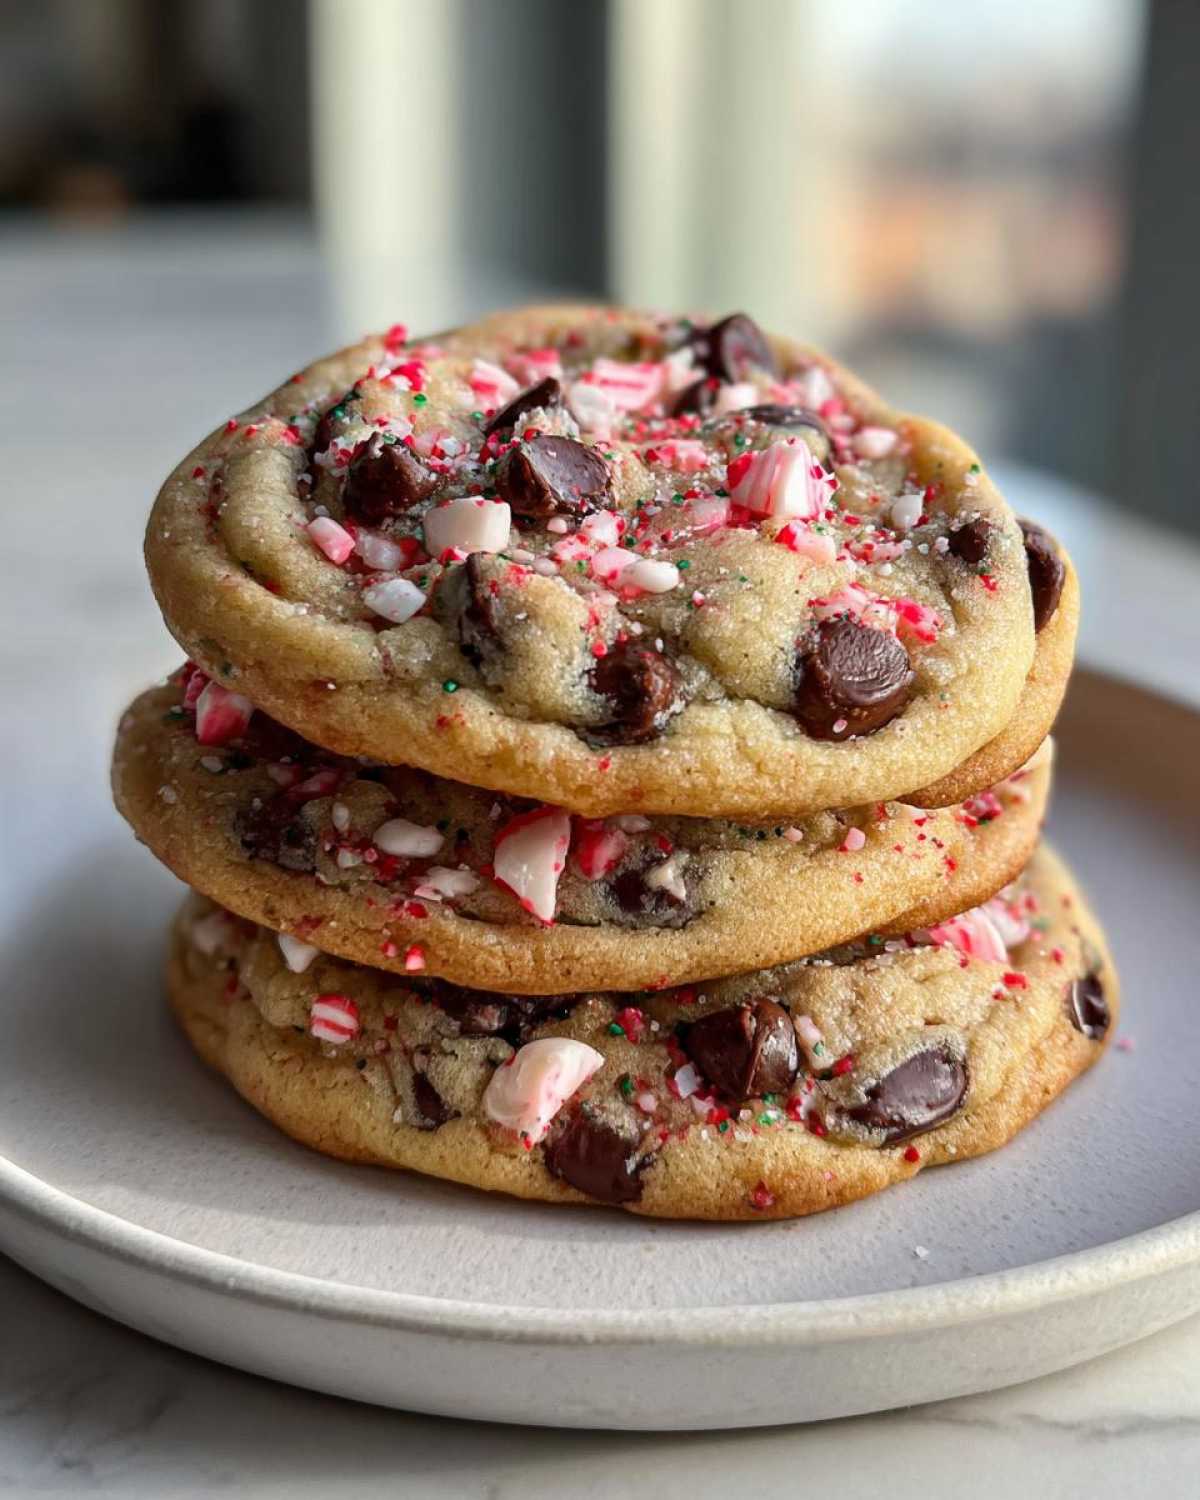
Ingredient Breakdown and Preparation Notes
Pay close attention to the butter’s state.
It needs to be perfectly softened, not melted.
Brown sugar must be firmly packed in your cup.
We use both vanilla and peppermint extracts.
Don’t skip the salt; it boosts the sweetness.
For the candy canes, split them into two parts.
- Half mixes right into the dough for flavor pockets.
- The other half waits for the topping sprinkle.
This two-step approach gives the best look.
Step-by-Step Instructions for Your Peppermint Chocolate Chip Cookies
Now for the fun part, assembling our amazing peppermint chocolate chip cookies.
Follow these steps closely for guaranteed success.
We need about 350 degrees Fahrenheit for the oven.
Line those baking sheets with parchment paper first.
This prevents sticking, which is always a win.
Get ready to mix up this wonderful dough.
Creaming Butter and Sugars
Start by creaming your softened butter.
Add both the white and brown sugars in there.
Mix them well until the texture is light and fluffy.
This step traps air inside the dough.
Proper aeration helps the cookies spread just right.
It creates that lovely crisp edge we want.
Next, beat in your eggs one at a time.
Then add both the vanilla and peppermint extracts.
Mixing Wet and Dry Components
In a separate bowl, whisk your dry items.
Flour, baking soda, and salt go together well.
Slowly add the dry mix to the wet ingredients now.
Mix only until you see everything just combined.
Overmixing develops tough gluten strands.
We want tender, soft cookies, remember that.
Gently fold in your chocolate chips.
Also, add that first half-cup of candy canes now.
Chilling Dough for Better Peppermint Chocolate Chip Cookies
Here is a crucial step for chewiness, my friends.
If you have the time, chill the dough now.
Even 30 minutes in the fridge helps a lot.
Chilled dough spreads less in the heat.
This concentrates the flavor too, I think.
Scoop rounded tablespoons onto your prepared sheets.
Leave about two inches between each dough ball.
Bake for 9 to 11 minutes exactly.
The edges should look barely golden brown.
The centers must still look a bit underdone.
That slight underbaking makes them gooey later.
Remove them and immediately top with the rest of the crushed candy.
Let them sit on the hot pan for five minutes.
Then move them gently to a cooling rack.
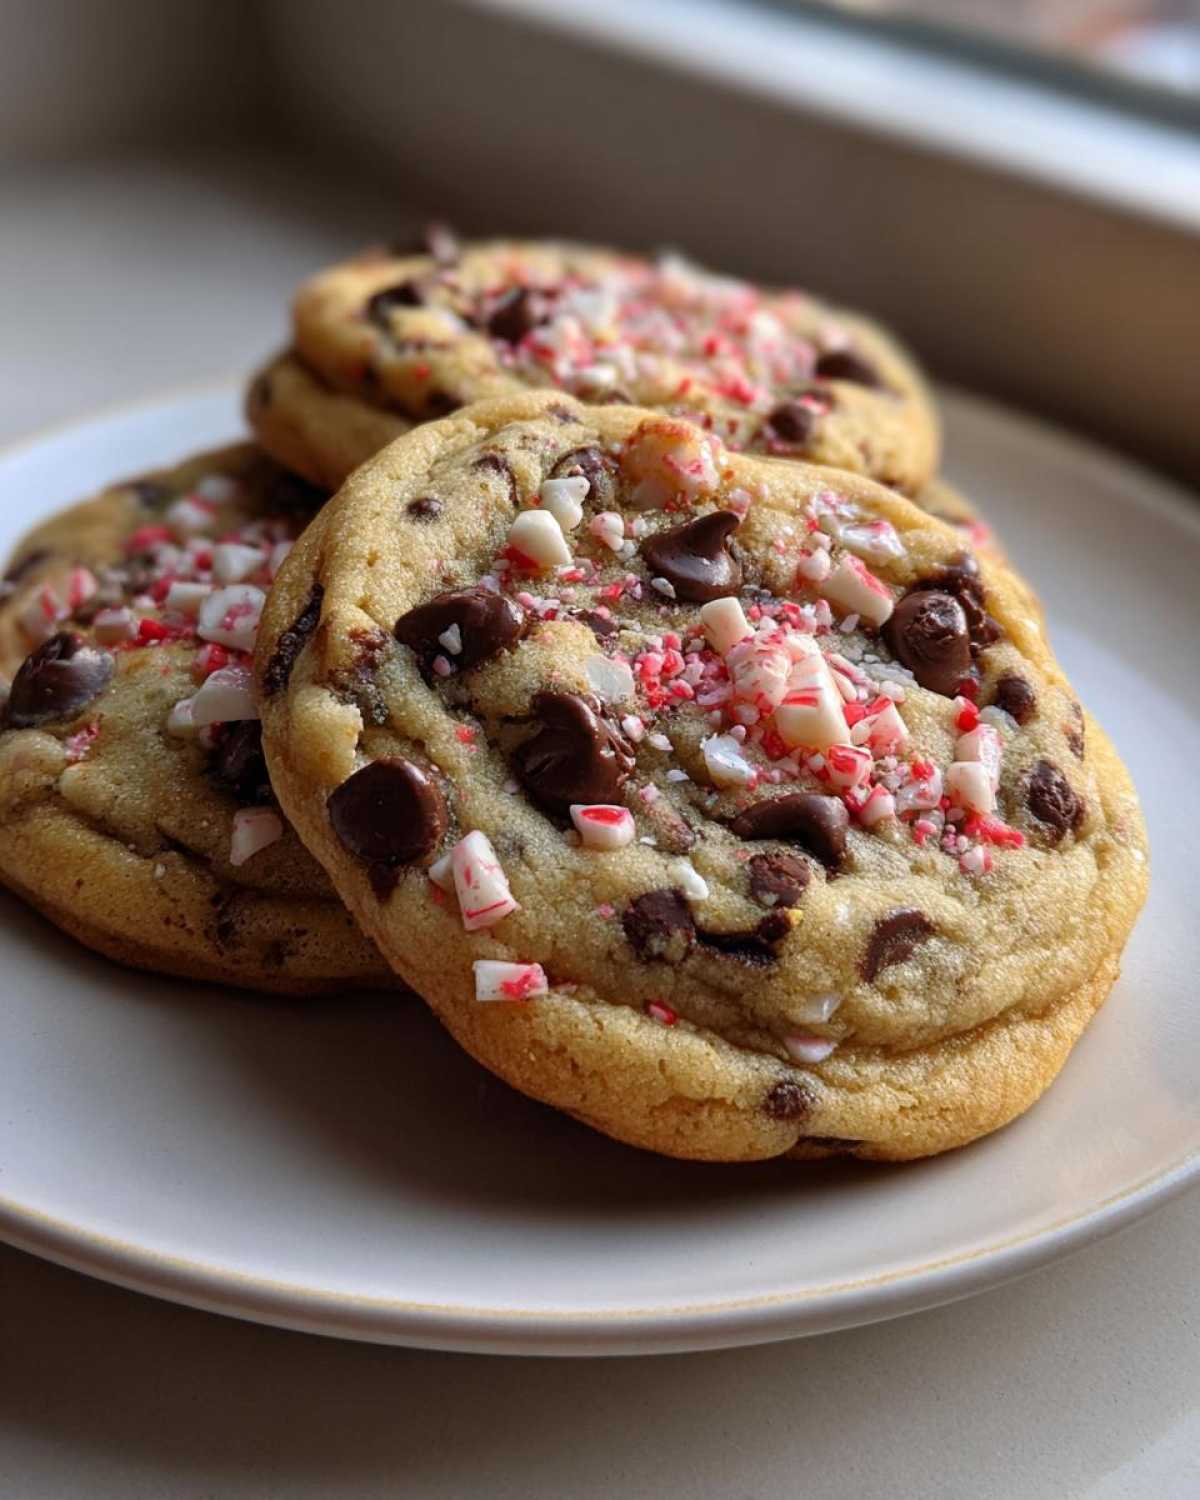
Tips for Success with Peppermint Chocolate Chip Cookies
Baking is sometimes about knowing the little secrets.
These few pointers will elevate your peppermint chocolate chip cookies.
We learned these through trial and, well, tasty error.
Follow these small details for big flavor results.
You want that holiday magic in every bite.
Don’t rush the cooling process either, trust me.
Achieving That Signature Chewy Center
The timing for pulling these out is key.
You are aiming for cookies that look slightly naked.
The edges should look set and firm up nicely.
The center must look soft, almost raw still.
That residual heat finishes the cooking process perfectly.
They firm up as they rest on that hot pan.
This trick guarantees you get that soft, gooey middle.
It’s the secret to a truly chewy cookie texture.
Ingredient Swaps for Your Peppermint Chocolate Chip Cookies
We love using a mix of chocolate chips and chunks.
Chopped chocolate bars melt much better.
This creates those lovely pools of melted chocolate.
If you want stronger peppermint, adjust carefully.
Taste the dough before you add too much extract.
Peppermint extract strength varies so much between brands.
A little goes a long way in these sweet treats.
You can substitute milk chocolate for white chocolate too.
Serving Suggestions for Your Peppermint Chocolate Chip Cookies
Once these beauties cool, what do you serve them with?
These peppermint chocolate chip cookies stand tall alone.
But pairing them makes the whole experience better.
Think cozy winter nights by the firelight.
I have a couple of favorite simple pairings.
They really highlight that cool mint flavor.
- A tall glass of cold, plain milk is classic.
- Warm unsweetened black coffee cuts the sweetness nicely.
- Try a rich, dark hot chocolate for double chocolate impact.
- A simple vanilla bean ice cream scoop works well too.
We sometimes dip the edges slightly in melted white chocolate.
It adds another layer of creamy texture.
Keep the accompaniments simple, though.
You want the cookie flavor to truly shine through.
These are perfect for holiday cookie plates.
Everyone loves a good seasonal cookie offering.

Storing and Keeping Your Peppermint Chocolate Chip Cookies Fresh
We made a big batch, so what now?
Proper storage keeps these peppermint chocolate chip cookies perfect.
Nobody wants a stale holiday cookie, right?
You need an airtight container for best results.
Do not stack them too tightly at first.
They need to cool completely before sealing them away.
We find they last about five days this way.
They stay soft and the flavor stays bright.
Keep the container at room temperature always.
Avoid any warm spots near the stove.
Reheating them is super easy if you want them warm.
Just a quick 10 seconds in the microwave works.
This brings back that just-baked gooey center.
It melts the chocolate chips just a little bit.
If you made extra dough, freeze it instead.
Scoop the balls, then freeze them flat first.
Transfer frozen scoops to a zip-top bag.
Bake them straight from frozen, adding two minutes.
This method is a lifesaver during busy times.
Frequently Asked Questions About Peppermint Chocolate Chip Cookies
I know you might have a few lingering questions.
Baking projects always spark curiosity, right?
Here are the common things people ask me.
We want you to have success with your peppermint chocolate chip cookies.
Let’s clear up any last baking confusion now.
These answers should help your holiday baking.
Can I make these peppermint chocolate chip cookies ahead of time?
Yes, absolutely! Make-ahead is my planner friend’s dream.
You can freeze the cookie dough balls easily.
Scoop them out first onto a tray.
Freeze them completely before bagging them up.
This keeps your future batch of chewy cookies perfect.
When ready to bake, put them right on the sheet.
Add about two extra minutes to the baking time.
This works great for unexpected guests or parties.
Baked Christmas cookies store well too, remember that.
Keep baked ones airtight for up to five days.
Share Your Taste Portfolio Project
We poured our hearts into perfecting this cookie.
Now, it is time for you to make it yours.
This recipe is part of our growing portfolio.
We want to see your delicious results!
Did you get that perfect chewy center?
Tell us how your peppermint chocolate chip cookies turned out.
Leave a rating right below this post.
Your feedback helps others build confidence.
Jacob loves reading comments about the texture.
I enjoy hearing about your planning process.
Share photos of your holiday cookie platters.
Tag us in your kitchen adventures online.
We created this space for collaboration.
Baking together, even apart, is special.
Start building your own delicious portfolio today.
We can’t wait to see what you create next!
Happy baking, from Amelia and Jacob.
Print3 Amazing Secret Steps for Peppermint Chocolate Chip Cookies

Bake these Ultimate Chewy Peppermint Chocolate Chip Cookies for a perfect seasonal treat. They feature a soft, gooey center, crisp edges, and a refreshing blast of cool peppermint mixed with melty chocolate chips. This recipe is easy to follow and results in a beautiful, shareable cookie.
- Prep Time: 20 minutes
- Cook Time: 11 minutes
- Total Time: 31 minutes
- Yield: 20 cookies
- Category: Dessert
- Method: Baking
- Cuisine: American
- Diet: Vegetarian
Ingredients
- 1 cup unsalted butter, softened
- 3/4 cup granulated sugar
- 3/4 cup packed light brown sugar
- 2 large eggs
- 1 teaspoon vanilla extract
- 1 teaspoon peppermint extract
- 2 1/4 cups all-purpose flour
- 1 teaspoon baking soda
- 1/2 teaspoon salt
- 1 cup semi-sweet chocolate chips
- 1 cup milk chocolate chips or chunks
- 1/2 cup crushed candy canes (for mixing in)
- 1/4 cup crushed candy canes (for topping)
Instructions
- Preheat your oven to 350°F (175°C). Line baking sheets with parchment paper.
- In a large bowl, cream together the softened butter, granulated sugar, and brown sugar until light and fluffy.
- Beat in the eggs one at a time, then mix in the vanilla extract and peppermint extract.
- In a separate bowl, whisk together the flour, baking soda, and salt.
- Gradually add the dry ingredients to the wet ingredients, mixing until just combined. Do not overmix.
- Fold in the semi-sweet chocolate chips, milk chocolate chips, and the 1/2 cup of crushed candy canes.
- Drop rounded tablespoons of dough onto the prepared baking sheets, spacing them about 2 inches apart.
- Bake for 9 to 11 minutes, or until the edges are lightly golden but the centers still look slightly underdone.
- Remove from the oven and immediately sprinkle the tops with the reserved 1/4 cup of crushed candy canes.
- Let the cookies cool on the baking sheet for 5 minutes before transferring them to a wire rack to cool completely.
Notes
- For extra chewiness, chill the dough for 30 minutes before scooping.
- Use a mix of chocolate chips and chopped chocolate bars for better melt.
- If you prefer a stronger peppermint flavor, increase the extract slightly, but taste the dough first.
- Store cookies in an airtight container at room temperature for up to 5 days.
Nutrition
- Serving Size: 1 cookie
- Calories: 210
- Sugar: 18g
- Sodium: 85mg
- Fat: 12g
- Saturated Fat: 7g
- Unsaturated Fat: 5g
- Trans Fat: 0g
- Carbohydrates: 25g
- Fiber: 1g
- Protein: 3g
- Cholesterol: 40mg