

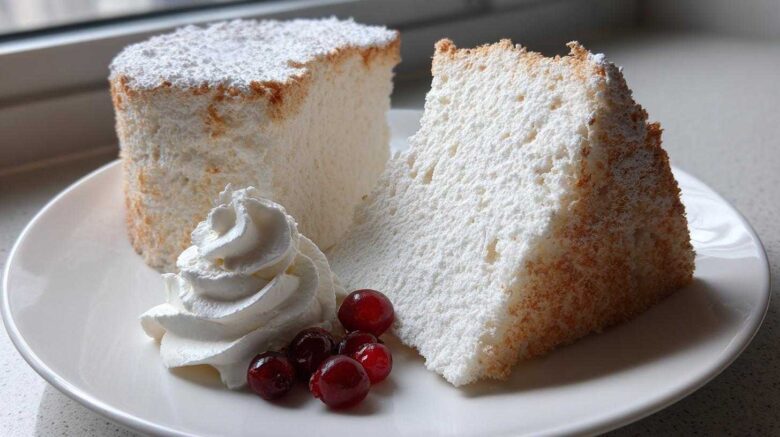
The Ultimate Light and Airy Homemade Angel Food Cake
There is nothing quite like biting into a slice of a truly perfect angel food cake. It’s pure magic. I mean, it’s practically eating a sweet, edible cloud, right?
When I first started Taste Portfolio, I was just the planner. I loved lists. Jacob was the cook. I had this recipe saved for an angel food cake for ages.
I thought making something this light was beyond me. I worried about deflating the batter. That initial attempt felt scary, honestly. Jacob just smiled and reminded me to stick to the plan.
This recipe changed everything for me. It’s the standard now. It proves you can achieve that incredible, airy texture. We’ve refined this classic cake recipe together.
Now, I feel confident sharing our perfected method for this incredible dessert. Get ready for your best homemade angel food cake ever!
Essential Equipment for Your Angel Food Cake
Baking this dessert requires a few specific tools. You can’t fake the structure needed here. Trust me, Jacob learned this the hard way once.
For the creamiest meringue, clean bowls matter a lot. But one piece of gear is non-negotiable for this cake.
You absolutely need a proper tube pan. This specialized pan supports the batter as it rises high.
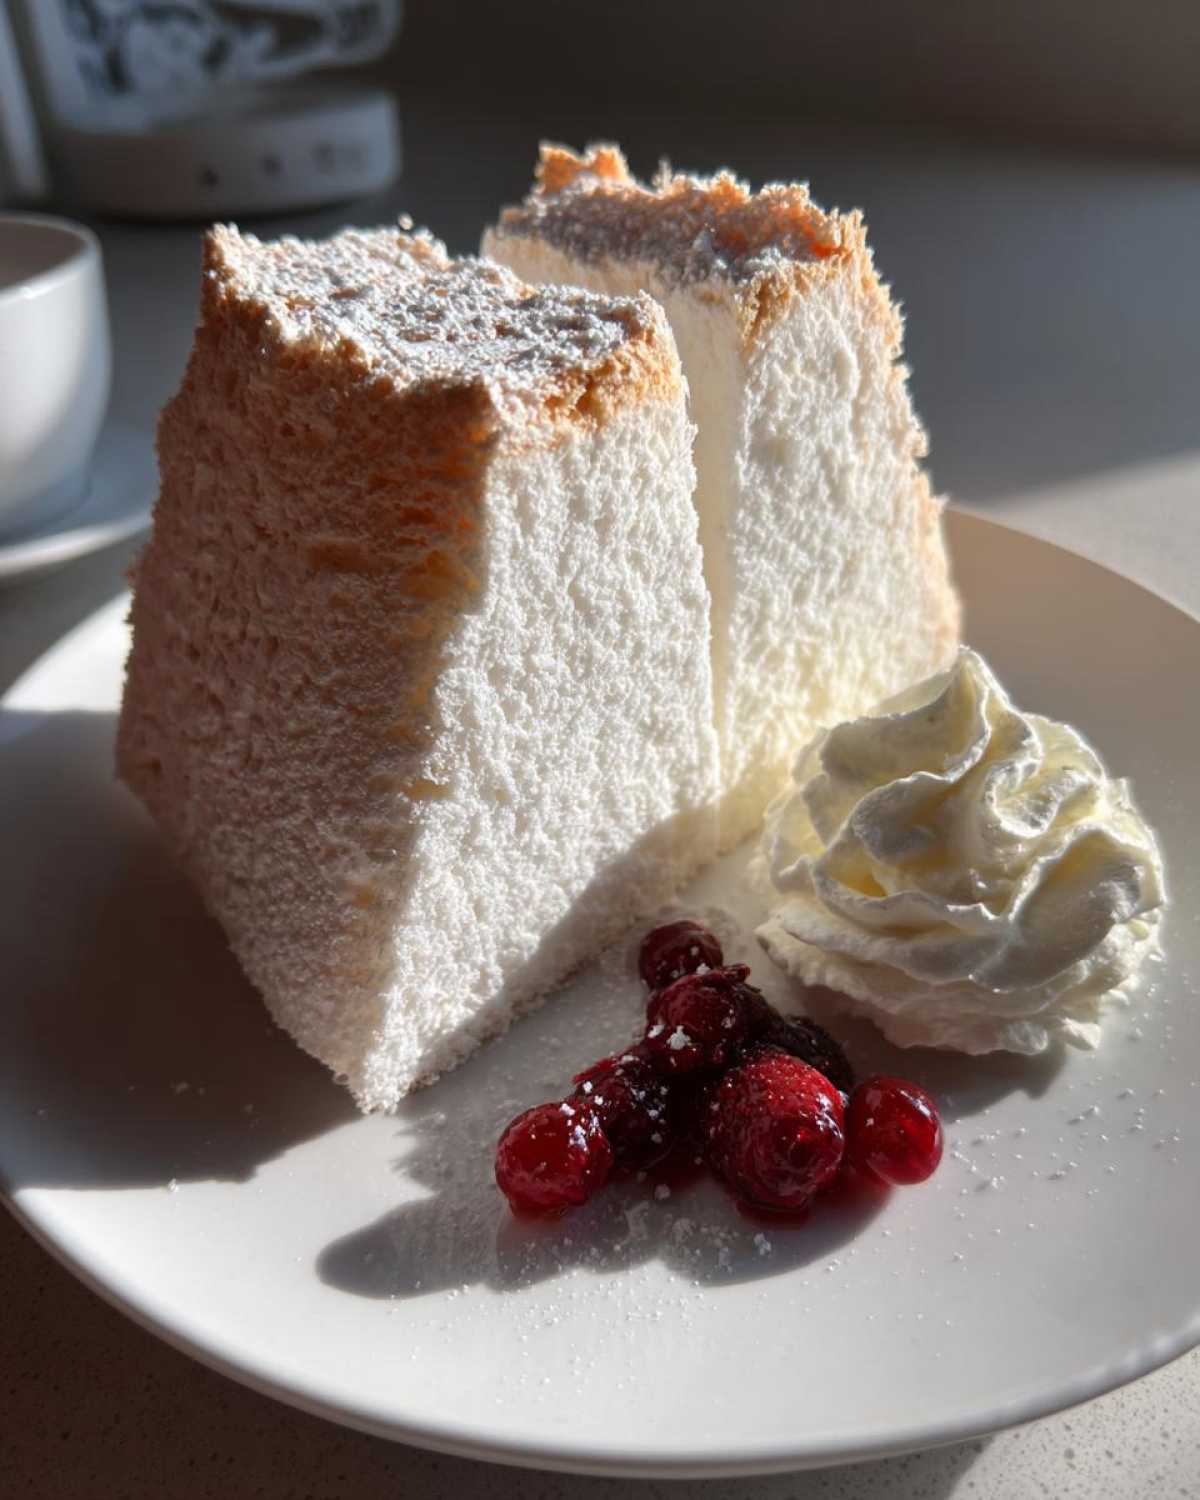
Tube Pan Requirements for Perfect Angel Food Cake
We use a 10-inch tube pan. It must have little feet for inverting later. Do not grease this pan ever. The batter needs to cling to the sides.
This cling is what keeps your cake tall. Cold batter sticks better than warm batter, remember that.
If you have a vintage angel food cake pan, it should work fine. Just check it for any damage first. Cooling upside down is key to the texture.
Ingredients for a Fluffy Angel Food Cake
The magic of this light cake starts here. Every ingredient plays a specific role. Getting the ratios right is part of the project plan.
For the fluffiest result, temperature matters most. We need maximum volume from our egg whites.
Cold egg whites won’t whip high enough. Plan ahead for this dessert project.
We use a simple list of quality components here. It keeps the focus on technique.
Ingredient Clarity and Preparation
Before you start mixing, check everything twice. Even a tiny bit of fat ruins the meringue.
Here is what you need for this beautiful angel food cake:
- 1 1/2 cups egg whites, room temperature
- 1 1/2 teaspoons cream of tartar
- 1 teaspoon vanilla extract
- 1/4 teaspoon almond extract
- 1 1/2 cups superfine granulated sugar, divided
- 1 cup cake flour, sifted
- 1/4 teaspoon salt
Make sure your egg whites are truly room temperature. Also, sift that cake flour well. Whisk the remaining sugar with the flour and salt. Then, check your bowl for any grease or yolk spots.
Step-by-Step Instructions for Your Angel Food Cake
Now we move from planning to action. This is where Jacob shines. We follow the blueprint exactly here.
Success relies on patience during mixing. We want volume, not toughness. Keep your movements deliberate.
Let’s create the foundation for this cloud-like dessert. Pay close attention to the peaks.
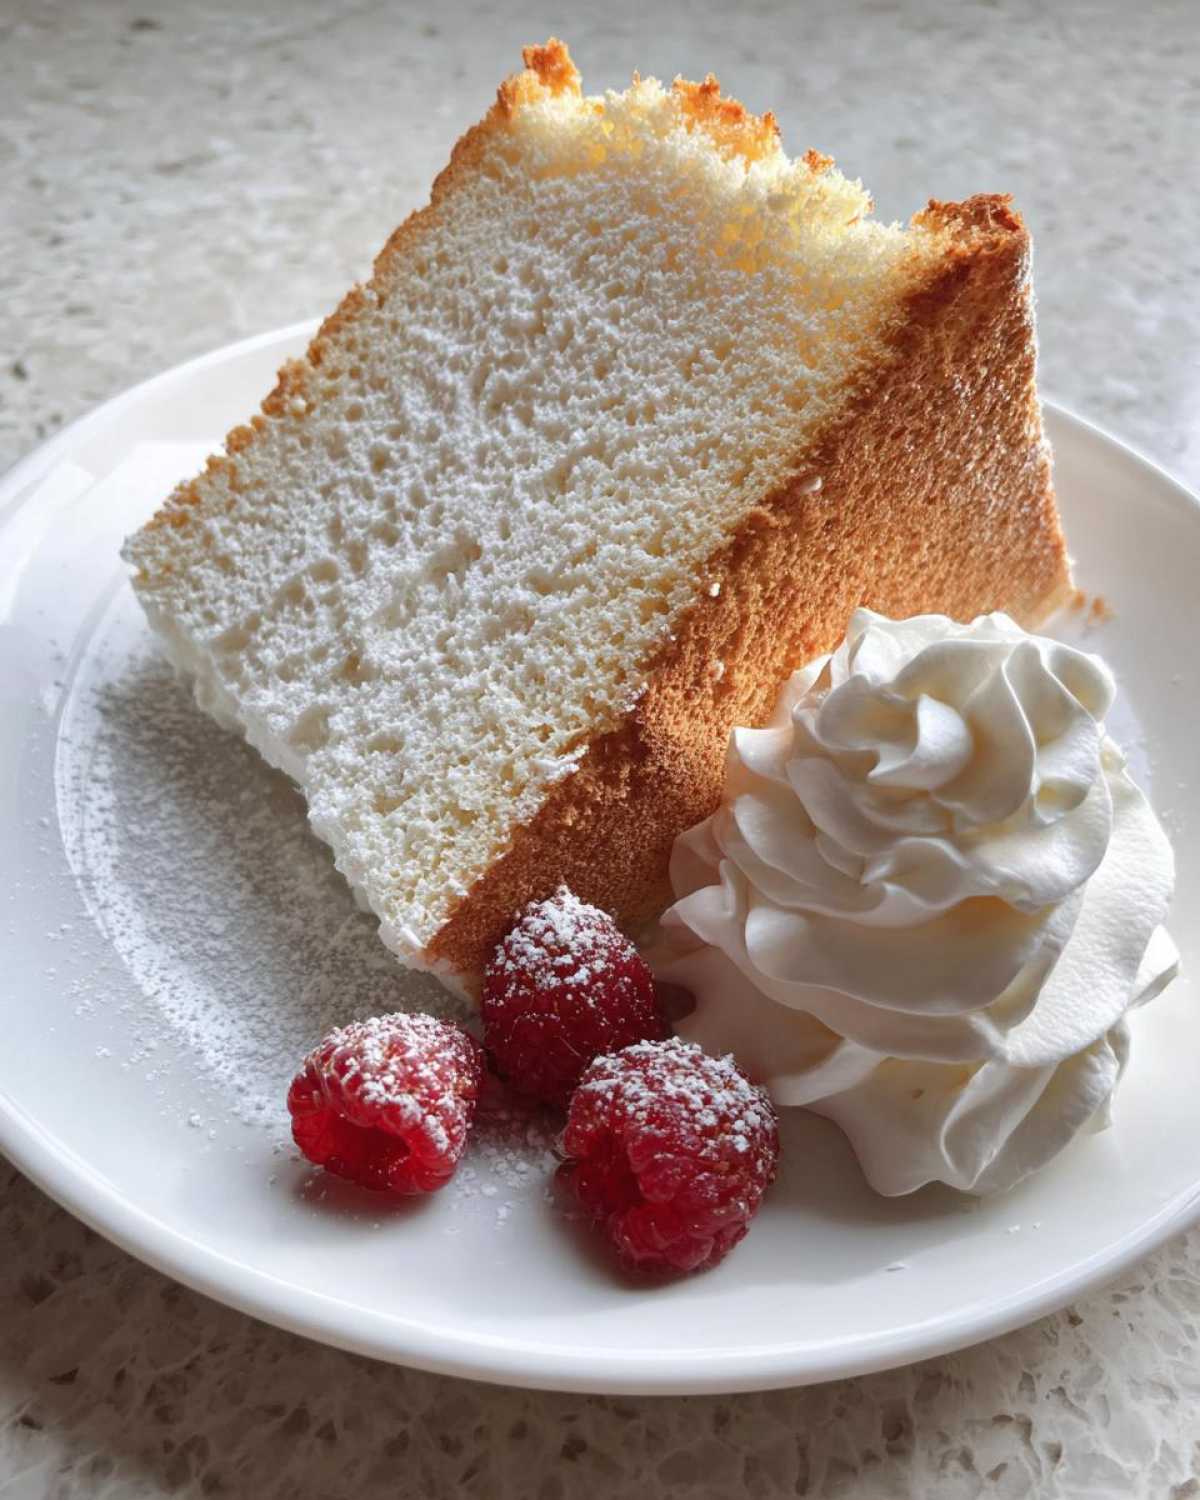
Creating the Stable Meringue Base for Angel Food Cake
First, get your oven hot to 350°F (175°C). Do not grease that tube pan. We need the batter to climb.
Start beating the room-temperature egg whites. Mix them until they look foamy. Then, add the cream of tartar. Keep mixing until you see soft peaks forming.
Slowly add one cup of your sugar. Add it just a tablespoon at a time. Beat hard after each addition. You want stiff, glossy peaks now. Beat in the vanilla and almond extracts next.
Folding in Dry Ingredients Gently
In a separate bowl, mix your reserved sugar, salt, and cake flour. Sift this dry mix over your meringue. Do this in three separate batches.
Use a large spatula for folding. Cut down the center of the bowl. Sweep up the sides gently. This keeps the air we built.
Stop folding right when the flour disappears. Overmixing deflates the meringue fast. Deflated batter means a flat, dense angel food cake. We want airy!
Baking and Cooling: The Crucial Final Steps
Spoon the batter into the ungreased pan. Smooth the top gently. Run a knife through it once. This pops any big air bubbles.
Bake for about 35 to 40 minutes. The top should spring back when lightly touched. This signals it’s done.
Immediately flip the pan over. Cool the cake completely upside down. This step is non-negotiable. It stops the cake from shrinking. Once cool, slice around the edges to release it.
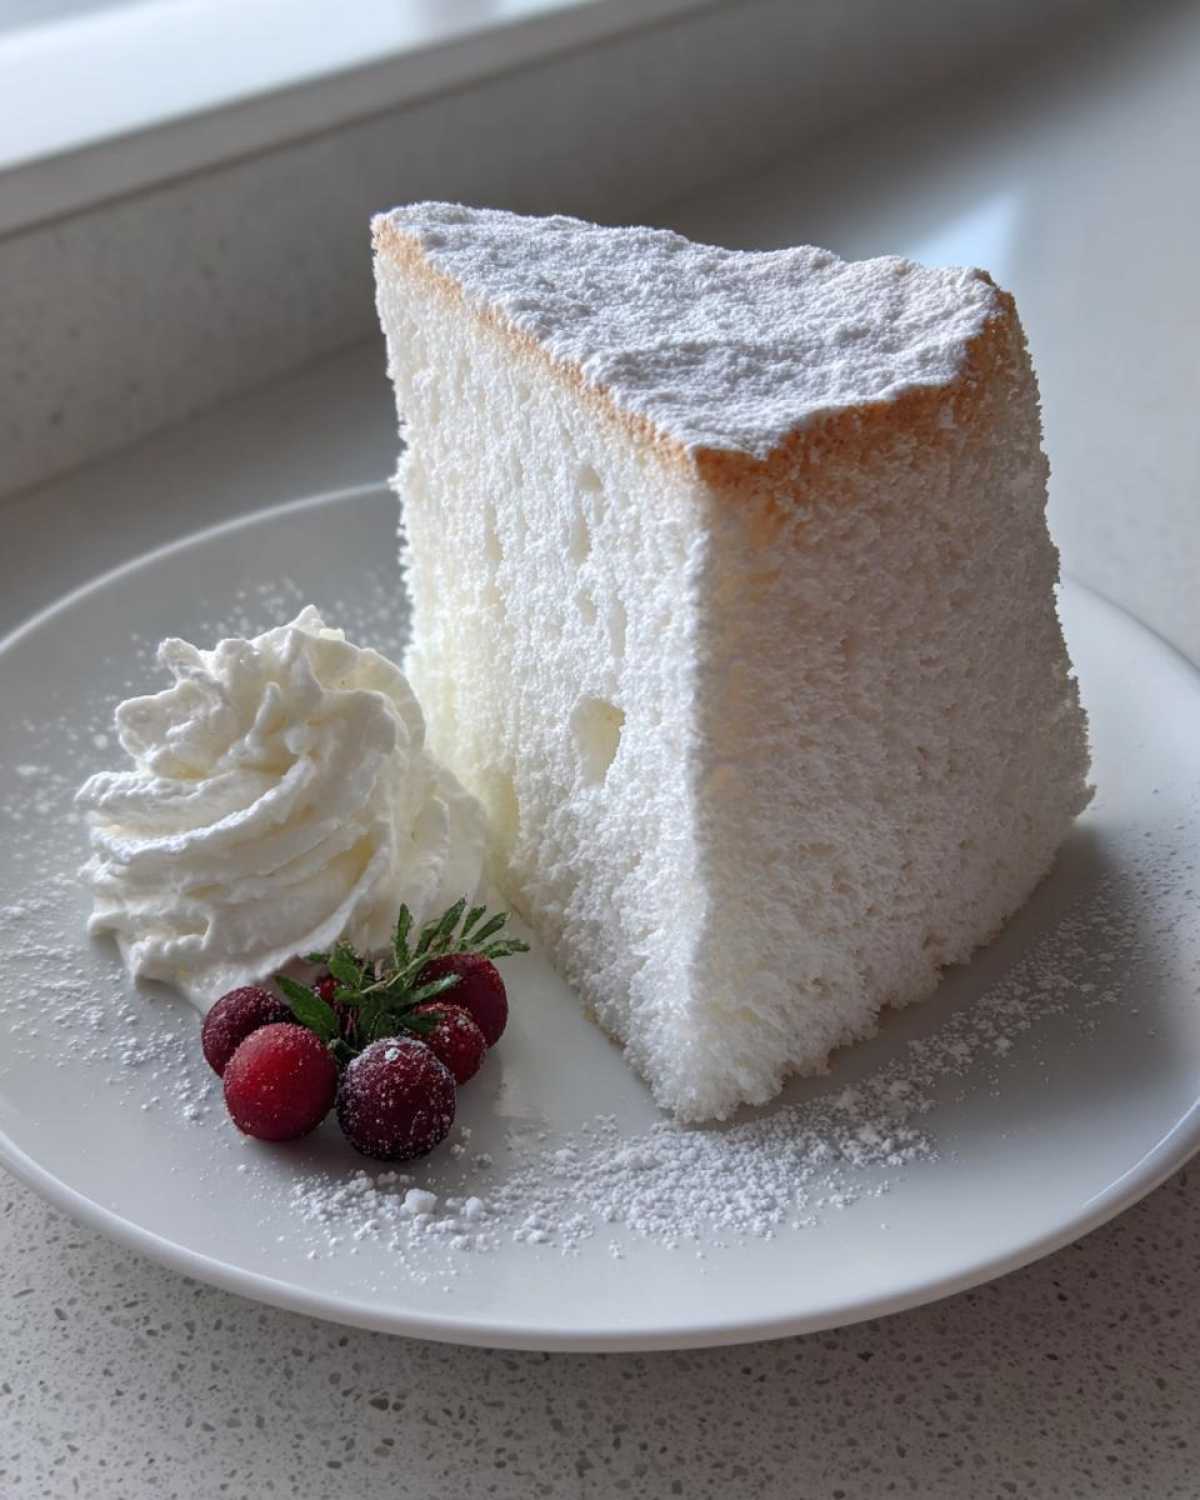
Tips for Success with Your Angel Food Cake
Baking this cake feels like a delicate science experiment. I learned this through trial and maybe a few flat cakes. Follow these proven tips now.
These small details make the difference. They turn a good try into a truly great angel food cake.
Room temperature egg whites are your best friend here. They whip up so much higher. This volume is what makes the cake light.
Also, be fanatical about cleanliness in your mixing bowl. Any trace of fat is a disaster waiting to happen. We want pure protein foam.
Preventing Collapse in Your Angel Food Cake
The biggest fear is collapse, right? That happens if you skip cooling upside down. Immediately invert the pan onto its feet. Or use a bottle neck.
This inverted cooling is crucial. It lets gravity stretch the cake structure. It sets the airy crumb perfectly. You must let it cool completely this way.
Also, remember the clean equipment rule. Any residual oil or yolk prevents the egg whites from reaching firm peaks. Firm peaks equal structural support.
Sifting the flour multiple times helps, too. It keeps the final texture wonderfully soft. These steps build trust in your baking skills.
Serving Suggestions for Your Angel Food Cake
This cake is light as air. It needs toppings that match its delicate nature. Heavy frosting just weighs it down sadly.
We always serve ours simply. Fresh fruit is the perfect partner for this dessert. It adds necessary moisture and color.
Think berries, lots of them. Strawberries and blueberries are my favorites. They look so pretty against the white cake.
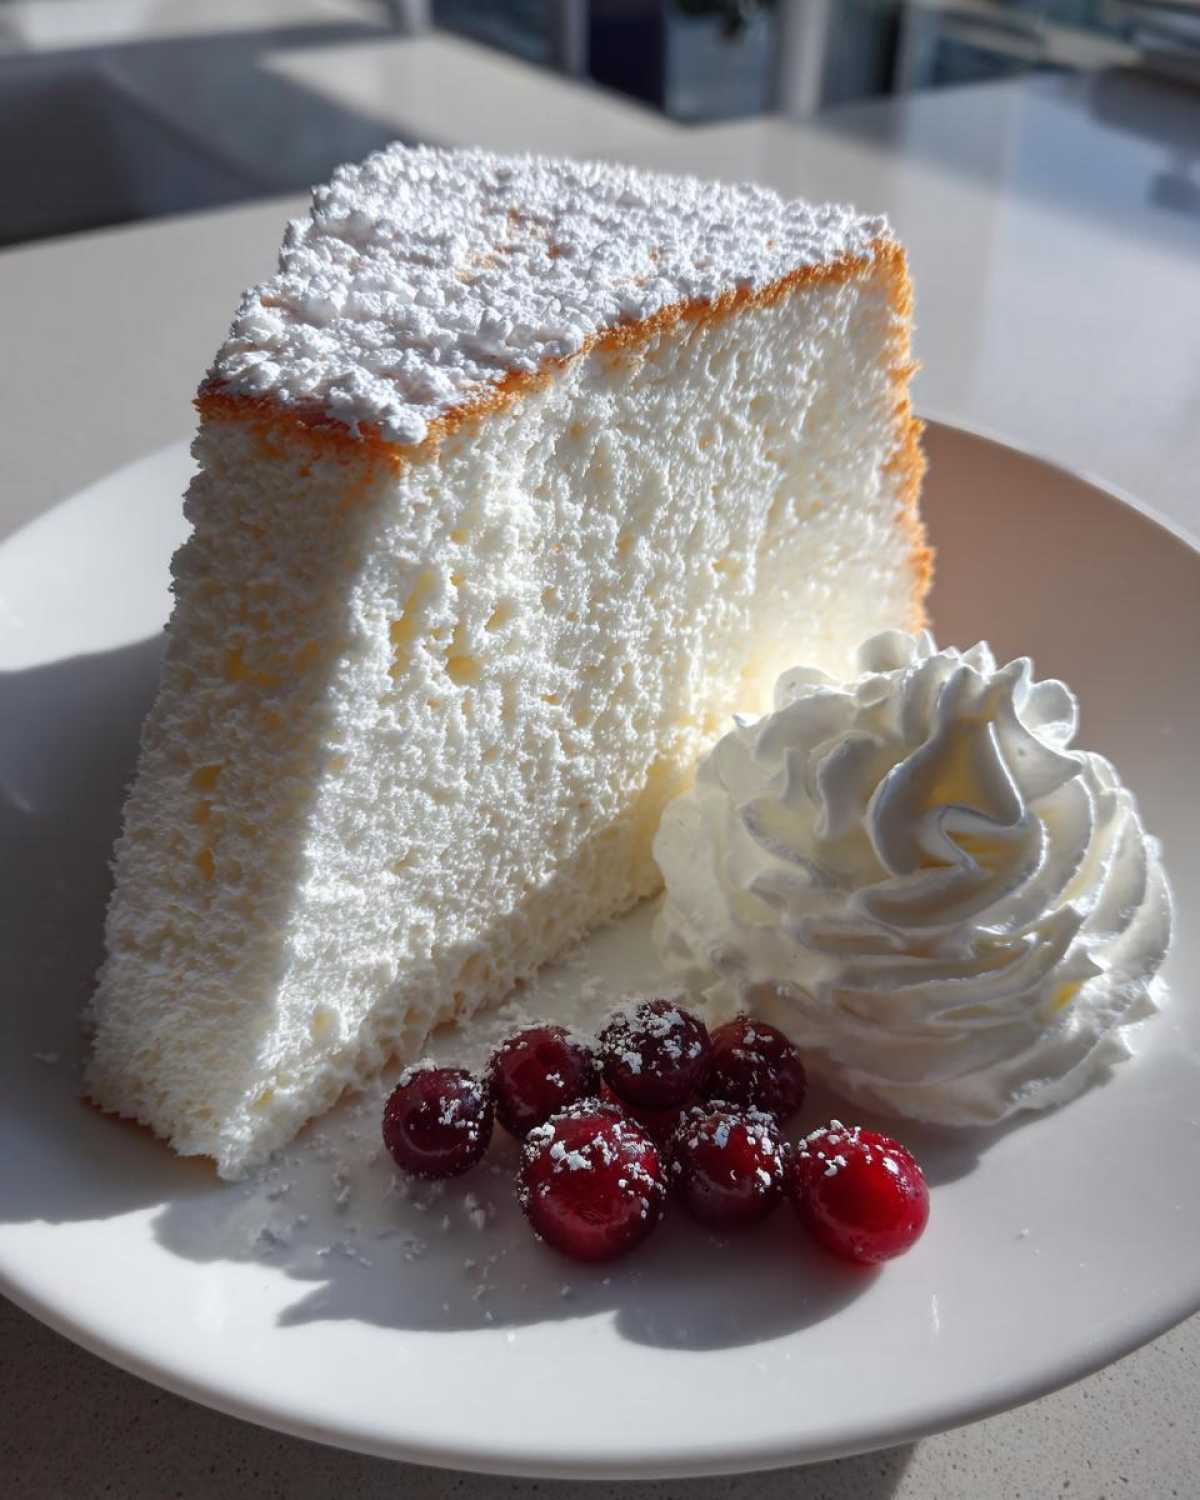
A dollop of lightly sweetened whipped cream finishes it perfectly. It makes the whole thing feel special. Enjoy this summer dessert right away.
Storing Your Homemade Angel Food Cake
This wonderful cake is best eaten the first day. It truly shines when fresh. But leftovers happen, don’t worry!
Store any extra angel food cake at room temperature. Use an airtight container for storage. Do not refrigerate this cake, please.
The fridge dries it out quickly. It loses its lovely soft texture there.
If you must reheat a slice, try this quick tip. Microwave it for just a few seconds. It softens it right up again. Serve with fresh berries after warming.
Frequently Asked Questions About Angel Food Cake
I know you have questions. Baking this cake for the first time can feel intense. Don’t worry about perfection yet. We learn by doing it.
Here are a few things readers often ask me. These should help ease any last-minute worries. I want you to succeed!
Ask yourself what you need next. Maybe you need a different pan size. Perhaps you need clarity on the meringue.
This classic recipe is forgiving if you know the rules. We built this guide to help you keep it light cake perfection.
Can I use a Bundt Pan Instead of a Tube Pan for Angel Food Cake?
Technically, yes, you can use a Bundt pan. However, I strongly advise against it initially. A standard tube pan cake needs those straight, tall sides.
The Bundt pan has curves and often a non-stick surface. That surface prevents clinging. The cake might collapse completely.
If you must use one, ensure it is an ungreased, plain aluminum pan. Do not use a non-stick Bundt pan for this recipe.
How Do I Know if My Egg Whites Are Whipped Enough for Angel Food Cake?
This is the most important check. You are looking for stiff, glossy peaks. When you lift the whisk, the peak should stand straight up.
It should not flop over at all. If the peak curls even a little, whip it more. The meringue must be firm enough to hold the flour structure.
If your meringue looks dull or grainy, you added sugar too fast. That means trouble for a truly light cake.
Estimated Nutritional Profile for This Angel Food Cake
I want to be clear about this part. Nutrition facts are always estimates. I am a cook, not a registered dietitian, remember? I am a cook, not a registered dietitian, remember?
I calculated these numbers based on the ingredients we used. They are helpful guidelines only. They are not medical advice for your diet.
This dessert is wonderfully low in fat, as you can see. That is because we use no butter or oil at all. It relies purely on egg whites for structure. Egg whites are a fantastic source of lean protein, which is why they are so crucial for this recipe, as detailed in many culinary science resources.
Here is a quick look at the numbers per slice:
- Calories: 140
- Fat: 0.2g
- Carbohydrates: 30g
- Protein: 4g
It’s a surprisingly light treat for a celebration dessert. Enjoying a piece feels guilt-free, mostly!
Rate and Share Your Perfect Angel Food Cake Project
We put our heart into perfecting this angel food cake recipe. Now it’s your turn to take the lead artist role!
Did you achieve that cloud-like texture? Was the folding technique easy enough? I truly want to hear all about it.
Please leave a rating below based on your experience. Your feedback matters so much to us. It helps us refine our Taste Portfolio.
Share a picture of your finished cake too. Tag us if you post it online. We love seeing your delicious projects come to life!
PrintAmazing Angel Food Cake: 1 Secret Tip
Create the ultimate light, airy, and fluffy homemade Angel Food Cake. This recipe follows a classic method, perfect for celebrations or simply enjoying a sweet, cloud-like dessert. Serve this project with fresh berries and whipped cream for a complete taste portfolio piece.
- Prep Time: 25 minutes
- Cook Time: 40 minutes
- Total Time: 4 hours 5 minutes (includes cooling time)
- Yield: 12 servings
- Category: Dessert
- Method: Baking
- Cuisine: American
- Diet: Low Fat
Ingredients
- 1 1/2 cups egg whites (from about 12 large eggs), room temperature
- 1 1/2 teaspoons cream of tartar
- 1 teaspoon vanilla extract
- 1/4 teaspoon almond extract
- 1 1/2 cups superfine granulated sugar (caster sugar), divided
- 1 cup cake flour, sifted
- 1/4 teaspoon salt
Instructions
- Preheat your oven to 350°F (175°C). Do not grease your 10-inch tube pan.
- In a large, clean bowl, beat the egg whites with an electric mixer until foamy. Add the cream of tartar and continue beating until soft peaks form.
- Gradually add 1 cup of the superfine sugar, one tablespoon at a time, beating well after each addition until the meringue is stiff and glossy. You should have very firm peaks.
- Beat in the vanilla and almond extracts.
- In a separate bowl, whisk together the remaining 1/2 cup sugar, the cake flour, and salt. Sift this mixture over the meringue in three additions.
- Gently fold the flour mixture into the meringue using a large spatula. Use a cutting motion down the center and sweep up the sides of the bowl. Stop folding as soon as no streaks of flour remain. Do not overmix.
- Carefully spoon the batter into the ungreased tube pan. Gently run a knife through the batter to release any large air pockets.
- Bake for 35 to 40 minutes, or until the top springs back lightly when touched.
- Immediately invert the pan onto its feet (or over the neck of a bottle) and let it cool completely upside down. This step is crucial for maintaining the cake’s height and airy texture.
- Once completely cool, run a thin offset spatula or knife around the edges and the center tube to release the cake. Serve immediately or store.
Notes
- Use room temperature egg whites; they whip up much higher than cold ones.
- Ensure your mixing bowl and whisk attachment are completely free of grease or yolk.
- Sifting the flour mixture multiple times is necessary for the lightest texture.
- Cooling the cake upside down prevents collapse. Do not skip this step.
Nutrition
- Serving Size: 1 slice
- Calories: 140
- Sugar: 25g
- Sodium: 50mg
- Fat: 0.2g
- Saturated Fat: 0g
- Unsaturated Fat: 0g
- Trans Fat: 0g
- Carbohydrates: 30g
- Fiber: 0.5g
- Protein: 4g
- Cholesterol: 0mg