

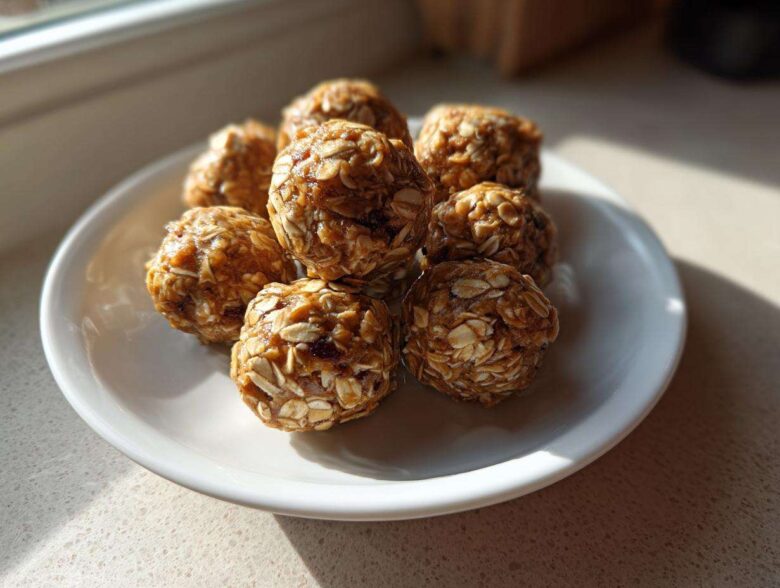
You know those days, right? The ones where you’re running on fumes by 3 PM, and your brain starts yelling for sugar? I’ve been there a thousand times trying to keep up with work and life. That’s why I live and breathe for recipes that are fast, satisfying, and actually good for you. I’ve perfected my go-to stash of protein balls over the years; they are my secret weapon for beating that afternoon energy crash. These Ultimate No-Bake Peanut Butter Oatmeal Protein Balls came out of sheer necessity, but now they’re my family’s absolute favorite grab-and-go fuel. Trust me, once you see how little effort these take, you’ll never buy those chalky packaged bars again! If you want more of my tried-and-true recipes, be sure to check out my main recipe hub for all my kitchen chaos!
Why These No-Bake Protein Balls Are Your New Favorite Healthy Snack Recipes
When I talk about making a snack that actually works for a busy life, I mean it. These peanut butter oatmeal protein balls tick every single box. They aren’t fussy, they don’t require an oven, and you can whip up a week’s worth of snacks in less time than it takes to stand in line at the coffee shop. You get that amazing, satisfying chewiness that makes them feel like such a treat!
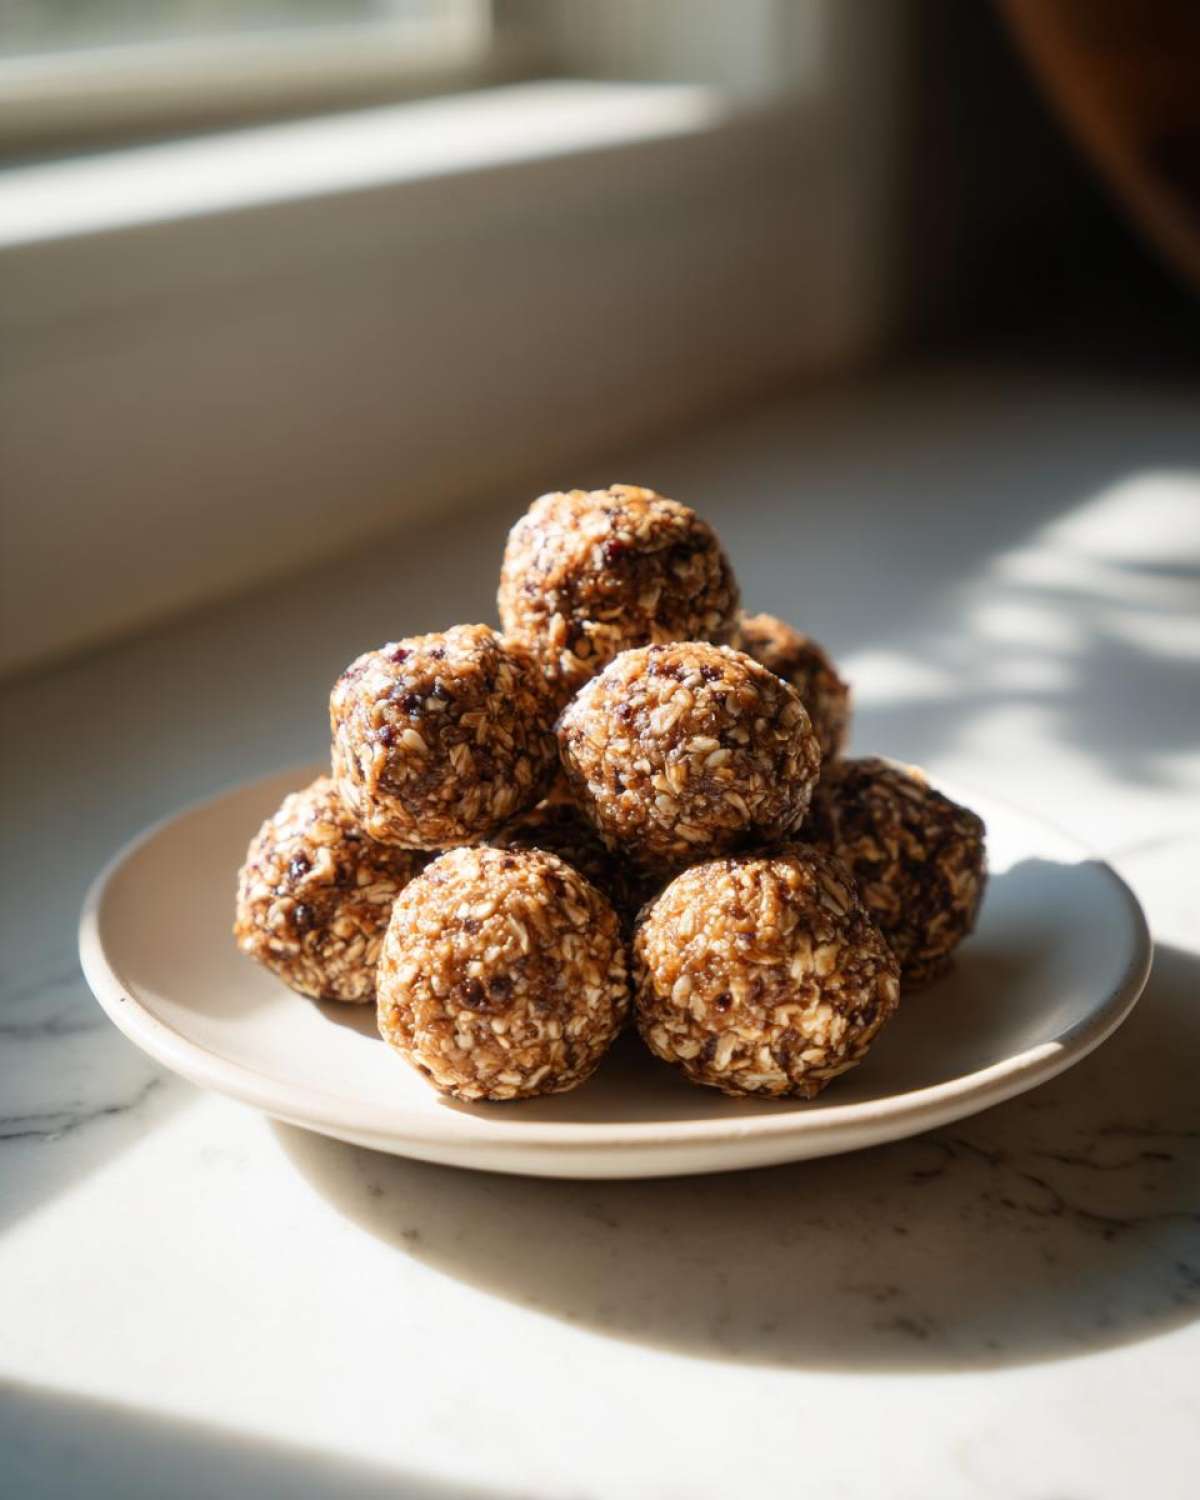
- They are essential for anyone looking for quick energy bites. Seriously, 10 minutes, tops.
- Perfectly portioned for easy meal prep snacks; just grab two when you rush out the door.
- They wrap up all the goodness of oats, seeds, and protein into one delicious package.
I’ve linked my go-to recipe for homemade protein bars just in case you need something different, too— check out those no-bake protein bars here.
Speed and Convenience: Perfect No Bake Snacks
Forget pulling out measuring cups for a dozen different things. These are true energy balls no bake champs. Since there’s no baking involved, they are ready almost instantly. The only waiting you do is for them to chill out in the fridge for a bit so they firm up properly. That’s the beauty of it—fast payoff for minimal effort.
Fueling Your Day with High Protein Treats
These definitely pass as high protein treats, which is why I rely on them. Whether I need a solid boost as post workout fuel right after coming home from the gym or just something substantial to bridge the gap between a light breakfast and lunch, two of these curb the cravings beautifully. They keep you feeling full and satisfied, which is the entire point of a good snack, right?
Essential Ingredients for Perfect Peanut Butter Protein Balls Recipe
Now, the actual ingredients list for these peanut butter balls recipe wonders is super simple, which is exactly what we want. You’ll need one cup of standard rolled oats, the kind that gives you that chewy texture later on. Then comes the binder: half a cup of natural, unsweetened peanut butter. Don’t think about using the sugary stuff—we are keeping this clean!
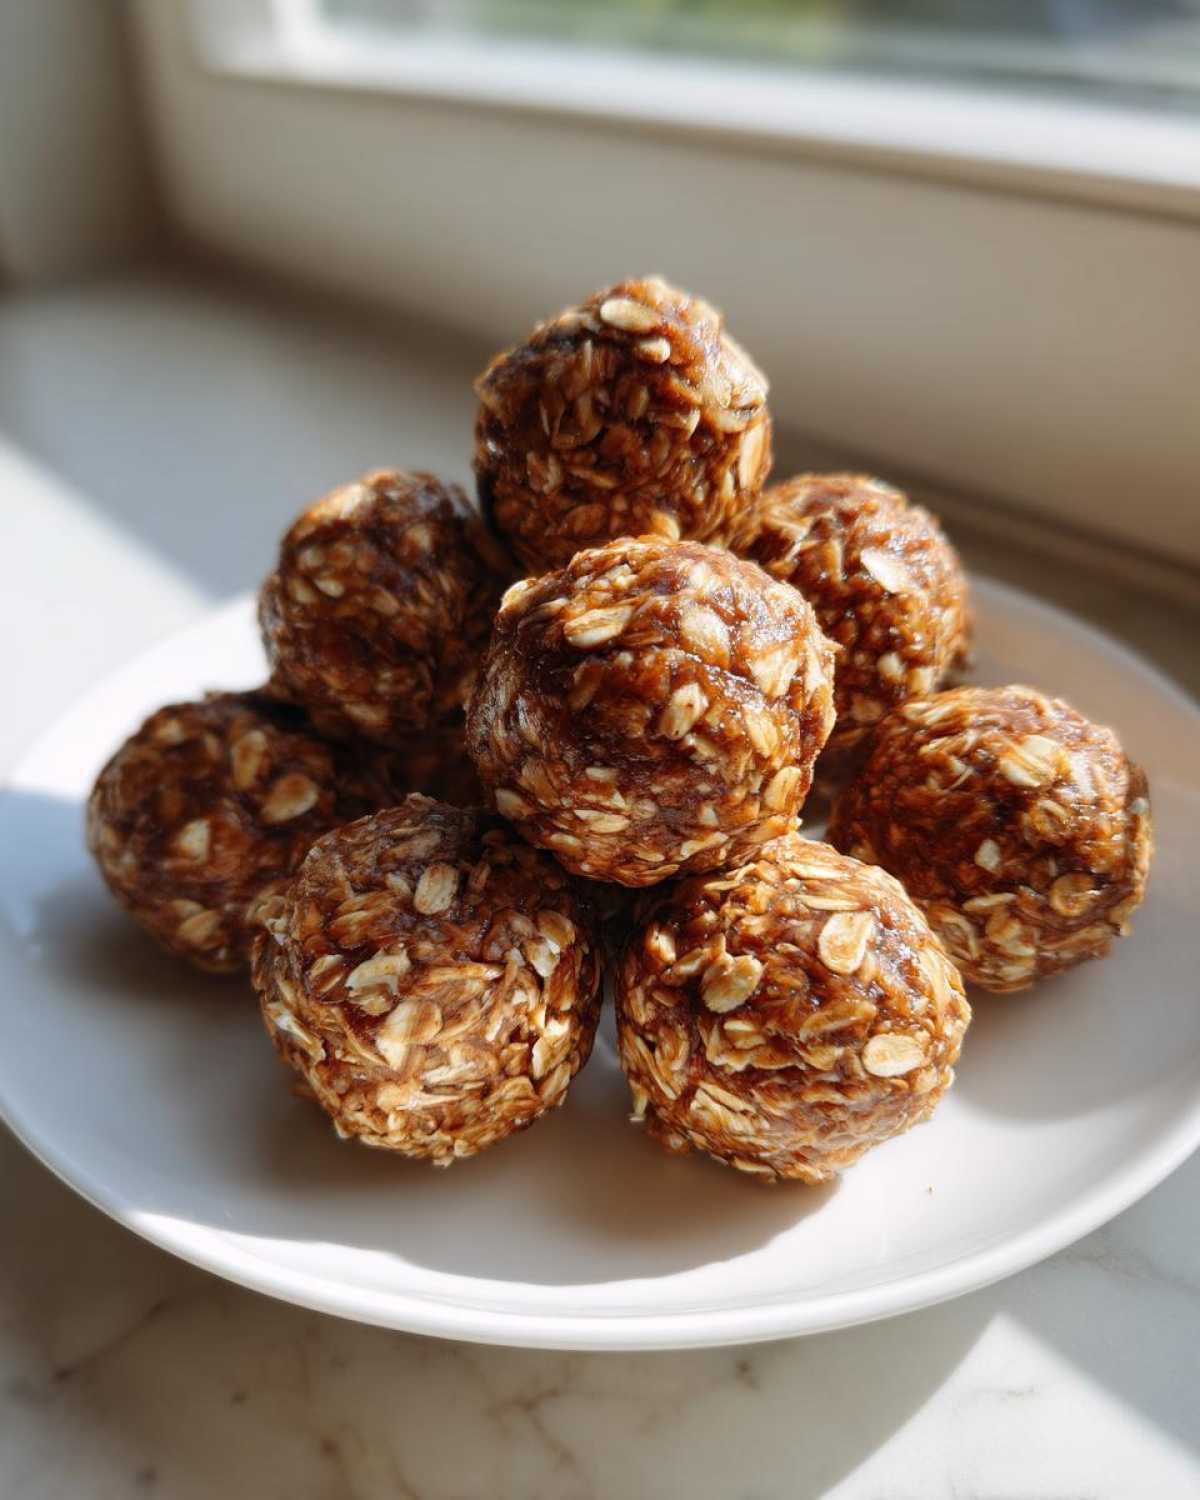
For the actual protein boost, grab half a cup of vanilla or unflavored protein powder; this is where you can customize the flavor profile later. We are also adding half a cup of ground flaxseed or chia seeds—both work brilliantly for binding and adding healthy fats. Finally, sweetness comes from a quarter cup of honey or maple syrup, plus one teaspoon of vanilla extract, and just a couple tablespoons of water to bring it all together. Keep those ingredients handy; the mixing part is almost too fun!
If you’re ever curious about adding protein to baking in other ways, like my moist blueberry muffins, I’ve got the details on making those high-protein muffins, too!
Step-by-Step Instructions for Making Chewy Protein Snacks
Okay, here is where the magic—which is really just fun mixing—happens! These chewy protein snacks come together so fast you won’t even believe it. We start by setting up the dry stuff. Toss your rolled oats, your protein powder, and the ground flaxseed (or chia seeds) right into your favorite mixing bowl. Give those a good whisk just to make sure everything is evenly dispersed before we get messy.
Once the dry ingredients are happy, you’re going to add in the peanut butter, your honey or maple syrup, and that splash of vanilla extract. Now, you can start mixing slowly with a sturdy spoon. But honestly? Once it gets thick, ditch the spoon! You’ll want to use your hands for the final mix because you can *feel* when it’s ready. Just keep squishing and folding it all together until it starts looking like a cohesive, slightly sticky mass. Don’t worry if you have to get your fingers dirty, that’s the best part of making these!
If you want to peek at some of my other quick recipes, I actually have some tips for making my no-bake protein bars that follow a similar principle!
Combining Dry and Wet Components for Protein Balls
When you combine the dry and wet stuff, start slow. We aren’t making bread here, so we don’t need to overwork it, but we do need to ensure every single bit of oat gets coated in that lovely peanut butter goodness. Once you start kneading it in with your hands, that’s when you’ll see the dough really come together. It should hold its shape when you squeeze a bit.
Achieving the Ideal Dough Consistency for Protein Balls
This step is absolutely critical for perfect protein balls. Sometimes, depending on how dry your protein powder is or the thickness of your peanut butter, the dough can look a little too crumbly at first. This is where you grab that water, but listen carefully: add it *one teaspoon* at a time. Seriously, don’t just dump it in! My favorite peanut butter pie taught me the hard way about adding liquid too fast!
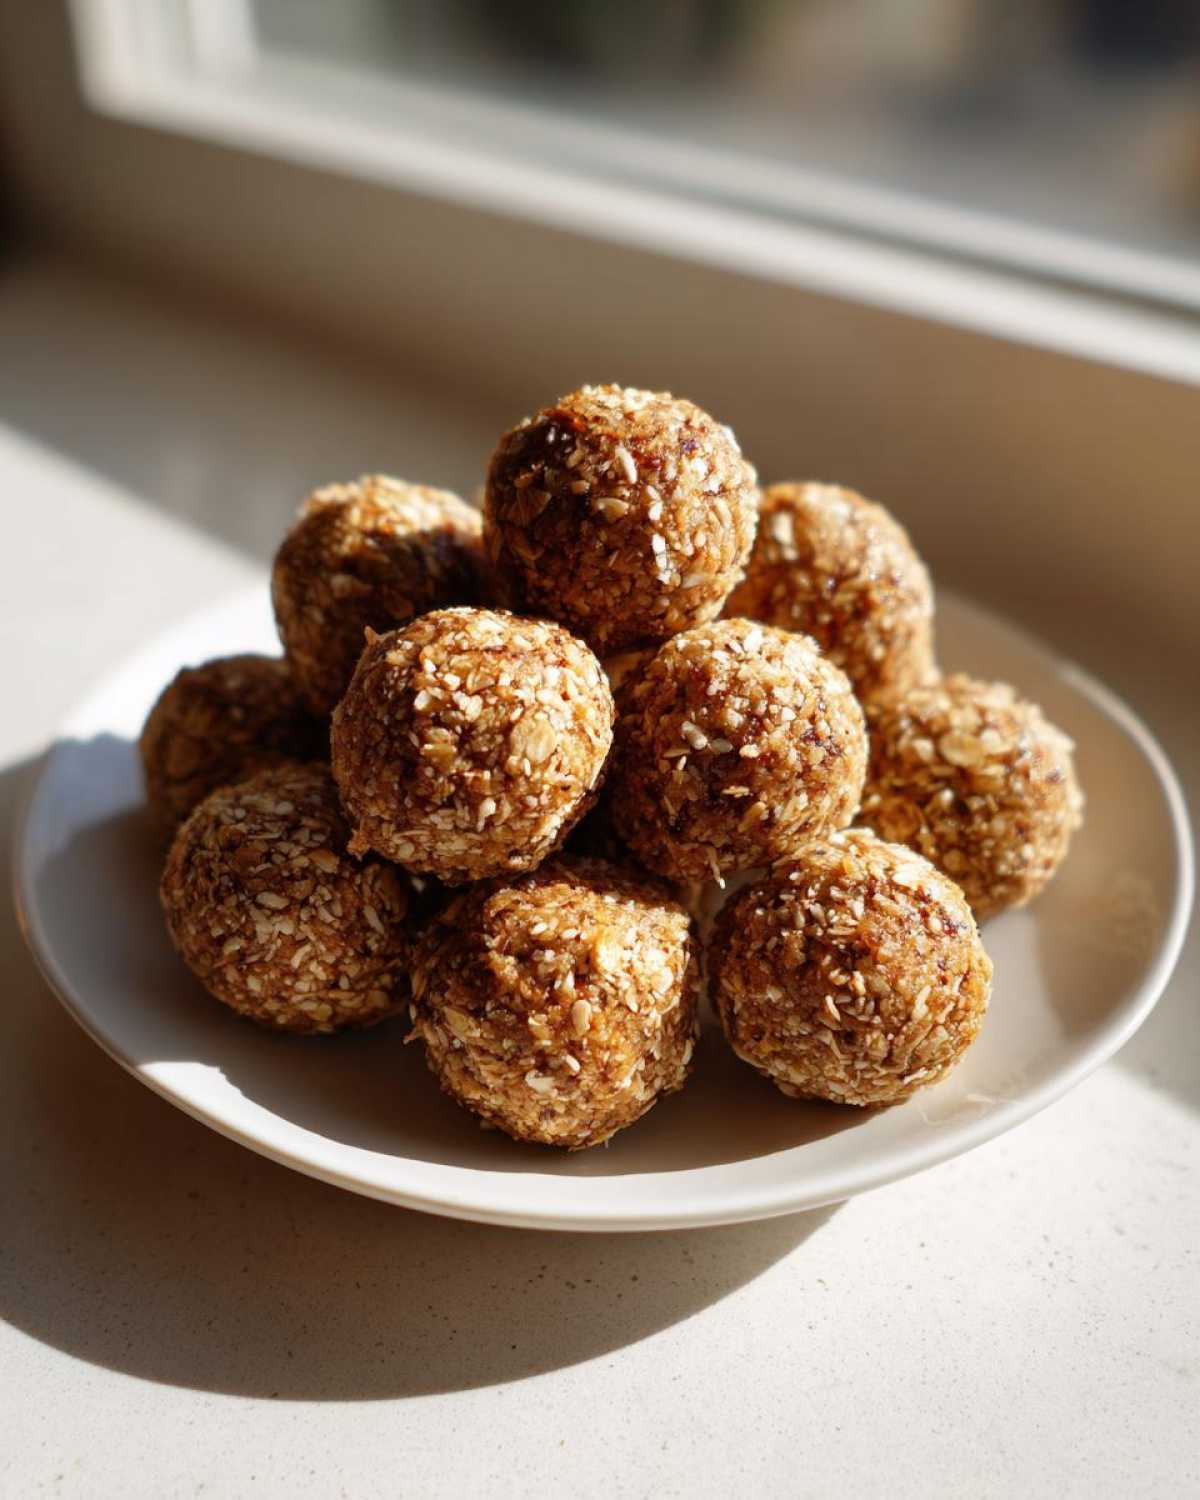
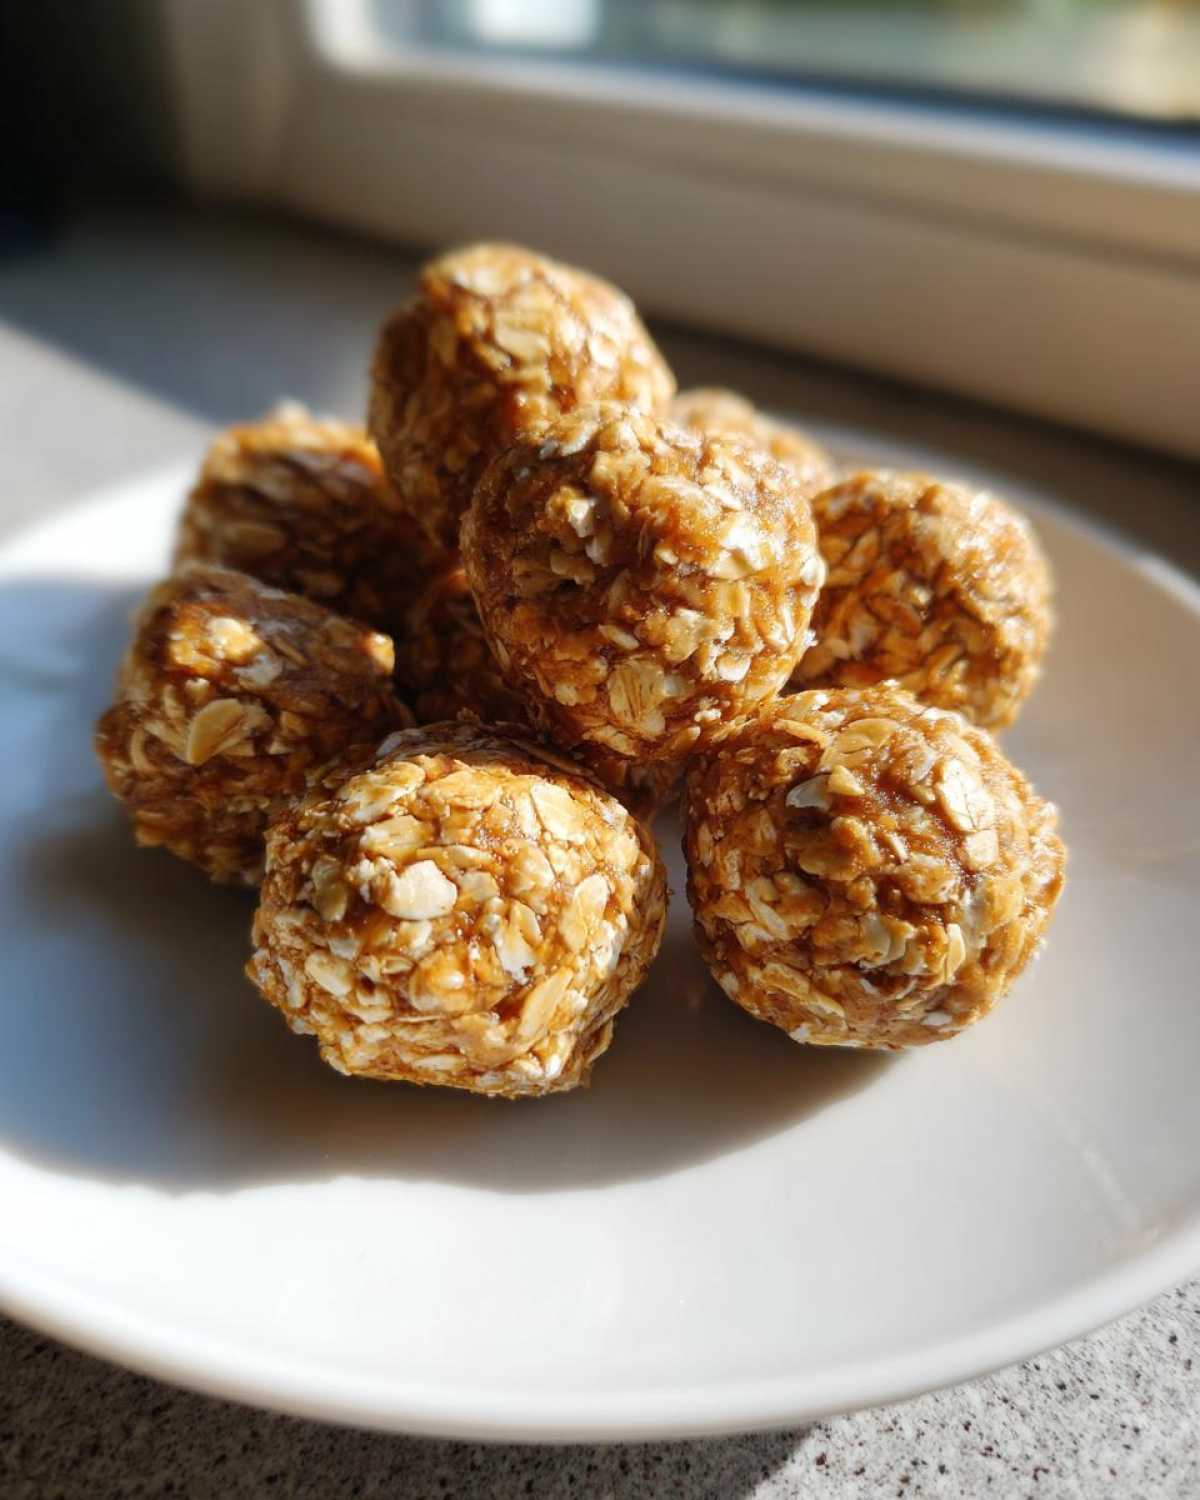
Just a teaspoon of water mixed in really helps pull everything together without making the mixture wet or sloppy. You only stop adding water when you can successfully roll a portion of the dough between your palms and it stays put—no sticking to your hand and no falling apart. Once you’ve rolled all your balls (about 1 inch each), set them on parchment paper and let them chill in the fridge for at least 30 minutes. This resting time is non-negotiable; it lets the oats absorb that moisture and sets the shape perfectly so they aren’t messy to eat.
Tips for Success When Making Your Protein Balls
I know every batch of peanut butter can be a little different—sometimes it’s runny and sometimes it’s super stiff straight from the jar! That’s why a little tweaking is part of making these customizable protein treats your own. When you’re scooping out the peanut butter, if it’s cold and hard, microwave it for just 10 or 15 seconds. You don’t want hot peanut butter, just soft enough to incorporate without wrestling it into the dry mix. This makes rolling them so much smoother!
I always tell people that the freezing point where the protein balls firm up is crucial. If you skip the 30-minute chill, they’ll taste fine, but they’ll feel messy. Take it from someone who once tried to roll warm dough in a hurry—it doesn’t end well!
Flavor Variations for These Energy Balls No Bake
These are fantastic in their pure peanut butter form, but they are begging for customization! If you want to make a chocolate version, it’s dead simple: just swap in chocolate protein powder and add about two tablespoons of unsweetened cocoa powder when you mix in the dry stuff. Voila! Instant chocolate treat.
For those of you watching carbs, you can totally try swapping out half of the rolled oats for almond flour. You might need to reduce that initial splash of water slightly, but these become fantastic low carb protein bites that taste just as good. It’s all about playing around with what works best for your pantry!
Sweetness Control in Your Protein Balls
Sweetness is totally personal, and I understand that we all treat ourselves differently! If you think the recipe sounds a little too sweet for your liking, please feel free to dial back the honey or maple syrup. You can replace a little bit of that sweetness with a few drops of a zero-calorie sweetener like stevia if you’re aiming for a true guilt free indulgence. Just remember, the syrup acts as a light binder too, so pull back slowly and test the dough consistency after each adjustment. Don’t forget to check out my no-bake peanut butter pie if you love this flavor profile!
Storage and Make Ahead Snacks with Your Protein Balls
The best part about these protein balls is that they are built for the future! You absolutely should treat them as reliable make ahead snacks because they last ages in the fridge. Once they are firm from their chill session, pop them into a truly airtight container. I usually find they stay perfectly fresh and delightfully chewy for about a week in the refrigerator. That means you can make one big batch on Sunday, and you’re set for nearly the entire work week—what a lifesaver!
If you happen to make a huge batch and you know they won’t get eaten right away? Go ahead and freeze them! You can lay them out first on a sheet pan so they don’t touch until they are solid, and then transfer them to a freezer bag. They freeze beautifully, and you can just grab one or two straight from the freezer and let it thaw for about five minutes. So convenient! For more brilliant things to prep ahead, you might want to look at how I use my egg muffin cups for quick breakfasts.
Frequently Asked Questions About Making Protein Balls
I know you’re going to love these, but often when I share a recipe, people have a few burning questions about substitutions or timing. That’s totally normal! I’ve collected the things people ask me most frequently about whipping up their own batch of amazing protein balls. When in doubt, remember that my goal is to help you make something that actually tastes good and keeps you fueled!
If you’re looking for other ways to pack in the protein without baking, I highly recommend giving my protein cheesecake recipe a try next—it’s deceptively easy!
Can I substitute the peanut butter in these protein balls?
Oh yes, you absolutely can! Peanut butter is great because it’s naturally sticky, but if you have allergies or just want to switch things up, almond butter is a fantastic swap. Cashew butter or sunflower seed butter work too. Just a heads up: sometimes natural almond butter can be runnier than peanut butter, so keep an eye on your dough consistency. If it seems too loose, just add another teaspoon of your protein powder or a little sprinkle of oats until it holds its shape nicely. It’s all about managing that fat texture!
What is the best protein powder to use for these quick energy bites?
This is a big one! The powder you choose really affects the final texture of these quick energy bites. Most people find that a standard whey protein powder works best because it absorbs moisture predictably. If you use a plant-based powder, sometimes they can be a bit drier or chalkier, so you might need that extra teaspoon or two of water we talked about during mixing.
For the smoothest result and to let that peanut butter shine, I really suggest starting with an unflavored or a good quality vanilla protein powder. That way, the flavor is exactly what you expect. Avoid anything heavily flavored unless you fundamentally want a totally different taste profile!
How long do these protein balls last if I use them for easy meal prep snacks?
That 30 minutes of chill time is just to set the shape so they aren’t messy to roll! They continue to firm up perfectly in the fridge. For easy meal prep snacks, just store them in an airtight container in the refrigerator. Honestly, they stay perfectly fresh and delicious for a full week. I’ve tested this thoroughly! You can take them out straight from the fridge and eat them immediately, or let them sit on the counter for about 5 minutes if you prefer a slightly softer texture. Either way, they hold up great!
Estimated Nutritional Data for These Protein Balls
Okay, let’s talk numbers! While these protein balls are intended as a healthy, convenient option, it’s always smart to have a general idea of what’s inside. Remember, since we are using natural peanut butter and honey, these figures are always an estimate. If you swap out your peanut butter for almond butter or use a different type of protein powder, these numbers will shift a bit, too! That’s just the nature of cooking at home, isn’t it?
This data breakdown is based on the recipe yielding about 12 servings, with the serving size being two of the little energy balls. This specific recipe, using the ingredients listed, comes out surprisingly balanced for a satisfying treat. We are looking for high protein and healthy fats to keep you full!
Here are the estimates for two balls: Calories hover right around 180, which is perfect for a morning boost or a quick refueling snack. You’re getting a fantastic 10 grams of protein per serving!
In terms of fats, you’re looking at about 9 grams total, mostly coming from the peanut butter and seeds, which is great fuel. And don’t forget the carbs—we see about 18 grams, with 3 of those being fiber. It’s a solid formula for sustained energy. If you like my approach to calculating macros in other recipes, you should definitely check out the nutrition breakdown for my high-protein waffles!
Share Your Homemade Protein Balls Creations
Alright, now that you know the secrets to making the absolute best protein balls—filling, chewy, and ready in minutes—I need to know what you think! Seriously, please come back here and leave a rating; five stars if these healthy dessert recipes saved your afternoon, but I want to see your honest feedback!
I’m always messing around in the kitchen, so I’d love for you to tell me what you tried! What substitutions did you make? Did you add dried cherries instead of raisins? Did you use almond butter? Drop all your trial-and-error successes and any funny kitchen mishaps in the comments below. I read every single one, and I might even feature your genius swap in the next update!
If you need to get in touch about something else, or just want to share a picture of your perfectly rolled batch, don’t hesitate to reach out through my contact page. Happy rolling, and enjoy that guilt-free energy!
PrintUltimate No-Bake Peanut Butter Oatmeal Protein Balls
Make these simple, no-bake peanut butter oatmeal protein balls for a quick, healthy snack or post-workout fuel. They are easy to prepare and perfect for meal prepping.
- Prep Time: 10 min
- Cook Time: 0 min
- Total Time: 10 min
- Yield: 12 servings
- Category: Snack
- Method: No-Bake
- Cuisine: American
- Diet: Vegetarian
Ingredients
- 1 cup rolled oats
- 1/2 cup peanut butter (natural, unsweetened)
- 1/2 cup vanilla or unflavored protein powder
- 1/4 cup ground flaxseed or chia seeds
- 1/4 cup honey or maple syrup
- 1 teaspoon vanilla extract
- 2 tablespoons water (or more, as needed)
Instructions
- Place the rolled oats, protein powder, and ground flaxseed in a medium bowl. Mix them together well.
- Add the peanut butter, honey or maple syrup, and vanilla extract to the dry ingredients.
- Mix everything with a sturdy spoon or your hands until a thick dough forms.
- If the mixture seems too dry and crumbly, add water one teaspoon at a time until the mixture holds together when pressed.
- Roll the mixture into small, uniform balls, about 1 inch in diameter.
- Place the finished balls on a plate or baking sheet lined with parchment paper.
- Refrigerate for at least 30 minutes to firm up before serving.
Notes
- Store these protein balls in an airtight container in the refrigerator for up to one week.
- For a chocolate version, add 2 tablespoons of unsweetened cocoa powder and use chocolate protein powder.
- If you prefer a lower sugar option, reduce the honey/syrup slightly and add a few drops of stevia or monk fruit sweetener.
Nutrition
- Serving Size: 2 balls
- Calories: 180
- Sugar: 8
- Sodium: 65
- Fat: 9
- Saturated Fat: 1.5
- Unsaturated Fat: 7.5
- Trans Fat: 0
- Carbohydrates: 18
- Fiber: 3
- Protein: 10
- Cholesterol: 0