

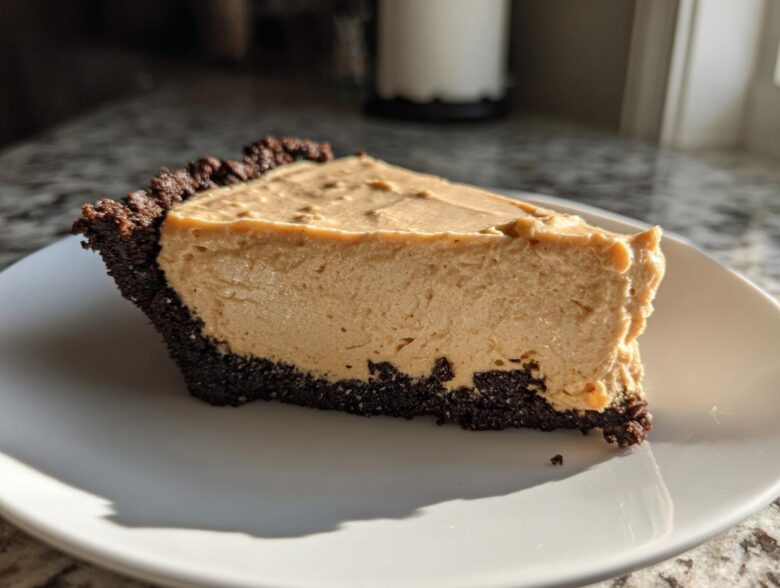
If you’re like me, sometimes you just need a show-stopping dessert without spending half the day in a hot kitchen. That’s where Jacob usually shines—he has this natural, easy confidence when it comes to throwing things together that I honestly envy! But for those times when even his spontaneous magic needs a blueprint, we turn to this perfect solution. Forget the oven; we are talking about the ultimate peanut butter pie. It emerges from the fridge rich, decadent, and ready to steal the spotlight. You absolutely need this simple recipe collection piece in your portfolio—it’s one of our easiest wins since our famous soft and chewy classic snickerdoodles!
Why This No Bake Peanut Butter Pie Recipe is Your New Favorite Dessert
If you’re like me, sometimes you just need a show-stopping dessert without spending half the day in a hot kitchen. That’s where Jacob usually shines—he has this natural, easy confidence when it comes to throwing things together that I honestly envy! But for those times when even his spontaneous magic needs a blueprint, we turn to this perfect solution. Forget the oven; we are talking about the ultimate peanut butter pie. It emerges from the fridge rich, decadent, and ready to steal the spotlight. You absolutely need this simple recipe collection piece in your portfolio—it’s one of our easiest wins since our famous soft and chewy classic snickerdoodles!
When I’m planning our menus—especially for big events—I need desserts that are guaranteed winners, and this No Bake Peanut Butter Pie checks every single box. We’re building an indulgent dessert that tastes like you slaved over it, but honestly, the active time is almost nothing. This recipe delivers that impossibly creamy peanut butter pie filling we all dream about, cradled perfectly in a buttery graham cracker crust. Seriously, it’s the magic combination of textures that makes people ask for the recipe immediately. It’s another fantastic project entry for our growing portfolio, much like our moist pistachio muffins.
The Ultimate Crowd Pleaser Dessert
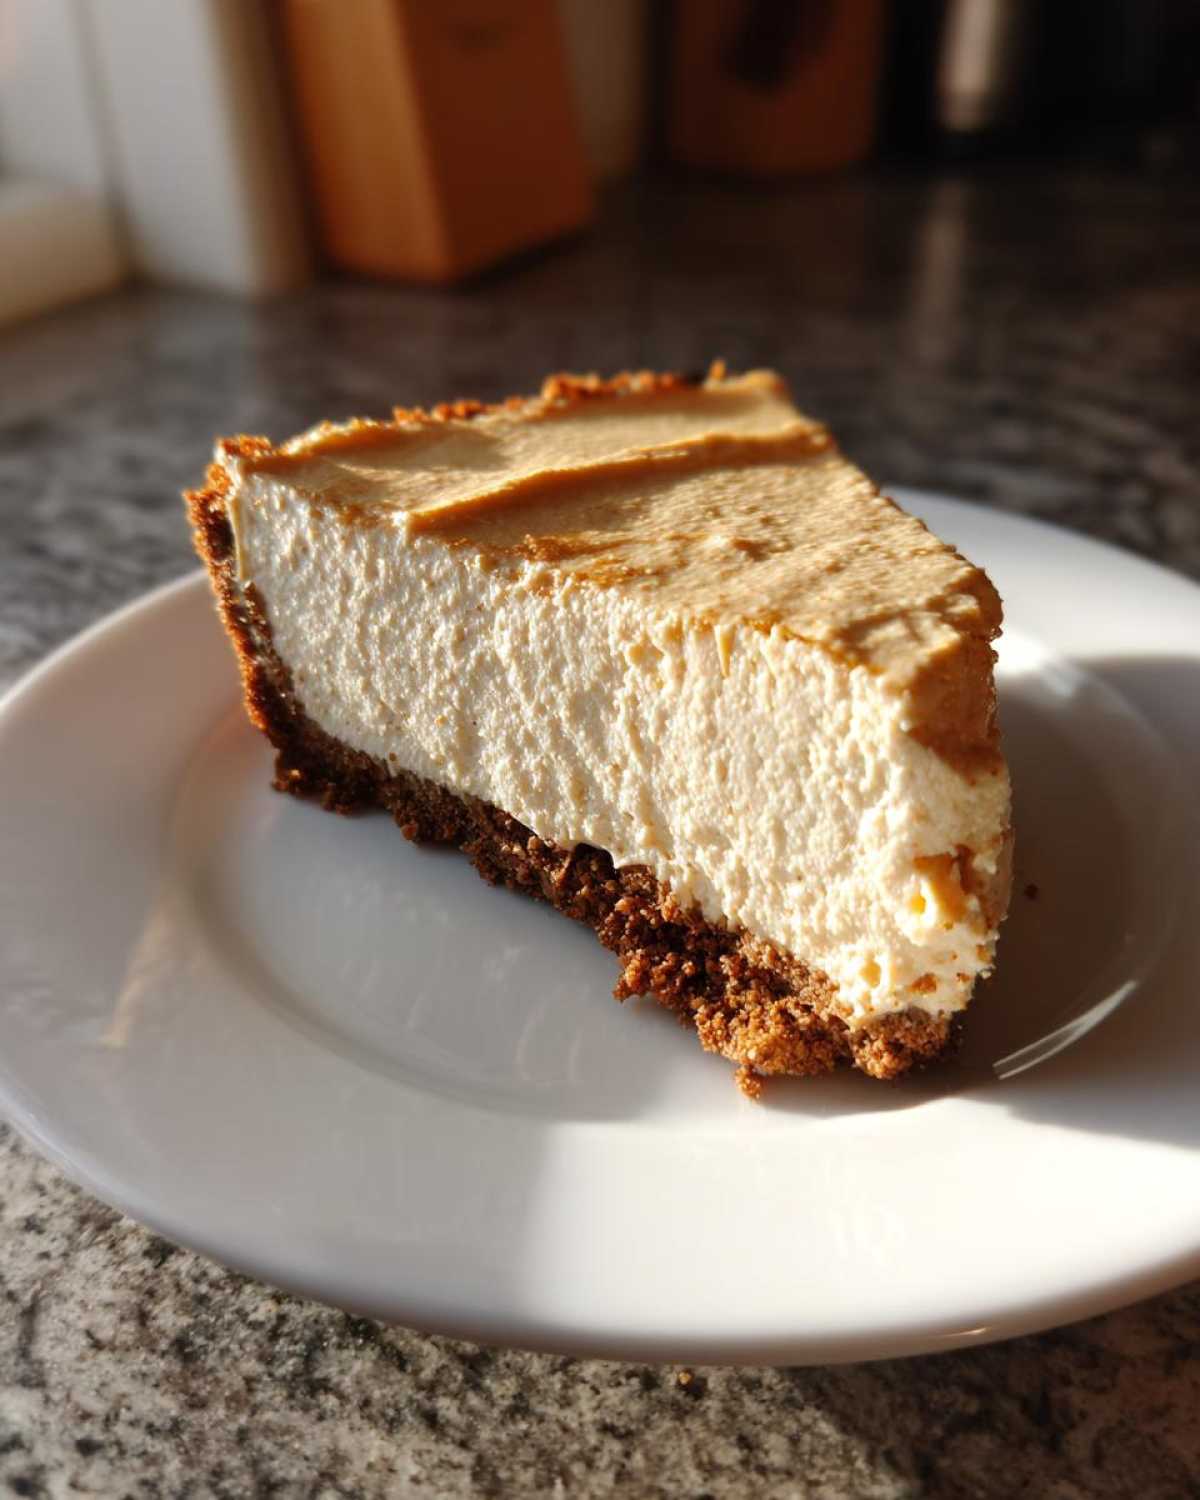
If you are hosting Thanksgiving, Easter, or just a Tuesday night dinner that needs a serious upgrade, this is your go-to crowd pleaser dessert. It’s rich, it’s sweet, it’s salty, and that classic peanut butter flavor appeals to everyone, kids and adults alike. It’s the kind of dessert that gets planned for weeks ahead because people know it’s coming. It’s comforting, familiar, and just tastes like happiness in a slice!
Quick Peanut Butter Dessert Ready in Minutes
This is honestly one of the best quick peanut butter desserts we have in our collection. You spend about 20 minutes actively mixing things, and then you let the refrigerator do all the heavy lifting. I love that we have zero active cooking time; these are the best kinds of no oven desserts because they keep the kitchen cool and save my sanity when the main course is hectic. We can whip this up right after dinner prep and forget about it until it’s time for dessert!
Ingredients for the Creamy Peanut Butter Pie
Okay, Amelia planned this one out perfectly, as usual! When we gather the items for this Homemade Peanut Butter Pie, I always lay them out first. A big part of making sure this pie comes out perfectly creamy is having everything ready to go, especially since the crust goes straight into the freezer. Trust me on laying out these ingredients before you turn on the mixer—it just flows so much better!
For the Graham Cracker Crust Pie
We are sticking to the classic buttery graham cracker crust for this one. It provides the perfect crunchy counterpoint to that silky filling. Here’s what you’ll need to make sure that base is solid:
- 1 1/2 cups graham cracker crumbs
- 1/4 cup granulated sugar
- 6 tablespoons unsalted butter, melted
Make sure that butter is fully melted before you start blending! Jacob always says if you’re using butter, treat it right and make sure it’s ready to go.
For the Rich Dessert Pie Filling
This is where the magic happens, folks. We are building layers of pure, irresistible peanut butter heaven here. Don’t substitute the cream cheese; it’s the backbone of this whole operation, giving us that luxurious structure we want for this rich dessert pie filling.
- 1 (8 ounce) package cream cheese, softened
- 1 cup creamy peanut butter (I prefer the standard kind, not natural, for best texture!)
- 1 (14 ounce) can sweetened condensed milk
- 1 teaspoon vanilla extract
And finally, we need the lift component. We whip this separately so we can fold it in gently later:
- 1 cup heavy whipping cream
- 1/4 cup powdered sugar
- Optional Topping: Chocolate chips or chopped peanut butter cups (Because why not make it extra indulgent, right?)
How to Make This Easy Peanut Butter Pie Recipe
Since this is a completely No Bake Peanut Butter Pie, the key here is organization—and patience during the chilling phase! Jacob always laughs because I manage the timing down to the minute, but trust me, sticking to the steps ensures that gorgeous, set texture. This entire Active Prep takes about 20 minutes before it heads off to relax in the cold. If you’re looking for more quick project wins, check out my guide on making homemade teriyaki sauce! Now, let’s get blending!
Assembling the Graham Cracker Crust Pie
First things first, we need that base. Grab your graham cracker crumbs, the quarter cup of sugar, and your melted butter. Mix them all together until it looks like wet sand—just barely clinging together. Press that mixture firmly into your pie plate, making sure you push it up the sides a bit. Don’t be shy here! Once it’s packed down nice and even, pop that Graham Cracker Crust Pie shell right into the freezer. It needs to firm up while you tackle the star of the show.
Creating the Creamy Peanut Butter Pie Filling
While the crust chills, we start the filling. Get your softened cream cheese humming in the mixer until it’s totally smooth—no lumps allowed! Then, slowly beat in the peanut butter and the whole can of sweetened condensed milk until everything is beautifully blended. Don’t forget the vanilla! Next, whip your heavy cream and the powdered sugar in a completely separate, clean bowl until you get stiff peaks. This is important! Now for the careful part: gently fold maybe two-thirds of that whipped cream into the peanut butter base. You want to stop folding the second you see no white streaks left—keep that air in there for the best Creamy Peanut Butter Pie filling!
Chilling and Finishing Your Homemade Peanut Butter Pie
Once that filling is mixed gently, spoon it right into your chilled crust and spread it smooth. Then, we wait! This step feels like forever, but you must refrigerate the pie for a minimum of 4 hours. Seriously, four hours lets it set up just right. When it’s done chilling, retrieve the remaining whipped cream and swirl it beautifully over the top. Maybe scatter some chopped Reese’s cups on there for that extra sweetness. You can see the technique in action in guides like the one over at The Baker Mama, too, if you need another visual! Slice, serve, and wait for the applause for your fantastic Homemade Peanut Butter Pie.
Tips for the Best Peanut Butter Pie Success
You know how it is—once you nail the basic Peanut Butter Pie recipe, you immediately start wondering how you can tweak it for next time! Amelia and I love experimenting with these small details, mainly because it means we get to eat more pie. The original recipe we made is fantastic, truly a top-tier Sweet and Salty Pie, but here are a few little tricks we’ve picked up to make sure your success rate stays at 100% every single time you make it. If you love peanut butter goodness, you absolutely have to check out our Peanut Butter Cup Cookies too!
Crust Variations: Graham Cracker Crust Pie vs. Oreo Crust Peanut Butter Pie
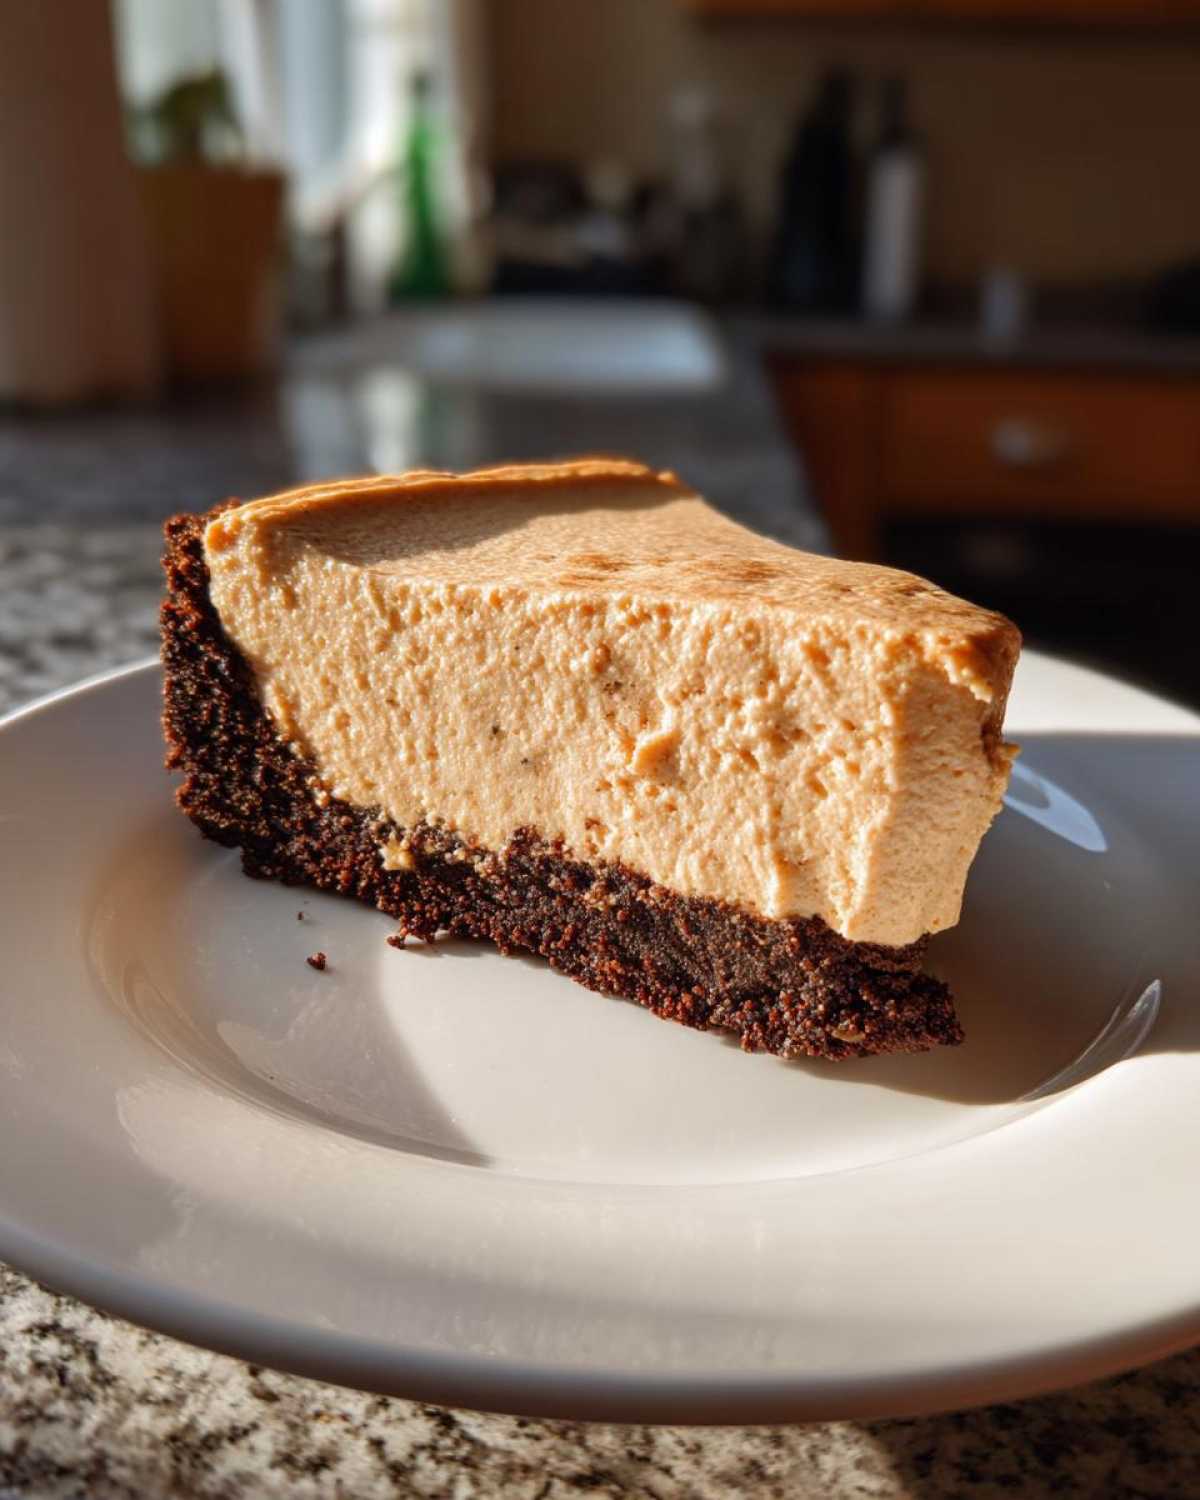
Using that sweet, buttery graham cracker crust is absolute perfection, but sometimes you just crave a little more chocolate depth. If you want to pivot to an Oreo Crust Peanut Butter Pie, the swap is unbelievably simple! You just need about 24 Oreos—yes, the whole cookie, filling and all—crushed up super fine. You use the same amount of melted butter, about 6 tablespoons, to bind them together. Press it in the same way, freeze it, and you are good to go! It adds a nice, dark contrast to the creamy filling.
Achieving the Perfect Whipped Topping
I love whipping fresh heavy cream; it tastes cleaner and lighter than anything store-bought. But I will admit, if you live somewhere really humid, or if you just want a topping that holds its shape rock-solid for hours on a buffet table, homemade whipped cream can sometimes sag a little. If you need that extra insurance policy, you can definitely swap out the heavy cream and powdered sugar step for a tub of frozen whipped topping—you know, the kind you buy frozen in the tub. Make sure it’s completely thawed before you fold it in, just following the package directions. It’s a little less effort and locks in that final, fluffy layer perfectly.
Storage and Make Ahead Dessert Recipes for This Peanut Butter Pie
One of the best things about this No Bake Peanut Butter Pie is that it’s just as good—if not better—the next day! This is crucial when tackling big dinners or holiday menus, because anything that can be made early is an automatic win in my book. Jacob sighs happily when I tell him we don’t need to worry about this dessert after the main course is done cooking, because it’s already finished!
When we make this beauty for larger events, it’s always one of our go-to make ahead dessert recipes. You’ve got that buttery crust and that rich filling, and letting it chill solidifies everything so beautifully. If you need more structure for managing your holiday baking schedule, definitely check out Amelia’s master list of make ahead dessert recipes—it keeps everything organized.
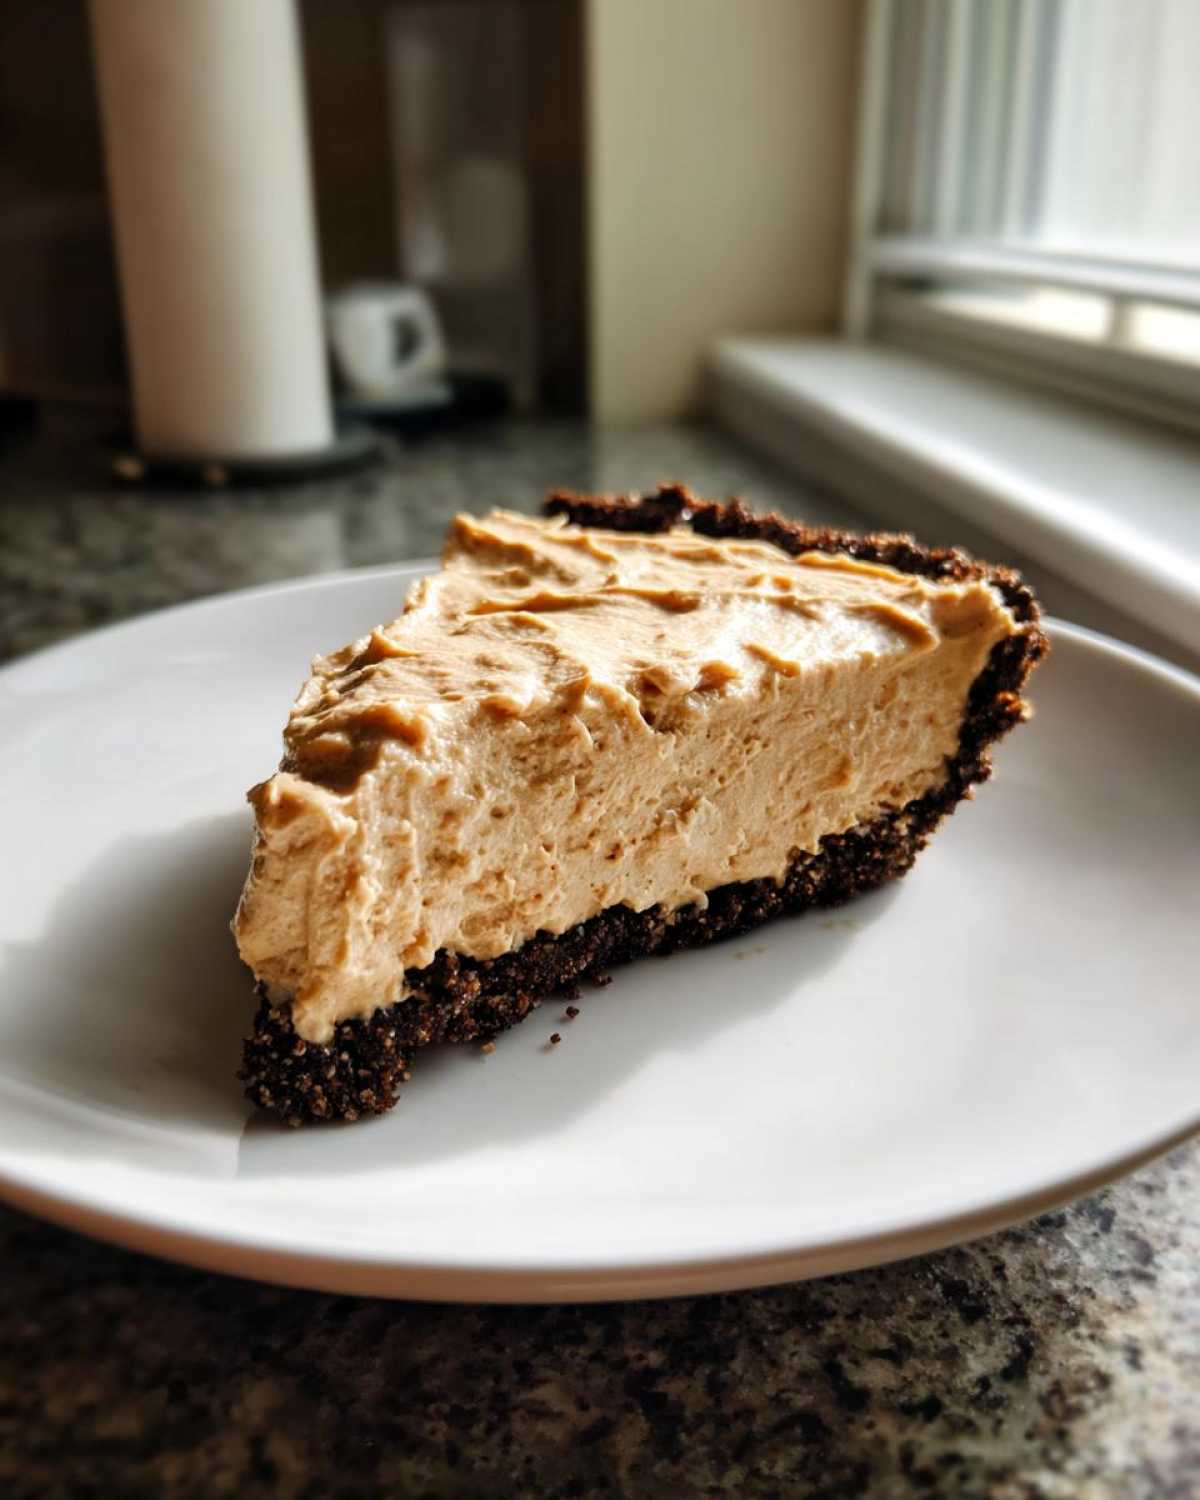
You can safely store your finished Peanut Butter Dessert right in the refrigerator. I just cover it loosely with plastic wrap, making sure the wrap doesn’t stick directly to the whipped topping if you’ve already added that final layer. It holds up incredibly well for about two to three days. That means you can easily prepare it on a Wednesday if you’re hosting on a Friday, and it will still taste absolutely divine!
Now, if you’re making it the day before you plan to serve it, hold off on that final whipped cream topping until just before serving. The whipped cream does best when it’s only had a few hours to chill. If you leave it on for a full 24 hours, it can sometimes deflate a tiny bit. But honestly, even if that happens, it still tastes amazing, so don’t stress too much if timing gets tricky!
Serving Suggestions for Your Indulgent Peanut Butter Dessert
Okay, the pie is set, it’s perfectly firm, and you’ve wrestled with the knife (we all know that’s the hardest part of any pie!). Now we get to the fun part—making it visually stunning. This Indulgent Peanut Butter Dessert is perfectly rich all on its own, but a few extra touches just elevate it from delicious to drool-worthy. Jacob really gets into this part because he loves making things look gourmet, even when the prep was super easy.
The best part of this pie is how versatile it is when it comes to Peanut Butter Pie Toppings. You really can’t go wrong, but I have a few tried-and-true suggestions that we always add to our portfolio pieces.
- Chocolate Matters: If you didn’t skip the chocolate chips in the filling, you could melt some high-quality dark chocolate and drizzle delicate lines across the top. It gives it that perfect sweet and salty vibe we love so much.
- Peanut Power: Chopped peanuts or even just a light dusting of coarse sea salt right before serving really brings out the nutty flavor of the filling.
- Peanut Butter Cups: If you have any leftover Reese’s cups, chop them roughly and cover the entire top layer. It’s over the top, but that’s what an indulgent dessert is for! You can find inspiration for rich toppings over on Handle the Heat.
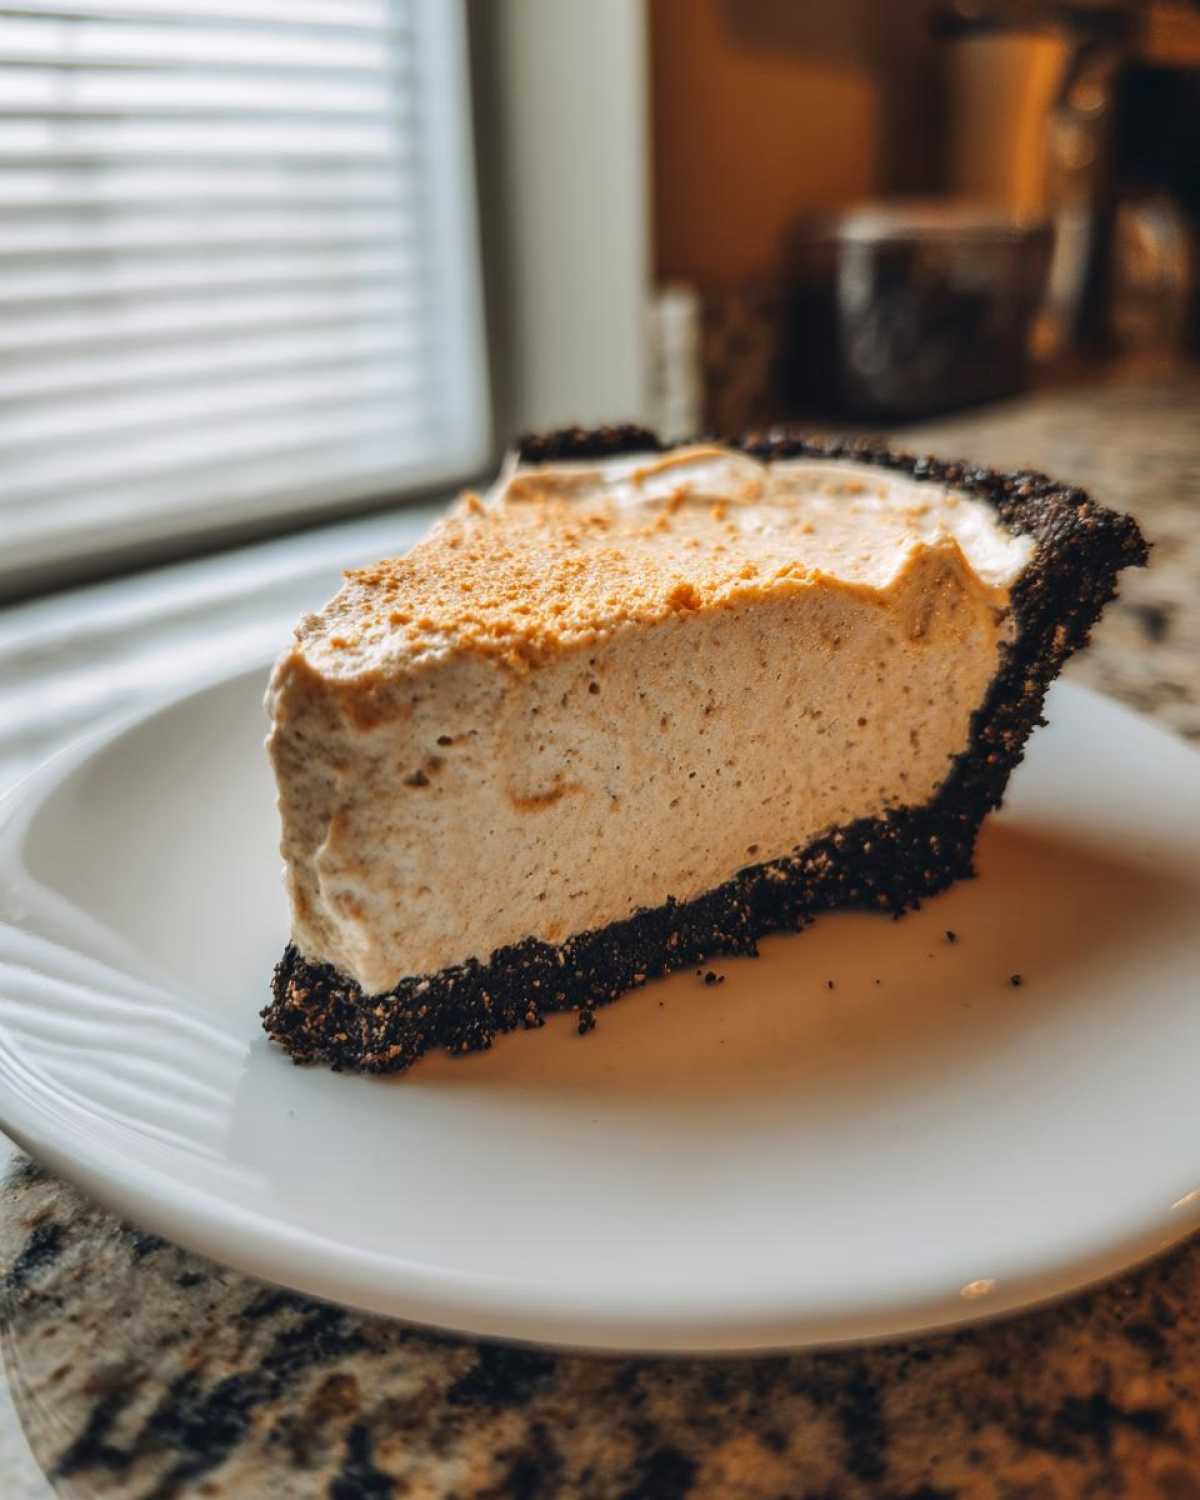
When serving this Rich Dessert Pie, we usually keep things simple since it’s so heavy. It pairs wonderfully with a crisp, slightly tart side dish on the plate. Think fresh raspberries or even a very lightly sweetened strawberry compote. The bright fruit cuts through the richness of the cream cheese and peanut butter beautifully. If you’re into chocolate, you might also want to serve a small side of something like our fudgy date brownies alongside it, just for variety at the table!
Frequently Asked Questions About Making This Dessert
It’s totally normal to have questions when you’re about to launch a new recipe project! Even though this is an Easy Peanut Butter Pie Recipe, sometimes small ingredient swaps can change the whole dynamic, and we want to make sure your pie turns out perfectly rich every time. Here are a few things Amelia and I are always asked after we pull this beauty out of the fridge for a gathering. If you’ve got other burning questions, feel free to drop them in the comments below, or check out the rest of our blog archives!
Can I use crunchy peanut butter in this Creamy Peanut Butter Pie?
Oh, that is a classic question! Officially, we call for creamy peanut butter because we are striving for the absolute silkiest, most uniform texture in this pie—hence the name, Creamy Peanut Butter Pie. However, if you are a devoted crunchy fan, go for it! Just know that using crunchy peanut butter will definitely give your filling slightly more texture. It won’t be as smooth as a classic Peanut Butter Cream Pie, but it will still be delicious. It just changes the overall mouthfeel a bit.
What is the best way to store leftover No Bake Peanut Butter Pie?
This is important, especially if you’re using this as a Simple Thanksgiving Dessert and need to save some for later! Since this has all those creamy dairy components, you always want to keep this pie refrigerated. Cover it loosely with plastic wrap—make sure the wrap doesn’t touch the whipped topping unless you prefer it to get a little squished. As I mentioned in my baking notes, this pie is fantastic as a Make Ahead Dessert Recipe and will keep beautifully for up to three days. It firms up even more after the first day, too!
Estimated Nutritional Data for One Slice of Peanut Butter Pie
Since we consider every recipe we add to Taste Portfolio a masterpiece—a finished project, even—we know that sometimes people want the details on what they are eating! We are striving for transparency, even though Jacob insists that debating calories defeats the joy of eating a perfect slice of peanut butter pie. These numbers are based on dividing the entire recipe yield (8 servings) by the ingredients listed above, so think of them as a gentle guide, not a binding contract!
Here’s what you can generally expect in one slice of this decadent treat:
- Serving Size: 1 slice
- Calories: 450
- Sugar: 35g
- Sodium: 250mg
- Fat: 28g
- Saturated Fat: 12g
- Unsaturated Fat: 16g
- Trans Fat: 0g
- Carbohydrates: 45g
- Fiber: 2g
- Protein: 10g
- Cholesterol: 55mg
Just a quick note—remember these values are estimates based on standard ingredient amounts. If you swap out the sweetened condensed milk for a keto option or use a crunchy peanut butter, those numbers change right up! For our purposes, though, this gives you a solid idea of the rich reward waiting for you after all that chilling time. Enjoy every bite; you planned this dessert perfectly!
Share Your Perfect Peanut Butter Pie Creation
Well, that’s it, friends! We’ve taken this wonderfully easy, absolutely decadent peanut butter pie from a blueprint to a finished project right here in our kitchen studio. Now, the portfolio isn’t complete until we see what you’ve made! I truly hope this becomes your go-to quick dessert for unexpected guests or when that sweet-and-salty craving hits.
We pour a lot of care into testing and documenting these pieces for our collection, and your feedback is part of the final polish. Did you stick to the classic graham cracker crust, or did you try the Oreo variation? Maybe you tried a wild new topping? Don’t keep that genius idea to yourself!
We absolutely love hearing about your successes and any little tweaks you made to fit your family’s taste. Drop a rating down below—five stars if this incredibly creamy, no-bake wonder made your week! And if you have any major questions that weren’t covered in the FAQs, please head over to our contact page and send us a message. We are always here to help fellow planners and creators perfect their delicious projects!
PrintEasy No-Bake Creamy Peanut Butter Pie

You need this simple, rich, and creamy peanut butter pie recipe for your next gathering. It uses a buttery graham cracker crust and requires no oven time, making it a perfect quick dessert.
- Prep Time: 20 min
- Cook Time: 0 min
- Total Time: 4 hr 20 min
- Yield: 8 servings
- Category: Dessert
- Method: No-Bake
- Cuisine: American
- Diet: Vegetarian
Ingredients
- 1 1/2 cups graham cracker crumbs
- 1/4 cup granulated sugar
- 6 tablespoons unsalted butter, melted
- 1 (8 ounce) package cream cheese, softened
- 1 cup creamy peanut butter
- 1 (14 ounce) can sweetened condensed milk
- 1 teaspoon vanilla extract
- 1 cup heavy whipping cream
- 1/4 cup powdered sugar
- Optional Topping: Chocolate chips or chopped peanut butter cups
Instructions
- Prepare the crust: Mix the graham cracker crumbs, 1/4 cup granulated sugar, and melted butter in a medium bowl until the mixture resembles wet sand. Press this mixture firmly into the bottom and up the sides of a 9-inch pie plate. Place the crust in the freezer while you prepare the filling.
- Make the filling base: In a large bowl, beat the softened cream cheese with an electric mixer until smooth. Add the creamy peanut butter and sweetened condensed milk. Beat on medium speed until completely combined and smooth. Mix in the vanilla extract.
- Whip the cream: In a separate, clean bowl, beat the heavy whipping cream and 1/4 cup powdered sugar until stiff peaks form. This creates your whipped topping.
- Fold and assemble: Gently fold about two-thirds of the whipped cream mixture into the peanut butter mixture until just combined. Do not overmix.
- Fill the crust: Spoon the peanut butter filling evenly into the chilled graham cracker crust. Smooth the top with a spatula.
- Chill: Cover the pie loosely with plastic wrap and refrigerate for at least 4 hours, or until the filling is firm.
- Finish and serve: Before serving, top the pie with the remaining whipped cream. Add chocolate chips or chopped peanut butter cups if you want an extra indulgent dessert. Slice and enjoy your crowd pleaser dessert.
Notes
- For an Oreo crust peanut butter pie, substitute the graham cracker crumbs with finely crushed Oreo cookies (about 24 cookies) and use the same amount of melted butter.
- If you want a richer topping, use a stabilized whipped topping or a tub of frozen whipped topping thawed according to package directions instead of whipping your own cream.
- This is a fantastic make ahead dessert recipe; it holds up well in the refrigerator for up to three days.
Nutrition
- Serving Size: 1 slice
- Calories: 450
- Sugar: 35
- Sodium: 250
- Fat: 28
- Saturated Fat: 12
- Unsaturated Fat: 16
- Trans Fat: 0
- Carbohydrates: 45
- Fiber: 2
- Protein: 10
- Cholesterol: 55