

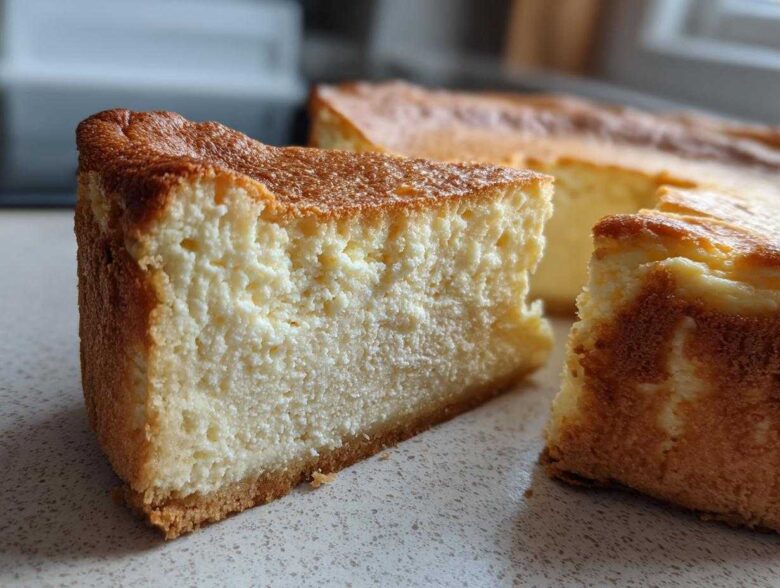
Oh, you know those nights? You’ve absolutely crushed your workout, you’re feeling great about hitting your daily goals, and then—BAM!—the craving hits. You desperately want something decadent, something overwhelmingly creamy, but you just cannot afford the sugar bomb of a traditional dessert. That was Amelia’s exact situation when she sketched out the initial blueprint for this recipe. Jacob and I love planning, but making a truly satisfying **Protein Cheesecake** that still tastes like the real indulgence? That took serious testing! I am so thrilled to finally share this **Baked Protein Cheesecake** that packs a whopping 35 grams of protein per slice. It’s seriously macro-friendly, yet it feels like cheating! If you want to see some of our other recipe blueprints, check out our main blog page.
Why This Baked Protein Cheesecake is Your New Favorite Dessert
When we were developing this dessert, my main goal was keeping it close to a real, traditional cheesecake experience. It’s easy to make a chalky, sad protein bar alternative, but that’s not what we’re about here at Taste Portfolio! This recipe is genuinely designed to hit all the right notes for your fitness journey without sacrificing those creamy, delicious moments we all deserve.
- It’s unbelievably light while still feeling rich and satisfying.
- The protein count is seriously impressive—we’re talking major muscle fuel here!
- It cures that sweet tooth completely, making it a true guilt-free cheesecake treat.
Incredible Texture Using Cottage Cheese Cheesecake Recipe Secrets
Okay, here’s our secret for that amazing texture: we ditch half the traditional cream cheese. Jacob insisted we try blending low-fat cottage cheese until it was absolutely silken smooth, almost like whipped silk. When you combine that with non-fat Greek yogurt and the right stabilizer (the protein powder helps here!), you get supreme creaminess without the heavy fat load. Trust me, you won’t even know the cottage cheese is there; it just delivers pure smoothness!
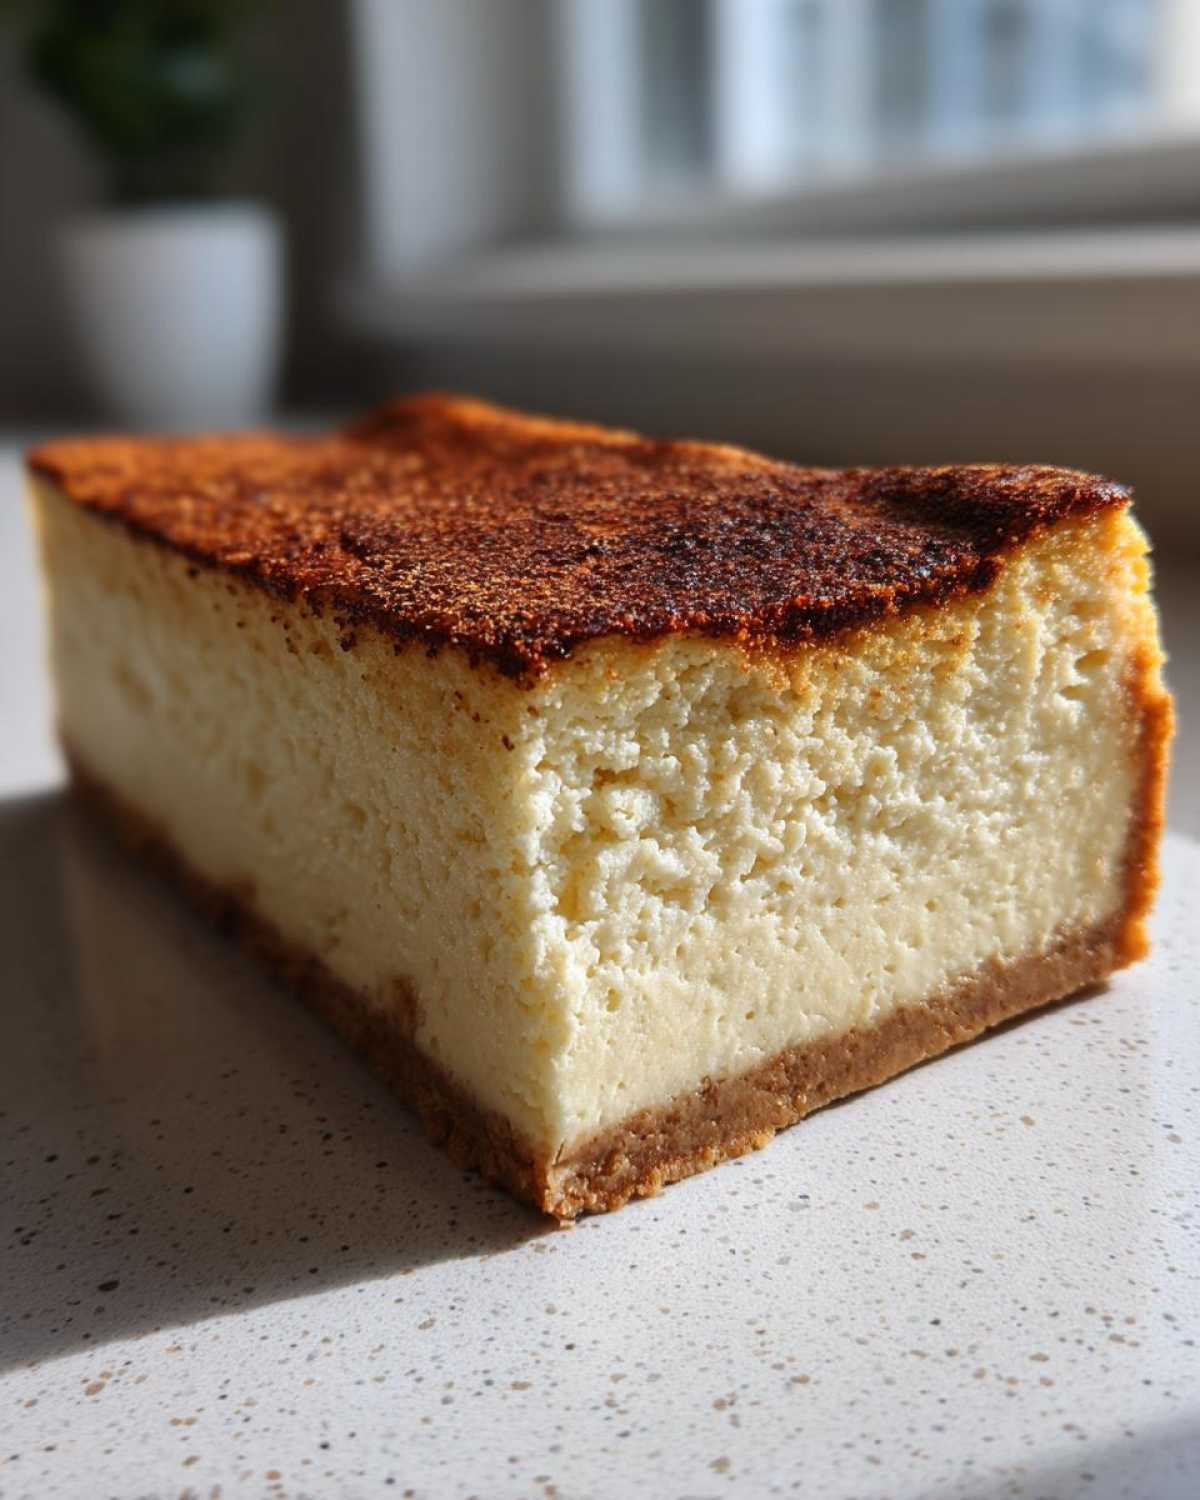
Macro Friendly Cheesecake: 35g Protein Per Slice
This is where the magic really happens for anyone tracking their intake. When portioned out into eight slices, this is a legitimate **Macro Friendly Cheesecake**. We consistently hit 35 grams of protein per serving. It’s the definition of a **Dessert with High Protein Content**, meaning you can enjoy it straight after a heavy lifting session and still feel like you’re treating yourself right. It’s dessert that actually *works* for your goals!
Gathering Ingredients for Your Ultimate Protein Cheesecake
Alright, planning time! As a Project Manager, I live and breathe ingredient organization, and for this **Protein Cheesecake**, precision really matters—especially with the dairy. Jacob always jokes that if my lists aren’t laminated, I don’t trust the recipe, ha! We need simple, quality components to build that perfect base and texture. But before you even look at the list, I have one crucial instruction that cannot be skipped for this texture: you need to drain that cottage cheese until it’s almost dry! Seriously, press it between paper towels or let it sit in a fine-mesh sieve for an hour. If you skip this, your filling will be watery, and we want supreme creaminess, not soup! We used recipes like our Cottage Cheese Microwave Brownie as a test run just to perfect the dairy drainage technique.
Crust Component Ingredients
The crust is simple, gluten-free, and gives us that lovely little crunch to offset the filling. For this part, you’ll need:
- 1 cup almond flour
- 1/4 cup erythritol or your preferred sweetener (use the granular kind here!)
- 4 tablespoons melted coconut oil
Mix these up until they look like wet sand. That’s when you know the oil has coated everything perfectly and it’s ready to press into your pan!
Creamy Cottage Cheese Cheesecake Recipe Filling
This is the heart of our **High Protein Cheesecake Recipe**, where we swap traditional fats for muscle-building powerhouses. Make sure your protein powder is one you genuinely like the taste of, because it’s a main flavor component here! You will need:
- 16 ounces low-fat cottage cheese, drained very, very well
- 1 cup plain non-fat Greek yogurt
- 1/2 cup vanilla whey or casein protein powder
- 1/2 cup erythritol or your preferred sweetener (you can use powdered here for mixing ease)
- 2 large eggs
- 1 teaspoon vanilla extract
- 1 tablespoon lemon juice (this brightens the whole flavor!)
- Pinch of salt
Get all those smooth, high-protein goodies ready to blend, and remember that drained cottage cheese warning!
Step-by-Step Instructions for the Baked Protein Cheesecake
Now for the fun part—turning all those gorgeous ingredients into the ultimate **Healthy Cheesecake Dessert**! Baking a perfect cheesecake, even a high-protein one, is all about control. We want creamy, not cracked! So, pay close attention to those temperature shifts we use here; they make all the difference between a beautiful slice and something scary looking. If you want to study some of our other successful baking blueprints, take a look at my pumpkin cheesecake recipe for technique inspiration!
Preparing the Crust and Preheating
First things first, let’s get that oven warm! Preheat it to 325°F (160°C). You’ll need a 7-inch springform pan, and make sure you line the bottom with parchment paper first—zero sticking is the goal! Take your crust ingredients—the almond flour, 1/4 cup sweetener, and melted coconut oil—and mix them until they are evenly combined and crumbly. Press that mixture firmly into the bottom of your prepared pan. Then, pop it into the oven for just 8 minutes to set up. Pull it out and let it cool off a little while you whip up the filling.
Achieving a Smooth Filling for Your Creamy Protein Dessert
This is the absolute most important blending step for a truly **Creamy Protein Dessert**. You must work in stages! In your food processor or powerful blender—and I mean powerful, we need smooth city—add only the cottage cheese and the Greek yogurt first. Blend those two until they are completely, totally smooth. Stop and scrape the sides several times, okay? Once that dairy base is luscious, *then* you add your protein powder, remaining sweetener, eggs, vanilla, lemon juice, and salt. Pulse until it’s just perfectly creamy. Seriously, stop blending as soon as it looks uniform; we don’t want to over-aerate those eggs!
Baking and Cooling the Protein Cheesecake to Prevent Cracking
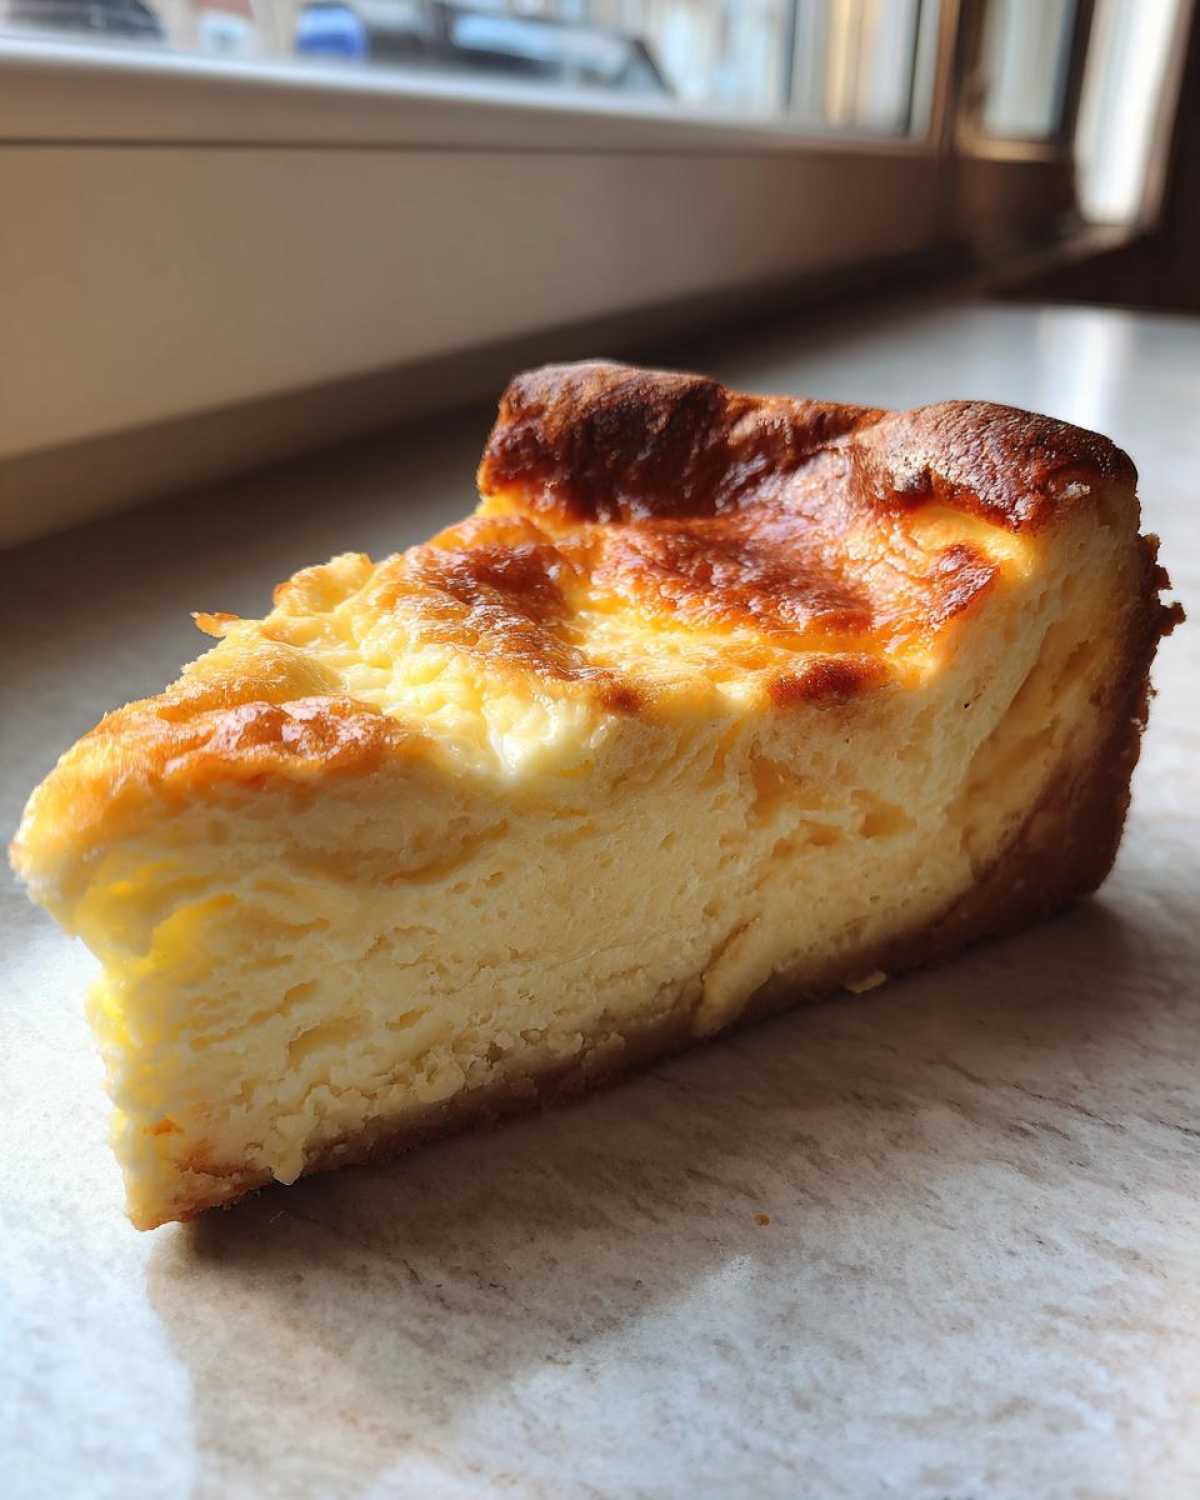
Pour that beautiful filling over your slightly cooled crust. Tap the pan gently on the counter a couple of times to get rid of any big air pockets hiding underneath. Bake it for 45 to 55 minutes. You are looking for the edges to seem set, but give that very center a gentle wiggle—it should still have a tiny bit of wobble! Here’s the trick for no cracks: turn the oven OFF completely. Crack the door open just a tiny bit and leave the **Protein Cheesecake** inside for one full hour. After that hour comes the final step: let it cool completely on the counter, then cover it and chill it for at least 6 hours, but preferably overnight. That long, slow cool-down is non-negotiable for perfection!
Tips for the Perfect Healthy Cheesecake Dessert
We’ve nailed the bake, but since this is a delicate **Macro Friendly Cheesecake**, a few extra tips can elevate it from good to absolutely legendary! Jacob sometimes gets impatient waiting for the long chill time, but honestly, skipping those hours in the fridge is the fastest way to a runny dessert. Stick with the plan, and you’ll be rewarded with the best texture. I pulled some of the notes from the recipe card that really helped us avoid disaster when testing this version.
Making This Recipe a No Bake Protein Cheesecake Variation
Life happens, and sometimes you just can’t use the oven, right? Good news! This mixture is incredibly versatile. If you want to turn this into a **No Bake Protein Cheesecake**, the process is actually simpler, although the final texture will be a little lighter and fluffier, more like a mousse. You just skip all the oven steps—no pre-baking the crust, no baking the filling, no gradual cooling! Follow the crust instructions, press it into the pan, and then pour in the filling. Just make sure you give it a long chill—we found that chilling for at least 8 hours, or even better, overnight, is necessary to let those protein powders and dairy set up correctly so it holds its shape when you slice it.
Portion Control: Creating Mini Protein Cheesecakes
If you’re doing **Protein Dessert Meal Prep** or just struggling with overindulging (I know I do!), making **Mini Protein Cheesecakes** is honestly the perfect solution. They bake faster, they look super cute, and it’s impossible to accidentally eat half the pan! You can use a standard muffin tin lined with paper liners, or sometimes I use silicone muffin molds for easy popping out. Since the portions are smaller, the baking time drops significantly. Instead of 45 to 55 minutes, check them around the 18 to 20-minute mark. You’re looking for the same set edges and slight wobble, but they will firm up much quicker. Remember to still use that gradual cooling trick—turn the oven off and let them sit inside for 30 minutes before taking them out completely!
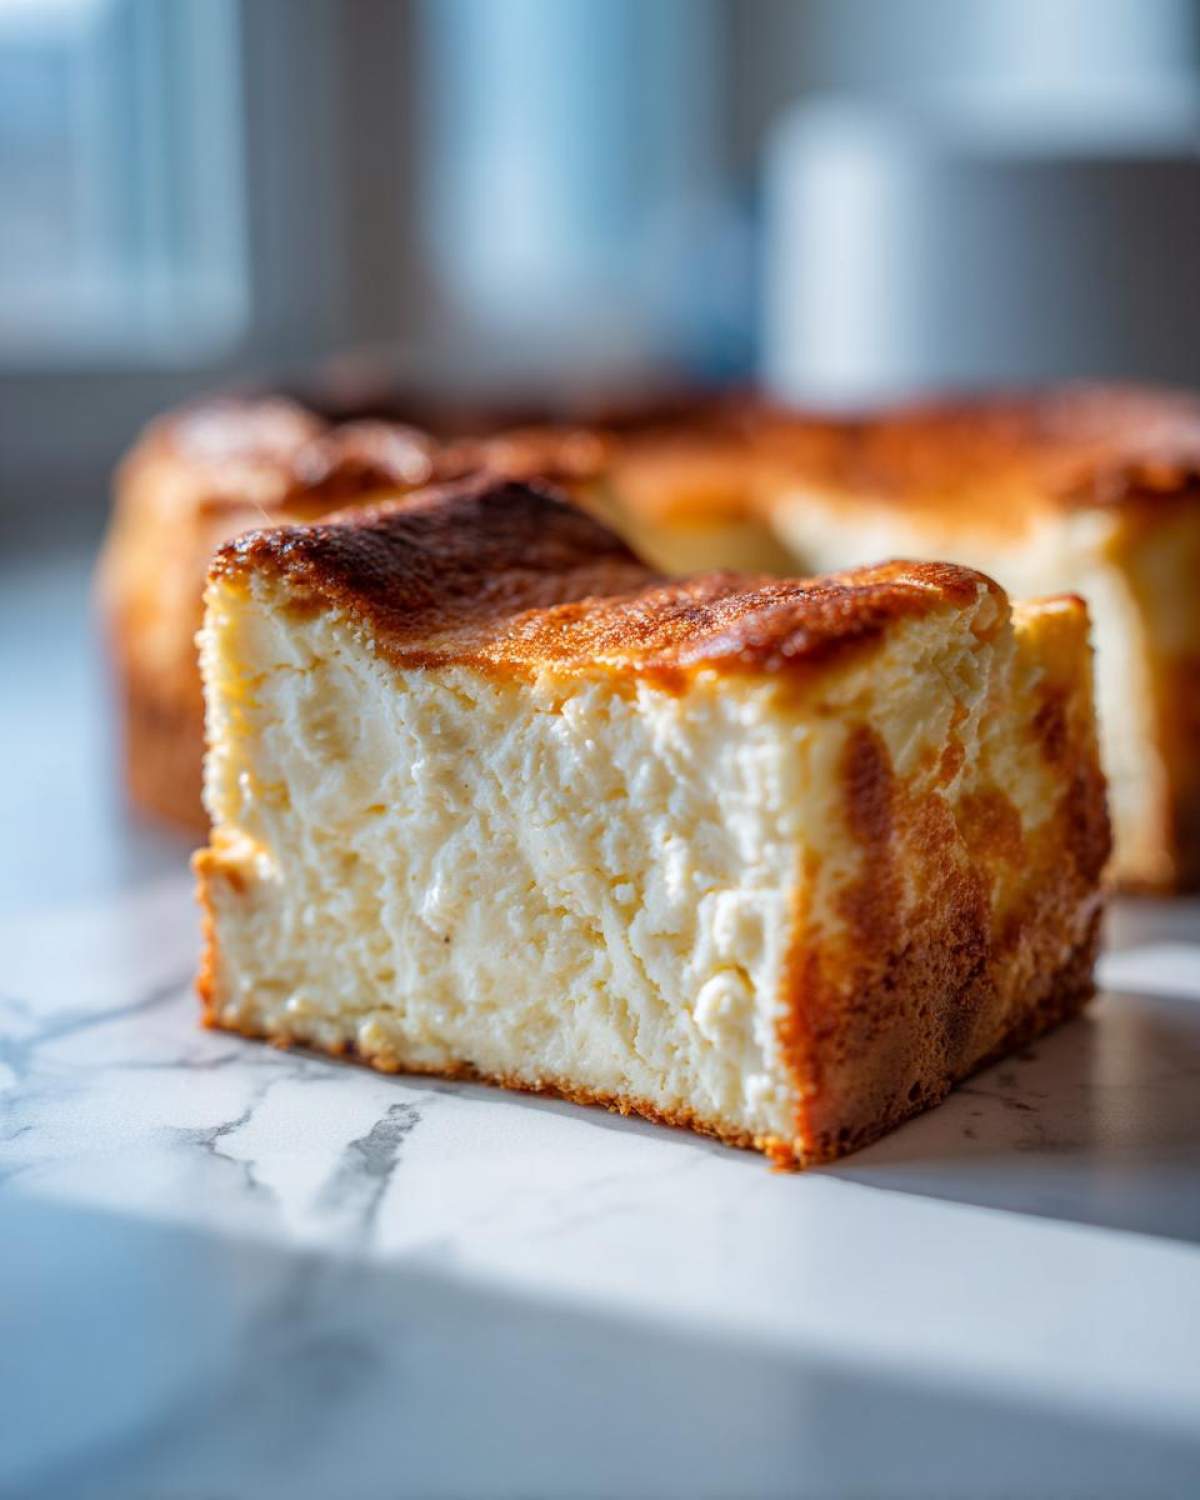
These little adjustments let you treat yourself whenever you want, and they taste amazing straight from the fridge. If you want more tips on creating your own healthy dessert blueprints, check out my guide on making caramel chocolate cookies!
Storage and Making Ahead with Your Protein Dessert Meal Prep
One of the things I absolutely love about this **Baked Protein Cheesecake** structure is how wonderfully it holds up as a planned treat. This is the ultimate **Protein Dessert Meal Prep** item because, honestly, it tastes even better on Day Two! Because the recipe relies on cottage cheese and Greek yogurt—which are naturally very stable—we don’t have the same texture degradation you sometimes see in classic cheesecake.
You must store it covered tightly in the refrigerator. I like to use a cheesecake carrier or just plastic wrap pressed gently over the top to keep it from absorbing any fridge odors. It stays absolutely perfect for about four to five days this way, giving you nearly a whole week of **Dessert with High Protein Content** ready to grab!
Now, about reheating—don’t even bother! This wonderful **Macro Friendly Cheesecake** is meant to be enjoyed chilled. Heating it up causes that gorgeous, dense texture made in the oven to melt down strangely and lose its structural integrity. Just pull out your portion straight from the fridge when you want that satisfying, cold, **Guilt Free Cheesecake Treat**. If you’re prepping ahead for breakfast instead of dessert, you should definitely check out Jacob’s best sausage egg bake recipe too; that one reheats like a dream!
Serving Suggestions for Your Dessert with High Protein Content
So you’ve waited, the cheesecake has chilled, and now it’s time to serve this beautiful, **Macro Friendly Cheesecake**! While it honestly stands up perfectly on its own—that 35g of protein hitting just right—a little topping always makes dessert feel special, right? Since Jacob and I are always looking to keep things relatively **Low Calorie Cheesecake** friendly, we stick to toppings that add flavor and visual appeal without loading on unnecessary sugars.
My favorite suggestion, and one that lets the cheesecake flavor really shine, is fresh fruit. You absolutely cannot go wrong with brightly colored berries. A handful of fresh raspberries or sliced strawberries on top of your slice of **Protein Cheesecake** adds the perfect slight tartness that cuts through the richness. They look gorgeous, too!
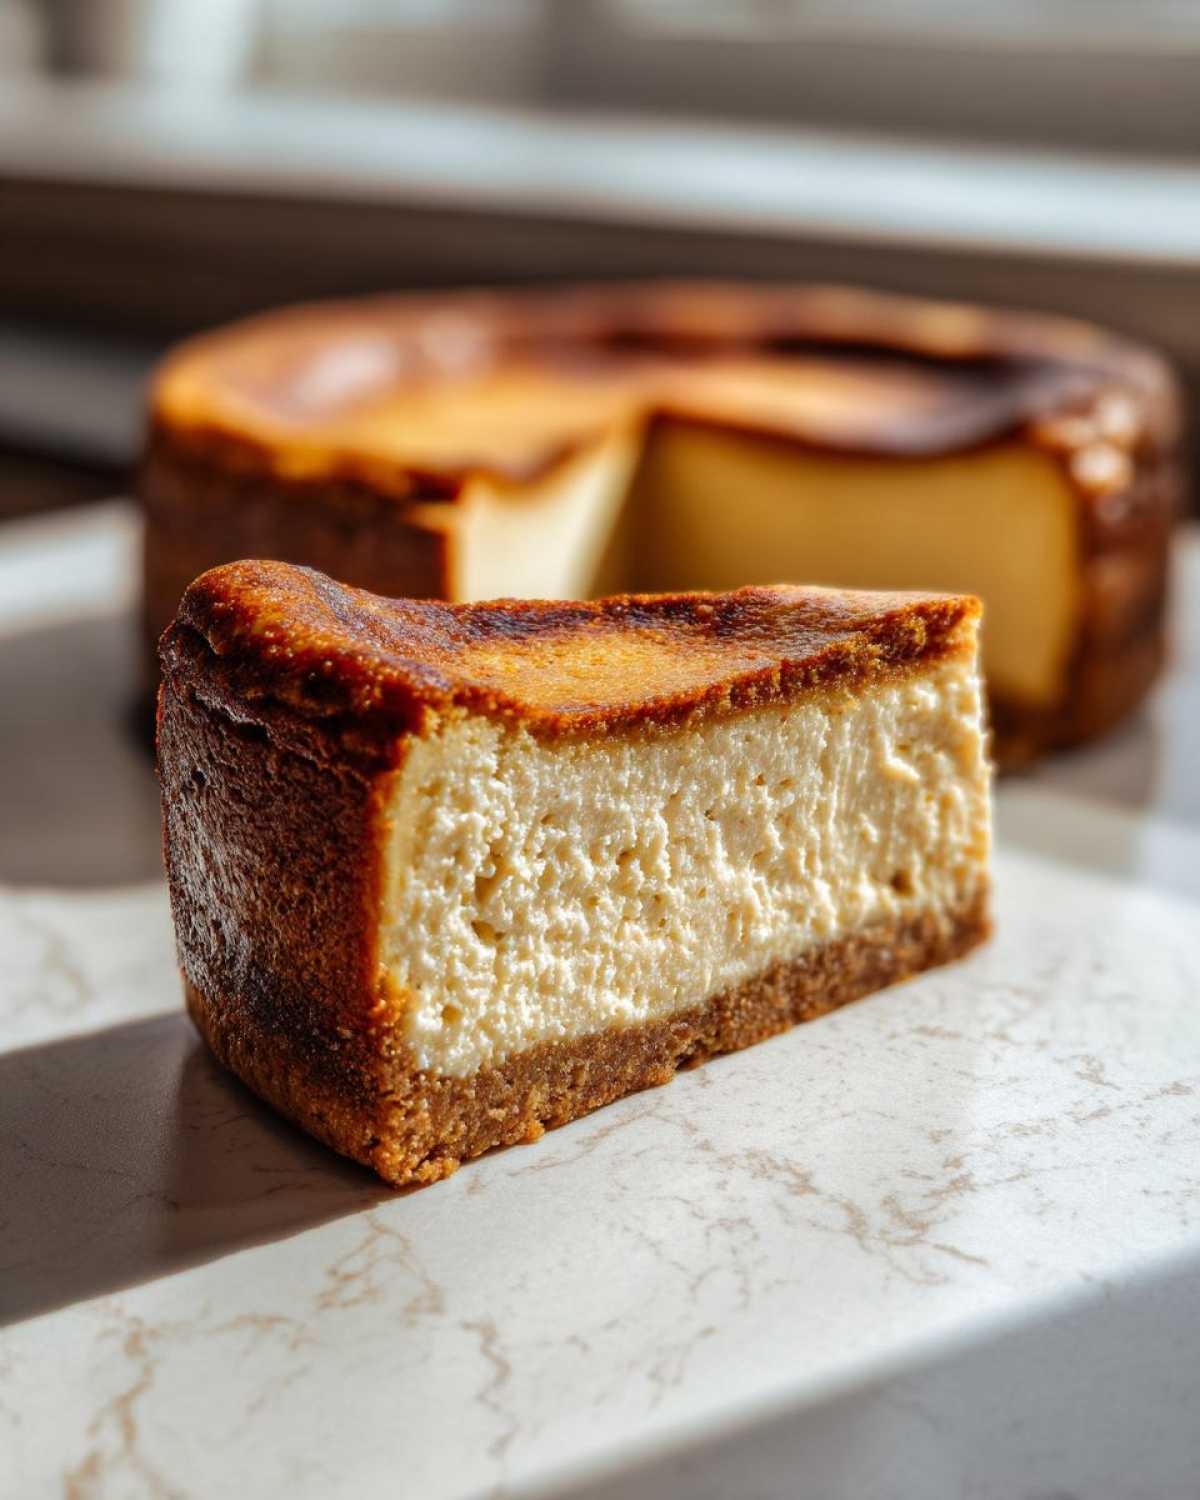
If you’re craving a little extra gooiness without adding excessive sugar, try drizzling just a teaspoon of zero-calorie maple or butter-flavored syrup over the top. It gives it that classic diner dessert feel. I also love taking a small mesh sieve—the one Amelia uses for dusting her famous strawberry muffins—and dusting just the edges with a whisper of powdered erythritol. It gives it that professional, ready-for-a-party look while keeping it firmly in the **Sugar Free Protein Dessert** category.
Honestly, though, if you’ve followed the recipe, you’ll find that the simplicity is key here. You’ve made a truly **Creamy Protein Dessert**, and sometimes, that needs no decoration at all!
Frequently Asked Questions About Protein Cheesecake
It’s totally normal to have a few questions before you dive into a new recipe, especially one trying to balance health goals with dessert cravings! Jacob and I get tons of messages after Amelia posts a new baked project, and I’ve gathered the most common ones about this **Protein Cheesecake**. Hope this helps you feel super confident before you start blending!
Can I substitute the sweetener in this Low Calorie Cheesecake?
Yes, absolutely! That’s the beauty of a recipe built around a sweetener of choice. Erythritol is what we used because it bakes similarly to sugar, but you can definitely swap it out for monk fruit blend or even stevia if that’s what you prefer. Just a quick word of warning, though: some liquid or highly concentrated sweeteners change the moisture balance of the filling. If you use a liquid version, you might need to carefully reduce the amount of lemon juice or vanilla extract just slightly, or you risk making the blend too runny for proper baking. Keep an eye on that texture when you blend!
What is the best protein powder type for a Sugar Free Protein Dessert?
This is critical for the final texture! For a baked item like this **Sugar Free Protein Dessert**, I honestly find that a blend—or even pure casein powder—gives you the best structure. Casein is thicker and absorbs moisture really well, helping that cheesecake batter firm up beautifully during the bake. Whey protein works fine, and you’ll still get your high protein count, but sometimes pure whey can make the final product slightly more tender or crumbly once fully chilled. If you only have whey, that’s okay! Just make sure it’s a high-quality powder you enjoy eating plain, because its flavor will definitely come through in this **Greek Yogurt Dessert**.
Is this Gluten Free Cheesecake if I use almond flour?
Yes, it is! Since the crust is made from almond flour, which is naturally gluten-free (and also keeps the carbs low, bonus points for a **Low Calorie Cheesecake**!), this recipe is inherently **Gluten Free Cheesecake** friendly. We always double-check that the protein powder we use is also certified gluten-free, just in case there’s any cross-contamination risk from the processing plant. If you can check that label, you’re golden for a completely safe, **Guilt Free Cheesecake Treat**!
If you have any other questions about our process or need help troubleshooting, please don’t hesitate to reach out via our Contact Page. We love hearing from you!
Nutritional Estimates for This Light Cheesecake Recipe
Now, I know that for many of us, knowing the macros is almost as important as knowing the taste! This recipe is deliberately designed to be a **Light Cheesecake Recipe** compared to the full-fat versions you might find elsewhere, which is why Jacob loved that it fit our macros so perfectly. Remember, as the planner, I cross-referenced a few brands when calculating these, so please treat these numbers as a fantastic starting point and a general guide for your own **Macro Friendly Cheesecake**.
The numbers below reflect one serving, based on our recipe yielding 8 slices. This is the nutritional punch you get from one slice of our incredible **Protein Cheesecake**:
- Calories: 220
- Protein: 35g (Yes, seriously!)
- Fat: 10g
- Carbohydrates: 12g
- Sugar: 4g
I always put a little disclaimer on our recipe cards because the brand of protein powder, the exact fat content of the cottage cheese, or the specific way you measure your sweetener can throw these estimates off slightly. If you want the full deep dive on how we approach these estimates and why we make sure to link our official disclaimer, you can check out the details over on our disclaimer page. But the takeaway is clear: you’re getting massive flavor and huge protein gains for very few calories!
Share Your Protein Cheesecake Creations
Well, that’s it! We’ve planned it, we’ve baked it, and now the best part is seeing what you all create in your kitchens. Jacob and I truly build this whole thing as a portfolio of the best moments we’ve made together, and seeing your success stories adds another beautiful piece to our collection! We put over a dozen attempts into getting this incredibly **Macro Friendly Cheesecake** just right, so when you make it, we want to know everything!
Did you top it with berries? Did you manage to sneak in an extra dash of vanilla? Did you try the **No Bake Protein Cheesecake** method we talked about? Please don’t be shy! Drop a rating right down below in the comments section. Your feedback helps us refine these blueprints even further.
If you take a photo—and I hope you do, because this **Low Calorie Cheesecake** looks amazing—tag us on social media! We love scrolling through and seeing the beautiful results you’ve achieved while staying on track with your goals. We’ve actually seen some incredible variations posted by other food lovers who are obsessed with this recipe; you can see what others have done over on their high-protein cake posts, like this amazing example for a healthy baked version found online.
Seriously, sharing those photos and comments is how we keep improving and finding the next best project to tackle together. Happy sharing, and enjoy every single bite of your **Guilt Free Cheesecake Treat**!
PrintUltimate Healthy Baked Protein Cheesecake (35g Protein Per Slice)
You want a creamy, satisfying cheesecake that supports your fitness goals. This baked recipe uses cottage cheese and Greek yogurt to deliver incredible texture and over 35 grams of protein per serving. It is a macro-friendly dessert you can feel good about eating.
- Prep Time: 20 min
- Cook Time: 55 min
- Total Time: 75 min
- Yield: 8 servings
- Category: Dessert
- Method: Baking
- Cuisine: American
- Diet: Low Fat
Ingredients
- 1 cup almond flour
- 1/4 cup erythritol or preferred sweetener
- 4 tablespoons melted coconut oil
- 16 ounces low-fat cottage cheese, drained well
- 1 cup plain non-fat Greek yogurt
- 1/2 cup vanilla whey or casein protein powder
- 1/2 cup erythritol or preferred sweetener
- 2 large eggs
- 1 teaspoon vanilla extract
- 1 tablespoon lemon juice
- Pinch of salt
Instructions
- Preheat your oven to 325°F (160°C). Line the bottom of a 7-inch springform pan with parchment paper.
- Prepare the crust: Mix the almond flour, 1/4 cup sweetener, and melted coconut oil in a bowl until crumbly. Press the mixture firmly and evenly into the bottom of the prepared pan. Bake the crust for 8 minutes, then remove and let it cool slightly.
- Prepare the filling: In a food processor or high-powered blender, combine the drained cottage cheese and Greek yogurt. Blend until completely smooth, scraping down the sides as needed. This step is key for a creamy texture.
- Add the protein powder, 1/2 cup sweetener, eggs, vanilla extract, lemon juice, and salt to the food processor. Blend until the mixture is perfectly smooth and creamy. Do not overmix once the eggs are added.
- Pour the filling over the cooled crust in the springform pan. Gently tap the pan on the counter a few times to release any large air bubbles.
- Bake for 45 to 55 minutes. The edges should look set, but the center should still have a slight wobble.
- Turn off the oven, crack the door open slightly, and let the cheesecake cool inside the oven for 1 hour. This prevents cracking.
- Remove the cheesecake from the oven and let it cool completely on a wire rack. Once cool, cover and refrigerate for at least 6 hours, or preferably overnight, before slicing.
- Slice and serve your **high protein dessert**!
Notes
- For the smoothest texture, make sure your cottage cheese is well-drained before blending. Press it between paper towels if necessary.
- If you prefer a **no bake protein cheesecake**, chill the filling mixture for at least 8 hours without baking.
- This recipe works well for **meal prep protein dessert** portions when sliced evenly.
Nutrition
- Serving Size: 1 slice
- Calories: 220
- Sugar: 4
- Sodium: 250
- Fat: 10
- Saturated Fat: 5
- Unsaturated Fat: 5
- Trans Fat: 0
- Carbohydrates: 12
- Fiber: 2
- Protein: 35
- Cholesterol: 60