

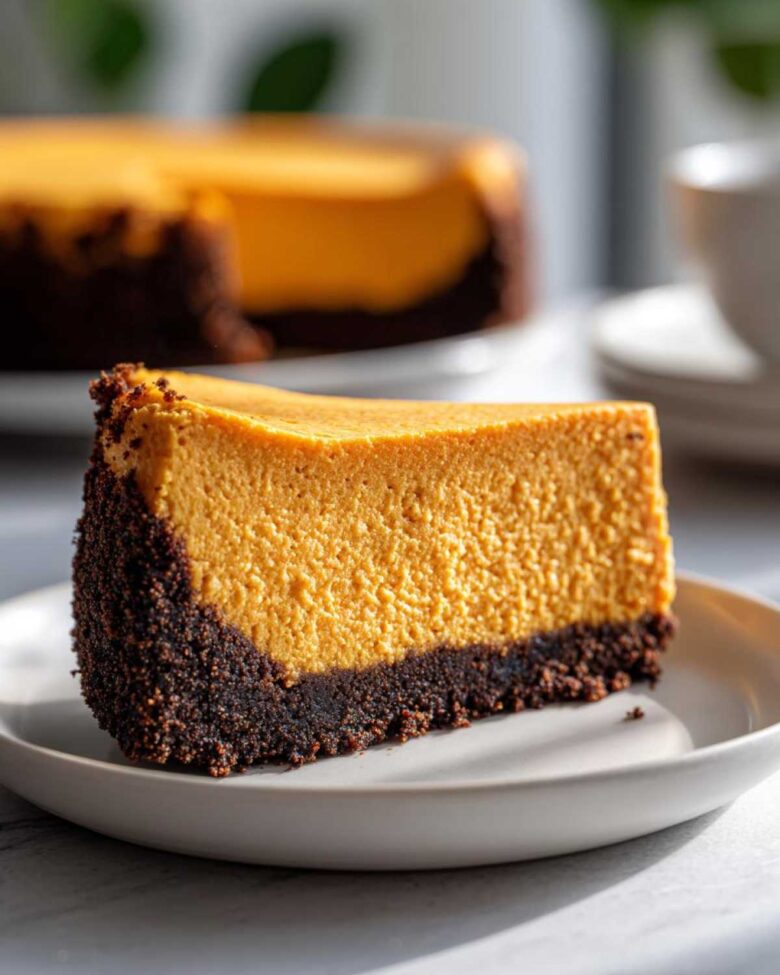
The Perfect Baked pumpkin cheesecake for Your Fall Table
When the air gets crisp, my mind immediately goes to cozy spices. Nothing says autumn like a truly decadent dessert. This baked pumpkin cheesecake is our absolute favorite.
It’s unbelievably creamy. The texture is like silk on your tongue. We pair that with a slightly spicy gingersnap crust. That crust is our secret weapon here.
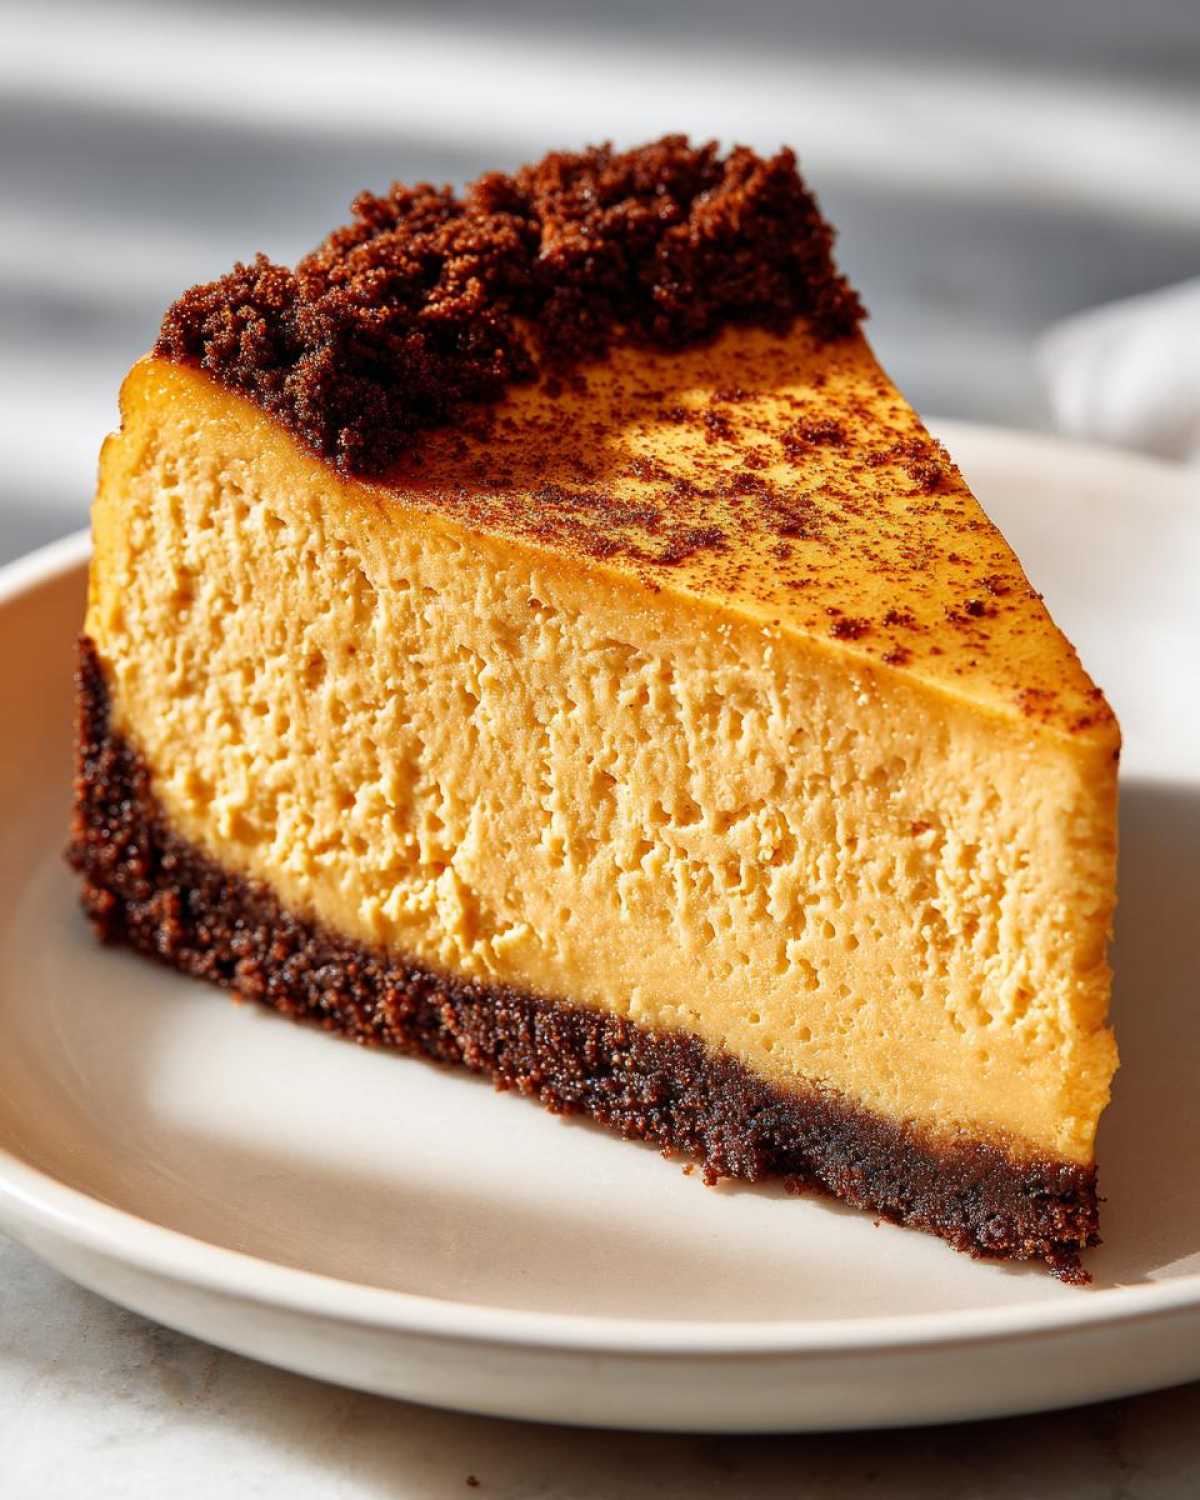
When Jacob and I started this blog, I was the planner. I researched every step for this perfect pumpkin cheesecake. Jacob brought the magic touch. He knew exactly how to bake it just right.
This recipe is a finished project we love sharing. It’s rich, spiced, and ready for your holiday spread.
Why This pumpkin cheesecake Recipe Works
Our kitchen is where plans meet intuition. That collaboration makes this recipe so reliable. I organize the science. Jacob handles the artistry.
- I create detailed shopping lists.
- Jacob ensures even mixing every time.
- We test and refine until it’s perfect.
This teamwork brings you a consistently amazing result.
The Secret to a Crack-Free pumpkin cheesecake
Nobody wants a cracked top. I learned that lesson the hard way, trust me!
We use two key steps for smoothness. First, a gentle water bath protects the sides. Second, we cool it slowly inside the turned-off oven. This gradual temperature shift keeps the surface beautifully smooth. It’s planning meeting patience.
Essential Ingredients for Your pumpkin cheesecake
Getting ready to bake is half the fun, right? Now we talk about what you need. Having the right items makes everything simple.
For a creamy texture, temperature matters a lot. Make sure your cream cheese is truly soft. It should yield easily to touch.
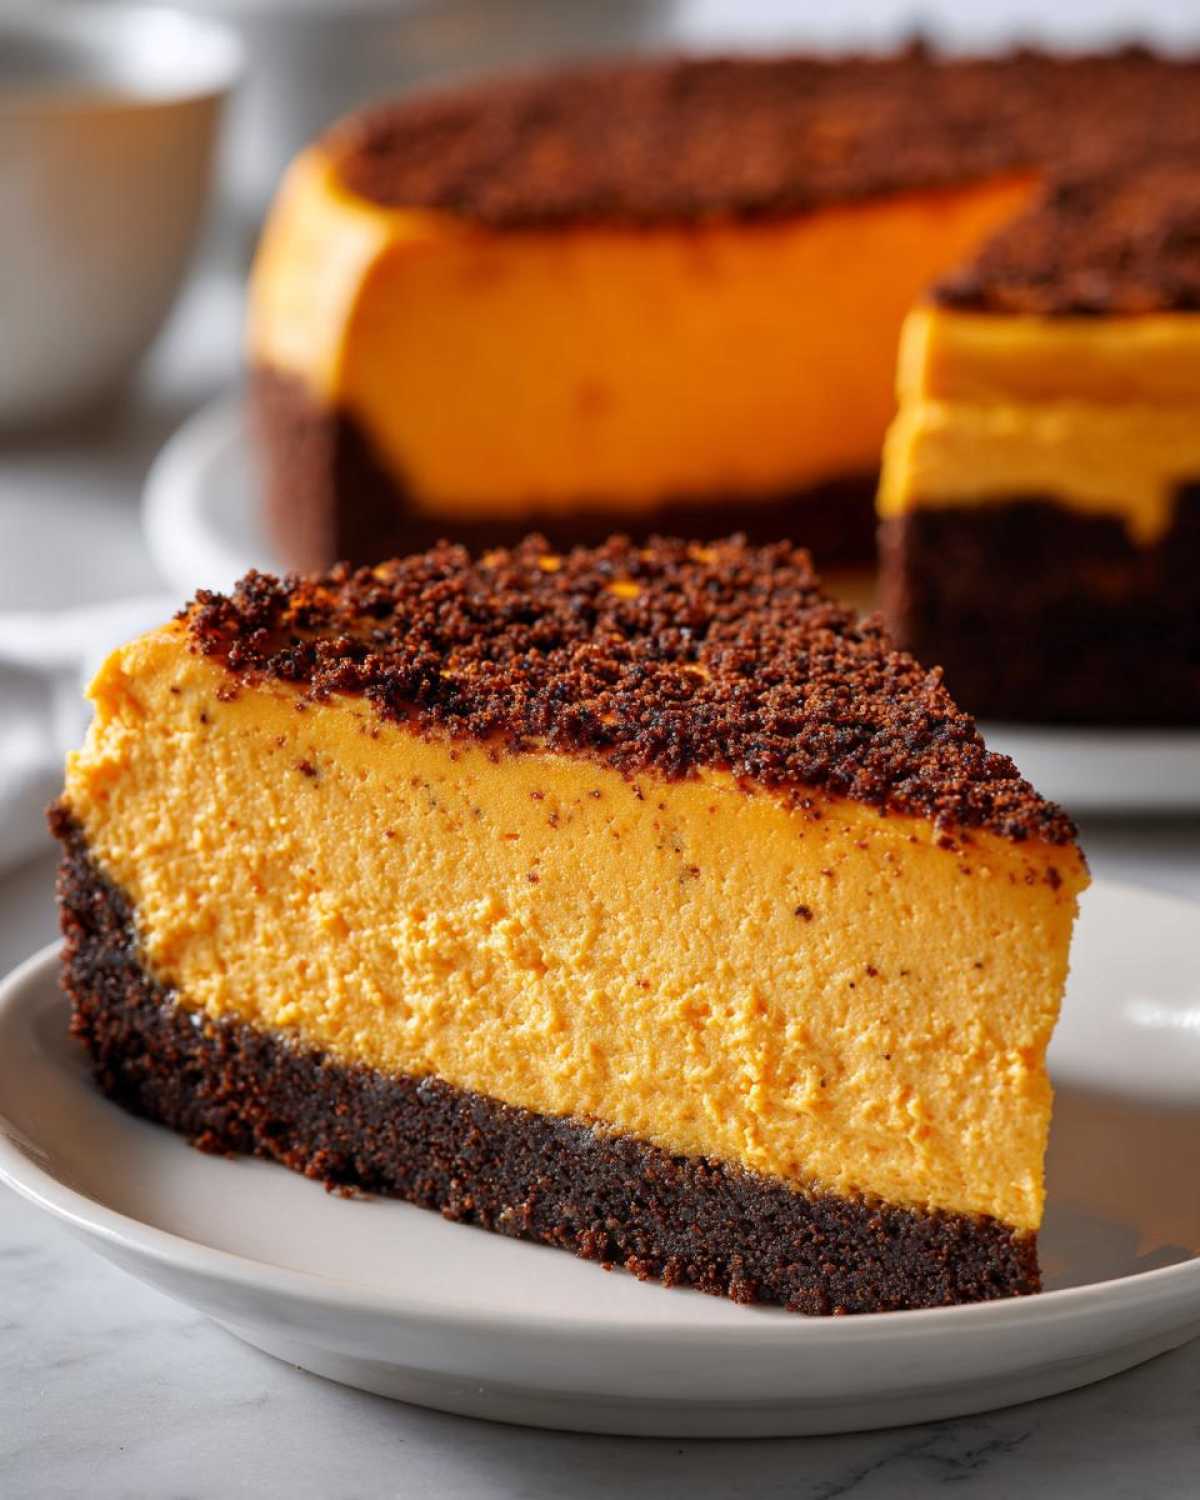
Also, please grab pure pumpkin puree. Don’t grab the pie filling by mistake. That changes the sweetness too much.
These foundational elements guarantee a great start for your bake.
Gathering Your Crust Components
Forget boring graham crackers this time around. We’re using gingersnaps for our base.
These cookies bring a warm, peppery bite. It cuts through the richness perfectly. You’ll need the crumbs, plus a bit of extra sugar.
Don’t forget the melted butter. It binds everything together nicely. Press this mixture down hard in the pan.
Defining the Flavor of Your pumpkin cheesecake Filling
The spices are where Jacob really shines. He loves layering those autumn flavors.
We use cinnamon, nutmeg, and ginger. Salt balances the overall sweetness too. These spices smell amazing while baking!
Remember, use 100% pumpkin puree. Pie filling has added sugar and thickeners. We control all the sweetness here ourselves.
Equipment Needed for a Flawless pumpkin cheesecake
You don’t need a dozen gadgets for this. A few key items help things go smoothly.
The 9-inch springform pan is non-negotiable. It lets the sides release easily.
You must use heavy-duty aluminum foil. Wrap that pan well for the water bath.
A large roasting pan is also required. This holds the water around your cake. A good electric mixer helps too. It ensures that cream cheese gets really smooth.
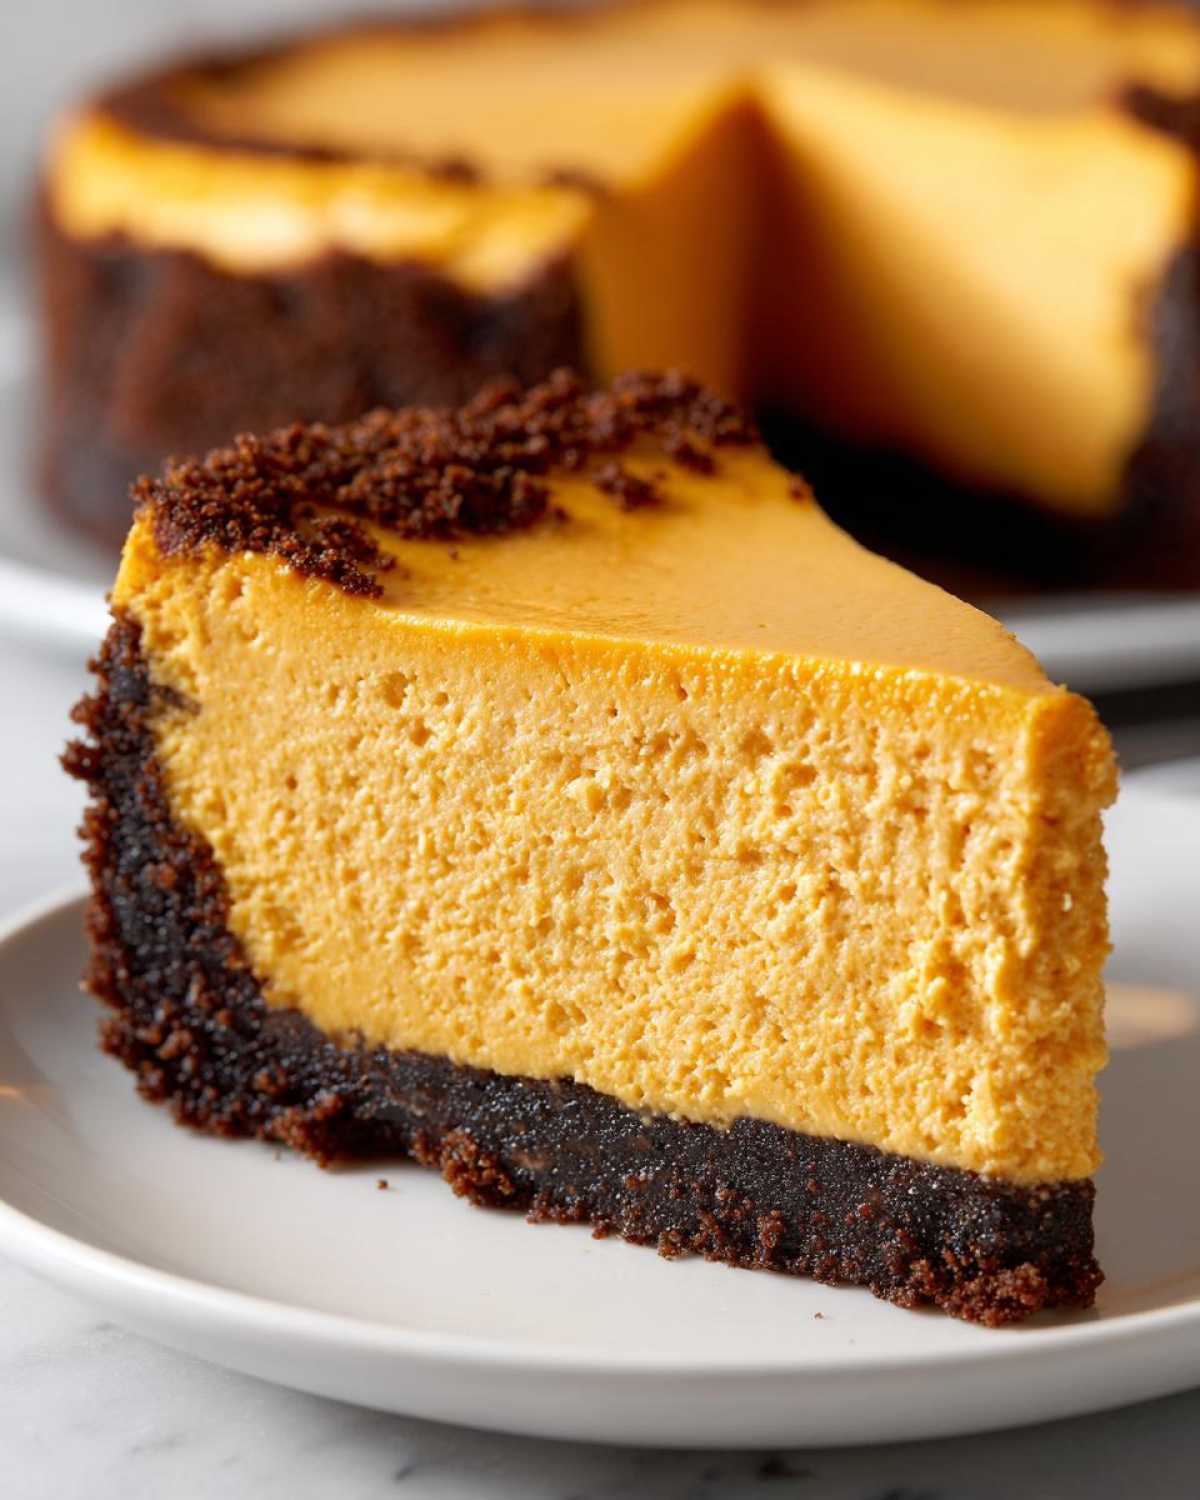
Step-by-Step Instructions for Baked pumpkin cheesecake
Ready to start baking? Let’s walk through this project together. I’ve streamlined these steps for you.
First, preheat your oven to 350\u00b0F. It needs time to get hot enough. Then, tackle the foil wrapping. This is critical for preventing leaks during the bake.
Wrap that 9-inch springform pan completely. Use heavy-duty foil. Wrap it thoroughly around the bottom and sides. This keeps water out of your crust.
Preparing the Gingersnap Crust Base
Time to build our spicy foundation. Grab your gingersnap crumbs first.
Mix those crumbs with the small amount of sugar. Then pour in the melted butter. Stir it well. You want it evenly moistened.
Now, press this mixture into the bottom of your prepared pan. Press firmly. Use the bottom of a measuring cup for help. Bake this base for exactly 8 minutes. Let it cool down before filling it.
Mixing the Creamy pumpkin cheesecake Filling
This is where the magic texture starts. Use a clean, large bowl for mixing.
Beat your softened cream cheese first. Beat it until it’s perfectly smooth. I mean absolutely no lumps remain. This takes a minute or two.
Next, slowly mix in the main sugar. Then add vanilla and all your lovely spices. Don’t forget the salt.
Beat in the pumpkin puree until it’s fully combined. Now, the eggs go in. Add them one at a time. Beat just until each egg disappears. Stop mixing right away after the last egg is blended. Overmixing ruins the texture!
Baking and Slow Cooling the pumpkin cheesecake
Pour the filling over your cooled crust. Now, set up the water bath. Place the foil-wrapped pan inside a larger roasting pan.
Carefully pour hot water into the big pan. The water should reach halfway up the springform sides. This steam keeps things gentle. Using a water bath is a common technique for gentle baking.
Bake for about 55 to 65 minutes. The edges should look set. The center will still jiggle a bit. Turn the oven off completely. Prop the door open a crack. Let it sit in there for one full hour.
This slow cooling prevents that dreaded crack. Take it out after the hour. Let it cool more on a rack. Then chill it overnight for the best flavor.
Tips for Achieving the Best pumpkin cheesecake Results
Jacob and I learned a few things during testing. These tips make a big difference. Follow them for the best outcome.
- Jacob insists on fresh ground spices. They really boost the warm flavor profile.
- Check your foil wrapping twice. Water seeping in is a total disaster.
- Don’t rush that cooling period. Slow cooling keeps your cheesecake top flat.
These small checks lead to a fantastic finished dessert.
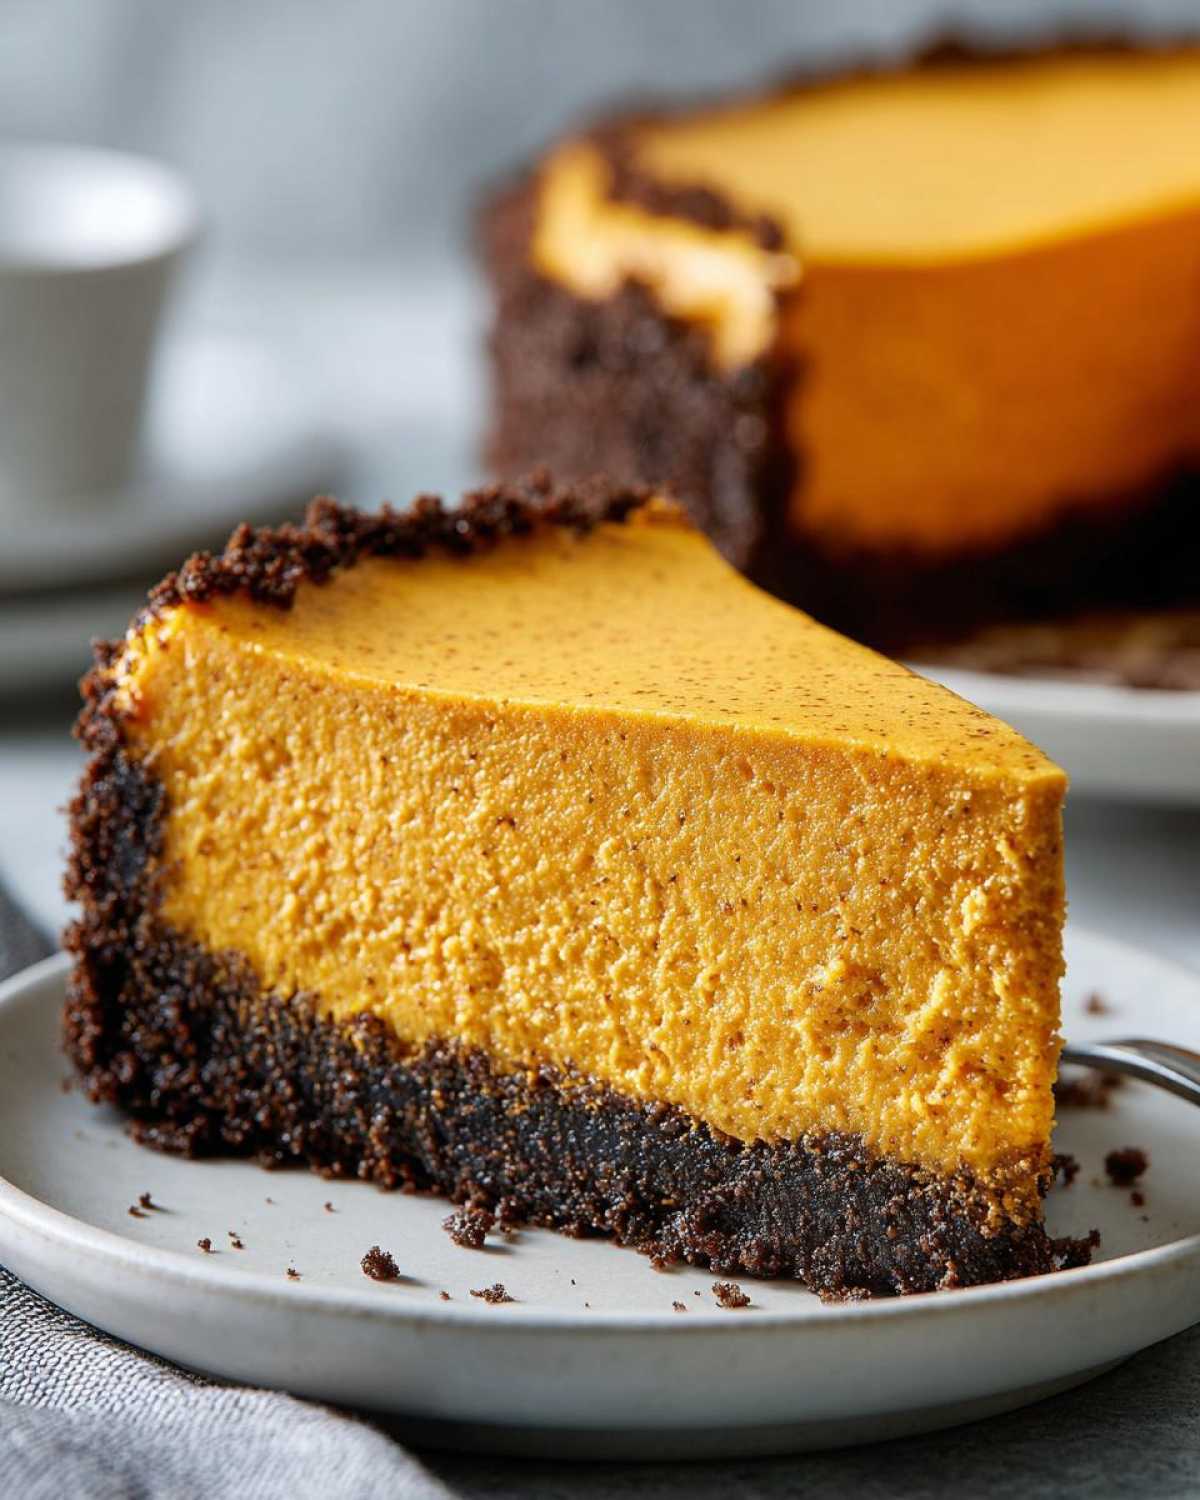
Storing and Serving Your pumpkin cheesecake
Your patience pays off now! You must chill this treat for six hours minimum. Overnight is truly better for flavor.
When ready to serve, run a thin knife around the edge. Release the springform side gently. It’s ready to slice!
We love a dollop of fresh whipped cream. Maybe add a light sprinkle of cinnamon on top. Enjoy this creamy pumpkin cheesecake!
Frequently Asked Questions About pumpkin cheesecake
I know you might have lingering questions. Baking can feel like chemistry sometimes!
We’ve collected the most common ones right here. Don’t worry about tricky spots. We’ve got you covered.
Baking this creamy dessert should feel fun, not scary. Here are some quick answers from our experience.
Can I make this pumpkin cheesecake without a water bath?
You technically can skip it. I strongly advise against it though.
The water bath creates steam in the oven. This steam cooks the batter gently. Without it, the edges cook too fast. This usually causes cracking.
It’s the best defense for a beautiful top. So, please wrap that pan well and use the bath!
What kind of sugar should I use in the gingersnap crust for this pumpkin cheesecake?
For the crust specifically, we only use granulated sugar.
It mixes best with the crumbs and butter. It also helps the crust set up nicely when pre-baked. Brown sugar changes the texture too much here.
Stick to standard white granulated sugar for that base.
How long does the chilled pumpkin cheesecake last in the refrigerator?
Once fully chilled, this dessert is quite stable.
It tastes best within the first three days. You can safely store it for up to five days.
Keep it covered tightly in the fridge. The flavor seems to deepen slightly over time too.
Estimated Nutritional Data for This pumpkin cheesecake
Now, let’s talk fuel for your body. Remember, this is just an estimate, okay?
We calculated these numbers based on standard ingredient amounts. Your exact values might shift slightly. This is just a guide for planning.
Enjoying a slice of this creamy pumpkin cheesecake is what matters most. Don’t stress the numbers too much!
Here are the approximate values per single slice serving:
- Calories: Around 420 per slice.
- Fat Content: Roughly 28 grams total fat.
- Carbohydrates: Expect about 38 grams.
- Protein: Around 7 grams are present.
We focused on making it taste incredible. The nutrition follows the flavor!
Share Your Taste Portfolio Creations
We poured our hearts into making this recipe perfect. Now it’s your turn to try it out!
Jacob and I love seeing your baking results. Did the gingersnap crust surprise you? Was the texture as creamy as you hoped?
Please come back and leave a rating for us. Tell us how your creamy pumpkin cheesecake turned out.
Your feedback really helps our portfolio grow. We read every single comment you leave here.
Sharing your success makes our day brighter. Happy baking, friends!
PrintAmazing 1 pumpkin cheesecake recipe secret
Make this creamy, baked pumpkin cheesecake with a flavorful gingersnap crust. It is a perfect, decadent dessert for your fall gatherings or a cozy evening treat. Amelia and Jacob perfected this recipe through careful planning and artistic baking.
- Prep Time: 25 minutes
- Cook Time: 65 minutes
- Total Time: 7 hours 30 minutes (includes chilling)
- Yield: 10 servings
- Category: Dessert
- Method: Baked
- Cuisine: American
- Diet: Vegetarian
Ingredients
- 1 1/2 cups gingersnap cookie crumbs
- 1/4 cup granulated sugar (for crust)
- 6 tablespoons unsalted butter, melted
- 3 (8 ounce) packages cream cheese, softened
- 1 1/2 cups granulated sugar (for filling)
- 1 teaspoon vanilla extract
- 1/2 teaspoon ground cinnamon
- 1/4 teaspoon ground nutmeg
- 1/4 teaspoon ground ginger
- 1/4 teaspoon salt
- 1 (15 ounce) can pumpkin puree (not pumpkin pie filling)
- 3 large eggs
Instructions
- Preheat your oven to 350°F (175°C). Wrap the outside of a 9-inch springform pan with heavy-duty aluminum foil.
- Prepare the crust: Mix gingersnap crumbs, 1/4 cup sugar, and melted butter. Press the mixture firmly into the bottom of the prepared pan. Bake for 8 minutes. Let cool.
- Beat the softened cream cheese in a large bowl until smooth. You want no lumps.
- Gradually beat in the 1 1/2 cups sugar until combined.
- Mix in the vanilla extract, cinnamon, nutmeg, ginger, and salt. Scrape down the sides of the bowl.
- Beat in the pumpkin puree until fully incorporated.
- Add the eggs one at a time, beating just until blended after each addition. Do not overmix the batter once eggs are added.
- Pour the filling over the cooled crust.
- Place the foil-wrapped pan into a larger roasting pan. Carefully pour hot water into the roasting pan to reach halfway up the sides of the springform pan (this creates a water bath).
- Bake for 55 to 65 minutes, or until the edges are set but the center still jiggles slightly.
- Turn off the oven. Leave the cheesecake in the oven with the door ajar for 1 hour to cool slowly.
- Remove from the oven and water bath. Let cool completely on a wire rack.
- Chill in the refrigerator for at least 6 hours, or preferably overnight, before serving.
Notes
- Jacob suggests using fresh spices for the best flavor profile.
- Wrapping the pan thoroughly prevents water from the bath from seeping in.
- Cooling slowly inside the oven prevents the top of your cheesecake from cracking.
- Gingersnaps provide a spicier, more complex flavor than graham crackers.
Nutrition
- Serving Size: 1 slice
- Calories: 420
- Sugar: 35g
- Sodium: 300mg
- Fat: 28g
- Saturated Fat: 17g
- Unsaturated Fat: 11g
- Trans Fat: 0.5g
- Carbohydrates: 38g
- Fiber: 1g
- Protein: 7g
- Cholesterol: 120mg