

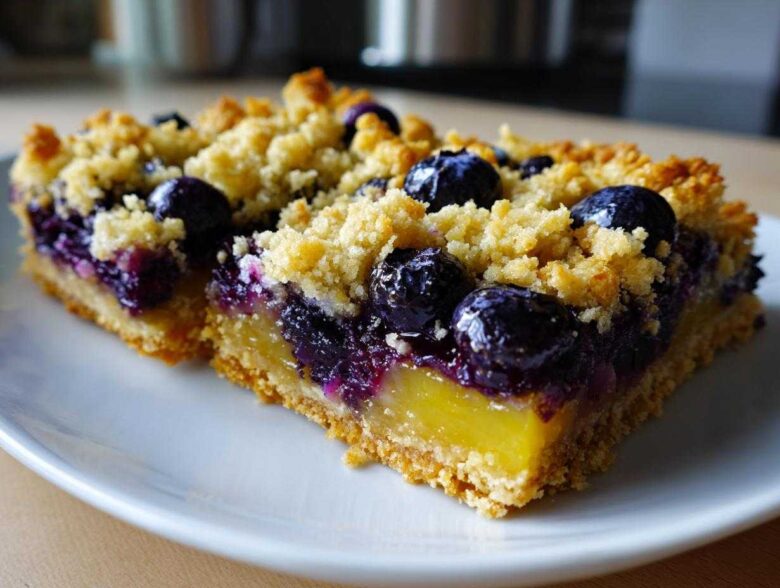
Oh my gosh, you guys! When summer hits, I swear my brain just screams for something bright, tart, and sunshine-y that *doesn’t* rely heavily on fancy, hard-to-find ingredients. But let’s be real—gluten-free baking can be such a gamble, especially when you’re building layers, right? I spent years trying to make a decent GF crust that didn’t crumble into dust the second I looked at it. Total nightmare! But friends, I cracked the code, and I finally perfected these amazing **Gluten-Free Lemon Blueberry Layer Bars**.
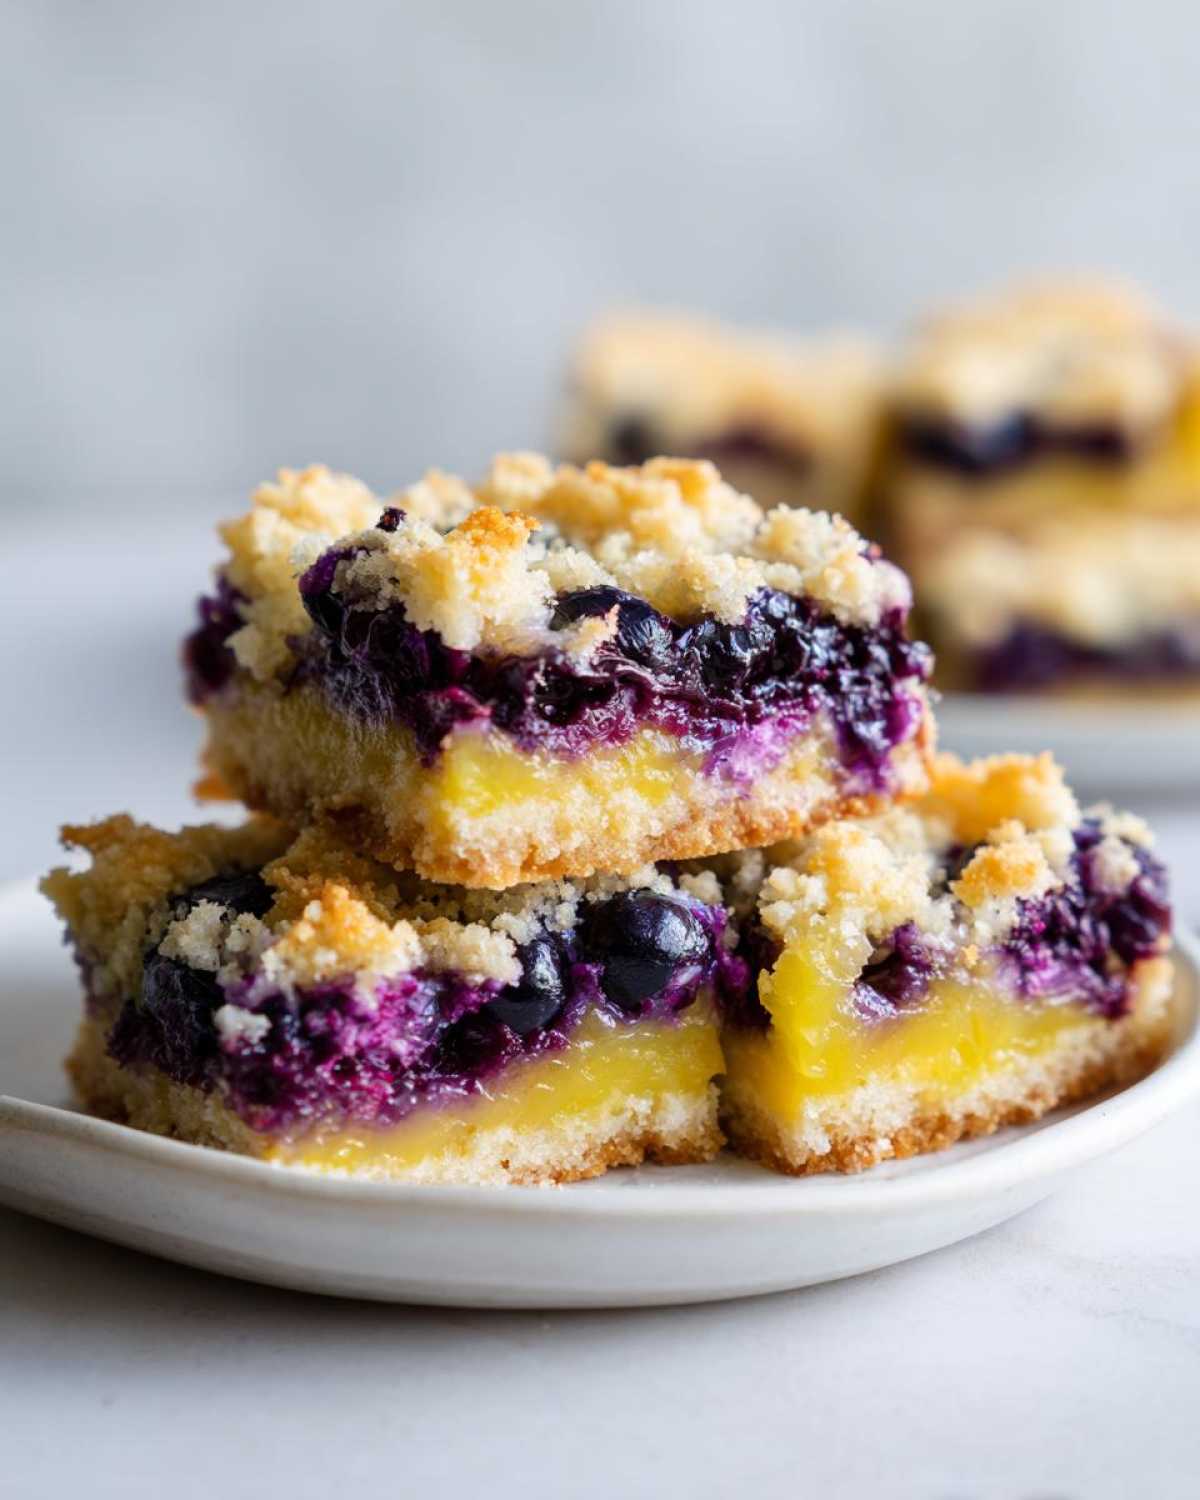
These are the definition of summer in a square: a sturdy, slightly oaty base, a zingy lemon filling that sets up perfectly, and those sweet little pop-of-flavor blueberries scattered on top. The best part? They’re totally reliable. You bake them, then you chill them, and they slice like a dream. Seriously, these are the no-mess bar I always need for picnics and gatherings!
Why These Gluten-Free Lemon Blueberry Layer Bars Are a Must-Bake
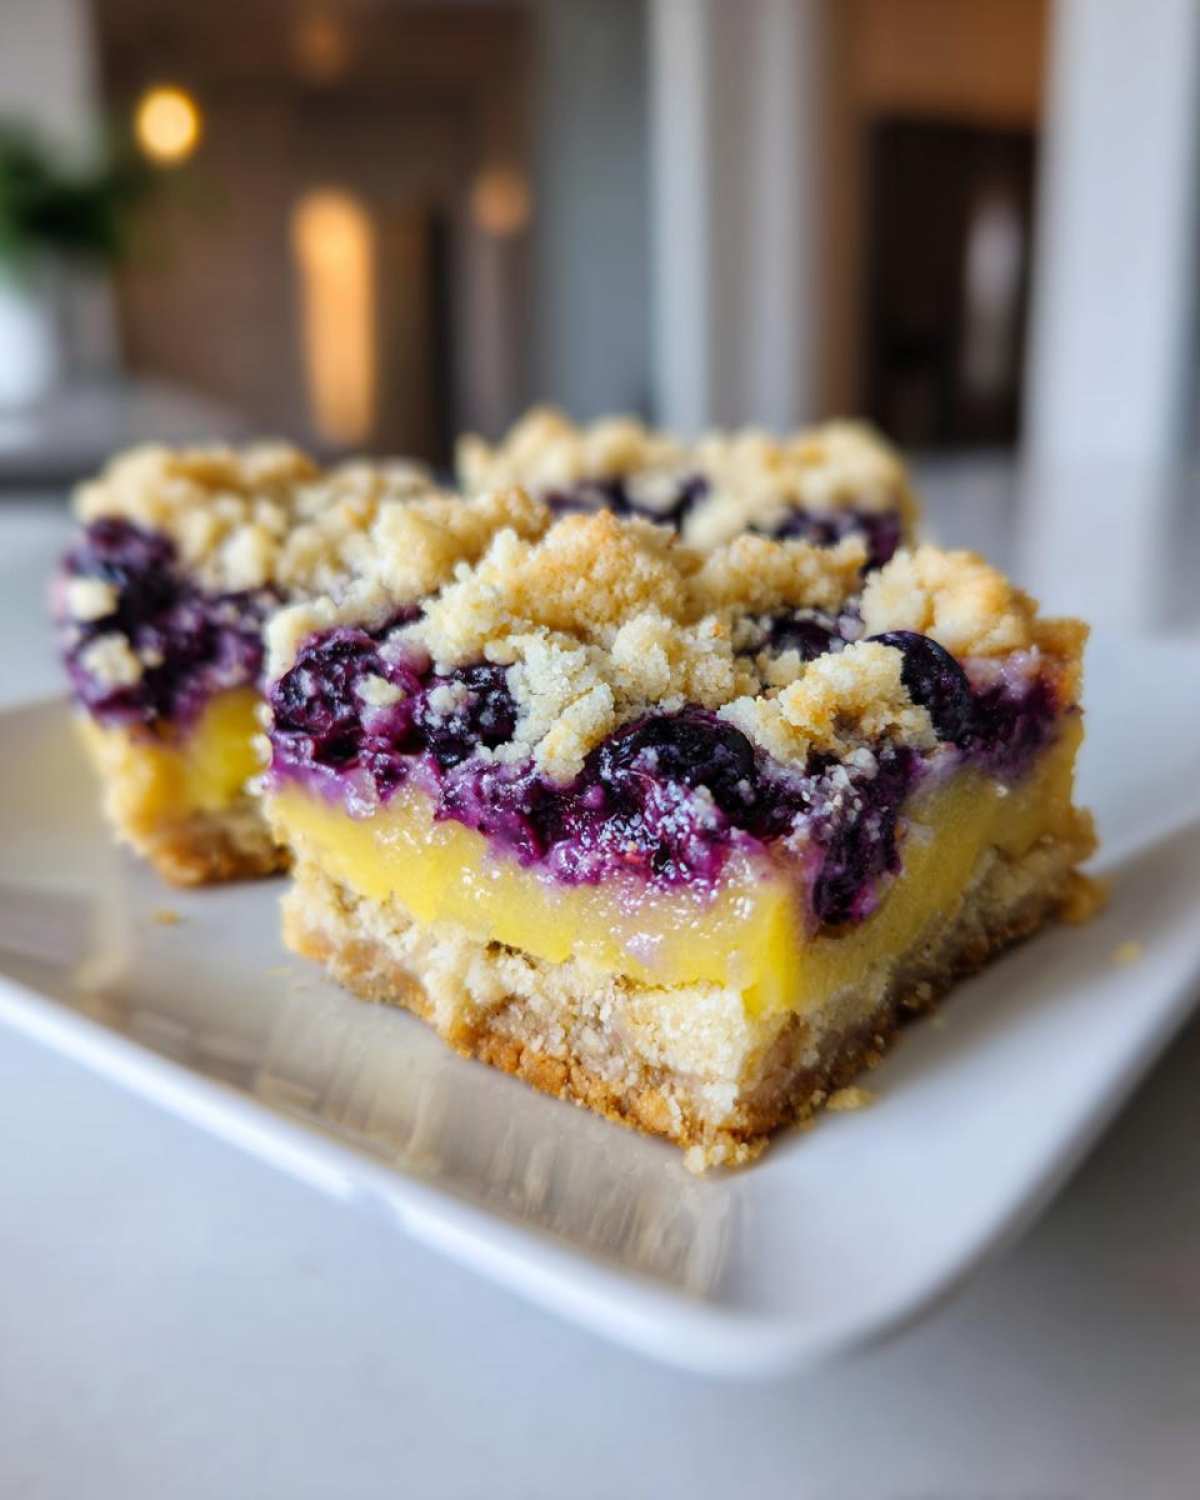
I know what you’re thinking: “Another gluten-free bar recipe that falls apart?” Nope! I promise you these **Gluten-Free Lemon Blueberry Layer Bars** are different. They hold together beautifully, which is basically a miracle when you’re working without gluten! They travel well, they’re stunning on a platter, and they hit that perfect note between sweet indulgence and bright summer flavor.
- They actually slice cleanly once chilled—no crumbling mess!
- The layer structure is distinct: firm base, creamy filling, sweet fruit.
- They manage to be both intensely tart and perfectly sweet.
Perfect Texture for Gluten-Free Fruit Bars Recipe
Dealing with texture in GF baking is my biggest pet peeve, but not here! The secret weapon is using certified gluten-free oats along with the flour blend in the base. This creates a wonderfully sturdy foundation. This specific Gluten Free Fruit Bars Recipe relies on pressing that base firmly before the pre-bake. Trust me, that little bit of time in the oven locks everything in place so your filling doesn’t soak down and make everything mushy later on.
Bright Flavor Profile: Tart Lemon and Sweet Blueberry
If you’re looking for something truly refreshing, this is it. This isn’t a sugary mush bar; it’s got real pucker! The lemon filling absolutely wakes up your taste buds. I love these because they are such fantastic Tart Lemon Dessert Recipes when you need something lighter than a heavy chocolate cake. They are absolutely mandatory for any summer potluck I host!
Gathering Ingredients for Your Gluten-Free Lemon Blueberry Layer Bars
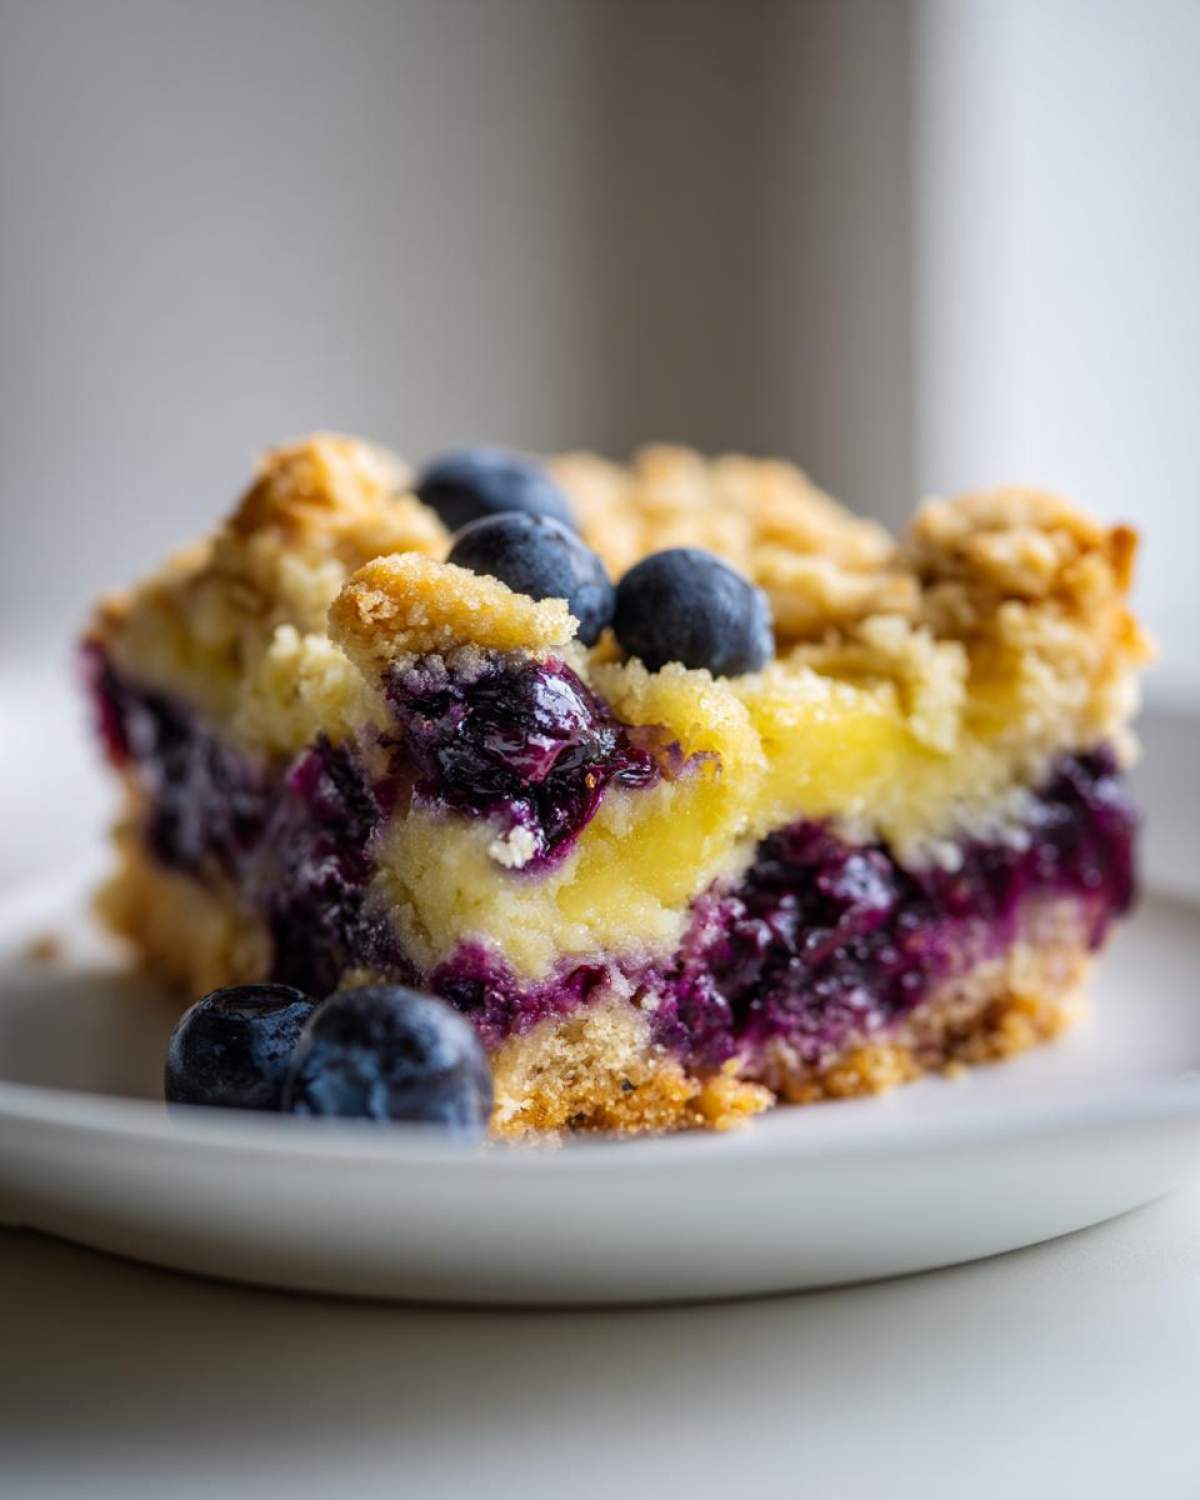
Okay, before we even think about turning on the oven, let’s talk ingredients because this is where the magic starts for any great Gluten Free Blueberry Bars recipe. Listen closely to the flour situation—it matters a ton! For these **Gluten-Free Lemon Blueberry Layer Bars** to set up right, you absolutely must use a gluten-free all-purpose flour blend that already has xanthan gum built in. If yours doesn’t, you’ll end up with a sad, crumbly mess. I’m using 1 1/2 cups of that special blend, alongside 1/2 cup of certified gluten-free rolled oats. Don’t skip certifying those oats, especially if you’re baking for someone with a genuine allergy!
Crust Components: Creating the Oatmeal Crust Gluten Free Bars
The structure of these squares comes from that butter, and it has to be cold. I mean fridge cold, cut into little pieces cold. The cold butter mixed with the dry stuff—the 1/2 cup sugar and the salt— creates those little pockets that crisp up during the pre-bake. This gives you that fantastic, sturdy base we talk about for our Oatmeal Crust Gluten Free Bars. We use just a touch of egg here to bind it just enough before it heads into the heat.
The Bright Lemon Filling Bars Gluten Free
Now for the zing! Forget bottled juice; we need the real deal here. You’ll need 1/4 cup of fresh lemon juice and a full tablespoon of zest—that’s where all that gorgeous fragrance lives! For the custard part of our Lemon Layer Bars Gluten Free, whisk together the 1/2 cup sugar, 2 tablespoons of our GF flour blend (more structure!), the baking powder, 2 whole large eggs, and just a splash of milk until it’s perfectly smooth and pale yellow. That texture is key before you pour it right over that warm crust!
Step-by-Step Instructions for Lemon Layer Bars Gluten Free
Okay, time to get baking! Making these **Gluten-Free Lemon Blueberry Layer Bars** is honestly more about timing and layering than complex technique. Since we’ve already mixed up our delicious crust ingredients, we are jumping straight into preheating the oven to 350°F (175°C). This is crucial! Before anything else, line your 8×8 inch pan with parchment paper, but make sure you leave an overhang on two of the sides. That overhang is your handle to lift the entire cold bar out later—trust me, you won’t regret doing this little extra step!
Preparing and Pre-Baking the Base
Remember how we mixed the crust ingredients? Grab two-thirds of that lovely coarse crumb mixture and press it down firmly into the bottom of your lined pan. It needs to be packed evenly, like a perfect little platform for our filling. Pop that crust into the oven for exactly 12 minutes. We aren’t fully baking it, no way! We just want it lightly golden and set so it doesn’t turn soggy when the lemon goodness goes on top. Once that timer rings, pull it out quickly!
Assembling the Layers and Final Bake
While that crust is warming up, you should have already just whisked together that bright lemon filling until it’s silky smooth. Pour that whole mixture right over the warm crust layer. Now, take that remaining one-third of the crumb topping you saved—that’s going to be your protective, crumble top! Sprinkle it evenly over the wet filling. Finally, gently scatter your cup of fresh or frozen blueberries all over that crumb topping. This helps keep them from sinking right into the lemon custard. Bake everything now for about 30 to 35 minutes. You’re looking for the edges to look firm, but the very center might still have a slight wiggle. Don’t touch it! That slight movement means you haven’t overbaked it, and it will set up beautifully once it cools. If you want a foolproof guide on how to get perfect fruit inclusions, check out this recipe for Blueberry Filling Bars.
Tips for Success Making Gluten Free Baked Goods
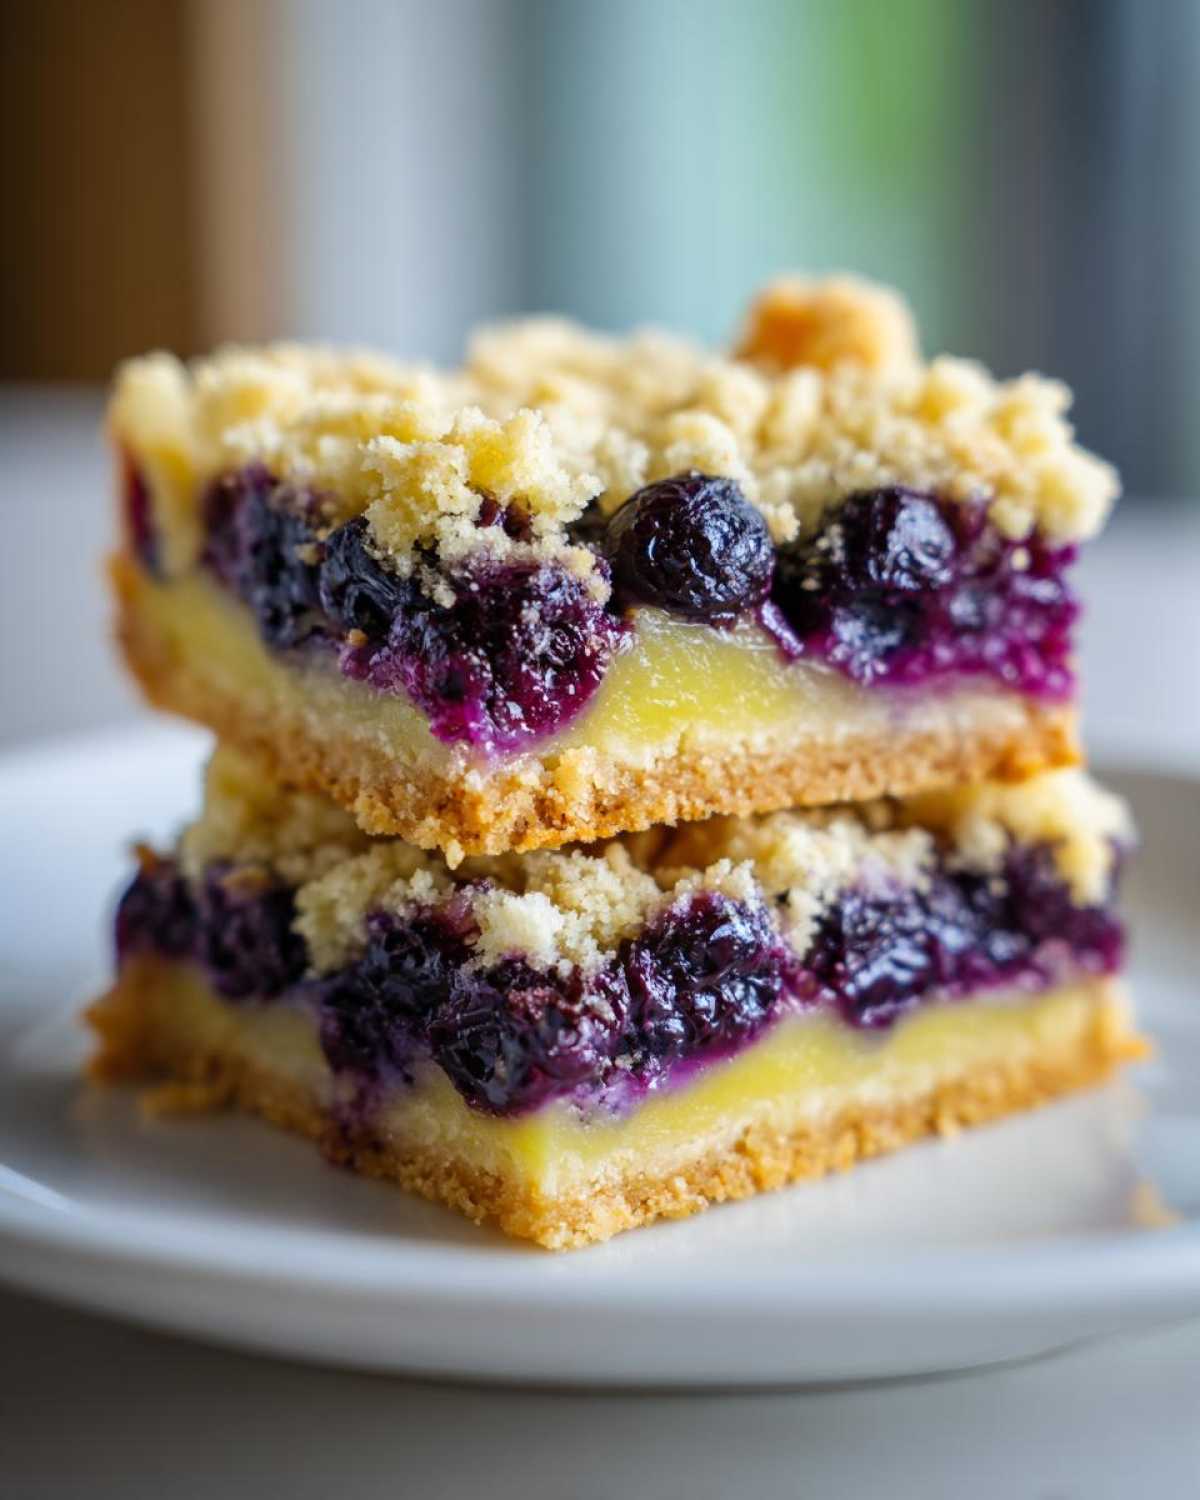
Look, the baking part is done, but if you mess up the cooling part, you’ll end up with a delicious, runny mess instead of beautiful squares. When we talk about any great Gluten Free Baked Goods, especially something with a set custardy filling like these **Gluten-Free Lemon Blueberry Layer Bars**, patience after they leave the oven is non-negotiable. Taking these extra steps after the baking is what separates my reliable batch from one that just falls apart on the pan.
Achieving Clean Slices: The Cooling Secret
This is my biggest piece of advice, and I wish someone had hammered this home for me years ago! You absolutely cannot rush slicing these bars—I mean it. As soon as they come out, they look stable, right? Wrong! That lemon filling is molten underneath that crumb topping. You have to let them cool completely on the wire rack, but wait, that’s not enough! You need to wrap the entire pan loosely (using that parchment overhang!) and pop it into the fridge. I insist on chilling them for at least two hours, sometimes even overnight if I can wait. That cold temperature solidifies the fat and the eggs in the filling, giving you those gorgeously clean, perfect squares we all want for Picnics, or just for show!
Ingredient Quality for Lemon Crust Dessert
Since the crust is so simple—just oats, flour, and butter—every ingredient really shines through, especially in this Lemon Crust Dessert. If you use a sad, wizened lemon that’s been sitting in your fruit bowl forever, you’ll get a dull flavor. You need vibrant, zesty lemons. I press down hard when zesting to get all that aromatic oil, not just the dry yellow fluff. That high-quality zest, along with fresh-squeezed juice, is what gives these bars their signature *bright* quality. Don’t skimp on the fresh stuff!
Serving Suggestions for Easy Lemon Blueberry Squares
These Easy Lemon Blueberry Squares are pretty perfect right out of the fridge—seriously, they don’t need much help! But if I’m serving them up for a nice dinner or gathering, I love to keep things light to match that tart lemon flavor.
If you want to dress them up just a touch, try serving them slightly warmed (just 10 seconds in the microwave!) with a tiny dollop of unsweetened whipped cream. That cuts the tartness just enough. Or, if you’re feeling extra fancy, a scoop of vanilla bean ice cream is always a winner. They are such great picnic-friendly gluten-free treats because they travel so easily!
Storage and Reheating Instructions for Gluten Free Dessert Bars
Now that you’ve gone through all that effort to make the perfect **Gluten-Free Lemon Blueberry Layer Bars**, we need to chat about keeping them pristine! These are definitely not the kind of bar you leave sitting out on the counter for three days, especially since we have those juicy little blueberries tucked inside. They are hands-down some of the Best Gluten Free Dessert Bars when they are fresh, but refrigeration is your best friend here.
Because we have that lovely lemon curd filling, these bars are happiest stored in an airtight container in the refrigerator. They will stay perfectly good for about four to five days. I find that the flavor actually melds together even better after a day in the cold! Just pull them out about 15 minutes before you plan to serve them so they lose that hard fridge chill, but keep them cool for serving.
Reheating isn’t really necessary, and honestly, I’d skip it! Warming them up might make the crust a little soft, and we worked hard to get that structure! If you absolutely have to warm one—maybe just for a minute on a chilly evening—microwave it for maybe 5 to 10 seconds maximum! But trust me, they are truly designed to be enjoyed chilled or at cool room temperature. They are amazing picnic-friendly gluten-free treats exactly as they are!
Frequently Asked Questions About Gluten Free Blueberry Bars
I always get asked a bunch of questions when I bring these to parties because everyone wants to know how I got a gluten-free bar to behave so perfectly! Dealing with texture and binding without gluten is tricky business, but once you know the hacks, you won’t be nervous about making any Gluten Free Blueberry Bars again. Here are the things folks ask me most often!
Can I substitute the blueberries with other fruit in this recipe?
Yes, absolutely, you can switch up the fruit! I love using raspberries, or sometimes even thinly sliced, firm peaches in the summer time. But here’s the thing: blueberries are pretty perfect because they hold their shape. If you switch to something that releases a lot more water, like strawberries, you might need to increase your baking time by 5 to 7 minutes, or seriously reduce the liquid in your lemon filling just a tiny bit. Firm fruit is your friend here!
What if my gluten-free flour blend does not contain xanthan gum?
This is such a vital question! If your blend doesn’t have it, you HAVE to add it, or those bars are going to melt right in your hand when you pick them up. For the crust measurement (the 1 1/2 cups of GF flour), you would need to add about 3/4 teaspoon of pure xanthan gum right in with your dry ingredients. That gum acts like the net that holds all the structure together since we don’t have gluten doing the job. Don’t skip it!
Can these be made ahead of time for a party?
Oh my gosh, please make these ahead! They are truly *better* when made ahead! Remember what I told you earlier about slicing? That chilling step is not just for clean cuts; it actually helps the entire bar firm up and lets all those bright lemon and sweet berry flavors mingle. I usually make them the day before, keep them tightly wrapped in the fridge, and they are absolutely perfect to pull out an hour before guests arrive!
Nutritional Estimates for Gluten-Free Lemon Blueberry Layer Bars
Now, I’m not a nutritionist—you know I’m just here to make delicious things! But for those of you who like to keep track, I worked up these estimates based on the full ingredient list. Remember, these numbers are just a fun guide for my **Gluten-Free Lemon Blueberry Layer Bars** recipe, designed for 16 squares. Your final numbers might shift around a little depending on the exact brands of flour or butter you use, so please treat these as approximations!
- Serving Size: 1 square
- Calories: 210
- Sugar: 18g
- Sodium: 65mg
- Fat: 11g
- Saturated Fat: 7g
- Unsaturated Fat: 4g
- Trans Fat: 0g
- Carbohydrates: 27g
- Fiber: 1g
- Protein: 3g
- Cholesterol: 45mg
Not bad for a rich, layered dessert bar, especially when you consider how much flavor those fresh lemons and blueberries pack in there!
Share Your Bright Lemon Dessert Recipes Creations
That’s it, folks! You’ve made the **Gluten-Free Lemon Blueberry Layer Bars**, and now the fun part starts—the eating! But before you plow through all 16 squares yourself (I won’t tell!), I would absolutely *love* to hear how they turned out for you. Seriously, drop a comment below and let me know your biggest takeaway or what you thought of that crust. Was it firm enough? Did the lemon really zing?
If you baked these for a summer gathering or just because you needed a delightful Bright Lemon Dessert Recipes fix, please snap a picture! Tag me on social media or just tell me about it in the comments. I get such a kick out of seeing your beautiful creations and knowing that something I perfected in my kitchen is showing up on your table.
Your feedback really means the world to me, and knowing these reliable, delicious gluten-free bars are making your life a little bit sweeter keeps me experimenting in the kitchen every single day. Happy baking!
PrintGluten-Free Lemon Blueberry Layer Bars
Make these layered bars featuring a simple gluten-free crust, a bright lemon filling, and sweet blueberries. This recipe yields a firm, sliceable dessert.
- Prep Time: 20 min
- Cook Time: 45 min
- Total Time: 65 min
- Yield: 16 squares
- Category: Dessert
- Method: Baking
- Cuisine: American
- Diet: Gluten Free
Ingredients
- 1 1/2 cups gluten-free all-purpose flour blend (with xanthan gum)
- 1/2 cup rolled oats (certified gluten-free)
- 1/2 cup granulated sugar
- 1/4 teaspoon salt
- 1/2 cup cold unsalted butter, cut into pieces
- 1 large egg
- 1/4 cup fresh lemon juice
- 1 tablespoon lemon zest
- 1/2 cup granulated sugar
- 2 tablespoons gluten-free all-purpose flour blend
- 1/4 teaspoon baking powder
- 2 large eggs
- 1/4 cup milk (dairy or non-dairy)
- 1 cup fresh or frozen blueberries
Instructions
- Preheat your oven to 350°F (175°C). Line an 8×8 inch baking pan with parchment paper, leaving an overhang on two sides for easy removal.
- Prepare the crust: In a medium bowl, whisk together the 1 1/2 cups flour, oats, 1/2 cup sugar, and salt. Cut in the cold butter using a pastry blender or your fingers until the mixture resembles coarse crumbs.
- Press two-thirds of the crumb mixture evenly into the bottom of the prepared pan to form the crust. Reserve the remaining one-third for the topping.
- Bake the crust for 12 minutes, or until lightly golden. Remove from the oven.
- Prepare the lemon filling: In a small bowl, whisk together the lemon juice, lemon zest, 1/2 cup sugar, 2 tablespoons flour, baking powder, 2 eggs, and milk until smooth.
- Pour the lemon filling evenly over the warm crust. Sprinkle the reserved one-third of the crumb mixture over the top of the filling.
- Gently scatter the blueberries over the crumb topping.
- Bake for 30 to 35 minutes, or until the edges are set and the center is mostly firm. The filling will set more as it cools.
- Let the bars cool completely in the pan on a wire rack before lifting them out using the parchment overhang.
- Once cool, slice into squares.
Notes
- Use a gluten-free flour blend that already contains xanthan gum for the best texture in the crust.
- If using frozen blueberries, do not thaw them before adding them to the batter.
- Chill the bars for at least 2 hours before slicing for clean cuts.
Nutrition
- Serving Size: 1 square
- Calories: 210
- Sugar: 18
- Sodium: 65
- Fat: 11
- Saturated Fat: 7
- Unsaturated Fat: 4
- Trans Fat: 0
- Carbohydrates: 27
- Fiber: 1
- Protein: 3
- Cholesterol: 45