

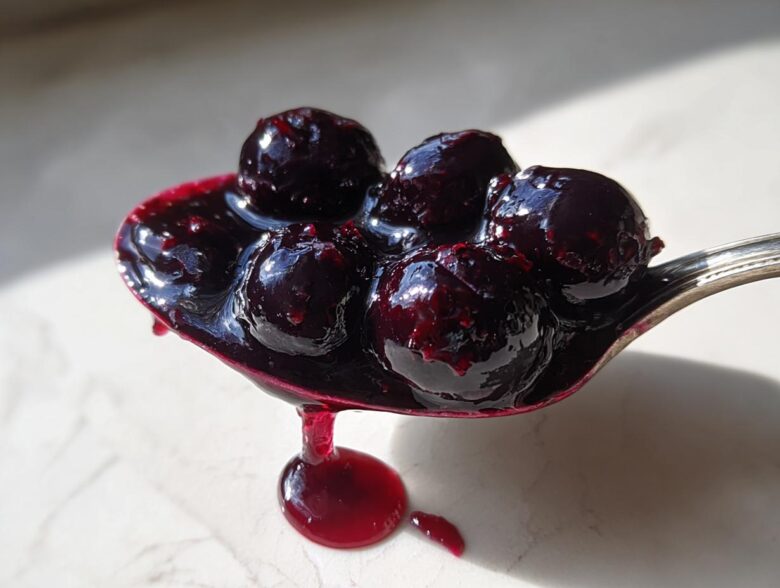
Oh, there is just nothing that beats cracking open a jar of homemade preserves, is there? That little “pop” sound when you first open a jar you made yourself? It feels like magic! I’ve been preserving summer for years, and I found that the secret to truly great blueberry jam isn’t about complicated ingredients. My main goal in creating this recipe was ditching the dreaded store-bought pectin.
Seriously, toss that box! This is a simple, small batch blueberry jam recipe that gets a fantastic, beautiful set all on its own. We’re using the natural pectin hiding in the fruit, a little help from lemon juice, and I’ve added the tiniest hint of vanilla and bright lemon zest to make the flavor just sing.
When I first started canning, I stressed about getting a firm set, especially keeping the sugar low. But after messing around—and yes, having a few runny batches—I landed on this method. It’s perfect for when you only have a pint or two of berries too many. It’s the best classic blueberry jam experience without any fuss!
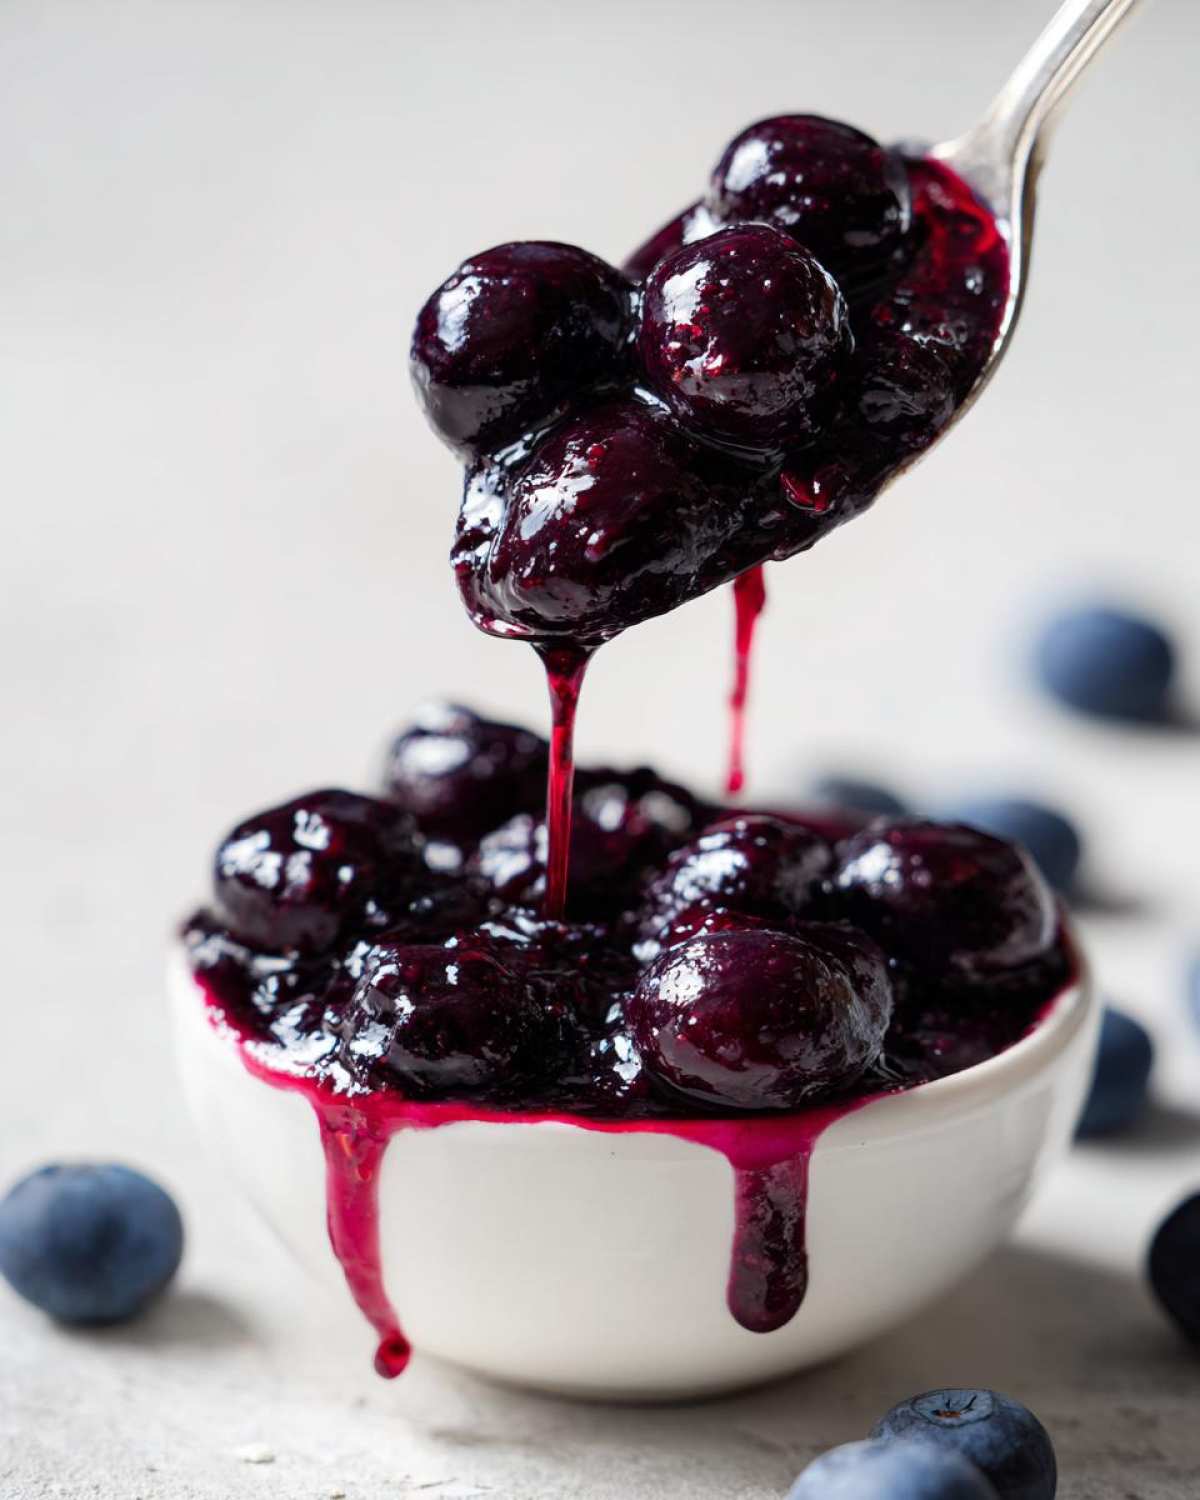
Why This Small Batch Blueberry Jam Recipe Works (No Pectin Needed)
People always ask me how I get this jam to set up firm when I cut the sugar back so much. It’s all about letting nature do the heavy lifting! Blueberries, even when cooked down, have just enough natural pectin inside them to thicken up, but they need an acidic buddy to really kick into gear. That’s where the fresh lemon juice comes in—it’s not just for shine, it’s the activator!
We cook this down until it hits that perfect concentration, which just takes patience, not powder. If you’re new to home canning, trust me, this no pectin blueberry jam is so satisfying because you see the thickening happen right in the pot. The only time I cheat on the cooking time is if I’m canning way up high in the mountains—remember, if you live above 1,000 feet, you have to increase your water bath processing time to make sure everything is safely sealed. You can read a little more about my general canning thoughts over here at the blog.
Achieving the Perfect Set with Low Sugar Blueberry Preserves
When you try to make low sugar blueberry preserves, you need to understand that sugar is a huge part of the traditional setting process. Since we’re using less of it, we absolutely need that acidity from the lemon juice to help the fruit’s own pectin lock in place. Don’t be shy with the juice! Also, be prepared for it to take a couple of extra minutes on the stove compared to a full-sugar batch. It’s worth standing by the pot for those extra minutes to get that beautiful, slightly less sweet result!
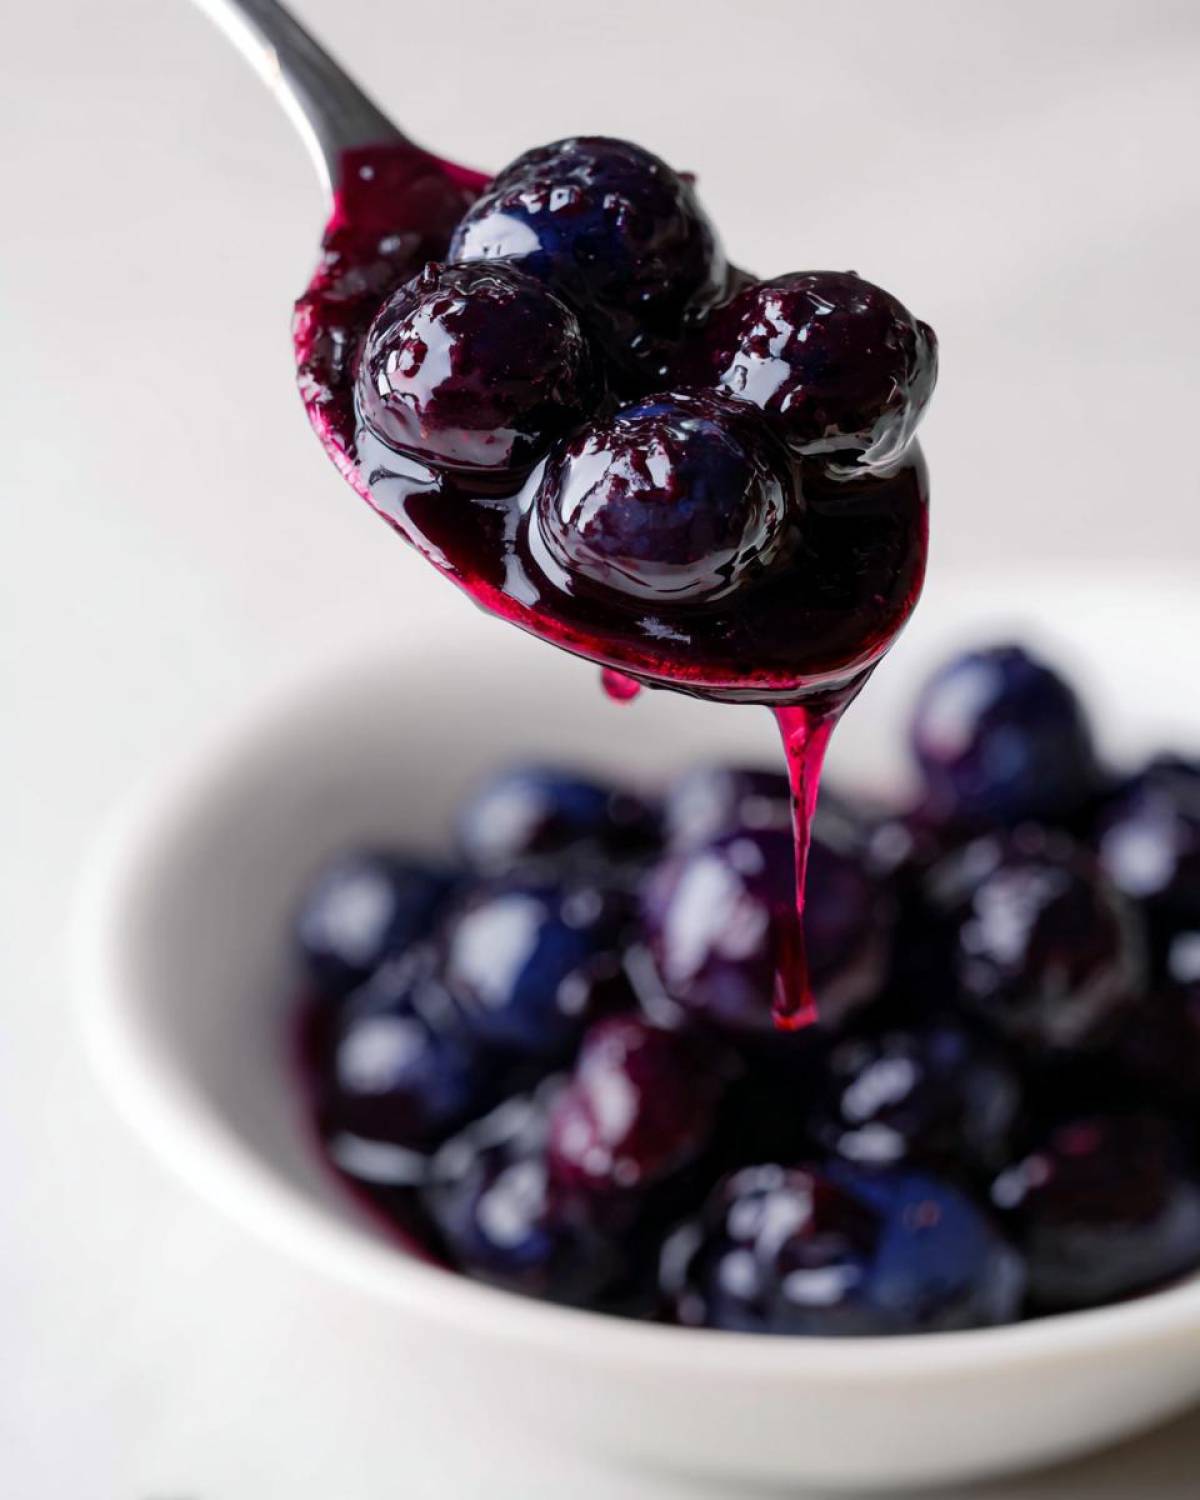
Ingredients for Your Vanilla Blueberry Spread
Okay, gathering your supplies is the easiest part of this whole process! Because this is a small batch berry jam, you don’t need to dedicate an entire afternoon to prepping jars, which I love. Everything comes together fast. Since we are aiming for roughly 3 half-pint jars of finished jam, keep your ingredient amounts exactly where they are. Don’t double it yet until you nail this first try!
- 4 cups fresh or frozen blueberries (Seriously, grab whichever you prefer!)
- 2 cups granulated sugar (You absolutely can reduce this to 1 ½ cups if you want it really tart, but start with 2 cups for your first go-around.)
- 1 tablespoon fresh lemon juice (Must be fresh, please!)
- 1 teaspoon vanilla extract (The good stuff, that warm, pure extract!)
Ingredient Notes and Substitutions for Blueberry Jam
Let’s talk blueberries for a second. If you use frozen, do not thaw them first! Just toss them straight from the freezer into the pot. They take a tiny bit longer to break down, but it stops things from getting too soupy initially. Fresh berries are great too, but you might need to cook them down for a minute or two longer just to soften them up.
If you’re really chasing that low sugar blueberry preserves goal, feel free to drop that sugar down to 1 ¾ cups or even 1 ½ cups. Just know that the lower you go, the longer you have to cook the mixture to get that set, because the sugar helps pull out the moisture. And that vanilla? It’s subtle, but it gives this spread a beautiful depth that complements both the lemon and the berries. Trust me on the vanilla; it makes this taste fancy!
Preparing for Water Bath Blueberry Jam Canning
Before we even think about stirring those beautiful berries, we have to get our canning station tidied up! This isn’t hard multitasking; it’s called preparation, and it saves your bacon later when the jam is boiling hot. Grab your clean half-pint jars—you’ll need three, most likely—and get them submerged in your water bath canner filled with water.
You want that canner full enough so that once the jars are in and the water comes to a boil, they will stay covered by at least an inch of water. Start heating that up to a simmer now, just getting the jars nice and hot. While that water is warming, take a peek at your lids! Here’s my secret that my Aunt Carol taught me: Never reuse an old lid ring if you can avoid it, and inspect every flat lid for scratches or dings. A damaged lid is the number one way to ruin a perfectly good jar of water bath blueberry jam. If the seal looks iffy or the lid is dented, toss it now. Better safe than sorry!
Step-by-Step Instructions for Small Batch Blueberry Jam
Now that your jars are hot and waiting, we move onto the fun part—making the actual jam! Remember how I said we had the water bath canner set up? Make sure that water is actively boiling just before you finish cooking the jam so you don’t have to wait around once it’s ready. Time is crucial here so we can get the piping hot jam into the hot jars quickly.
First off, take your measured blueberries and your sugar and toss them into that heavy pot. Gently stir them together and put them right over medium heat. You need patience for about 10 minutes here while the sugar first dissolves and the berries start to weep their juices. Keep stirring so nothing sticks to the bottom and scorches!
Once it gets rolling, you crank that heat up. We are looking for a full, rolling boil—the kind you cannot stir down when you try to test it. Now, you let it cook hard for about 15 to 20 minutes. This is where the magic happens for this blueberry jam! As it cooks down, stir often. Once off the heat, quickly swirl in your lemon juice and that gorgeous vanilla extract.
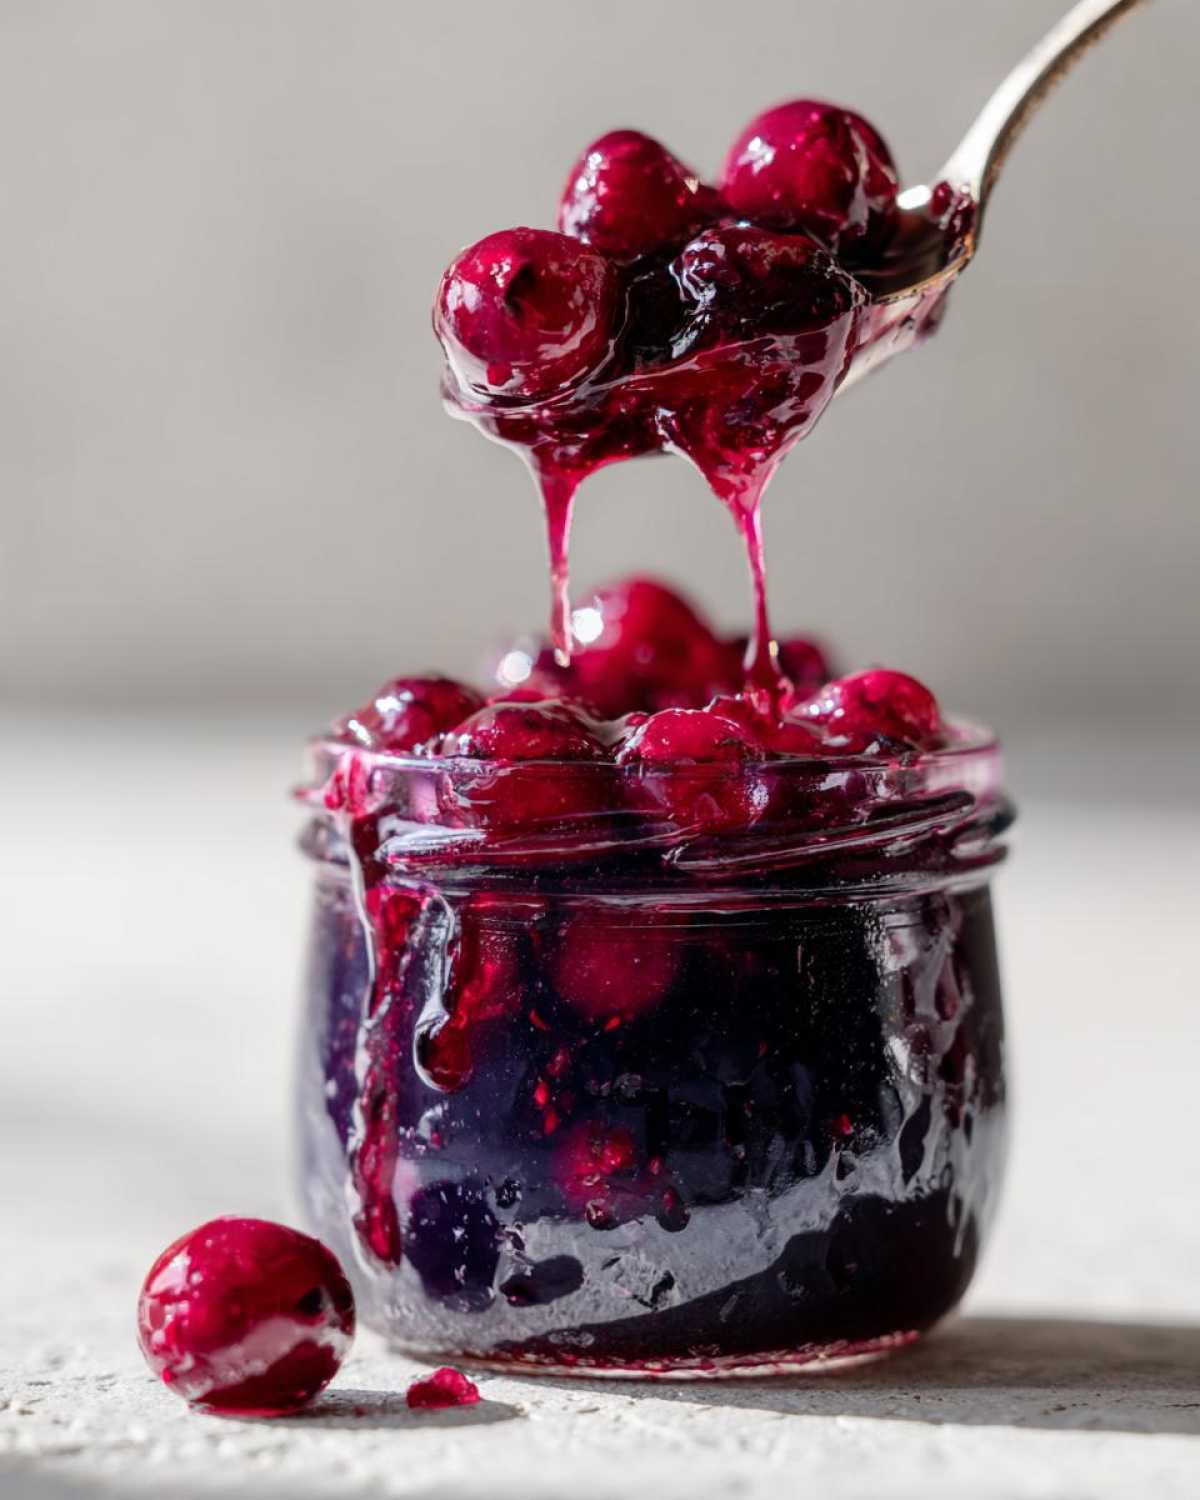
Testing the Thickness of Your Blueberry Jam Recipe
Knowing when jam is done without commercial pectin is an art! Don’t just guess. The one thing I always tell people is to feel free to use a cold plate. Keep a small little saucer in the freezer while you cook. Spoon a tiny bit of jam onto the cold plate, wait thirty seconds, and then push it with your finger. If it wrinkles up, you’re done! That’s the sign that your no pectin blueberry jam has reached the right setting point.
If you have a candy thermometer (which I actually recommend since I started canning more often), you want to see it hit 220 degrees Fahrenheit. That’s the magical number. If you skip this test, you might end up with a delicious blueberry sauce instead of jam!
Filling Jars and Processing the Blueberry Jam
Time is ticking! Take your jars out of the canner briefly—keep the water boiling, just take the jars out and set them on a towel near your stove. Ladle that hot jam right into the hot jars. You must leave exactly 1/4 inch of empty space at the very top. That’s called headspace! If you’ve got sticky drips on the rim, don’t panic, but wipe those rims totally clean with a damp cloth or paper towel. A clean rim is essential for a good seal.
Put the lids on and screw the bands down until they are just fingertip tight—seriously, don’t crank down on them! Then, carefully get those jars back into that boiling water bath canner. Make sure they are covered by at least an inch of water and process them for exactly 10 minutes. Remember what I said about altitude if you live somewhere high up! If you want to see my quick guide on adjusting processing times for high altitude canning setups, check out my tips for homemade applesauce, it follows the same rules.
Tips for the Best Blueberry Jam Every Time
Even though this is a simple recipe, just a couple of extra little steps can take your jam from great to absolutely irresistible. You know how sometimes you get a jar where every spoonful is just solid fruit? If you aren’t a fan of whole berries floating around, grab a handy potato masher and just mash about a third of your berries right before you start cooking. This breaks them down and guarantees a smoother final texture for your vanilla blueberry spread.
Also, please taste the batch right before you add the lemon and vanilla. Since we are aiming for low sugar blueberry preserves, your palate might want a little more tartness or sweetness than mine does! Adjust your sugar level carefully at this stage, because once you add the acid and start the final cooking, it’s locked in. If you want to add another flavor, a tiny pinch of cardamom blends beautifully with blueberries, too! You can always find more little tweaks and ideas over on the blog.
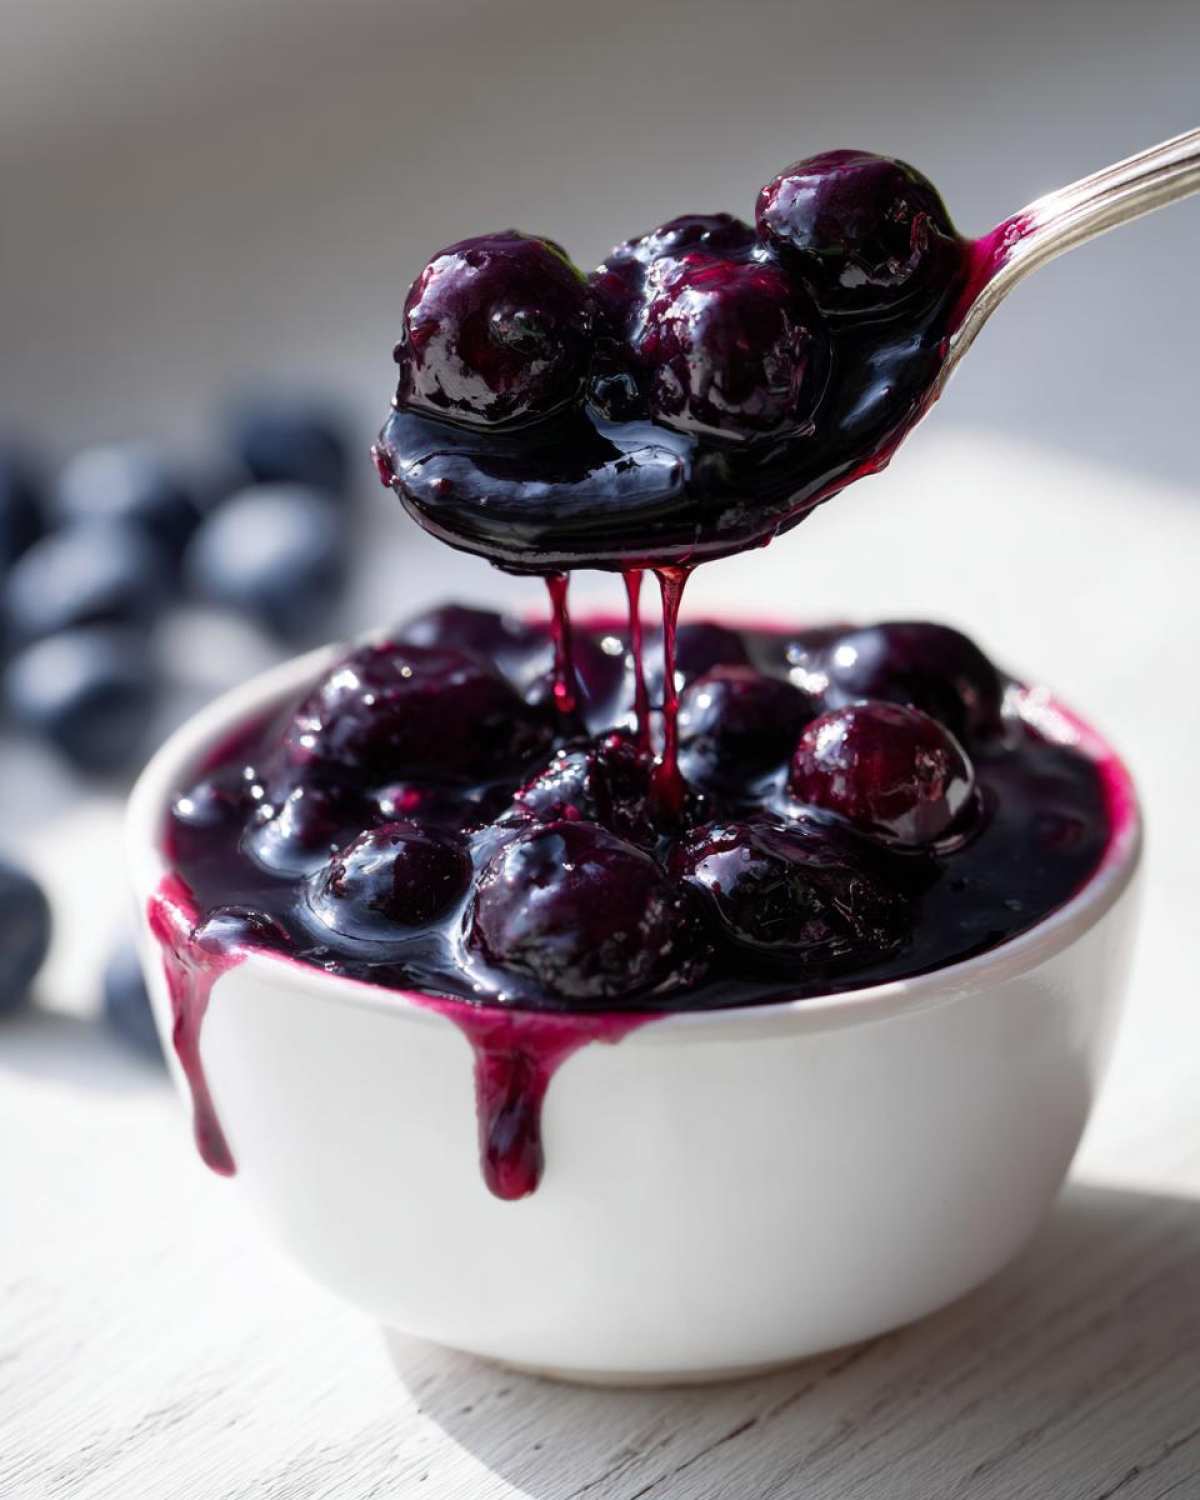
Storage and Reheating for Your Small Batch Berry Jam
Okay, the jars are cooled (and you heard that satisfying seal ‘pop,’ right? If not, don’t fret, we’ll get to that in the FAQs!). Now you’ve got to treat your beautiful homemade jam right so it lasts. For properly sealed jars—meaning the lid button in the center is sucked down and doesn’t move when you press it—you just need a cool, dark place. Think basement shelf or inside a dark pantry cabinet.
As long as that seal holds, this blueberry jam is shelf-stable for up to a year, maybe even longer, though honestly, mine never lasts that long! Once you break that seal and open the jar, you have to treat it like any store-bought preserve. Pop it right into the refrigerator immediately. An opened jar is good for about three to four weeks. My rule is, if it smells funny, looks moldy, or seems fizzy, toss it out immediately. We’re preserving food here, and safety always comes first before scraping the bottom of a jar for one last taste!
What about those jars that didn’t seal? Sometimes the rim wasn’t clean, or maybe the flat lid was slightly bent. It happens! If a jar didn’t seal after 24 hours, don’t stress about re-processing it right away. Just put a regular screw-on lid on it, stick it in the fridge, and plan to use that jar within the next week or so. It’s an instant win for spreading on toast tomorrow morning!
Frequently Asked Questions About Blueberry Jam
I always get so many questions when people first try making preserves at home, especially when they’re trying to keep the sugar low like we did here. Canning can feel a little intimidating at first, but trust me, once you get past the initial setup, it’s smooth sailing! Let’s tackle a few things I hear most often about this simple small batch berry jam.
Can I make this blueberry jam recipe with only fruit and no sugar?
Oh, that’s a common question when we’re aiming for those low sugar blueberry preserves! You certainly *can* cook blueberries down with just a bit of lemon juice, but I have to warn you: it won’t set properly for shelf storage using the water bath method. Sugar isn’t just for sweetness; it’s a key ingredient that thickens the jam and helps preserve it safely through canning. Without it, you’ll end up with more of a blueberry syrup or sauce, and you absolutely must freeze that kind of mixture instead of processing it in the water bath.
How long does this small batch berry jam last once opened?
This is the fun part! Once you successfully break the seal on one of your jars, you’re basically treating it like fresh food. Pop that beautiful jar of jam right into the refrigerator. If you’ve sealed it properly and you’re just cracking it open now, it should stay perfectly delicious and firm—that great texture we worked for—for a solid three to four weeks in the fridge. Just make sure you use a clean spoon every time you dip in!
Estimated Nutritional Data for Blueberry Jam
Look, I’m a cook, not a nutritionist, so take this part with a massive grain of salt! Since this is a low sugar blueberry preserves recipe, the numbers change depending on exactly how much granulated sugar you decided to use in the end. Did you stick to the two cups or bravely cut it down to 1 ½ cups? That will shift things around quite a bit!
But based on the standard measurement given for this blueberry jam recipe, here is what you can roughly expect for one serving (about a ¼ cup):
- Calories: About 100
- Total Fat: 0g (Can you believe it? Jam has no fat!)
- Carbohydrates: 26g
- Sugar: 25g (This is where it varies—the lower you set the sugar, the lower this number goes!)
- Protein: 0g
The main thing to remember is if you used less sugar than the recipe calls for in your small batch berry jam, your calories and sugar content will drop. If you added zest or extra lemon juice, that tiny little bit won’t change much at all. It’s all down to how much sweetness you let into the pot!
Share Your Homemade Blueberry Jam Success
I really, truly hope you enjoyed making this batch as much as I do every time I pull out the fresh berries! Seriously, I can’t wait to hear how your jars turned out. Did you stick with my classic vanilla and lemon combo, or did you try something wild in your own blueberry jam recipe creation?
If you got a beautiful, firm set using just the natural fruit pectin—and I bet you did!—please pop down into the comments and tell me about it! Was yours a perfect, glossy spread, or went it a little thicker? Hearing about your successes with small batch jam is what keeps me energized in the kitchen!
If you have any lingering questions about the water bath process or maybe want to send me a picture of your haul, you can always reach out directly over on my contact page. Happy canning, friends! I’m already planning what flavor I’m going to tackle next!
PrintSimple Small Batch Blueberry Jam with Vanilla and Lemon
Make a low-sugar blueberry jam using a water bath method. This recipe uses natural pectin from the fruit and includes vanilla and lemon for flavor.
- Prep Time: 15 min
- Cook Time: 30 min
- Total Time: 45 min
- Yield: About 3 half-pint jars
- Category: Preserves
- Method: Water Bath Canning
- Cuisine: American
- Diet: Vegetarian
Ingredients
- 4 cups fresh or frozen blueberries
- 2 cups granulated sugar (or less for lower sugar content)
- 1 tablespoon fresh lemon juice
- 1 teaspoon vanilla extract
Instructions
- Wash and sort the blueberries, removing any stems or damaged fruit. If using frozen, do not thaw.
- Combine the blueberries and sugar in a large, heavy-bottomed pot. Stir gently.
- Heat the mixture over medium heat, stirring often until the sugar dissolves and the berries begin to break down, about 10 minutes.
- Bring the mixture to a rolling boil that cannot be stirred down. Stir frequently to prevent scorching.
- Cook for 15 to 20 minutes, or until the jam thickens enough to coat the back of a spoon. If you test with a cold plate, the jam should wrinkle when pushed.
- Remove the pot from the heat. Stir in the lemon juice and vanilla extract.
- Ladle the hot jam into clean, sterilized half-pint canning jars, leaving 1/4 inch headspace.
- Wipe the rims clean, center the lids, and screw on the bands fingertip tight.
- Process the jars in a boiling water bath canner for 10 minutes, adjusting for altitude if necessary.
- Remove jars and let them cool undisturbed for 12 to 24 hours until sealed. Check seals before storing.
Notes
- For a thicker set without added pectin, cook the jam longer until it reaches 220 degrees Fahrenheit.
- If you prefer a smoother jam, mash some of the berries with a potato masher before cooking.
- Taste the jam before canning; adjust sugar or lemon juice as needed for your preference.
Nutrition
- Serving Size: 1/4 cup
- Calories: 100
- Sugar: 25
- Sodium: 1
- Fat: 0
- Saturated Fat: 0
- Unsaturated Fat: 0
- Trans Fat: 0
- Carbohydrates: 26
- Fiber: 1
- Protein: 0
- Cholesterol: 0