


Oh, my gosh, listen to me: if you’ve ever spent hours cutting out perfect sugar cookies only to have your pretty design melt into a runny, sad puddle of sugary mess, you know the pain! It’s the absolute worst, especially when you’re aiming for those crisp, beautiful edges for Christmas or birthdays. That’s why I obsessively perfected this **cookie icing recipe**.
Forget those fussy royal icing batches that require egg whites and a prayer. This one is ridiculously simple to whip up, but here’s the magic part: it dries smooth, glossy, and *hard*—yes, hard enough to stack without sticking!
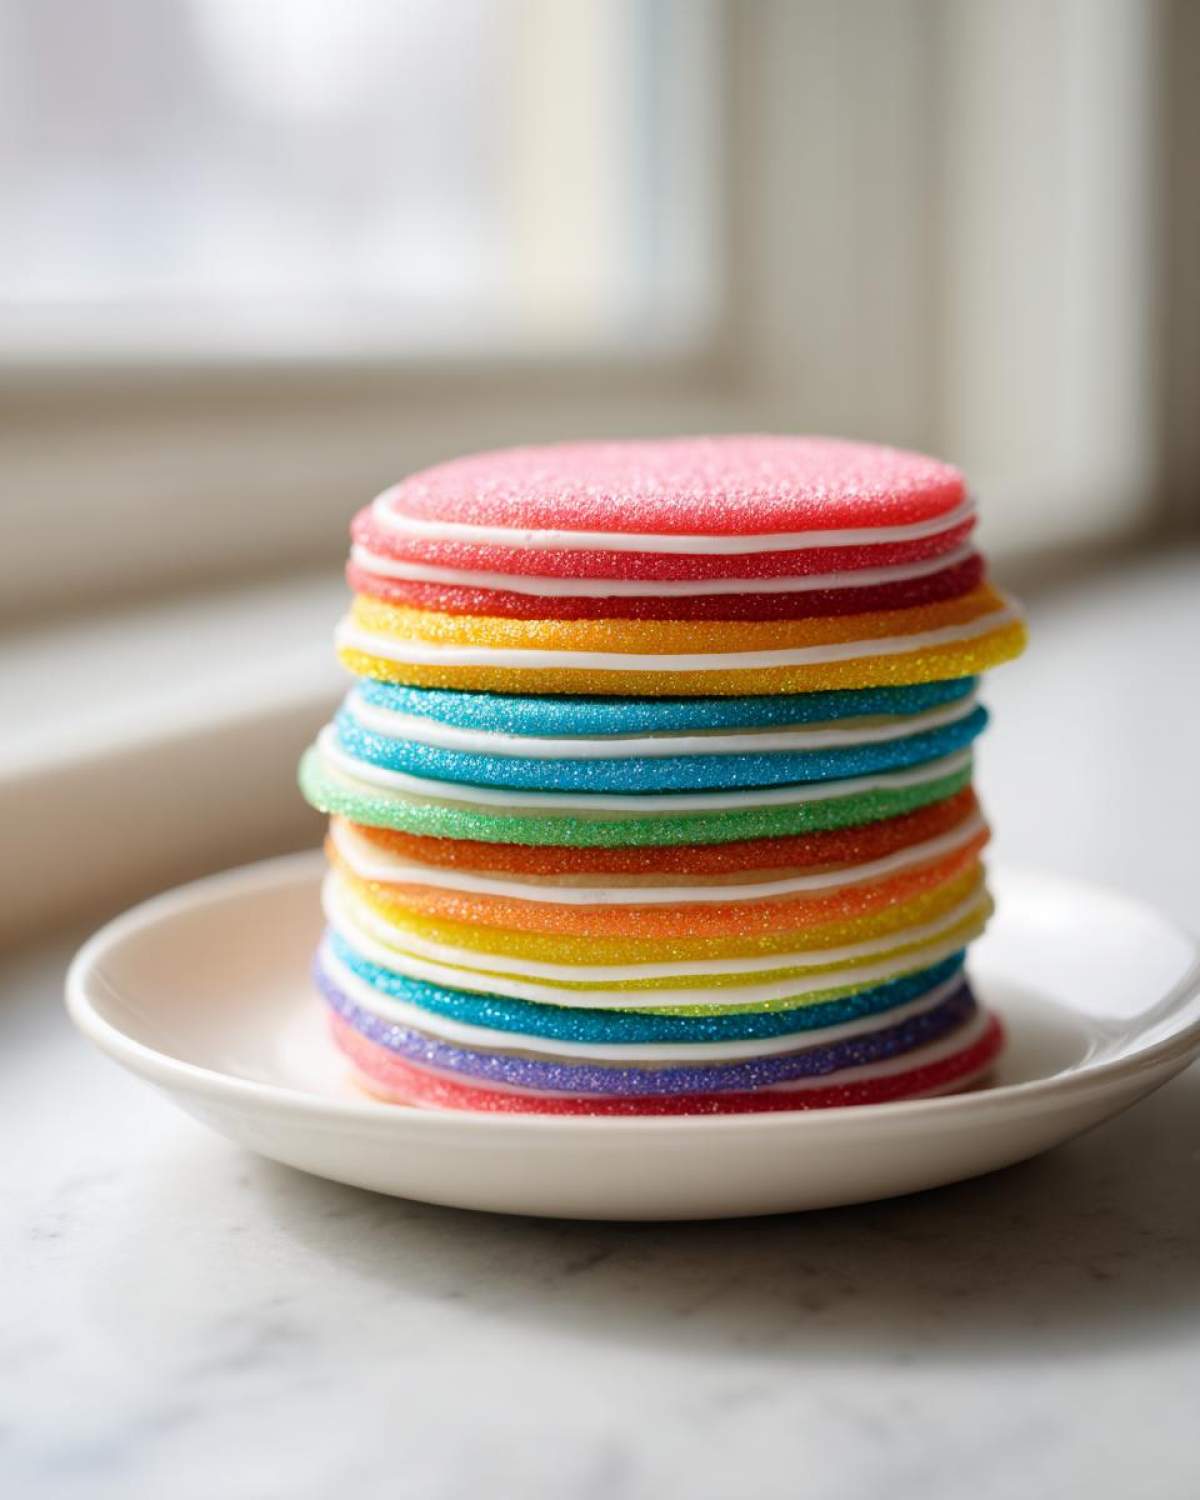
Trust me, once you nail this technique, you’ll feel like a total decorating superstar. It’s my go-to for everything, and it’s saved so many holiday cookie trays from disaster. Let’s banish runny icing forever!
Why This Is the Best Cookie Icing Recipe for Beginners
If you’re new to decorating, mixing up icing can feel super intimidating, but this isn’t one of those recipes that turns on you halfway through mixing. This is genuinely the best **Easy Cookie Decorating Icing** because it skips the complicated steps but still delivers that professional look you’re after. I love using this recipe too when I’m baking up my classic snickerdoodles, even though the cookie texture is completely different; the icing standard stays high!
The secret weapon here is the corn syrup. It’s what pushes this frosting into the ‘dries super firm’ category. You get that satisfying snap when you bite into your cookie! It’s reliable every single time, which is exactly what any beginner baker needs. This is truly an **Icing That Dries Hard** without fail.
Achieving a Glossy Cookie Icing Finish
No one wants a dull, dusty-looking cookie topping, right? That glossy cookie icing finish happens naturally because of how the light hits the smooth dome of the icing once it sets up. The corn syrup helps keep the sugars from crystalizing too quickly or becoming matte. It reflects light beautifully, making your colors pop!
Tips for Piping Icing Recipe Success
When you’re working on your **Piping Icing Recipe**, consistency is everything. Because this icing sets up so well, it’s perfect for outlining sharp edges without bleeding everywhere. Just make sure that when you pull the mixer paddle out, the icing holds its peak for a second before slowly folding back into the bowl. That’s how you know it’s ready to hold its shape on your beautiful cut-outs!
Ingredients for Your Perfect Cookie Icing Recipe
Okay, this is the best part because it’s so simple. You don’t need complicated extracts or specialty flours; we are keeping this **cookie icing recipe** incredibly straightforward so you can whip it up any time the cookie craving strikes. When I’m whipping this up, I always think about the beautiful vanilla cake I made last week—simple bases truly are the best foundations!

Remember to sift that powdered sugar! I know, I know, who has time? But trust me, skipping this step is how you end up with little lumps in your beautiful final product. We want smooth perfection here. I always keep my sifter handy just for this!
Here is exactly what you’ll need for this incredible batch that covers about three dozen medium cookies:
- 4 cups powdered sugar, definitely sifted
- 1/2 cup light corn syrup (this is key for the shine and set!)
- 1/4 cup milk or water (whatever you have handy works fine here)
- 1 teaspoon vanilla extract
- 1/4 teaspoon almond extract (Totally optional, but honestly, it gives it a little something extra!)
- Food coloring (I strongly recommend gel colors; they are so much better than liquid for icing!)
That’s truly it. No weird egg tricks, no complicated heating—just measure, sift, and mix your way to decorating glory!
How To Make Cookie Icing: Step-by-Step Instructions
Alright, now that everything is measured and sifted, let’s get mixing! Making this **cookie icing recipe** is so fast, it practically happens before the coffee finishes brewing. I find the best way to teach this is just to walk you through it exactly as I do it in my kitchen. If you messed up your **baking basics icing** before, this method will fix everything!
First things first: Get that sifted powdered sugar into your biggest, sturdiest mixing bowl. You need room to move things around in here. Then, over in a separate little bowl, whisk up your wet stuff. That’s the corn syrup, your milk or water, and both extracts—vanilla and that tiny kick of almond if you’re using it.
Now, here’s the low-and-slow part. Add those wet ingredients to the sugar slowly, mixing on low speed with your electric mixer until it just barely comes together. If you dump it all in at once, you risk the dreaded sugar plume explosion across your entire counter! Oops!
The real work happens next. Crank that mixer up to medium-high. You need to beat this mixture for a solid 3 to 5 minutes. Seriously, don’t stop early! This intense mixing time is crucial because it’s what makes the icing glossy and super smooth. When it’s ready, it’ll look gorgeous and creamy, ready for decorating.
Adjusting Cookie Icing Consistency
This is where you turn your general batch into piping perfection. If you’re planning on just glazing or flooding cookies right away, you might find the mix too thick. If that’s the case, just add a tiny bit of milk or water—literally one teaspoon at a time—and mix it in on low until it flows nicely off your spatula or whisk.
On the flip side, maybe you like a really stiff icing for intricate borders, or maybe you added too much liquid accidentally (we’ve all done it!). If it’s too thin for piping, back it up with more of that sifted powdered sugar, tablespoon by tablespoon. Keep mixing briefly after each addition until that icing can build a little peak that doesn’t immediately flatten out. It needs to be workable!
Coloring Your Smooth Cookie Topping
Once you have your perfect consistency, grab some small bowls for separating out the colors you need. This is my firm advice: use gel food coloring whenever you can! Liquid coloring is weak and you end up adding so much liquid that you break your beautiful **smooth cookie topping** consistency.
- Add gel coloring one drop at a time. Seriously, they are super concentrated!
- Mix it in gently after adding the color. You don’t want to overmix once the texture is right.
- Keep adding drops until you hit that vibrant shade for your holiday treats or birthday cookies!
If you are coloring a big batch, cover the bowls you aren’t working on right now, or the surface will start forming a skin almost immediately.
Ingredient Notes and Substitutions for This Cookie Icing Recipe
Now that you see how simple this base **cookie icing recipe** is, I want to talk for a second about upgrades, specifically if you are decorating cookies for a giant event or need them to survive being shipped somewhere. While I adore the shine and elasticity that corn syrup gives us, sometimes you need cement-grade hardness, right?
This is where we honor the Royal Icing tradition without all the anxiety! If you are chasing that super-hard, glass-like finish—the kind that lets you stack cookies ten high without them sticking together—you can swap out the corn syrup entirely. I looked this up in my notes after my cousin needed a foolproof **Royal Icing Recipe** for shipping Christmas cookies across the country, and this substitution worked wonders.
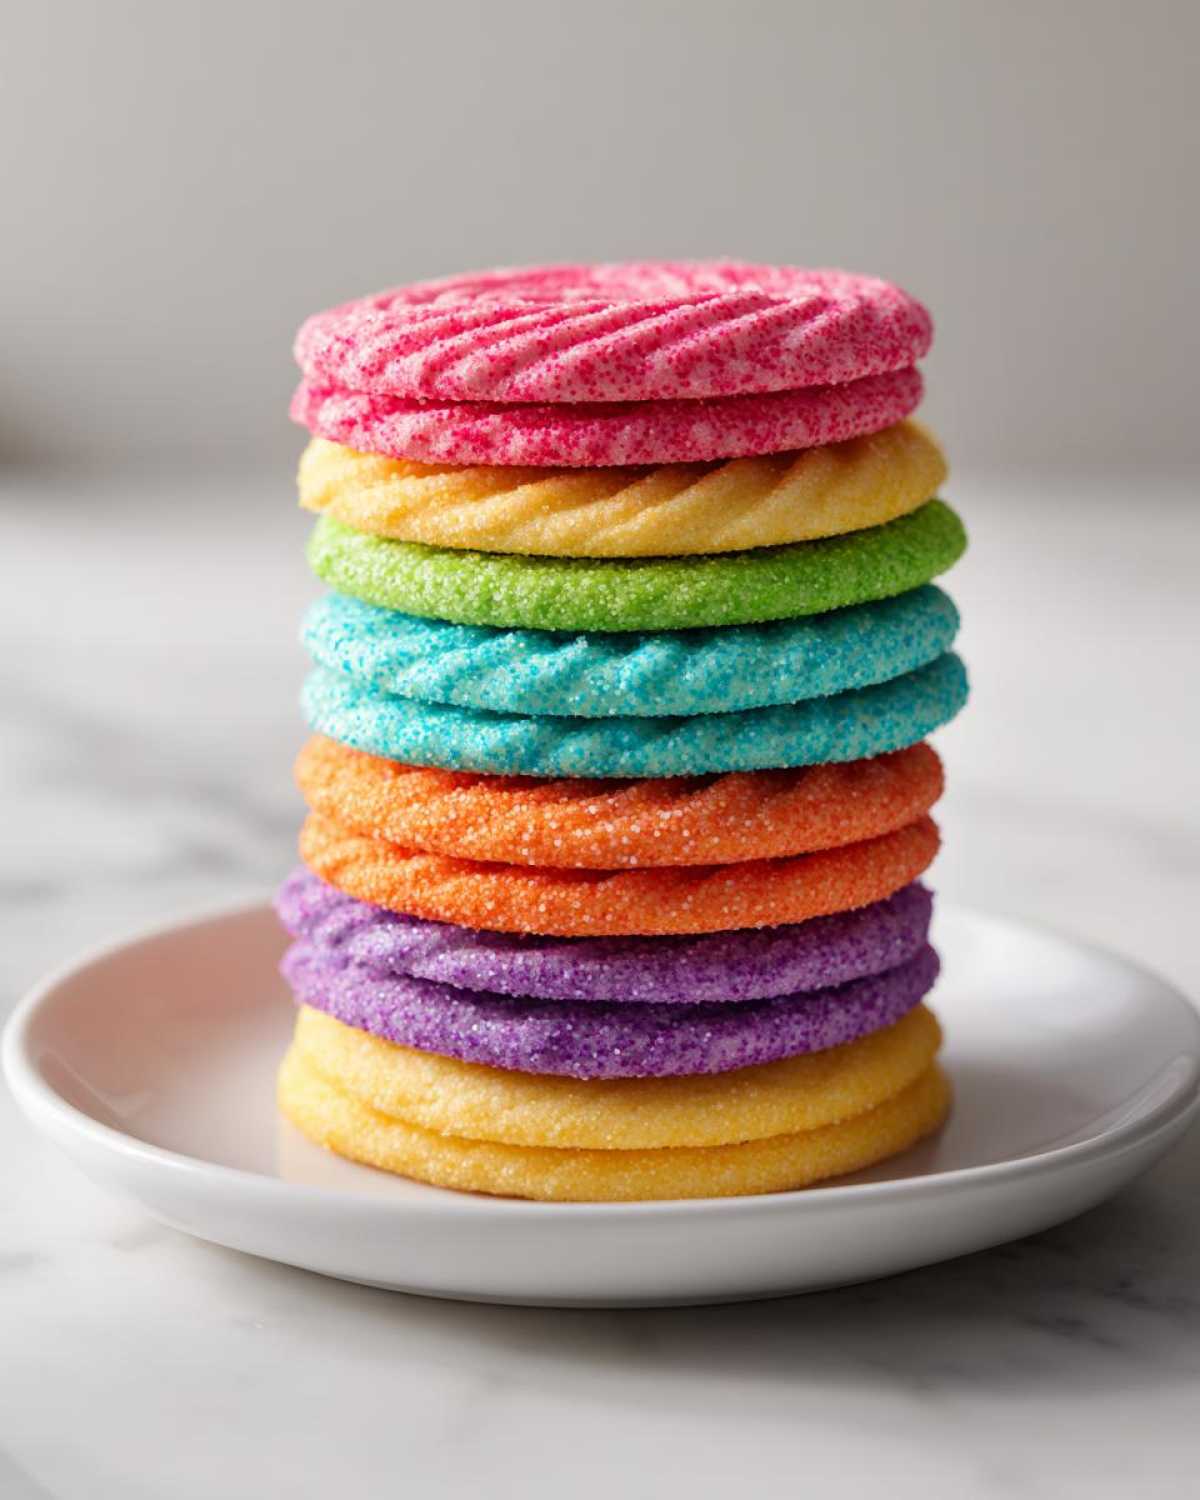
You’ll replace the 1/2 cup of corn syrup with 2 tablespoons of meringue powder, which you then mix with 6 tablespoons of water before adding it to the sugar. Meringue powder is just dried egg white protein, so it firms up like nothing else! It gives you that extra-firm set but still keeps the mixing process super simple. Honestly, being able to pivot between the chewy, slightly softer set of the corn syrup batch and the rock-hard set of the meringue powder batch makes this adaptable recipe so valuable for any type of cookie decorating.
I actually tested this meringue version alongside my famous egg custard pie recipe last week just for fun—I always say, if you can master egg whites in desserts, you can master egg whites in icing!
Tips for Storing and Reviving Your Workable Cookie Icing
Okay, once you’ve put in the effort to get the consistency of your icing just right, you absolutely do not want it to dry out on you while you’re piping borders on batch number three!
The number one rule while you are working on your cookies is to keep the main bowl of icing covered tightly. Plastic wrap pressed directly onto the surface of the icing works wonders. If you skip this step, even for just 15 minutes while you’re cleaning up a mess on batch number one, you’ll come back to a thick skin on top. Who wants to scoop crusty icing into their piping bag?
But don’t panic if it happens! It’s not ruined. If you notice your icing has dried or «crusted over» while you stepped away—maybe to whip up a quick batch of my homemade applesauce for snacking—all you have to do is stir it gently and then add just a few drops of water. Mix it slowly until that smooth texture comes right back. It’s shocking how quickly these simple additions can transform crusty icing back into your favorite **workable cookie icing**!
If you have leftover icing that you mixed up but didn’t use, store it in an airtight container in the fridge. It usually lasts a few days, maybe even four. When you’re ready to use it again, let it come completely to room temperature first. Then, give it a really good stir. If it looks flat or a little stiff, just add that tiny bit of water until it flows nicely from the spoon again. It’s so forgiving, which is why I love it!
Making the Best Cookie Frosting for Cut Out Cookies
Now we get to the fun part: actually putting this gorgeous **cookie icing recipe** onto those perfectly baked sugar cookies! When you use this frosting for cut-out cookies, you’ll notice a huge difference in how manageable it is. For those sharp sugar cookie designs, you absolutely must outline first. Pipe a clear border around the edge of your cookie, and give that line about 10 to 15 minutes to set up a little bit.
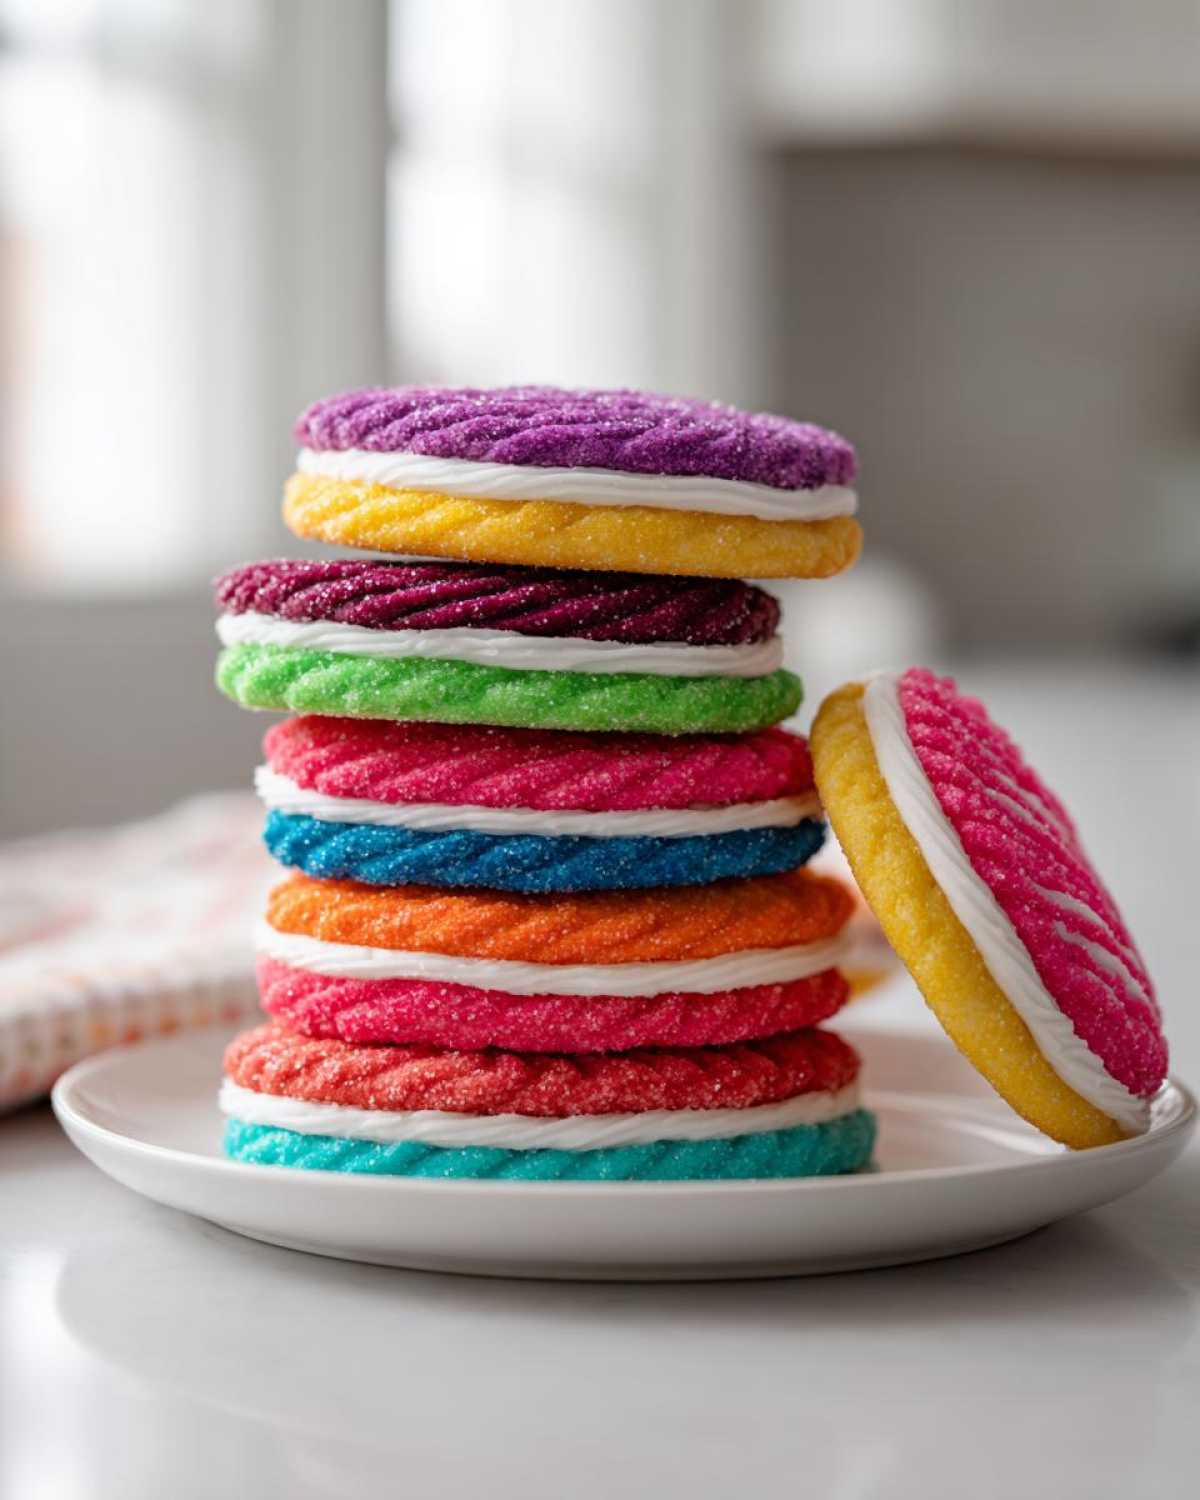
Why the wait? Because that border acts like a tiny dam! If you flood immediately, the thin icing just spills right over your hard work. Giving that outline a little time to firm up ensures your flood icing stays exactly where you put it, keeping those edges perfectly crisp when you make your next batch of sugar cookie fruit pizzas!
After outlining, you fill in (flood) the center. This icing does a wonderful job of smoothing itself out as it dries, giving you that sought-after glassy look. It flows nicely but stays put. If you need multiple layers for 3D effects, this is the **Icing for Cut Out Cookies** you want, because the previous layer will be firm enough to support new decorations relatively fast.
And when do the cookies get to stack? That’s the ultimate test, right? Since this recipe doesn’t rely solely on raw egg whites, it doesn’t take days. Depending on how humid your kitchen is (humidity is the enemy of drying!), you can usually stack your cookies safely after just a few hours. When that surface is rock solid to the touch, they are ready to go into tins or bags!
Frequently Asked Questions About This Amazing Cookie Icing Recipe
I always get so many questions after people try this batch for the first time! It’s funny how simple ingredients can save the day when it comes to **Best Cookie Frosting**. Here are some of the things people ask me most often about getting that perfect, smooth topping. For more general baking tips about consistency and troubleshooting, check out my main Baking Basics hub!
How long does this icing take to dry hard?
This is the million-dollar question, isn’t it? If you use the standard recipe with corn syrup, it doesn’t get rock-hard like the meringue version, but it definitely sets firm enough for stacking. My experience shows that if the weather is dry, you might be able to stack those cookies carefully after just a couple of hours! If it’s super humid where you live? Give it more time, maybe four to six hours on the surface before you even dream of touching the layers.
Can I use this as a simple cookie glaze?
Absolutely, you can thin this down to a simple **Perfect Cookie Glaze**! Remember when we talked about consistency above? If you want a shiny, thin glaze that you just pour over a simple sugar cookie, you’ll need to add water or milk, one teaspoon at a time, until it’s runny—much runnier than what you’d use for piping borders. It will still dry smooth, but it won’t have the structure to hold complex shapes like piping does, which is what this specific **cookie icing recipe** excels at.
What is the difference between this and traditional Royal Icing Recipe?
That’s a great question that gets right into the chemistry of icing! The main difference is what keeps it solid. Our main recipe uses light corn syrup, which helps it dry firm with a lovely glossy finish—it’s really more of a tough glaze. This is fantastic for most home bakers and holidays! But if you’re looking for that super-hard, glass-like finish—the kind that lets you stack cookies ten high without them sticking together—you need the traditional stuff, which relies on egg whites or, in our modern version, meringue powder.
Remember how I mentioned swapping the corn syrup for meringue powder? That substitution is what turns this into a true **Royal Icing Recipe**, making it much harder and more durable for intricate decorating or shipping. The corn syrup version is softer and offers a bit more forgiving chew!
Nutrition Estimate for This Cookie Icing
Okay, let’s talk about the details for anyone counting calories or sugar while making their amazing batches of **sugar cookie icing**. Since this is essentially pure sugar and flavorings, it clocks in a little high on the sweet treats scale, but since you use it sparingly on individual cookies, it’s no big deal!
I want to remind everyone that these numbers are just estimates. I’m trying my best here, but if you use a different brand of powdered sugar, or if you end up adding a few extra drops of vanilla—or—heaven forbid—you taste-test a little too much while blending, the final numbers will shift! Always treat this like a general guide, and for official dietary advice, please check out the full site disclosure.
Here is the general outline based on a 1/4 cup serving size of the finished product:
- Serving Size: 1/4 cup
- Calories: About 450 (Wow, that’s concentrated!)
- Sugar: 110 grams (Yep, it’s icing!)
- Fat: 0 grams
- Sodium: Only 5mg (Not bad!)
- Carbohydrates: 112 grams
- Protein: 0 grams
So, while it’s definitely a treat, remember that a single iced cookie only uses a tiny fraction of this serving size. It’s all about careful decorating, not drinking the whole bowl—though I’m not saying I haven’t been tempted when the aroma is this good!
Share Your Cookie Decorating Creations
Now you have all the secrets to making the best **cookie icing recipe** that holds its shape, dries glossy, and looks professional without any of the stress. I honestly can’t wait to see what beautiful cookies you create!
Once you’ve whipped up a batch of this **Sugar Cookie Icing** and decorated your masterpiece, please come back here and let me know how it went. Did you use the corn syrup version or try the meringue powder swap? I want to hear all the details! Leaving a quick star rating makes a huge difference to me, and it helps other bakers know this is the real deal for **Icing for Cut Out Cookies**.
If anything felt tricky, or if you discovered a new trick for coloring the icing while you were working, drop a comment down below. We are all learning and cheering each other on in the kitchen! Don’t forget, if you ever have a recipe doubt or need to get in touch directly, you can always find my contact information right here. Happy decorating!
PrintEasy Sugar Cookie Icing That Dries Smooth and Hard

A simple recipe for cookie icing that pipes well, dries to a smooth, glossy finish, and hardens perfectly for decorating cut-out cookies.
- Prep Time: 10 min
- Cook Time: 0 min
- Total Time: 10 min
- Yield: Covers approximately 3 dozen medium cookies
- Category: Baking
- Method: Mixing
- Cuisine: American
- Diet: Vegetarian
Ingredients
- 4 cups powdered sugar, sifted
- 1/2 cup light corn syrup
- 1/4 cup milk or water
- 1 teaspoon vanilla extract
- 1/4 teaspoon almond extract (optional)
- Food coloring (gel preferred)
Instructions
- Sift the powdered sugar into a large bowl.
- In a separate bowl, whisk together the corn syrup, milk or water, vanilla extract, and almond extract if you are using it.
- Gradually add the wet ingredients to the sifted powdered sugar, mixing on low speed with an electric mixer until just combined.
- Increase the mixer speed to medium-high and beat for 3 to 5 minutes until the icing is smooth and glossy.
- Check the consistency. If the icing is too thick for outlining, add water or milk, one teaspoon at a time. If it is too thin for piping, add more sifted powdered sugar, one tablespoon at a time.
- Separate the icing into smaller bowls for coloring, if desired. Add gel food coloring drop by drop until you reach your desired shade.
- Use immediately for outlining and flooding cookies. For best results, let the first layer dry slightly before flooding or adding detail layers.
Notes
- For a royal icing texture that dries very hard, substitute the corn syrup with 2 tablespoons of meringue powder mixed with 6 tablespoons of water.
- If the icing crusts over while you are working, stir in a few drops of water to restore the smooth consistency.
- This icing sets firm enough to stack cookies within a few hours, depending on humidity.
Nutrition
- Serving Size: 1/4 cup
- Calories: 450
- Sugar: 110
- Sodium: 5
- Fat: 0
- Saturated Fat: 0
- Unsaturated Fat: 0
- Trans Fat: 0
- Carbohydrates: 112
- Fiber: 0
- Protein: 0
- Cholesterol: 0