

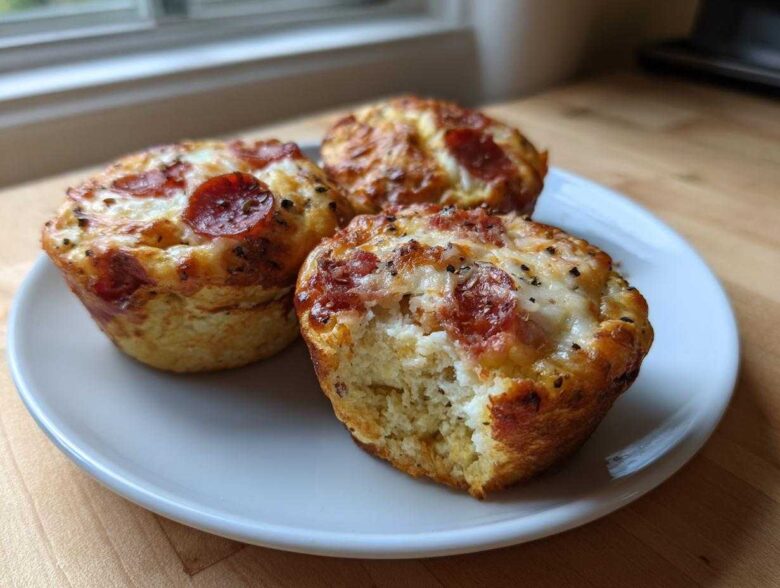
If you are anything like me—a planner who needs every single weeknight and lunch packing session mapped out perfectly—then you know the eternal struggle: how do you make food that kids actually crave, that travels well, and doesn’t take an hour to assemble? Enter my absolute MVP for busy schedules: pizza muffins! Seriously, these are little pockets of pure joy.
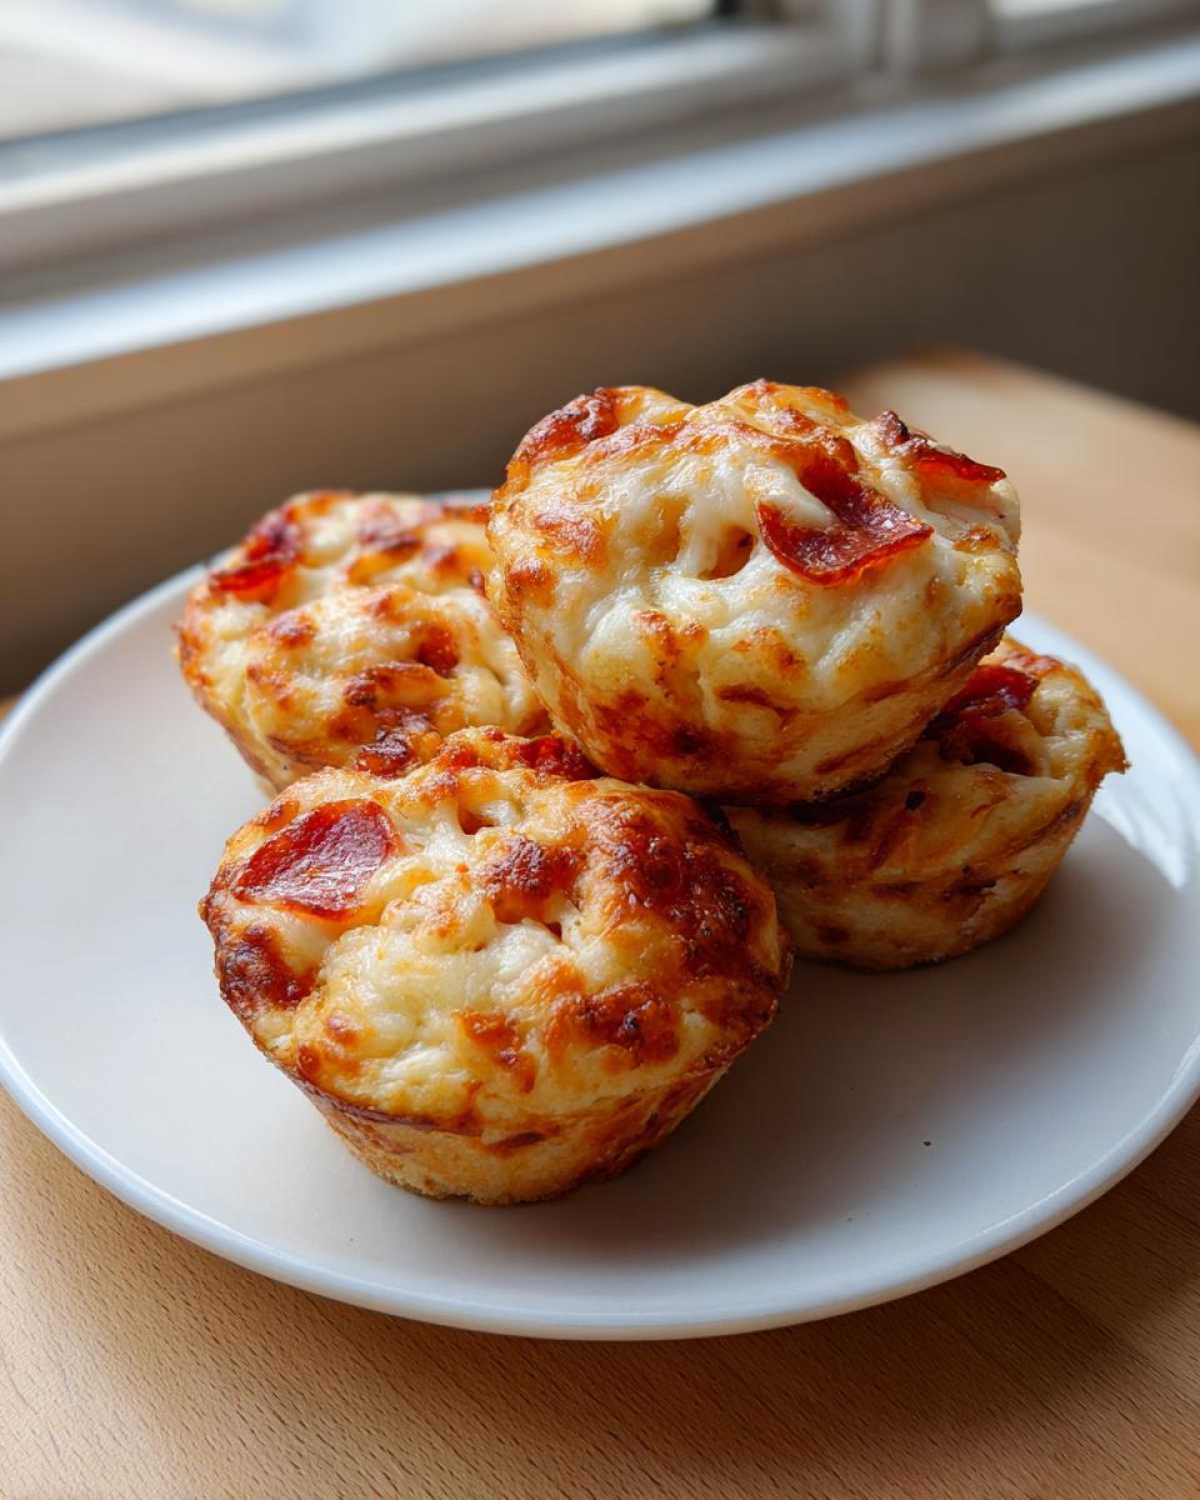
Jacob and I developed this recipe for our ‘Taste Portfolio’ after realizing our standard dinner favorites weren’t translating well into portable snacks. We needed something cheesy, savory, and totally lunchbox-friendly. After three solid testing evenings (yes, we ate pizza muffins for dinner three nights in a row!), we perfected this blueprint, and you can find the full details here: the complete guide to our pizza muffins.
These aren’t your dry, sad little bread bites; these are fluffy, moist, ridiculously cheesy wonders. They are the perfect solution when you need an easy, kid-friendly pizza snack that goes from zero effort to oven-ready in under 15 minutes. Trust me, once you bake these once, they’ll immediately get filed under “Recipes I Will Never Live Without.”
Why You Will Love These Easy Pizza Muffins
I know when you’re planning out your week, you need recipes that deliver huge results for minimal effort. That’s exactly what these pizza muffins do! They solved so many of my lunch-packing headaches. Jacob just devours them, and I love knowing they are packed with flavor.
- Grab-and-Go Portability: Forget messy slices! These lunchbox pizza bites are perfectly portioned. They tuck right into a bento box or snack compartment without any crushing or leakage. Talk about efficient planning!
- Speedy Assembly Time: Seriously, I can mix these up while the coffee is brewing. Prep is unbelievably fast—I’m talking 15 minutes max before they head into the oven. They are the ultimate easy pizza muffins for last-minute snacking.
- Kid-Approved Flavor Guarantee: If my usually picky eater devours them, you know it’s a win. They hit that perfect balance of savory sauce, salty pepperoni, and gooey mozzarella. They are truly the best kid friendly pizza snack because they feel like a treat but are actually homemade!
- Freezer-Friendly Superstars: This is my favorite part from a planner’s perspective. You can bake a huge batch, let them cool, and toss the leftovers straight into the freezer. Pull out two or three in the morning, and you’ve instantly got a ready-to-go snack for later in the week. Check out all my other favorite snack ideas in our snacks portfolio!
Essential Ingredients for Perfect Pizza Muffins
When Jacob and I organized this project, we realized that using standard muffin ingredients as a base was the only way to keep these easy pizza muffins so straightforward. The beauty of this recipe is that it relies on pantry staples, with just a few signature additions that make them taste like real pizza!
- 1 3/4 cups all-purpose flour
- 1 tablespoon baking powder
- 1/2 teaspoon salt
- 1 teaspoon dried oregano
- 1/2 teaspoon garlic powder
- 1/4 teaspoon black pepper
- 1 large egg
- 1 cup milk
- 1/4 cup vegetable oil
- 1/2 cup pizza sauce or marinara sauce
- 1 cup shredded mozzarella cheese, divided
- 1/2 cup mini pepperoni, chopped (optional)
You’ll notice I called for the mozzarella to be divided—that’s not an accident! It’s crucial for getting that beautiful, browned, cheesy top layer on your cheesy pizza cupcakes. We love these packed with pepperoni, but feel free to customize. If you aren’t using pepperoni, you can swap in about 1/2 cup of finely crumbled, pre-cooked sausage, or even some finely diced red bell pepper for a splash of color. Just make sure whatever you add is pre-cooked or very tiny so it mixes evenly into the batter. You can grab the full ingredient list and see some of our planning notes here: our detailed pizza muffin blueprint.
Ingredient Notes and Substitutions for Your Pizza Muffins
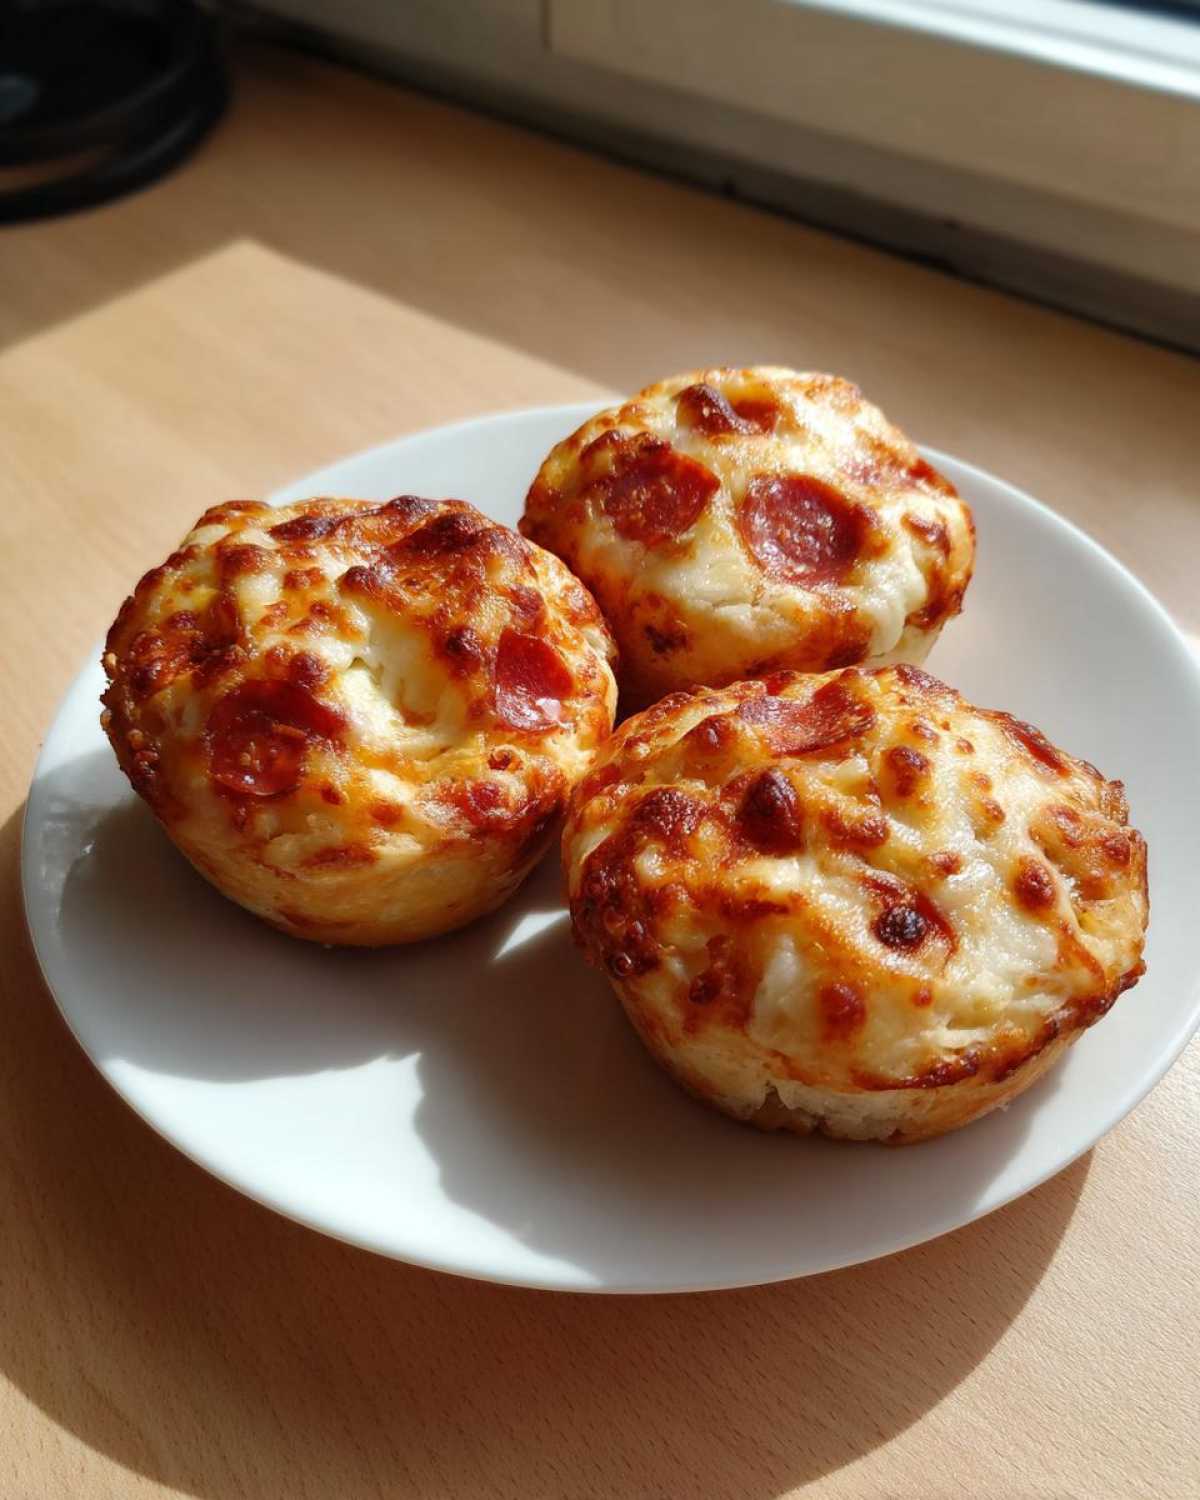
Let’s talk cheese. Keeping that cheese divided is key: half goes *into* the batter to give structure and internal cheesiness, and the other half goes *on top* right before baking. If you dump it all in, you end up with a slightly greasy interior instead of a light, cakey one. For the sauce, a thick marinara works just as well as traditional pizza sauce, but make sure your sauce isn’t watery, or those lunchbox pizza bites might get a little messy!
Step-by-Step Instructions for Making Mini Pizza Muffins
Okay, this is where the magic happens! Since this is a baking project, timing is everything, but don’t panic—this is still super fast. I always start by setting my oven to 400 degrees Fahrenheit while I’m grabbing my bowls. You want that tin warmed up and ready for action. Make sure you line your 12-cup muffin tin with liners or give it a good grease, otherwise, your beautiful cheesy pizza cupcakes will stick!
We’re going to tackle this in stages, just like Jacob taught me. Don’t worry about doing everything at once; just stick to the plan, and you’ll have these delicious mini pizza muffins ready in no time. For all the recipe cards and planning sheets, check out our main post here: the blueprint for these pizza muffins.
Mixing the Batter for Cheesy Pizza Cupcakes
First things first: whisk all your dry ingredients together—flour, baking powder, salt, oregano, garlic powder, and pepper. That’s your foundation for the easy pizza muffins. In a separate bowl, just lightly whisk the wet stuff: the egg, milk, and oil. Now, this is the crucial step for texture! Pour the wet into the dry mix, and I mean *gently* mix it. Stir until everything is *just* incorporated. If you overmix, you’ll develop too much gluten, and instead of getting those lovely fluffy muffins, you’ll have dense, tough little frisbees. A few lumps are totally fine, promise!
Baking and Cooling Your Pizza Muffins
Once your batter is slightly lumpy, gently fold in your pizza sauce, half of the mozzarella, and any pepperoni you are using. Don’t beat the cheese in! Spoon the batter into your prepared cups, filling them about two-thirds full. Now, take that remaining cheese and top each one generously. That’s what gives you that gorgeous golden crust. Bake them for about 15 to 18 minutes. You’re looking for a toothpick inserted in the center to come out clean. Let them sit in the tin for exactly five minutes before moving them to a wire rack. That little cool-down period keeps them from falling apart!
Tips for Success When Making Lunchbox Pizza Bites
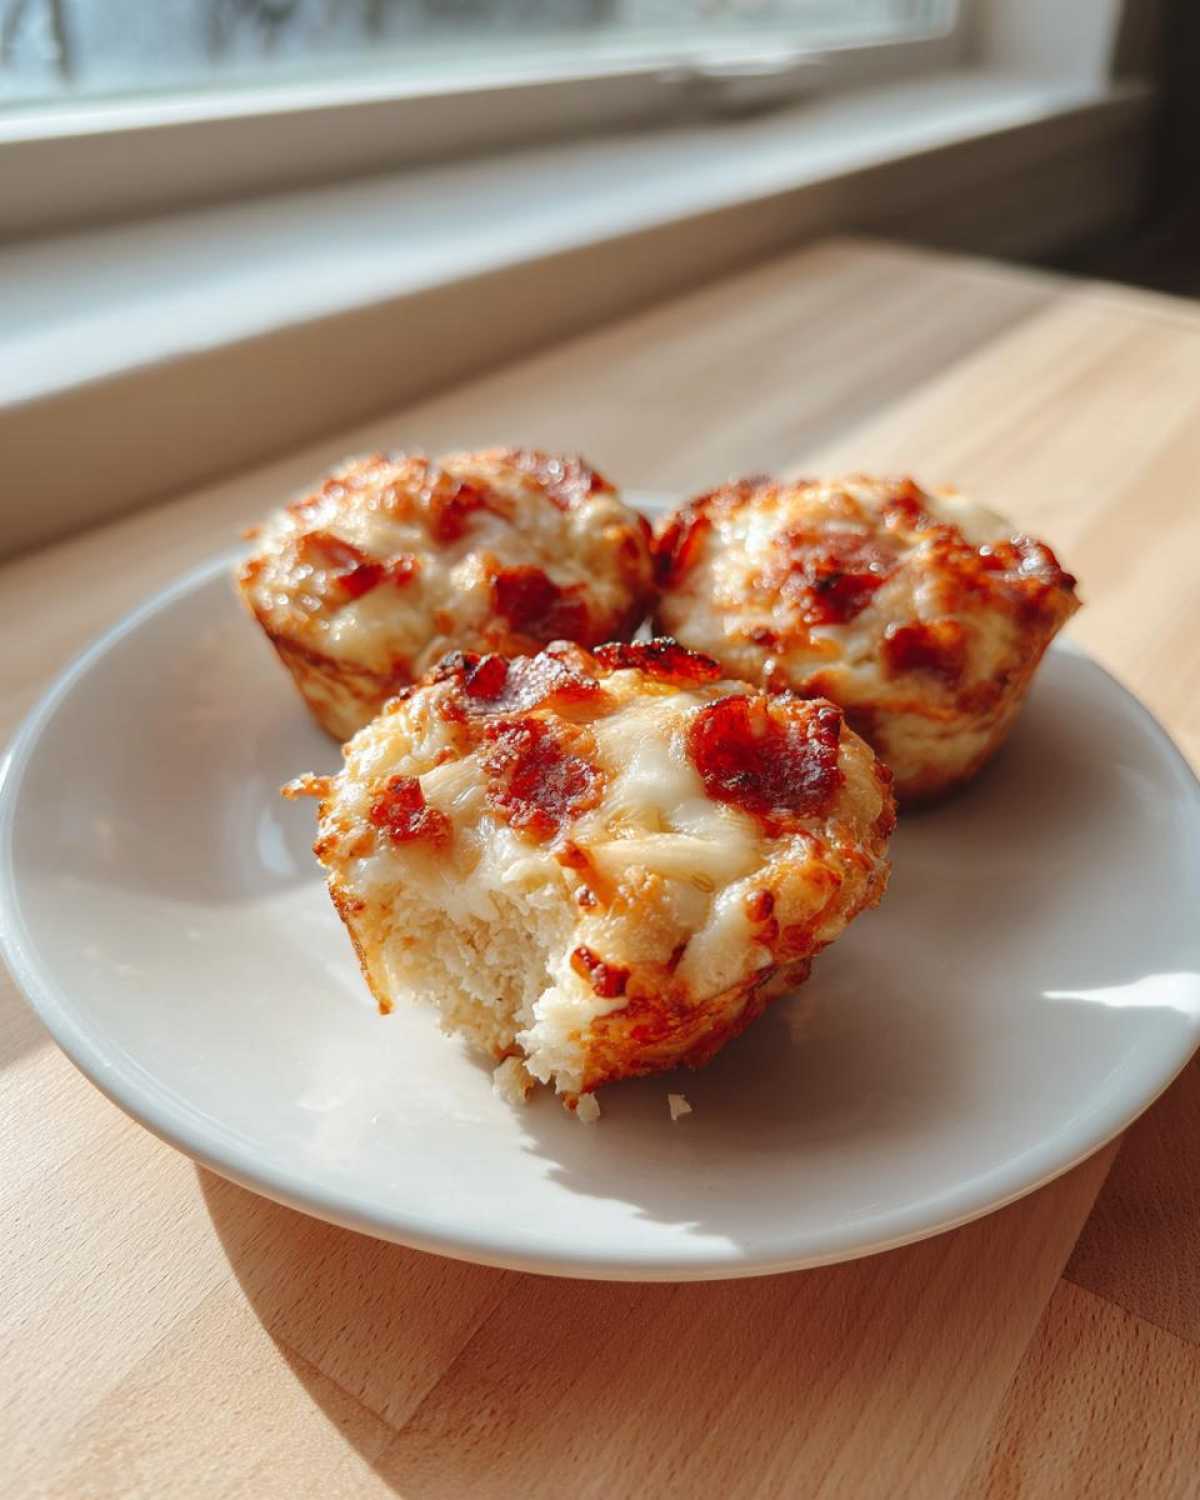
Look, even with such a simple recipe, things can go sideways, right? That’s why I always include my fail-safe planning notes designed to prevent kitchen disasters. These little things, the stuff I learned watching Jacob throw things together intuitively, are what elevate these pizza muffins from good to ‘make them every week’ great. Trust me, these three tips are the secret sauce for perfect lunchbox pizza bites every time.
First up: Ingredient temperature matters, even in quick baking! Make sure your milk isn’t ice cold straight from the fridge. Cold dairy hitting dry flour can sometimes shock the batter and lead to a tougher crumb. If you can, let the milk sit on the counter for about ten minutes before you start mixing. It just helps everything emulsify smoothly and creates a bit of lift in these cheesy pizza cupcakes.
Secondly, the sticking issue! You are using liners, which is smart, but if you still worry about the bottom snagging or the muffin tearing when you unpeel it, try this: after placing the paper liners in the tin, spray just a teeny, tiny bit of cooking spray *over* the paper liners. This adds a slight barrier between the batter and the paper itself. It sounds redundant, but for high-sugar, high-moisture items like this, it guarantees a clean release, which is crucial if you are packing them straight into a lunchbox the next morning.
Finally, let’s talk about the cheese melt. If you want that beautiful, golden, slightly browned topping on your mini pizza muffins without the rest of the muffin over-baking, pay close attention to the oven. If you find your tops are browning too fast but the center is still raw, just slide a piece of aluminum foil loosely over the tops for the last 5 minutes of baking. This protects the cheese while letting the inside finish cooking through. Check out how we organized this entire project here: our complete blueprint for these savory muffins.
Storage and Reheating Instructions for Your Pizza Muffins
Jacob always jokes that my organizational skills extend right into the leftovers department. Because these pizza muffins are so perfect for meal prep, knowing how to stash them properly is just as important as knowing how to bake them! If you’re making a big batch—and you absolutely should be, because who wants to clean up the kitchen twice?—here is my go-to guide for keeping them fresh for snacks all week long.
For short-term storage, if you know you’ll eat them within a day or two, just leave them on your counter. Place the completely cooled cheesy pizza cupcakes in an airtight container. They’ll be perfectly fine at room temperature for about 24 hours. After that, the moisture content starts to work against us, and they can get a little gummy.
If you need them to last longer, refrigeration is your best bet. Pop them into a sealed container or zip-top bag, and they should stay great for up to four days. They are delicious cold right out of the fridge, which is fantastic for Jacob when he grabs one on his way out the door.
The Freezer Is Your Best Friend for Lunchbox Pizza Bites
This is the part that really speaks to the planner in me! These mini pizza muffins freeze incredibly well, which means you can bake once and essentially have emergency snacks ready for weeks. We’ve packed these into the freezer for up to three months without any flavor loss, which is amazing for random Tuesday lunches.
The trick for the freezer is cooling them first. You *must* let those lunchbox pizza bites cool completely on the wire rack before bagging them. If you wrap them while they are even slightly warm, you’ll just end up with a big, sad, soggy clump of pizza goodness. Once fully cool, place them in a freezer-safe bag. Squeeze out as much air as you can before sealing it up tight. You can find all our detailed storage notes right here.
Reheating Your Pizza Muffins From Frozen
When it’s time to bring them back to life, you have two great options depending on how much time you have. The microwave is fastest for a soft, warm snack; just zap one for about 30 to 45 seconds until it’s steaming. But if you want that slight crispness on the crust that reminds you of fresh pizza, use the toaster oven!
You can reheat them straight from frozen in a toaster oven set to about 350 degrees for about 8 to 10 minutes. They heat evenly this way! If you’re reheating them after they’ve been stored in the fridge (not frozen), just 10 to 15 seconds in the microwave does the trick to get that cheese gooey again. Heating them up is so quick, it rarely messes up my perfectly planned schedule!
Creative Variations for Pepperoni Pizza Muffins
The initial plan for these pizza muffins included pepperoni because, well, that’s classic, right? But Jacob always pushes me to think about how we can expand the collection. Once you master the basic blueprint—the careful balance of liquid to dry ingredients—it’s so much fun to start playing around with the mix-ins.
This recipe is designed to be a wonderful canvas for customization. You can easily treat these pepperoni pizza muffins as a jumping-off point for all sorts of personalized creations. Seriously, if you have leftover ingredients from making pizza night, throw them in here!
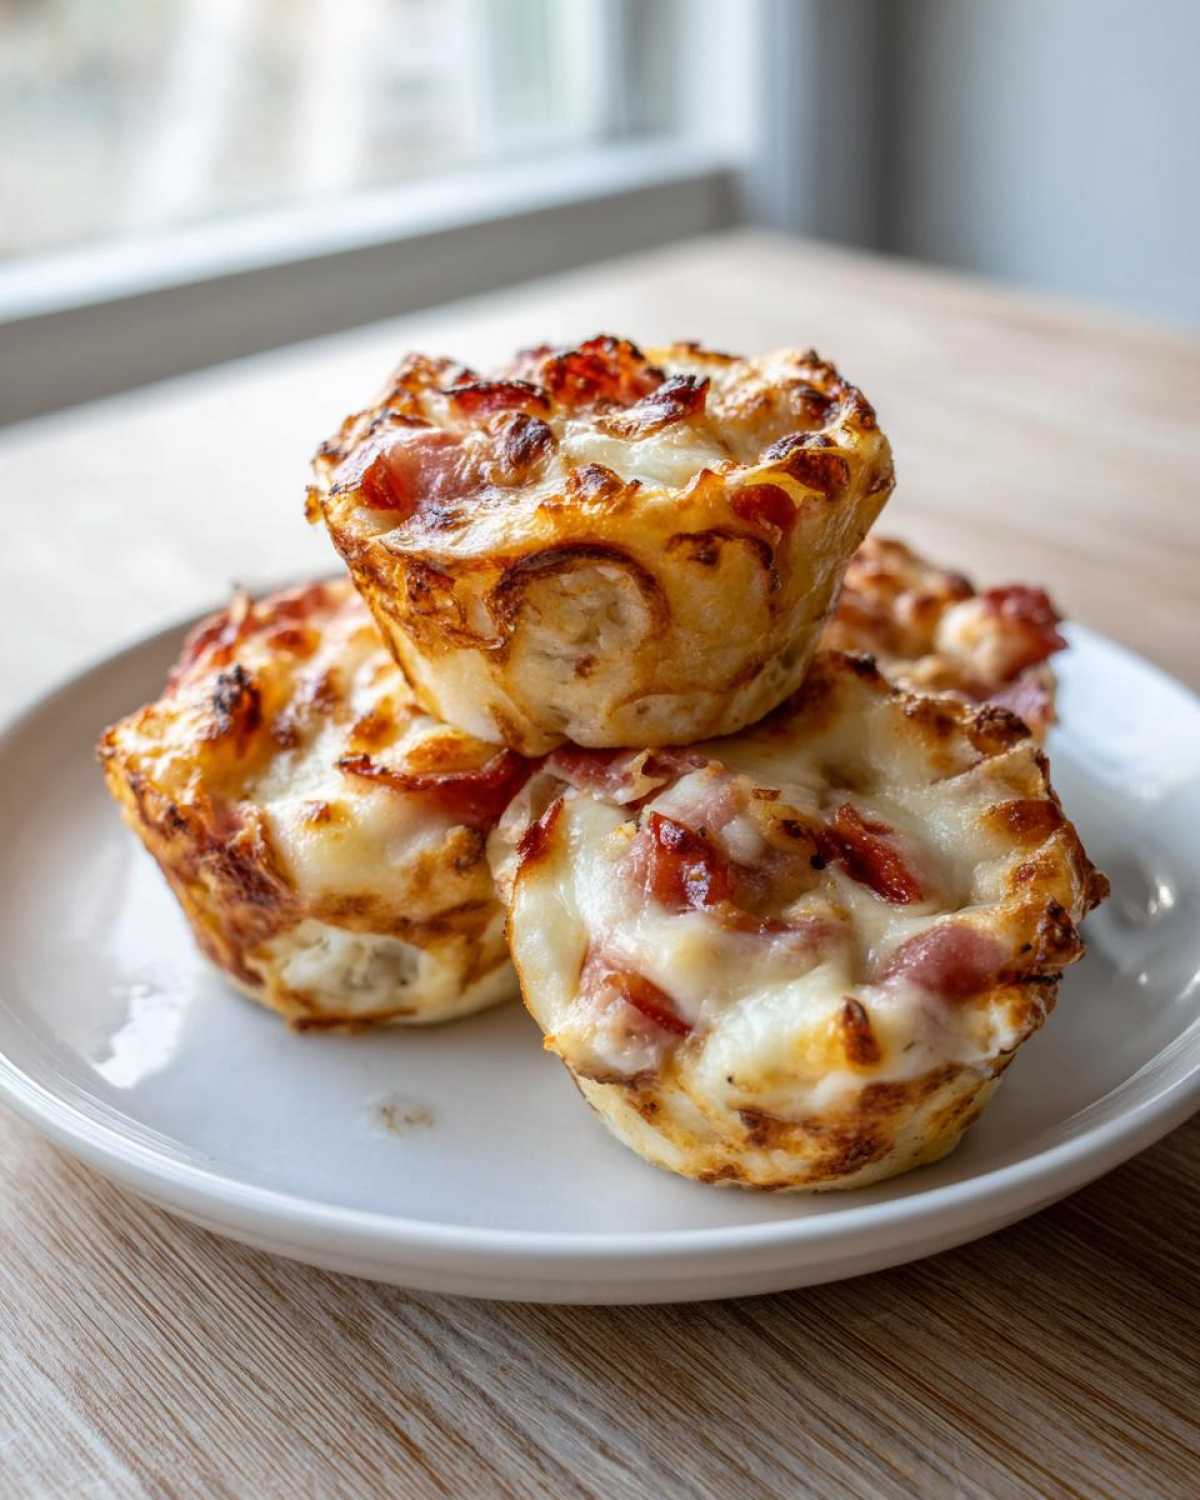
Cheese Swaps for Ultimate Gooiness
Mozzarella melts beautifully, but if you want a richer flavor profile, don’t be afraid to mix it up! I often take about a quarter cup of the mozzarella out and substitute it with shredded Provolone. Provolone melts slightly differently and adds a fantastic, slightly sharper, almost nutty undertone to the cheesy pizza cupcakes. If you want to get really fancy, a sprinkle of grated Parmesan on top before baking adds a salty kick that is just divine.
Adding Veggies to Your Mini Pizza Muffins
If you’re trying to sneak in veggies—I know I am sometimes—the trick for these mini pizza muffins is making sure they are tiny and completely softened before they go into the batter. Finely diced green bell peppers are wonderful, but you must sauté them first! If you dump raw pepper in, they release water while baking and can make the surrounding muffin structure a little damp.
I also love adding sneaky bits of sautéed, finely minced onion for depth of flavor. If you use olives or mushrooms, make sure they are drained super well before folding them in with the sauce. Remember, we want that fluffy, cakey rise, not soupiness!
Herbs and Spice Adventures
The original recipe uses oregano, which gives that unmistakable Italian flavor, but you can easily branch out! If you’re making a batch specifically for a sophisticated dinner party (or just because you feel like it), try swapping the dried oregano for dried basil. Dried basil has a slightly sweeter, more peppery note that pairs beautifully with the tomato.
Another favorite variation Jacob discovered when we were testing doughs for our foolproof pizza dough recipe was adding a tiny pinch of red pepper flakes right into the dry mix. Just a pinch! It doesn’t make the lunchbox pizza bites spicy, but it warms up the savory profile nicely against the sweetness of the sauce. Enjoy experimenting!
Serving Suggestions for Kid Friendly Pizza Snack
Because these pizza muffins are such a perfect, self-contained, cheesy superstar, I find that planning the rest of the lunchbox or plate around them is the easy part. When I pack these kid friendly pizza snack gems, I always aim for balance. We’ve got our savory, slightly fatty muffin, so we need something bright and fresh on the side!
If I’m assembling a lunchbox for the road, I always try to pair them with something crunchy and something sweet. Think of these muffins as the main course entrée—they deserve great supporting cast members!
Pairing with Crunch and Veggies
For the crunch element, baby carrots or snap peas are fantastic because they hold up well and don’t get sad and soggy next to the warm muffin. Even better? A little cup of hummus or some ranch dip that they can use to dunk their veggies. It makes the packed lunch feel interactive, which always wins with kids.
If I’m feeling really ambitious (which doesn’t happen every day, trust me!), I’ll prep a small, simple salad in a jar. Jacob loves the idea of easy prep meals, and my mason jar salad system means I have fresh greens ready to go. For the kids, I usually layer something hardy like cucumber slices on the bottom, followed by cherry tomatoes, and then the mini pizza muffins can sit right on top of the lettuce layer in the box beside the jar. It keeps everything separate but organized!
Sweet Sides for Balance
You absolutely need a fruit component to cut through the richness of the cheese and pepperoni. Grapes are always a winner—zero prep required besides washing! If grapes aren’t in season, apple slices work beautifully, but remember my rule: toss those apple slices in a tiny bit of lemon juice or a saline solution? That stops the dreaded browning before lunchtime.
For a slightly sweeter treat that still feels relatively healthy, I often pack mandarin orange segments or even some very simple, homemade applesauce. The brightness of the fruit contrasts perfectly with the savory blast of these easy pizza muffins. It makes the entire meal feel complete, and best of all, it requires almost no extra planning on my part!
Frequently Asked Questions About Pizza Muffins
I know planning sometimes brings up little hiccups, so I pulled together a few of the questions I get asked most after posting about these pizza muffins for the first time. Jacob always says that if one person asks, ten people are wondering it silently! Let’s clear up a few of those last-minute baking doubts so your project goes smoothly.
Can I use self-rising flour instead of all-purpose flour and baking powder?
That is a fantastic question! Yes, you absolutely can use self-rising flour if that’s what you have on hand. However, you need to adjust the salt and baking powder measurements. Since self-rising flour already contains leavening and some salt, I would recommend skipping the added salt and baking powder entirely. The recipe is engineered for standard flour, so if you use the self-rising variety, you might get a slightly higher rise, but they will still turn out great as lunchbox pizza bites!
What’s the trick to stopping my pizza muffins from getting soggy?
Sogginess is the enemy of a good packed lunch! The main culprit is excess moisture—usually from watery sauce or wet mix-ins. This is why we fold the sauce in gently and why I stress draining any added vegetables well. More importantly, make sure you are cooling the muffins completely on the rack before attempting to store or freeze them. If you trap steam inside a container, you are guaranteeing a soggy bottom on your savory treat. For the best texture, pack them up only when they are perfectly room temperature!
Can I use store-bought pizza sauce? Is that okay in my Taste Portfolio recipes?
Of course you can use store-bought sauce! This recipe is designed for speed and ease, so don’t feel bad about leaning on a jarred sauce. Just choose one that is on the thicker side. If I open a jar and it seems really runny, I actually put a few spoonfuls in a small saucepan and let it simmer for about five minutes until it visibly thickens slightly. That slight reduction concentrates the flavor and removes excess water, making your final cheesy pizza cupcakes much better!
Why do you chop the pepperoni instead of leaving them whole on top?
This is purely a personal preference from our testing phase! We found that if you leave the mini pepperonis whole, they curl up instantly in the oven, creating little grease cups that can sometimes burn before the muffin is done. Chopping them up—and mixing half inside the batter—ensures that the flavor is distributed evenly throughout the kid friendly pizza snack. Plus, it creates those lovely little bursts of savory flavor in every bite without one big chewy chunk.
How long do these easy pizza muffins stay fresh on the counter?
Because we use milk and egg in the batter, they aren’t quite shelf-stable bread. They are safe at room temperature, stored in an airtight container, for about 24 hours. After that, I highly recommend moving them to the refrigerator to maintain quality and safety. If you’re prepping for the whole week, definitely use the freezer method we detailed above! You can always check out more of our handy storage guides right here: my full muffin blueprint.
Nutritional Estimate for These Easy Pizza Muffins
I know planning isn’t just about making sure things taste good; it’s also about making sure they fit into the weekly goals, right? While these pizza muffins are definitely baked with love, Jacob and I always catalog the estimates so we know exactly what we are working with. We’ve done the heavy lifting on the research for you!
Here is the estimated nutritional breakdown for one standard mini pizza muffin, based on the ingredients listed and our standard measurements. Remember, these numbers are estimates, and they can shift a bit based on the exact brand of pepperoni or sauce you use!
- Serving Size: 1 muffin
- Calories: 180
- Fat: 8g
- Carbohydrates: 20g
- Protein: 7g
- Sodium: 350mg
- Sugar: 3g
- Saturated Fat: 4g
- Fiber: 1g
For comparison, the sodium content is a little higher, which makes sense because we are using cheese and pepperoni! If you are watching sodium, you can use low-sodium mozzarella or skip the cured meats altogether. But honestly, for a savory kid friendly pizza snack that travels so well, I think these numbers are fantastic. You’ve successfully completed the project—now go enjoy those delicious lunchbox pizza bites!
PrintEasy Pizza Muffins for Perfect Lunchbox Snacks

Make these simple pizza muffins for a fun, bite-sized snack perfect for lunchboxes, parties, or quick freezer meals. They are cheesy, flavorful, and kid-friendly.
- Prep Time: 15 min
- Cook Time: 18 min
- Total Time: 33 min
- Yield: 12 muffins
- Category: Snack
- Method: Baking
- Cuisine: American
- Diet: Vegetarian
Ingredients
- 1 3/4 cups all-purpose flour
- 1 tablespoon baking powder
- 1/2 teaspoon salt
- 1 teaspoon dried oregano
- 1/2 teaspoon garlic powder
- 1/4 teaspoon black pepper
- 1 large egg
- 1 cup milk
- 1/4 cup vegetable oil
- 1/2 cup pizza sauce or marinara sauce
- 1 cup shredded mozzarella cheese, divided
- 1/2 cup mini pepperoni, chopped (optional)
Instructions
- Preheat your oven to 400 degrees Fahrenheit. Line a standard 12-cup muffin tin with paper liners or grease well.
- In a large bowl, whisk together the flour, baking powder, salt, oregano, garlic powder, and black pepper. This is your dry mix.
- In a separate medium bowl, whisk the egg, milk, and vegetable oil until combined.
- Pour the wet ingredients into the dry ingredients. Mix gently until just combined. Do not overmix; a few lumps are fine.
- Gently fold in the pizza sauce, half of the mozzarella cheese, and the chopped pepperoni, if you are using them.
- Divide the batter evenly among the 12 muffin cups, filling each about two-thirds full.
- Top each muffin with the remaining mozzarella cheese.
- Bake for 15 to 18 minutes, or until a toothpick inserted into the center comes out clean and the tops are golden brown.
- Let the pizza muffins cool in the tin for 5 minutes before transferring them to a wire rack to cool completely.
Notes
- For freezer lunches, cool the mini pizza muffins completely, then place them in a freezer-safe bag. Reheat from frozen in the microwave or toaster oven.
- You can substitute the pepperoni with cooked, crumbled sausage or finely diced bell peppers for variety.
- These cheesy pizza cupcakes freeze well for up to three months.
Nutrition
- Serving Size: 1 muffin
- Calories: 180
- Sugar: 3
- Sodium: 350
- Fat: 8
- Saturated Fat: 4
- Unsaturated Fat: 4
- Trans Fat: 0
- Carbohydrates: 20
- Fiber: 1
- Protein: 7
- Cholesterol: 30