

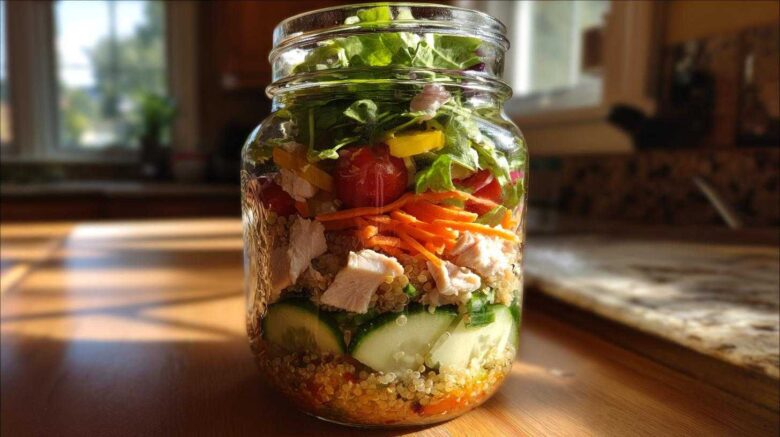
Introducing the Ultimate Mason Jar Salad for a Week of Lunches (No Boredom)
Are you tired of sad, soggy desk lunches? Me too. That’s why I’m thrilled to share our secret weapon. We perfected this Mason Jar Salad for a Week of Lunches (No Boredom) plan. It’s the meal prep savior we needed. I love planning things out meticulously. Jacob brings that kitchen magic. This recipe is the perfect blend of our styles. It keeps things fresh and exciting all week long.
We’ve all been there, staring into a sad container. This method fixes that problem right now. It promises flavor every day. Get ready for genuinely enjoyable midday meals. This project came from my need for structure. Jacob’s skill made it taste amazing.
Our Collaborative Approach to Meal Planning
I’m Amelia, the planner here at Taste Portfolio. My strength is organization. Jacob is our lead artist in the kitchen. This recipe shows our teamwork. I researched the best method for keeping salads crisp. Jacob refined the ingredient ratios. This combination builds trust in our recipes. We test everything thoroughly for you. Our goal is giving you reliable results. That’s how we build our taste portfolio. You can see more of our organizational approach on our blog.
Why This Mason Jar Salad for a Week of Lunches (No Boredom) Works
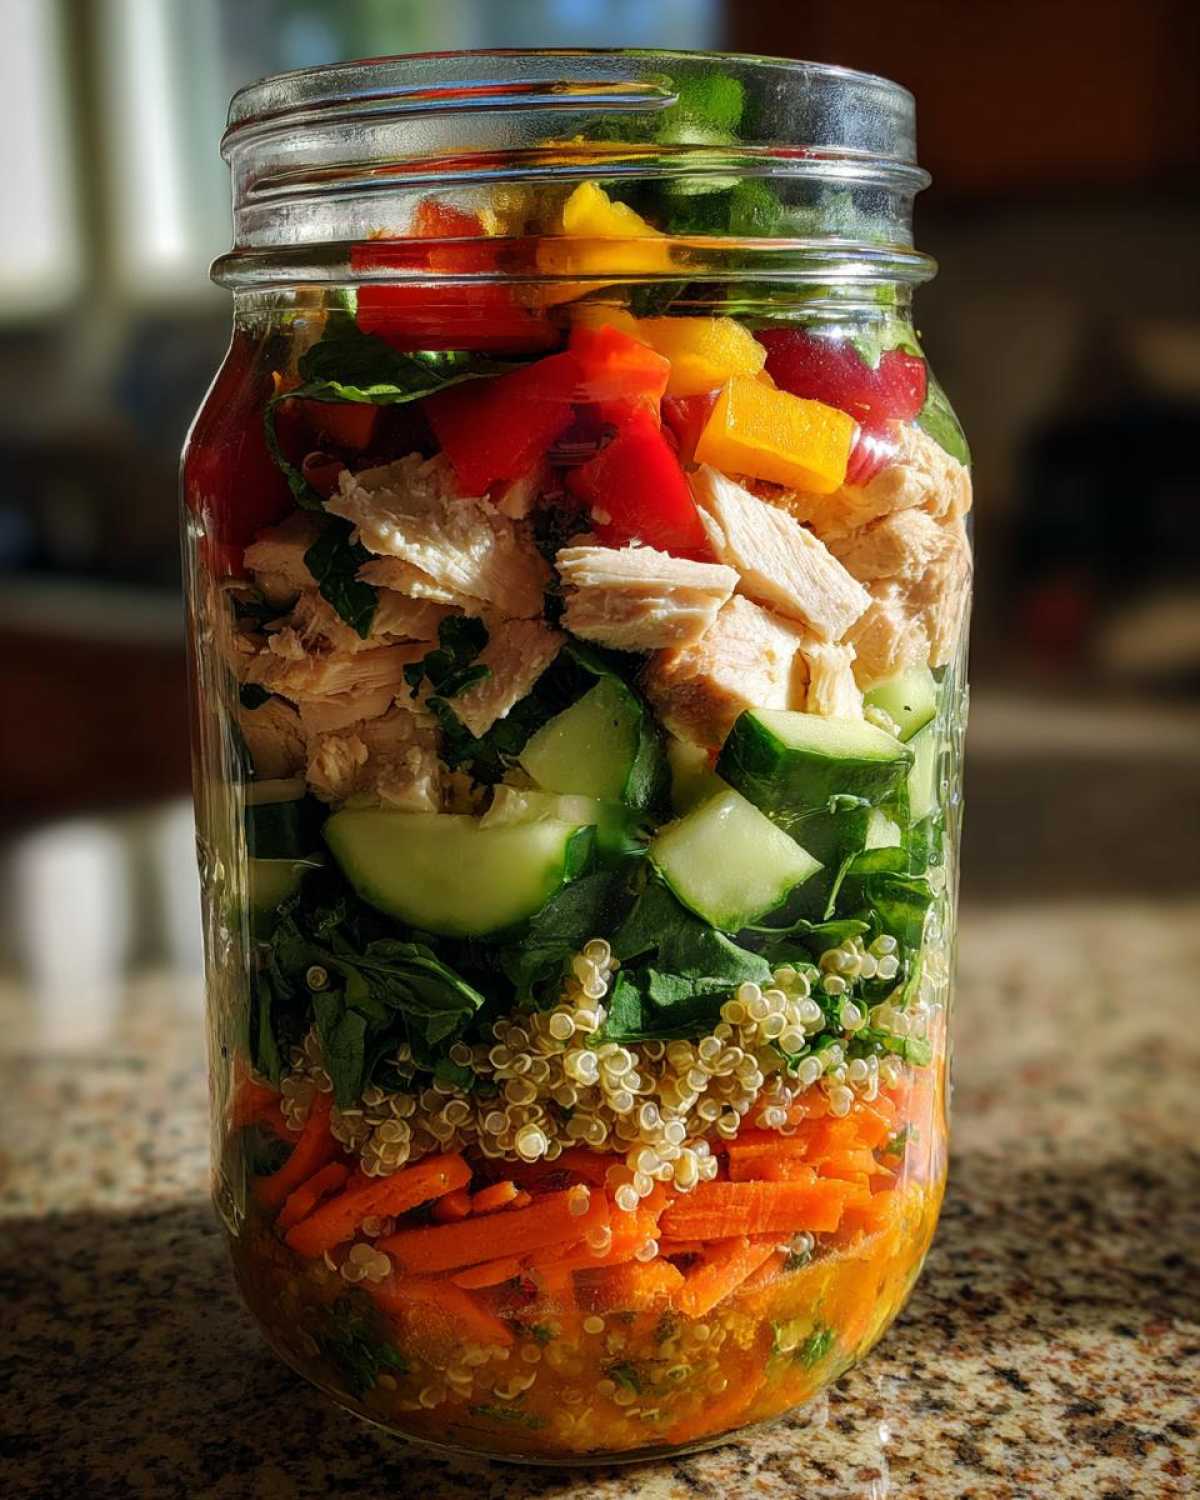
This system is ridiculously fast. Total prep time is just 30 minutes. That’s five days of lunch done. The real magic lies in the layering. We put the wet stuff on the bottom. Hard ingredients go in next, creating a barrier. This structure keeps the greens pristine. It’s simple science, really. You get that satisfying crunch every time you open a jar.
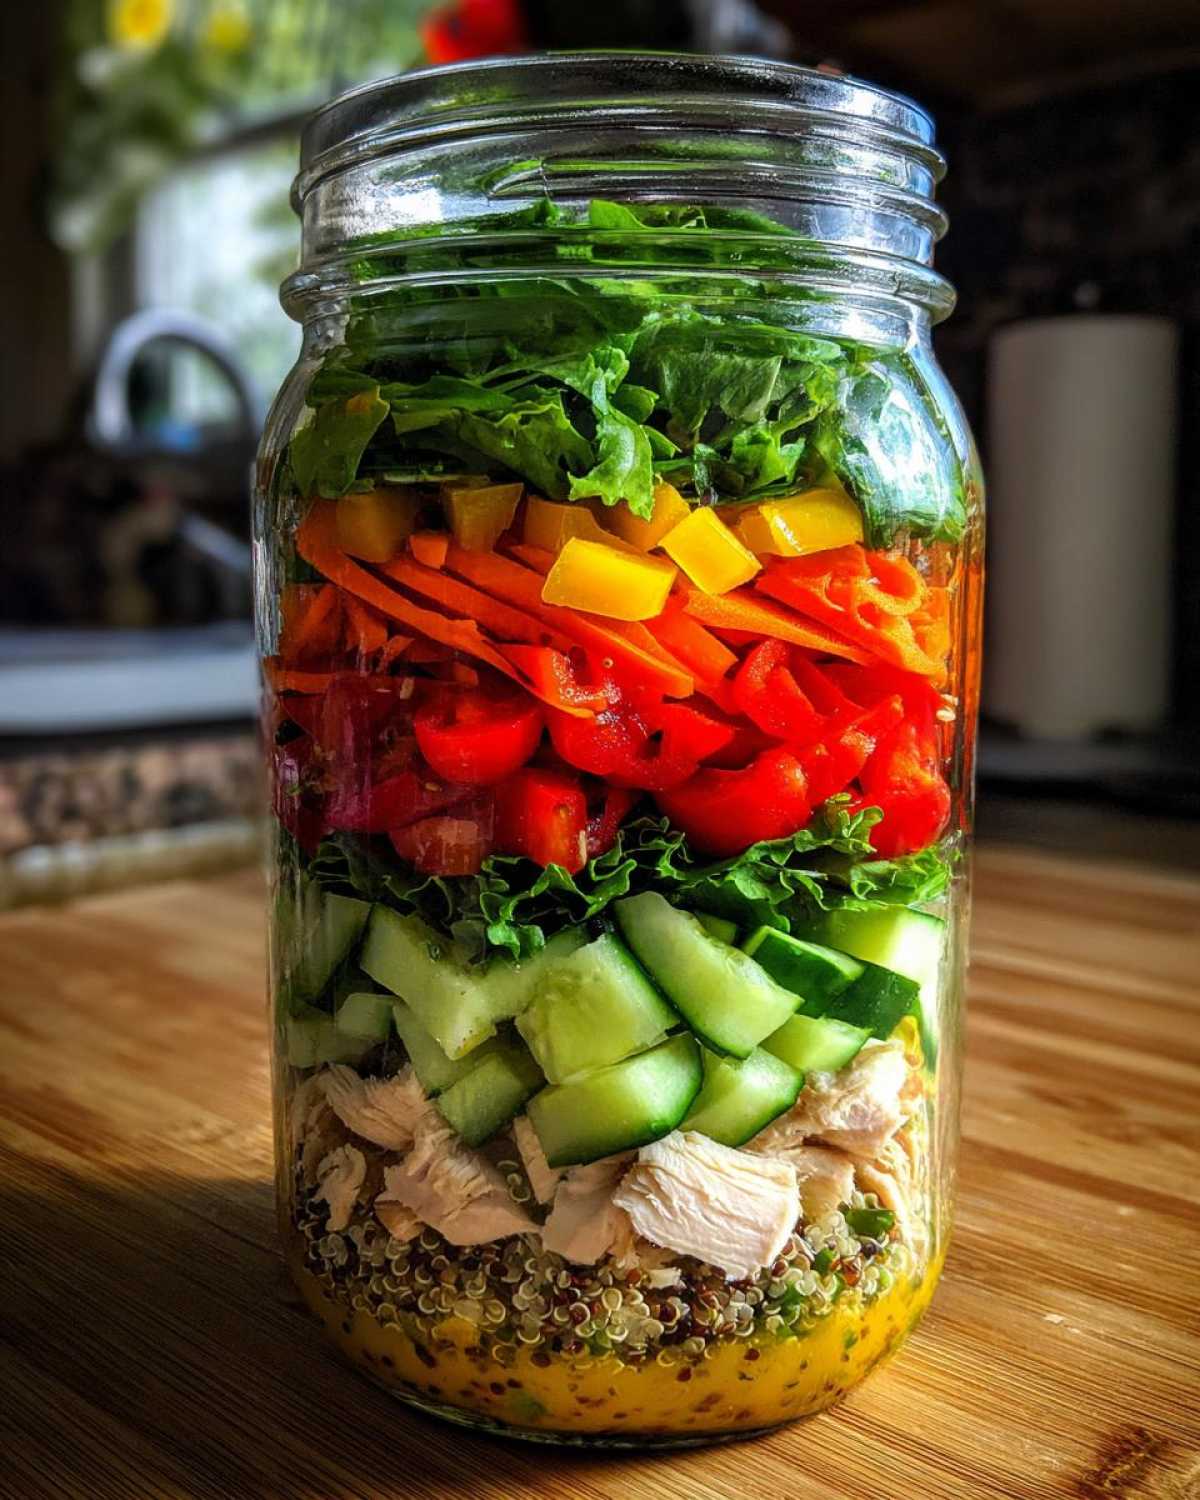
Ingredients for Your Mason Jar Salad for a Week of Lunches (No Boredom)
Getting the right measurements matters a lot. Precision planning is my jam. These quantities make five perfect lunch jars. Remember, we are aiming for a week of lunches here. Stick close to these amounts for best results.
Base Layers: Dressing and Grains
- Dressing: Two tablespoons per jar. Use your favorite vinaigrette.
- Grains: One cup cooked Quinoa or Farro per jar.
Putting the dressing down first is key. Don’t skip this crucial first step!
Protein and Sturdy Vegetables
- Protein: One cup cooked Chicken Breast or Chickpeas.
- Bell Peppers: Half a cup chopped, use different colors.
- Carrots: Quarter cup shredded carrots works great.
Make sure your protein is fully cooked first. Jacob always says prep matters. For grain ideas, check out our veggie packed quinoa salad recipe.
Fresh Toppings and Greens
- Softer Veggies: Half a cup Tomatoes and Cucumber slices.
- Greens: Two cups mixed Greens like Spinach or Romaine.
- Optional Extras: Add a quarter cup Feta or some seeds.
Pile those greens right near the top of the jar. They need space to settle.
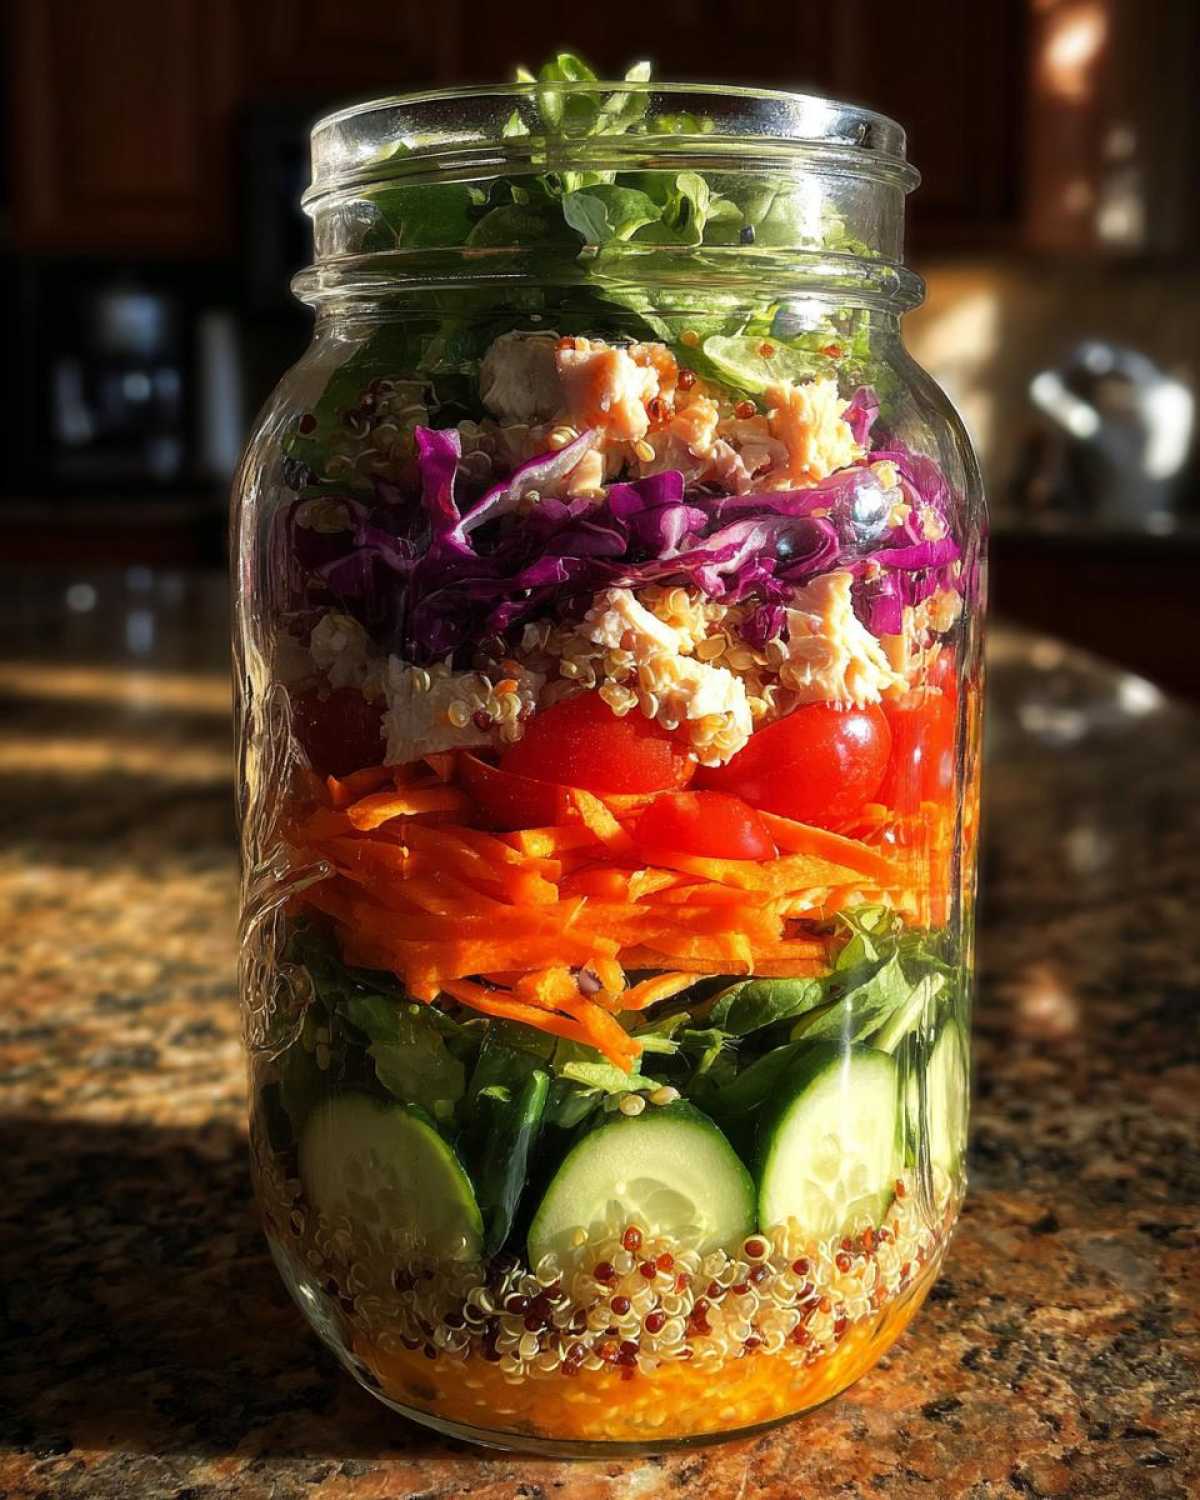
Equipment Needed for Perfect Mason Jar Salad for a Week of Lunches (No Boredom)
You don’t need fancy gadgets for this project. Good tools make meal prep smoother. I keep my equipment simple, focusing on quality. Having the right jars makes all the difference here.
These items are what Jacob and I always use. They help us achieve that crisp, fresh salad feeling. It’s about making your life easier.
Jar Selection and Sealing
The container choice is super important. You absolutely need good mason jars. I strongly suggest wide-mouth jars. They make layering much simpler for you. Wide mouths let ingredients slide in easily. They also make eating much less messy later on.
Always use jars with tight-sealing lids. A strong seal keeps air out. This keeps your salad fresher longer. We learned this the hard way once. Soggy greens are not on our portfolio! For more tips on food storage, you can read about food safety basics from the FDA.
Step-by-Step Instructions for Making Your Mason Jar Salad for a Week of Lunches (No Boredom)
Now for the fun part, putting our plan into action! This layering order is key. Follow these steps exactly. You will get the best results for your lunch prep. This method is how we guarantee a great Mason Jar Salad for a Week of Lunches (No Boredom).
We are building a protective fortress for your greens. It only takes a few minutes per jar. Let’s get started on assembling these beauties.
Layer One: Protecting the Greens
Start with the dressing right at the bottom. Pour your two tablespoons in first. This is non-negotiable for success. The dressing acts as the base. It protects everything above it from getting soggy.
Building Strength: Grains and Protein Placement
Next, we add the heavy lifters. Scoop your cooked grains next. Follow that with your protein source. Chicken or chickpeas go right on top of the dressing. These sturdy items form a solid middle layer. They keep moisture away from the delicate parts.
Adding Structure: Hardy Vegetables
Time for the firm vegetables now. Add your chopped bell peppers here. Then, sprinkle in your shredded carrots. These vegetables are tough enough. They won’t absorb excess moisture too quickly. They add great color too, which I love.
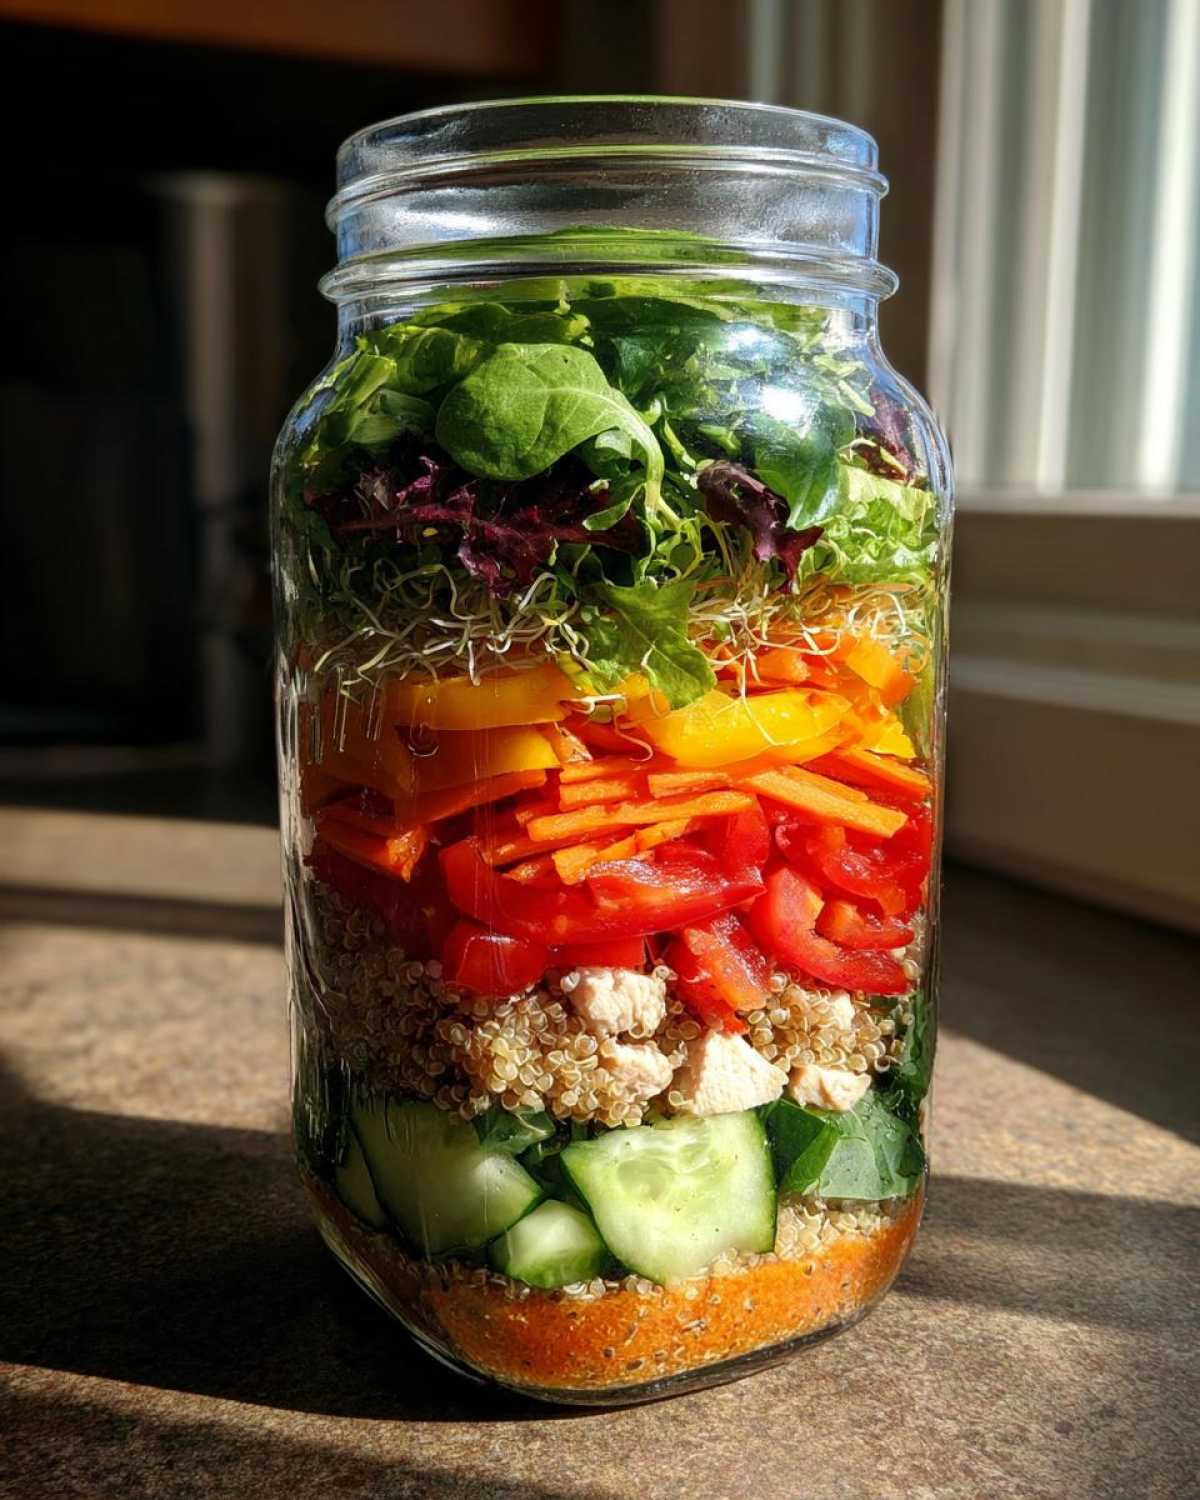
Final Assembly and Sealing
Place your softer vegetables next. This means the cucumbers and tomatoes go in now. They sit above the hard veggies. Finally, gently pack the mixed greens on top. Fill the jar almost to the very top rim. Seal the lid on extremely tight. Give each jar a good shake before chilling them completely.
Tips for Success with Your Mason Jar Salad for a Week of Lunches (No Boredom)
We’ve built the structure, but a few small tweaks make a huge difference. I want your lunches to taste just as good on Friday. These tips come from our own kitchen experiments. They help keep everything perfectly crisp.
Remember that soggy salad feeling? We’re banishing that forever. A little foresight goes a long way here. Let’s talk about maximizing that satisfying crunch in your Mason Jar Salad for a Week of Lunches (No Boredom).
Keeping Add-Ins Separate for Maximum Crunch
Nuts and croutons are amazing salad additions. They turn crunchy fast inside a jar. Keep them separate, seriously. Store your favorite seeds or nuts in a tiny baggie. Attach it to the jar top with a rubber band. Croutons need their own little container too. This small step preserves their texture beautifully. Nobody wants a soggy crouton, right?
Best Practices for Ingredient Preparation
Prep work is where you gain back time later. Make sure your grains are fully cooked beforehand. Your protein should be cooled completely too. Never put warm ingredients into the jar. That trapped warmth causes steam. Steam leads straight to wilting greens. Also, wash your greens really well. Then, pat them totally dry. Excess water ruins the whole system. A dry green is a happy green. Proper drying techniques are essential for washing and drying salad greens.
Enjoying Your Mason Jar Salad for a Week of Lunches (No Boredom)
The anticipation is over! You’ve successfully prepped five days of amazing food. Now comes the best part: actually eating your delicious creation. Don’t worry about making a mess. Eating your Mason Jar Salad for a Week of Lunches (No Boredom) is super simple. It’s designed for speed and convenience.
When lunchtime rolls around, you have two great options. Both methods work perfectly well. Choose whichever feels easiest in your moment. I usually go for the quick shake method myself.
Quick Mixing Techniques
The first way is the simplest move. Just seal that lid on tight again. Then, shake that jar vigorously for about ten seconds. This action tosses everything up. The dressing coats all the ingredients nicely. It’s fast and requires only one dish.
If you prefer a more traditional salad experience, try the second way. Carefully open your jar over a bowl. Gently pour all the contents out. Make sure the dressing comes out last. You might need a fork to scrape the bottom. Then, toss it lightly in the bowl. Either way, you get a perfectly dressed, fresh salad. Enjoy every single crunchy bite!
Frequently Asked Questions About Mason Jar Salad Meal Prep
I know you have questions about making this happen. Meal prep can feel tricky sometimes. Don’t stress about the details. We’ve answered the most common things we hear. These answers should boost your confidence in your weekly planning.
We want this process simple for you. Good storage tips make a big difference. Let’s clear up any last bits of confusion now.
How long do these Mason Jar Salads stay fresh in the refrigerator?
With our tight layering technique, they last well. I find they stay perfectly crisp for five full days. That covers your whole work week. Always use jars with excellent sealing lids. Keep them deep in the coldest part of your fridge. Cold temperatures help maintain that freshness.
Can I swap the protein easily in this Mason Jar Salad for a Week of Lunches (No Boredom)?
Absolutely! Feel free to change things up. We used chicken or chickpeas here. You could easily use tofu or hard-boiled eggs. Just keep the protein relatively dense. This helps keep it away from the greens. Variety keeps your lunch ideas fresh, too. If you are looking for other lunch ideas, consider our ready to go pasta salad jars.
What is the secret to preventing the greens from wilting in the Mason Jar Salad for a Week of Lunches (No Boredom)?
This is the golden rule we live by. The dressing must always go in first. I cannot stress this enough, truly. The dressing creates a moisture barrier at the bottom. This protects your delicate mixed greens from sitting in liquid. Layering is your best friend for crisp salads.
Estimated Nutritional Snapshot for One Mason Jar Salad for a Week of Lunches (No Boredom)
When we plan our meals, nutrition matters too. We aren’t dietitians, though. Jacob and I are home cooks. We focus on great taste first. This section provides a general idea only. It is not a strict guarantee of exact values.
The final nutrition depends heavily on your choices. Are you using a creamy dressing or a light vinaigrette? Do you pick chicken or chickpeas? These swaps change the numbers a lot. Always check labels for precise tracking.
For our base recipe, we estimate certain things. Calories will change based on fat content. Protein levels shift with your chosen meat or legume. Fiber content is usually good with all the veggies. Overall, this is a balanced lunch option.
- Serving Size: One full jar.
- Disclaimer: All values are estimates only.
- Check ingredient packaging for exact data points.
We aim for real food here. That means natural variation happens. Focus on enjoying the fresh ingredients. That’s the real win for your health.
Share Your Mason Jar Salad for a Week of Lunches (No Boredom) Creations
Now it’s your turn to join the project!
We shared our blueprint with you today. We hope this inspires your own kitchen work. What fantastic fillings did you choose for your jars?
Tell us about your favorite protein swap. Did you use a spice blend Jacob would adore? We love seeing your results. This blog is truly a shared space. You can read our disclaimer regarding nutritional information.
Leave a comment below sharing your success story. Pictures would be wonderful if you could share them on social media. Tag us when you post pictures of your perfect Mason Jar Salad for a Week of Lunches (No Boredom).
Seeing your creativity makes our day. Happy meal prepping everyone. We can’t wait to see your portfolios grow!
PrintShocking 30-Minute Mason Jar Salad for a Week
Prepare a week’s worth of exciting lunches with these easy Mason Jar Salads. This meal prep plan keeps your midday meals fresh and interesting.
- Prep Time: 30 minutes
- Cook Time: 0 minutes (assuming pre-cooked components)
- Total Time: 30 minutes
- Yield: 5 servings
- Category: Salad Meal Prep
- Method: Layering in a Jar
- Cuisine: American
- Diet: Vegetarian
Ingredients
- 1 cup cooked Quinoa or Farro
- 1 cup chopped cooked Chicken Breast or Chickpeas
- 1/2 cup chopped Bell Peppers (various colors)
- 1/2 cup Cherry Tomatoes, halved
- 1/4 cup shredded Carrots
- 1/4 cup sliced Cucumber
- 2 cups mixed Greens (Spinach, Romaine)
- 2 tablespoons Dressing (Vinaigrette or Lemon Herb)
- Optional: 1/4 cup crumbled Feta or seeds
Instructions
- Place the dressing at the bottom of each mason jar.
- Layer the hardiest ingredients next: cooked grains and protein (chicken or chickpeas).
- Add the sturdy vegetables: bell peppers and carrots.
- Add softer vegetables next: cucumbers and tomatoes.
- Place greens on top, filling the jar almost to the top.
- Seal the jars tightly. This layering keeps everything crisp.
- Repeat for five jars for a full week of lunches.
- When ready to eat, shake the jar well or empty contents into a bowl to mix with the dressing.
Notes
- Always place the dressing at the very bottom to prevent the greens from getting soggy.
- Use jars with tight-sealing lids for best results.
- For added crunch, keep croutons or nuts in a separate small container.
- If using hard-boiled eggs, add them just above the dressing layer.
Nutrition
- Serving Size: 1 jar
- Calories: Estimate based on ingredients
- Sugar: Estimate based on ingredients
- Sodium: Estimate based on ingredients
- Fat: Estimate based on ingredients
- Saturated Fat: Estimate based on ingredients
- Unsaturated Fat: Estimate based on ingredients
- Trans Fat: 0g
- Carbohydrates: Estimate based on ingredients
- Fiber: Estimate based on ingredients
- Protein: Estimate based on ingredients
- Cholesterol: Estimate based on ingredients