

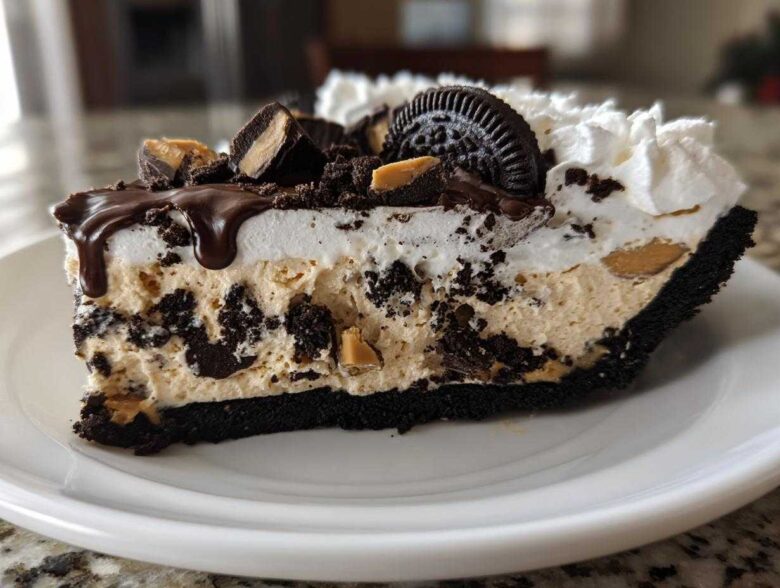
Oh, summer heat! When the sun is absolutely blazing and I want something spectacular for the family without turning on the oven for even a second, this is my absolute lifesaver. Forget fussy baking—I’m talking about the kind of dessert that gets everyone rushing to the table. This No-Bake Ultimate Oreo Ice Cream Pie is truly the king of quick, satisfying frozen desserts.
I rely on this simple ice cream pie recipe whenever we have last-minute guests or just need a Friday night treat. It’s rich, it’s creamy, and that homemade Oreo crust just sings! Honestly, you just mix, freeze, and wait for the compliments to roll in. Let me show you how easy it is to pull off this ultimate frozen masterpiece.
Why This No-Bake Ultimate Oreo Ice Cream Pie is Your Go-To Summer Ice Cream Dessert
Seriously, if you’re looking for the ultimate summer ice cream dessert that doesn’t require you to sweat over a hot stove, this is it. My favorite thing about this recipe is how fast the prep is—we’re talking maybe 20 minutes total before it heads to the freezer! It’s the definition of an easy frozen dessert.
- No Oven Required: Zero heat needed! You can whip this up even when the AC is struggling.
- Crowd Favorite Guaranteed: Between the crunchy Oreo crust and the dual layers of creamy ice cream, everyone finds something to love.
- Make-Ahead Magic: Because it needs hours of chilling time anyway, it clears up your dessert plan for any upcoming parties or gatherings. It’s perfect for the Fourth of July or just a busy weeknight! If you love a good no-bake treat, you have to check out my recipe for an easy no-bake peanut butter pie, too!
Ingredients for Your Homemade Ice Cream Pie
Building this amazing homemade ice cream pie is really where half the fun is, and honestly, it’s so easy because most of what you need is already in your freezer or pantry! Getting the texture right depends on having these parts ready to go before you start the assembly process. Here’s exactly what you’ll need for this layered frozen dessert magic.
For the Oreo Crust Pie Base
- 1 1/2 cups Oreo cookie crumbs
- 6 tablespoons unsalted butter, melted
For the Creamy Layered Pie Filling
- 1 1/2 quarts vanilla ice cream, softened slightly
- 1 cup peanut butter cups, chopped (optional mix-in!)
- 1 quart chocolate ice cream, softened slightly
Remember, for the ice cream layers to spread smoothly—and not tear up your nice frozen crust—you absolutely have to let them sit out for about 10 minutes until they are just easily spreadable. Don’t walk away, though! We just want them soft, not soup!
For the Whipped Topping Finish
- 1 cup whipped topping, thawed
- 2 tablespoons powdered sugar
How to Prepare the Ultimate Ice Cream Pie: Step-by-Step Instructions
This is where we turn ingredients into that perfect no bake ice cream pie! Since there’s no baking involved, our main job is managing temperatures and timing so everything sets up beautifully in the freezer. Pay close attention to those freeze times, because that’s the secret to keeping those gorgeous layers separate and clean. If you love this method, you should definitely look up how my recipe for no-bake creamy cheesecake uses similar principles!
Creating and Chilling the Oreo Crust Pie
First up, grab your crumbs and that melted butter. Mix them really well until everything looks like damp, dark sand. Now, press that mixture evenly into your 9-inch pie plate. Use the bottom of a flat measuring cup to really pack it down—you want a sturdy foundation for this thing! Once it’s packed tight, slide that orieo crust pie base into the freezer for a solid 30 minutes. This pre-chill makes sure it doesn’t crumble when we start layering.
Layering the Ice Cream Filling
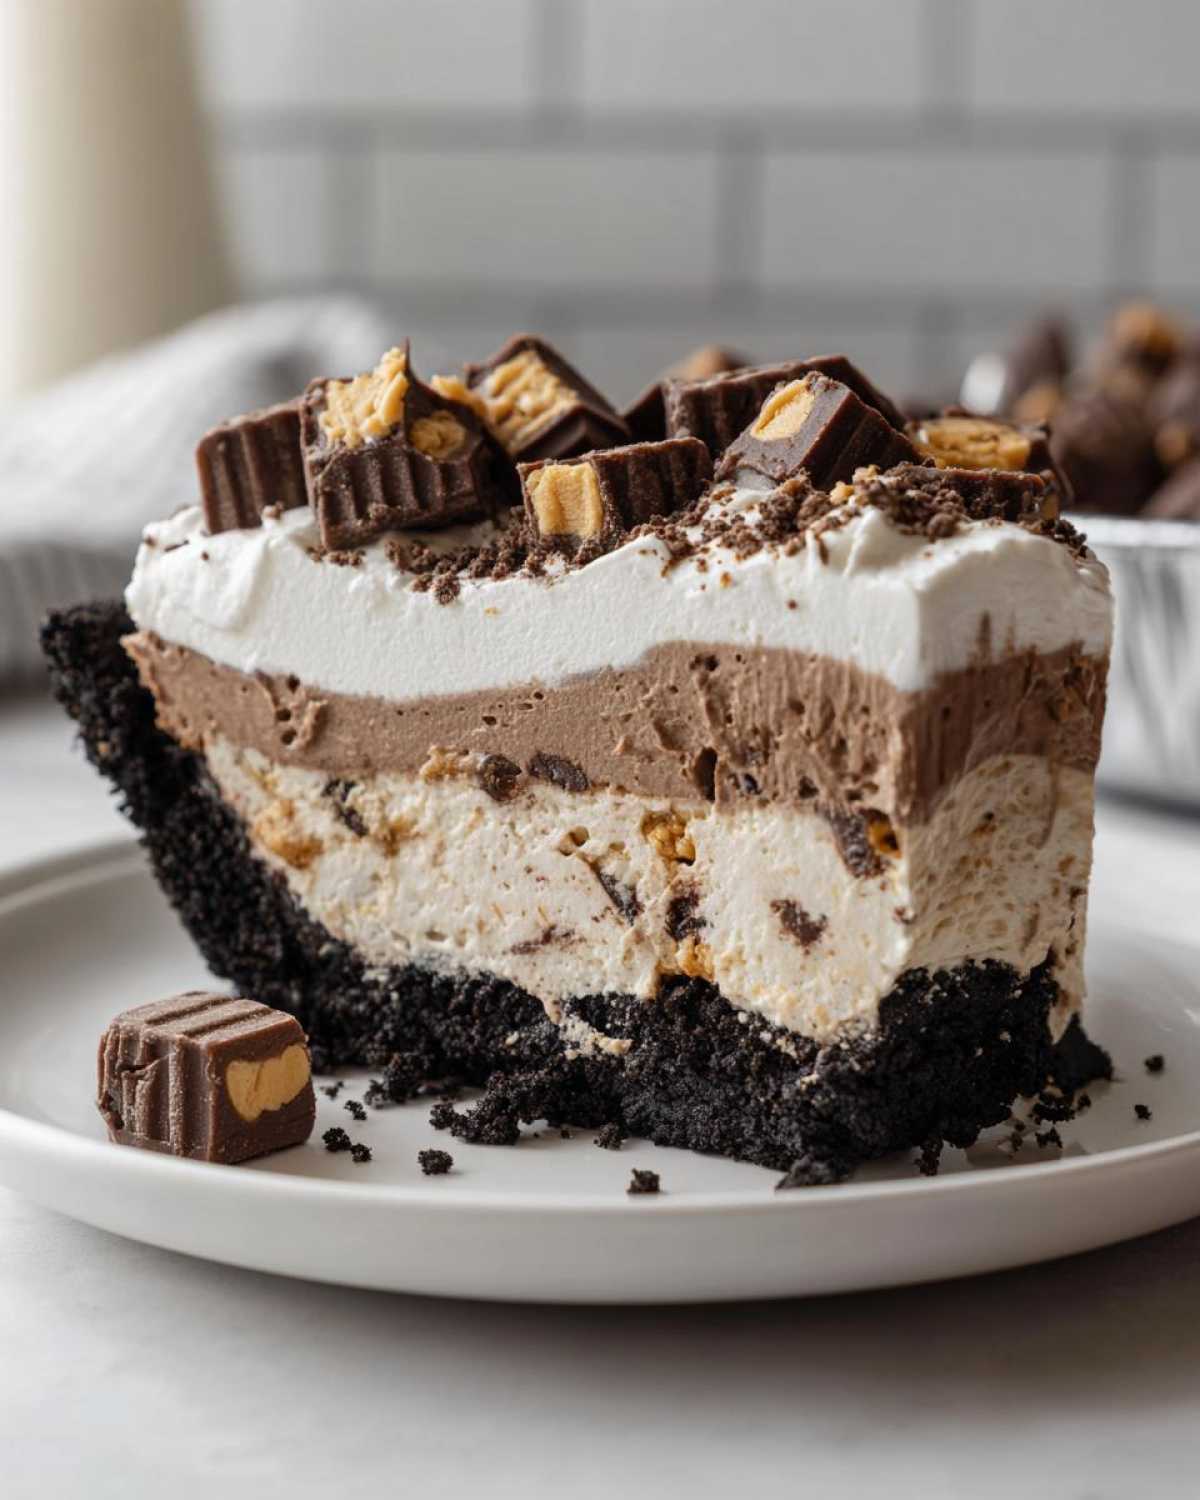
Take your slightly softened vanilla ice cream and spread it carefully over that chilled crust. If you have those tempting chopped peanut butter cups, sprinkle them right over this vanilla layer now. Pop it back in the freezer for a full hour until that first layer is rock solid. Next, take your softened chocolate ice cream and spread that gently on top. You don’t want to dig into the layer underneath, so use a warm spatula if you need to get a smooth finish!
Final Freeze and Topping the Ice Cream Pie
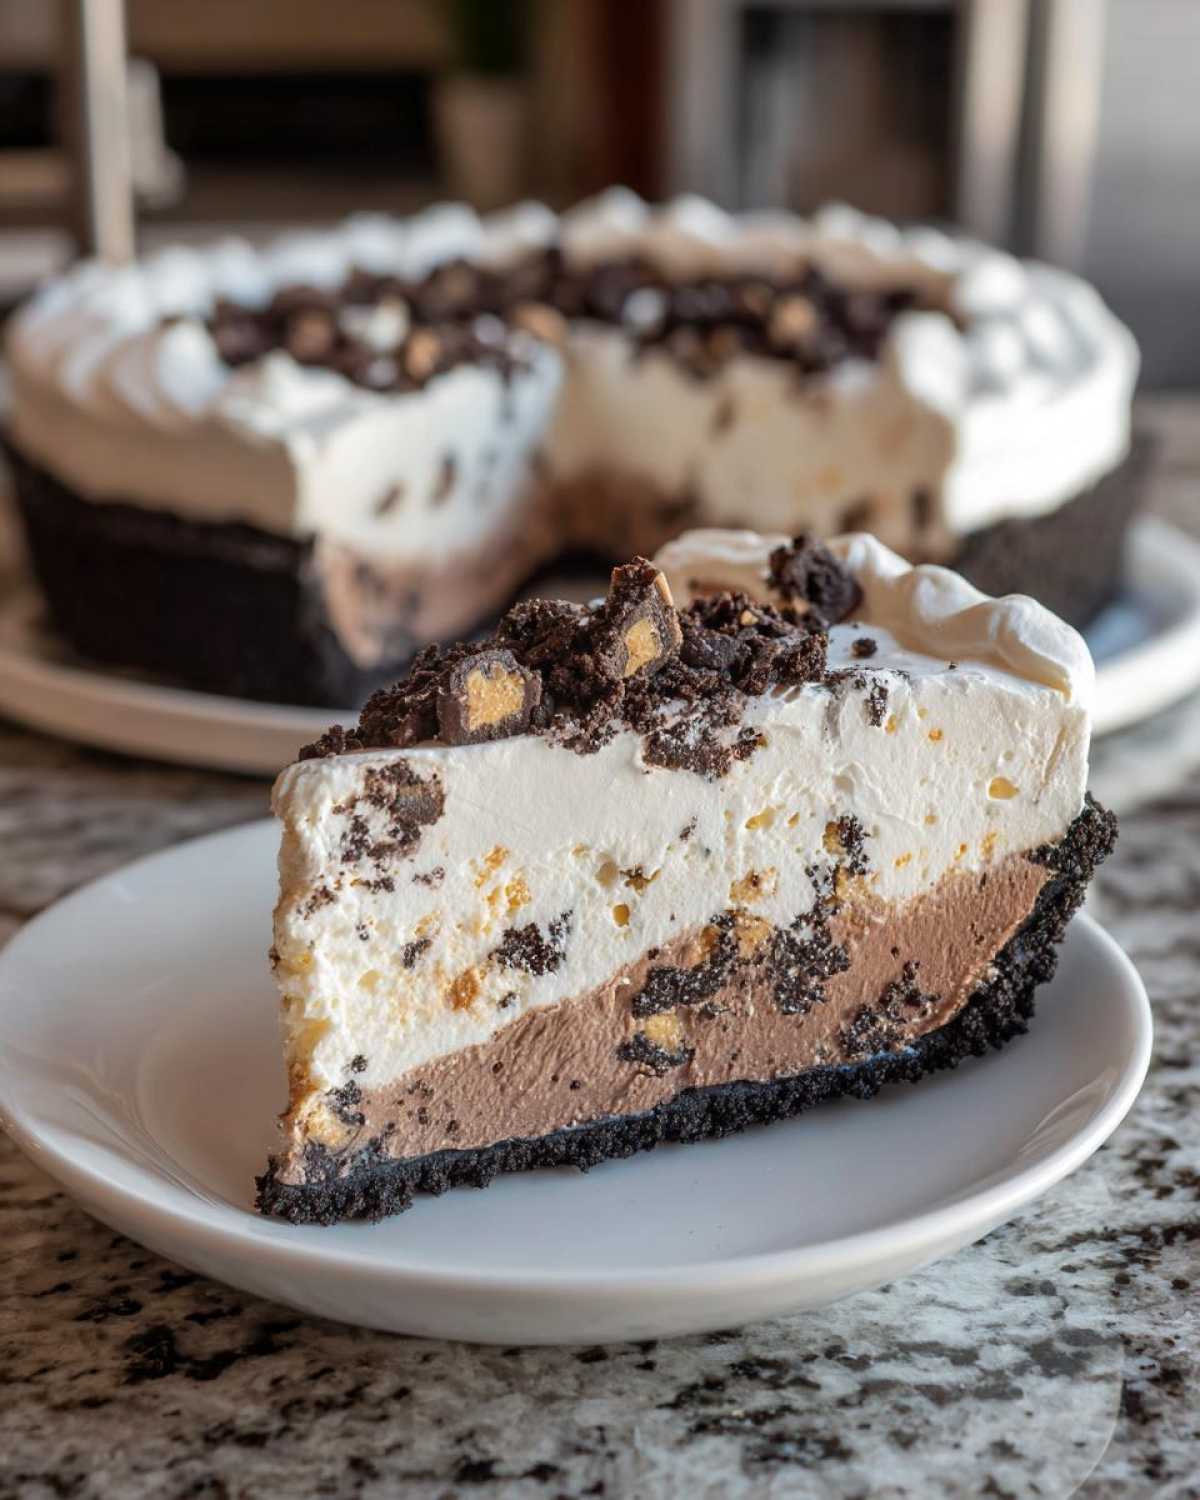
The heavy lifting is done! Now, this beauty needs serious chill time. Freeze the pie for at least four hours—though overnight is even better—until it’s completely firm. When you’re about 20 minutes away from serving, whisk your thawed whipped topping with the powdered sugar until it’s fluffy. Spread that right over the firm pie top. Give it one last quick chill until you’re ready to slice. For an extra creamy layered pie, try swirling some fudge sauce in with that topping!
Expert Tips for a Perfect Ice Cream Pie Success
Even though this is a no-bake wonder, you still need a few tricks up your sleeve to make it truly perfect. The biggest mistake people make is using ice cream straight out of the deep freeze—it just won’t lay nicely! You have to let it soften just until it’s scoopable but not melting. That makes all the difference for those clean, creamy layers.
If you decided against the peanut butter cups for the crunchy texture, you absolutely should try my trick for a swirl! Just mix that half-cup of creamy peanut butter right into the vanilla ice cream *before* you spread it. Wow, that makes a flavorful base layer! Honestly, this concept translates to almost any frozen dessert; I even use softened ingredients when I make my homemade applesauce so the texture is just right.
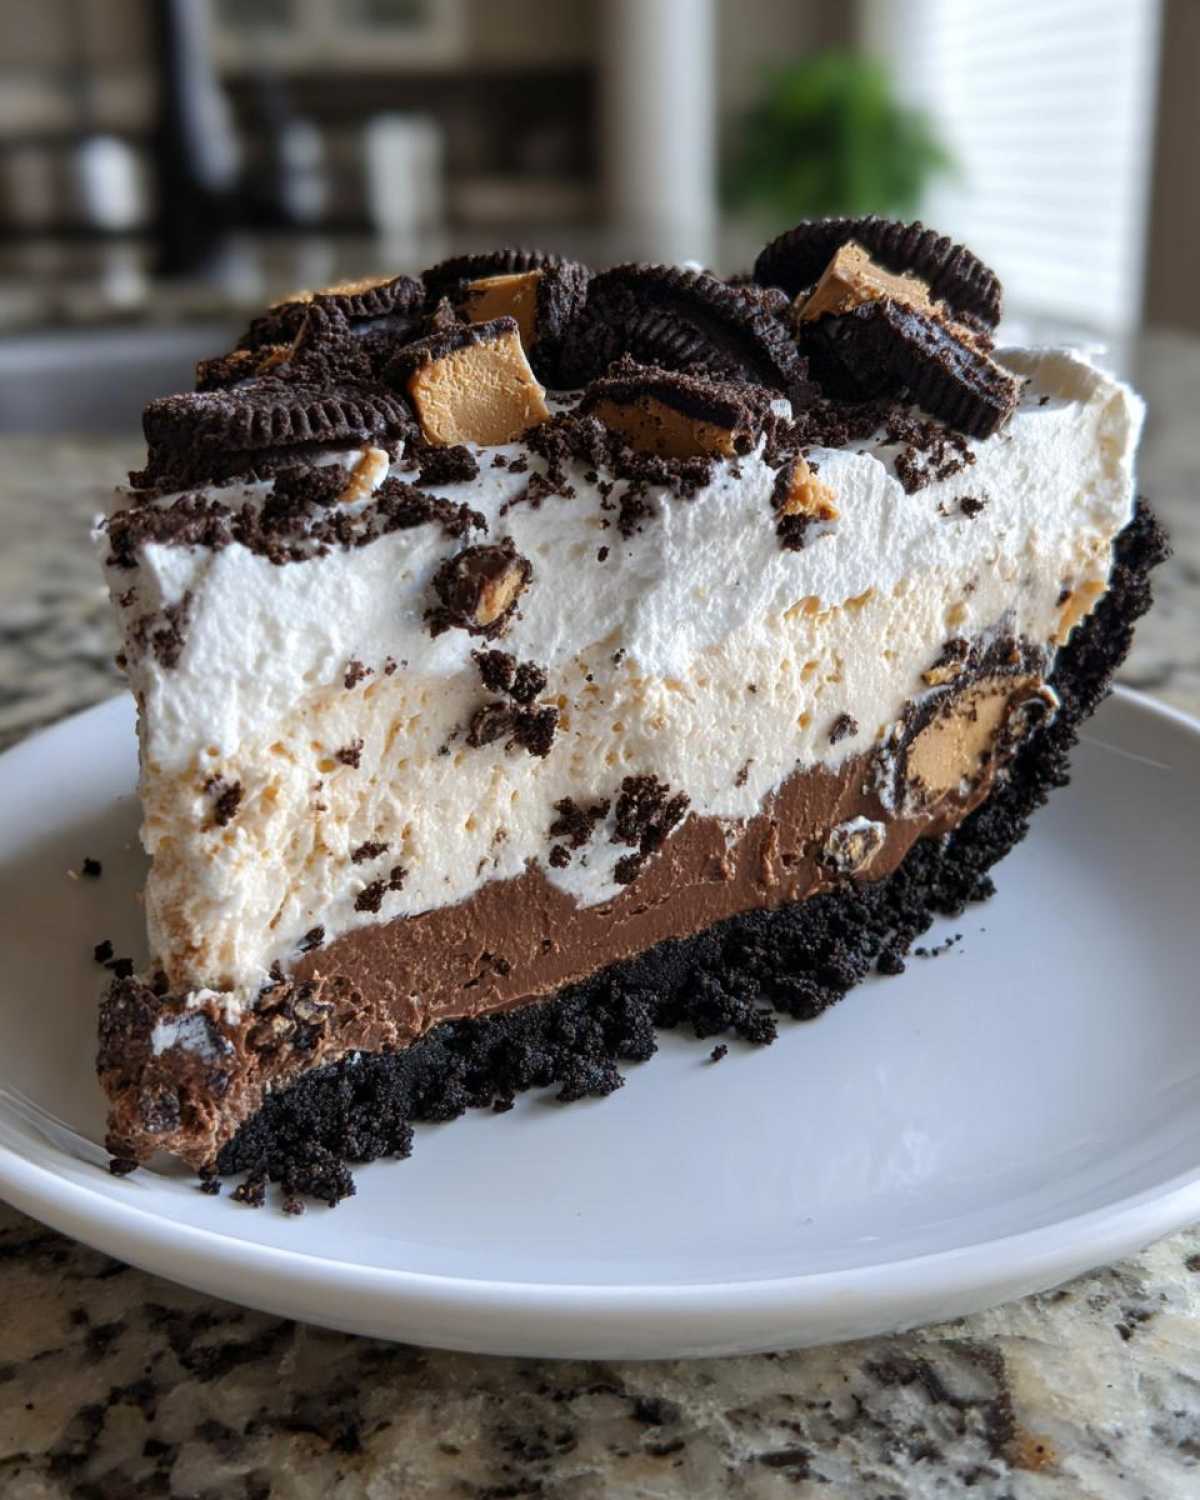
Don’t forget that substitutions are encouraged! If chocolate and vanilla aren’t your jam, swap them out. Try mint chocolate chip and coffee, or strawberry and lemon. Just remember to keep them similar in texture when you soften them up. This recipe shines because it’s so flexible—it’s truly *your* ice cream pie!
Variations on the Classic Ice Cream Pie Recipe
This ultimate ice cream pie is just a blueprint, trust me! Because you are using pre-made ice cream, changing the flavor profile is as easy as swapping out two cartons. Everyone has their favorite, so feel free to customize this recipe for your crowd. Are you a die-hard fan of chocolate? Then use chocolate ice cream for both layers, maybe adding some crushed chocolate cookies in the middle for texture instead of the peanut butter cups.
If you want a stunning peanut butter ice cream pie, use vanilla on the bottom and blend a good amount of creamy peanut butter into the chocolate layer before spreading it. Or forget the peanut butter entirely and dive into fruit! Strawberry and lemon ice cream layers make this a brighter, tangier summer delight that tastes incredible with the rich Oreo crust.
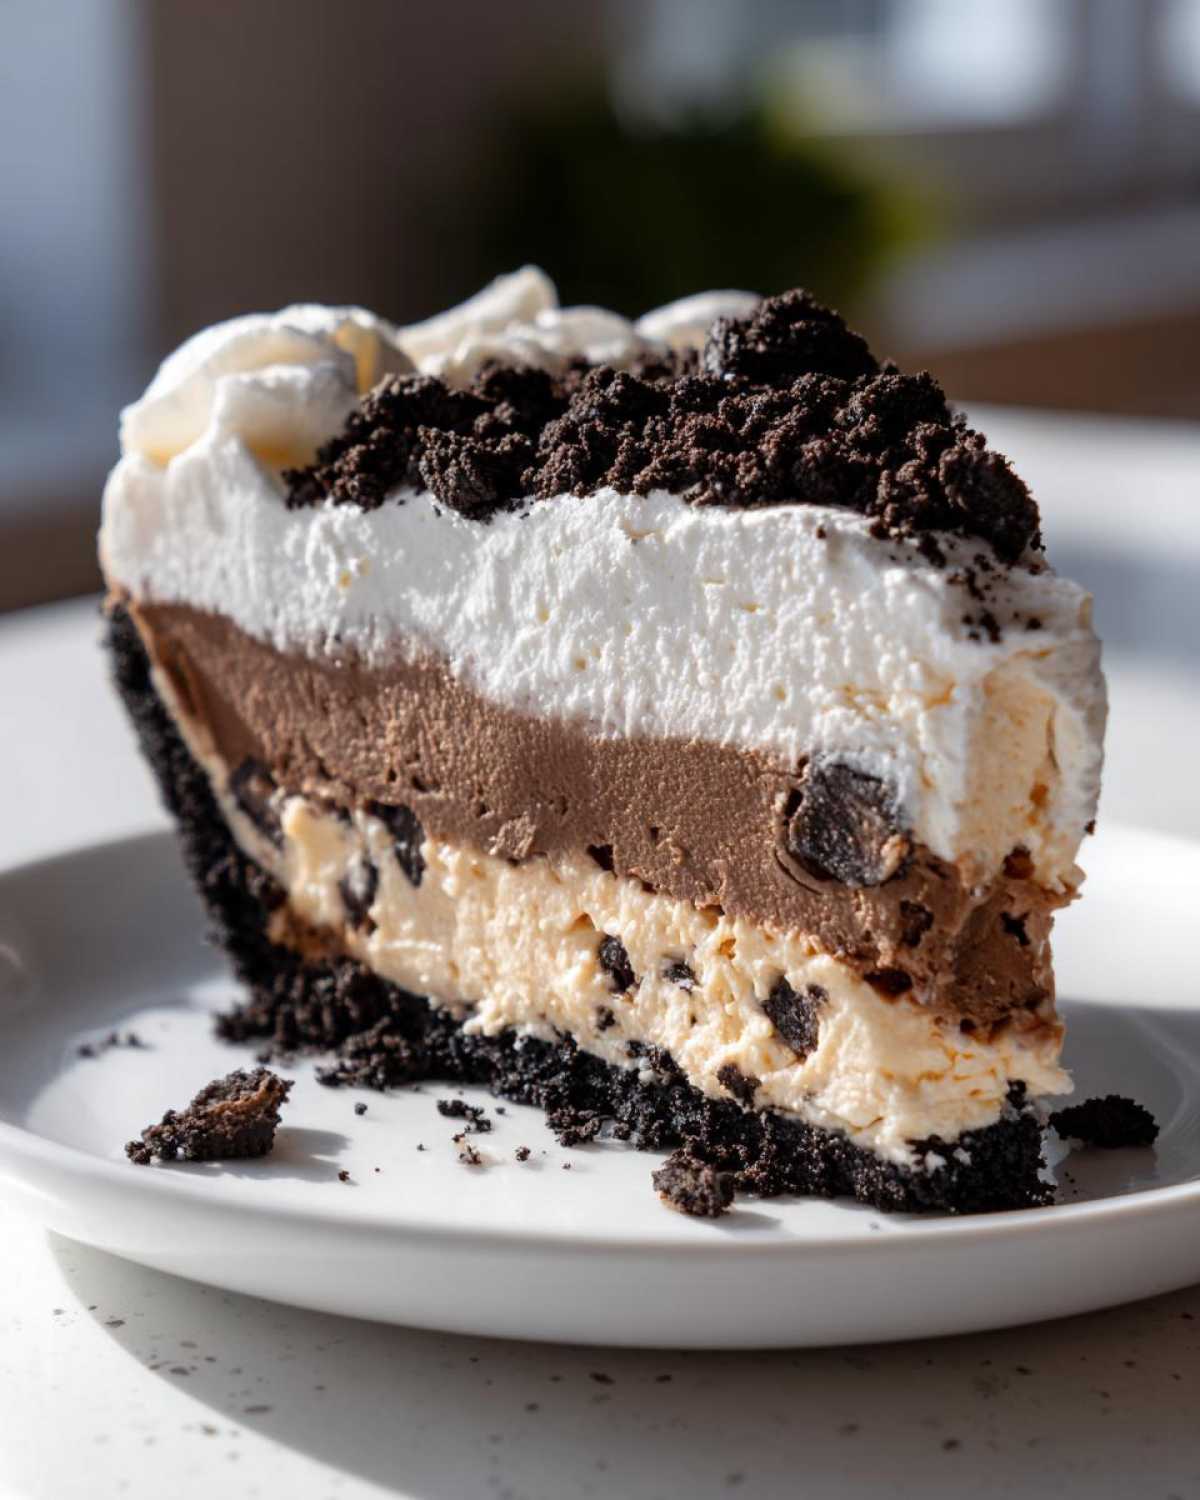
For the ultimate celebration dessert, I sometimes make a mint chocolate version. That gorgeous green layer just pops against the dark crust! If you’re looking for more inspiration on those creamy, decadent swirls, you absolutely have to check out my go-to recipe for peanut butter cookies—the flavors pair so nicely here!
Storage and Make Ahead Frozen Desserts: Your Ice Cream Pie Plan
This is the best part about making this amazing treat—it’s practically designed to be one of your favorite make ahead frozen desserts! Once that final layer of whipped topping is on and it’s had one last chill, you need to cover it up tight. I mean really tight! Use plastic wrap right against the surface to make sure no freezer air touches that pretty topping.
You can safely store this wonderfully creamy layered pie in the freezer this way for almost a full week. That makes it perfect for planning ahead for big family dinners or weekend parties. If you are storing it longer, you might want to wait to add that final whipped layer until the day you serve it, just to keep it looking pristine.
When you are ready to serve, just pull it out and let it sit on the counter for maybe 5 to 8 minutes before slicing. That small wait makes cutting so much cleaner! If you’re prepping for a winter party and want a warmer contrast, you should see how great this ice cream pie tastes next to a mug of my easy big batch hot cocoa mix.
Frequently Asked Questions About Making an Ice Cream Pie
I get so many questions about this recipe because everyone wants to know how to nail that perfect slice! Since this is one of my most requested quick ice cream recipes, let me clear up a few things that folks often ask me when they are trying to make their own homemade ice cream pie.
What is the best way to slice a firm ice cream pie?
This is crucial for avoiding all that messy sliding! You need a really sharp, sturdy knife. My trick is simple: fill a tall glass with very hot water, dip the knife in so the blade gets hot, wipe it dry quickly with a towel, and *then* make your cut. You repeat that hot water dip and wipe for every single slice you make. It glides right through, leaving you with those beautiful clean edges instead of dragging the whole slice behind it!
Can I use store-bought ice cream instead of softening it?
You technically *could* just scoop it right out of the carton, but please trust me on this one: don’t! If you try to spread rock-hard ice cream right onto that crust, you will just break up the base, and you won’t get those even, creamy layers we love in this frozen dessert pie. Softening it slightly—so it’s spreadable like thick frosting—is non-negotiable for getting that smooth, uniform texture.
Is the Oreo crust pie base the only option for this dessert?
Oh heavens no! While I adore the Oreo crust pie foundation—it’s classic for a reason—you can absolutely switch it up. If you don’t have Oreos, crushed graham crackers mixed with the butter work wonderfully and give you a slightly nuttier, less intense chocolate flavor. You could even try vanilla wafers if you’re feeling adventurous! It just adapts beautifully. If you want to see an alternative crust idea, check out my tips for making a fail-proof old-fashioned egg custard pie; the principles of a solid base are similar there!
How far ahead of time can I make this make ahead frozen dessert?
Since it needs so much freezing time anyway, this is truly a great make-ahead frozen dessert. I usually assemble the whole thing—crust, two layers, and all—and freeze it solid for at least a day before I plan to serve it. That gives the flavors time to truly meld together. Just remember to add that final fluffy topping no more than a day beforehand, or it can start looking a little soggy!
Nutritional Estimates for This Creamy Layered Pie
Now, I know many of you are curious about the numbers, and even though this is a decadent treat, I always like to give you a general idea of what you’re working with! Remember, these values are careful estimations based on the ingredients listed above, especially depending on whether you use full-fat ice creams or specific brands of topping.
I find taking a quick peek at the estimates helps me plan around big meals. This is a wonderful, satisfying dish, so portion control is key—one slice of this creamy layered pie is usually plenty!
- Serving Size: 1 slice
- Calories: 450
- Sugar: 45g
- Sodium: 350mg
- Fat: 28g
- Saturated Fat: 16g
- Unsaturated Fat: 12g
- Trans Fat: 0.5g
- Carbohydrates: 48g
- Fiber: 1g
- Protein: 6g
- Cholesterol: 75mg
Just a note here: since we aren’t using any fancy binders or unique cheeses, those low fiber counts are expected! If you wanted to boost that a bit, you could always mix in some chopped pecans or walnuts with the peanut butter cups in the second layer. That adds a fantastic crunch and a little extra goodness, too!
Share Your Ultimate Ice Cream Pie Creations
Alright, now that you have the secrets to making the best, easiest ice cream pie out there, I absolutely want to know what you came up with! This recipe is seriously versatile, and I love seeing the flavor combinations everyone dreams up.
Did you stick to the classic chocolate and vanilla? Did you try a lemon and strawberry spin? Let me know! Drop a comment below and tell me your absolute favorite layer combination you used in your ultimate ice cream pie. And hey, if you loved how easily this came together, consider giving it a rating—five stars, if you think it deserves it!
Take a snap of your finished, frosty masterpiece and tag me on social media! It always brightens my day to see my recipes coming to life in your kitchens. For more fun, no-fuss frozen treats and other tasty ideas, feel free to wander over to the main recipe blog page. Happy freezing!
PrintNo-Bake Ultimate Oreo Ice Cream Pie
Make this simple, no-bake ice cream pie using an Oreo crust and your favorite ice cream flavors. It is a quick, make-ahead frozen dessert perfect for any gathering.
- Prep Time: 20 min
- Cook Time: 0 min
- Total Time: 20 min
- Yield: 8 servings
- Category: Dessert
- Method: Freezing
- Cuisine: American
- Diet: Vegetarian
Ingredients
- 1 1/2 cups Oreo cookie crumbs
- 6 tablespoons unsalted butter, melted
- 1 1/2 quarts vanilla ice cream, softened slightly
- 1 cup peanut butter cups, chopped (optional mix-in)
- 1 quart chocolate ice cream, softened slightly
- 1 cup whipped topping, thawed
- 2 tablespoons powdered sugar
Instructions
- Combine the Oreo crumbs and melted butter in a medium bowl. Press the mixture firmly into the bottom and up the sides of a 9-inch pie plate. Freeze the crust for 30 minutes.
- Remove the vanilla ice cream from the freezer and let it soften for about 10 minutes until spreadable. Spread the vanilla ice cream evenly over the frozen crust. If using, sprinkle the chopped peanut butter cups over the vanilla layer.
- Freeze the pie for 1 hour, or until the first layer is firm.
- Soften the chocolate ice cream slightly. Spread the chocolate ice cream over the firm vanilla layer. Smooth the top with a spatula.
- Freeze the pie for at least 4 hours, or until completely firm.
- Before serving, combine the whipped topping and powdered sugar in a small bowl. Spread this mixture over the top of the frozen pie.
- Return the pie to the freezer until ready to serve. Slice and serve cold.
Notes
- You can substitute the vanilla and chocolate ice creams with any two complementary flavors you prefer, such as mint chocolate chip or strawberry.
- For an easier crust, use pre-made graham cracker crumbs instead of Oreos.
- If you want a peanut butter swirl, mix 1/2 cup of creamy peanut butter into the softened vanilla ice cream before spreading it into the crust.
Nutrition
- Serving Size: 1 slice
- Calories: 450
- Sugar: 45
- Sodium: 350
- Fat: 28
- Saturated Fat: 16
- Unsaturated Fat: 12
- Trans Fat: 0.5
- Carbohydrates: 48
- Fiber: 1
- Protein: 6
- Cholesterol: 75