

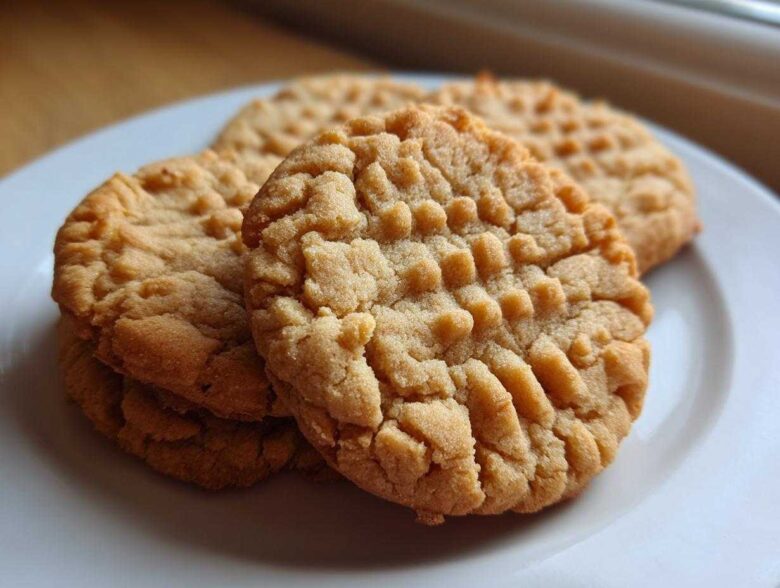
When I think about comforting, truly traditional cookies, I always land right back on the classics, and nothing beats perfect peanut butter cookies. For the longest time, I had these pinned on my digital boards—in theory—but they always seemed to spread too thin or dry out before baking completely. Jacob and I finally treated this recipe like the serious project it is, and wow, we nailed it! This batch gives you those glorious, slightly crisp edges that shatter just right, leading into a wonderfully tender, chewy center. Trust me, this perfected blueprint is what we now keep in our active recipe portfolio because it just works, every single time. If you love that tender result we get in our Snickerdoodles, you’ll adore how we balance the texture here!
Why This is the Best Peanut Butter Cookies Recipe (Crispy Tender Cookies)
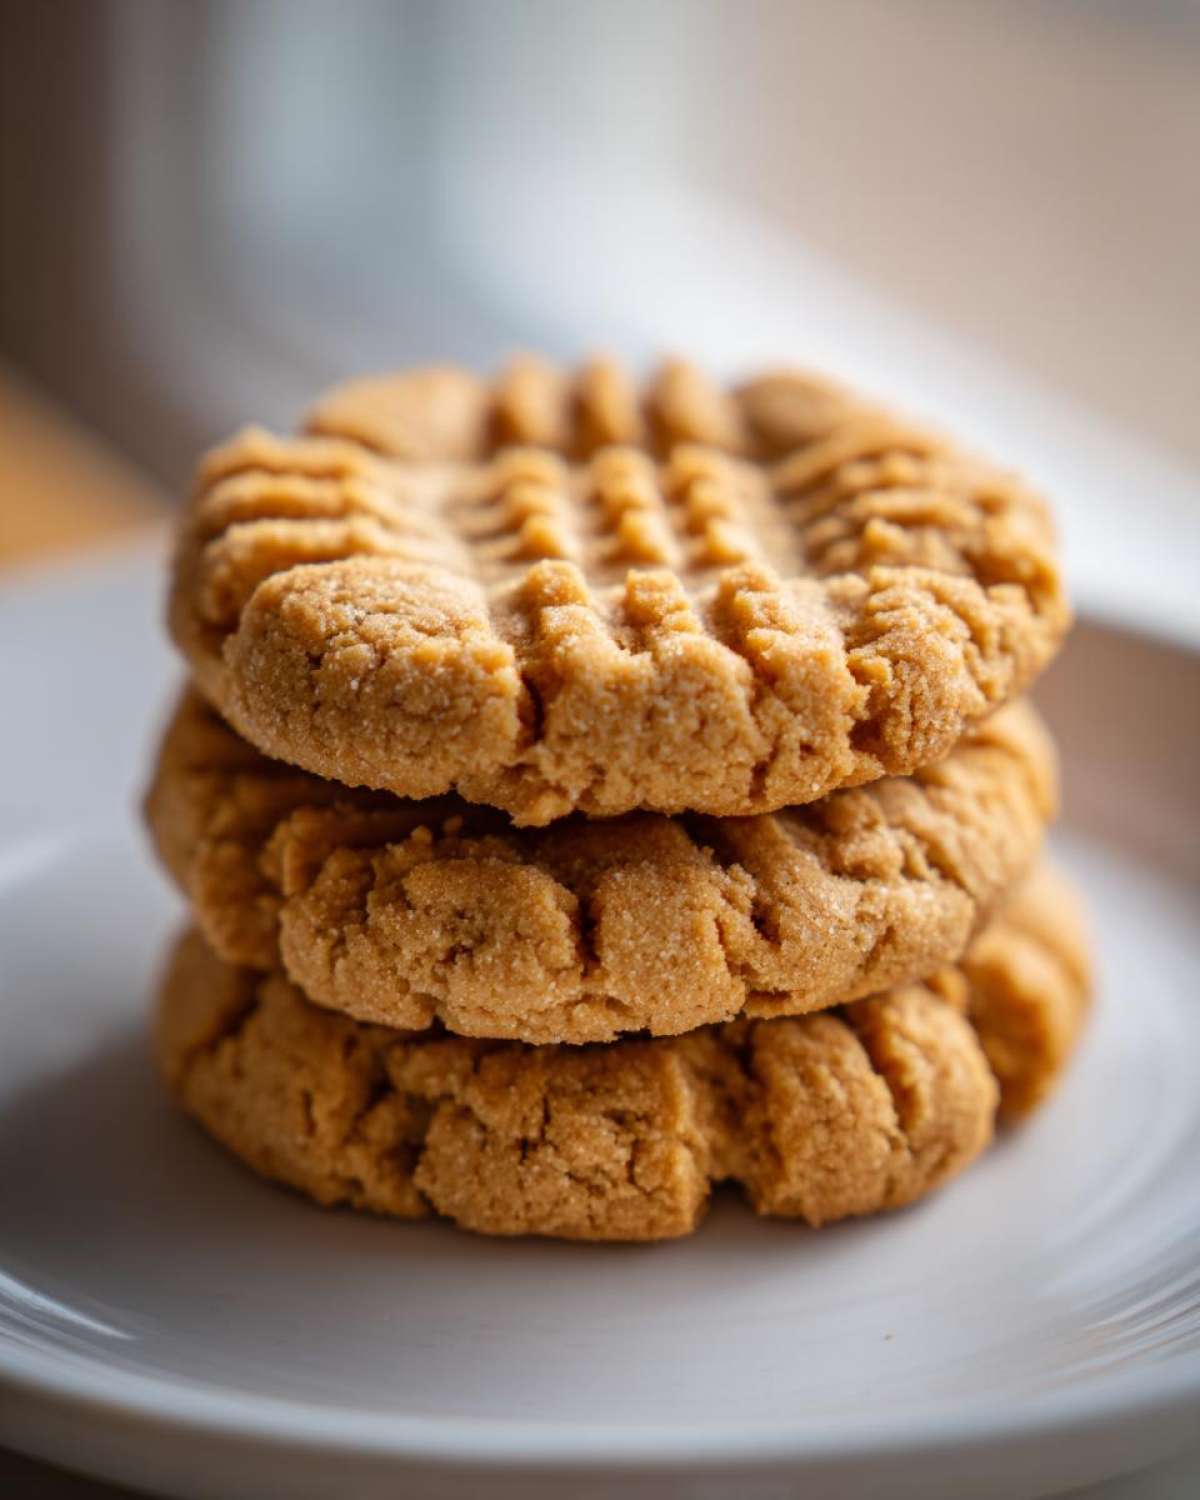
The secret to getting that ideal texture—crispy on the outside but still soft when you bite into the center—comes down to a few non-negotiable steps in the blueprint. Since Jacob and I are obsessed with precision, we noticed the ratio of sugars makes all the difference here. We’re aiming for that traditional look everyone wants, too. You know, the gorgeous, deeply scored top!
- We use both granulated and brown sugar. The white sugar helps set the edges quickly, giving us that desired crispness, while the brown sugar brings moisture to keep the middle soft.
- The ratio of flour to fat is lower than in a flat, chewy cookie recipe. This structure ensures they don’t spread into thin, brittle discs.
- The addition of both baking soda AND baking powder gives us a little lift without destroying the classic density.
Achieving the Perfect Crosshatch Pattern on your Peanut Butter Cookies
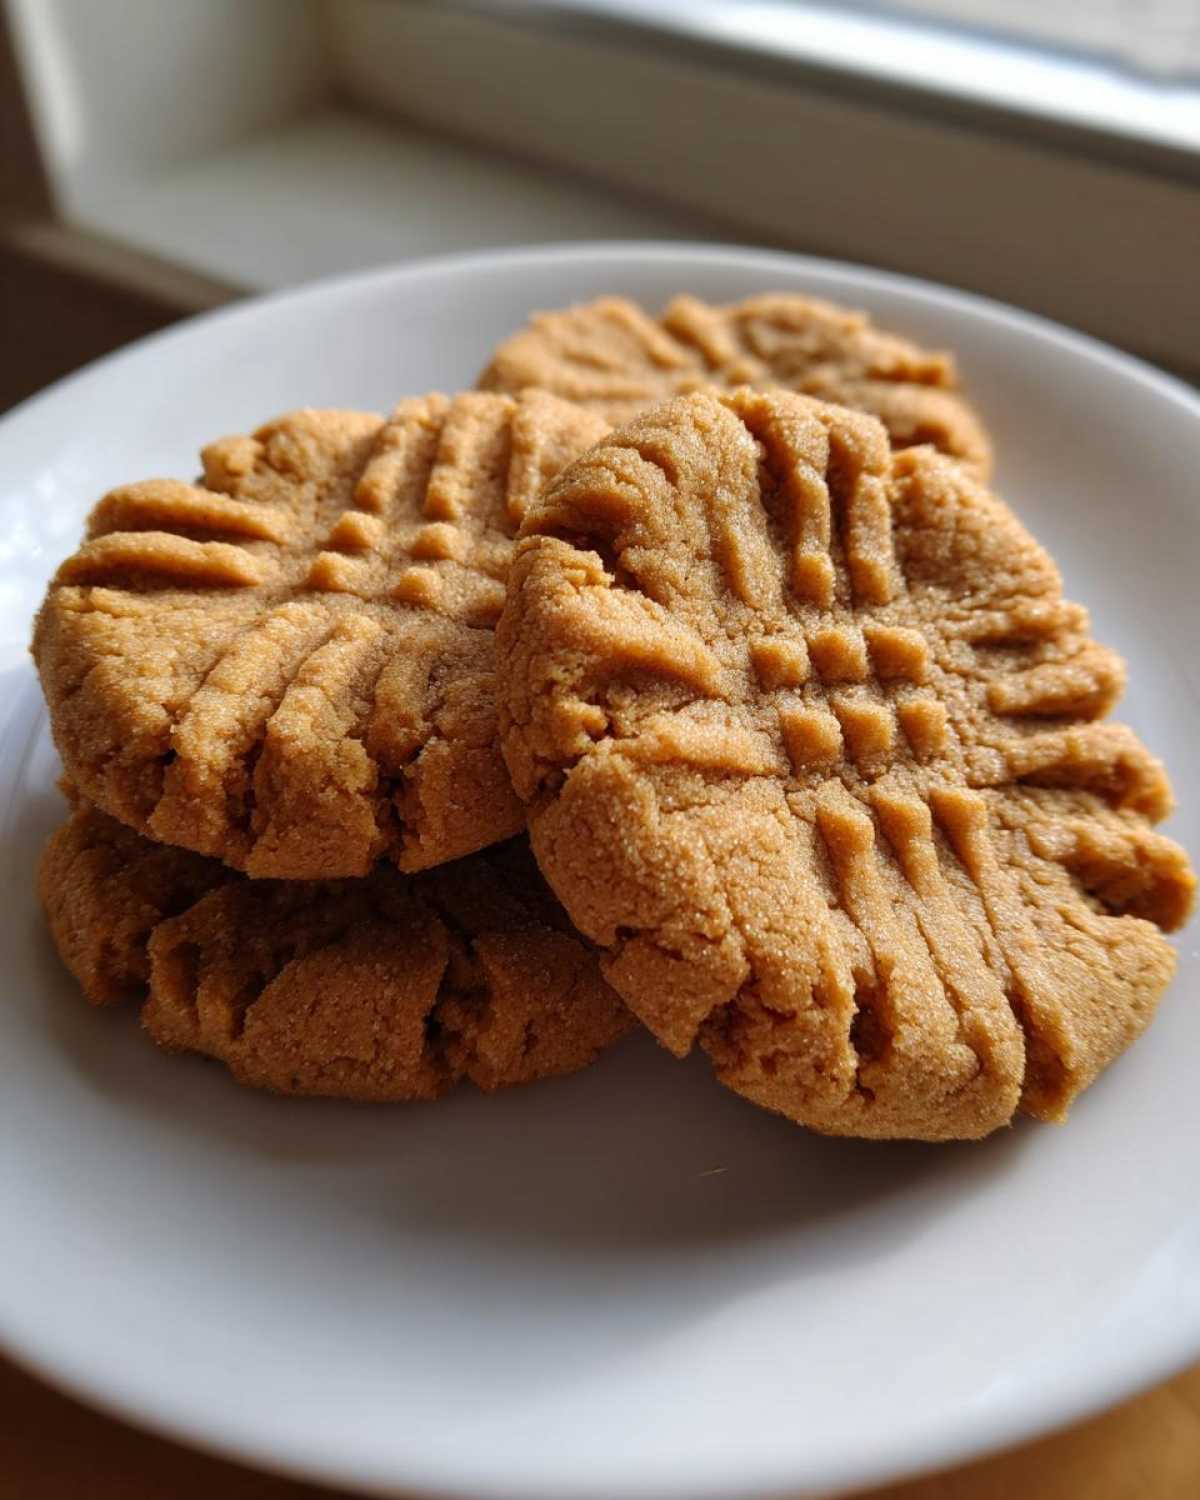
This is Jacob’s favorite part because it’s so visual! Pressing the dough ball with that crisscross pattern isn’t just for looks, though. It gently flattens the dense dough so it bakes evenly all the way through. Just roll your dough into a nice one-inch ball, then press down once with a fork, and then turn the fork 90 degrees and press again. Don’t worry if the dough cracks a little; that’s how you know you’ll get those amazing crispy tender cookies!
Gathering Ingredients for Classic Peanut Butter Cookies
As the project manager, I always start by preparing my mise en place—it stops us from realizing halfway through that we’re out of the right kind of sugar! For these classic peanut butter cookies, the ingredient list is beautifully simple. We need the basics, but precision matters here, especially with the peanut butter choice. If you’re looking for another satisfying peanut butter treat, check out our recipe for Peanut Butter Cup Cookies!
- 1 cup (2 sticks) unsalted butter, softened (use real butter, please!)
- 1 cup granulated sugar
- 1 cup packed light brown sugar
- 1 cup creamy peanut butter (This must be the standard kind; the natural, oily stuff just melts away and ruins the texture!)
- 2 large eggs
- 1 teaspoon vanilla extract
- 2 1/2 cups all-purpose flour
- 1 teaspoon baking soda
- 1/2 teaspoon baking powder
- 1/2 teaspoon salt
Step-by-Step Instructions for Homemade Peanut Butter Cookies
Here is the actual game plan, the part where the research turns into delicious reality! We start by getting the oven roaring—preheat to 350°F (175°C) and line those baking sheets with parchment paper. That paper is Amelia’s fail-safe for easy cleanup, which Jacob appreciates! This whole process goes so smoothly when you follow the structure we set up.
Mixing the Dough for the Best Peanut Butter Cookies
First up is the creaming step. This is Amelia’s planning, ensuring we incorporate enough air! Beat together that softened butter, granulated sugar, and brown sugar until it’s light and fluffy—it should look pale. Next, beat in the peanut butter really well, then incorporate the eggs one at a time, followed by the vanilla. Don’t rush this! In a separate bowl, we whisk the dry stuff: flour, baking soda, baking powder, and salt. Now, add those dry ingredients to the wet mix, but only on low speed, until you *just* see no more flour streaks. Seriously, stop when it’s combined; overmixing is the enemy of soft centers!
Shaping and Pressing the Classic Cookie Dough
Once the dough is mixed, it’s Jacob’s turn to shape his beautiful orbs. Roll the dough into neat one-inch balls and space them about 2 inches apart on those prepared sheets. Remember the classic look? Grab your fork and give each one a gentle press down until it flattens a bit. Then, turn the fork 90 degrees and press again for that signature crosshatch. This flattening helps everything bake evenly, ensuring those edges get crispy while the middle stays soft. If you’re feeling ambitious, this is a great time to check out how we handle our brown butter cookies for a change of pace!
Baking Tips for Perfect Peanut Butter Cookies Every Time
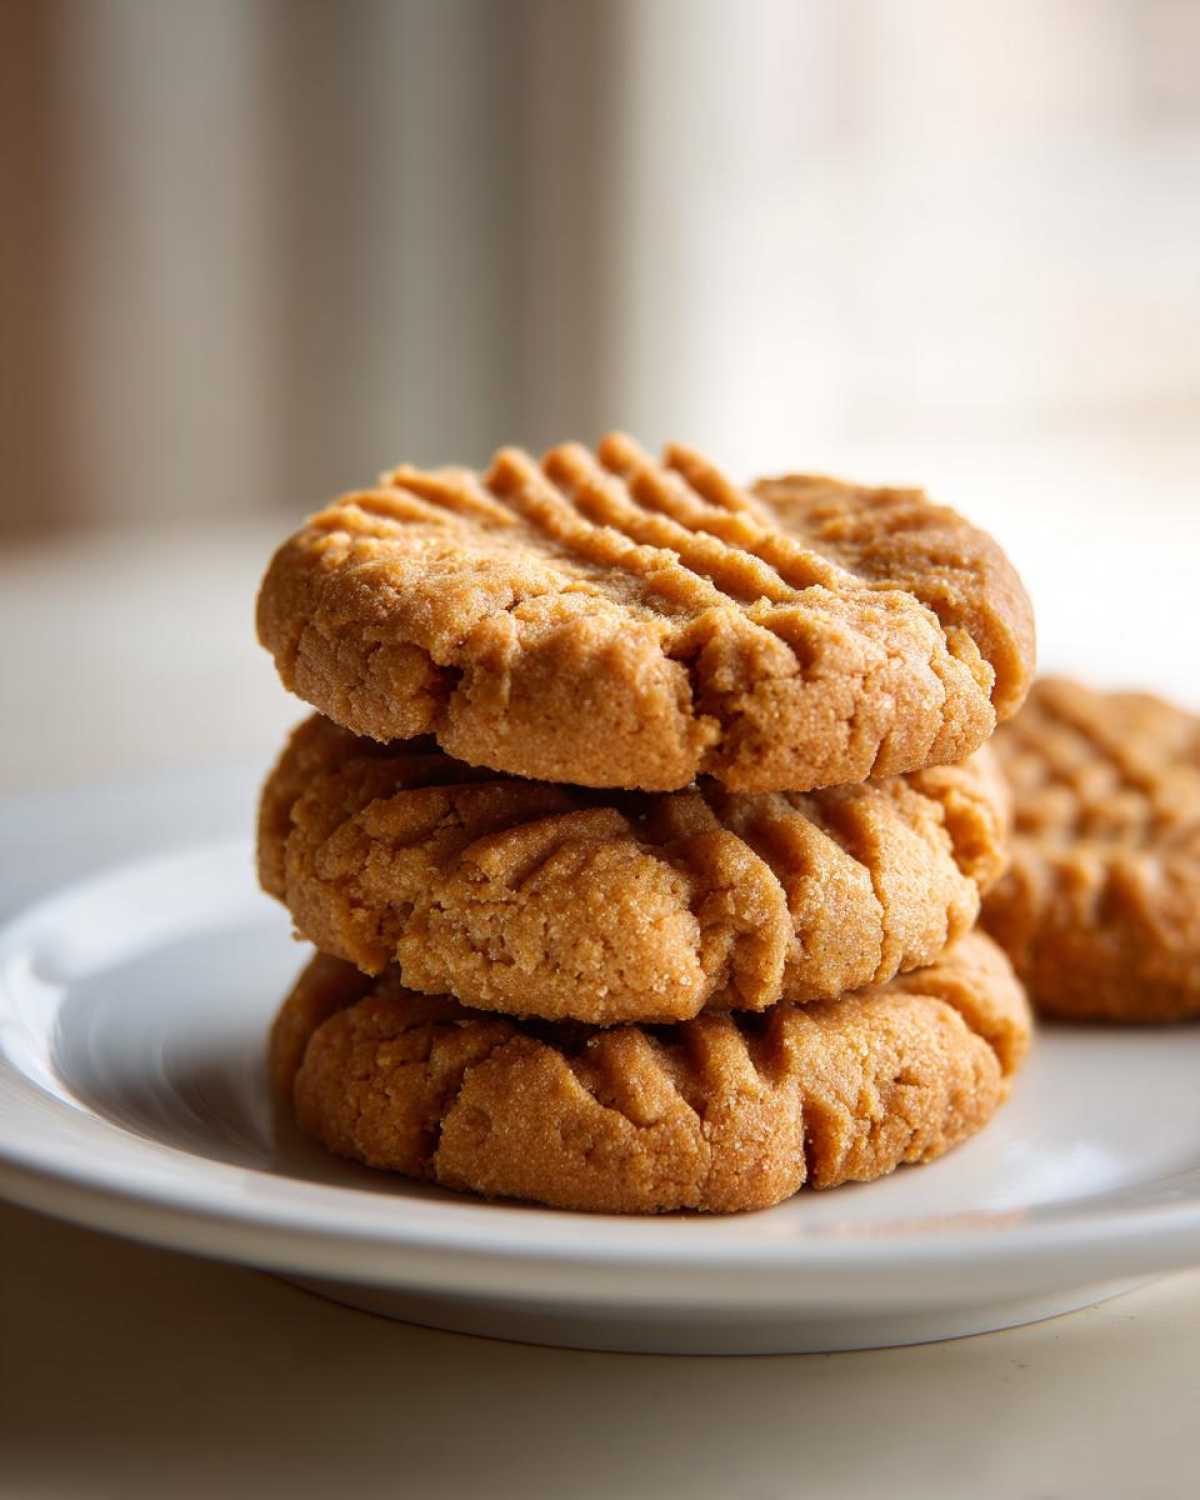
Getting these homemade peanut butter cookies from the bowl to the cooling rack requires just a bit of attentiveness, but it’s totally worth it. We stick pretty rigidly to the 350°F oven temperature we set in the blueprint. Deviating too much is when you risk major spreading, and honestly, who wants a messy cookie sheet? When you slide those trays in, you’re looking for a bake time between 10 and 12 minutes, but you have to watch them closely—that window is small!
The visual cue is everything for that perfect texture. You want the edges to look slightly golden brown—not dark brown, just kissed by the heat. The magic trick is that the centers will still look a bit pale and maybe even slightly doughy when you pull them out. Don’t panic! That’s exactly what we want for that soft interior.
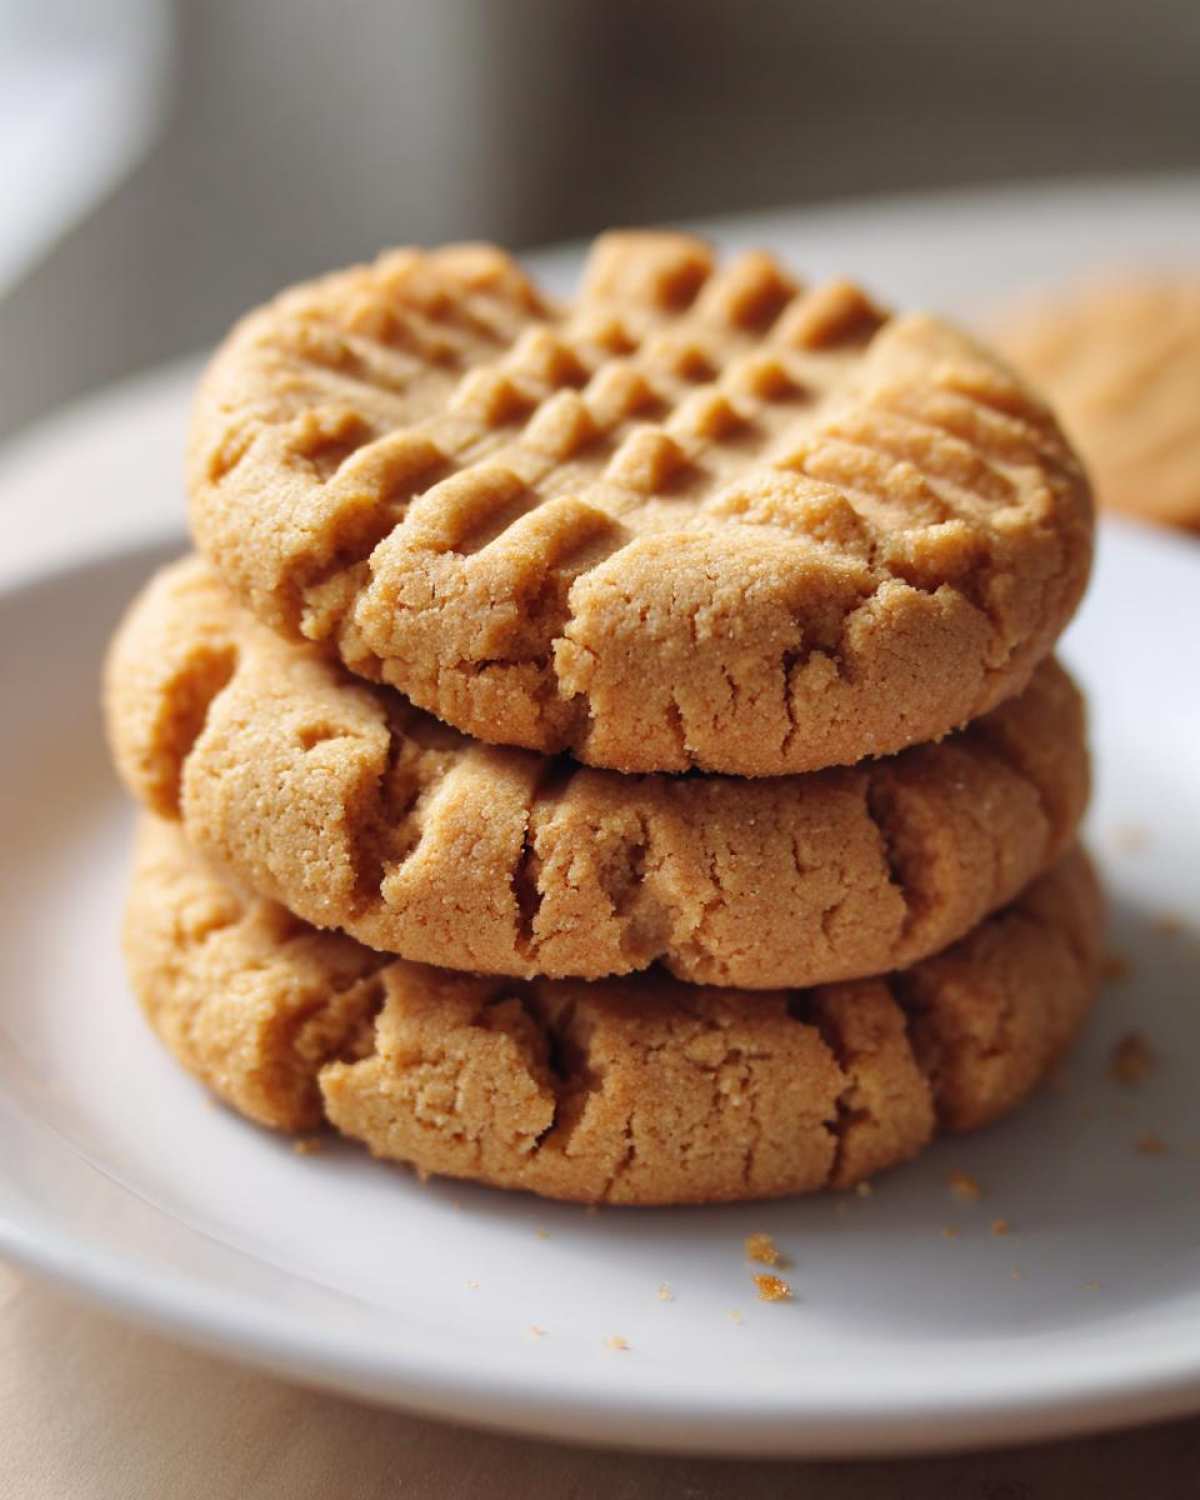
This next step is critical if you want them to keep that tender center: let them rest right there on the hot baking sheet for about 5 full minutes. They are still setting up during this time. If you try to move them right away, they might just crumble or deflate. After those five minutes, slide a thin spatula underneath them and gently move them to a wire rack to cool completely. This cooling process finishes the baking process gradually and locks in the structure of those classic peanut butter cookies.
Ingredient Notes and Substitutions for Peanut Butter Baking
Okay, let’s talk specifics because in the world of peanut butter baking, ingredients aren’t always interchangeable! The biggest point of debate I hear about is the peanut butter itself. For this specific recipe to achieve that textbook texture—that mix of crispy edge and tender middle that defines classic cookie recipes—you absolutely need to use that standard, creamy, processed peanut butter. You know the one; it’s stabilized, maybe a little sweeter, and won’t separate!
If you try to use the natural kind where the oil separates at the top, the dough structure just falls apart during baking. It spreads too thin, and you end up with a greasy flat disc instead of a beautiful, thick cookie. Jacob and I learned this the hard way during one of our early, less-planned baking attempts! Stick to the stuff that scoops out firmly.
Why Natural Peanut Butter Doesn’t Work Here
Natural peanut butter has a higher fat and moisture content that simply can’t support the structure required for these cookies to hold their shape while baking. When we tested it, the dough barely kept its shape, and the flavor became overwhelmingly oily instead of richly peanutty. It’s frustrating, I know, because natural is usually my go-to, but for this project, we rely on the stability of the classic brands.
Adding Extra Texture with Chopped Nuts
If you’re looking for a little something extra—a little crunch to go along with that crispy exterior—you can absolutely incorporate chopped nuts. I suggest adding about 1/4 cup of finely chopped peanuts or even pecans right at the end of the mixing process. If you want to try a completely different texture that focuses on that rich, buttery base, you have to look at our Pecan Pie Cookies. But for this classic, trust me on the smooth peanut butter!
Making Ahead and Storing Your Peanut Butter Cookies
One benefit of this well-structured dough is how forgiving it is for making ahead! Since these homemade peanut butter cookies are denser, chilling the dough for about 30 minutes before rolling helps them hold that perfect shape without spreading too much—especially if your kitchen is warm. If you’re planning a big bake day, you can roll all those little balls, pop them onto a sheet pan, and freeze them. Once they’re totally solid, transfer them to a zip-top bag. You can bake them straight from frozen, just add an extra minute or two to the bake time.
To store the finished cookies and keep that signature crispy/tender balance, use an airtight container. Don’t put warm cookies in there, or you’ll lose the crisp edge! If you want to prep for future mornings, check out how we plan ahead with our Sausage Egg Bake—planning always pays off in the kitchen!
Variations on Traditional Cookies: Flavor Twists
We love sticking to the blueprint for most of our classic cookie recipes, but honestly, where’s the fun if you don’t try a little customization? Once you’ve mastered the base recipe for these peanut butter cookies, you can easily tweak them to create a whole new project. Jacob loves making small variations when he’s testing out new ideas; it keeps the process fresh!
Here are a couple of simple ways we’ve adapted this structure that still honor the original flavor but give you something new to add to your portfolio:
- Chocolate Chip Swirl: This is the easiest win! After you roll your dough balls and before you press them with the fork, gently press 2 or 3 semi-sweet chocolate chips right into the top. They melt beautifully and create that perfect pairing within the cookie.
- Cinnamon Spice Boost: For a slightly warmer, almost spiced cookie flavor, I like to add just 1/2 teaspoon of ground cinnamon right into the dry ingredients when whisking the flour. It complements the peanut flavor so well without overpowering it.
- Crunchy PB Factor: If you absolutely must substitute the creamy peanut butter, my second choice after skipping natural PB would be using crunchy! If you swap in crunchy, you should probably skip chilling the dough, though, because those nuts give the dough structure anyway.
If you’re more into baking big, beautiful centerpiece desserts, you might want to check out the structure of our Cranberry Orange Bundt Cake for a different kind of flavor profile!
Frequently Asked Questions About Peanut Butter Cookies
I always get so many questions about these classic cookie recipes because everyone wants that perfect result! Jacob tells me, “Amelia, just put the answers right here so we don’t have to type them out again!” So here are the few things folks usually wonder about when making their batch of homemade peanut butter cookies.
Can I use natural, oily peanut butter in this recipe?
Honestly, no, not if you want these specific crispy tender cookies! I covered this above, but it bears repeating: standard creamy peanut butter (like Jif or Skippy) has stabilizers that give the dough the structure it needs to hold up against the sugars and fat. Natural peanut butter is too loose and will cause your cookies to spread way too thin in the oven, turning them into butter crisps instead of classic cookies.
How do I stop my cookies from crumbling when I press them?
Crumbling usually means your dough is too cold, or you didn’t blend the liquids and solids quite enough during the creaming phase. If your dough is too cold from the fridge, let the balls sit out for just five minutes before pressing. Another project trick: make sure you’re using room-temperature butter to start. A slight lack of moisture right at the start can cause brittleness later on.
Is the crosshatch pattern mandatory?
It’s not mandatory, but I highly recommend it! That crosshatch press is crucial for helping to flatten very dense, rich dough so that it bakes evenly. If you totally skip it, the cookies might puff up a bit too much in the center and stay soft all the way through, losing that perfect contrast between the crispy edge and the soft middle. We love achieving that contrast!
Where can I learn more about your baking projects?
We love sharing our kitchen adventures! If you want to see what other recipes we’ve turned into finalized projects, take a peek at our About Us page. It explains how Jacob and I balance planning and art in the kitchen!
Nutritional Estimates for These Classic Peanut Butter Cookies
Because we treat every recipe like a final project here at Taste Portfolio, we always track the data! While these classic peanut butter cookies are pure comfort food, it’s helpful to know what you’re enjoying. I’ve put together the numbers we calculated for a single cookie based on the exact measurements in the recipe above. Remember, Jacob and I are focused on flavor first, but structure means we can estimate these details pretty well!
Please keep in mind that these figures are estimates only. They can vary a tiny bit depending on the brand of peanut butter you use or if you decide to add those chopped nuts we talked about earlier.
- Serving Size: 1 cookie
- Calories: 180
- Sugar: 14g
- Sodium: 110mg
- Fat: 10g
We also look at the breakdown of the fat content, just to see how it looks:
- Saturated Fat: 4g
- Unsaturated Fat: 6g
- Trans Fat: 0g
And finally, the other macros we track:
- Carbohydrates: 21g
- Fiber: 1g
- Protein: 4g
- Cholesterol: 25mg
It’s good to have the blueprint, even for something as wonderful and indulgent as a perfect batch of homemade peanut butter cookies!
PrintClassic Peanut Butter Cookies: Crispy Edges, Tender Centers
Follow this tested recipe for the best peanut butter cookies that achieve the perfect balance of crispy edges and a soft, chewy center. A true classic cookie recipe.
- Prep Time: 15 min
- Cook Time: 12 min
- Total Time: 27 min
- Yield: About 3 dozen cookies
- Category: Dessert
- Method: Baking
- Cuisine: American
- Diet: Vegetarian
Ingredients
- 1 cup (2 sticks) unsalted butter, softened
- 1 cup granulated sugar
- 1 cup packed light brown sugar
- 1 cup creamy peanut butter (not natural style)
- 2 large eggs
- 1 teaspoon vanilla extract
- 2 1/2 cups all-purpose flour
- 1 teaspoon baking soda
- 1/2 teaspoon baking powder
- 1/2 teaspoon salt
Instructions
- Preheat your oven to 350°F (175°C). Line baking sheets with parchment paper.
- In a large bowl, cream together the softened butter, granulated sugar, and brown sugar until light and fluffy. This is key for texture.
- Beat in the peanut butter until fully combined. Add the eggs one at a time, mixing well after each addition. Stir in the vanilla extract.
- In a separate medium bowl, whisk together the flour, baking soda, baking powder, and salt.
- Gradually add the dry ingredients to the wet ingredients, mixing on low speed until just combined. Do not overmix the dough.
- Roll the dough into 1-inch balls and place them 2 inches apart on the prepared baking sheets.
- Use a fork to press down on each ball to create the classic crosshatch pattern, pressing once in one direction and then again perpendicular to the first press.
- Bake for 10 to 12 minutes, or until the edges are lightly golden brown. The centers may still look slightly soft.
- Let the cookies cool on the baking sheet for 5 minutes before transferring them to a wire rack to cool completely.
Notes
- For the best results and that classic texture, use standard, processed creamy peanut butter, not the natural kind that separates.
- Chill the dough for 30 minutes before rolling if your kitchen is warm; this helps prevent spreading.
- If you want extra peanutty flavor, add 1/4 cup of finely chopped peanuts to the dough.
Nutrition
- Serving Size: 1 cookie
- Calories: 180
- Sugar: 14g
- Sodium: 110mg
- Fat: 10g
- Saturated Fat: 4g
- Unsaturated Fat: 6g
- Trans Fat: 0g
- Carbohydrates: 21g
- Fiber: 1g
- Protein: 4g
- Cholesterol: 25mg