

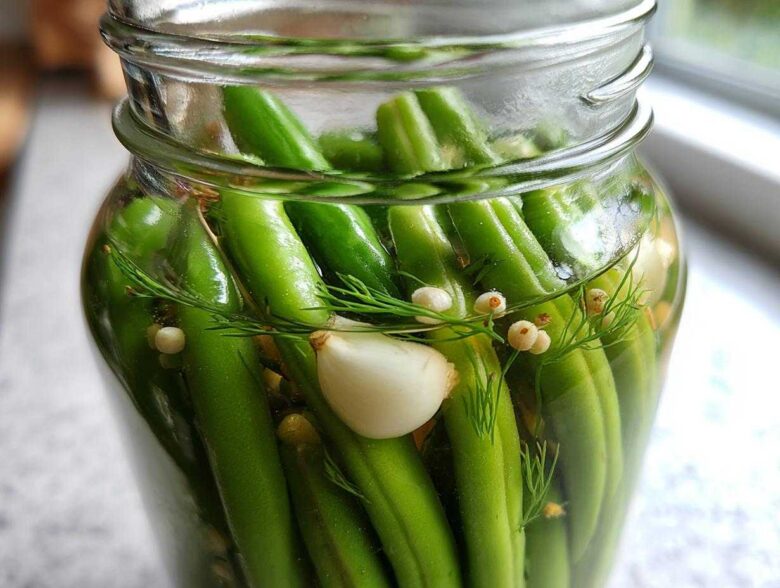
Oh my gosh, if you have an overflowing garden right now, or if you just hit a spectacular sale on fresh green beans at the market, you absolutely have to try making these! Nothing beats the snap and tang of a perfect pickle, and for me, that means these dilly beans. Seriously, they disappear faster than any other preserved veggie we make. What I love most about this particular recipe is how flexible it is—you can whip up a batch of quick refrigerator pickles for snacking this weekend, or you can seal them up using the proper canning method to enjoy that crisp, garlicky flavor all winter long. I end up making them both ways every single year because they are just that good!
It takes me right back to my aunt’s tiny summer kitchen. She used to line up the canning jars like little soldiers waiting for inspection. While I love roasting beans, nothing replaces that sharp, vinegary punch you only get from a good homemade pickle, and these nails it every time.
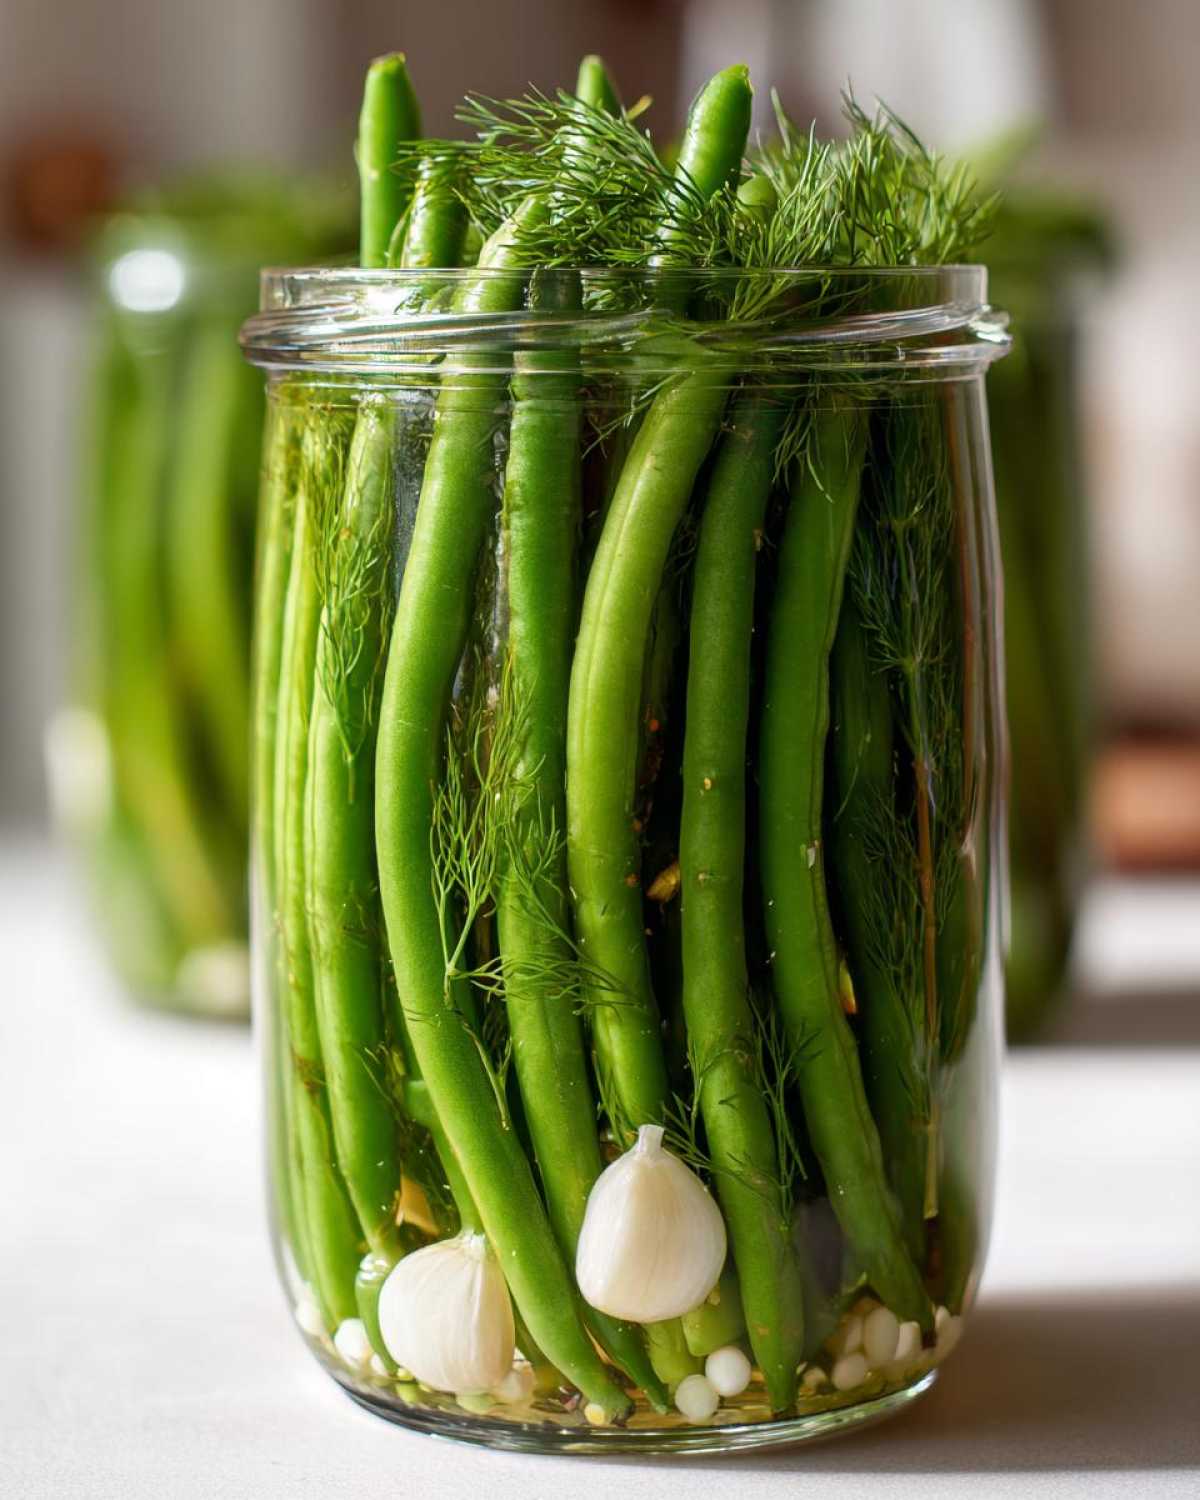
Why This is the Best Dilly Beans Recipe You Will Make
I’ve tried a lot of pickling recipes over the years, but this one consistently wins out when I’m stocking my pantry. It hits every single note you want in a perfect pickle.
- They are unbelievably crunchy! That satisfying snap is everything we look for in a good pickle.
- The flavor profile is just spot on—super tangy, packed with fresh garlic, and that beautiful herbal background from the dill.
- It’s incredibly versatile, which I can’t stress enough. Store them in the fridge for a quick **dilly beans** snack tomorrow, or follow the canning steps for pantry storage.
Achieving the Perfect Crunchy Dill Pickles Texture
If you want those beans to stay snappy and not turn soft and floppy, you need one crucial step, and thankfully, it’s super easy! Before you even think about packing your jars, trim your beans and then immediately toss them into a huge bowl of ice water. Let them chill out there for a full hour. This shock hardens the cell walls in the beans, making them so much more resistant to softening during the hot brine process. It sounds simple, but trust me, that ice bath is the secret weapon for texture!
Ingredients Needed for Homemade Dilly Beans
You need to gather your supplies before you dive in, just like you would for any good project. I like to lay everything out so I know I’m not missing that crucial mustard seed! Since this recipe covers both methods, we’re using the same base ingredients for everything. Make sure you pay attention to the prep notes on things like the garlic and the salt, because those little details really help in the long run.
Here is what you’ll need to make about four pint jars:
- 3 lbs fresh green beans, trimmed
- 6 cloves garlic, peeled and halved
- For Flavor & Spice (Per Jar):
- 1/2 cup fresh dill heads or 6 sprigs fresh dill
- 1 teaspoon mustard seeds per jar
- 1/2 teaspoon red pepper flakes per jar (if you want them spicy!)
- For the Brine:
- 3 cups white vinegar (it must be 5% acidity, no cheating here!)
- 3 cups water
- 3 tablespoons pickling salt (it has to be non-iodized, so keep that table salt away!)
Once you have your ingredients ready, we can move on to the fun part—getting everything packed into the jars. If you’re looking for a non-pickle bean side, check out my roasted garlic recipe!
Step-by-Step Instructions for Perfect Dilly Beans
Okay, now that everything is prepped and looking pretty on the counter, it’s time to assemble these jars! This is where the magic happens, and we need to move carefully, especially since we’re dealing with boiling liquid. Remember everything you did to keep those beans crispy? We need to maintain that integrity!
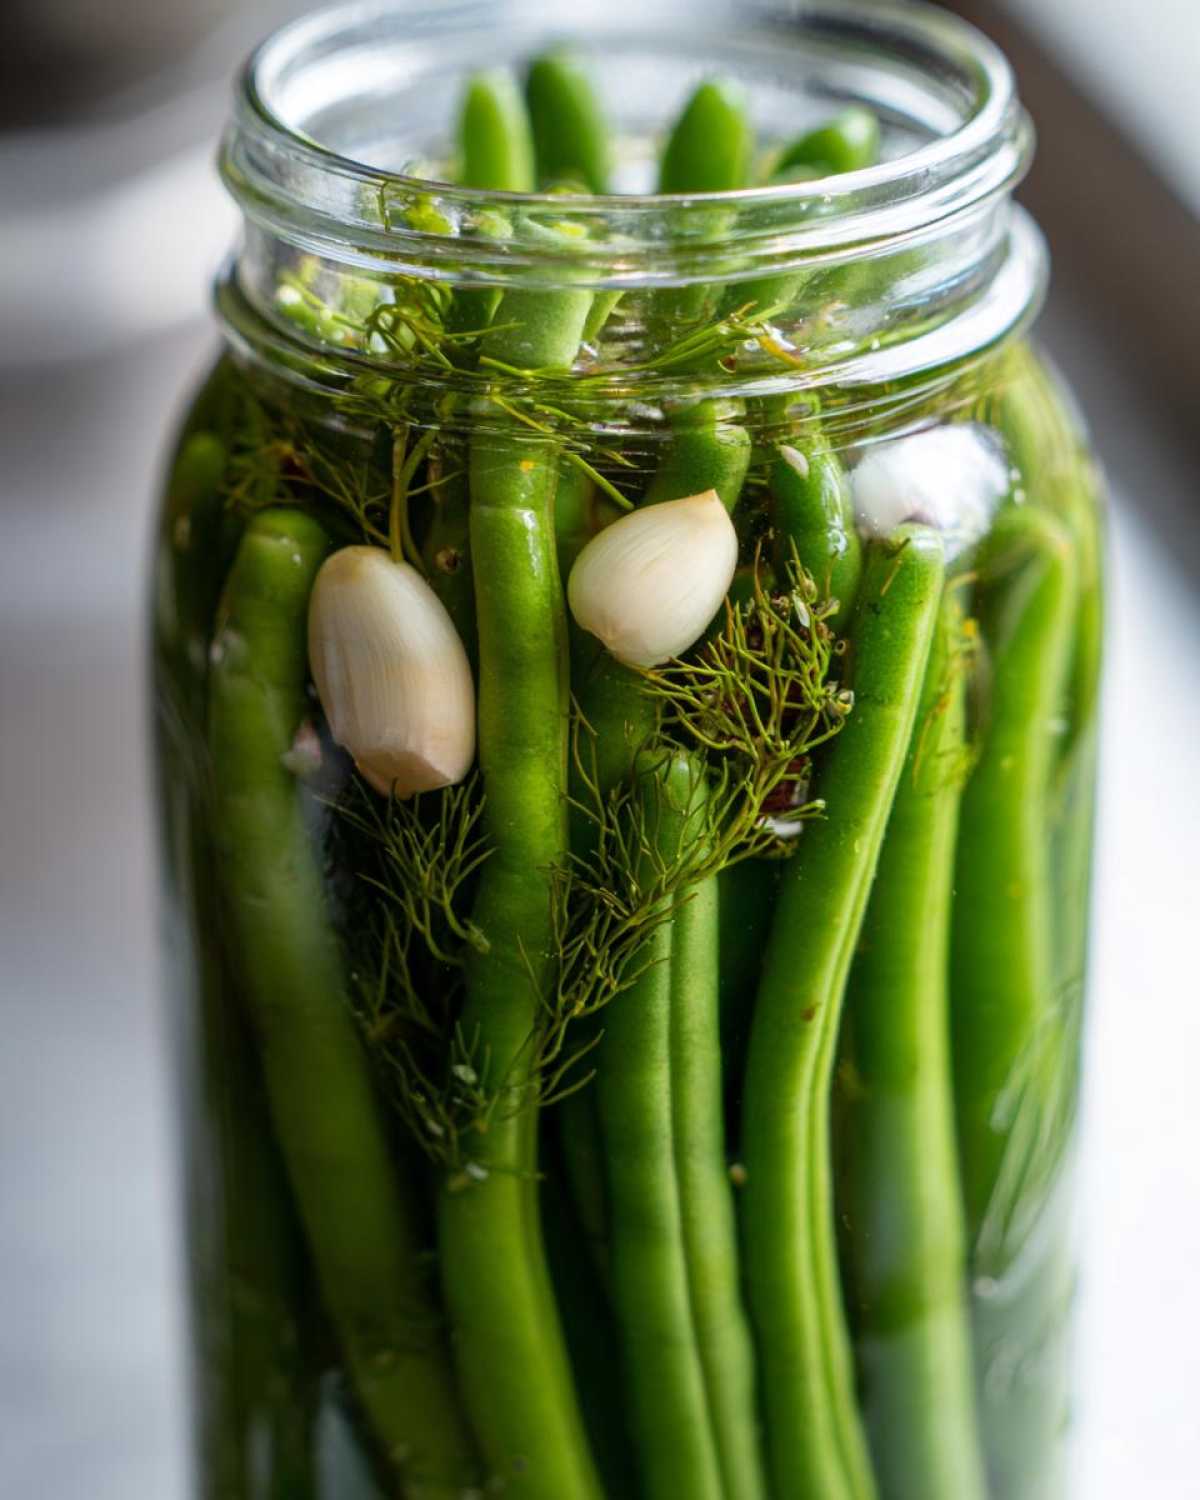
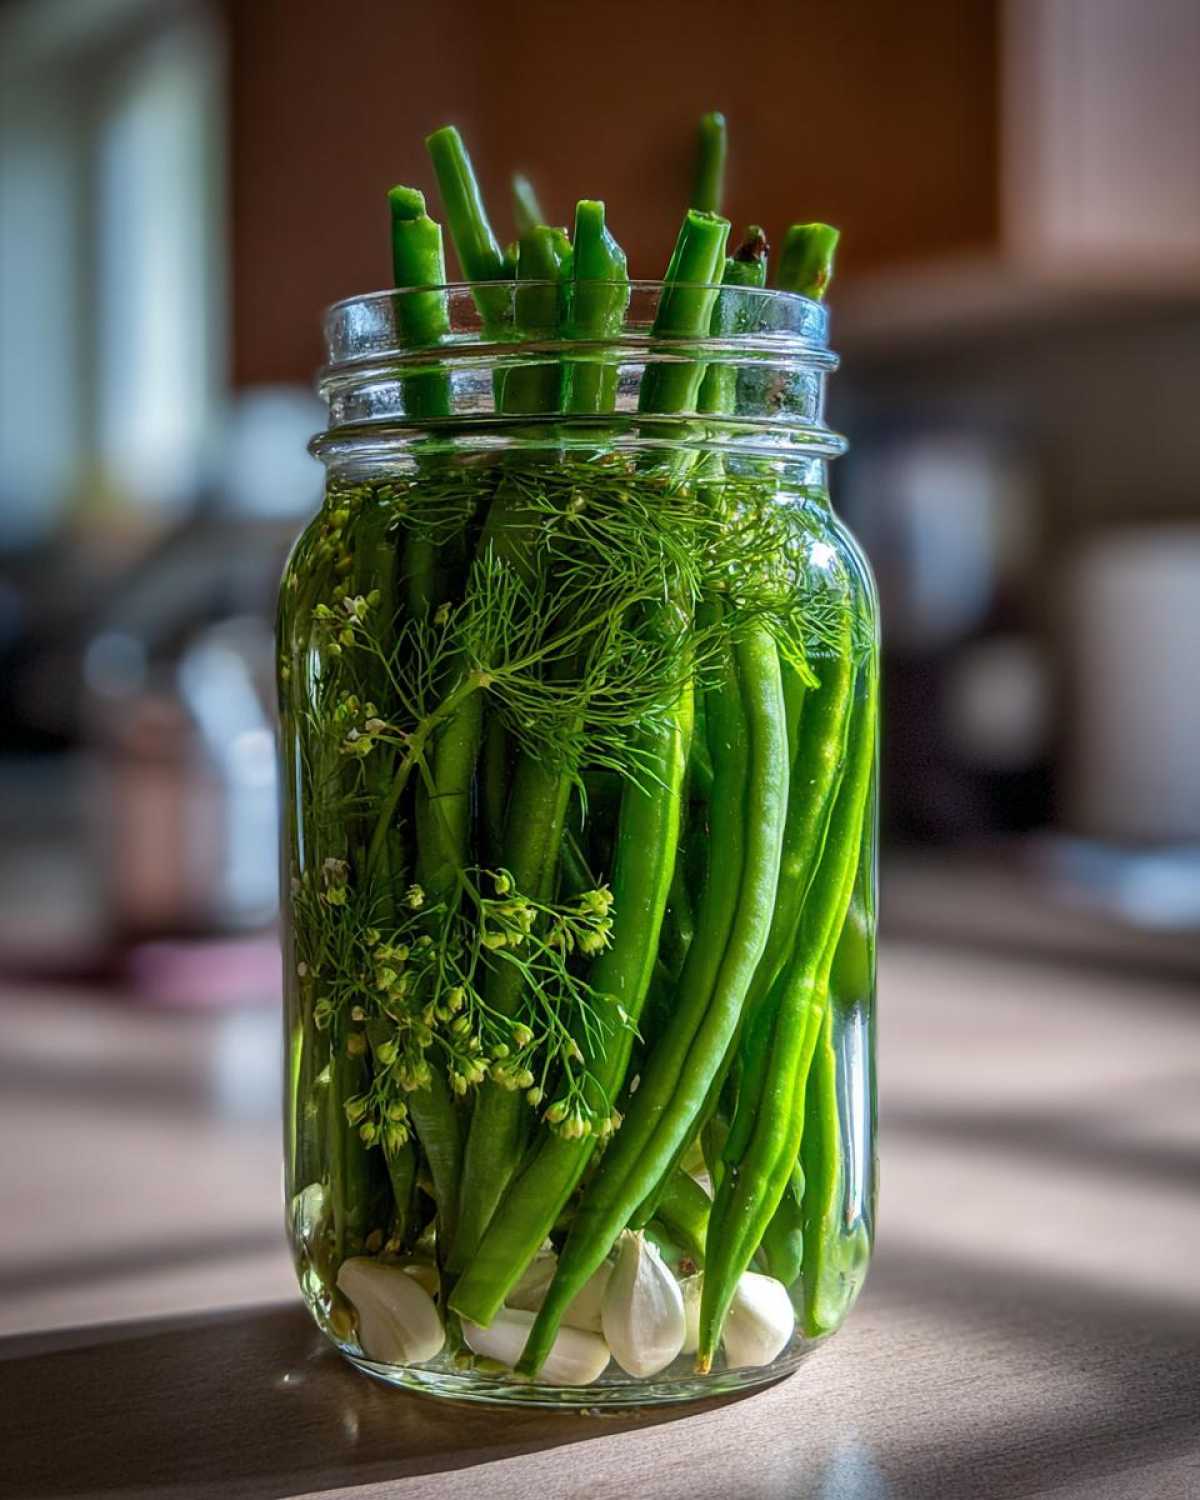
First things first, get those jars ready. If you are canning, make sure they are sterilized and hot, which helps prevent cracking when the hot brine goes in. For both methods, we layer the flavorings right into the bottom of the jar. Put in your garlic pieces, your mustard seeds, and if you like heat, toss in that red pepper flake now. Then, make sure each jar gets its beautiful sprig or head of fresh dill. I always try to tuck the dill right against the side of the glass so it infuses everything nicely.
Next comes the packing stage! This is important for getting a good seal and a tight pickle. You need to cram those trimmed green beans in there as snugly as you can manage, standing them upright if possible. Don’t smash them so hard that they snap in half, but give them a good, firm push into the jar. Stuffing them tight means less water moving around and more flavor distribution for your dilly beans.
Preparing the Brine for Your Dilly Beans
While you’re packing, get your brine simmering away on the stove. It’s just three simple things: vinegar, water, and pickling salt. Combine them in a saucepan and bring that mixture up to a genuine, rolling boil. You have to stir it until you can’t feel any more grit on the bottom of the pan; that salt needs to be totally dissolved. Once it hits that rolling boil, pull it off the heat right away—we want it as hot as possible when we pour it over those precious beans.
Processing Methods: Refrigerator Pickles Green Beans vs. Canning
This is the crossroads! Once the brine is hot, carefully ladle it over the beans in your jars. No matter which path you take, you must leave about half an inch of empty space—that’s headspace! Run a bamboo skewer or a plastic knife around inside the jar to push out any trapped air bubbles, then wipe those rims down with a clean cloth dipped in a little vinegar. Seriously, get those rims spotless, or your seal won’t stick!
If you’re making Quick Pickling Green Beans (Refrigerator Pickles Green Beans), just slap those lids on, let them cool on the counter for an hour or two, and then get them straight into the fridge for at least two days. If you are canning for the long haul, secure the bands fingertip tight and put the jars into your boiling water bath. You process them for exactly 10 minutes. After that, pull them out onto a towel and don’t touch them until they’ve cooled completely—that’s how you know you have a good seal!
Tips for Making the Best Dilly Beans
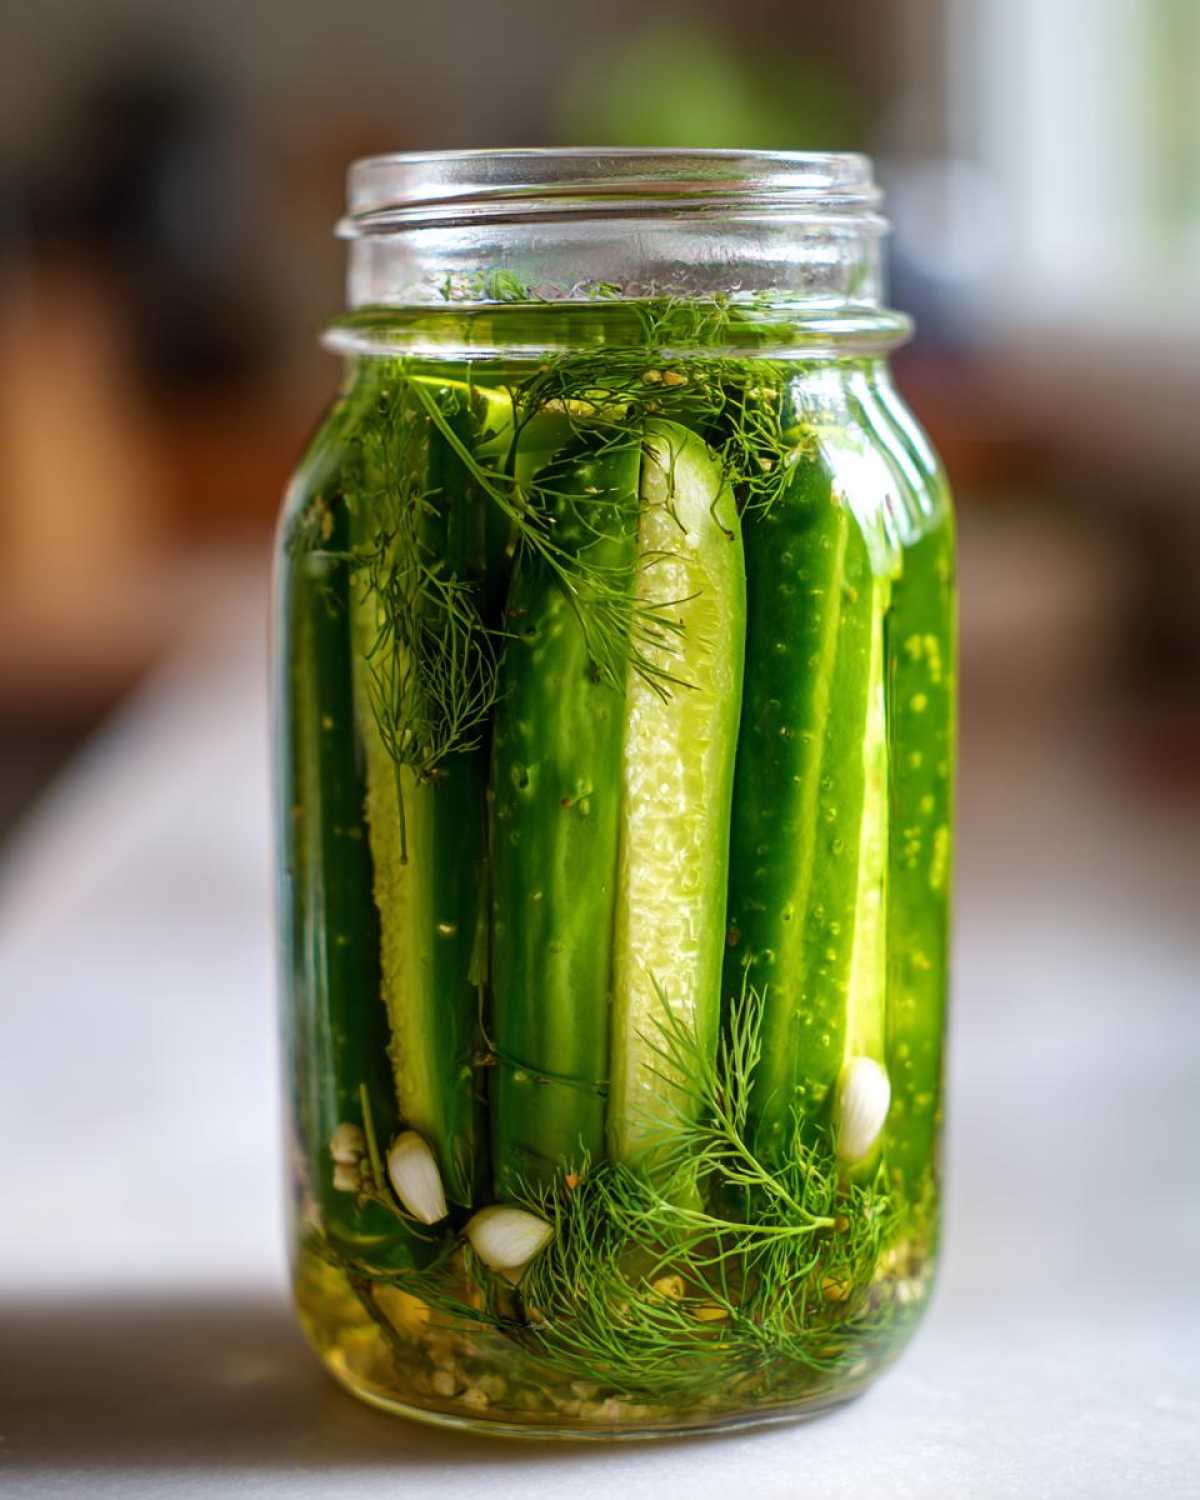
Even with a solid recipe, some little tricks can take your pickled green beans from good to absolutely legendary. I’ve learned so much over the years about avoiding common pickling pitfalls, so let me share what I’ve scribbled down on my recipe cards for making top-tier **dilly beans**!
First off, we already talked about the ice bath, but let’s talk salt again. You must use pickling or canning salt. Table salt has anti-caking agents and iodine that can make your brine look cloudy and just… off. It’s not worth the risk!
Also, don’t panic if you find you’re out of fresh dill heads. They’re great, but if you only have the dried stuff, you can absolutely use it. Just swap out the fresh heads for about a tablespoon of dried dill seed per jar. It’s a slightly different flavor, but still fantastic. Speaking of flavor, if you want that signature tang that lasts, always check that your vinegar is the standard 5% acidity; that’s the magic number for food safety and for that perfect punchy taste.
If you want to try something new, you can bulk up your jars like I sometimes do with carrots, but just know you might need slightly more brine for the extra volume!
Variations on Classic Dilly Beans
Now, while this recipe is genuinely the best starting point, especially if you want amazing results without fuss, I never stop tinkering! Pickling is all about personalizing that tangy kick just for your taste buds. If you find yourself making these over and over—and trust me, you will—it’s time to start experimenting with the add-ins.
If you adore garlic, try boosting the dose! Instead of just using a couple of halves per jar, you can slip in a whole clove that’s been smashed flat. These **Garlic Dill Beans** have such an intense, savory flavor that disappears into the brine beautifully. Just be warned, the garlic flavor gets stronger the longer they sit, so maybe start by adding only one extra whole clove to every two jars.
Heat junkies, this next part is for you. We already threw in a half teaspoon of red pepper flakes, but if you want truly bold **Spicy Pickled Beans**, step it up! You can add a sliced fresh jalapeño or even a small dried chili pepper right into the jar with the dill. Just make sure you seal the jars tightly enough that the seeds don’t escape and start floating around too much!
If you’re swimming in other garden veggies that need preserving—maybe some tiny rounds of carrot or a few thin slices of onion—throw those in too! They’ll soak up that salty, vinegary brine and become a fantastic bonus snack to eat alongside your beans. I love making a mixed jar of tangy veggies, and it doesn’t change the processing time at all. It’s just another great way to use up that fresh haul. Speaking of mixing things up, if you want to use these tangy pickles in something else, you have to try crushing a few up in a good macaroni salad; they add the perfect sour pop!
Storage and Shelf Life for Your Dilly Beans
So, you’ve made your batch of amazing **dilly beans**! That’s half the battle won, but now we have to make sure they stay safe and, most importantly, stay crunchy for as long as possible. The storage rules are totally different depending on which method you chose—quick fridge pickles or the big canning project.
If you went the refrigerator route—those fantastic, minimal-effort pickles—you need to keep the jars chilled right from the start. Once they’ve cooled down on the counter for a few hours, they need to move straight into the fridge. Honestly, they taste best after they’ve had a good 48 hours to soak up all that garlicky dill flavor, but you need to plan on eating them within about four weeks. They really are best fresh!
Checking the Seal on Canned Dilly Beans
Now, if you went through the whole water bath canning process—way to go, that takes patience!—you’ve created a vacuum seal. This is a wonderful thing because it means those lovely vegetables are safe on the shelf for a very long time. Once the jars have cooled completely (give them a full 24 hours without touching them!), lift the jars one by one and look closely at the lids.
A proper seal is when the center of the lid is pulled down tight. You can test this by gently pressing on the middle of the lid with your finger. If it doesn’t pop up or make any noise, it’s sealed! If you hear a ‘pop’ or feel movement, that jar didn’t seal correctly. Don’t worry, that jar just defaults to refrigerator pickle status—pop it in the fridge immediately and eat it within the next month. Sealed jars, however, should be stored in a cool, dark pantry, and they’ll stay perfect for up to a year!
For anyone interested in learning more about preservation techniques outside of just beans, I have a great article on how to preserve green beans using other methods, which might give you some great ideas for next year’s harvest!
Serving Suggestions for Your Tangy Vegetable Snack
Wow, you’ve got jars of beautifully preserved, crunchy pickles sitting there, ready to go! But now you’re wondering how to best serve them up, right? Trust me, these aren’t just something you stick in a lunchbox and forget about. These are meant to be the star of the show, or at least a really salty, vinegary supporting actor!
The easiest way to enjoy them is, honestly, straight out of the jar. I grab one while I’m making dinner or just settling in to watch a show because that intense, tangy flavor is just so satisfying. They scratch that craving for something salty and crunchy immediately. Try them ice-cold; the colder they are, the snappier they feel in your mouth!
But if you’re feeling a bit fancier, these pickles are amazing on a cheese board. They cut through rich cheeses like cheddar or sharp Brie so perfectly. They also add a lovely pop of color and acidity to any charcuterie setup. Keep a small bowl of them out when guests come over—they always disappear first!
I also use them as the ultimate sandwich companion. Forget those sad little chips on the side! A few of these layered next to a thick deli meat or next to a nice hot grilled cheese? Perfection. They add that essential sour element that brightens up heavy ingredients. If you’re making something creamy like a potato salad or even if you want to bring some zing to a crunchy slaw, chop up a few and fold them in for instant excitement.
They seriously elevate anything! Don’t be afraid to use the leftover brine, either—it’s amazing for making salad dressings!
Frequently Asked Questions About Dilly Beans
I know when you start canning or pickling for the first time, you have a million little questions running through your head. We worry about safety, and we worry about crunch! So let’s just tackle the most common things I hear folks ask when they are trying this recipe for the first time. Hopefully, this covers what you need to know to feel confident about popping those jars on the shelf or into the fridge!
Can I use table salt instead of pickling salt in dilly beans?
Oh, please don’t risk it! You really, really shouldn’t use regular table salt, even though it’s sitting right there next to the pickling salt. Table salt has anti-caking additives mixed in, and those turn your beautiful, clear brine into a cloudy, murky mess. Plus, the iodine can sometimes affect the flavor and preservation process. Stick to canning or pickling salt—it dissolves cleanly and keeps your brine crystal clear, which is a huge part of enjoying truly great **dilly beans**.
How long must I wait before eating refrigerator dilly beans?
This one is tough because they smell so good right after brining! For the refrigerator pickles, you technically *can* eat them after about 24 hours, but you really won’t get the full flavor punch yet. For that best, tangy, garlicky snap, I insist that you let them sit in the fridge for a minimum of 48 hours. That time allows the vinegar and dill to really penetrate that crisp green bean. Patience pays off here, trust me!
What if I live somewhere really high up? Do I need to adjust canning time?
You absolutely do need to adjust your processing time if you are canning and live above 1,000 feet in elevation! It’s all about the boiling point of water; the higher you go, the lower the water boils, which means your food isn’t being heated as intensely. For any water bath canning, you usually need to add 1 minute of processing time for every 1,000 feet you move up in altitude past the 1,000-foot mark. For safety with these **Homemade Dilly Beans**, make sure you look up a local altitude adjustment chart just to be 100% sure you use the right timing for your area!
Why do my green beans look floppy instead of like crunchy dill pickles?
If your beans aren’t as snappy as you hoped, it almost always comes down to one of three things: you didn’t soak them in ice water beforehand (that’s the #1 texture killer!), you didn’t pack the jars tightly enough, or you used old, floppy beans to start with. Always use the freshest beans you can find, even if you have to buy them specifically for pickling! The ice bath is non-negotiable for that satisfying *snap*.
I love checking out videos on different pickling techniques, like those for making air fryer fried pickles, because it really inspires new ways to enjoy pickled things!
Nutritional Snapshot of Homemade Dilly Beans
Now, I always bake with love, but I try to keep track of what we’re eating, especially when we’re snacking on these little jars like they are going out of style! Keep in mind that these numbers are pretty rough estimates because they depend heavily on how watery your beans are, how much brine you end up trimming off, and exactly how much salt you use.
But generally, these preserved vegetables are light and tangy, making them a fantastic savory appetizer. Here is a good look at what you can expect per serving of these marvelous little pickles:
- Serving Size: 1/2 cup
- Calories: About 20
- Fat: 0 grams
- Carbohydrates: 4 grams
- Sugar: 2 grams (mostly natural sugars from the vinegar/beans themselves)
- Sodium: Around 350 mg (This is higher, naturally, because they are pickles!)
- Protein: 1 gram
Since they are mostly vinegar and vegetables, they are naturally free of cholesterol and heavy fats, which is another reason I feel great about snacking on a few while I’m waiting for dinner to finish cooking!
PrintEasy Crunchy Dilly Beans (Refrigerator and Canning)
Make crisp, flavorful dilly beans using fresh green beans, dill, garlic, and a simple brine. This guide covers both quick refrigerator pickles and traditional water bath canning.
- Prep Time: 30 min
- Cook Time: 15 min
- Total Time: 45 min
- Yield: Approximately 4 pints
- Category: Appetizer
- Method: Pickling/Canning
- Cuisine: American
- Diet: Vegetarian
Ingredients
- 3 lbs fresh green beans, trimmed
- 6 cloves garlic, peeled and halved
- 1/2 cup fresh dill heads or 6 sprigs fresh dill
- 1 teaspoon mustard seeds per jar
- 1/2 teaspoon red pepper flakes per jar (optional for spicy)
- 3 cups white vinegar (5% acidity)
- 3 cups water
- 3 tablespoons pickling salt (non-iodized)
Instructions
- Wash the green beans thoroughly. Trim the ends off the beans.
- Prepare your jars: Clean pint or quart jars and lids. For canning, sterilize jars according to standard water bath procedures.
- In each clean jar, place 3 garlic halves, 1 teaspoon mustard seeds, and 1/2 teaspoon red pepper flakes (if using). Add one dill head or dill sprig.
- Pack the jars tightly with the trimmed green beans, standing them upright.
- Make the brine: In a saucepan, combine the vinegar, water, and pickling salt. Bring the mixture to a rolling boil, stirring until the salt dissolves completely.
- For Refrigerator Pickles: Carefully pour the hot brine over the beans in the jars, leaving 1/2 inch headspace. Remove air bubbles. Seal jars with lids and rings. Let cool to room temperature, then refrigerate for at least 48 hours before eating. These last about 4 weeks in the refrigerator.
- For Canning: Pour the hot brine over the beans, maintaining 1/2 inch headspace. Wipe rims clean, center lids, and screw bands to fingertip tight.
- Process the jars in a boiling water bath canner for 10 minutes (adjust time for altitude if necessary).
- Carefully remove jars and let them cool undisturbed on a towel for 12 to 24 hours. Check seals. Store sealed jars in a cool, dark place.
Notes
- For the crunchiest beans, soak the trimmed beans in ice water for 1 hour before packing them into the jars.
- If you do not have fresh dill heads, use 1 tablespoon of dried dill seed per jar instead.
- Use only canning or pickling salt; table salt can make the brine cloudy.
Nutrition
- Serving Size: 1/2 cup
- Calories: 20
- Sugar: 2
- Sodium: 350
- Fat: 0
- Saturated Fat: 0
- Unsaturated Fat: 0
- Trans Fat: 0
- Carbohydrates: 4
- Fiber: 1
- Protein: 1
- Cholesterol: 0