

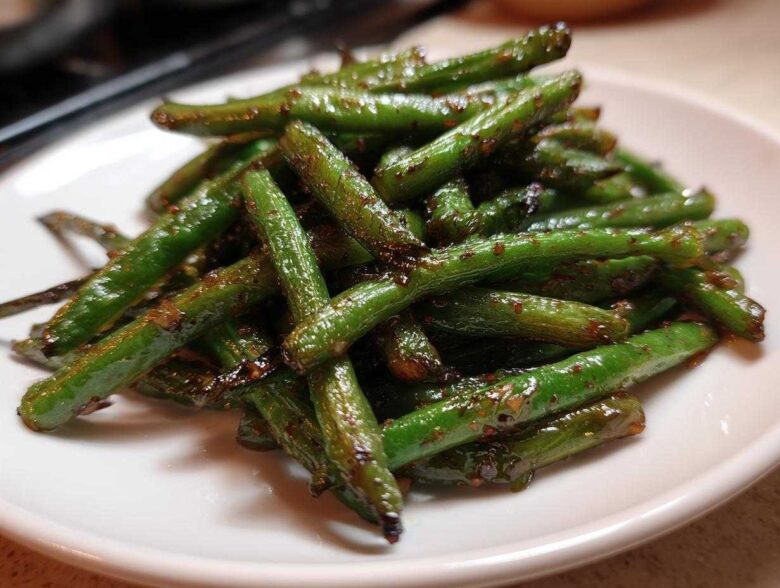
You know that moment when you open a container of Chinese takeout, and the flavor—that salty, punchy, garlicky goodness—just hits? I used to spend my afternoons planning the perfect delivery order. But Jacob, bless his intuitive cooking heart, changed all that. Our latest project? Mastering restaurant-quality chinese green beans with garlic sauce right on our stovetop. Forget soggy vegetables; this recipe is about getting that addictive, blistered texture, and I’ve perfected the plan to make it happen in under 20 minutes. Trust me, this is going straight into the Taste Portfolio! You can read more about how we approach these culinary projects on our About Us page.
Why You Need This Recipe for chinese green beans with garlic sauce
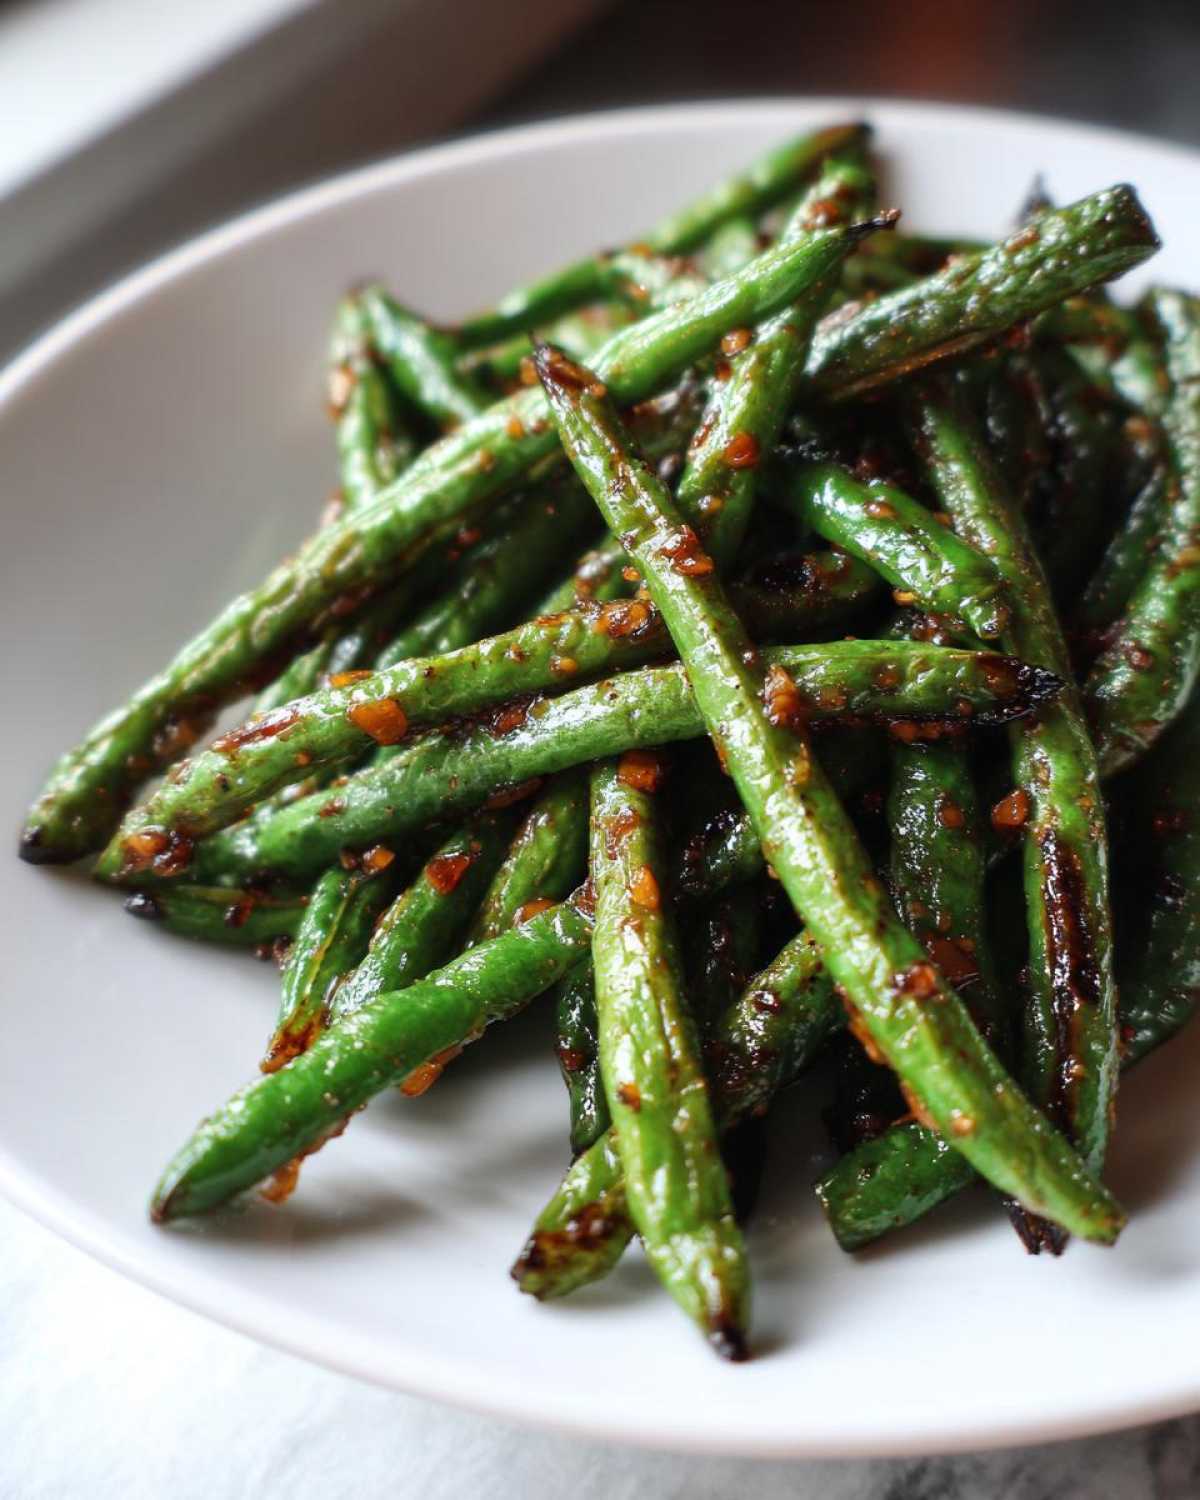
If your takeout craving hits hard, this recipe is your answer! We’re talking unbelievably fast results—seriously, 20 minutes from pantry to plate guaranteed. My favorite part is the texture; those beautiful blistered green beans with the perfect char? That’s the magic right there. Plus, the garlic punch from that quick sauce is addictive. It’s a robust Chinese side dish that brings all the flavor without any of the waiting!
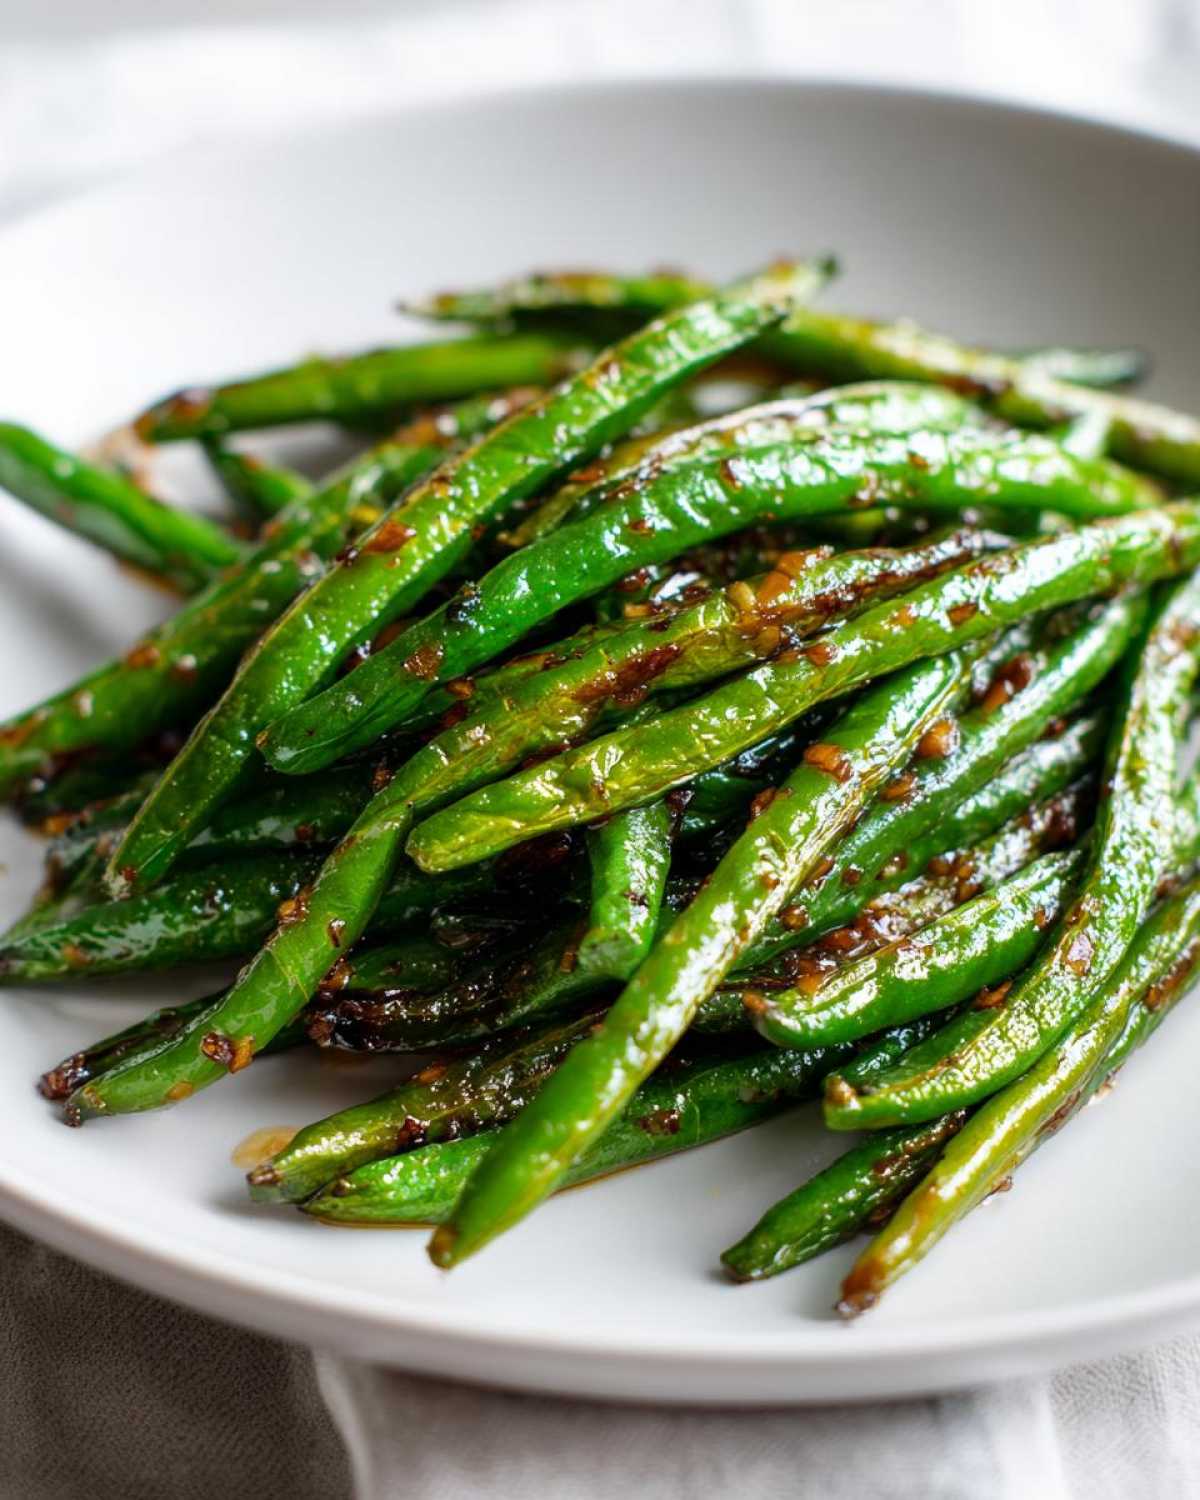
Essential Equipment for Wok Fried chinese green beans with garlic sauce
When we tackle these wok fried green beans, high heat is non-negotiable. Jacob insists on using a dedicated wok because it handles the intense heat needed to char the beans quickly. If you don’t have one, don’t panic! Grab the largest, heaviest skillet you own—cast iron is amazing here. The goal is to keep the heat up so we get those lovely *blistered green beans* and not just steamed ones. That’s the secret to restaurant quality, I promise!
Ingredients for the Perfect chinese green beans with garlic sauce
Since this whole dish screams speed, organization is key! This is where my planning skills really shine. Having everything chopped and measured before the heat goes on prevents any last-minute chaos. We need the right ratio of fresh veggies to punchy sauce components for perfect garlic green beans.
- 1 pound fresh green beans, trimmed
- 3 tablespoons neutral oil (like canola or vegetable)
- 4 cloves garlic, minced
- 1 teaspoon fresh ginger, minced
- 1 tablespoon soy sauce
- 1 teaspoon sugar
- 1/2 teaspoon toasted sesame oil
- Pinch of red pepper flakes (if you like a little kick!)
Ingredient Notes and Substitutions
I always get questions about the soy sauce, but luckily, this recipe is flexible! If you need these to be strictly gluten-free, please swap the soy sauce for tamari; it works just as well. Now, if you’re worried about the beans drying out while they blister, Jacob sometimes adds a splash of vegetable broth—just a tablespoon—to keep things slick without losing too much steam. That little bit of liquid helps everything meld beautifully!
Step-by-Step Instructions for Blistered green beans with garlic sauce
Okay, this is where the action happens! First, whisk up that sauce—soy sauce, sugar, and red pepper flakes—in a tiny bowl and just set it near the stove. Done. Now, turn your heat up as high as it will go! We need that oil smoking hot, shimmering a bit, before we even think about dropping in the veggies. Add your trimmed green beans. Don’t overcrowd the pan, or they’ll steam instead of char! Let them sit undisturbed for a full minute or two to get those gorgeous dark spots. Toss them around for about 5 to 7 minutes until they are tender-crisp. Next, make a little clearing in the middle of the wok, toss in the garlic and ginger, and cook them for just 30 seconds until they smell amazing. Pour that sauce over everything and stir like crazy for just half a minute until it coats them. Finish with a drizzle of that lovely sesame oil. Honestly, the first time Jacob nailed this high-heat technique, I almost forgot to take notes for the recipe blueprint!
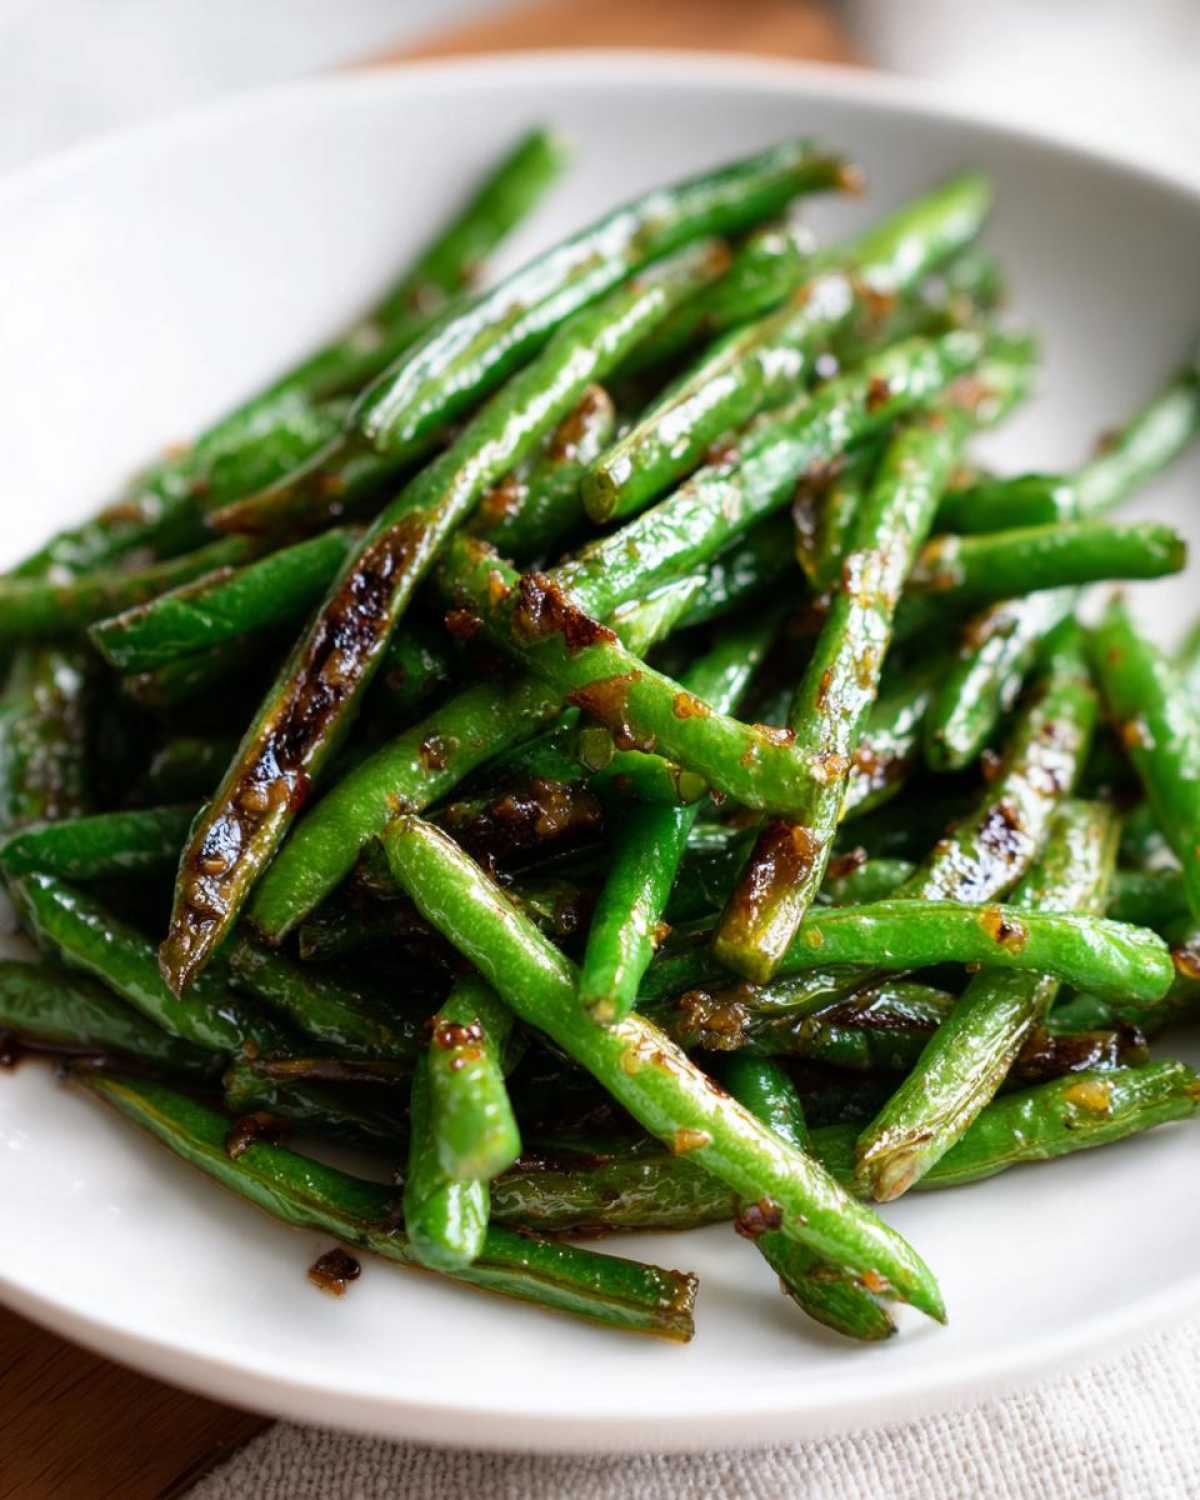
Achieving the Char: Tips for Dry Fried chinese green beans
The term dry fried chinese green beans sounds fancy, but it just means we need high heat and zero second guesses! The key to that restaurant-style char is patience during the first minute. Don’t stir them immediately! Let the beans tough it out against the hot metal surface so they can blister and get that smoky depth. If you crowd your pan, the temperature drops, and you end up with soggy veggies. Use the biggest pan you have, and if your first batch looks dry, splash in just a tiny bit of broth next time, but keep that flame cranked!
Tips for Success Making chinese green beans with garlic sauce
Jacob and I have failed at this a few times, and it was always because we got scared of the heat! When Jacob first tried this, he kept pulling the pan off the burner, worried about burning the garlic. We ended up with steamed beans, which, fine, are good, but they aren’t *these* beans. The breakthrough came when he trusted the process: the oil has to be hot enough to handle the moisture the beans release.
My advice mirroring Jacob’s later success? Once the beans are in, keep that burner cranked to high. If you see the garlic starting to toast really fast in the side clearing, that’s a good sign—it means the heat is correct! We find that keeping the cooking time under 10 minutes total preserves the snappy texture we love. If you want to review our blueprint for other high-heat Asian dishes, this blueprint details how we manage stove temperature!
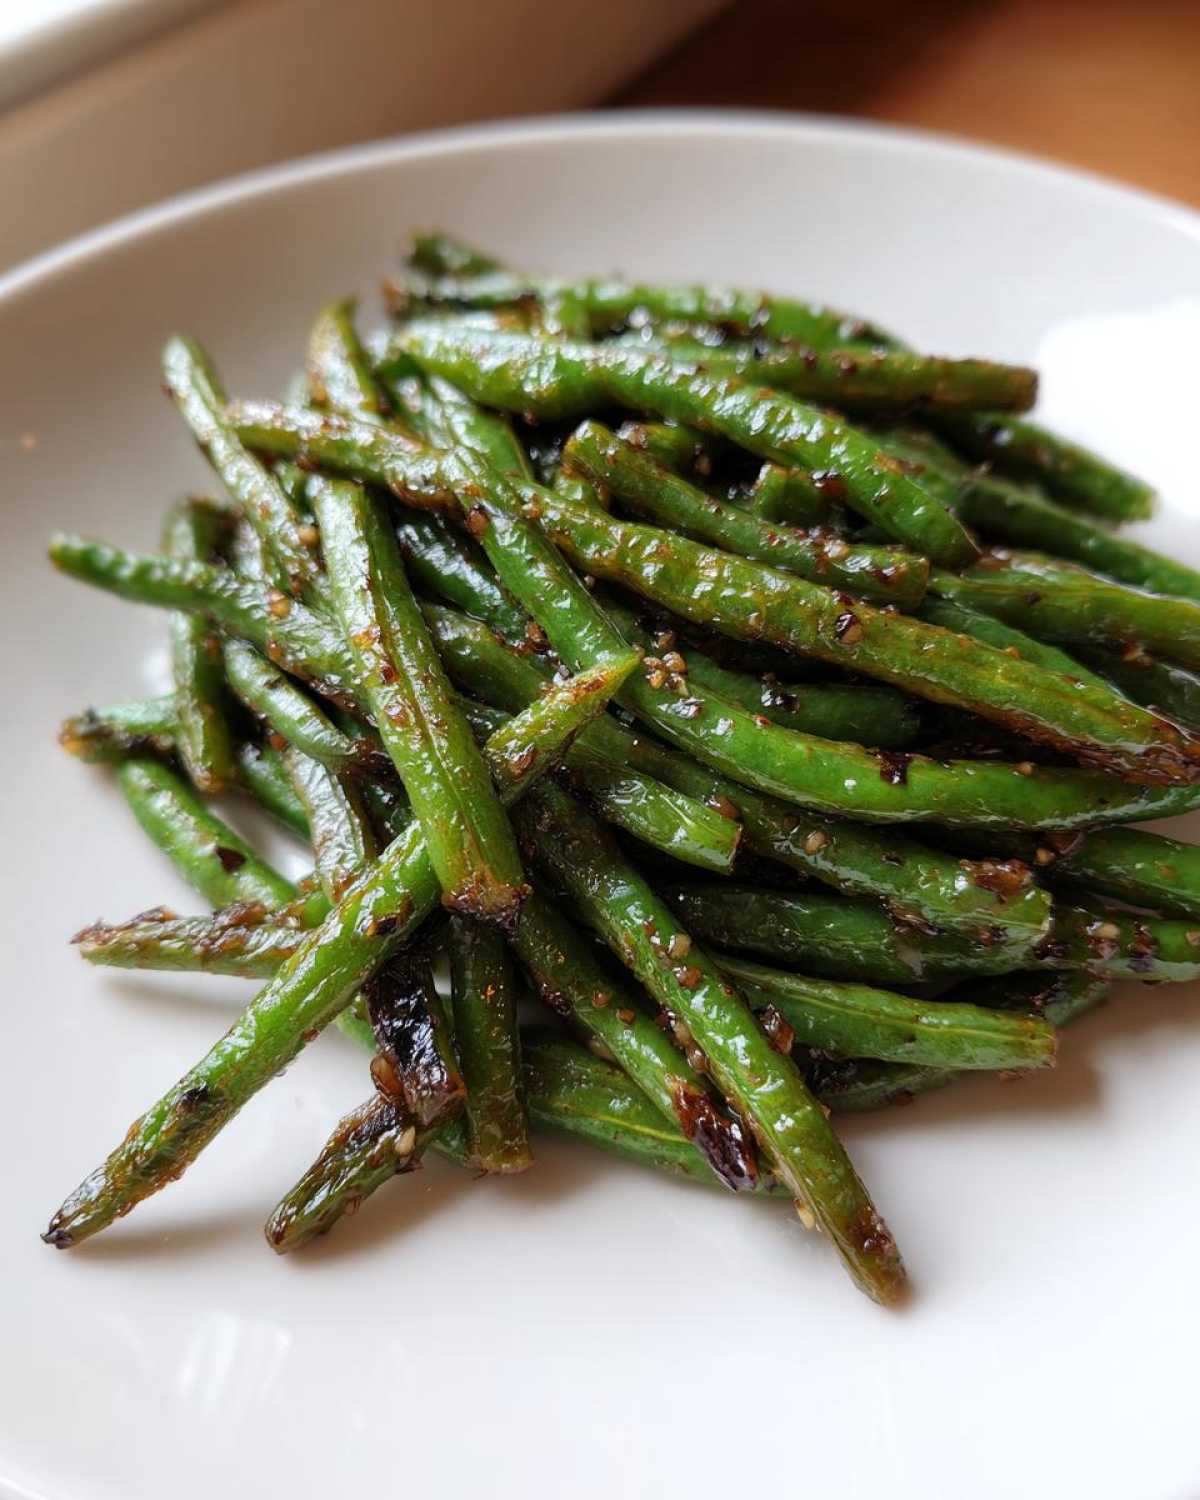
Serving Suggestions for your chinese green beans
So, what do you make these amazing garlic green beans with? Since they pack such a punch, they pair beautifully with something savory! If you’re doing a totally traditional night, try serving them alongside our classic Kung Pao Chicken. For those nights we want something plant-forward, these are the perfect vibrant addition to any spread of vegan chinese sides. They are fantastic next to a big batch of our easy chicken fried rice—seriously, check out the blueprint for that recipe. They just make any dinner feel complete!
Storage and Reheating of Garlic Green Beans
This recipe is best eaten the second it comes out of the wok, those blistered green beans lose their crunch fast. Store any leftovers in a shallow, airtight container in the fridge for up to three days. If you must reheat them, please skip the microwave! I promise, the texture gets mushy instantly.
Instead, toss them back into your dry, hot skillet for about two minutes over medium-high heat just to wake up that garlic sauce. A tiny splash of water or broth can help steam them slightly without boiling them. They are so quick to reheat, it’s almost as fast as ordering takeout!
Frequently Asked Questions about chinese green beans
I always expect questions once Jacob and I share a blueprint because we get so technical about the charring stage! These often pop up when folks are organizing their ingredient lists or trying to customize the heat level. Here are the things I get asked most often about bringing these garlic green beans to life.
Being organized means having backup plans, and that applies to recipe adjustments too! If you’re planning on making these as part of a larger spread of vegan chinese sides, you’ll want to know these tips. We’ve tested every scenario to make sure your kitchen project succeeds!
Can I make these spicy like Sichuan green beans?
Oh, absolutely! If you’re missing that fiery kick you get from true Sichuan green beans, you only need to adjust your spice. We use just a tiny pinch of red pepper flakes in the base recipe, but feel free to double that! The best way to crank up the heat, though, is to drizzle in a little chili oil right at the end when you add the sesame oil. It distributes the heat beautifully and gives the beans a gorgeous sheen.
Are these garlic green beans suitable for a vegan diet?
Yes, they are! The base recipe uses only oil, vegetables, garlic, ginger, soy sauce, and sugar, making these naturally among the best vegan chinese sides out there. Jacob and I always use tamari instead of regular soy sauce just in case, but as long as your soy sauce doesn’t contain any hidden animal products (highly unlikely, but always check!), you’re good to go. They are naturally cholesterol-free too, which is a bonus! If you are looking for other great plant-based recipes, check out our Roasted Cauliflower Tacos blueprint.
Why do my green beans keep turning out steamed instead of blistered?
This is the number one frustration, but it’s always about the heat! If you aren’t getting those gorgeous blistered green beans, your pan isn’t hot enough, or you’ve put too many beans in at once, lowering the temperature. Jacob learned the hard way that you must use the highest setting your stove has, and let that oil shimmer before adding anything. You need that aggressive, dry heat to char them before they cook through.
Share Your Perfect chinese green beans with garlic sauce Project
Whew! That’s our blueprint for the ultimate chinese green beans with garlic sauce. The kitchen projects are always better when we share the results! If you successfully got that restaurant char, please drop a comment below and tell Jacob how his high-heat advice worked out for you. We absolutely love hearing about your successes! If you have any final questions or feedback on the process, you can always reach us through our Contact page!
PrintRestaurant-Style Garlic Green Beans (Dry Fried)
Make blistered green beans with a punchy garlic soy sauce right in your wok or skillet. This recipe delivers that addictive, charred texture you love from your favorite Chinese takeout spot.
- Prep Time: 10 min
- Cook Time: 10 min
- Total Time: 20 min
- Yield: 4 servings
- Category: Side Dish
- Method: Wok Frying
- Cuisine: Chinese
- Diet: Vegan
Ingredients
- 1 pound fresh green beans, trimmed
- 3 tablespoons neutral oil (like canola or vegetable)
- 4 cloves garlic, minced
- 1 teaspoon fresh ginger, minced
- 1 tablespoon soy sauce (or tamari for gluten-free)
- 1 teaspoon sugar
- 1/2 teaspoon toasted sesame oil
- Pinch of red pepper flakes (optional)
Instructions
- Prepare the sauce: In a small bowl, whisk together the soy sauce, sugar, and red pepper flakes. Set aside.
- Heat the oil: Place a wok or large, heavy-bottomed skillet over high heat. Add the neutral oil and let it get very hot until it shimmers slightly.
- Blister the green beans: Add the trimmed green beans to the hot wok in a single layer if possible. Let them cook without stirring for 1 to 2 minutes to achieve charring. Toss and continue cooking until the beans are tender-crisp and slightly blistered, about 5 to 7 minutes total.
- Add aromatics: Push the green beans to one side of the wok. Add the minced garlic and ginger to the empty space and cook for about 30 seconds until fragrant. Do not let the garlic burn.
- Toss and finish: Toss the beans with the garlic and ginger. Pour the prepared sauce mixture over everything. Stir quickly for about 30 seconds until the sauce thickens slightly and coats the beans.
- Serve immediately: Remove from heat and drizzle with toasted sesame oil before serving.
Notes
- For a deeper flavor, you can substitute vegetable broth for 1 tablespoon of the oil if the beans seem too dry during the blistering stage.
- If you do not have a wok, use the largest, heaviest skillet you own to maintain high heat for the best charring effect.
- Pair these garlic green beans with Kung Pao Chicken or vegan tofu for a complete dinner.
Nutrition
- Serving Size: 1/4 of recipe
- Calories: 140
- Sugar: 3
- Sodium: 350
- Fat: 11
- Saturated Fat: 1.5
- Unsaturated Fat: 9.5
- Trans Fat: 0
- Carbohydrates: 8
- Fiber: 3
- Protein: 3
- Cholesterol: 0