

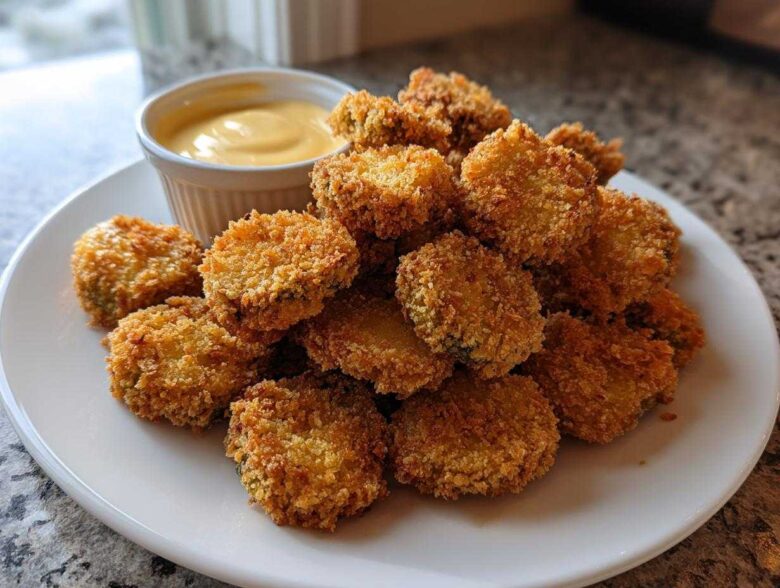
You know that feeling when you walk into a great pub? That background hum of happy chatter mixed with the smell of something salty and unbelievably crunchy? That’s the craving that hits me, and lately, Jacob and I figured out how to beat it at home. If you’re looking for the ultimate Fried Pickles recipe—the kind that will win any game day competition—you’ve found it. My planning phase was intense, involving deep dives into panko versus standard breadcrumbs, but Jacob brought the magic. We’ve perfected both the classic, golden deep-fried version and, because we like options, a fantastic, lighter Air Fryer Fried Pickles alternative. You can check out some of our other planning projects over on the main blog page if you need more inspiration! Trust me, this duo of recipes is about to become your new favorite project!
Why You Need This Ultimate Crispy Fried Pickles Recipe
Honestly, this isn’t just another appetizer recipe. We spent ages, like Amelia perfecting the dredging station order and me frying batches until they were just right, to make sure these hit all the right notes. If you’ve ever been disappointed by a soggy, flavorless fried pickle, this method is your fix! You get two amazing, tested options here.
- Guaranteed golden color and incredible crunch, no matter which method you choose.
- A dipping sauce that elevates everything we do in this kitchen.
- Easy enough for a weeknight craving but impressive enough for a party platter.
Perfectly Seasoned Breading Every Time
The real trick for amazing Fried Pickles—the kind that taste just like the best pub version—is in that flour dredge. We don’t just use salt and pepper! We load it up with garlic powder and paprika to meet that tangy pickle head-on. It creates a savory shell that just sings.
Restaurant-Style Crunch, Made Easy
Listen, I’m picky about crunch. That’s why Jacob insisted on Panko breadcrumbs here. Forget those fine, dusty crumbs you get elsewhere; Panko flakes are light, open, and absorb just the right amount of heat to deliver that shatteringly crisp texture. This is how you make an Easy Fried Pickle Recipe that actually stays crunchy!
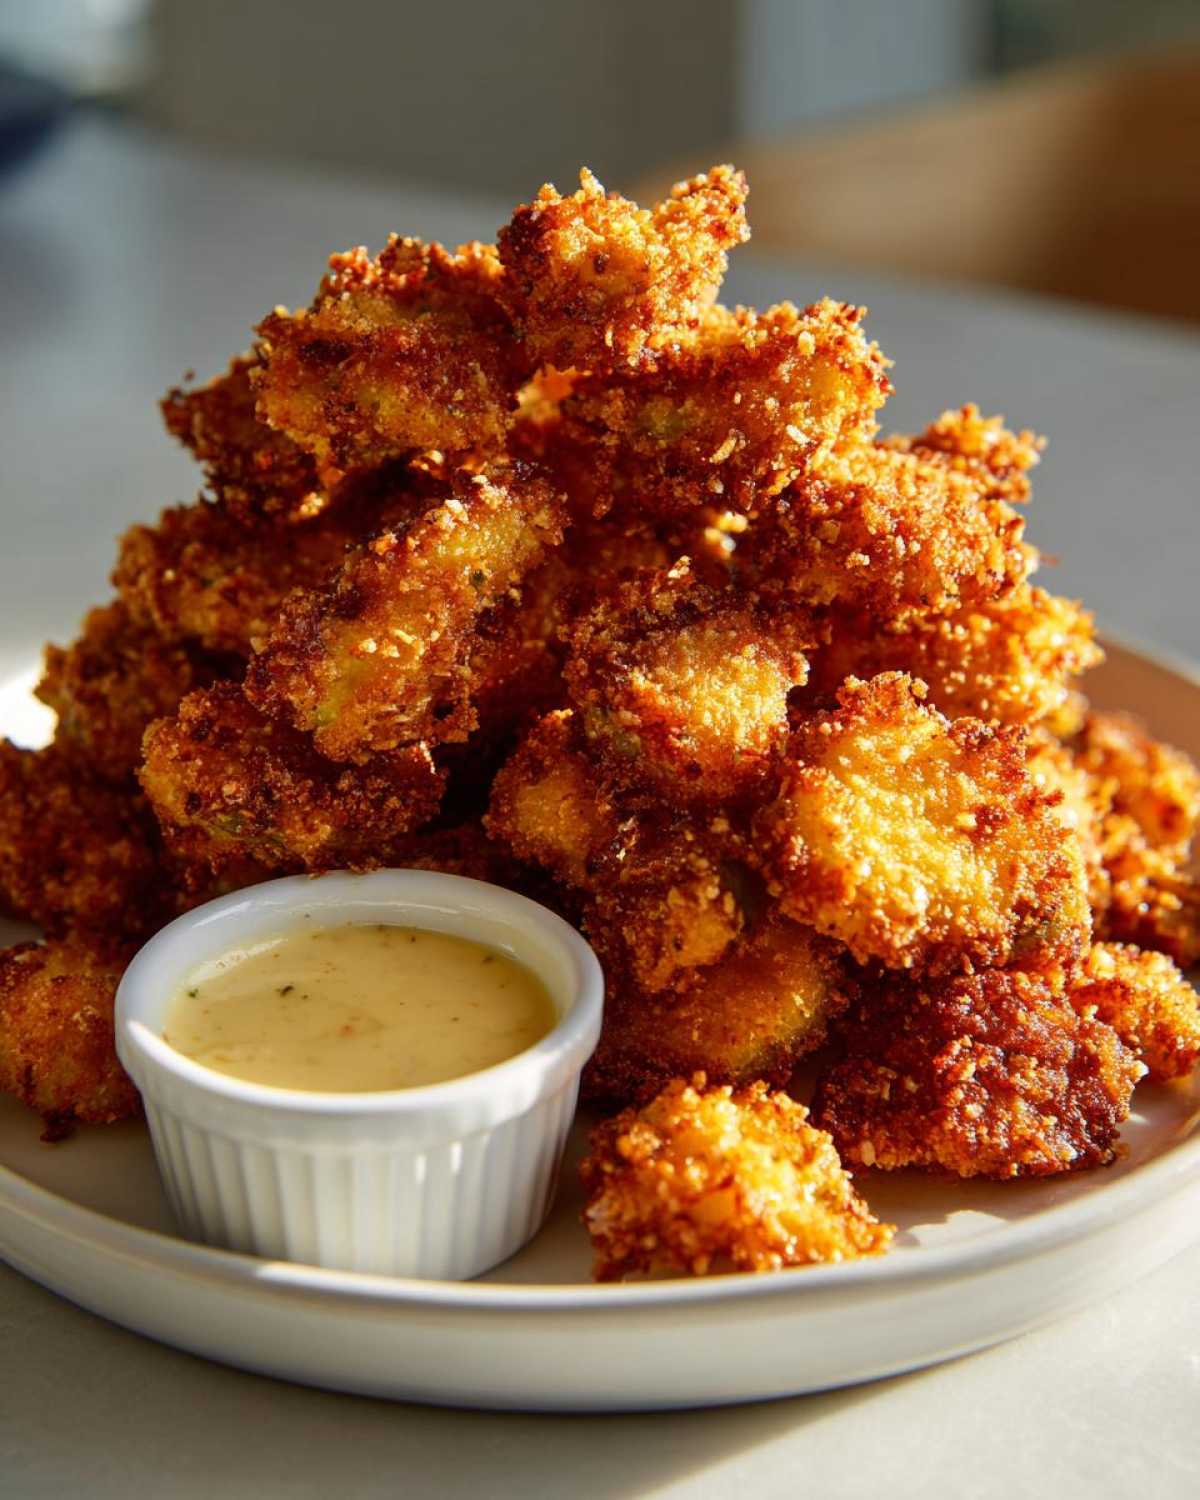
Gathering Ingredients for Delicious Fried Pickles
Okay, so Amelia has her lists, and I need my things gathered perfectly before I even think about heating oil! For any great recipe, especially something that needs a crispy coating, ingredient quality and prep matter a huge amount. Trust me on this: if the pickles aren’t dry enough, you’re going to get sad, soggy sadness instead of crunchy gold. We’re breaking this down into two parts: what goes on the pickles, and what makes that incredible dipping sauce that brings it all together. Gather everything up, and we’ll move onto the assembly line!
For the Homemade Fried Pickles Recipe
This section covers the main build for our Homemade Fried Pickles Recipe. Remember, get those slices ready—we need them dry as a bone before they ever meet the flour! The Panko is non-negotiable for that texture we are going for, so make sure you grab that specific kind of breadcrumb.
- 1 jar (16 oz) dill pickle slices, drained really well
- 1 cup all-purpose flour
- 1 teaspoon salt
- 1 teaspoon black pepper
- 1 teaspoon garlic powder
- 1 teaspoon paprika
- 1/2 teaspoon cayenne pepper (if you like a little kick!)
- 2 large eggs
- 1/2 cup milk
- 1 cup panko breadcrumbs (for that maximum crunch factor)
- Vegetable oil, for deep frying (we’ll talk about the air fryer oil later!)
For the Zesty Fried Pickle Dipping Sauce
This is the sidekick that makes our Fried Pickles truly restaurant-worthy. It’s quick, tangy, and cools down that little bit of heat from the cayenne if you chose to add it. Don’t skip chilling this while you work on the breading!
- 1/2 cup mayonnaise
- 1/4 cup sour cream
- 1 tablespoon hot sauce (your favorite brand works!)
- 1 teaspoon lemon juice
- 1/2 teaspoon dried dill
Step-by-Step Instructions: How to Make Fried Pickles Crispy
Alright, you’ve got your ingredients ready, the oil is warming up (or the air fryer is preheating), and now we get down to the assembly line. This is where Jacob gets really specific, because the success of truly magnificent, ultra-crispy Fried Pickles hinges entirely on the breading process. We treat this like a precision operation, moving the pickles deliberately through three separate stations. If you rush, they get gummy; if you skip a step, they fall apart. I’ve found that setting up in a straight line across the counter makes the most sense, and we keep things moving quickly once we start dipping!
Preparation: Drying the Dill Pickle Slices
You remember how much I stressed this? Now it’s time to do it. Take those drained pickle slices and layer them between thick sheets of paper towels. Then, you need to press down—firmly but gently—to wick away surface moisture. This step is absolutely essential for guaranteeing those beautiful, Crispy Fried Pickles that don’t steam themselves soft in the hot oil! Don’t be shy about the pressing!
Setting Up the Dredging Stations
You need three shallow bowls lined up in order. Bowl one gets the seasoned flour mix—that’s where all the garlic powder, paprika, and salt are hanging out. Bowl two is your egg wash mixed with milk. Bowl three needs just the pure Panko breadcrumbs. Having them all ready means you can move your pickles through the process without them lingering too long anywhere, which keeps the coatings nice and tight.
Coating Technique for Perfect Fried Pickles
The sequence has to be right: First, toss the dry pickle slice into the seasoned flour and shake off the excess so it’s just a light coat. Next, dunk it in the egg wash. Finally, move it directly into the Panko. Here’s the key Jacob taught me: really press that Panko onto the pickle, molding it on so there are no bare spots. This solid, triple layering is what locks in crunch until the very last bite! Check out our process timeline details here to see how we manage the timing.
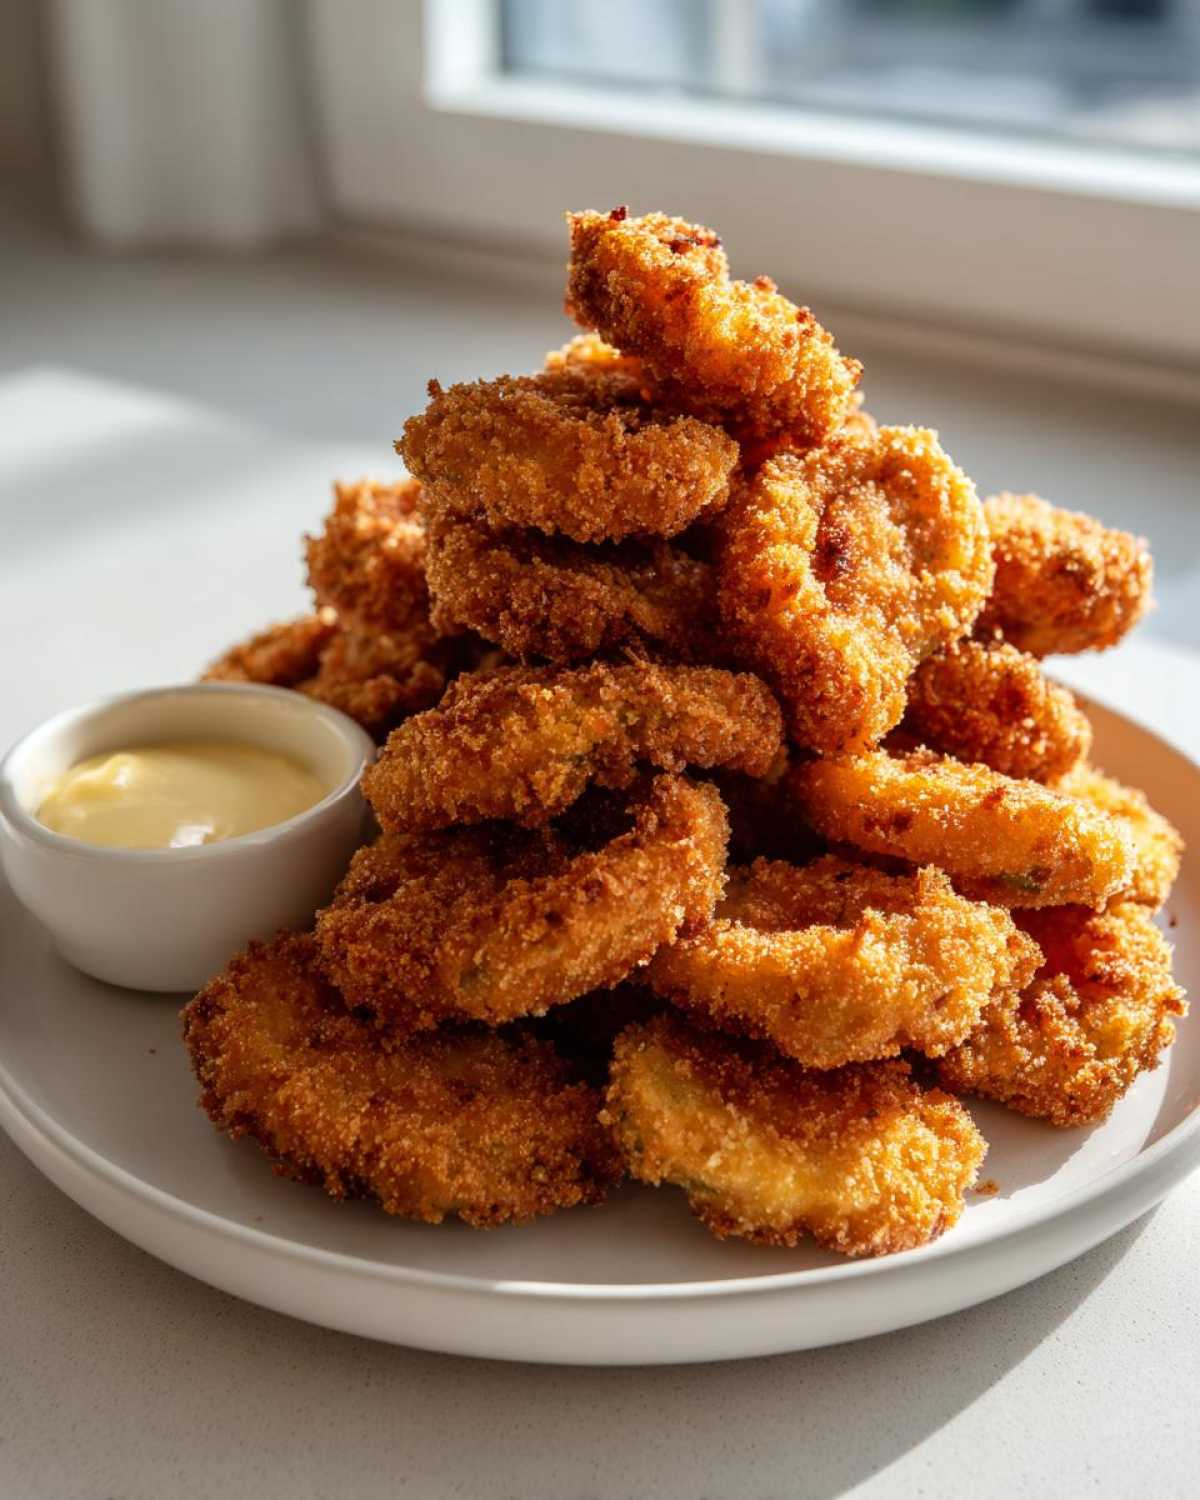
Cooking Methods: Deep Fried Pickles vs. Air Fryer Fried Pickles
Okay, here’s where things get exciting because we’ve got two championship-level ways to cook these beauties, depending on your mood—or how much cleanup you’re willing to face! Since I know so many of you are looking for lighter options now, we tested these side-by-side dozens of times. The goal was simple: maintain maximum crunch factor no matter what cooking vessel we used. If you love that traditional, bubbly texture straight from the fryer, that’s fantastic! But if you want the quick fix that uses way less oil, the air fryer is your best friend. We look at both methods as essential tools in our kitchen arsenal, so check out how Jacob handles either one! Don’t forget to check out how others are mastering the air fryer method over at Dinner Flare.
Classic Deep Fried Pickles Technique
This is the classic, no-holds-barred path to incredible flavor. You need a heavy pot with about two inches of vegetable oil heated up right to 375°F (190°C). Don’t drop too many pickles in at once—seriously, keep them in small batches! If you overcrowd the pot, that oil temperature drops instantly, and you get greasy, pale pickles instead of glorious Deep Fried Pickles. They cook super quick, maybe just 1 to 2 minutes, turning that beautiful golden brown. Scoop them out immediately and let them drain!
Making Healthy Fried Pickles in the Air Fryer
If you want that crunch without the vat of oil, the air fryer is your answer to Healthy Fried Pickles. Preheat it to 380°F (195°C) and make sure you spray the basket with cooking spray first; that helps the breading toast up nicely. You’ll arrange them in a single layer—you’ll need to cook in batches, too. They take a bit longer, usually 8 to 10 minutes total, but if you flip them halfway through, they come out unbelievably golden! I’ve also got some thoughts on keeping things crispy after air frying, which you can read more about on our post about making fluffy baked potatoes!
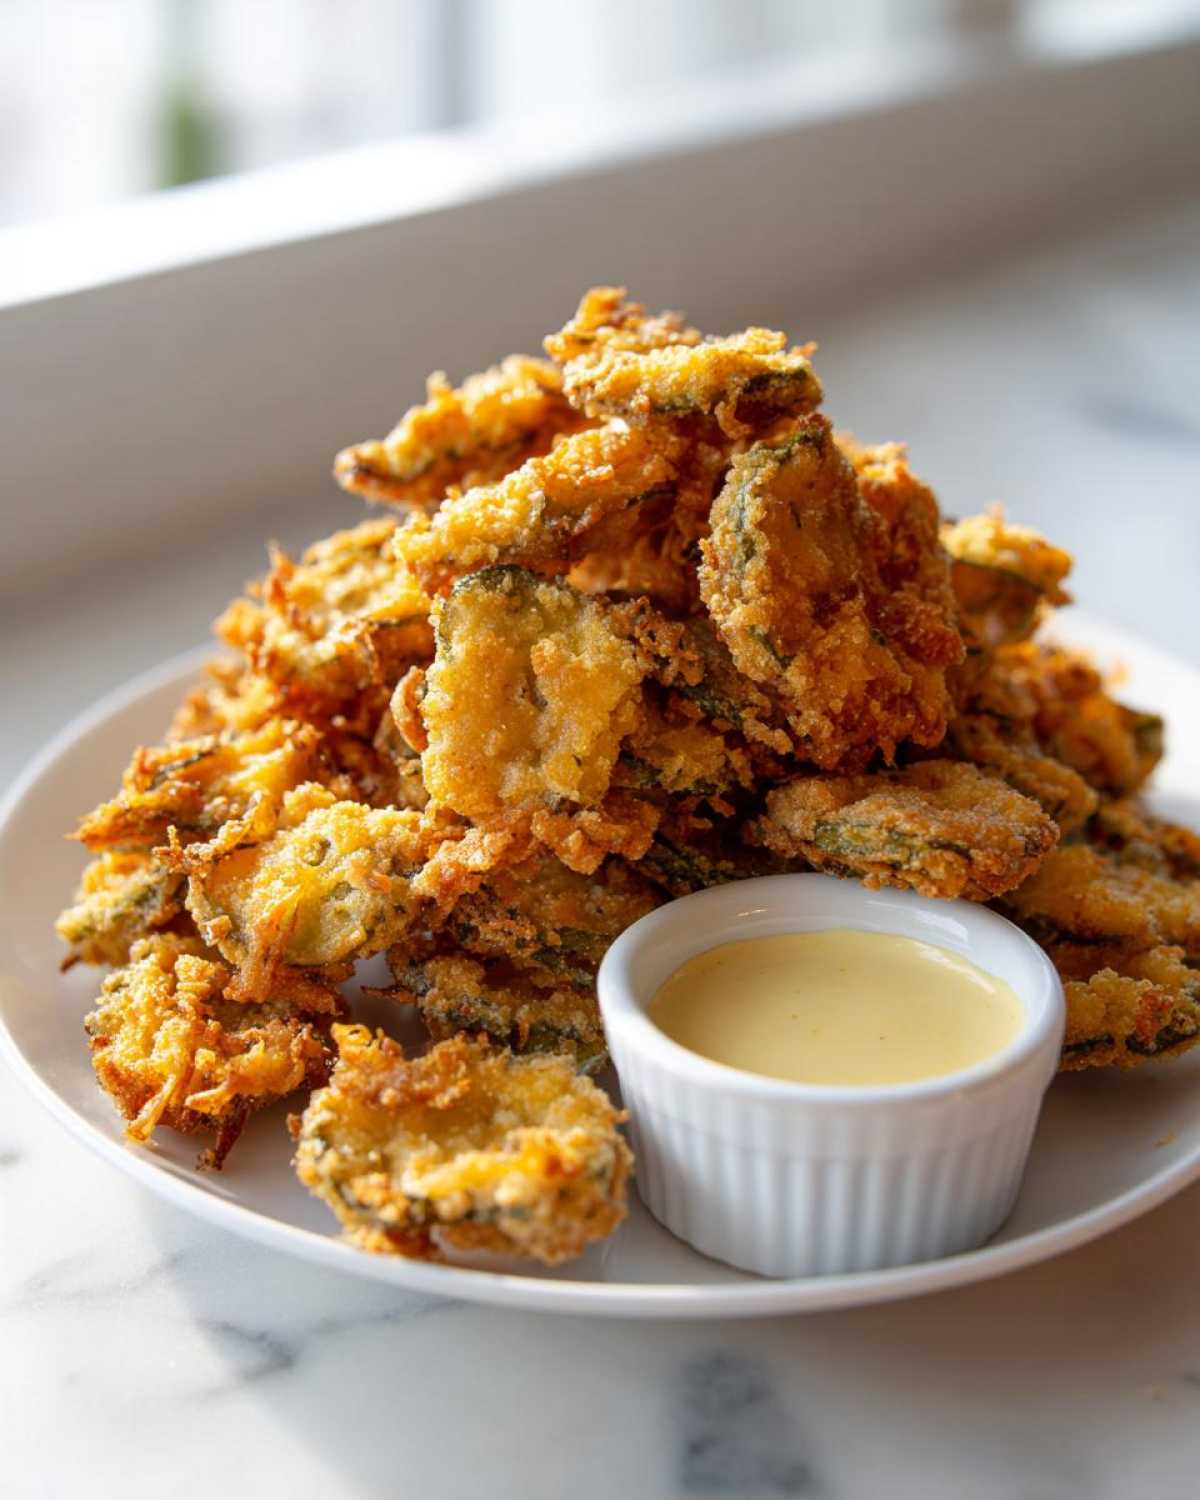
Tips for Texas Roadhouse Fried Pickles Copycat Flavor
I know so many of you are reaching for that specific, craveable, slightly zesty flavor you get at the big chain restaurants. That Texas Roadhouse vibe is all about seasoning balance, and Jacob figured out the little secrets to nail it! If you want perfect Texas Roadhouse Fried Pickles Copycat snacks, you need to tweak that flour dredge just a bit. We found two key additions that make a huge difference in mimicking that pub-style flavor profile. Don’t forget, a great copycat recipe is all about the fine details!
First, you absolutely must add about a half teaspoon of onion powder to your flour mixture. It adds that savory depth that just begs you to dip it in sauce. Second, if you’re looking for that slightly brighter kick, add a small pinch of celery salt—not too much, or it gets weird, but just enough to lift the flavor. I researched the best ways to season things like this, and you can see some of my other marinade success stories, like my homemade teriyaki sauce. If you need even more guidance on hitting that specific flavor, I saw this breakdown on achieving the copycat taste over at RecipeStang.
Honestly, once you have that seasoned batter down, you’ve essentially cracked the code for the best Fried Pickles imaginable. It works every time!
Serving Suggestions for Your Best Fried Pickles Appetizer
What good is a perfect, crunchy snack if you don’t have something amazing to dunk it into, right? That zesty dipping sauce we made earlier is absolutely my favorite way to handle these Fried Pickles—it’s got that nice cooling ranch vibe built right in. But hey, variety is the spice of life, especially when you’re prepping for a big Game Day gathering!
If you run out of our sauce (which happens quickly, trust me), you can never, ever go wrong with a good quality, thick ranch dressing. That creamy, herby pairing with the tangy pickle is classic for a reason! I’ve also been experimenting with topping them immediately after frying with a sprinkle of smoked paprika for color. For pairing inspiration outside of dipping, think about serving these next to something meaty, like our famous smash burgers—you can check out the smash burger sauce recipe if you want to make the whole spread!
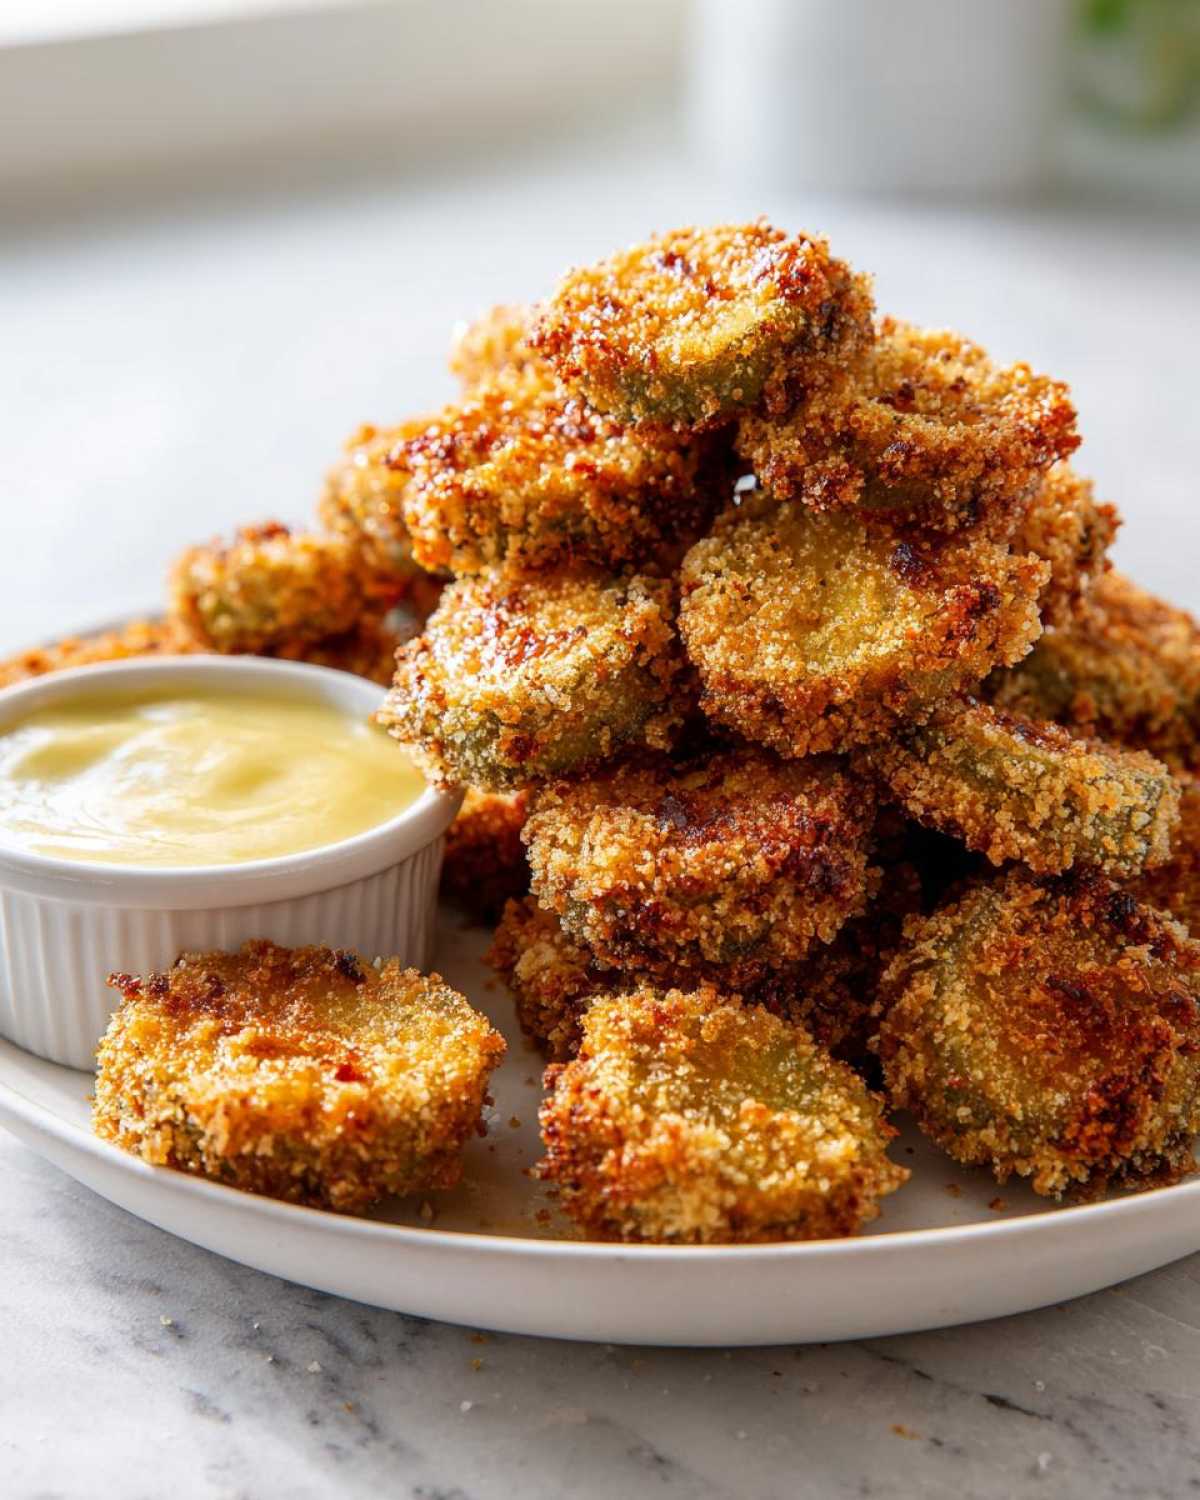
These are truly the Best Fried Pickles Appetizer, no matter what you serve them with!”
Storage and Reheating Instructions for Leftover Fried Pickles
Now, let’s be real—the best snack time is when they are piping hot, minutes out of the oil or air fryer. These crunchy wonders really shine on day one. If you do manage to have any leftover Fried Pickles, you need to stash them fast! Keep them in a container that isn’t airtight immediately, or just use a paper bag, so they don’t trap steam and get soft. Don’t even think about nuking these in the microwave; that’s how you make them instantly rubbery.
For reheating those Tangy Pickle Snacks, the air fryer is your hero again! Set it to about 375°F and let them go for about 4 minutes, just until they feel hot and crispy again. If you don’t have an air fryer, a quick blast in a hot oven on a baking sheet works wonders too. We want them crunchy, not chewy!
Frequently Asked Questions About Making Fried Pickles
This is where Amelia steps in with her organized spreadsheet of common issues! When we first started tinkering to create the best Homemade Fried Pickles Recipe, we ran into a few little snags. I’ve compiled the top three questions we get constantly from friends and family, so hopefully, we can save you a little bit of trial-and-error. If you have another burning question, drop a comment below!
What type of pickle works best for Fried Pickles?
This is huge! For this recipe, you absolutely want to stick to jarred dill pickle slices. Dill is the classic flavor, and slices are usually sturdy enough to handle the breading and frying process nicely. If you’re aiming for super tiny bites, you can certainly use pickle chips to make Crunchy Pickle Chips. Just remember, fresh, unjarred pickles have too much water content, and they just won’t crisp up right, no matter how much Panko you use!
Can I use regular breadcrumbs instead of Panko in this Dill Pickle Appetizer?
You can, but oh, you’ll miss out! Panko is our secret weapon for achieving that true, restaurant-quality crunch because the flakes are larger and lighter. If you only have regular breadcrumbs on hand for your Dill Pickle Appetizer, that’s fine—just know they will absorb a bit more oil and give you a denser crust. To help them crisp up slightly better, try tossing the regular breadcrumbs with just a touch of extra cornstarch before dredging.
How do I prevent my Fried Pickles from getting soggy?
This comes down to moisture control at every stage! First, you have to press the liquid out of those pickles like your life depends on it (see Step 1!). Second? Drain them on a wire rack after frying, not a heavy pile of paper towels. The rack allows air to circulate completely underneath them, preventing steam buildup that turns your beautiful crust soft. That little bit of airflow is critical for keeping them tasty until everyone grabs one!
Nutritional Estimates for These Tangy Pickle Snacks
I’ve got the numbers here, though you should know these are estimates, sweet friend! Since we offer both deep-fried and air fryer methods for these amazing Tangy Pickle Snacks, the fat content can swing wildly depending on your choice. Eat well, but remember that deep frying will definitely bump up the fat and calorie count compared to air frying. You can see the breakdown for one serving (about 12 slices) below. Enjoy them with awareness, but don’t stress!
- Serving Size: 1/4 of recipe (approx. 12 slices)
- Calories: 350
- Fat: 22g
- Carbohydrates: 30g
- Protein: 8g
Share Your Perfect Fried Pickles Creation
Listen, Amelia and I put our hearts into making sure this recipe gives you the crispiest, tangiest Fried Pickles right in your own kitchen. But a portfolio isn’t complete until it has reviews from the viewers, right? We absolutely live for seeing your creations pop up!
Did you stick to the deep-fried version for that throwback pub vibe? Or did you bravely take on the air fryer challenge? Let us know how they turned out in the comments below! Rating the recipe is super helpful for other folks trying to decide on their next big cooking project.
If you managed to capture a perfect, golden-brown photo on your serving platter with that zesty dipping sauce ready to go, we would be thrilled if you shared it! Tag us on social media or shoot us a note through our contact page—seeing your success stories is genuinely the best part of running this blog. Happy snacking, everyone!
PrintThe Ultimate Crispy Fried Pickles Recipe (Restaurant-Style & Air Fryer Options)
Learn how to make perfectly crispy, golden fried pickles at home. This recipe includes instructions for classic deep-frying and a lighter air fryer version, plus a simple, zesty dipping sauce.
- Prep Time: 15 min
- Cook Time: 10 min
- Total Time: 25 min
- Yield: 4 servings
- Category: Appetizer
- Method: Deep Frying / Air Frying
- Cuisine: American
- Diet: Vegetarian
Ingredients
- 1 jar (16 oz) dill pickle slices, drained well
- 1 cup all-purpose flour
- 1 teaspoon salt
- 1 teaspoon black pepper
- 1 teaspoon garlic powder
- 1 teaspoon paprika
- 1/2 teaspoon cayenne pepper (optional, for heat)
- 2 large eggs
- 1/2 cup milk
- 1 cup panko breadcrumbs (for extra crunch)
- Vegetable oil, for deep frying (or cooking spray for air fryer)
- For Dipping Sauce: 1/2 cup mayonnaise, 1/4 cup sour cream, 1 tablespoon hot sauce, 1 teaspoon lemon juice, 1/2 teaspoon dried dill
Instructions
- Prepare the pickles: Place the drained pickle slices between layers of paper towels and press gently to remove as much moisture as possible. This step is key for crispiness.
- Set up the dredging stations: In one shallow dish, whisk together the flour, salt, pepper, garlic powder, paprika, and cayenne pepper. In a second dish, whisk the eggs and milk together. In a third dish, place the panko breadcrumbs.
- Dredge the pickles: Take a few pickle slices at a time and coat them thoroughly in the flour mixture, shaking off any excess. Dip them into the egg mixture, letting the excess drip off. Finally, press them firmly into the panko breadcrumbs until fully coated. Place the coated pickles on a clean baking sheet.
- Prepare the dipping sauce: In a small bowl, combine the mayonnaise, sour cream, hot sauce, lemon juice, and dried dill. Mix well until smooth. Refrigerate until ready to serve.
- Cook the pickles (Deep Fry Method): Pour about 2 inches of vegetable oil into a heavy-bottomed pot or deep fryer and heat to 375°F (190°C). Carefully drop the pickles into the hot oil in small batches, ensuring you do not overcrowd the pot. Fry for 1 to 2 minutes, turning once, until golden brown and crisp. Remove with a slotted spoon and drain on a wire rack lined with paper towels.
- Cook the pickles (Air Fryer Method): Preheat your air fryer to 380°F (195°C). Lightly spray the air fryer basket with cooking spray. Arrange the breaded pickles in a single layer (work in batches). Lightly spray the tops of the pickles with cooking spray. Air fry for 8 to 10 minutes, flipping halfway through, until golden and crunchy.
- Serve immediately with the zesty dipping sauce.
Notes
- For the crispiest results, ensure your pickles are very dry before breading.
- If you want a Texas Roadhouse copycat flavor, add a pinch of onion powder to the flour mixture.
- For an air fryer variation, use a light coating of cooking spray on the breadcrumbs before placing them in the basket.
Nutrition
- Serving Size: 1/4 of recipe (approx. 12 slices)
- Calories: 350
- Sugar: 3
- Sodium: 850
- Fat: 22
- Saturated Fat: 4
- Unsaturated Fat: 18
- Trans Fat: 0
- Carbohydrates: 30
- Fiber: 2
- Protein: 8
- Cholesterol: 75