

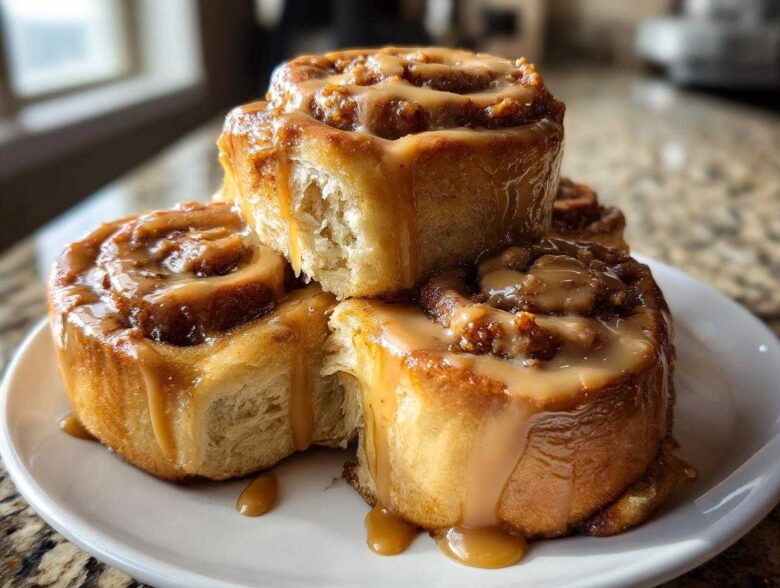
Listen, who says you have to wait for the holidays to go completely overboard with baked goods? Saturdays and Sundays are sacred, and they deserve a show-stopping centerpiece. If you’re looking for the ultimate, stop-everything indulgence that smells like a European coffee shop exploded in your kitchen, then you’ve landed in the right spot. Forget your plain old sugar swirls; we are diving headfirst into the magic of spiced dough, creamy caramel filling, and thick, luscious glaze.
Trust me when I say these Biscoff Cookie Butter Cinnamon Rolls – Over The Top Weekend Baking Ideas are going to change your brunch game forever. They are thick, impossibly soft, and layered with that addictive caramelized biscuit flavor. Spending a few hours on a lazy weekend to make something this decadent? That’s my definition of self-care!
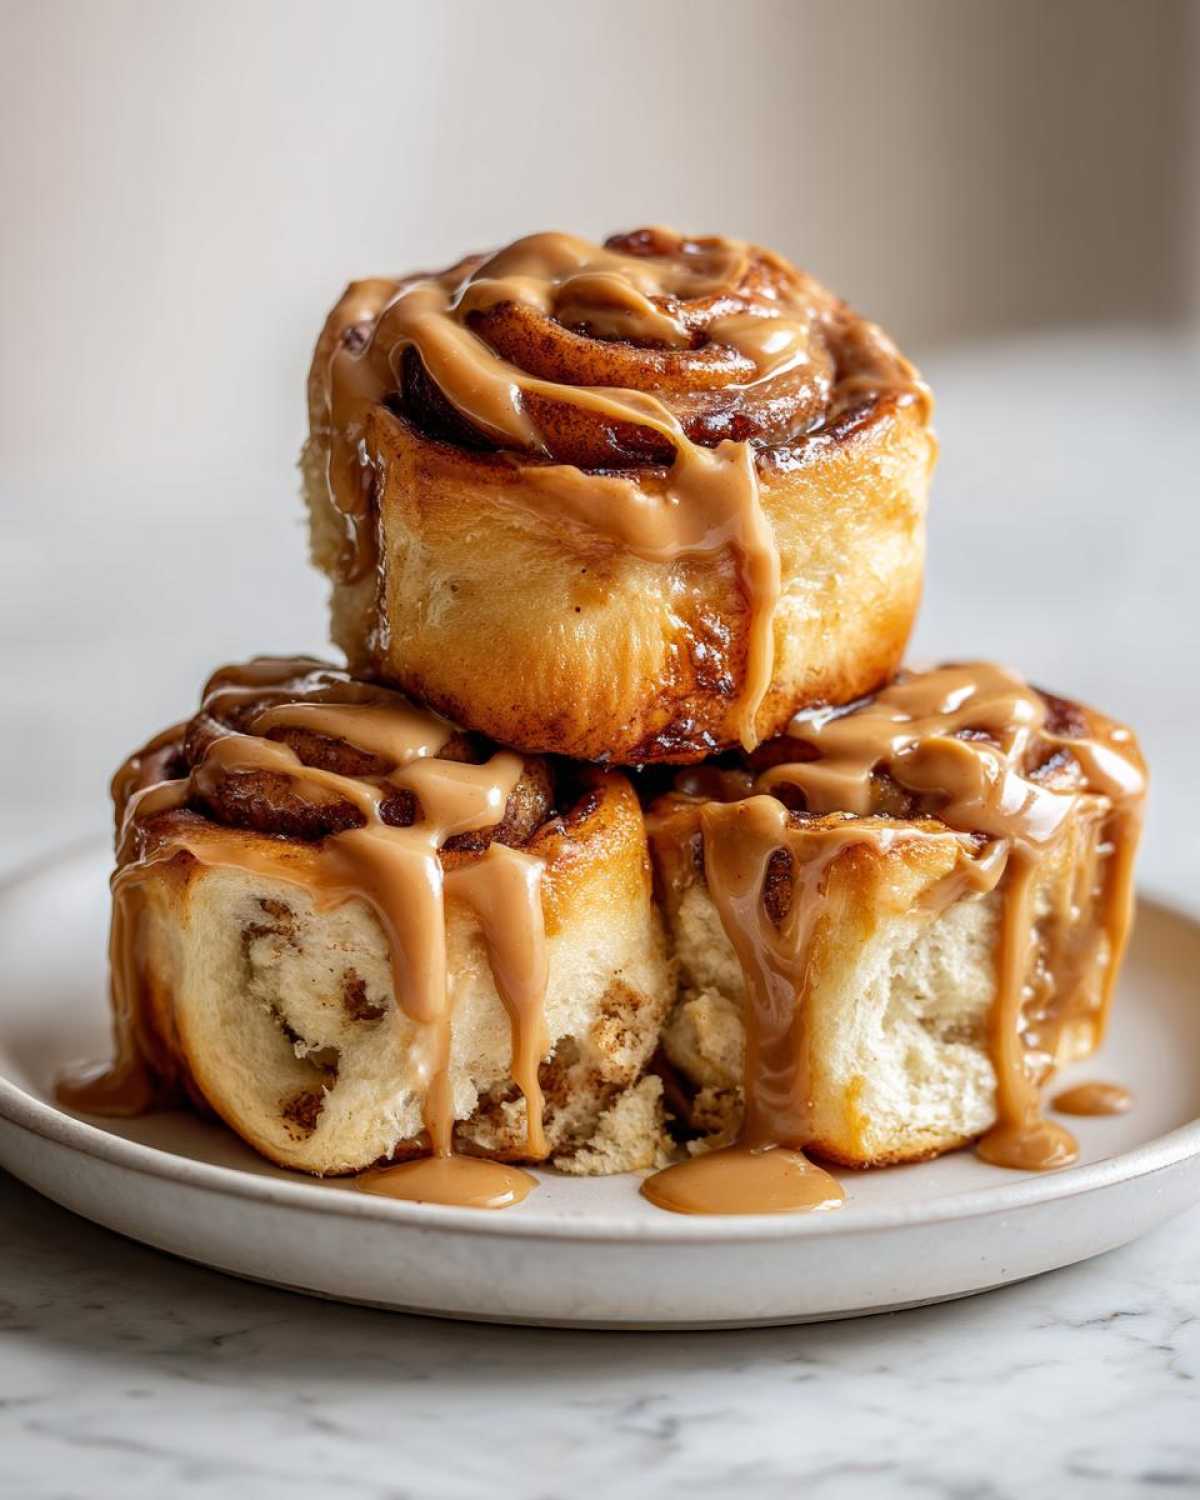
Why You Will Make These Biscoff Cookie Butter Cinnamon Rolls – Over The Top Weekend Baking Ideas
I know, I know, there are a million cinnamon roll recipes out there, but this one hits differently. If you are ready to commit to an indulgent weekend project, this is the one. Seriously, these rolls are designed for maximum impact.
- They are ridiculously soft and thick—I mean bakery style sweet rolls at home territory!
- The filling has that incredible, caramelized depth from Biscoff that you just can’t replicate with plain cinnamon and sugar.
- The entire process feels like a reward, making them the ultimate Over The Top Weekend Baking centerpiece. You deserve this level of decadence.
If you want to master the classic technique while adding a viral twist, you should check out my guide on the best homemade pastry recipe for comparison!
Essential Ingredients for Biscoff Cookie Butter Cinnamon Rolls – Over The Top Weekend Baking Ideas
Okay, the structure of these rolls might be fancy, but the ingredient list is actually pretty straightforward—it’s just *what* we’re putting *in* them that makes them famous! When you’re aiming for that ‘over the top’ feeling, you can’t skimp here. Make sure your eggs are room temperature; it helps the dough come together beautifully. And don’t even THINK about using cold butter for the filling!
I keep all my Biscoff supplies together because this recipe uses it in three different ways. If you’re making other recipes this week, you definitely need to check out my cookie butter cheesecake cups for another way to use that magic jar!
Here is everything you’ll need to gather before we start playing with the dough:
- 1 cup whole milk, warmed (It needs to be warm enough to wake up the yeast, but not so hot it kills it. Think bathwater temperature!)
- 2 1/4 teaspoons active dry yeast
- 1/2 cup granulated sugar, divided
- 1 large egg, room temperature
- 1/4 cup unsalted butter, melted (for the dough)
- 3 1/2 cups all-purpose flour, plus more for dusting
- 1 teaspoon salt
- 1/2 cup (1 stick) unsalted butter, softened for filling (Crucial—soft, like room temperature!)
- 1 cup Biscoff Cookie Butter, slightly warmed (Just a quick 15-second zap in the microwave helps it spread like a dream, but don’t make it liquid!)
- 1/4 cup packed light brown sugar
- 2 teaspoons ground cinnamon
- 1/2 cup powdered sugar, for glaze
- 2 tablespoons Biscoff Cookie Butter, for glaze
- 1 tablespoon milk, for glaze
- 2 tablespoons heavy cream, for glaze
- 1/4 cup Biscoff Cookie Butter, for topping (This is for the final, glorious drizzle!)
From Scratch Sweet Rolls Tutorial: Making the Biscoff Cookie Butter Cinnamon Rolls Dough
This is where the real magic—and the *work*—starts, but don’t let that scare you off! Making the dough from scratch is truly what separates an average roll from those incredible, Thick and Soft Cinnamon Rolls we are aiming for. We need a yeast dough that’s strong enough to hold all that decadent Biscoff filling but tender enough to practically melt when you bite into it. Patience during the mixing and rising phases is your secret weapon here.
The consistency when you finish kneading should feel supple, smooth, and slightly tacky, but it shouldn’t stick horribly to your hands. If it feels dry, add just a teaspoon of milk at a time. If it’s too wet after kneading for the full time, add a tablespoon of flour. It’s all about feel, and trust me, you’ll get it! For tips on getting other doughs perfect, you might want to look at how I make my fluffy pancakes at home—it’s all about yeast and temperature control!
Activating Yeast and Mixing the Dough
First things first: we need to wake up that yeast! That’s step one. Combine your warm milk—and remember, ‘warm’ means around 105-115°F, not scorching hot—with your yeast and just the first tablespoon of sugar. If it doesn’t get gloriously foamy after about ten minutes, your yeast is likely dead, and we have to start that part over. Don’t skip that foam check!
Once you have that puffy yeast topping, dump in the rest of your sugar, the room-temperature egg, melted butter, flour, and salt. I usually mix this using the dough hook on my stand mixer just until it gets shaggy, as per steps one and two. Then, it’s time to knead! If you’re doing this by hand, aim for a good solid 7 to 10 minutes until that dough is silky smooth. You’ll know it’s ready when it springs back slowly if you gently poke it.
The First Rise: Achieving Maximum Volume
After all that hard work kneading, the dough needs a great rest, as detailed in step three. Lightly oil a clean bowl—this just stops the dough from sticking as it expands—toss the dough ball in there, and drape a clean kitchen towel over the top. Now, we wait for it to double in size, usually about 90 minutes.
If your kitchen is naturally cool, don’t fret! I have a little trick for creating the perfect environment. Turn your oven on the ‘warm’ setting for just two minutes, then turn it OFF. Place your covered bowl right inside the turned-off oven. The residual warmth is just perfect for encouraging a big, beautiful rise. This little move really helps secure that super-soft texture we’re chasing for the Thick and Soft Cinnamon Rolls.
Crafting the Easy Biscoff Filling for Your Biscoff Cookie Butter Cinnamon Rolls
This is where we take things from a regular sweet roll to a full-blown, Indulgent Brunch Baking masterpiece. Seriously, the filling is the star of the show when you’re dealing with cookies and cream flavors! We are aiming for an Easy Biscoff Filling that spreads like soft, caramelized heaven over that puffy dough.
Remember in the ingredients section how I said the butter *had* to be softened? This is why! You don’t want chunks of cold butter fighting the spreadable cookie butter. I like to mix the butter, the cup of Biscoff, the brown sugar, and the cinnamon together in a bowl right after I punch down the dough so everything is ready to go immediately. You need a mixture that’s creamy enough that you can scoop it with a spoon and spread it easily with an offset spatula, but thick enough that it won’t just ooze out the sides when you roll it later. It should look like thick, spiced peanut butter.
If you’ve mastered caramelizing things like onions and want a flavor cheat sheet for this rich filling, you might want to check out my guide on caramelized onions—the patience needed is actually similar!
Assembling and Cutting Your Biscoff Cookie Butter Cinnamon Rolls – Over The Top Weekend Baking Ideas
Alright, the dough has risen beautifully, and that decadent filling is perfectly spreadable. Now we move into what I call the ‘assembly line’ phase! This is where we transform the flat dough into those gorgeous, towering spirals that scream Bakery Style Sweet Rolls at Home. Getting a tight roll is absolutely key here—a loose roll means your filling escapes and you end up with more bread than flavor whirls, and we definitely don’t want that.
After you punch down that pillowy dough (step 5) and roll it out to that 12×18 inch rectangle, grab your Biscoff filling. Spread it evenly right up to the edges, but make sure you leave about a one-inch bare border on one of the long sides. This “no-spread zone” is going to seal the log so none of the goodness leaks out prematurely when baking. Trust me, that little border is crucial!
Starting from the long edge *opposite* that empty border, begin rolling the dough as tightly as you possibly can, like you’re rolling a yoga mat! Once you hit the end, pinch that seam closed really well to secure the log underneath. Then comes the cutting. You can use a sharp knife, but I swear by using a piece of unflavored dental floss! Slip the floss under the center of the log, cross the ends over the top, and pull gently. It gives you the cleanest slice imaginable, keeping those beautiful layers intact. Cut that log into 12 even pieces, just like in step seven.
If you want to see how I handle tighter rolls for smaller treats, take a peek at my recipe for quick cinnamon roll bites—the rolling technique is similar but smaller scale!
Second Rise and Oven Preparation
Once your 12 gorgeous rolls are nestled snugly into that greased 9×13 baking dish, it’s time for the final rest. This second rise (step 8) is just as important as the first! It allows the dough to relax after being rolled and cut, letting those yeast bubbles plump up one last time before hitting the heat. Cover them loosely and let them sit in a warm spot for about 30 to 45 minutes. They should look noticeably puffier and almost touching each other when they are ready.
While they are getting puffy, go ahead and get your oven preheated to 375 degrees Fahrenheit (step 9). We need a nice hot oven right away to give these rolls the initial lift they need to bake up tall and fluffy. If you wait until they are done rising to preheat, you lose crucial oven spring! Make sure your oven rack is positioned in the middle so the heat surrounds the pan evenly.
Baking Perfection: Achieving Golden Brown Biscoff Cookie Butter Cinnamon Rolls
The moment of truth has arrived! Putting these beauties into the oven (step 9) is always a little nerve-wracking, but you’ve done all the hard work, so trust your dough. We are aiming for 375 degrees Fahrenheit. Bake them for about 20 to 25 minutes. You’re looking for that perfect golden brown color across the top, which tells you the crust is nicely caramelized around those rich Biscoff flavors.
Now, I have a little secret for keeping those tops from scorching before the centers are done, especially if your oven runs hot. If you notice the tops getting too deeply brown around the 15-minute mark—and this is key for achieving truly Decadent Cinnamon Rolls—just grab a piece of aluminum foil, loosely tent it over the top of the pan, and let them finish baking underneath it. This steams the top gently while allowing the center to cook through completely. It’s a simple trick that guarantees they are cooked all the way down to the sticky bottom, but you can also check out my tips for making the best soft, gooey cinnamon buns if you want even more insider baking secrets!
How to Make Biscoff Icing and Finalize Your Biscoff Cookie Butter Cinnamon Rolls
The rolls are out of the oven, smelling heavenly, and now we move to the grand finale: The glorious Biscoff topping! Seriously, you haven’t lived until you’ve drowned soft, warm cinnamon rolls in melted cookie butter icing. Don’t wait for them to cool completely; these rolls taste best when the frosting is just starting to melt down into all those sticky pockets.
To make the How to Make Biscoff Icing (step 10), you’ll whisk together the powdered sugar, the 2 tablespoons of Biscoff, milk, and heavy cream. The goal here is a thick, pourable glaze—not a runny soup! If it seems too thick and won’t drizzle nicely off your whisk, add just a *tiny* splash more milk or cream, maybe half a teaspoon at a time. If you accidentally go too liquidy, just whisk in a spoonful more powdered sugar to thicken it back up. Consistency is everything for that decadent coating!
Once your glaze is perfect, drizzle it liberally all over the warm rolls. Then comes the real ‘Over The Top’ move: taking that final 1/4 cup of Biscoff and either melting it down slightly more or just plopping small dollops all over the top. As it melts slightly from the heat of the rolls, it creates those gorgeous, dark caramel ribbons that make everyone grab an extra one. If you want to compare this creamy finish to another sweet favorite, check out my recipe for vanilla buttercream frosting; the technique for smooth mixing is very similar!
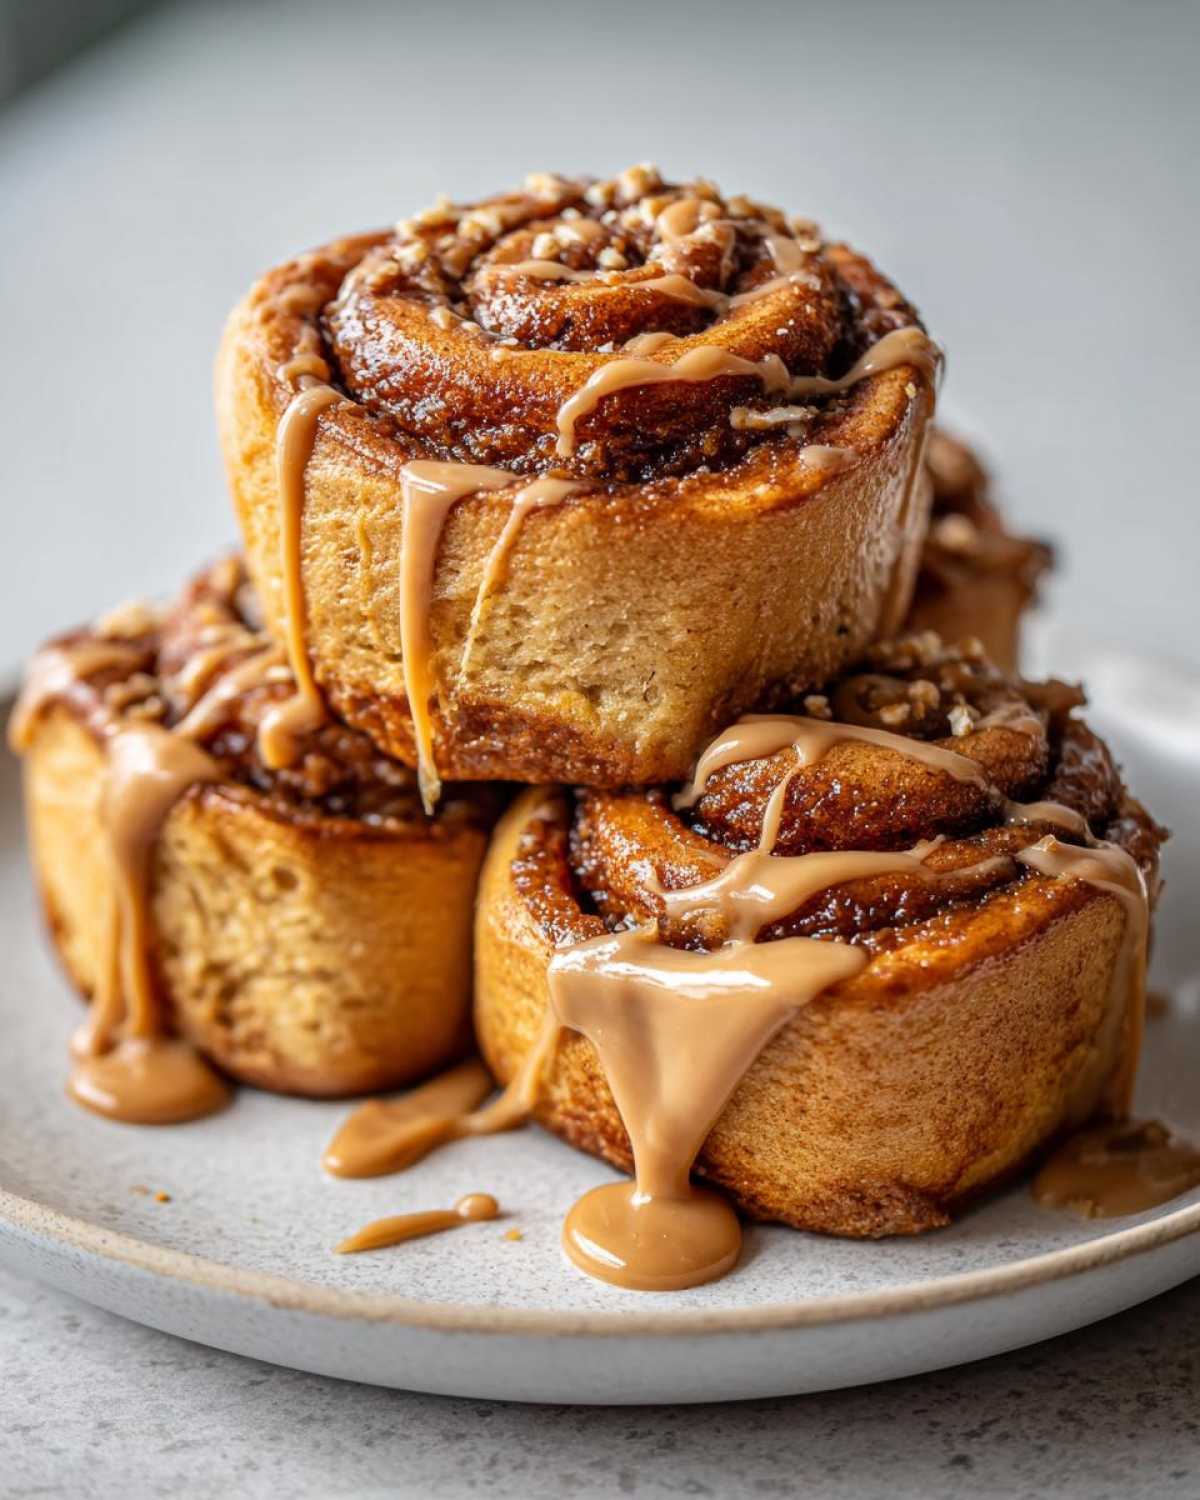
Tips for Success with Your Biscoff Cinnamon Rolls Recipe
Even though this is an Over The Top Weekend Baking extravaganza, we want it to be *successful*! I’ve gathered the best little tricks from my personal testing—you know, the things you only learn after a few batches—to make sure your Biscoff Cinnamon Rolls Recipe turns out restaurant-worthy. These aren’t just random notes; these are the game-changers that ensure maximum gooeyness.
If you’re looking for other ways to guarantee chewy perfection that doesn’t dry out, you should definitely review the tips over on my guide for the best soft, chewy classic snickerdoodle recipe; the resting techniques are very similar!
- The Overnight Chill Trick: Don’t have all day Saturday? Make the dough! After you finish kneading (step 2), coat it lightly with oil, pop it in a clean bowl, cover it tightly with plastic wrap, and stick it in the fridge. It can cold-proof overnight or up to 24 hours. This actually makes the dough *easier* to roll out the next morning! Just take it out about an hour before you plan to shape the rolls so it can warm up slightly.
- Cookie Butter Consistency Check: Biscoff naturally hardens up when cool, making it painful to spread. That Note mentioned microwaving it for 15 seconds? Do that! You want it pliable enough to glide over the dough without tearing holes in it. Don’t microwave it past 20 seconds unless you want soup!
- The Foil Tent for Even Baking: As I mentioned earlier, if you see those beautiful Biscoff edges getting dark before the centers are done, don’t panic! Loosely tent aluminum foil over the top for the last 10 minutes of baking. This traps steam and gentle heat, ensuring those centers are perfectly baked and gooey, not dry.
- Keep Them Warm for Glazing: The absolute best way to serve these is warm! After baking, let them cool just enough so you can handle the pan, then immediately start glazing. The heat of the rolls melts the icing just enough to self-level and seep down into all the crevices. Pure perfection!
Frequently Asked Questions About Cookie Butter Sweet Rolls
I know these rolls take a little time—that’s what makes them Over The Top Weekend Baking material, right? But people always have questions about squeezing these amazing flavors into a busy schedule or what to do when you inevitably have leftovers (which, let’s be honest, rarely happens!). Here are the burning questions I get most often about making these spectacular Cookie Butter Sweet Rolls.
If you’re looking for a Biscoff flavor that requires zero rising time, you might want to try out the filling in my easy baked apple recipe; it’s great for quicker Weekday treats!
Can I use store-bought dough for these Biscoff Cinnamon Rolls?
Oh, honey, you absolutely *can*, and I won’t tell anyone! If you’re pressed for time and just need that sweet, sweet Biscoff flavor fast, using pre-made dough from the tube will certainly work. BUT—and this is a big but—you absolutely will sacrifice that soft, plush, melt-in-your-mouth texture that makes these so special. Store-bought dough is thinner and dries out quicker. If you go this route, you’ll want to be super cautious when baking, maybe only 18 minutes tops, and definitely use extra icing to compensate for the dryness. It’s a speed trade-off for sure!
How should I store leftovers of these Decadent Cinnamon Rolls?
These Decadent Cinnamon Rolls are best eaten the day they are made while that icing is still gooey, but they are still wonderful the next day! After they cool completely, store any extras in an airtight container at room temperature for up to two days. Do not refrigerate them unless you live somewhere super humid, because that cold air will stiffen the dough. When you’re ready to eat one later, wrap it loosely in a damp paper towel and microwave it for about 15 to 20 seconds. It steams the roll right back to that fresh-out-of-the-oven softness. It’s the best way to reheat!
What is the best way to soften Biscoff spread for the filling?
This is so important for getting that beautiful, easy spread! As I mentioned briefly, Biscoff straight from the cupboard is just too stiff, and trying to spread it rips holes in your beautifully risen dough. To soften it safely for the filling, I recommend putting the 1 cup needed for the filling into a small, microwave-safe bowl and heating it on medium power for only 10 to 15 seconds. You don’t want it runny; you want it slightly softer than room temperature peanut butter. Stir it up once it comes out—the residual heat will finish the job. Do NOT overdo it, or it becomes completely liquid, and then you’re dealing with a bigger mess!
PrintBiscoff Cookie Butter Cinnamon Rolls – Over The Top Weekend Baking Ideas

Make decadent, thick, and soft cinnamon rolls featuring a rich Biscoff cookie butter filling and a creamy cookie butter glaze, perfect for an indulgent weekend project.
- Prep Time: 45 min
- Cook Time: 25 min
- Total Time: 145 min
- Yield: 12 servings
- Category: Breakfast
- Method: Baking
- Cuisine: American
- Diet: Vegetarian
Ingredients
- 1 cup whole milk, warmed
- 2 1/4 teaspoons active dry yeast
- 1/2 cup granulated sugar, divided
- 1 large egg, room temperature
- 1/4 cup unsalted butter, melted
- 3 1/2 cups all-purpose flour, plus more for dusting
- 1 teaspoon salt
- 1/2 cup (1 stick) unsalted butter, softened for filling
- 1 cup Biscoff Cookie Butter, slightly warmed
- 1/4 cup packed light brown sugar
- 2 teaspoons ground cinnamon
- 1/2 cup powdered sugar, for glaze
- 2 tablespoons Biscoff Cookie Butter, for glaze
- 1 tablespoon milk, for glaze
- 2 tablespoons heavy cream, for glaze
- 1/4 cup Biscoff Cookie Butter, for topping
Instructions
- Activate the yeast: In a large bowl, combine the warm milk, yeast, and 1 tablespoon of the granulated sugar. Let stand for 5 to 10 minutes until foamy.
- Mix the dough: Add the remaining granulated sugar, egg, melted butter, flour, and salt to the yeast mixture. Mix until a shaggy dough forms. Knead by hand or with a dough hook for 5 to 7 minutes until the dough is smooth and elastic.
- First rise: Place the dough in a lightly oiled bowl, turning to coat. Cover and let rise in a warm place for 1 to 1.5 hours, or until doubled in size.
- Prepare the filling: While the dough rises, mix the softened butter, 1 cup of Biscoff Cookie Butter, brown sugar, and cinnamon in a small bowl until combined.
- Shape the rolls: Punch down the risen dough. On a lightly floured surface, roll the dough into a large rectangle, about 12 by 18 inches.
- Spread the filling: Evenly spread the Biscoff filling mixture over the entire surface of the dough, leaving a small border on one long edge.
- Roll and cut: Starting from the long edge opposite the border, tightly roll the dough into a log. Pinch the seam closed. Cut the log into 12 equal rolls.
- Second rise: Place the rolls cut-side up in a greased 9×13 inch baking dish. Cover and let rise again for 30 to 45 minutes until puffy.
- Bake: Preheat your oven to 375 degrees Fahrenheit. Bake for 20 to 25 minutes, or until golden brown.
- Make the glaze: While the rolls cool slightly, whisk together the powdered sugar, 2 tablespoons of Biscoff Cookie Butter, milk, and heavy cream until smooth.
- Finish the rolls: Drizzle the glaze generously over the warm rolls. Top with small dollops or drizzles of the remaining 1/4 cup of Biscoff Cookie Butter. Serve warm.
Notes
- For extra soft rolls, cover the pan with foil for the first 15 minutes of baking.
- If your Biscoff Cookie Butter is too stiff, microwave it for 15 seconds to make it easier to spread.
- You can make the dough ahead of time and let it cold-proof in the refrigerator overnight for easier morning assembly.
Nutrition
- Serving Size: 1 roll
- Calories: 450
- Sugar: 45
- Sodium: 350
- Fat: 24
- Saturated Fat: 13
- Unsaturated Fat: 11
- Trans Fat: 0
- Carbohydrates: 55
- Fiber: 2
- Protein: 6
- Cholesterol: 45