

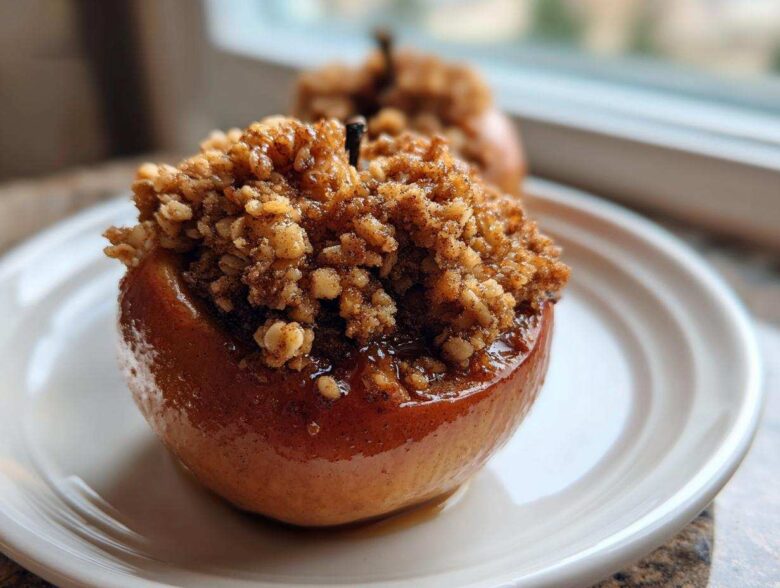
There is absolutely nothing in this world that says ‘cozy autumn evening’ quite like the smell of warm cinnamon and baked fruit filling your kitchen, is there? I wait all year for the weather to get crisp so I can pull out my favorite baking dishes. Forget those complicated layered things; my absolute go-to comfort food dessert is this baked apple sensation. This is my recipe for Classic Easy Baked Apples with Cinnamon Oat Crumble, and I mean easy. You spend ten minutes prepping, and then the oven does all the heavy lifting, leaving you with the most wonderfully tender fruit crowned with sweet, spiced oatmeal. If you’ve ever wanted to whip up some simple homemade applesauce but craved a whole fruit instead, this is perfect!
I remember the first time I tried stuffing apples. I was trying to impress my in-laws, and my filling kept weeping out the sides! Oops! Now, I use the trick I’ll share in a minute—the water base—and they come out perfect every time. Trust me, this simple apple dessert is going to be your new fall staple.
Why This is the Best Baked Apple Recipe You Will Make
Honestly, when you need a guaranteed win in the kitchen, this is the one. I don’t mess around when it comes to baking apples, and this recipe hits every single mark you want in a great fall apple dessert. You are going to love how quickly this comes together!
- Super Quick Prep: We’re talking seriously minimal effort. 10 minutes in, and that’s mostly just chopping butter. This is the ultimate easy baked apples recipe when you’re short on time.
- Perfect Texture Achieved: The apples become beautifully soft and melt-in-your-mouth, resulting in truly tender baked apples without turning into mush.
- The Crumb Topping is Everything: That oat crumble filling is crunchy and perfectly seasoned with cinnamon. It’s basically an apple crisp, but neatly contained within the fruit itself!
If you want a deeply satisfying, warm hug in dessert form, this simple method gives you the perfect experience without needing fancy equipment or hours of waiting.
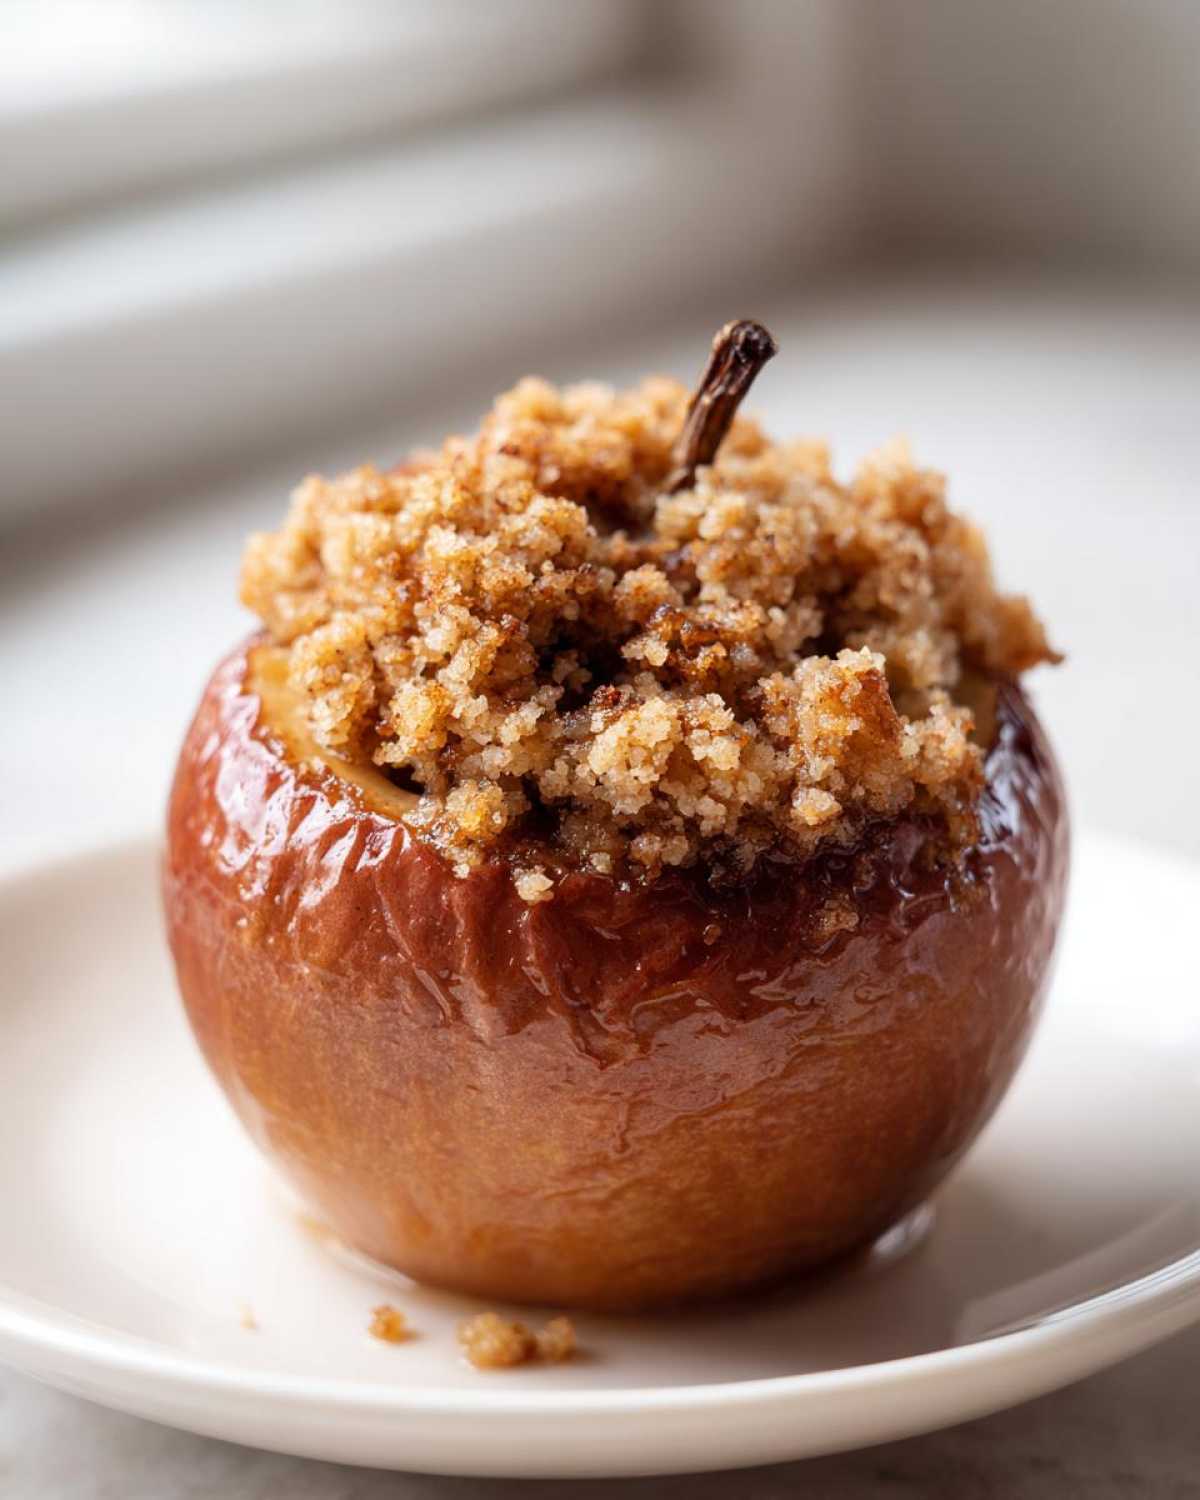
Ingredients for Classic Baked Apples with Cinnamon Oat Crumble
You don’t need a ton of stuff for this lovely dish, which is why I love it as a weeknight treat! The key here is making sure your apples are firm enough to hold up to the heat. I almost always grab Honeycrisp or something tart like Granny Smith—they bake up beautifully without just dissolving into sweet sauce. Make sure the butter for the topping is nice and cold!
Here is what you need to gather up:
- 4 medium baking apples (I always suggest trying Honeycrisp or Granny Smith for the best texture!)
- 1/4 cup rolled oats (not the instant stuff, we need some bite!)
- 1/4 cup packed brown sugar (Dark or light, whatever you have, but packed tight!)
- 1 tablespoon all-purpose flour
- 1 teaspoon ground cinnamon (a generous one!)
- 1/4 teaspoon ground nutmeg
- 2 tablespoons cold unsalted butter, cut into tiny little pieces
- 1/4 cup plain water (This cooks along the bottom to steam them gently!)
That’s it! If you have those things, you are halfway to the best aroma filling your entire house. Go check your pantry!
How to Make Baked Apples: Step-by-Step Instructions
Figuring out how to make baked apples seems tricky, but I promise it’s dead simple once you know the few crucial steps. We are aiming for perfectly soft fruit that hasn’t collapsed into liquid, so pay attention to the coring and the water base—that’s the secret to great oven baked apples!
Preparing the Apples and Oven
First things first: get that oven warmed up to 375 degrees Fahrenheit. You want it ready to go! Then, grab your baking dish and give it a quick spray or rub with butter. Next, wash your apples really well. Now for the coring—this is important. You need to scoop out the middle part, the seeds, and the tough core, but for crying out loud, don’t poke a hole through the bottom! Aim to leave about a half-inch of apple meat underneath. We need a little bowl built into the apple to hold the topping!
Creating the Cinnamon Oat Crumble Filling
This part is fun because it’s messy! Grab a small bowl—no need to dirty anything big. Toss in everything dry: your oats, brown sugar, flour, cinnamon, and nutmeg. Now, take those little cubes of cold butter and use your fingertips to squish them into the dry mix. Keep rubbing and crumbling until it looks exactly like coarse, clumpy sand. That texture is what keeps it crunchy while the apple softens up!
Baking and Checking for Tender Baked Apples
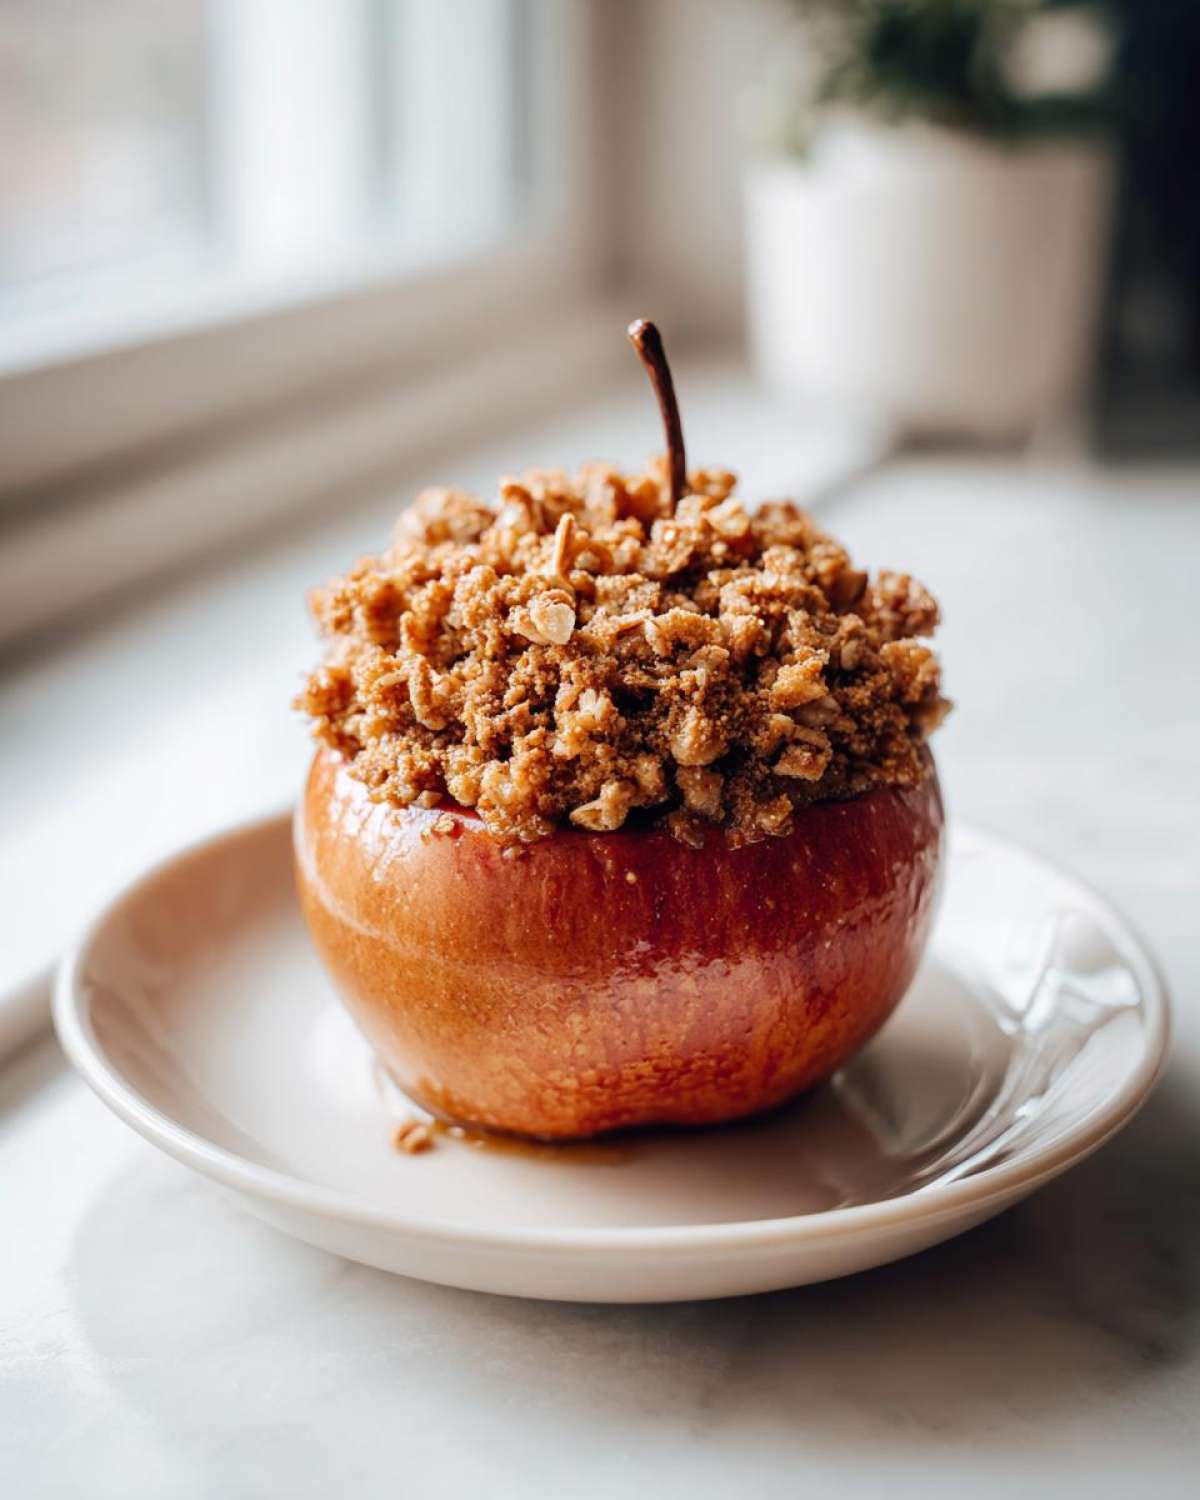
Once everything is prepped, carefully spoon that glorious oat mixture right into the hollowed center of each apple. Stand them all up nicely in your prepared dish. Now, here’s the secret non-mush trick: pour that 1/4 cup of water around the base of the apples, not on top! This creates steam. Pop them into the oven for about 35 to 45 minutes. When checking them at the 35-minute mark, gently pierce one with a fork. If the fork slides right in without much stopping, they are done! If you get resistance, let them bake a little longer.
Tips for Perfect Baked Apples Success
Even though this is the best baked apple recipe because it’s so forgiving, I still have a few tricks up my sleeve to make sure you get a home run every time. First, let’s talk apples again. If your apples are already really soft or super ripe before they even go into the oven, they are going to collapse. You absolutely need that crisp texture so when you bite in, you get the tenderness of the fruit against the crunch of the oat filling. Honeycrisp or Fuji are my favourites for this!
What if the topping starts browning too fast but the apple isn’t soft yet? Don’t panic! I learned this trick years ago: just loosely tent a piece of aluminum foil over the top for the last 10 or 15 minutes of baking. It protects the crumble but lets the heat keep working on the fruit underneath. That’s the secret to beautiful stuffed baked apples!
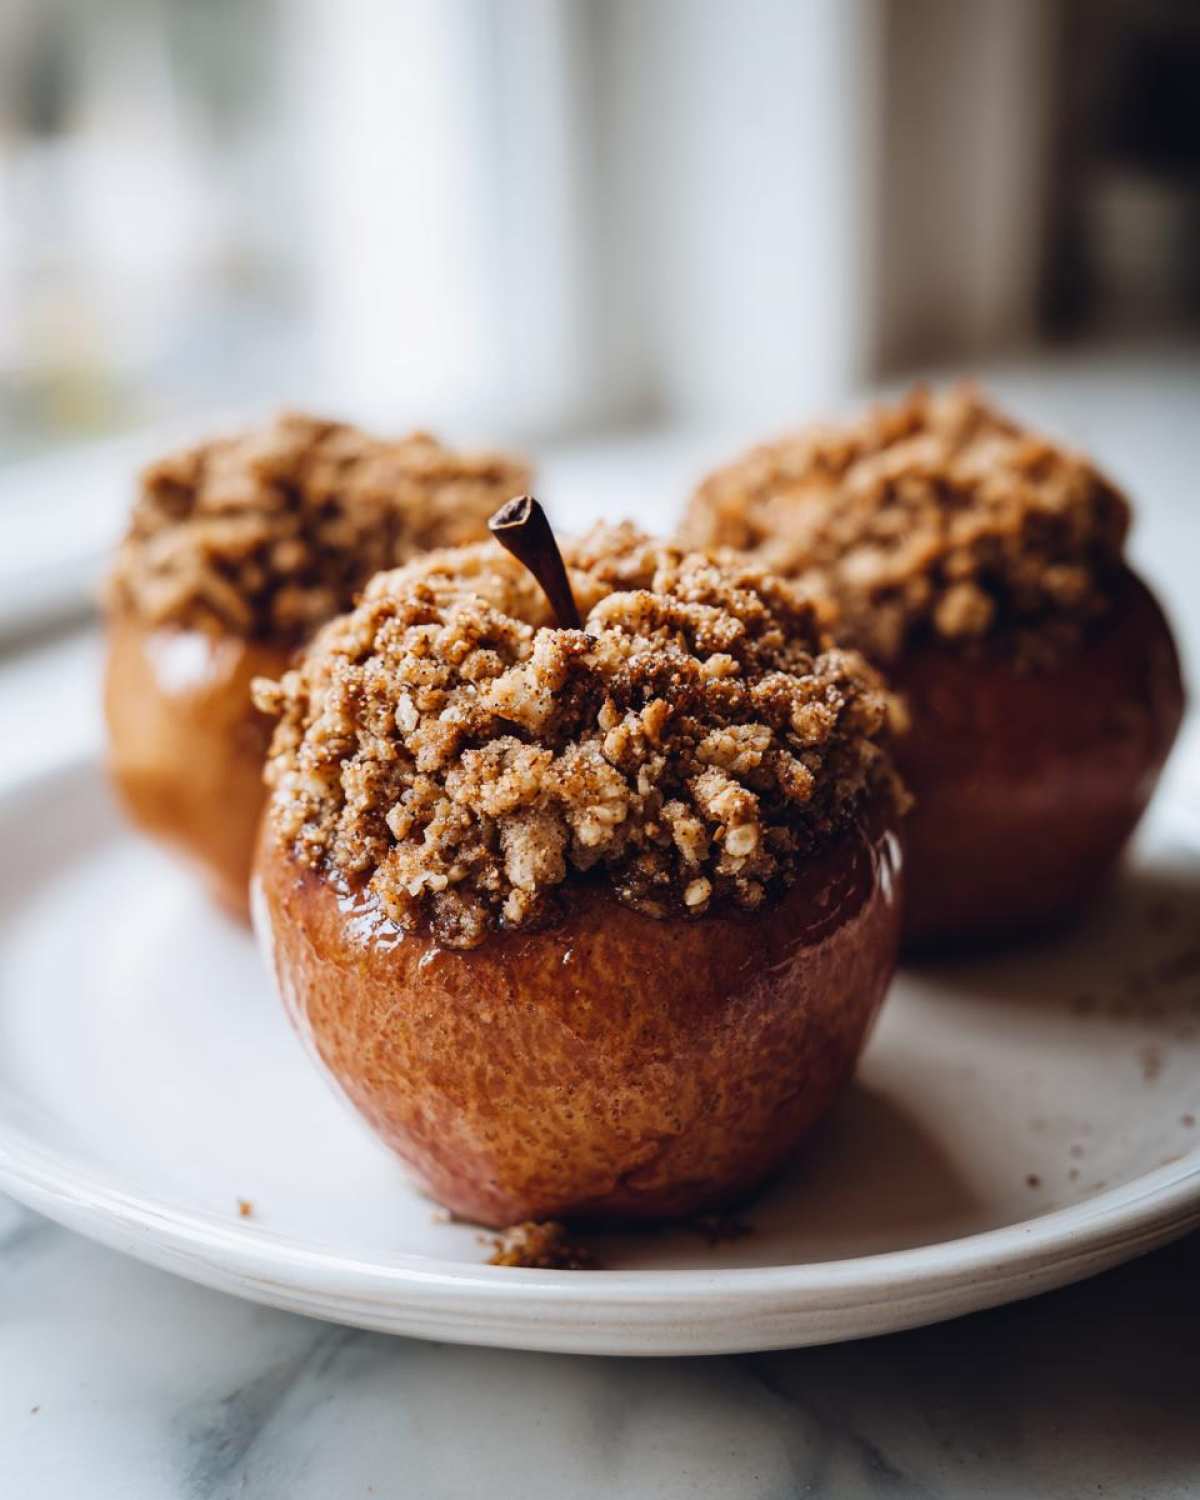
If you ever want to spruce them up, switching things up is easy. You can always toss a tablespoon of chopped pecans or walnuts into that filling mixture for an extra layer of crunch. It’s a great way to make them feel fancier without adding much more time. You can find inspiration in how I handle fruit fillings over in my apple strudel post as well!
Serving Suggestions for Your Warm Apple Dessert
Okay, the apples are tender, they smell like pure heaven, and they are ready to come out of the oven. Cutting the heat is just step one! What you serve them with is what turns this simple dish into the absolute showstopper of any fall gathering. I usually pull mine out right before everyone sits down so they are piping hot.
If you want that classic, truly indulgent feeling, you have to go straightforward. A big scoop of vanilla bean ice cream melting right down into that warm oat filling? Oh my goodness. The temperature contrast between that frozen creaminess and the warm apple dessert is just heaven sent. If you are trying to keep it slightly healthier, don’t reach for that scoop; try a dollop of plain Greek yogurt instead. It gives you that slight tang that cuts through the sweetness from the brown sugar.
But if you want to really push this into supreme comfort territory, you need sauce. A nice drizzle of melted caramel sauce over the top once they are plated might just ruin all other desserts for you forever—it’s that good! For a next-level treat, you’ve got to see how amazing these taste when you pair them with something rich, much like the sauce I use in my Bananas Foster recipe. Seriously, the caramel drips down into that little pool of water at the bottom and makes a lovely, thin sauce. This ultimate presentation seals the deal for any perfect baked apple dessert!
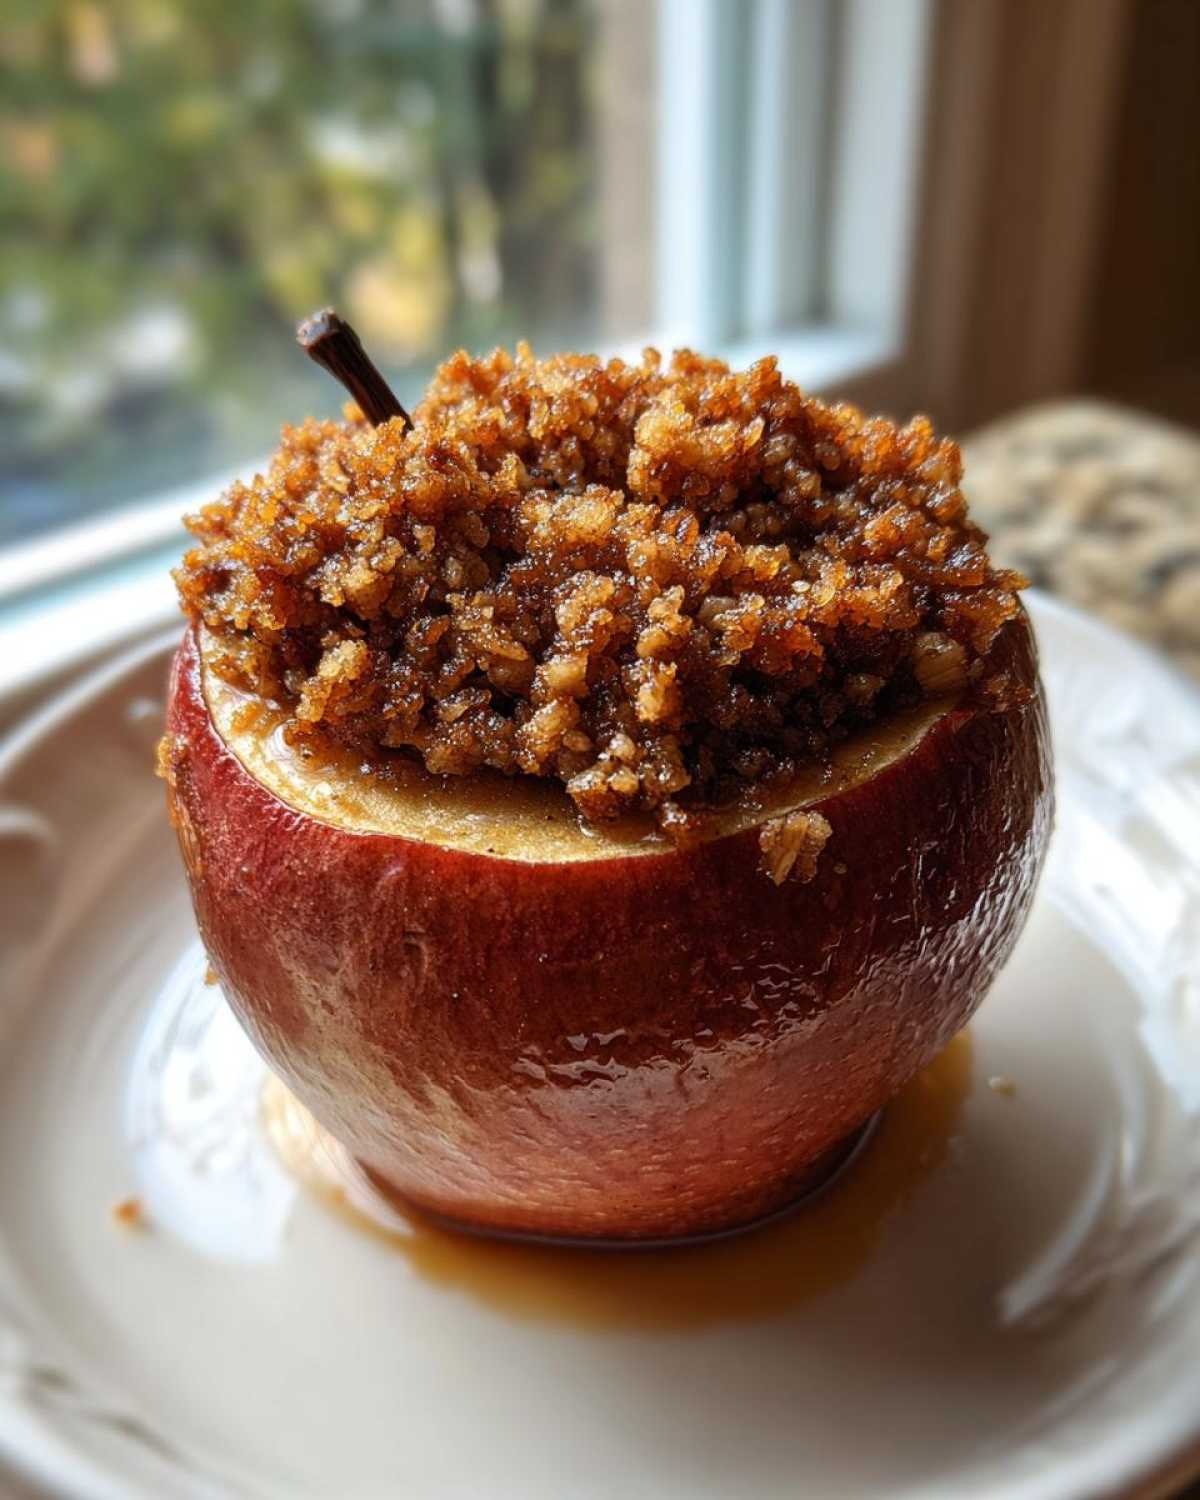
Variations: Healthy Baked Apples and Indulgent Twists
One thing I always strive for in my kitchen is flexibility! We all have different moods, right? Sometimes you want something that feels like a total treat—like practically a slice of pie—and other times you want a dessert that leans into being a little bit healthy baked apples friendly. Luckily, this foundation recipe handles both extremes like a champ.
If you’re cutting back on refined sugar, you can swap out that brown sugar in the crumble for the exact same amount of pure maple syrup. Just mix it in slowly and maybe use just a tiny bit less syrup than the sugar called for, since syrups are wetter. You still get that wonderful sweetness, totally reminiscent of the flavour in my favorite apple crumble, but with a cleaner taste.
Now, for the indulgent side? Let’s talk major upgrades! If you want to mimic that creamy, tangy quality of a rich dessert, you can mix up a small amount of cream cheese with a touch of vanilla and a dusting of powdered sugar, and use that as your stuffing instead of the oat mixture sometimes. Or, if you’re already thinking about turning this into a full apple crisp baked apples hybrid, just toss some chocolate chips or buttered pecans into that oat mix! Honestly, a generous drizzle of extra caramel sauce makes this recipe instantly become the most decadent caramel baked apples you’ve ever had. You can explore other easy sweet ideas over in my no-bake peanut butter pie guide for more inspiration!
Storage and Reheating Instructions for Baked Apple Leftovers
I always hope there are leftovers because these baked apples taste almost as good the next day—provided you treat them right! They are definitely best eaten fresh, but we work with what we’ve got, right?
If you have any leftover baked apples, let them cool completely on the counter first. Once they are room temperature, you should transfer them into an airtight container. I prefer glass containers because I can see exactly what I have in the fridge, but any sealable dish works! You can confidently store these in the refrigerator for about three days. Any longer than that, and the texture starts getting a little watery, which is a shame because we worked so hard to get that perfect tender baked apple consistency!
Now, reheating is where people go wrong. If you microwave the whole thing, the oat topping gets soggy instantly! For the best results, I highly recommend using your regular oven or a toaster oven if you only have one left. Pop the apple onto a small baking sheet or into an oven-safe ramekin at about 325 degrees Fahrenheit for about 8 to 10 minutes. This gently warms the fruit all the way through and crisps up that cinnamon sugar topping again without drying out the apple core. If you are in a mega rush, five to ten seconds in the microwave is fine, but I swear you’ll miss that lovely little crunch on top!
Frequently Asked Questions About Baked Apple
I get so many messages a year about baked apples, especially as fall rolls around! It’s funny how a simple dish leads to the most specific questions. Don’t worry if you’re wondering about the apple types or the best way to cook them—I’ve sorted out the most common roadblocks readers run into when trying this easy fruit dessert.
What is the best type of apple for a baked apple?
This is probably the number one question I get! You need an apple that won’t melt into apple sauce before the baking time is up. I always recommend going for an apple that has a good balance of firm texture and delicious taste. My top picks are Honeycrisp or Fuji because they are delightfully sweet but hold their shape incredibly well in the heat. If you like a little tang to balance the sweet crumble, you absolutely cannot go wrong with a Granny Smith. They just bake down to a perfect, tender bite.
Can I make baked apples ahead of time?
Yes, you totally can, but you have to work smarter! If you want to prep ahead, I suggest prepping the filling mixture completely—get that cinnamon oat crumb all mixed up and keep it in an airtight container in the fridge. Also, you can core your apples a few hours ahead of time! If you do that, just rub the insides with a little bit of lemon juice or a splash of that leftover water to stop them from turning a yucky brown color. When it’s time to bake, just stuff them and pop them in. You might need to add about 5 to 10 extra minutes to the cooking time since the apples will be cold going into the oven.
Can I use an air fryer to make baked apples?
Oh, the air fryer! It’s great for so many things, and yes, it can handle a baked apple beautifully if you’re only making one or two servings. If you use an air fryer, you need to reduce the temperature quite a bit—maybe lower it to about 325°F—because the air circulation is so intense. And keep an eye on the time! They often cook faster, maybe only needing 20 to 25 minutes. I still stand firmly behind the reliability of the oven method I detailed above because it cooks them more evenly all the way around, especially the bottom, but for speed, the air fryer is a decent substitute. You can often find loads of great tips for using your favorite appliances for other fruits over in my easy fruit dessert section, too!
Nutritional Estimates for This Simple Apple Dessert
Now, let’s talk numbers. I always try to be upfront about what’s going into the fun stuff, even if this is a treat! Since we are loading up on brown sugar and butter in that lovely crumble topping, this isn’t exactly a diet food, but hey, it’s fruit, so that counts for something, right? I used the nutritional data for the ingredients and came up with these rough figures for one serving (that’s one whole apple stuffed with topping).
Please remember these are just estimates; your apple size and how heavy-handed you are with the brown sugar or topping changes things! I mean, if you slather it in ice cream, you’re adding a whole new column to this chart, haha!
- Serving Size: 1 apple
- Calories: Around 280
- Sugar: About 35g (mostly from the natural apple sugars and the brown sugar in the filling)
- Fat: Roughly 12g, most of that comes from the butter we cut into the oats.
- Carbohydrates: About 45g total.
- Fiber: Close to 6g, which is great for a dessert, thanks to the oats and the apple itself!
- Protein: A modest 3g.
- Cholesterol: About 28mg.
It’s a wonderfully balanced little treat, honestly. The oats and the natural fruit fiber make it feel much more substantial than, say, a plain sugar cookie. I always feel good about this one, especially since you can lighten it up by using maple syrup instead of sugar, which you can read more about in my post on weeknight sauces—see, everything connects back to efficiency in the kitchen!
PrintClassic Easy Baked Apples with Cinnamon Oat Crumble

Follow this simple recipe to make tender baked apples filled with a warm cinnamon oat crumble. This is a comforting, easy fall dessert.
- Prep Time: 10 min
- Cook Time: 40 min
- Total Time: 50 min
- Yield: 4 servings
- Category: Dessert
- Method: Baking
- Cuisine: American
- Diet: Vegetarian
Ingredients
- 4 medium baking apples (like Honeycrisp or Granny Smith)
- 1/4 cup rolled oats
- 1/4 cup packed brown sugar
- 1 tablespoon all-purpose flour
- 1 teaspoon ground cinnamon
- 1/4 teaspoon ground nutmeg
- 2 tablespoons cold unsalted butter, cut into small pieces
- 1/4 cup water
Instructions
- Preheat your oven to 375 degrees Fahrenheit. Lightly grease a small baking dish.
- Wash the apples. Use a small spoon or melon baller to core the apples, removing the seeds and center, leaving the bottom intact so the filling stays inside.
- In a small bowl, mix the rolled oats, brown sugar, flour, cinnamon, and nutmeg for the filling.
- Cut the cold butter into the dry filling mixture using your fingers or a pastry blender until the mixture resembles coarse crumbs.
- Place the cored apples into the prepared baking dish. Divide the oat mixture evenly and stuff it into the center cavity of each apple.
- Pour the 1/4 cup of water into the bottom of the baking dish around the apples.
- Bake for 35 to 45 minutes, or until the apples are tender when pierced with a fork.
- Remove from the oven and let cool slightly before serving warm.
Notes
- Serve immediately with a scoop of vanilla ice cream or a drizzle of caramel sauce for an indulgent treat.
- If you prefer a healthier version, substitute maple syrup for the brown sugar in the filling.
- Use firm apples that hold their shape well during baking.
Nutrition
- Serving Size: 1 apple
- Calories: 280
- Sugar: 35
- Sodium: 5
- Fat: 12
- Saturated Fat: 7
- Unsaturated Fat: 5
- Trans Fat: 0
- Carbohydrates: 45
- Fiber: 6
- Protein: 3
- Cholesterol: 28