

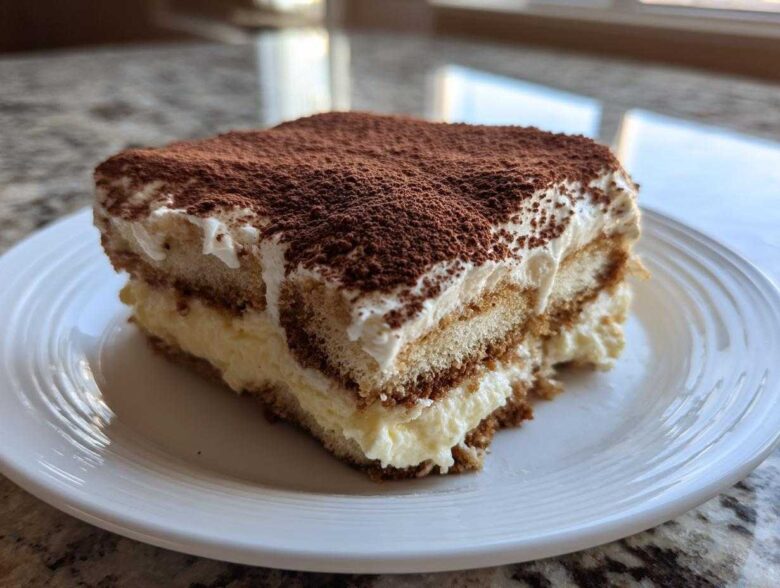
Oh my gosh, you know those desserts that seem way too fancy for a weeknight, but honestly take zero actual cooking? Tiramisu is the king of those! If you’ve been intimidated by making a real, authentic Italian dessert, stop right now. This tiramisu recipe is my absolute go-to because it’s totally no-bake and comes together faster than you think. I remember the first time I tried making this creamy mascarpone version—I thought I was messing up when I dipped the ladyfingers, but wow, it turned out incredible. It’s rich, it’s pure coffee heaven, and honestly, it makes you look like a dessert superstar. No oven required, I promise!
We’re using the traditional, glorious mascarpone for that unbelievable texture. I’ve linked my favorite recipe for Bananas Foster if you ever want another impressive stovetop option, but right now, let’s focus on layers!
Why This Easy Homemade Tiramisu Recipe is a Must-Try
Listen, the reason this Easy Homemade Tiramisu has become my signature potluck dish is simple: it packs a massive flavor punch with almost zero sweat equity from me. You don’t even have to turn on the oven, which, on a hot summer day, is just a blessing, right?
- It’s genuinely no-bake! Just mixing and layering.
- The assembly is so quick; you’re done in maybe thirty minutes of active time.
- It delivers that rich, indulgent, and totally Creamy Mascarpone Dessert experience you crave from an Authentic Italian Tiramisu.
- It tastes even better the next day, making it the ultimate make-ahead item! Check out my no-bake peanut butter pie if you love desserts that set up overnight!
Gathering Ingredients for Your Perfect Tiramisu Recipe
Okay, for this amazing tiramisu recipe, the quality of your ingredients really shines through. Since we aren’t baking anything, prep notes are everything! You absolutely must have strong coffee brewed and cooled down until it’s room temperature or even chilled. Remember that if eggs worry you, I’ve noted an easy substitution later on, but for the classic version, we need those yolks!
Also, make sure your heavy cream is straight from the fridge—icy cold is key for whipping up stiff peaks. Don’t forget to check out my foolproof guide for creamy frosting if you ever need a tip on achieving fluffy texture!
Ingredients for the Creamy Mascarpone Dessert Layer
- 6 large egg yolks (they must be room temperature if you are pasteurizing them)
- 3/4 cup granulated sugar
- 1 1/2 cups heavy whipping cream, *cold*
- 16 ounces mascarpone cheese, *softened* to room temperature
Ingredients for Coffee Soaking and Assembly
- 1 1/2 cups strong brewed coffee, *cooled completely*
- 1/4 cup coffee liqueur or dark rum (optional, but I highly recommend it!)
- 2 packages (about 14 ounces total) ladyfingers (Savoiardi work best)
- Unsweetened cocoa powder, for dusting when we are done
No Bake Tiramisu Instructions: Step by Step Tiramisu Guide
This is where the magic actually happens! It looks complicated, but these No Bake Tiramisu Instructions are broken down so simply that you can’t mess it up. We’re moving quickly through the steps, but take your time, especially with the folding parts, because we want all that beautiful air in our cream. Follow this Step by Step Tiramisu Guide and you’ll have a restaurant-quality dessert ready for the fridge! If you’re looking for an impressive bread side, you should definitely check out my recipe for easy homemade breadsticks!
Step 1: Pasteurizing the Egg Base (Zabaione Technique)
First thing’s first: safety! We’re gently cooking those yolks just to bring them up to temperature. Set up a double boiler—that’s just a heat-proof bowl sitting snugly over a saucepan with simmering water, but the water shouldn’t really touch the bottom of your bowl. Whisk your egg yolks and sugar together constantly in that bowl. You have to keep whisking until the mixture turns pale yellow, thickens up beautifully, and hits 160 degrees F on a thermometer. Trust me, hitting that temperature is key for safety! Once you get there, pull it right off the heat and let it cool down for just a few minutes while you tackle the next step.
Step 2: Preparing the Whipped Cream and Mascarpone
Grab your chilled heavy cream and whip it up until you get stiff peaks—when you lift the whisk, the peaks should stand straight up, not flop over. Set that beautiful cream aside. In a separate bowl, use a rubber spatula to gently smooth out your softened mascarpone cheese until it’s nice and uniform. Fold that slightly cooled egg yolk mixture into the mascarpone. Now, for the light texture: gently fold the stiff whipped cream into the mascarpone blend. Do this lightly, caring about what you’re doing, so you don’t knock the air out. Stop folding the second you don’t see any white streaks left!
Step 3: Coffee Dipping and Layering the Tiramisu Recipe
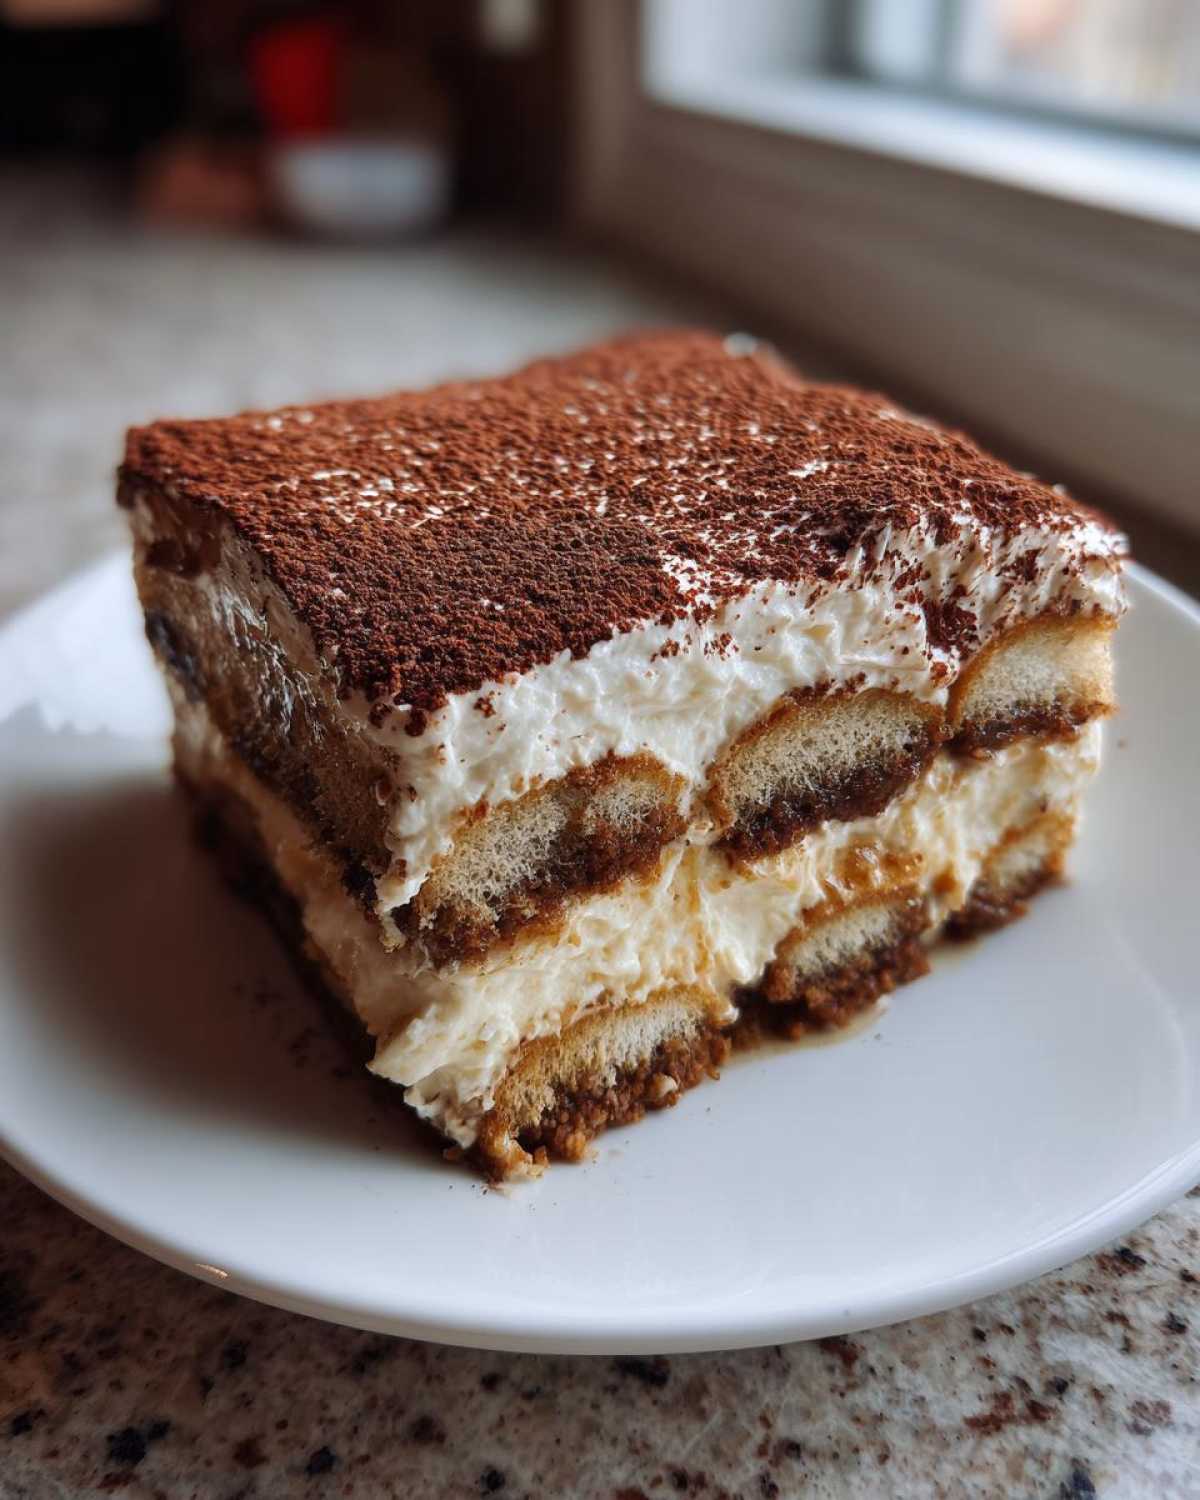
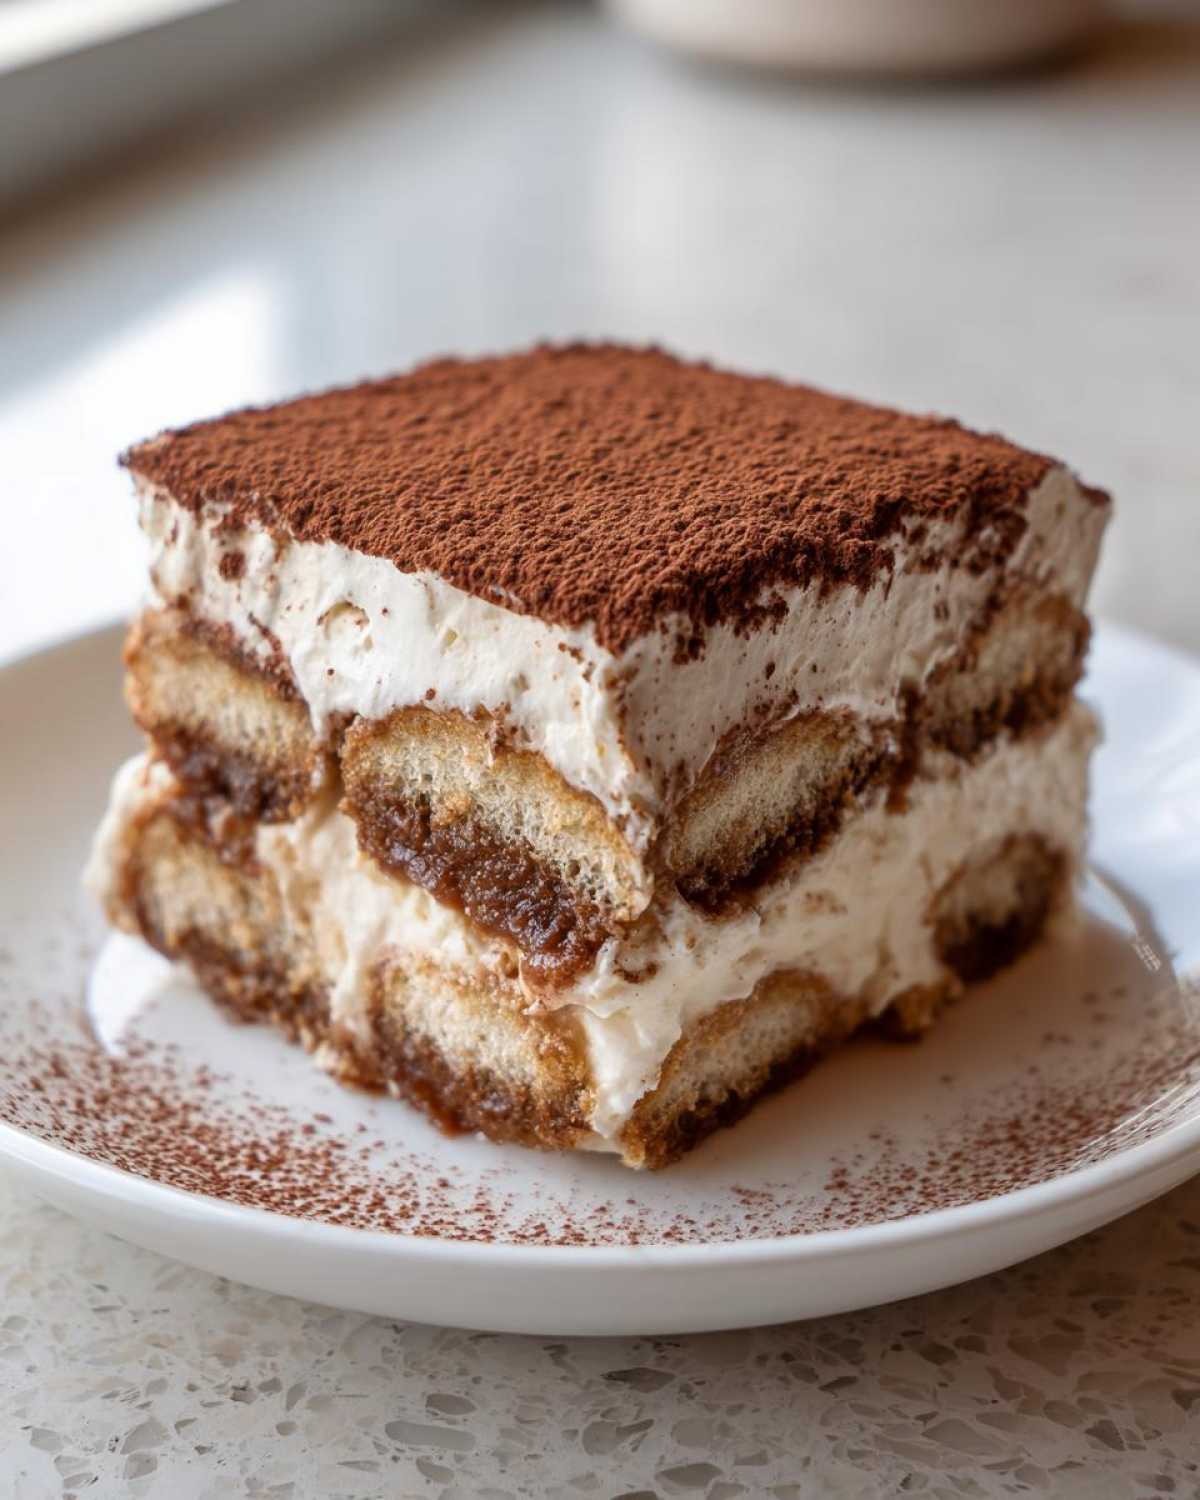
Now, mix your cooled coffee and your booze of choice in a shallow dish. This part requires speed! You need to quickly dip EACH ladyfinger into the coffee mixture—like a one-second dunk on each side, people! If you soak them too long, you’ll have pudding, not cake. Arrange that first layer in the bottom of your 9×13 dish. Spread half of that gorgeous mascarpone cream right over those dipped fingers. Then, make a second row of dipped ladyfingers, and top it all off with the rest of the cream. This is your tiramisu recipe assembly!
Step 4: Chilling and Final Dusting
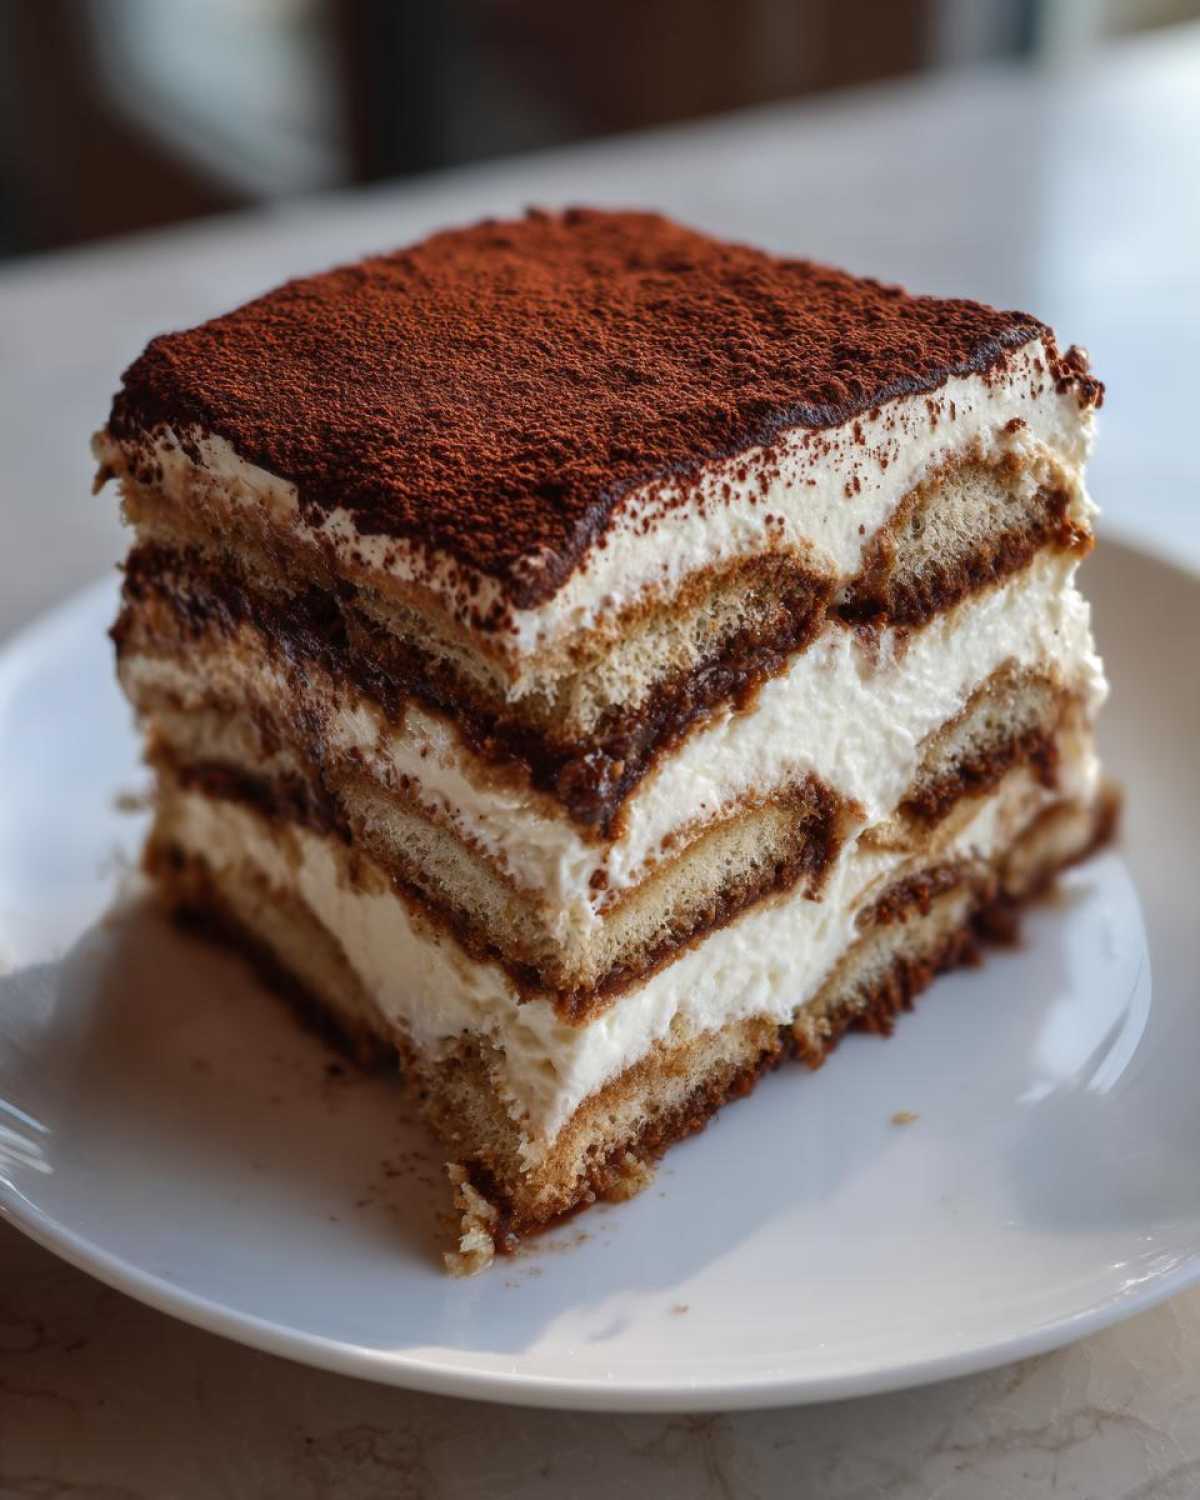
Cover the dish tight with plastic wrap—no peeking! Now your patience gets rewarded: this must chill. I say a minimum of six hours, but honestly, overnight is when the flavors really meld together perfectly. Right before you serve it—and I mean right before—take a fine-mesh sieve and dust the entire top generously with unsweetened cocoa powder. That deep, rich chocolate dusting is the classic finish!
Ingredient Notes & Tiramisu Without Raw Eggs Substitution
Let’s talk about options, because sometimes you just can’t use raw yolks, right? If you’re worried about that step in our classic tiramisu recipe, don’t stress for a second—I have an easy fix that still gives you that beautiful, luscious texture. You can skip the heating process entirely if you want a true no-cook version, though the pasteurized eggs are really worth the effort for that authentic richness!
For the substitution: Take 1 cup **cold** heavy cream and whip it up with about 1/2 cup of powdered sugar until you have stiff peaks, just like the cream we whipped earlier. Then, you simply fold that whipped cream right into your smooth mascarpone. It makes a slightly lighter cream than the one using yolks, but trust me, it’s still incredibly delicious. Make sure you look at my date nut bread recipe too; sometimes simple substitutions make a big difference!
Also, if you are skipping alcohol, just add a teaspoon of really good vanilla extract to your coffee mixture instead of the liqueur. It rounds out the coffee flavor nicely!
Tips for the Best Tiramisu Recipe Ever
If you want to graduate from a good tiramisu recipe to the ABSOLUTE Best Tiramisu Recipe Ever, you need to focus on two things: the soak and the fold. Seriously, these are the make-or-break moments for your dessert. I learned this the hard way early on when I made an entire batch of ladyfingers so soggy they basically dissolved into brown mush before I even got to the cream layer. Oops!
So, my rule now is lightning fast dipping. One second per side in that coffee mixture, literally. They should still feel a little firm when you put them in the dish because they absorb so much liquid while chilling. Also, when you are folding that whipped cream into the mascarpone-yolk mixture? Be gentle, be patient! You’re trying to keep all those tiny air bubbles intact. If you beat it like you’re making soap suds, you end up with a dense, wet dessert instead of that airy, elegant texture we want. It’s worth the extra care, trust me. If you need another impressive, easy dish, you can check out my recipe for easy homemade breadsticks to serve alongside!
Make Ahead Dessert Ideas: Storing Your Layered Coffee Dessert
This is truly one of my favorite Make Ahead Dessert Ideas because it just gets better with age, which is perfect for when you’re hosting a dinner party and don’t want to stress on the day!
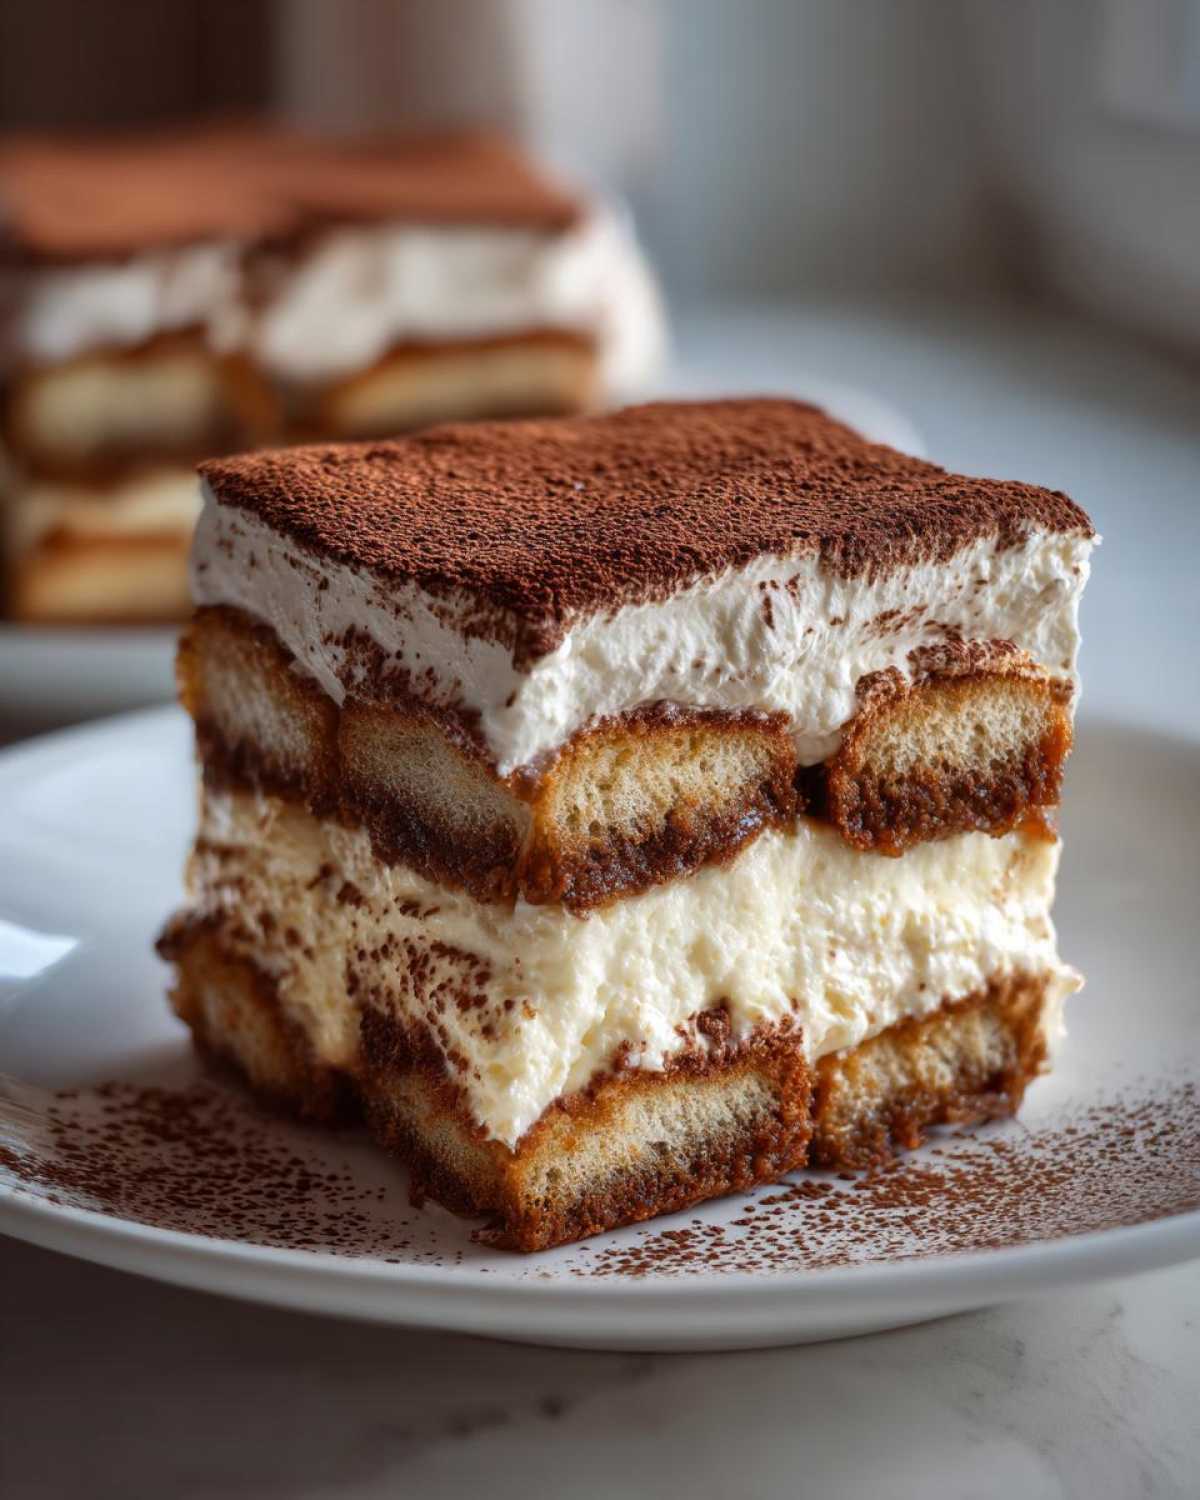
Once you’ve dusted your beautiful final layer of cocoa, cover that dish tightly with plastic wrap—don’t let it touch the cocoa if you can help it, or it will get damp! This Layered Coffee Dessert needs to hang out in the fridge. I usually aim for at least eight hours, but honestly, if you can leave it for a full 24 hours, the coffee flavors have time to really soak into the mascarpone and the ladyfingers soften perfectly. Flavor-wise, it’s always better the second day. It holds up well in the fridge for about three days, but I doubt it will last that long once people see it!
For easy cleanup, maybe you’ll want to save that pot after making my stovetop applesauce for later!
Serving Suggestions for Your Quick Elegant Dessert
This tiramisu recipe is so wonderfully rich that sometimes you don’t need much else alongside it, which is why it’s such a fantastic Quick Elegant Dessert for entertaining! If you want to add a little pop of color or freshness, I highly recommend serving it with a small bowl of mixed fresh berries—raspberries and strawberries just cut through that rich coffee and cream so nicely.
Another thing I love doing, especially if I’m serving it at a holiday dinner, is adding a layer of finely shaved dark chocolate *on top* of the cocoa powder. It just adds a little texture contrast. If you’re looking for an easy fruit counterpoint, you simply must try my easy berry cobbler recipe for another time!
Frequently Asked Questions About This Tiramisu Recipe
I get so many questions when people try this for the first time, which is great! It just means everyone wants their tiramisu recipe to turn out perfectly. Here are the things I hear asked most often about achieving that perfect texture and flavor step-by-step.
Can I make this tiramisu recipe without alcohol?
Absolutely, you can skip the coffee liqueur or rum completely! If you want that little flavor boost back, try mixing a teaspoon of really wonderful pure vanilla extract into your cooled coffee along with the rest of the liquid. It won’t taste boozy, but it still enhances the coffee flavor beautifully. Easy peasy!
What is the best way to get that ‘Authentic Italian Tiramisu’ flavor?
If you want true Authentic Italian Tiramisu flavor, two things matter most: strong coffee and good cheese. Don’t use weak drip coffee; you need espresso or a very strong French press brew. That coffee is the backbone! Second, use real, high-quality mascarpone. Don’t skimp here; that’s what makes the Creamy Mascarpone Dessert layer taste right.
How long can I keep this Creamy Mascarpone Dessert refrigerated?
Because we pasteurized the eggs (or used the no-egg substitute), this is pretty stable! I find the absolute best time is 24 hours after assembly, but you can safely enjoy this Layered Coffee Dessert for up to three full days in the fridge if it lasts that long! Remember to keep it well-covered.
If you end up with extra coffee mixture, you should totally save it and try making a batch of my hot cocoa mix sometime!
Nutritional Estimates for This Rich Chocolate Dusting Dessert
Now, let’s talk numbers, though honestly, when a dessert tastes this good, I don’t look too closely at the label, do you? I pulled these common estimates based on using the recommended ingredients for one slice of this decadent, Rich Chocolate Dusting Dessert. Just remember these are approximate numbers, since every brand of mascarpone and ladyfinger acts a little differently!
If you’re watching macros, you might want to check out my protein cheesecake recipe for a lighter indulgence later!
- Serving Size: 1 slice
- Calories: About 350
- Total Fat: Roughly 22g
- Carbohydrates: Around 30g
- Protein: A helpful 7g
- Sugar: Yes, there’s about 25g in there, but it’s worth every bite!
Share Your Experience with This Classic Italian Tiramisu
I truly hope you loved putting together this Classic Italian Tiramisu as much as I do every time I make it. Now that you’ve mastered the layers and the coffee soak, I want to hear all about it!
Did you bake it for a special occasion? Did you try making it a day ahead like I suggested? Please hop down to the comments below and give this recipe some honest stars—I need to know if it lives up to the hype!
And honestly, I live for seeing what you all create! If you share a picture of your beautiful layered dessert on social media, please tag me! Seeing your gorgeous results makes all the recipe testing worth it. For more inspiration for your next dinner party star, head over to my main blog page, and thanks for baking with me today!
PrintEasy No-Bake Classic Tiramisu Recipe
Follow these simple steps to make an authentic, creamy Italian Tiramisu dessert without baking, using rich mascarpone cream.
- Prep Time: 30 min
- Cook Time: 0 min
- Total Time: 30 min
- Yield: 12 servings
- Category: Dessert
- Method: No-Bake Assembly
- Cuisine: Italian
- Diet: Vegetarian
Ingredients
- 6 large egg yolks
- 3/4 cup granulated sugar
- 1 1/2 cups heavy whipping cream, cold
- 16 ounces mascarpone cheese, softened
- 1 1/2 cups strong brewed coffee, cooled
- 1/4 cup coffee liqueur or dark rum (optional)
- 2 packages (7 ounces each) ladyfingers (Savoiardi)
- Unsweetened cocoa powder, for dusting
Instructions
- In a heatproof bowl set over a saucepan of simmering water (double boiler), whisk the egg yolks and sugar constantly until the mixture is pale yellow and thick, reaching 160 degrees F (this pasteurizes the eggs). Remove from heat and let cool slightly.
- In a separate large bowl, whip the cold heavy cream until stiff peaks form. Set aside.
- In another bowl, gently whisk the softened mascarpone cheese until smooth. Fold the cooled egg yolk mixture into the mascarpone until just combined.
- Gently fold the whipped cream into the mascarpone mixture until no streaks remain, creating the cream filling.
- In a shallow dish, combine the cooled coffee and liqueur, if using.
- Quickly dip each ladyfinger into the coffee mixture, turning once. Do not over-soak.
- Arrange a single layer of dipped ladyfingers in the bottom of a 9×13 inch baking dish.
- Spread half of the mascarpone cream mixture evenly over the layer of ladyfingers.
- Repeat with a second layer of dipped ladyfingers, followed by the remaining mascarpone cream.
- Cover the dish tightly with plastic wrap and refrigerate for at least 6 hours, or preferably overnight, to allow the dessert to set.
- Before serving, dust the top generously with unsweetened cocoa powder using a fine-mesh sieve.
Notes
- If you prefer not to use raw or pasteurized eggs, you can substitute the egg yolk mixture with 1 cup of chilled heavy cream whipped with 1/2 cup powdered sugar until stiff peaks form, then fold into the mascarpone.
- For the best flavor, use high-quality, strong coffee.
- This dessert tastes better the next day, so plan to make it ahead of time.
Nutrition
- Serving Size: 1 slice
- Calories: 350
- Sugar: 25
- Sodium: 80
- Fat: 22
- Saturated Fat: 14
- Unsaturated Fat: 5
- Trans Fat: 0
- Carbohydrates: 30
- Fiber: 1
- Protein: 7
- Cholesterol: 150