

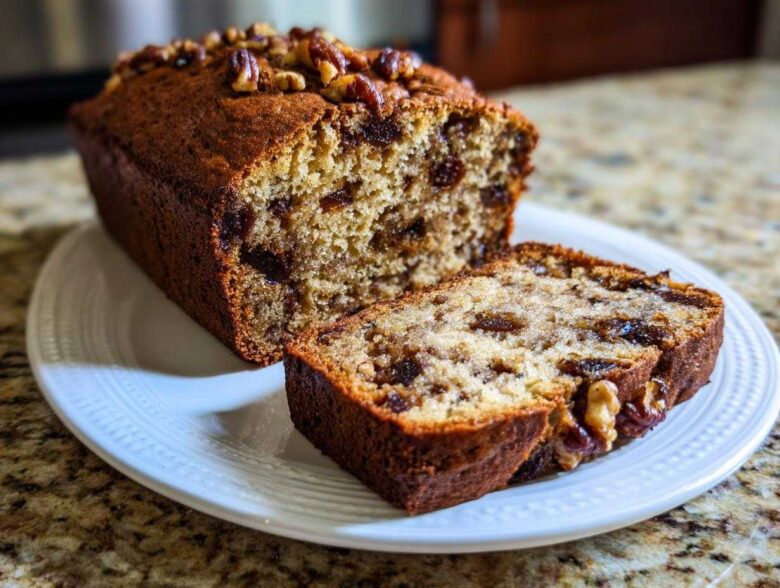
When Amelia plans a project, she finds the absolute best blueprint, and for ultimate comfort food baking, this Easy, Moist, Old-Fashioned Date Nut Bread has officially made it into the Taste Portfolio vault! Honestly, who doesn’t love that rich, slightly sticky texture that only comes from well-handled dates? This isn’t just another quick bread; it tastes like something Grandma would have baked when company unexpectedly showed up. I’m Jacob, and I’m telling you right now, the secret weapon for keeping this loaf unbelievably moist isn’t just the butter—it’s how we treat the dates before they even hit the stand mixer. If you follow this one little trick, you’ll have the best date nut bread you’ve ever made, guaranteed.
Why This Easy Date Nut Bread Recipe Earned a Spot in Our Portfolio
We bake a lot of things here, but this recipe stands out because it truly delivers on its promise: easy prep, incredible moisture, and that cozy, nostalgic flavor. Amelia keeps trying to categorize it, but honestly, it’s perfect for any time—hello, snickerdoodle level of comfort! We know you want a reliable, fuss-free loaf, and this one never lets us down.
- It’s a genuine quick bread—no yeast drama here!
- It guarantees a genuinely moist date nut bread crumb, every time.
- The flavor deepens perfectly overnight, making it great for planning ahead.
Achieving Maximum Moisture in Your Date Nut Bread
Moisture management is everything, right? We never skip soaking our dates. You’ll chop the dates and totally drench them in boiling water mixed with baking soda. That ten minutes lets them plump right up, releasing all their sugary goodness. Don’t drain any of that liquid when you add it to the batter! That slightly thickened, dark date liquid is the absolute core of delivering that signature moist date nut bread texture you’re looking for. Trust me on this step!
Perfect for Gifting and Holiday Date Loaf Appeal
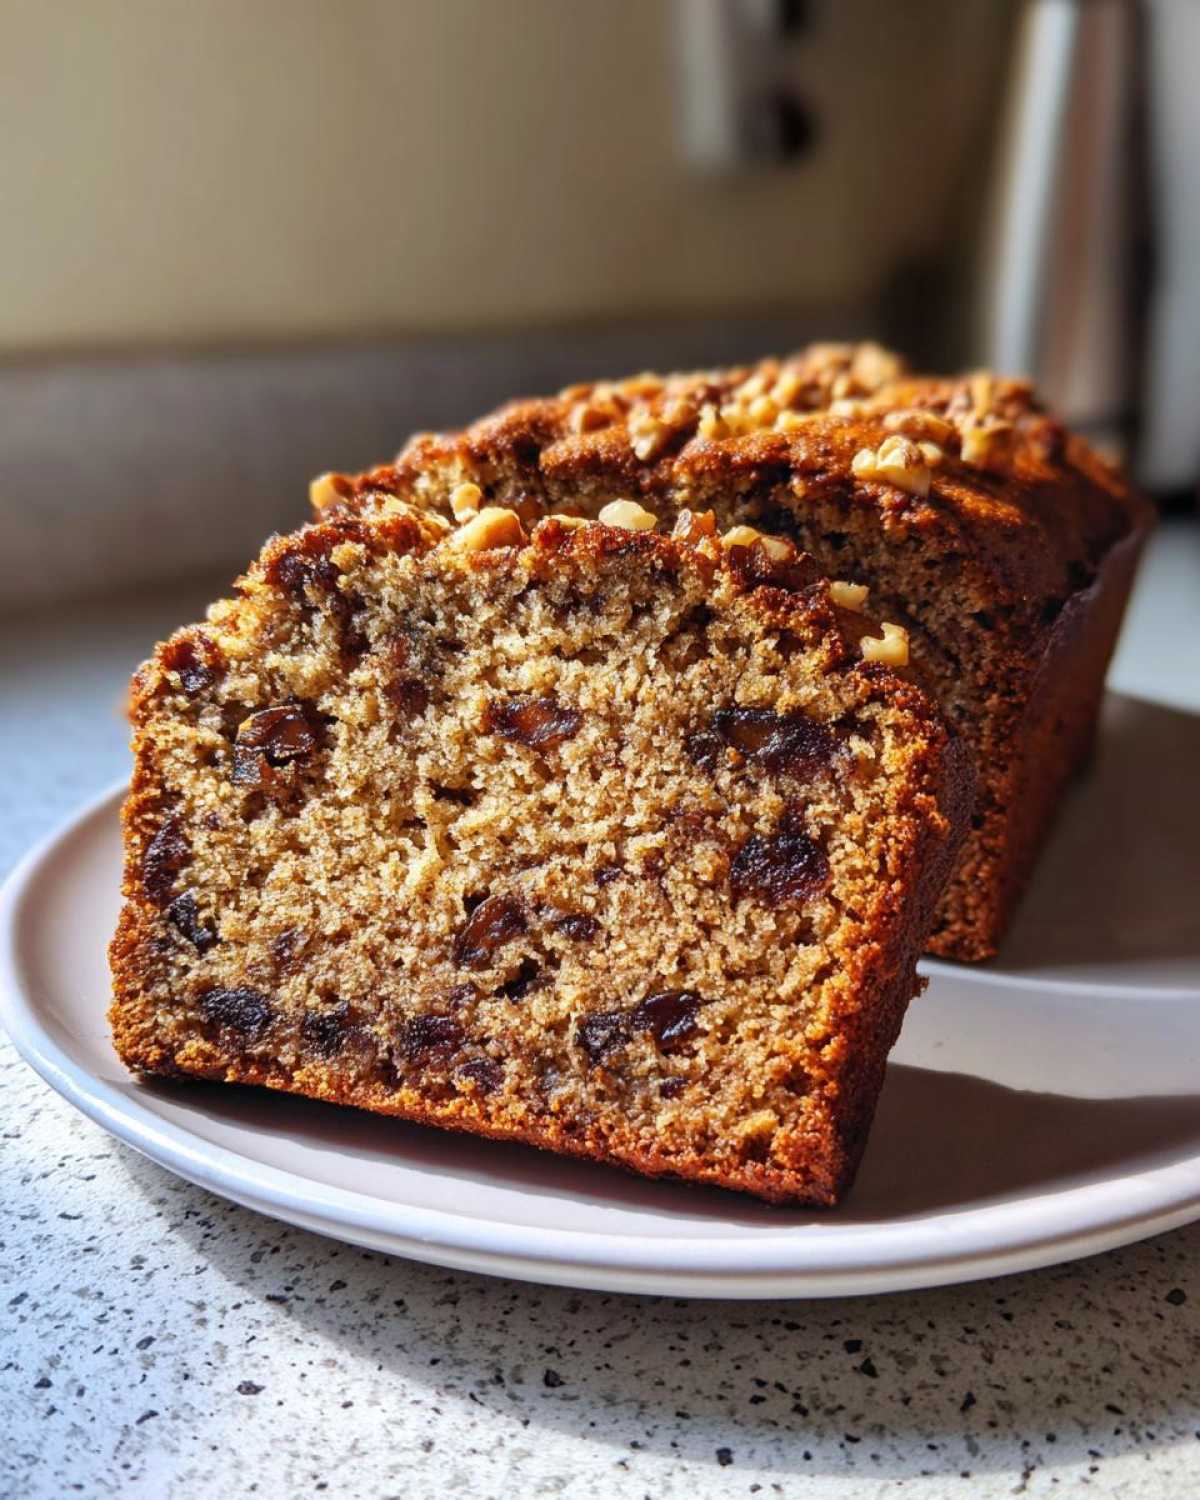
If you’re looking for a stunning holiday date loaf that travels well, this is it. Because it’s a sturdy quick bread, it holds up beautifully on road trips or when tucked into a gift basket. It toasts like a dream too, which makes it ideal for weekend breakfast prep. It’s the kind of date and walnut bread that makes your kitchen smell like pure comfort when it’s cooling.
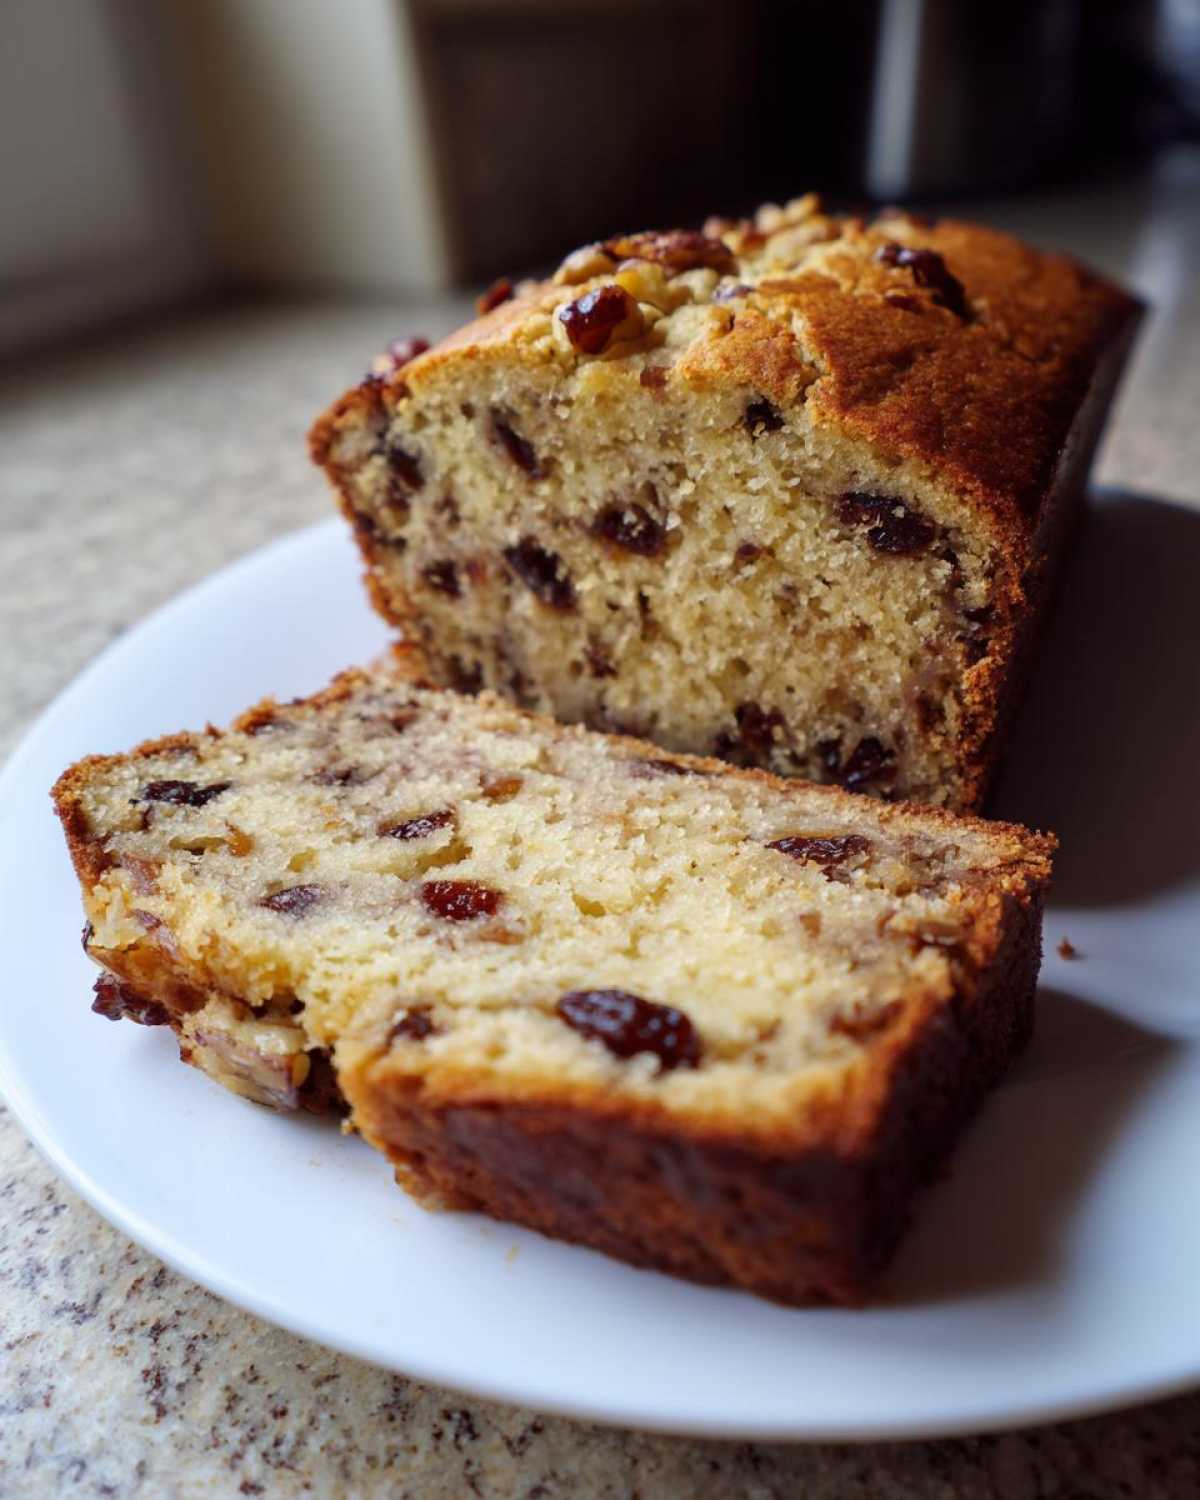
Gathering Ingredients for Your Moist Date Nut Bread
Okay, step one in any successful baking project, according to Amelia (bless her organized heart), is having every single thing measured and ready to go! Jacob here. I agree 100%—a perfect date nut bread relies on precision, especially when dealing with liquids. If you’re a little loose with your flour measurements, things get dicey fast. So, grab all your bits and pieces before you even think about turning the oven on. Precision means moisture! If you want more inspiration while you gather everything, check out my tips for making awesome pistachio muffins.
Ingredient Clarity: Dates, Nuts, and Leavening Agents
Let’s talk specifics so nothing shocks you mid-mix. For the dates, you absolutely need them pitted and then chopped up before they go into their hot water bath. Make sure your butter is actually softened—not melted! That makes a huge difference when creaming. And for the walnuts, we want 1 cup chopped for mixing in, but please save a handful of nice chunks for the top, too. That crunchy roof is essential!
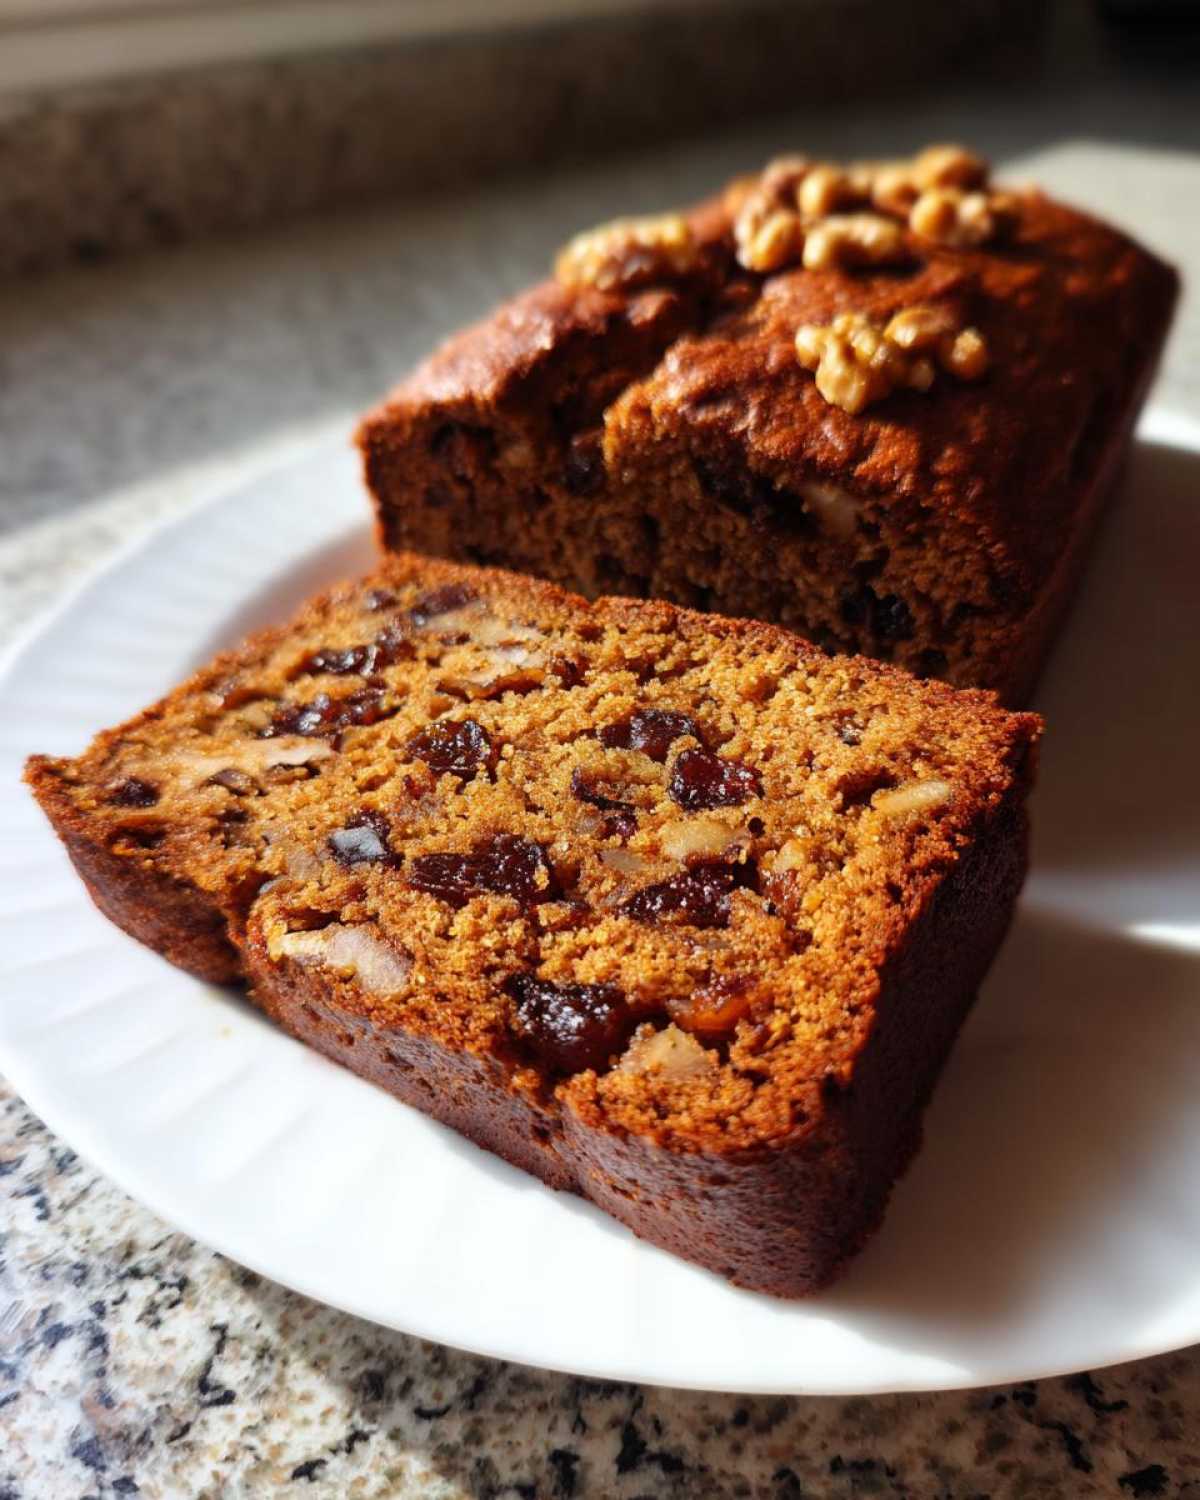
Step-by-Step Instructions for the Best Date Nut Bread Recipe
Okay, sweet stuff, let’s get this date nut bread into the oven! This is where Amelia’s planning meets my intuition, and we make magic happen. As long as you follow the order here, you’re golden. I promise, this is truly a classic quick bread process, nothing too scary!
Preparing the Dates and Activating the Soda
This first step is non-negotiable, folks. Don’t just toss the dates in! You take those chopped dates and pour boiling water right over them—add the baking soda too. Let that sit for a solid ten minutes. They swell up beautifully, and the soda starts its work, which helps keep the loaf tender. When you dump this mixture into your wet ingredients, you have to include every last drop of that dark, sweet liquid. That liquid is literally flavor insurance!
Mixing Wet and Dry Components for Your Easy Date Loaf Recipe
Now for the standard quick bread technique. First, you need to really whip that butter and brown sugar until it’s pale and fluffy. This incorporates air, which is crucial for that tender crumb in your easy date loaf recipe. Then, eggs go in one at a time—don’t rush that part! Once your wet batter looks great, you add in your dry flour mix. Here’s my biggest advice: only mix until you see no more white streaks. If you overmix, you fight the gluten, and suddenly your loaf turns into a chewy brick. We want soft!
Baking Time and Cooling for Perfect Date Nut Bread
Into the 350-degree oven she goes for about an hour. Keep an eye on the top around the 40-minute mark though! If it looks like it’s getting super dark and you know the inside isn’t done yet, just grab a piece of foil and loosely tent the top. That stops the crust from burning before the center sets. Once a wooden skewer comes out clean, pull it out. Crucially, let it rest in that hot pan for a full 10 minutes before you try to flip it onto the wire rack. Patience pays off!
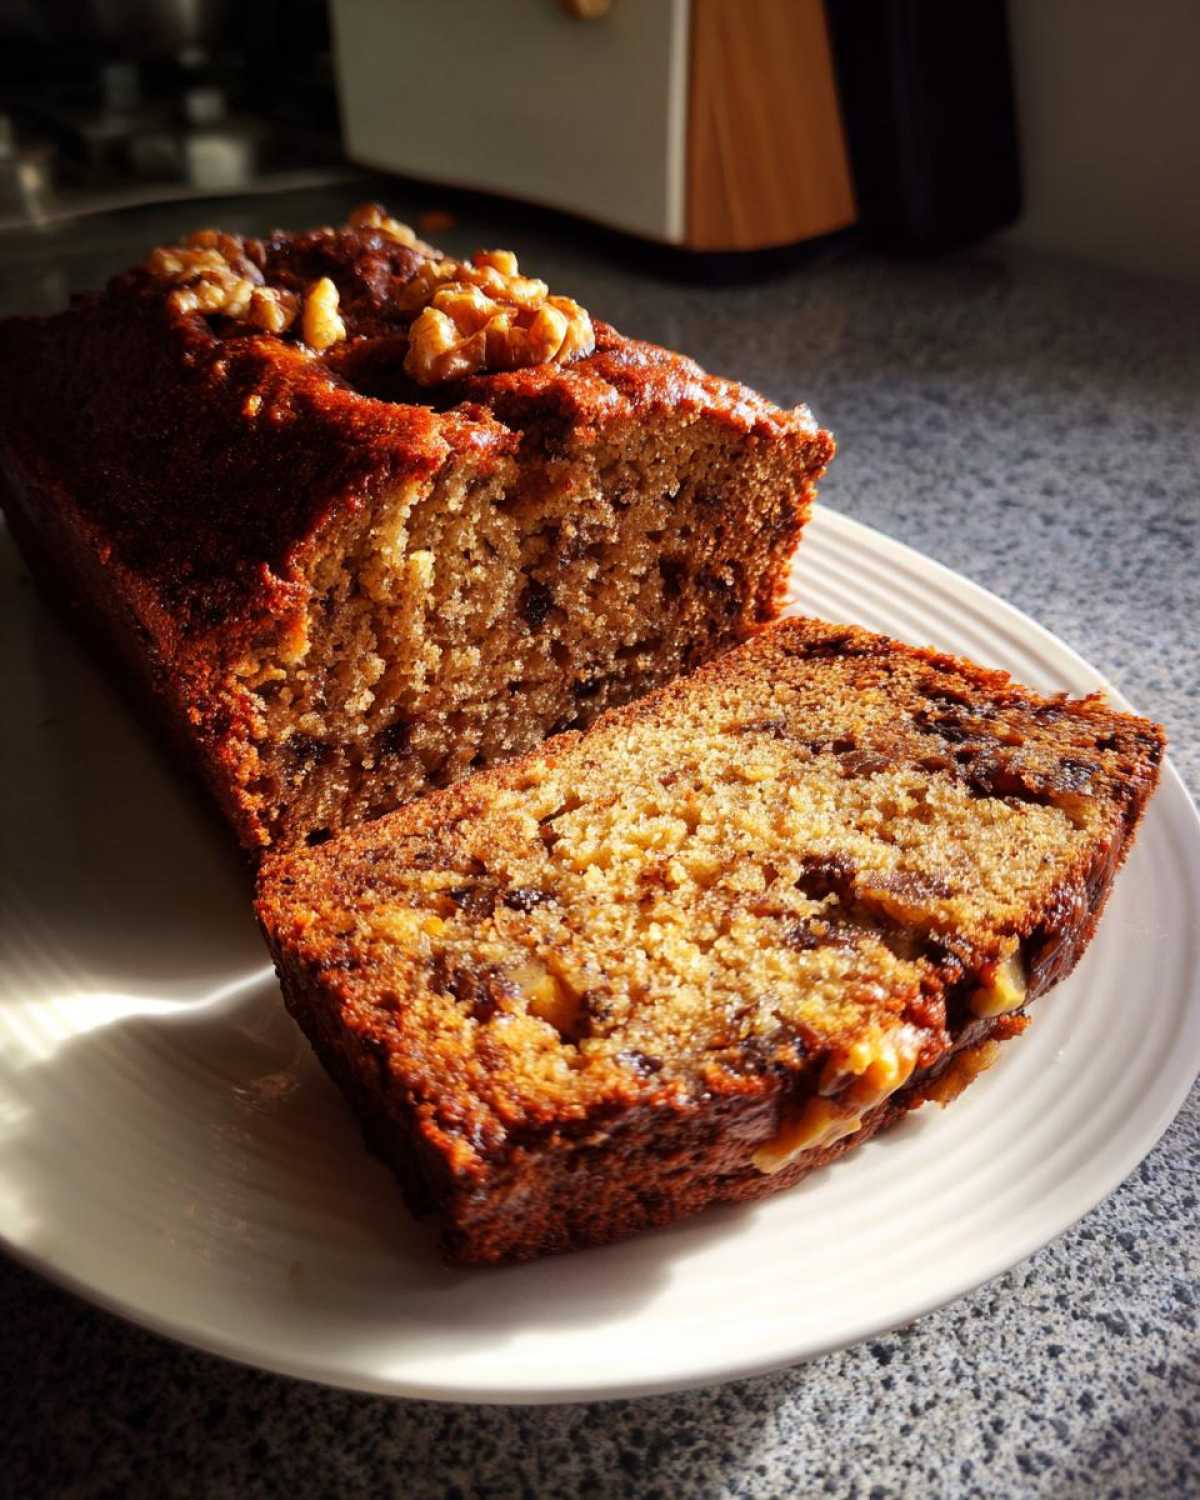
Tips for Success with Old Fashioned Nut Bread Baking
Even with an easy recipe like this old fashioned nut bread, I always have a few little notes scribbled down for when I’m baking it for the hundredth time. Baking is just chemistry, right? And sometimes you need a tiny tweak to customize it for your kitchen or just to make it a little bit better for breakfast. Feel free to check out my favorite teriyaki sauce recipe if you need a savory break next week!
Wholesome Snack Bread Adjustments (Flour Swaps)
If you sometimes want this loaf to feel less like dessert and more like a hearty breakfast, it’s super easy! You can swap out half of your all-purpose flour for whole wheat flour. This keeps the loaf tasting familiar but bumps up that wholesome snack bread appeal beautifully. Don’t feel like you have to stick to just white flour if you want something a bit heartier!
Simple Spiced Bread Glaze Option
Now, the recipe as written is perfect slightly warm with butter, but if you’re making this simple spiced bread for a holiday brunch and want to dress it up, I’ve got you. Just whip together half a cup of powdered sugar with about a tablespoon of plain milk until it’s pourable. Drizzle that on once the loaf is totally cool. It’s easy, sweet, and really dresses up the loaf for company!
Variations: Banana Date Nut Bread and Other Twists
I love that this recipe is so adaptable. Amelia keeps trying to pull me back to the original flavor profile, but where’s the fun in that? If you have some overly ripe bananas sitting around, definitely try turning this into a banana date nut bread! You just mash up one or two bananas and gently fold them in with the dates. We also sometimes swap walnuts for pecans, or throw in a tiny pinch of ground cloves with the cinnamon for a richer winter spice vibe. It’s really your canvas when it comes to extras!
If you want to try that banana twist, make sure you check out Amelia’s incredible technique for her moist blueberry banana bread; the same moisture principles apply!
Storage and Make-Ahead Tips for Date Nut Bread
My favorite thing about any good baking project is knowing I can make it ahead of time! This homemade quick bread is fantastic for busy weeks or gifting later. Once the loaf is completely cooled—and I mean 100% cool, otherwise you trap condensation—you need to wrap it snugly. Amelia insists on tight plastic wrap first, then foil around that. That double wrap is key to keeping it fresh.
If you want to keep it even longer, freezing works wonders. You can freeze the entire loaf or just slices once they are fully cooled. If you’re storing leftovers, make sure you consult my thoughts on keeping oven-baked chicken moist; sometimes the same principles of sealing in the freshness apply!
Serving Suggestions for Your Classic Quick Bread
Once this beautiful loaf has cooled completely, the fun really begins! This classic quick bread is so versatile. Seriously, it’s fantastic served slightly warm with a good slather of real, cold butter melting into the nutty pockets. It’s perfect as a hearty breakfast loaf when you need something filling, or it’s just heavenly sliced thin alongside your morning coffee. If you’re looking for another satisfying breakfast idea, you should seriously check out Amelia’s guide to fluffy pancakes!
Frequently Asked Questions About Date and Walnut Bread
We get so many great questions about this recipe once people start baking it, which is wonderful! It just proves how much everyone loves a good, reliable loaf of comfort. Here are a few things I hear most often about perfecting this classic quick bread baking project.
Can I use Medjool dates instead of chopped dates in this date nut bread?
Oh, absolutely! Medjool dates are fantastic because they are so soft and rich. Since they are naturally creamier, I usually just chop them a bit smaller than I would the firmer dates, or you can let them soak for maybe an extra minute or two just to be sure. The most important thing is still to use every single bit of that soaking liquid—don’t waste that flavor!
What is the secret to making this date nut bread truly moist?
If you want the best, most reliable moist date nut bread, it’s a two-part deal for me. First, you have to cream that butter and sugar until it’s light and airy—that traps the first set of air bubbles. Second, and this is huge, you must include all of the soaking water from the dates! That liquid is loaded with the goodness of the dates and the activated baking soda, and it keeps the crumb from tightening up.
How long does this homemade quick bread stay fresh?
Because this loaf has natural moisture from the fruit, it lasts surprisingly well compared to a plain cake. We usually wrap it up tight right after it cools—plastic wrap first, like I mentioned earlier—and it stays perfectly fine on the counter for about three or four days. If you need it to last longer, wrapping it well and popping it in the freezer is the way to go!
If you’ve baked this recipe and have other lingering questions, feel free to check out how we handle our air fryer baked potatoes; sometimes the cooking science of one thing helps with another!
Sharing Your Experience Baking This Date Nut Bread
This date nut bread adventure is only complete when we hear from you! Did you try the date soaking trick? Did you sneak in some banana like Jacob suggested? Hop over to our main blog page and let us know how your loaf turned out. Your success stories help us build our collection, and we can’t wait to see what you’ve created!
PrintEasy, Moist, Old-Fashioned Date Nut Bread
Bake a truly comforting, moist date nut bread loaf. This old-fashioned quick bread recipe is simple to follow and perfect for breakfast, snacking, or holiday gifting.
- Prep Time: 15 min
- Cook Time: 60 min
- Total Time: 75 min
- Yield: 1 loaf (about 10 servings)
- Category: Quick Bread
- Method: Baking
- Cuisine: American
- Diet: Vegetarian
Ingredients
- 1 cup boiling water
- 1 cup packed, pitted dates, chopped
- 1 teaspoon baking soda
- 1/2 cup (1 stick) unsalted butter, softened
- 1 cup packed light brown sugar
- 2 large eggs
- 1 teaspoon vanilla extract
- 1 3/4 cups all-purpose flour
- 1 teaspoon baking powder
- 1/2 teaspoon salt
- 1 cup chopped walnuts, plus extra for topping
Instructions
- Preheat your oven to 350 degrees F. Grease and flour a standard 9×5 inch loaf pan.
- Place the chopped dates in a small bowl. Pour 1 cup of boiling water over the dates and stir in the baking soda. Let this mixture stand for 10 minutes to soften the dates.
- In a large bowl, cream together the softened butter and brown sugar until the mixture is light and fluffy. This step helps create a moist texture.
- Beat in the eggs one at a time, mixing well after each addition. Stir in the vanilla extract.
- In a separate medium bowl, whisk together the flour, baking powder, and salt.
- Gradually add the dry ingredients to the wet ingredients, mixing only until just combined. Do not overmix the batter.
- Gently fold in the chopped walnuts and the date mixture (including any remaining liquid).
- Pour the batter into the prepared loaf pan. Sprinkle a few extra chopped walnuts over the top for a nice crust.
- Bake for 55 to 65 minutes, or until a wooden skewer inserted into the center comes out clean. If the top browns too quickly, loosely tent the loaf with aluminum foil after 40 minutes.
- Let the date nut bread cool in the pan for 10 minutes before carefully turning it out onto a wire rack to cool completely.
Notes
- For the moistest loaf, make sure you include all the liquid from the date soaking step.
- You can substitute half the all-purpose flour with whole wheat flour for a slightly healthier, wholesome snack bread.
- This classic quick bread freezes well once completely cooled; wrap tightly in plastic wrap and foil.
- If you prefer a sweeter glaze, mix 1/2 cup powdered sugar with 1 tablespoon milk and drizzle over the cooled loaf.
Nutrition
- Serving Size: 1 slice
- Calories: 310
- Sugar: 28g
- Sodium: 250mg
- Fat: 14g
- Saturated Fat: 5g
- Unsaturated Fat: 9g
- Trans Fat: 0g
- Carbohydrates: 44g
- Fiber: 2g
- Protein: 5g
- Cholesterol: 55mg