

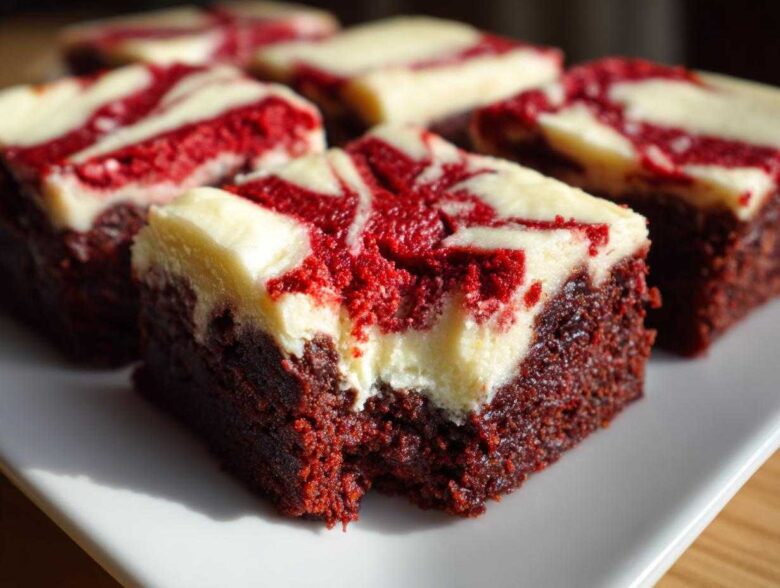
Oh my gosh, you have to listen to me right now about these desserts. Forget those dry, cakey disasters you sometimes get when you try to merge two classics! When I first tried making **red velvet brownies**, I was so disappointed by the texture—it felt like I was eating spicy cake, not a proper brownie. I spent weeks trying to figure out how to get that deep, rich chocolate flavor perfectly balanced with the tang of red velvet, all while getting the absolute best, most fudgy texture possible.
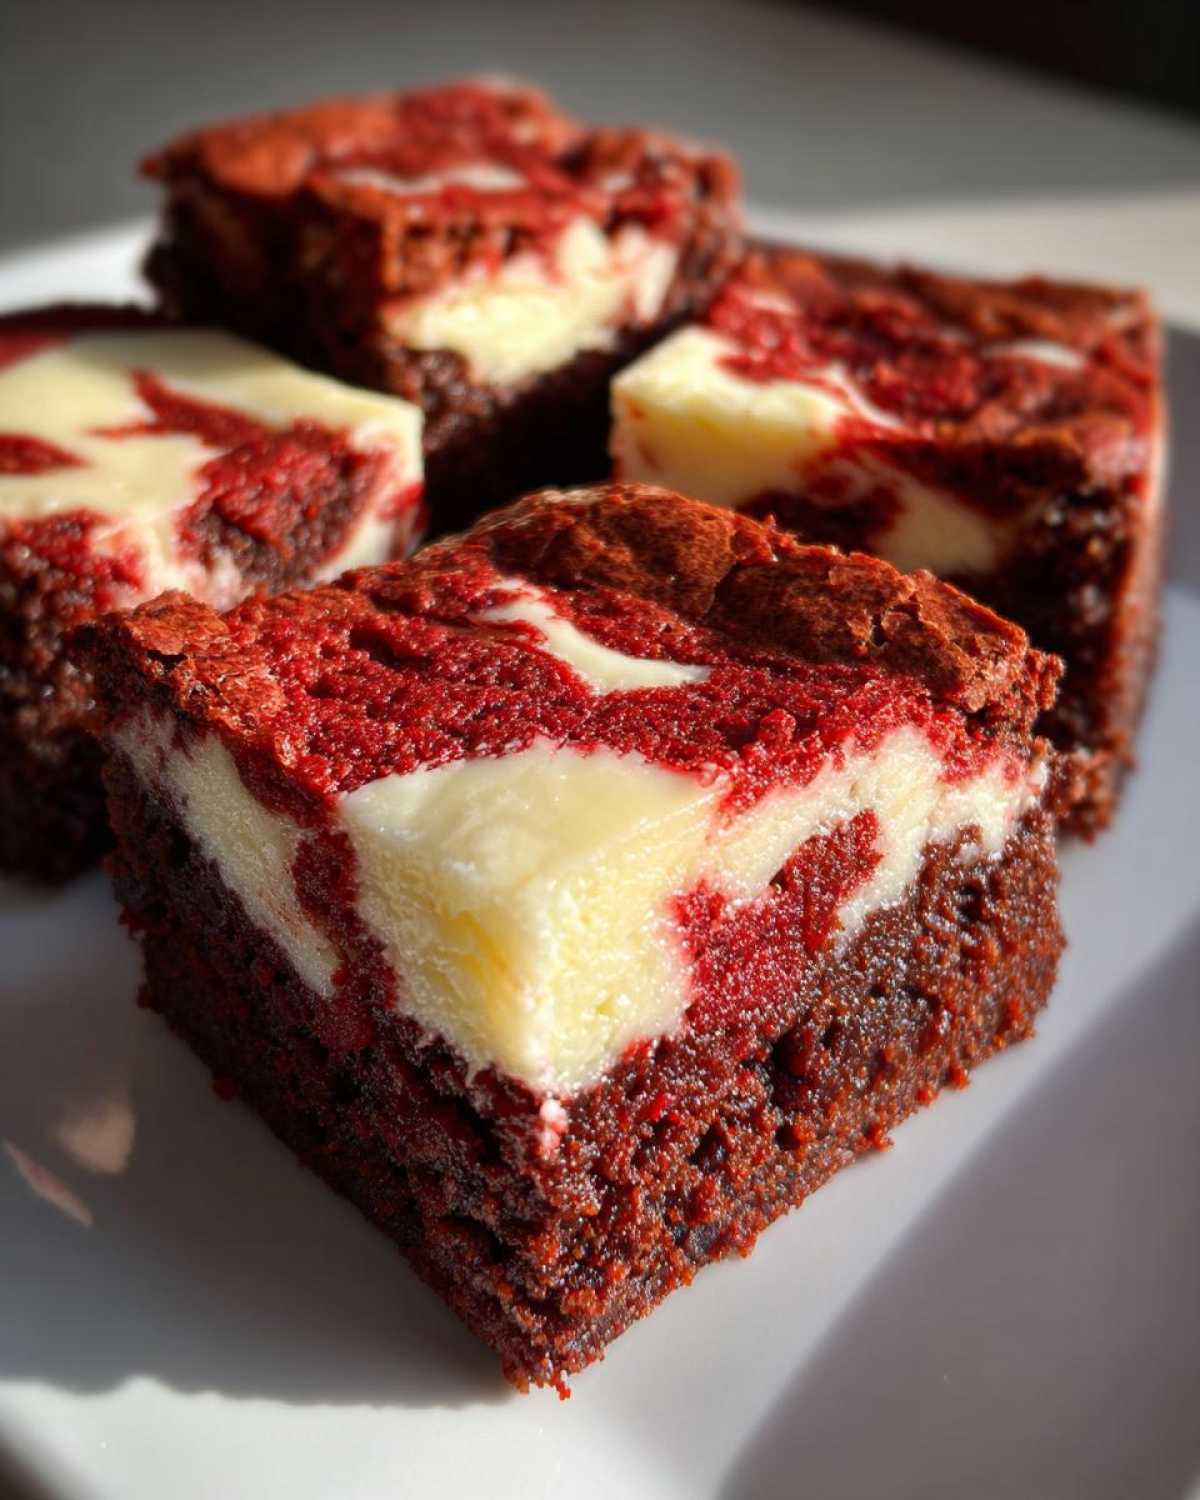
Trust me when I say I cracked the code. These aren’t just any bars; these are the fudgy red velvet brownies you dream about when you want something truly decadent. The secret weapon? It’s all about the fat ratios and getting that tangy ribbon of cream cheese swirl running right through the middle.
If you’ve ever wanted to make a real showstopper that takes just a few minutes to mix up, you need this recipe. I even have a dedicated page on my blog about how I organize my baking schedule, just in case you want to peek at how I fit these in! Check out my baking tips here.
Why This is the Best Fudgy Red Velvet Brownies Recipe
What makes these the ultimate decadent treat? Honestly, it’s the texture. These aren’t cakey! They give you that dense, moist chew, which is what every good brownie lover is after. Plus, the cream cheese swirl means you get a perfect little hit of tang in every bite.
- They deliver that deep, fudgy red velvet brownies texture that most recipes just miss.
- The process is actually super quick—it’s an easy red velvet brownie recipe that comes together in under 20 minutes of hands-on time!
- That bright red color combined with the white swirl? It just looks stunning when you serve them at a party. You have to see how stunning they look next to my classic moist red velvet cake!
Essential Ingredients for Rich Red Velvet Brownies
Okay, listen up, because ingredient quality really matters here, especially if we want those rich chocolate velvet bars to truly shine. I’ve learned that balancing the classic red velvet flavor—which has a hint of vinegar to react with the cocoa—with the fudgy structure means using precise amounts of fat and sugar. You’ll need to gather everything before you even think about preheating the oven!
My biggest piece of advice? If you can swing it, please use gel food coloring. Liquid coloring makes the batter way too wet, leading to a cakey brownie, and we absolutely DO NOT want that! Gel gives you the intense, vibrant red that makes these perfect for Valentine’s Day or Christmas gatherings without ruining the fudgy texture.
For the Red Velvet Brownie Base
This is where the fudgy magic starts. Make sure your butter is melted, but not piping hot when you mix it in.
- 1 cup (2 sticks) unsalted butter, melted
- 2 cups granulated sugar
- 4 large eggs
- 1 teaspoon vanilla extract
- 1 teaspoon white vinegar
- 1 teaspoon red food coloring (gel preferred, like I mentioned!)
- 1/4 cup unsweetened cocoa powder
- 1 cup all-purpose flour
- 1/2 teaspoon salt
For the Homemade Red Velvet Swirl
This part brings that beautiful tanginess that cuts through all that chocolate richness. The most important thing here is making sure your cream cheese is fully softened—room temperature, not melted—or you’ll get lumps, and nobody wants a lumpy swirl! If you want my secret recipe for the topping itself before applying it, check out my favorite cream cheese frosting tutorial.
- 8 ounces cream cheese, softened
- 1/4 cup powdered sugar
- 1 large egg yolk
Step-by-Step Instructions for Easy Red Velvet Brownie Recipe
This entire recipe moves fast, which is why I love it so much for last-minute treats! Do not worry; these instructions break down exactly how to get those perfect, deeply chocolatey, **red velvet brownies** without any fuss. Grab your 9×13 inch pan and let’s get started. By the way, if you’re into other super-fudgy treats, you have to check out my recipe for fudgy date brownies—they are surprisingly similar in mixing style!
Preparing the Pan and Oven
First thing’s first: get your oven going! We need it up to temperature so the pan is warm when the batter hits it. Set that oven to 350°F (175°C). Next, grab that 9×13 inch pan. Don’t skip this prep work! Line it with parchment paper, making sure you leave a good overhang on the sides. This lets you lift the whole giant slab out later, which is a lifesaver when it comes time to cut those neat squares.
Mixing the Red Velvet Batter
In a big bowl, whisk your melted butter and the sugar until they look happy together. Then, whisk in those eggs one by one until everything is smooth and combined. Seriously, this is the wet base. Now, add your vanilla, the white vinegar—that helps balance the cocoa!—and all that glorious red food coloring. Mix until it’s a uniform, beautiful red color.
In a separate small dish, whisk your dry things: the cocoa powder, flour, and salt. Now, here’s the critical part if you want fudgy and not cakey: gently add your dry mixture to the wet mixture. Mix only until you see the last streak of flour disappear. I mean it! Stop mixing right there! Over-mixing develops gluten, and gluten makes cakes, not our perfect, dense brownies.
Creating and Layering the Cream Cheese Swirl
Time for the topping! In a medium bowl, just beat together your softened cream cheese, the powdered sugar, and that one egg yolk until it’s totally smooth and creamy. No lumps allowed!
Now for the layering structure. Pour about half of your red velvet batter into that prepared pan and spread it out nice and even. Next, take big dollops of that cream cheese mixture and drop them randomly all over the top of the first layer. Then, pour the remaining red velvet batter right over those cream cheese drops. Use a knife or maybe a thin skewer and gently drag it through the batter a couple of times to create that beautiful swirl pattern. Don’t overdo it, or the colors will blend too much!
Baking and Cooling Your Red Velvet Brownies
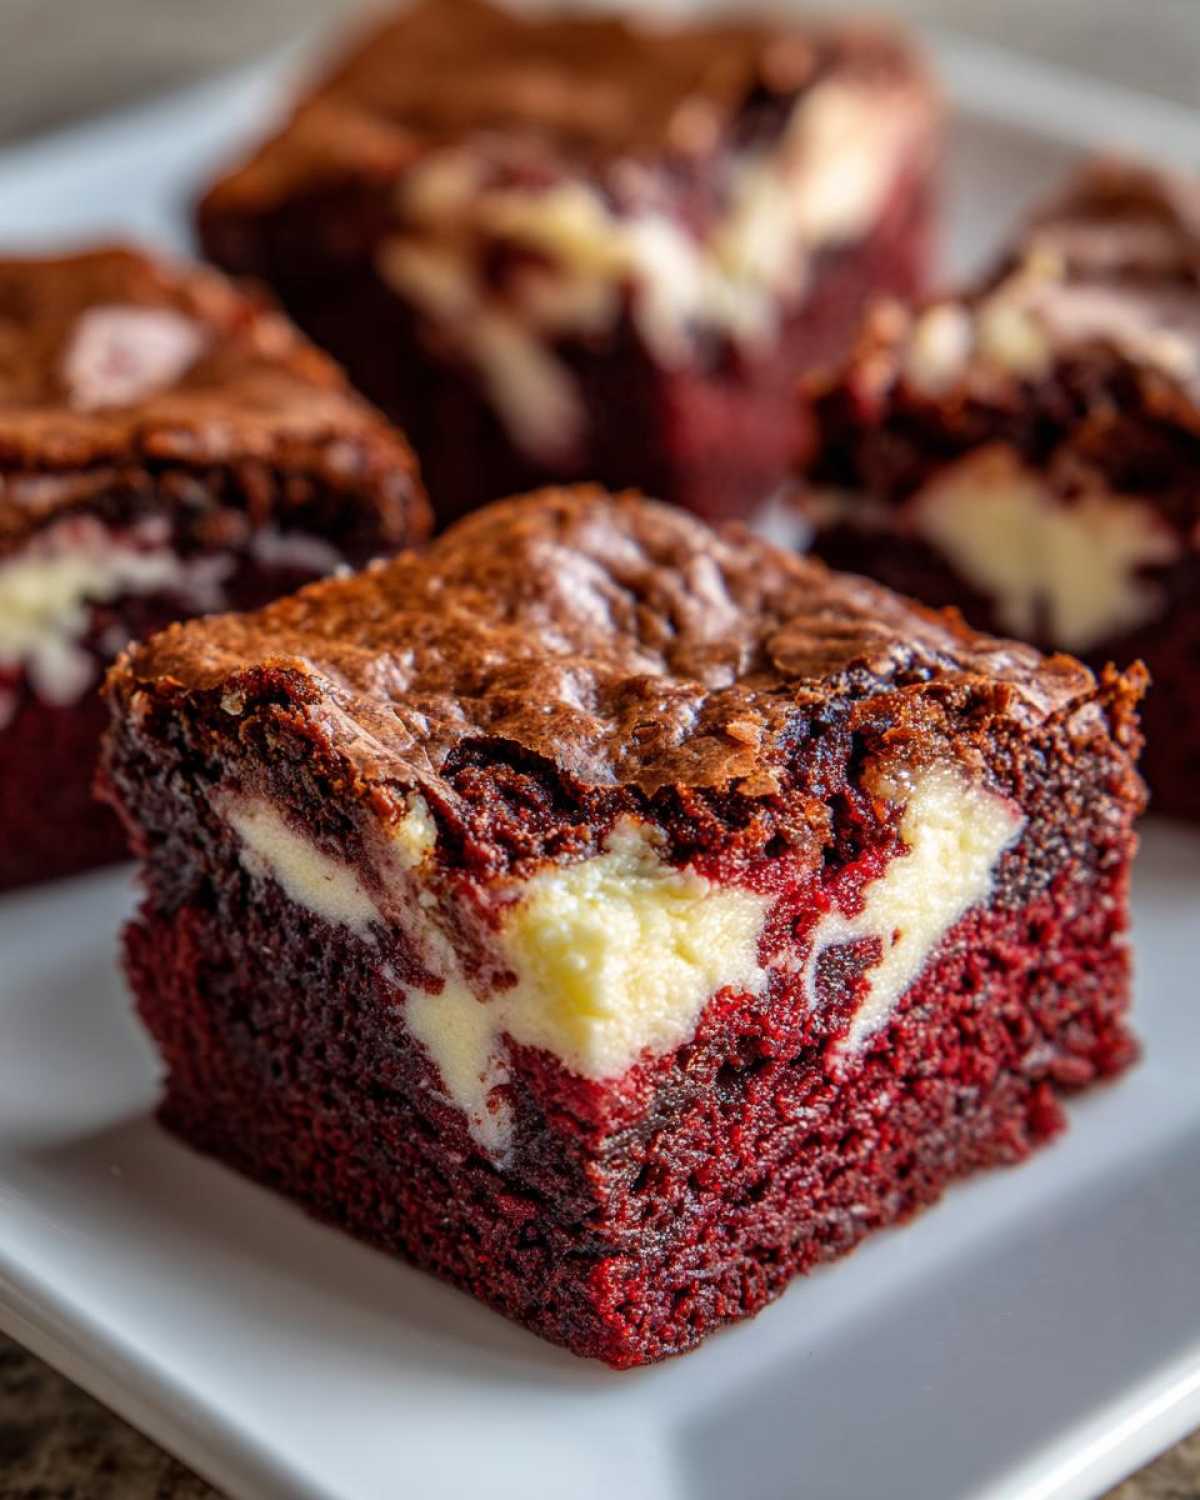
Pop the whole thing in the oven for about 30 to 35 minutes. How do you know they’re done? You don’t wait for the toothpick to come out perfectly clean! We want a toothpick inserted near the center to come out with moist crumbs attached—not wet batter, but definitely not dry. Pull them out right when they hit that stage.
This is the hardest part, but you must stick to it: let these magnificent **red velvet brownies** cool completely in that pan before you even attempt to lift them out with the parchment overhang. If you cut them warm, they will just fall apart. Patience earns you those gorgeous, clean-cut squares!
Tips for Perfect, Bakery Style Red Velvet Brownies
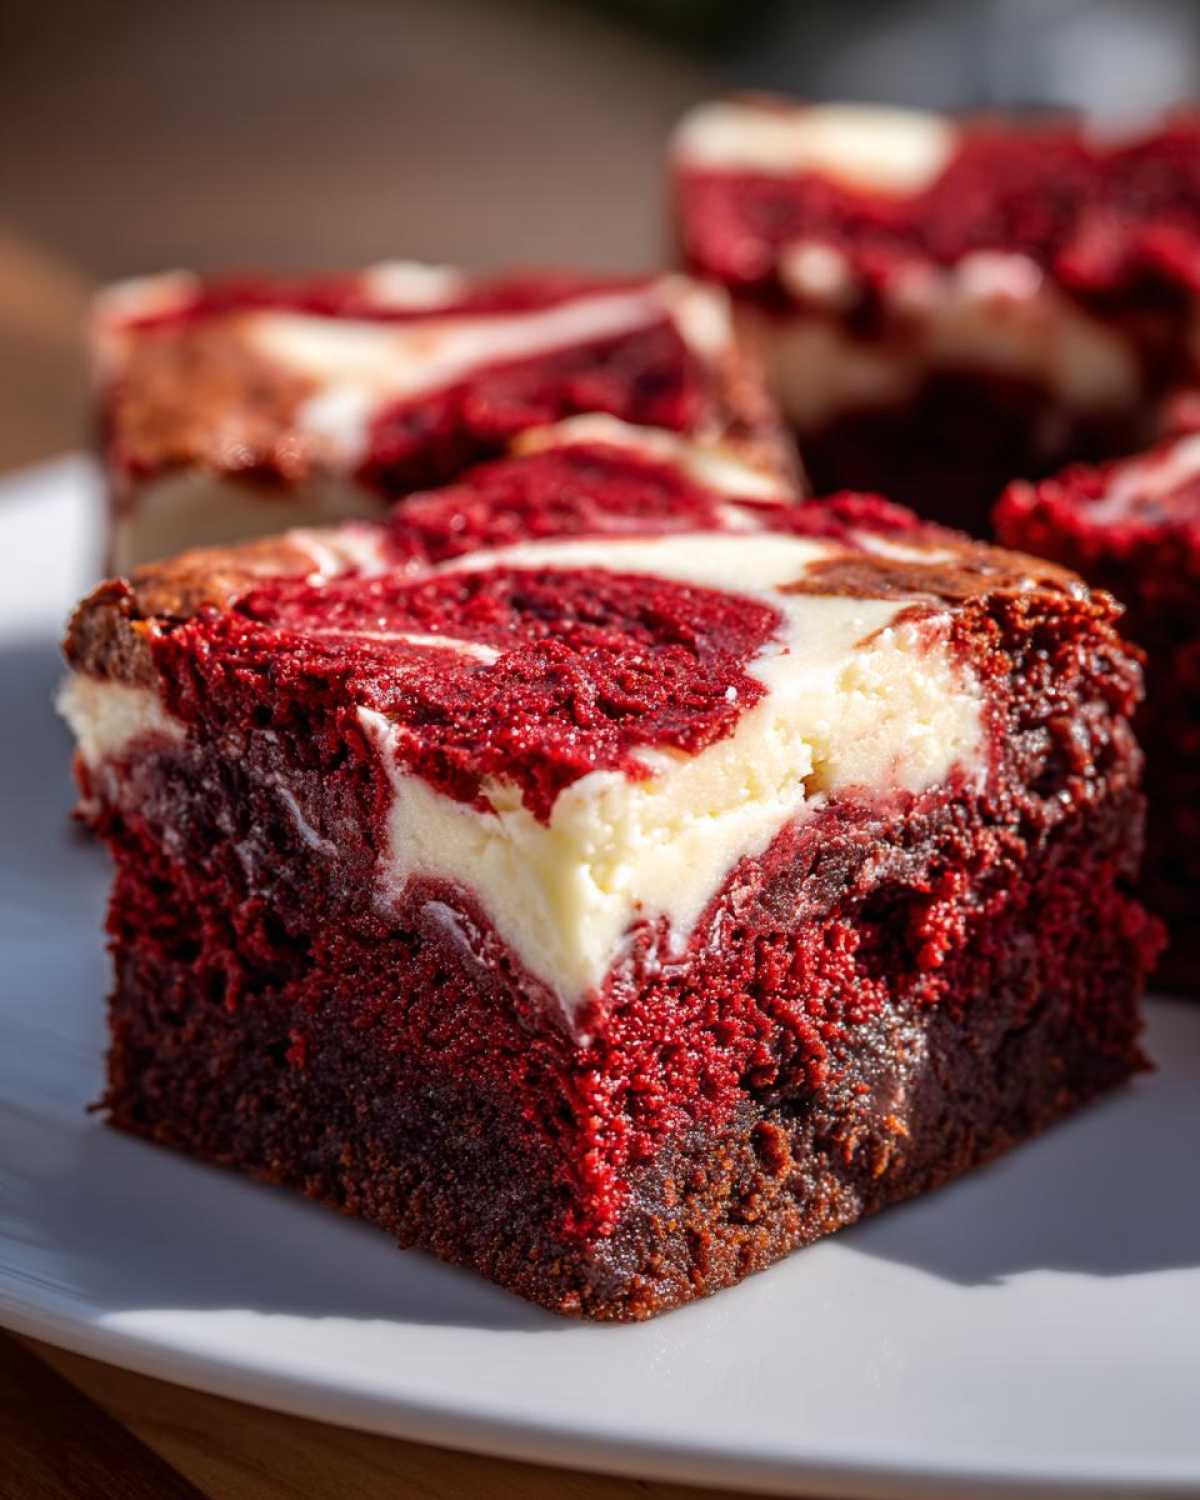
Getting that perfect, shiny, slightly crackled top on your brownies—that’s the sign of a truly professional bake, right? The secret to achieving that beautiful bakery style finish ties directly into the sugar and egg mixing method we talked about for the base.
If you want a deeper red, don’t be shy with the gel coloring, one teaspoon really unlocks that true Valentine’s Day look! I also rely heavily on not over-baking. Seriously, if you bake them five minutes too long, you lose that gooey center. Think slightly underdone when you take them out, because they firm up as they cool.
I always keep my spatula ready to smooth out the cream cheese layer right before it goes into the oven, which helps prevent weird lumps. For more general brownie wisdom that covers everything from high altitude baking to getting that great top crust, you can dive into my ultimate guide to the best brownie recipes from scratch!
Variations for Your Red Velvet Dessert Ideas
Now that you’ve nailed the basic fudge factor and figured out the swirl, you might be wondering how else you can play around! That’s the fun part about having a solid base recipe like this one. It lets you get super creative without losing that rich, decadent texture we worked so hard for. These are perfect for when you want something beyond the ordinary!
For instance, if you’re looking for something that feels even more indulgent, try turning these into rich chocolate velvet bars by adding an extra textural element. White chocolate is just divine with red velvet.
Here are a couple of ways I like to twist this recipe up when I’m feeling adventurous:
- Add White Chocolate Chips: Fold about a cup of good quality white chocolate chips right into the final red velvet batter—before you pour it in the pan. They melt just enough to create creamy little pockets of sweetness, taking this straight into decadent red velvet dessert territory.
- Flavor Boosters: If vanilla feels basic for your next gathering, try swapping it out! A half-teasole of almond extract pairs beautifully with the red velvet flavor. For an extra grown-up twist, use a tiny bit of cherry extract instead. Keep the vinegar, though—that’s critical for the color integrity! You can also check out my red velvet cake ideas if you decide you want a layer cake instead!
- The Cheesecake Layer Upgrade: If you find yourself craving the tanginess of cheesecake more than the swirl, go ahead and double the cream cheese mixture ingredients! Layer half the batter, spread all the cream cheese mixture across that layer, and then pour the remaining batter on top. It’s slightly less fudgy but way more cheesecake forward, which is great for a summer dessert!
Storage and Make-Ahead Tips for Red Velvet Brownies
The best part about a truly fudgy recipe? They hold up beautifully! Unlike a tall cake, these **red velvet brownies** actually taste better the next day once they’ve settled down and fully chilled. If you are planning for a big holiday gathering, like for Christmas or Valentine’s Day, feel free to make these ahead of time!
When it comes to room temperature storage, make sure they are completely cool before you wrap them up, otherwise, condensation will make them sticky. I wrap my entire pan of squares tightly first in plastic wrap and then pop that into an airtight container. They keep perfectly at room temperature for about three days. After that, you might notice the edges getting just a tiny bit drier, though the cream cheese swirl usually keeps the inside nice and moist.
If you need them to last longer, freezing is your friend! You can totally freeze these babies. Once they are completely cooled—and I mean absolutely stone cold—slice them up into their squares. Lay those squares in a single layer on a baking sheet and pop that sheet into the freezer for about an hour until they’re firm. Then, transfer the frozen squares into a heavy-duty freezer bag. Squeeze out as much air as you can!
They freeze like a dream for up to three months. If you’re pulling them out for an unexpected treat, just let them thaw on the counter for an hour or two. They’re delicious slightly chilly! For other make-ahead recipes that travel well, I always refer back to my recipe for that easy moist date nut bread—same principle, great longevity!
Serving Suggestions for These Moist Red Velvet Treats
These **red velvet brownies** are absolutely rich enough to stand completely on their own, no question! They are perfect just as a rich, fudgy bar for an afternoon snack. But, if we’re going all out and treating them like the centerpiece dessert they deserve to be, we need some companions!
The contrast between the deep, slightly tangy chocolate velvet bar and something cold and creamy is just unbeatable. Trust me, it takes the whole experience up to that next level. My kids insist on this method whenever I pull these amazing bars out of the pan.
Here are a few ways I like to serve them up when company is over, making sure the temperature contrast really pops:
- The Classic Scoop: You simply cannot go wrong with a generous scoop of really good vanilla ice cream on the side. The cold temperature solidifies the fudge just slightly, giving you an amazing textural complexity. If you want to make your own stellar pairing, you have to try my fluffiest vanilla cake recipe—the homemade vanilla extract is key!
- Fresh Berry Brightness: If you need something to cut through the richness, fresh raspberries or sliced strawberries are fantastic drizzled over the top just before serving. Their slight tartness pairs perfectly with the tanginess from the cream cheese swirl in the cocoa red velvet bars.
- Warm and Gooey: Sometimes, if I’m serving them warm (which I only risk when I’m eating them the same day!), I’ll use a tiny bit of melted dark chocolate drizzled over the top. It looks gorgeous and reinforces that deep chocolate flavor in these best fudgy brownies from scratch.
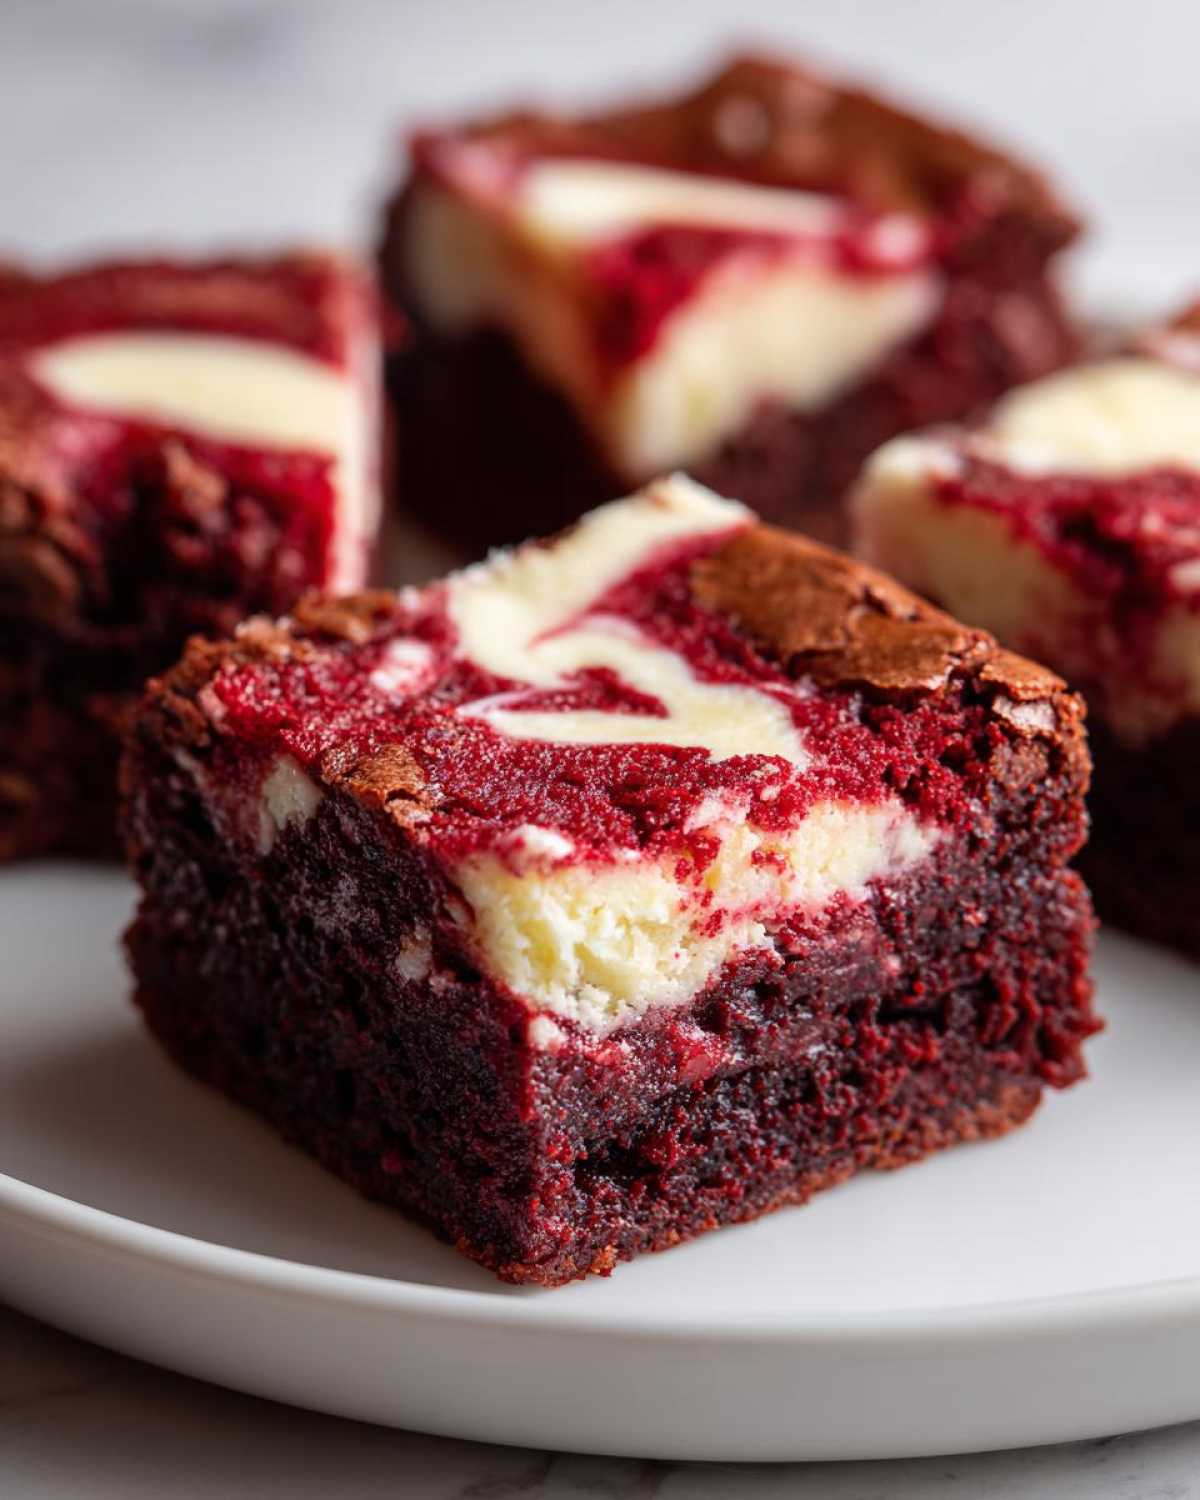
Honestly, any excuse to pull out these squares is a good one. They’re just so vibrant and satisfying!
Frequently Asked Questions About Fudgy Red Velvet Brownies
It’s totally normal to have questions when you’re trying to nail a recipe that is supposed to be both fudgy *and* deeply flavored! I answer these questions quite a bit, especially when people are trying this for the first time. I want to make sure your first attempt at this easy red velvet brownie recipe is a huge success!
Why did my red velvet brownies turn out cakey instead of fudgy?
Oh, this is the number one issue! If your results are cakey, it almost always comes down to two main things. First, you probably overmixed the batter after adding the flour. You want to stop stirring the second those dry bits vanish. Second, you likely overbaked them! For fudgy bars, you need to pull them out when the toothpick still has moist crumbs—they finish baking on the hot pan after coming out of the oven. Don’t let them bake until the toothpick is completely clean!
Can I skip the vinegar in this recipe?
You know, I used to skip it too, but I wouldn’t recommend it for this specific recipe. The vinegar isn’t there to make the bars taste sour, I promise! It’s actually critical because it reacts with the cocoa powder and baking soda (even though we don’t use much soda here) to help turn that batter that iconic shade of reddish-maroon. If you skip it, your rich chocolate velvet bars will likely have a muted, brownish-red color instead of a true velvet hue.
How do I get that shiny, crackled top crust like you see in bakeries?
This is the result of a proper sugar crust, which develops when the sugar dissolves completely into the melted fat and eggs. Make sure you whisk that melted butter and the granulated sugar together really well right at the beginning—for a minute or two longer than you think you need to—until that mixture looks a little glossy. That high sugar content, mixed with enough eggs, is what creates those gorgeous, delicate crackly sheets on top of your homemade red velvet swirl brownies!
Do I have to use both cocoa powder and red food coloring?
Yes, you absolutely do! This is what separates this from a standard cream cheese swirl brownie. Cocoa powder gives us the necessary chocolate flavor foundation. Red velvet is traditionally a chocolate cake that has been colored bright red. If you only use food coloring without the cocoa, you’ll get a sweet, tangy, vanilla-flavored bar. If you only use cocoa, you get a non-flavored brownie! We need both for authentic red velvet brownies.
If you’re struggling with finding the right ingredients or mixing techniques, make sure you look over my tips again, especially on the importance of not overmixing, or check out my guide on making the best snickerdoodles—the mixing theory is surprisingly similar!
Estimated Nutritional Breakdown for Red Velvet Brownies
I always feel a little nervous posting this section because, let’s be honest, nobody is making these for their nutritional value! These are pure, beautiful indulgence, especially when those cream cheese swirls get involved. They are definitely a decadent treat for a special occasion, like Valentine’s Day!
The numbers below are just what my testing came out to when I used standard grocery store ingredients in a 9×13 pan, cut into 16 squares. Please know this can shift around based on exactly how much butter soaks into your parchment or the brands you use. For the most accurate reading, you’d really need to analyze your specific batch, but this gives you a good idea of what you’re working with.
If you ever need clarity on the ingredients I use for nutrition reasons, or just want to read my general thoughts on food labels and baking, you can check out my full disclaimer page here.
- Serving Size: 1 square
- Calories: 320
- Fat: 18g (with about 11g being saturated fat—use that butter!
- Carbohydrates: 38g
- Sugar: 35g (Yup, that’s almost all sugar, but oh so worth it.)
- Protein: 4g
- Cholesterol: 95mg
See? Total decadence. But hey, we only live once, and these moist red velvet treats are worth every single bite. Enjoy responsibly, my friend!
PrintFudgy Red Velvet Brownies with Tangy Cream Cheese Frosting
Make rich, fudgy red velvet brownies topped with a simple cream cheese swirl for a decadent dessert.
- Prep Time: 20 min
- Cook Time: 35 min
- Total Time: 55 min
- Yield: 16 squares
- Category: Dessert
- Method: Baking
- Cuisine: American
- Diet: Vegetarian
Ingredients
- 1 cup (2 sticks) unsalted butter, melted
- 2 cups granulated sugar
- 4 large eggs
- 1 teaspoon vanilla extract
- 1 teaspoon white vinegar
- 1 teaspoon red food coloring (gel preferred)
- 1/4 cup unsweetened cocoa powder
- 1 cup all-purpose flour
- 1/2 teaspoon salt
- 8 ounces cream cheese, softened
- 1/4 cup powdered sugar
- 1 large egg yolk
Instructions
- Preheat your oven to 350°F (175°C). Line a 9×13 inch baking pan with parchment paper, leaving an overhang on the sides for easy removal.
- In a large bowl, whisk the melted butter and granulated sugar together until combined.
- Whisk in the 4 large eggs one at a time until the mixture is smooth.
- Stir in the vanilla extract, white vinegar, and red food coloring until the batter is uniformly red.
- In a separate small bowl, whisk together the cocoa powder, flour, and salt.
- Gradually add the dry ingredients to the wet ingredients, mixing only until just combined. Do not overmix.
- Prepare the cream cheese swirl: In a medium bowl, beat the softened cream cheese, powdered sugar, and 1 egg yolk until smooth and creamy.
- Pour half of the red velvet batter into the prepared pan. Drop spoonfuls of the cream cheese mixture over the batter. Pour the remaining red velvet batter over the top.
- Use a knife or skewer to gently swirl the cream cheese mixture into the brownie batter.
- Bake for 30 to 35 minutes, or until a toothpick inserted near the center comes out with moist crumbs attached, not wet batter.
- Let the brownies cool completely in the pan on a wire rack before lifting them out using the parchment overhang.
- Cut into squares and serve.
Notes
- For the fudgiest texture, avoid overbaking. The center should still look slightly underdone when you remove them from the oven.
- Use gel food coloring for a deeper, more intense red color without adding too much liquid.
- If you prefer a thicker frosting layer, you can double the cream cheese swirl ingredients and spread half before adding the second layer of brownie batter.
Nutrition
- Serving Size: 1 square
- Calories: 320
- Sugar: 35
- Sodium: 180
- Fat: 18
- Saturated Fat: 11
- Unsaturated Fat: 7
- Trans Fat: 0.5
- Carbohydrates: 38
- Fiber: 1
- Protein: 4
- Cholesterol: 95