

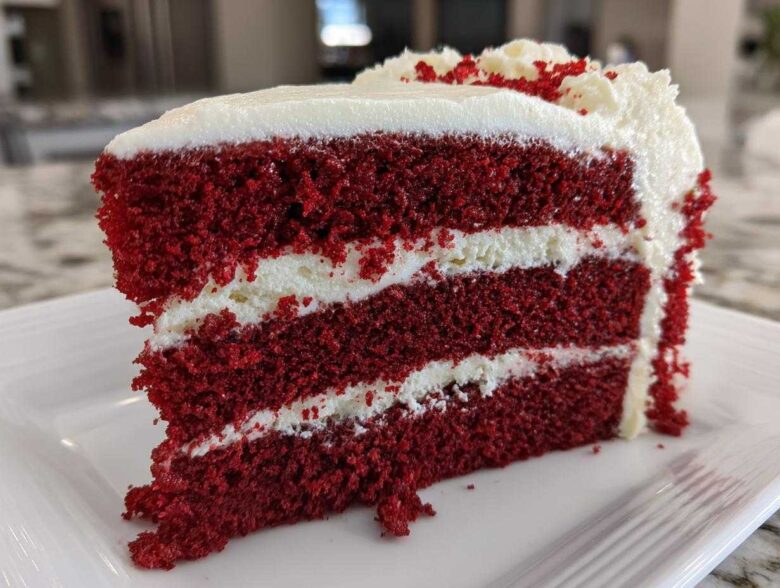
If you’ve ever felt intimidated by baking a show-stopping dessert, I totally get it! That used to be me, Amelia, staring at complicated recipes until Jacob (my better half, the artist in the kitchen) would just patiently start cracking eggs. But we decided to tackle the ultimate classic: the **red velvet cake**. Forget those dry, overly sweet versions you’ve tried before. We’ve worked hard to perfect what we call a truly Southern Style Moist Red Velvet Cake From Scratch, paired with the tangiest classic cream cheese frosting you can imagine. This recipe is now a core piece in our little Taste Portfolio right here, and you can read more about our story and how we collaborate in the kitchen!
Why This Moist Red Velvet Cake Recipe Stands Out
When people ask me what makes this the definitive **moist red velvet cake recipe**, I tell them it’s all about respecting tradition. So many modern recipes are just chocolate cake dyed bright red, but that’s not what we’re doing here! This is an **authentic southern red velvet** that carries the subtle, earthy notes of cocoa, perfectly balanced by that signature tang. You won’t believe how incredibly **soft homemade cake** texture you get when you follow Jacob’s precise steps.
If you need inspiration for other easy baking projects after this one, Jacob’s snickerdoodles are legendary too! Check out that recipe when you have a moment.
Achieving a Truly Fluffy Red Velvet Cake Crumb
The true magic behind that melt-in-your-mouth texture comes from the reaction between the buttermilk and the white vinegar. Honestly, it’s chemistry! These acids activate the baking soda right when they hit the batter, creating microscopic bubbles. This gives the cake its unbelievable lift and keeps it fluffy for days. It’s the secret handshake of any great buttermilk cake recipe.
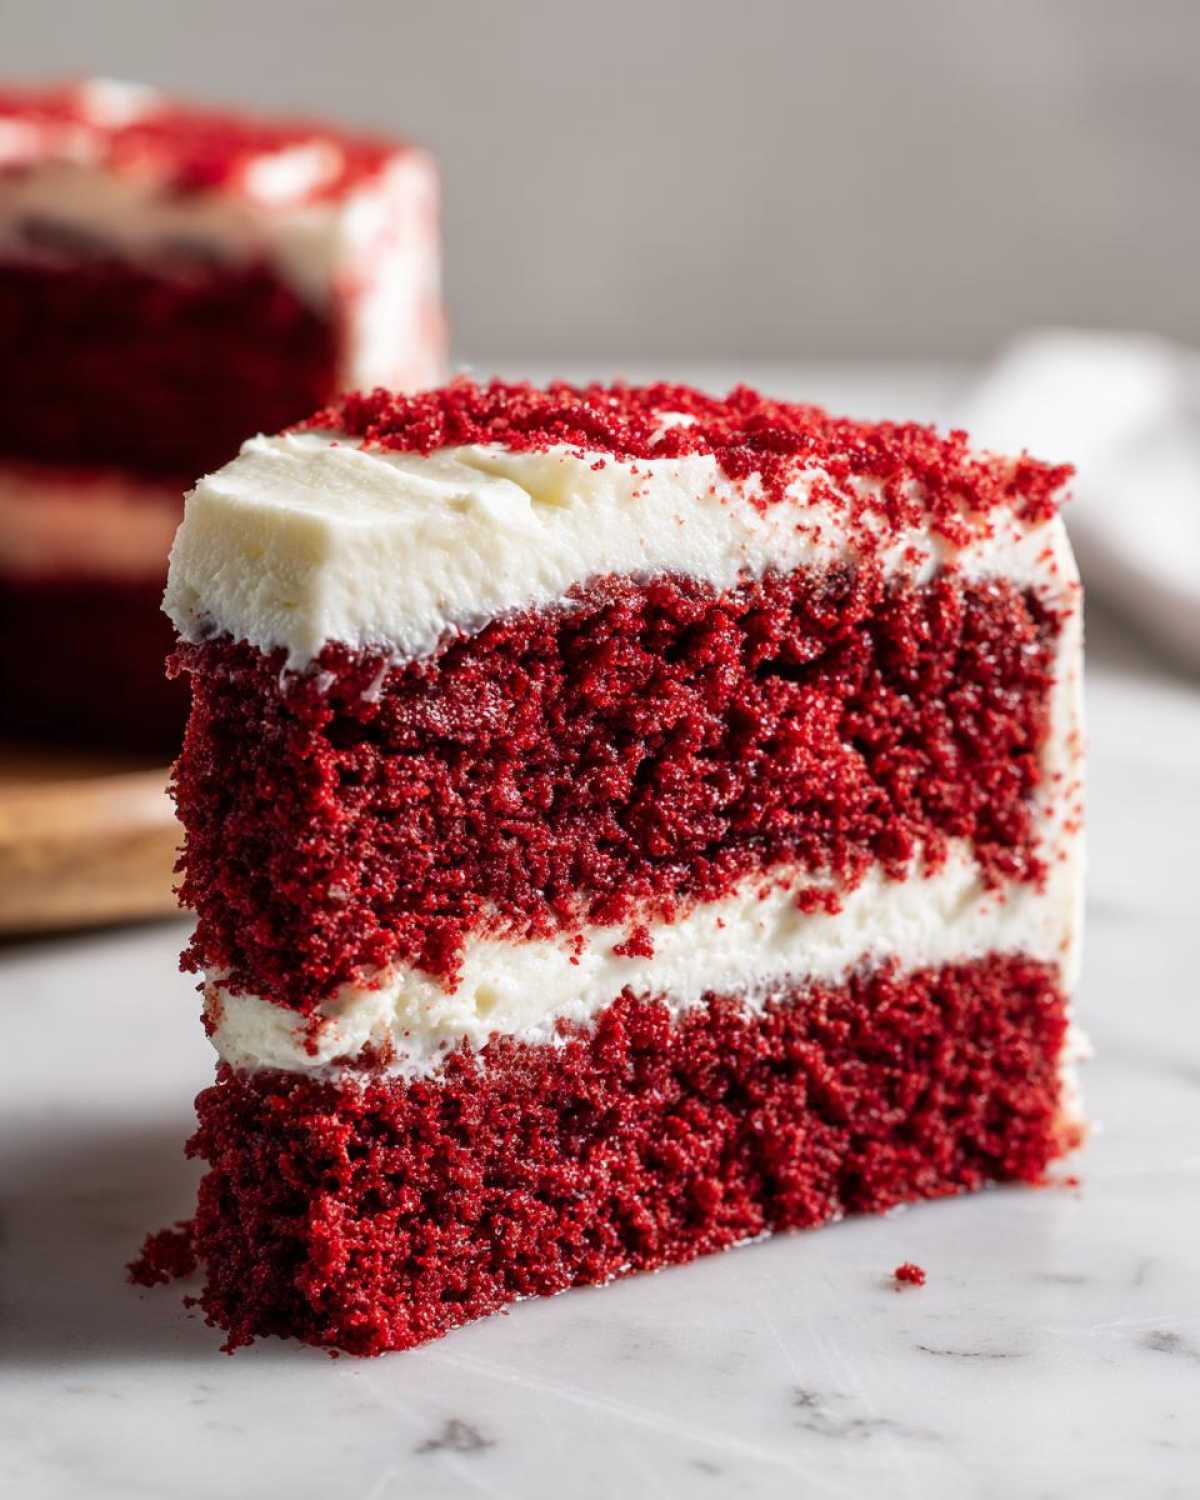
The Secret to a Vibrant Red Velvet Cake Color
Listen, you want that iconic look, right? And you definitely don’t want a cake swimming in liquid coloring. My tip for getting that powerful, vibrant hue in the **red velvet cake** without sacrificing texture is simple: use gel food coloring. A little dab of gel gives you deep, rich color saturation, whereas liquid coloring tends to thin out the batter too much. Trust me, gel is the way to go for a stunning visual.
Ingredients for Your Authentic Southern Red Velvet Cake
Okay, ingredient clarity is key, especially when you’re aiming for perfection. When Jacob and I plan a project, we never skip prepping the components first—it’s called mise en place, and it stops kitchen chaos! For this stunning **red velvet cake**, we need two separate lists. You’ll notice unambiguous notes down below, like requiring the butter to be softened or the sugar to be perfectly sifted. That small detail in preparation is what separates an ‘okay’ cake from a masterpiece you’ll add to your portfolio! We’ve got a fantastic recipe for the best cream cheese frosting that pairs beautifully, which you can check out right here.
For the Fluffy Red Velvet Cake Layers
- 2 1/2 cups all-purpose flour
- 1 1/2 cups granulated sugar
- 1 teaspoon baking soda
- 1 teaspoon cocoa powder
- 1 teaspoon salt
- 1 cup vegetable oil
- 1 cup buttermilk
- 2 large eggs
- 1 teaspoon white vinegar
- 1 teaspoon vanilla extract
- 1 to 2 tablespoons red food coloring (aim for that vibrant red velvet cake color!)
For the Best Cream Cheese Frosting Recipe
- 8 ounces cream cheese, softened
- 1/2 cup unsalted butter, softened (make sure it’s soft, not melted!)
- 3 cups powdered sugar, sifted
- 1 teaspoon vanilla extract
Step-by-Step Instructions for Your Red Velvet Cake from Scratch
Alright, let’s get down to the fun part—the actual baking! Since I’m the planner, I treat baking like a multi-stage operation, and this recipe flows so perfectly once you have everything ready. Remember, keeping things light is the goal; we are aiming for that **fluffy red velvet cake** texture Jacob loves so much! If you’re looking for more ways to streamline your kitchen time, check out our favorite easy baking recipes that don’t compromise on flavor.
Mixing the Red Velvet Cake Batter
First things first: get your oven hot—350°F (175°C) is the sweet spot. Prep those two 9-inch pans now so you’re ready to pour! In one bowl, whisk all your dry ingredients together—flour, sugar, cocoa, soda, and salt. In a separate bowl, I whisk the wet team: oil, buttermilk, eggs, vinegar, and that essential vanilla. Once that wet mixture is beautifully red, stream it slowly into the dry ingredients. Mix on low speed until you *just* see the flour disappear. Stop right there! Overmixing is the enemy of softness here, so resist mixing more than necessary.
Baking and Cooling the Layers
Evenly divide that gorgeous batter between your prepared pans. They should go into the preheated oven for about 30 to 35 minutes. How do you know they’re done? The classic pick test works perfectly here; if a wooden pick comes out clean, you’re golden. Don’t rush them out of the pan, though! Give them a good 10 minutes to set up before flipping them out onto a wire rack. They absolutely must be completely cool before frosting, or we’ll have a melting disaster!
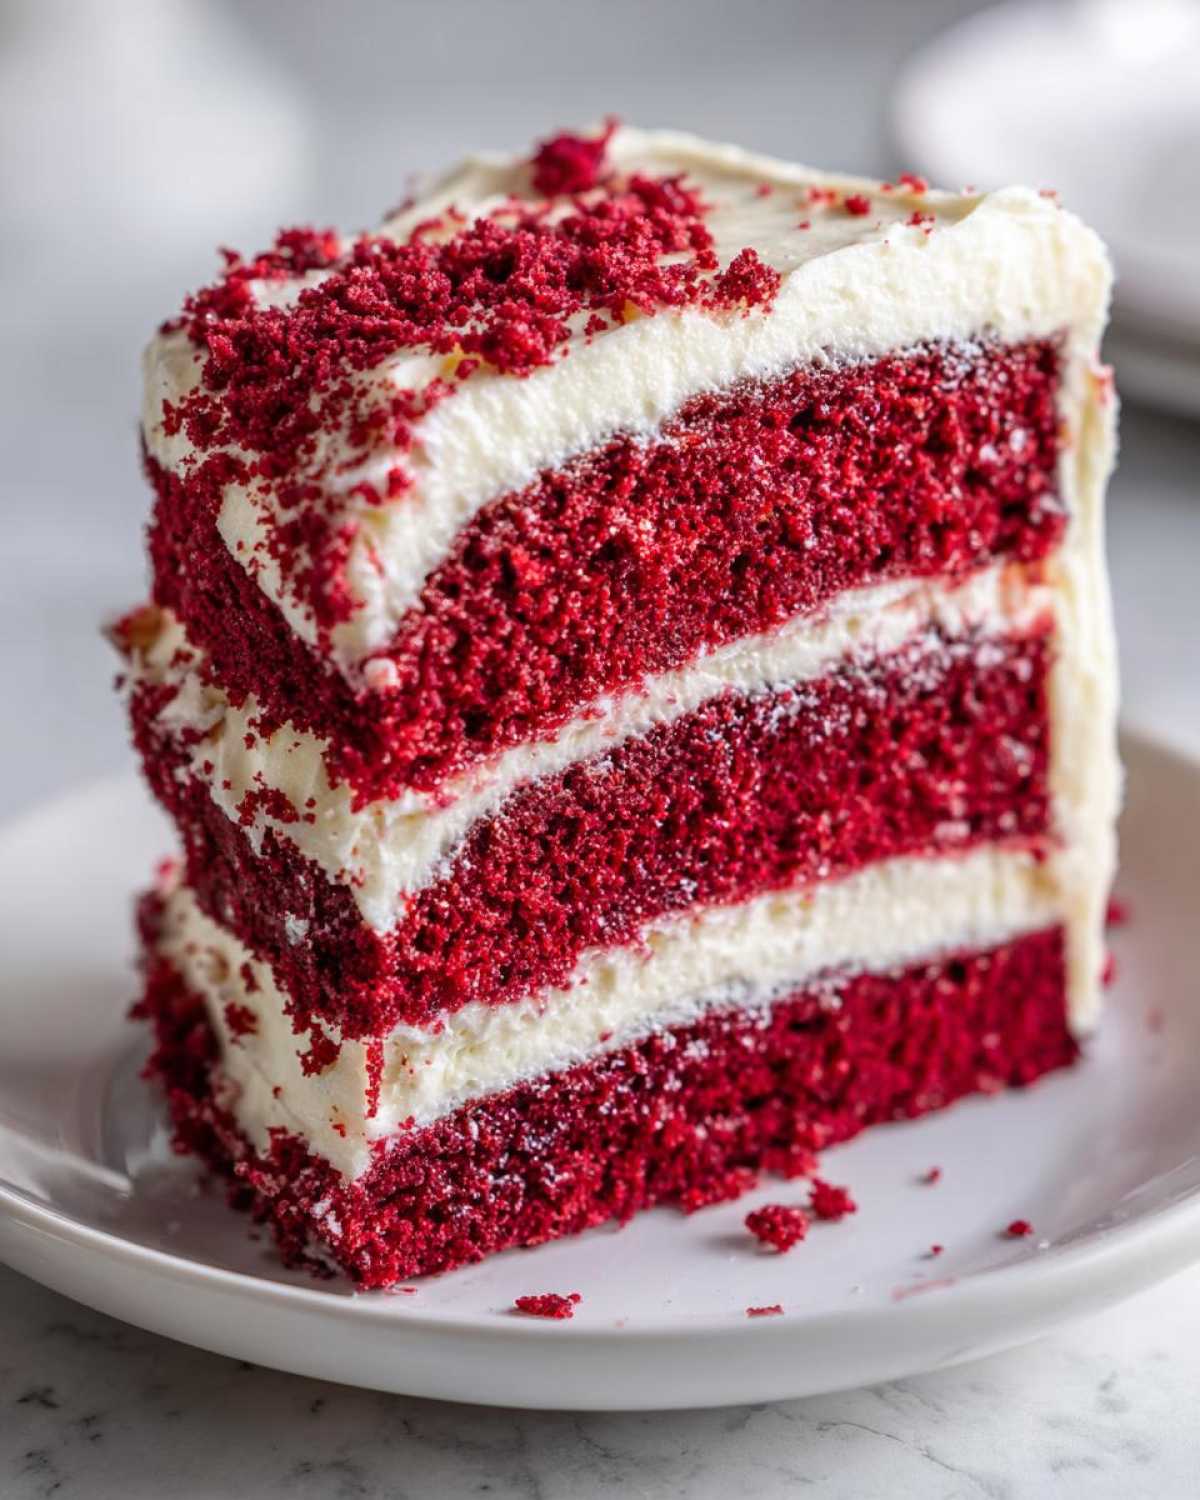
Assembling the Red Velvet Layer Cake with Frosting
While the layers cool, whip up that **best cream cheese frosting recipe**. Make sure that butter and cream cheese are properly softened for the smoothest result possible! Once soft and fluffy, it’s time to build our masterpiece. Place one layer down, spread about a third of that tangy frosting on top, and carefully set the second layer on top of that. Then, use the rest to cover the top and sides of your magnificent **red velvet layer cake**.
Tips for an Easy Red Velvet Cake Baking Experience
I know this looks like a showstopper, but honestly, this is one of the most straightforward **easy baking recipes** we have! If you are new to baking layer cakes, don’t panic. The key to keeping this in the ‘easy’ category is simple attention to detail right at the mixing stage. Jacob always reminds me that even the simplest recipes need respect!
My main tip, which links back to the buttermilk science, is to make sure your wet ingredients are room temperature when you combine them. If your eggs or buttermilk are ice cold, they can sometimes cause the oil emulsion to break a little bit, leading to a denser cake—and we want fluffy, not dense! This simple check is why this recipe works so well even for **beginner cake recipes**.
Also, please use parchment paper circles on the bottom of your pans, even if you grease them well. It’s just good insurance, and peeling off a clean circle is infinitely easier than scraping cake bits later! It guarantees success for your next project, kind of like keeping those fluffy pancake recipes handy for Sunday morning.
Ingredient Notes and Substitutions for Your Red Velvet Cake
Okay, let’s talk ingredients again, because this is where the ‘authentic southern’ part really shines through. We can’t just treat this like a vanilla cake with some red food dye dumped in. Every component here has a job! Jacob keeps saying that understanding *why* you use something is half the battle when you’re trying to build a solid recipe collection.
The superstar duo here is definitely the buttermilk and the vinegar. They are non-negotiable for that signature light texture! That slight tang isn’t just for flavor; it’s the acid necessary to react with the baking soda. If you skip them, you end up with a dense, muted cake, and frankly, that’s just a sad ending for such a beautiful cake.
A Note on Buttermilk Substitutions
But what if you’re mid-bake and realize you ran out of buttermilk? Don’t panic! This is an easy fix that keeps the cake project moving forward. You can make your own homemade buttermilk! Just take your standard milk—whole milk works best—and stir in one tablespoon of white vinegar or white distilled vinegar for every cup of milk you need. Let that mixture sit on the counter for about five to ten minutes. It will curdle slightly, and boom—you’ve got buttermilk ready for action. You can find more great uses for this homemade batch in our skillet cornbread recipe!
The Coloring Question (Natural vs. Vibrant)
We mentioned gel coloring earlier for that deep, intense red, which is what most classic recipes call for. But I know some bakers prefer keeping things less artificial. If you want to lean into the original, historical flavor profile—which was actually supposed to be only slightly reddish from the reaction of vinegar and cocoa—you can cut the red coloring way back or even skip it entirely. You’ll end up with a gorgeous, slightly muted brownish-red cake that still tastes incredible, just less like a holiday centerpiece and more like a beautiful cocoa cake.
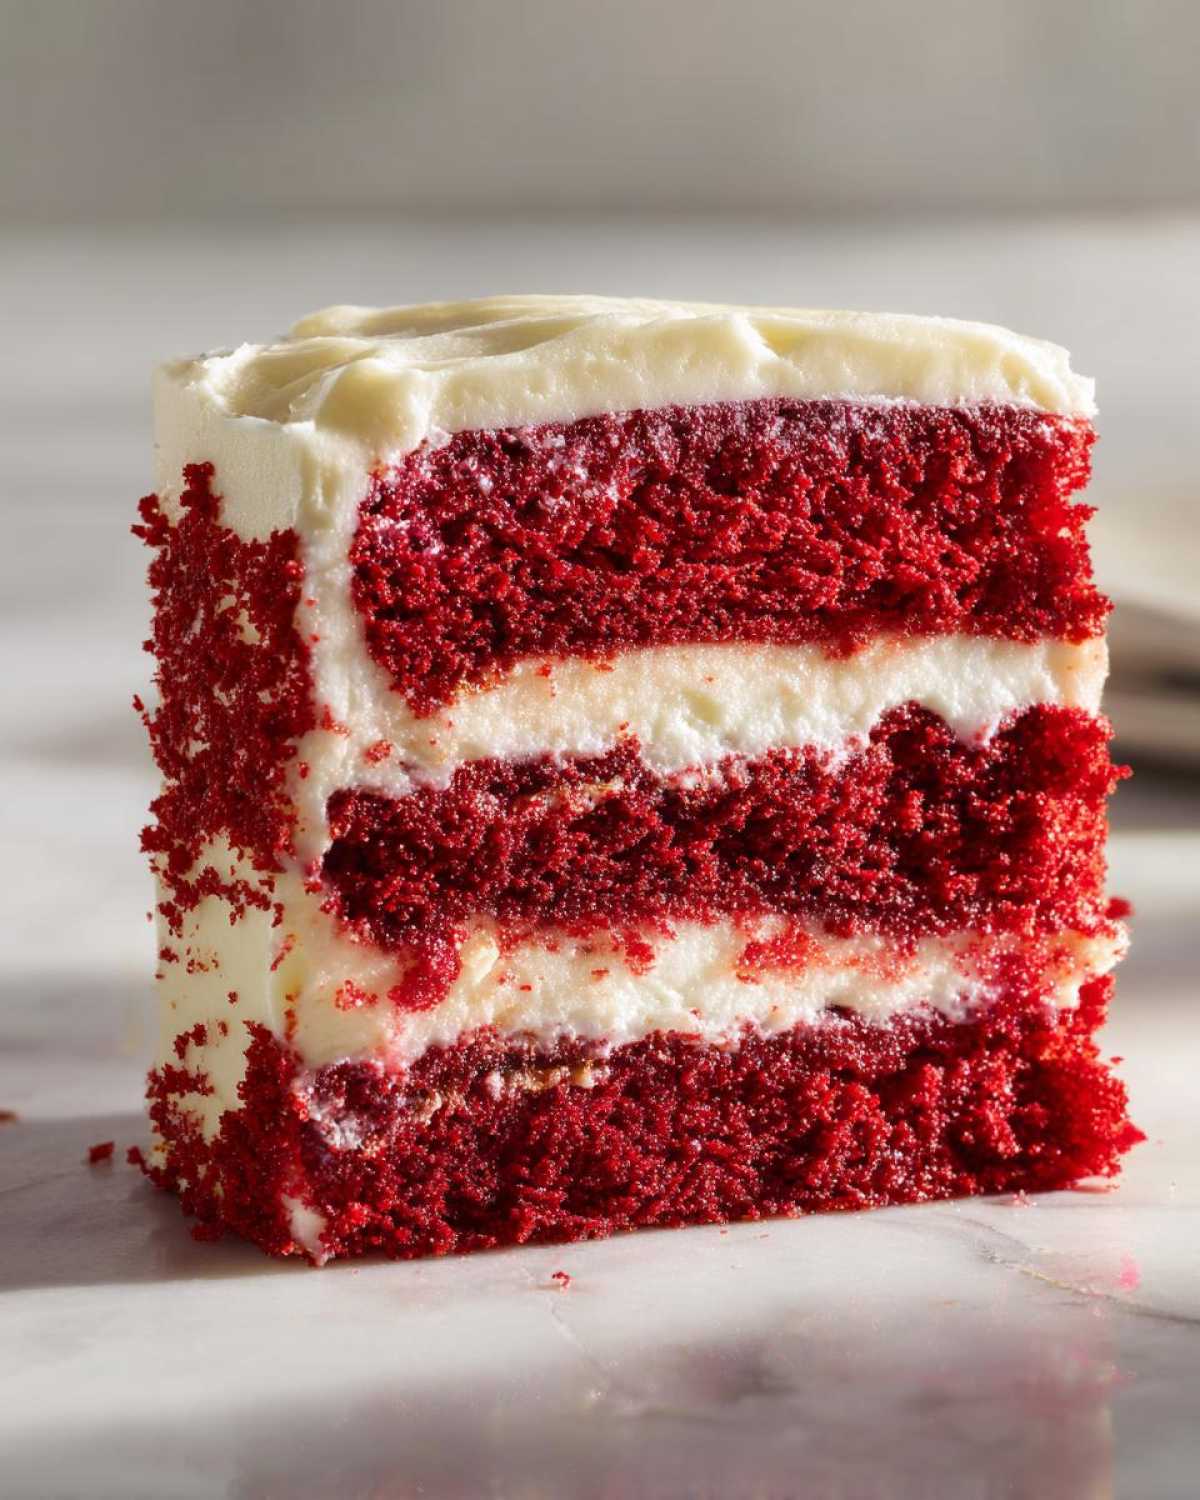
Ultimately, use what makes you happy in your kitchen studio! But remember, for the classic, show-stopping look everyone expects from their birthday cake ideas, you need that vibrant color, and gel coloring is the simplest way to get there.
Storage and Making Ahead Tips for Your Red Velvet Cake
Because this is such a fantastic cake for celebrations—think Valentine’s Day desserts or big holiday gatherings—you might need to bake it ahead of time, and I totally support that planning! A little foresight goes a long way in a busy kitchen. The most glorious thing about this **moist red velvet cake recipe** is that it holds up beautifully, but you have to store it correctly. If you’ve got a layer cake in mind, the timing of the frosting is everything. Jacob learned this the hard way once when he tried to frost warm cake—we ended up with an enormous, messy puddle!
If you want to bake ahead, my number one rule is to keep the layers unfrosted until absolutely necessary. Once those cakes are totally cooled, wrap each layer tightly—I mean *tightly*—in plastic wrap, and then maybe foil around that. This traps all the moisture inside. You can keep them on the counter at room temperature for up to two days, or even tuck them into the freezer for longer storage. We often do this, especially before a big birthday party, and they taste just as good once thawed!
Keeping the Frosting Fresh
Now, the cream cheese frosting is a little trickier since it has all that dairy goodness. You only want to frost the cake right before you serve it, ideally the day of the event. If you absolutely must frost early, make sure your kitchen is cool, and store the fully assembled cake in the refrigerator. But here’s a caution: the texture of that soft homemade cake can get a tiny bit firmer when cold. To combat this, always pull your frosted cake out of the fridge about an hour before you plan to slice it. Let it come up to room temperature.
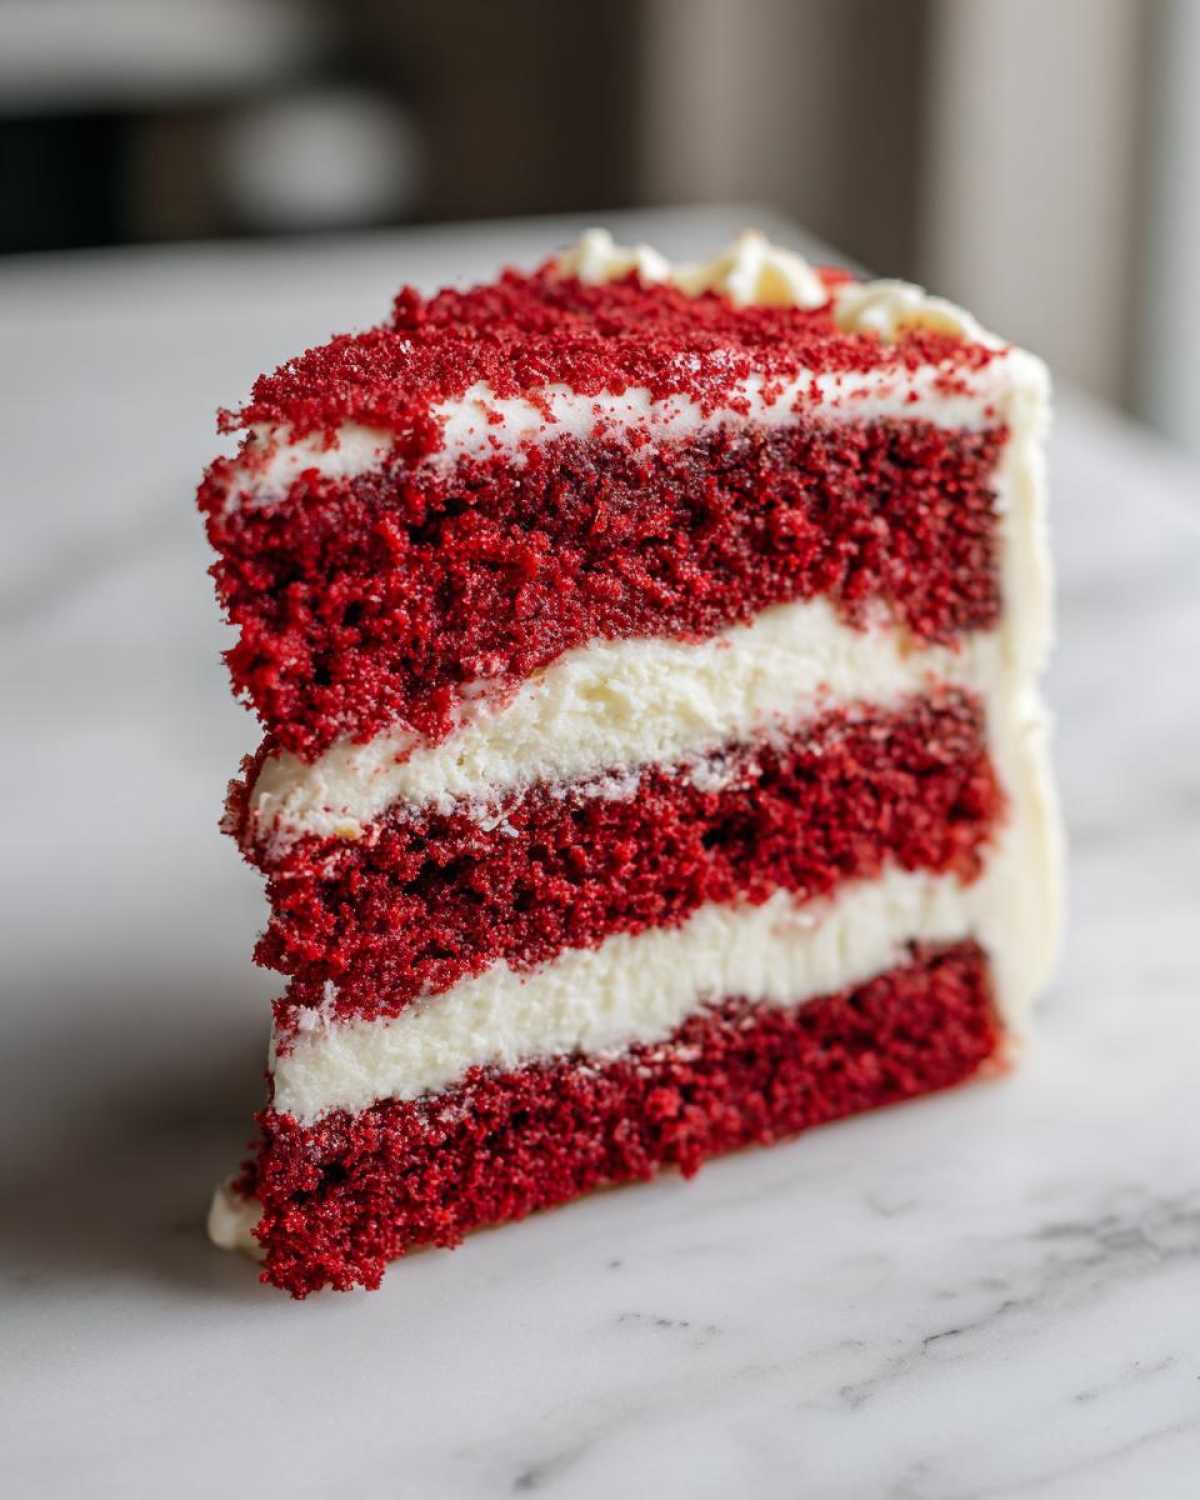
That little resting period brings back the perfect softness, making it easy to slice and beautifully balanced flavor-wise. It’s the same trick we use for getting our coffee cake perfectly tender! You can see how we tackle moisture retention in our sour cream coffee cake recipe notes, too.
Storing Leftovers
Once you cut into it, you need to protect what’s left. Always use an airtight container if you’re leaving leftovers on the counter, but frankly, cream cheese frosting does best when kept cool. Cover any leftovers tightly with plastic wrap or place them in a sealed container and keep them in the refrigerator. It should stay delicious for about three to four days. Don’t worry; even a day-old slice of this **red velvet cake** is still miles better than most store-bought cakes!
Serving Suggestions for Your Showstopping Red Velvet Cake
Now that you’ve completed this magnificent project, we need to talk about the grand reveal! This **red velvet layer cake** screams celebration, and you should lean into that vibe when you serve it. It’s definitely not just an everyday Tuesday bake—it’s built for moments where you want jaws to drop!
This cake is one of our absolute favorites whenever we need cheerful **holiday cake recipes**. Right around Christmas or Easter, the dark red color just pops on the table. But truth be told, it’s completely perfect year-round. It’s become a staple for our impromptu **birthday cake ideas** because it feels so much more special than a plain vanilla or chocolate option. Jacob even says the subtle cocoa note pairs surprisingly well with certain savory flavors, though I usually save this masterpiece for dessert time!
If you’re making this for a romantic treat, it naturally fits perfectly into **valentine’s day desserts**. The deep color is just iconic for that holiday. A simple dusting of cocoa powder on the plate before setting the slice down adds a professional touch that takes zero extra mixing time!
When it comes to pairings? Keep it simple alongside the amazing frosting. A small scoop of vanilla bean ice cream melts beautifully next to a slice, or maybe a fresh cup of strong, black coffee to cut through the richness of that cream cheese frosting. If you’re looking for more ideas focusing on that romantic holiday baking theme, I’ve put together a whole guide on valentine’s day desserts that includes some lighter takes on red velvet, too!
Frequently Asked Questions About Making Red Velvet Cake
When you plan out a big project like a spectacular **red velvet layer cake**, questions always pop up! I know Amelia and I had pages of notes when we first nailed down this recipe. Here are the things folks ask us most often about getting that perfect result. It’s all about clarifying those little details so you can focus on enjoying the baking process!
Is Red Velvet Cake really chocolate cake with food coloring?
This is the million-dollar question! The short answer is no, not really. An **authentic southern red velvet** cake gets its name and its subtle flavor profile from a tiny bit of cocoa powder reacting with the buttermilk and vinegar. That reaction used to cause a slight reddish-brown hue naturally back in the day. Now, we add the red coloring to enhance the visual because the cocoa amount needed for a real chocolate taste would overpower the delicate flavor we want. So, yes, there’s cocoa, but it’s far more delicate than a standard chocolate cake and relies on that buttermilk tang!
Why is my cake not as vibrant red?
If your layers look more pale pink than that bold, beautiful red you see in pictures, you probably used liquid food coloring instead of gel. This is one of those crucial details for achieving a **vibrant red velvet cake** look. Liquid coloring often adds too much volume to the batter, which messes up the texture, and it just isn’t as concentrated. For the best visuals that make this a perfect **birthday cake idea**, always use a good quality red gel food coloring. You use less product, keep the batter consistency perfect, and get that intense color we’re aiming for!
What if I don’t have buttermilk for this moist red velvet cake recipe?
Uh oh, running out of buttermilk is a classic baking panic! But don’t sweat it; this is an easy fix for an otherwise tricky component of **buttermilk cake recipes**. You can make a quick substitute! Measure out the amount of regular milk you need (whole milk works better than skim), and stir in one tablespoon of white vinegar or lemon juice for every cup of milk. Let it sit on the counter for about five minutes until it looks slightly curdled. That’s your homemade version, ready to go! It gives you that necessary acid to activate the baking soda and keep your cake nice and **fluffy**.
Can I use regular sugar instead of granulated sugar?
Technically, you could try to use white sugar in the cake, but I wouldn’t recommend it if you are aiming for an **easy red velvet cake** that turns out perfectly moist every time. The granulated sugar helps with aeration when Jacob creams it with the fats, lending to that signature **soft homemade cake** texture. Different sugars behave differently when baking! Stick to the granulated sugar for the cake layers and reserve the powdered sugar just for the frosting. If you want to dive deeper into other methods, you can check out some of the different cake blueprints we have filed away on our site.
If you still have burning questions and want to see some gorgeous inspiration, check out what other bakers are doing with their velvet creations over at The Recipe Source!
Estimated Nutritional Data for This Red Velvet Cake
Because we are focused on delicious results here, we don’t spend hours weighing samples, but we do give you a good ballpark estimate so you know what you’re working with for your holiday desserts. Please remember that these numbers are based strictly on the ingredients listed above for 12 servings, and actual figures can shift based on brands, measuring precision, and how much fantastic frosting you generously layer on!
- Serving Size: 1 slice
- Calories: 450
- Sugar: 55g
- Sodium: 350mg
- Fat: 24g
- Saturated Fat: 12g
- Unsaturated Fat: 12g
- Trans Fat: 0g
- Carbohydrates: 58g
- Fiber: 1g
- Protein: 5g
- Cholesterol: 60mg
The Best Southern Style Moist Red Velvet Cake From Scratch with Classic Cream Cheese Frosting
You deserve a show-stopping dessert. This recipe delivers a perfectly moist and soft red velvet layer cake with the authentic flavor profile—a hint of cocoa balanced by buttermilk. We pair it with a classic, tangy cream cheese frosting for a truly memorable homemade cake.
- Prep Time: 20 min
- Cook Time: 35 min
- Total Time: 55 min
- Yield: 12 servings
- Category: Dessert
- Method: Baking
- Cuisine: American
- Diet: Vegetarian
Ingredients
- 2 1/2 cups all-purpose flour
- 1 1/2 cups granulated sugar
- 1 teaspoon baking soda
- 1 teaspoon cocoa powder
- 1 teaspoon salt
- 1 cup vegetable oil
- 1 cup buttermilk
- 2 large eggs
- 1 teaspoon white vinegar
- 1 teaspoon vanilla extract
- 1 to 2 tablespoons red food coloring (for vibrant red velvet cake color)
- 8 ounces cream cheese, softened
- 1/2 cup unsalted butter, softened
- 3 cups powdered sugar, sifted
- 1 teaspoon vanilla extract
Instructions
- Preheat your oven to 350°F (175°C). Grease and flour two 9-inch round cake pans.
- In a large bowl, whisk together the flour, sugar, baking soda, cocoa powder, and salt. This is your dry mix.
- In a separate medium bowl, whisk together the oil, buttermilk, eggs, vinegar, and vanilla extract. Add the red food coloring and mix until you achieve a vibrant red color.
- Pour the wet ingredients into the dry ingredients. Mix on low speed until just combined. Do not overmix the batter.
- Divide the batter evenly between the prepared cake pans.
- Bake for 30 to 35 minutes, or until a wooden pick inserted into the center comes out clean.
- Let the cakes cool in the pans for 10 minutes before inverting them onto a wire rack to cool completely.
- Prepare the cream cheese frosting: In a large bowl, beat the softened cream cheese and butter together until smooth.
- Gradually add the sifted powdered sugar, beating until combined. Mix in the vanilla extract until the frosting is light and fluffy.
- Once the cakes are completely cool, place one layer on a serving plate. Spread about one-third of the frosting evenly over the top. Place the second layer on top.
- Frost the top and sides of the entire red velvet layer cake with the remaining cream cheese frosting.
Notes
- For the most authentic Southern red velvet flavor, do not skip the buttermilk and vinegar; they react with the baking soda to give the cake its signature soft crumb.
- If you want a truly vibrant red velvet cake, use gel food coloring instead of liquid, as it provides more color without adding excess liquid to the batter.
- You can make this an easy baking recipe by preparing the layers a day ahead and storing them tightly wrapped at room temperature.
Nutrition
- Serving Size: 1 slice
- Calories: 450
- Sugar: 55g
- Sodium: 350mg
- Fat: 24g
- Saturated Fat: 12g
- Unsaturated Fat: 12g
- Trans Fat: 0g
- Carbohydrates: 58g
- Fiber: 1g
- Protein: 5g
- Cholesterol: 60mg