

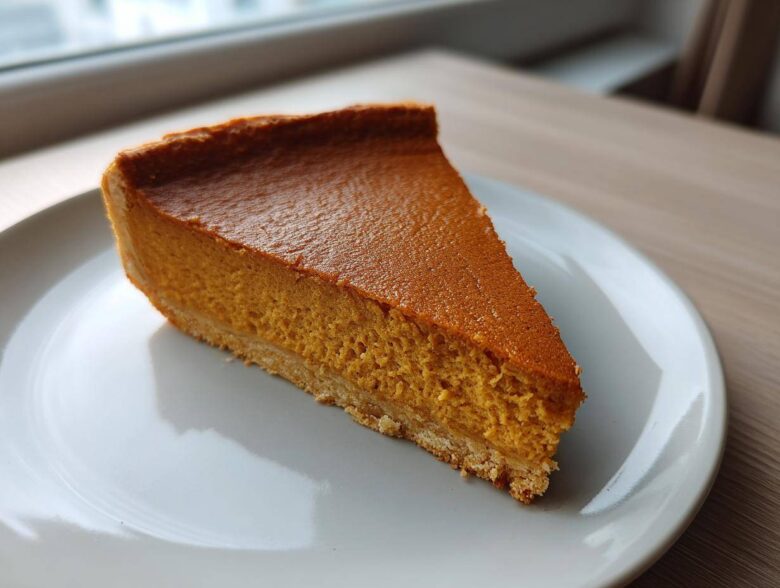
Oh, when that first chill hits the air, you know what time it is, right? It’s time for pie! Forget those fancy, overly complicated holiday desserts; the true star of Thanksgiving, for me, has always been the pumpkin pie. I have tried every version out there, but nothing beats the satisfaction of pulling a deep, fragrant, perfectly set pie out of the oven.
I’m finally sharing the blueprint for the one that wins every single year: my ultimate **classic pumpkin pie recipe**. Seriously, this isn’t one of those overly sweet custard nightmares. It’s creamy, packed with that warm spice blend you dream about, and shocked most people when I tell them how surprisingly easy it is to master, even if you’re new to baking. My brother-in-law, who burns water, made this last year and got actual compliments from Grandma. That tells you everything! You can check out some of my other tested recipes here if you need more easy baking inspiration.
Why This is the Ultimate Classic Pumpkin Pie Recipe (The Best Homemade Pumpkin Pie)
What sets this pie apart from all those watery, sometimes grainy versions you run into? Honestly, it’s all about texture and spice balance. We aren’t messing around with shortcuts here; this is the best homemade pumpkin pie because every ingredient works together perfectly. Trust me, this method gives you that gorgeous, wobble-free slice. If you’re looking for other custardy delights, you should really check out my egg custard pie recipe—similar principles apply!
Achieving the Perfect Creamy Pumpkin Pie Filling
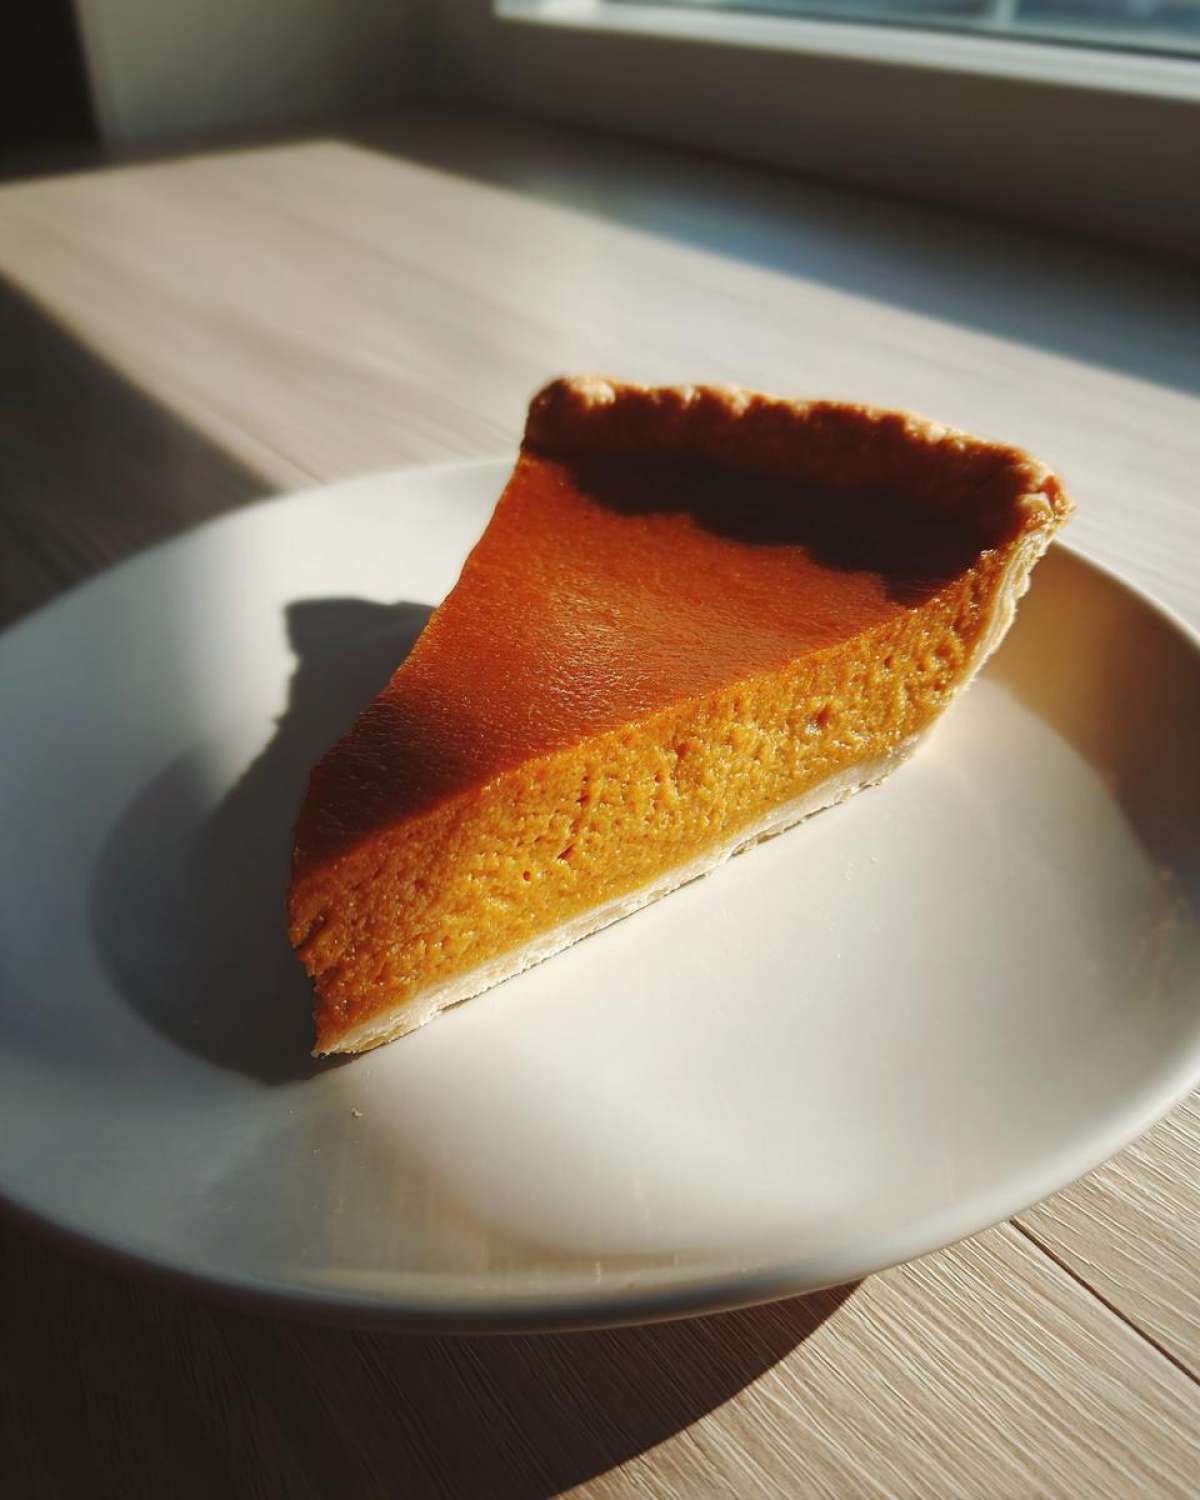
The secret to that dreamy, creamy pumpkin pie filling is ditching the canned, sweetened stuff and using simple evaporated milk with just the right number of eggs. That combination creates a stable custard that bakes up beautifully smooth. We use two eggs for richness but not so many that it gets rubbery. It’s truly a no fail pumpkin pie formula once you get the temperatures right. No weeping, no cracks—just pure velvet!
The Traditional Spiced Pumpkin Dessert Blend
This is where you get that nostalgic, warm hug feeling! We stick rigorously to the four core spices that define our classic pumpkin pie. It’s not just cinnamon; we need that earthy punch from the ginger, the warmth of the nutmeg, and just a tiny bit of assertive clove action. These spices, when combined with the pure pumpkin, create the signature flavor profile of a truly traditional pumpkin pie recipe. It reminds me of being a kid helping Grandma in the kitchen.
Ingredients for Your Classic Pumpkin Pie Recipe
Okay, let’s get down to business. Having the right ingredients isn’t just about ticking boxes; it’s about setting yourself up for success! This is the list that gets me that perfect, rich, classic pumpkin pie every single time. Remember, you need pure pumpkin puree, not that canned filling that already has sugar and spices mixed in—we want control over our spice blend!
For the crust, I’m using a store-bought deep-dish version to keep things zippy for beginners, but if you’ve got a favorite pumpkin pie with flaky crust recipe you want to use, go for it! Just make sure it’s 9 inches.
- 1 (9-inch) unbaked deep-dish pie crust
- 1 (15 ounce) can pure pumpkin puree (please, please, please make sure it says pure pumpkin and not pumpkin pie filling!)
- 1 (12 ounce) can evaporated milk (this is crucial for that creamy texture, not sweetened!)
- 2 large eggs, lightly beaten
- 3/4 cup granulated sugar
- 1 teaspoon ground cinnamon (don’t skimp!)
- 1/2 teaspoon ground ginger
- 1/4 teaspoon ground nutmeg
- 1/4 teaspoon ground cloves
- 1/2 teaspoon salt
See? It’s short, sweet, and everything you need for that incredible, spiced pumpkin dessert flavor!
How to Make This Easy Pumpkin Pie for Beginners
This is the part where all the magic happens, and I promise, this method makes it incredibly simple—seriously, this is a great easy pumpkin pie for beginners project. The crucial part here is managing the heat upfront to get the best rise and set on that creamy filling. We are using a special two-stage baking technique that keeps things gorgeous! If you need any more easy baking tips, you can always check out my main recipe index here.
Step 1: Preparing the Oven and Crust
First thing’s first: get that oven breathing! Preheat it to 425 degrees Fahrenheit. You definitely want your pie to go onto a sturdy surface, so grab a baking sheet and place your unbaked 9-inch pie crust right on top of it. Putting the crust on the sheet instead of directly on the rack helps stabilize the bottom so it doesn’t flop over when you slide it in. Don’t skip this prep step!
Step 2: Mixing the Creamy Pumpkin Pie Filling
We mix wet and dry separately, just like we do for the best homemade pumpkin pie. In one bowl, whisk together your pumpkin, the evaporated milk, and those eggs until they look happy and totally smooth. In a smaller dish, mix all your dry goodness—sugar and all those lovely spices, plus salt! Now, slowly stream that dry mix into the wet, mixing gently until you just see everything combined. Stop mixing as soon as those streaks disappear. Overmixing is the enemy of the creamy texture we want!
Step 3: The Two-Temperature Baking Method for Your Classic Pumpkin Pie Recipe
Pour that beautiful filling right into your crust sitting on the waiting baking sheet, and slide it into that hot oven. We bake at 425 degrees F for exactly 15 minutes. This high blast sets the edges quickly, which is important for a good crust. Then, without even opening the door if you can help it, drop that temperature right down to 350 degrees F! Let it bake there for another 35 to 40 minutes. You’ll know it’s done when a knife inserted near the center comes out clean. That confirms you nailed the classic pumpkin pie recipe bake!
Step 4: Cooling for the Best Texture Pumpkin Pie
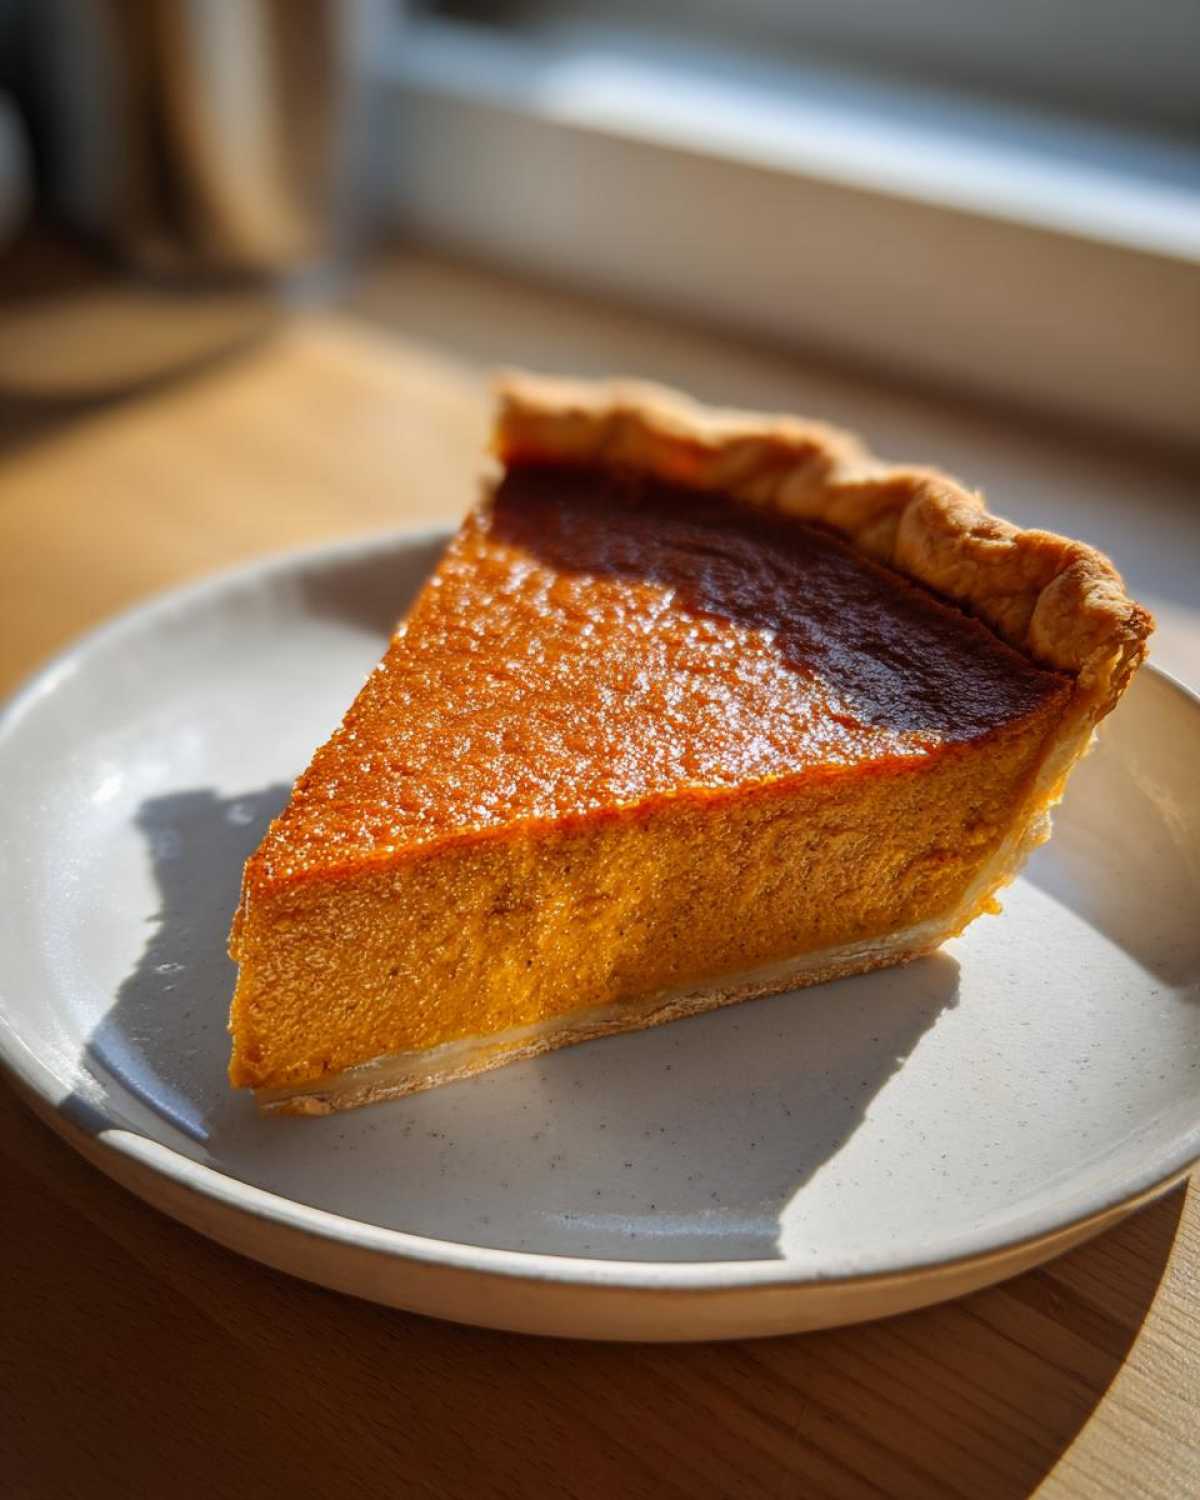
This step is non-negotiable, I’m warning you now! Once it’s out, you must let it cool completely—and I mean completely—on a wire rack. This slow cooling process is what ensures that perfect, dreamy set, giving you the best texture pumpkin pie possible. If you cut it hot, it leaks everywhere, trust me! Chill it for at least four hours before slicing; that time lets the custard firm up nicely before we enjoy that amazing spiced pumpkin dessert.
Tips for a Perfect Pumpkin Pie with Flaky Crust
Even though this is an easy recipe, there are a couple of little tricks that elevate our classic pumpkin pie recipe from good to oh-my-gosh-who-made-this! When you’re dealing with a slightly longer bake time, especially that initial blast at 425 degrees, the edges of your crust can sometimes brown way too fast. If you notice your beautiful crust getting crispy before the filling is set, just grab some aluminum foil, tear off thin strips, and gently drape them over the edges of the pie pan. It protects those delicate flakes perfectly!
Also, a quick note on richness if you’re trying to make a truly decadent pumpkin pie with flaky crust: while evaporated milk is traditional and works beautifully, you can absolutely swap it out for heavy cream. It makes the filling a touch richer, though it might set up slightly softer compared to the standard evaporated milk version. If you’re ever curious about other pastry challenges, I cover all the secrets for my lemon meringue pie crust, which utilizes similar shielding techniques!
Serving Suggestions for Your Thanksgiving Pumpkin Dessert
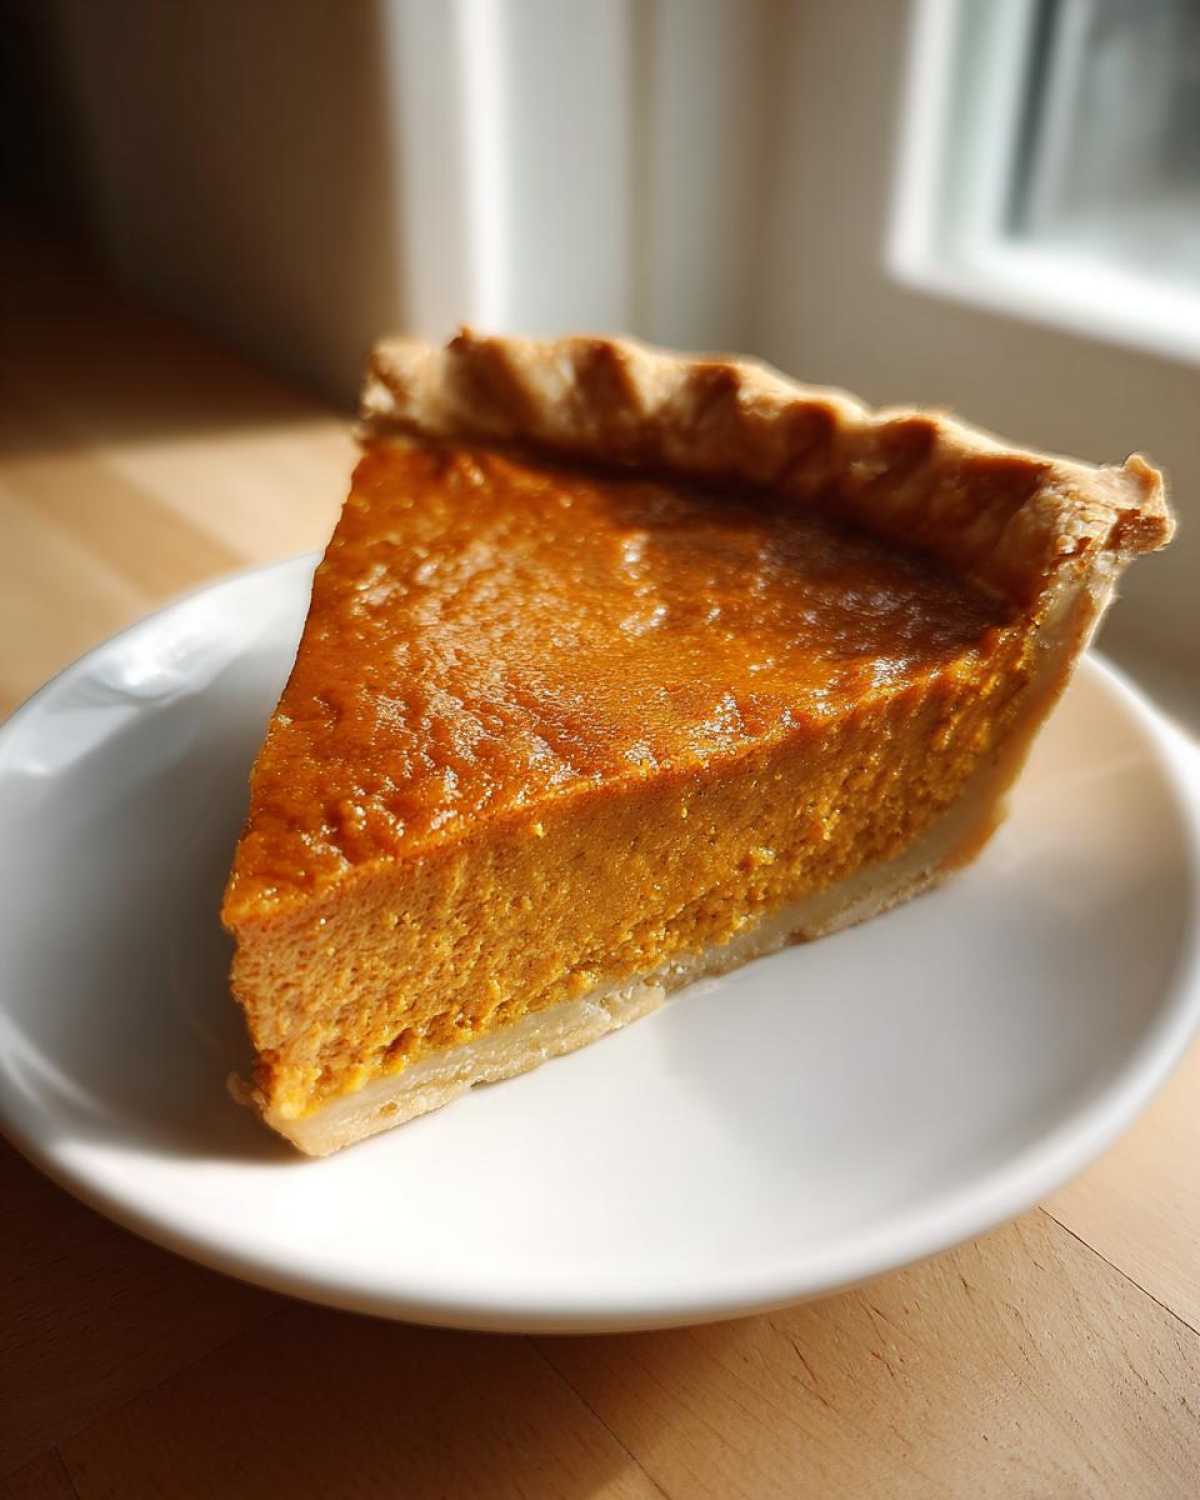
We’ve baked this incredible classic pumpkin pie recipe, and now comes the fun part: dressing it up for the big show! We want this pie to look just as amazing as it tastes when it lands on the table as the centerpiece of your Thanksgiving pumpkin dessert spread.
Hands down, the absolute classic topping is a massive, luscious dollop of homemade whipped cream. You just cannot beat that light, cold airiness against the dense, warm spice of the pie. If you’re looking for something a bit more structured than plain whipped cream, I highly recommend making a quick vanilla topping. You can use my easy method for vanilla buttercream frosting, but just thin it out with a splash more milk so it’s spreadable rather than pipeable. It pairs beautifully!
Now, about temperature—this is where people argue!
- Chilled: Serving the pie straight from the fridge gives you that firmest texture. If you like a really solid slice of creamy pumpkin pie filling, this is your move. It’s especially good if you just finished a massive, hot meal.
- Room Temperature: Letting it sit on the counter for about 30 minutes before slicing really lets all those deep cinnamon and ginger notes bloom. The filling softens just a tiny bit, which I think gives you the absolute ultimate pumpkin pie flavor.
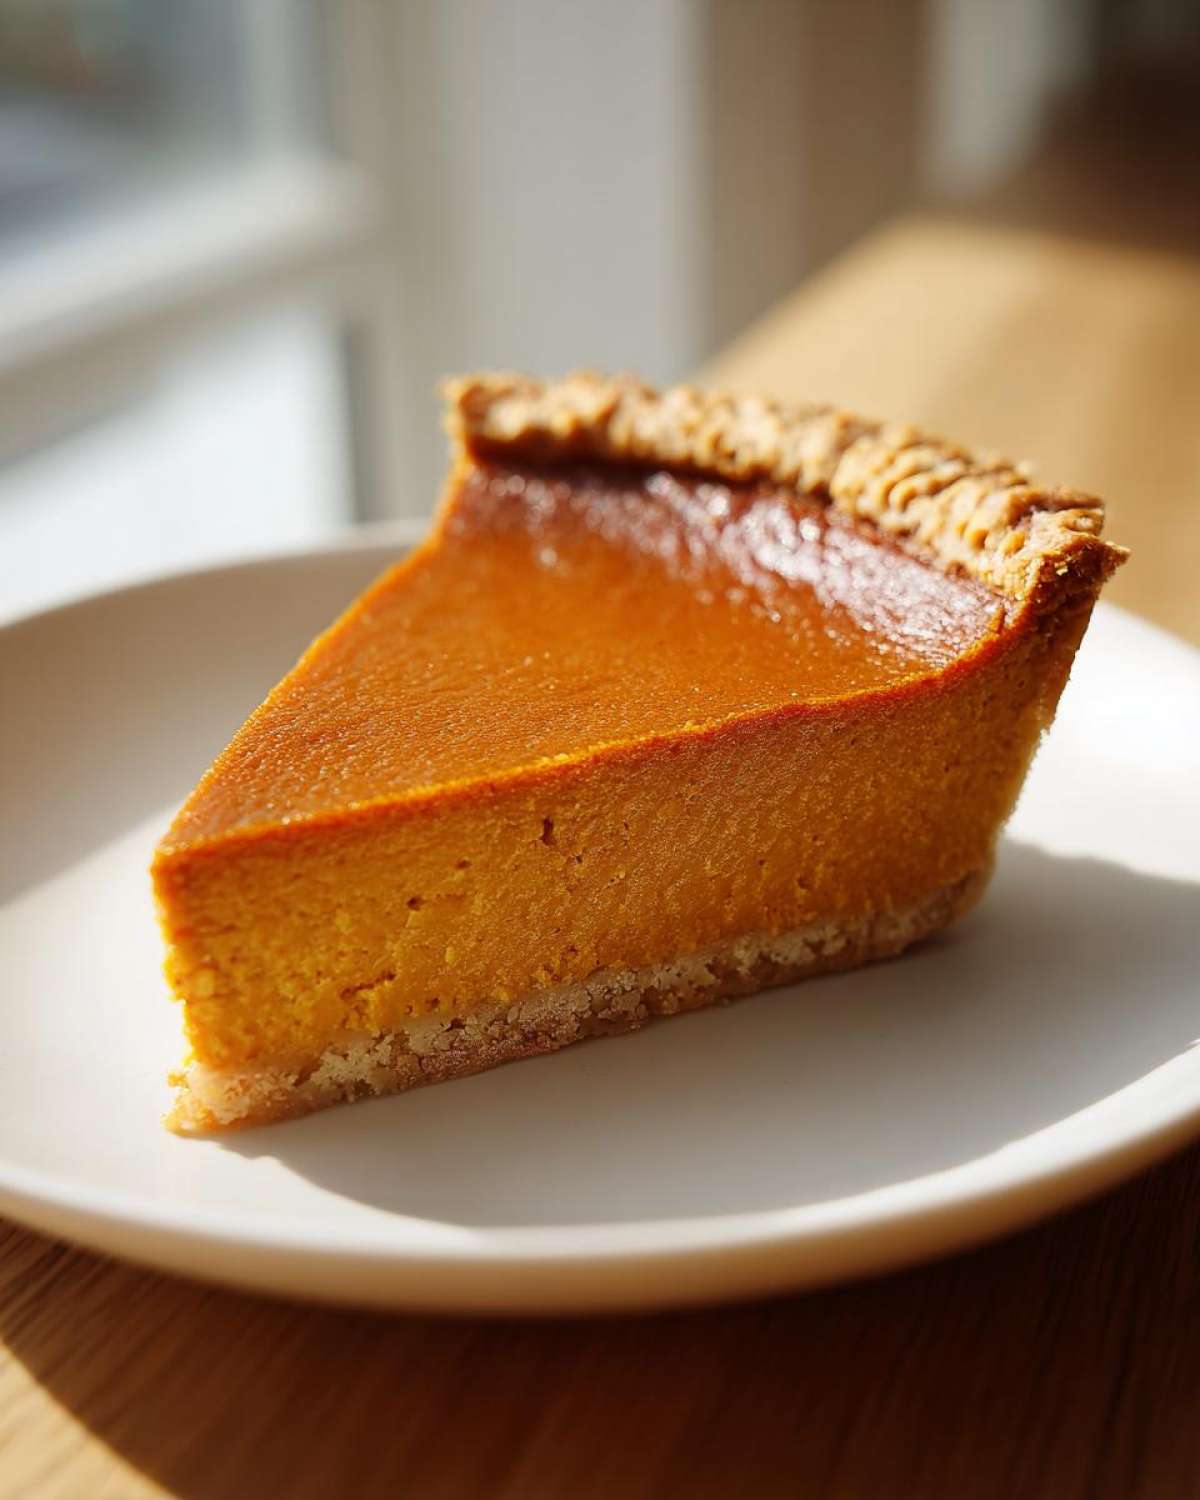
Honestly, I usually put my pie out around dinner time and let guests decide which temperature they want. Either way, don’t forget the dusting of cinnamon or a little grating of fresh nutmeg right before serving. It makes all the difference!
Storage and Make-Ahead Tips for This Classic Pumpkin Pie Recipe
One of the huge bonuses of making this classic pumpkin pie recipe is that it’s actually fantastic for planning ahead. Thanksgiving is chaos, so anything that can sit happily in the fridge beforehand is a winner in my book! Remember how critical that chilling time was for the texture? We’re leaning into that for storage, too.
You absolutely have to keep this pie refrigerated. Since it’s a true custard pie made with eggs and dairy (that evaporated milk!), leaving it out on the counter for too long just isn’t safe, even though it smells divine. Wrap the pie loosely—and I mean loosely!—in plastic wrap or cover it tightly with foil once it’s completely cooled down. We want to prevent it from drying out but we don’t want condensation to ruin that smooth top.
If you make it the day before Thanksgiving, it sets up even better overnight. Seriously, the chilling time allows the spice flavors to deepen right into the base. If you’re making it a few days out, it keeps beautifully in the fridge for up to three whole days. You don’t really want to freeze it; the texture of that creamy filling just doesn’t hold up well when thawed, though some people swear by freezing slices!
Now, when it comes to reheating, please don’t even try! For this style of traditional pumpkin pie recipe, we aren’t reheating. It must be served cold or at room temperature. Trying to warm it back up just risks turning that gorgeous custard structure into soup. Instead, take it out of the fridge about an hour before you plan to serve it if you pulled it out the day before. This lets the flavors come alive without compromising the set. If you need something warm on Thanksgiving day, maybe try making my garlic breadsticks! They are easy to whip up last minute.
Frequently Asked Questions About This Traditional Pumpkin Pie Recipe
I get so many wonderful emails and comments asking for clarification on these recipes, which just shows how much love there is out there for a great slice of pie! Don’t feel silly asking—we’re all just trying to make the very best version possible. Here are the top questions I get asked about this traditional pumpkin pie recipe.
Can I use fresh pumpkin instead of canned puree in this classic pumpkin pie?
Oh, that’s a fabulous idea if you have the time! Using fresh pumpkin gives you such an incredible, earthy flavor that you just can’t beat. But listen closely: fresh pumpkin is much wetter than the canned stuff. When you roast and puree your own pumpkin, you must make sure to drain off as much liquid as possible. I usually roast mine overnight loosely covered and then press the flesh between a few layers of cheesecloth to suck out the extra water. If you skip draining, your classic pumpkin pie mixture will be too watery and won’t set up right at all. Measure your drained, roasted puree cup-for-cup to substitute for the canned stuff!
My pie cracked after cooling. What caused this, and how can I prevent it next time?
Ugh, the dreaded crack! It happens to the best of us, unfortunately. The number one reason for cracking in a creamy pumpkin pie filling is overbaking. It sets up perfectly, but as it cools, those overbaked edges shrink too fast and pull the center apart. The second big reason is sudden temperature shock. Remember how I insisted on letting it cool slowly on the wire rack? If you try to move that hot pie straight from the 350-degree oven into the fridge, shock happens, and *crack*! Always follow that two-temperature baking method and the long cooling process—that’s the secret to the best texture pumpkin pie!
Can I make this pumpkin pie without condensed milk?
Great question! You absolutely can, and you are in luck because this specific traditional pumpkin pie recipe doesn’t actually call for condensed milk at all! We use evaporated milk. They are definitely not the same thing, and understanding the difference keeps your pie less sweet, which is key to an old fashioned pumpkin pie flavor. Condensed milk is sweetened and much thicker, which makes pies very sweet and sometimes heavy. Evaporated milk is just regular milk with water removed, giving you a rich base without that overwhelming sweet punch. If you wanted to go even richer, though, you could swap the evaporated milk for heavy cream, but I really recommend sticking to the evaporated milk for that perfect mild sweetness. You can find more general advice on baking substitutions here if you’re ever unsure!
Estimated Nutritional Breakdown for This Spiced Pumpkin Dessert
Okay, I know most of us aren’t crunching these numbers when we are thinking about the biggest comfort food dessert of the year, but for those of you who are curious about what’s in our amazing, deeply spiced pumpkin dessert, here is a little snapshot. This is based on 8 servings using the exact measurements listed, assuming a standard unbaked deep-dish crust. Remember, this is just an estimate, like a general guideline!
Every time I make this classic pumpkin pie recipe, I’m usually more focused on the amazing smell filling the kitchen, but knowing the basics helps! If you use a store-bought crust versus a homemade one with butter or lard, those numbers are going to shift, so take this as a fantastic starting point.
- Serving Size: 1 slice
- Calories: 320
- Fat: 16g
- Saturated Fat: 7g
- Carbohydrates: 40g
- Sugar: 28g (Pretty good considering how sweet and comforting this is!)
- Protein: 7g
- Cholesterol: 75mg
- Sodium: 350mg
See? Very reasonable for a celebratory slice of homemade pumpkin pie! It’s the perfect balance of sweet, creamy, and comforting without feeling overwhelmingly heavy. Definitely worth every single calorie when paired with that dollop of whipped cream!
Share Your Ultimate Pumpkin Pie Flavor Experience
Alright, my lovely bakers, we’ve talked technique, we’ve talked spices, and you now have the very best blueprint for what I call the classic pumpkin pie recipe. But here’s the thing about baking—it’s only half the fun if you don’t share the results! I absolutely live to hear how this pie turned out on *your* holiday table.
So, once you’ve let your pie chill perfectly and pulled out those beautiful, clean slices, I want to see them! Did you stick to the simple powdered sugar topping, or did you go wild with the whipped cream? Head down to the comments below right now. Tell me what you thought—I honestly read every single note you send about achieving that perfect ultimate pumpkin pie flavor.
If you managed to snap a photo of your gorgeous, wobble-free slice, please tag me on social media! Seeing my recipes come to life in your kitchens is honestly the best part of my whole week. If you have any lingering questions about substitutions or timing, now is the moment to ask! You can always reach out directly via my contact page if you need something confidential, but general pie chatter belongs right down below!
Don’t forget to leave a star rating if you loved this recipe—it really helps other home cooks find this absolute winner for their next Thanksgiving pumpkin dessert!
PrintThe Ultimate Classic Homemade Pumpkin Pie: Creamy, Perfectly Spiced, and Easy for Thanksgiving

Make a traditional, creamy pumpkin pie from scratch. This recipe delivers the ultimate spiced flavor perfect for any holiday gathering.
- Prep Time: 15 min
- Cook Time: 50 min
- Total Time: 65 min
- Yield: 8 servings
- Category: Dessert
- Method: Baking
- Cuisine: American
- Diet: Vegetarian
Ingredients
- 1 (9-inch) unbaked deep-dish pie crust
- 1 (15 ounce) can pure pumpkin puree (not pumpkin pie filling)
- 1 (12 ounce) can evaporated milk
- 2 large eggs, lightly beaten
- 3/4 cup granulated sugar
- 1 teaspoon ground cinnamon
- 1/2 teaspoon ground ginger
- 1/4 teaspoon ground nutmeg
- 1/4 teaspoon ground cloves
- 1/2 teaspoon salt
Instructions
- Preheat your oven to 425 degrees Fahrenheit. Place the pie crust on a baking sheet.
- In a large bowl, whisk together the pumpkin puree, evaporated milk, and eggs until smooth.
- In a separate small bowl, mix the sugar, cinnamon, ginger, nutmeg, cloves, and salt.
- Gradually add the dry spice mixture to the wet ingredients, mixing until just combined. Do not overmix.
- Pour the pumpkin filling into the unbaked pie crust.
- Bake at 425 degrees Fahrenheit for 15 minutes.
- Reduce the oven temperature to 350 degrees Fahrenheit. Continue baking for 35 to 40 minutes, or until a knife inserted near the center comes out clean.
- Cool the pie completely on a wire rack before slicing. Serve chilled or at room temperature, often topped with whipped cream.
Notes
- For a flakier crust, use a homemade crust recipe.
- If the crust edges begin to brown too quickly during baking, cover them loosely with aluminum foil strips.
- You can substitute heavy cream for evaporated milk for a richer filling, though the texture will change slightly.
- Chill the pie for at least 4 hours before serving for the best texture.
Nutrition
- Serving Size: 1 slice
- Calories: 320
- Sugar: 28
- Sodium: 350
- Fat: 16
- Saturated Fat: 7
- Unsaturated Fat: 9
- Trans Fat: 0
- Carbohydrates: 40
- Fiber: 2
- Protein: 7
- Cholesterol: 75