

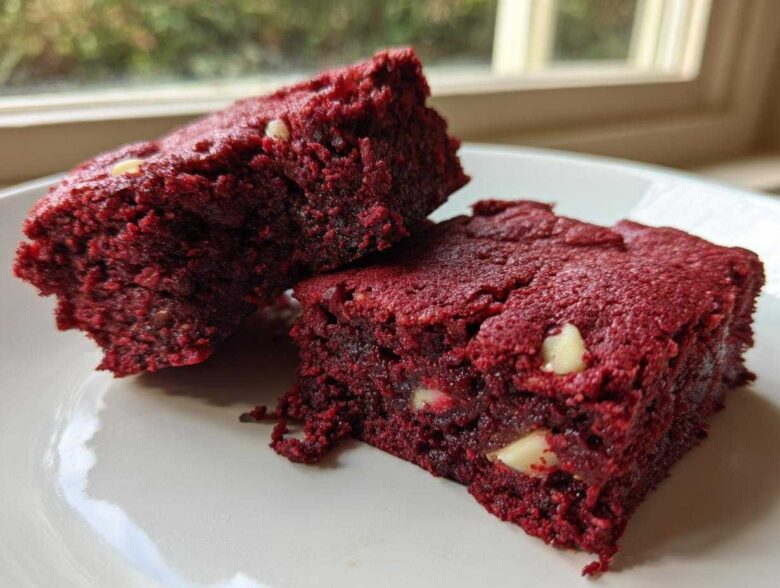
If you’ve ever taken a bite of a brownie only to find it light, airy, and suddenly tasting suspiciously cakey, we need to talk. That is a cardinal sin in my kitchen! For years, I chased that elusive, dense, chewy center—the kind that sticks just a bit to your teeth in the best way possible. I think I finally cracked the code when I decided to marry the intensity of a true fudge brownie with the beautiful tang and color of red velvet cake. Trust me when I say The Fudgy Red Velvet Brownies are what happens when perfection meets indulgence. Getting that perfect, gooey texture took me through at least five major batch failures (oops!), but the final result? It’s intensely chocolatey, perfectly crimson, and unbelievably moist. You won’t find any fluff here—just pure, decadent bar perfection.
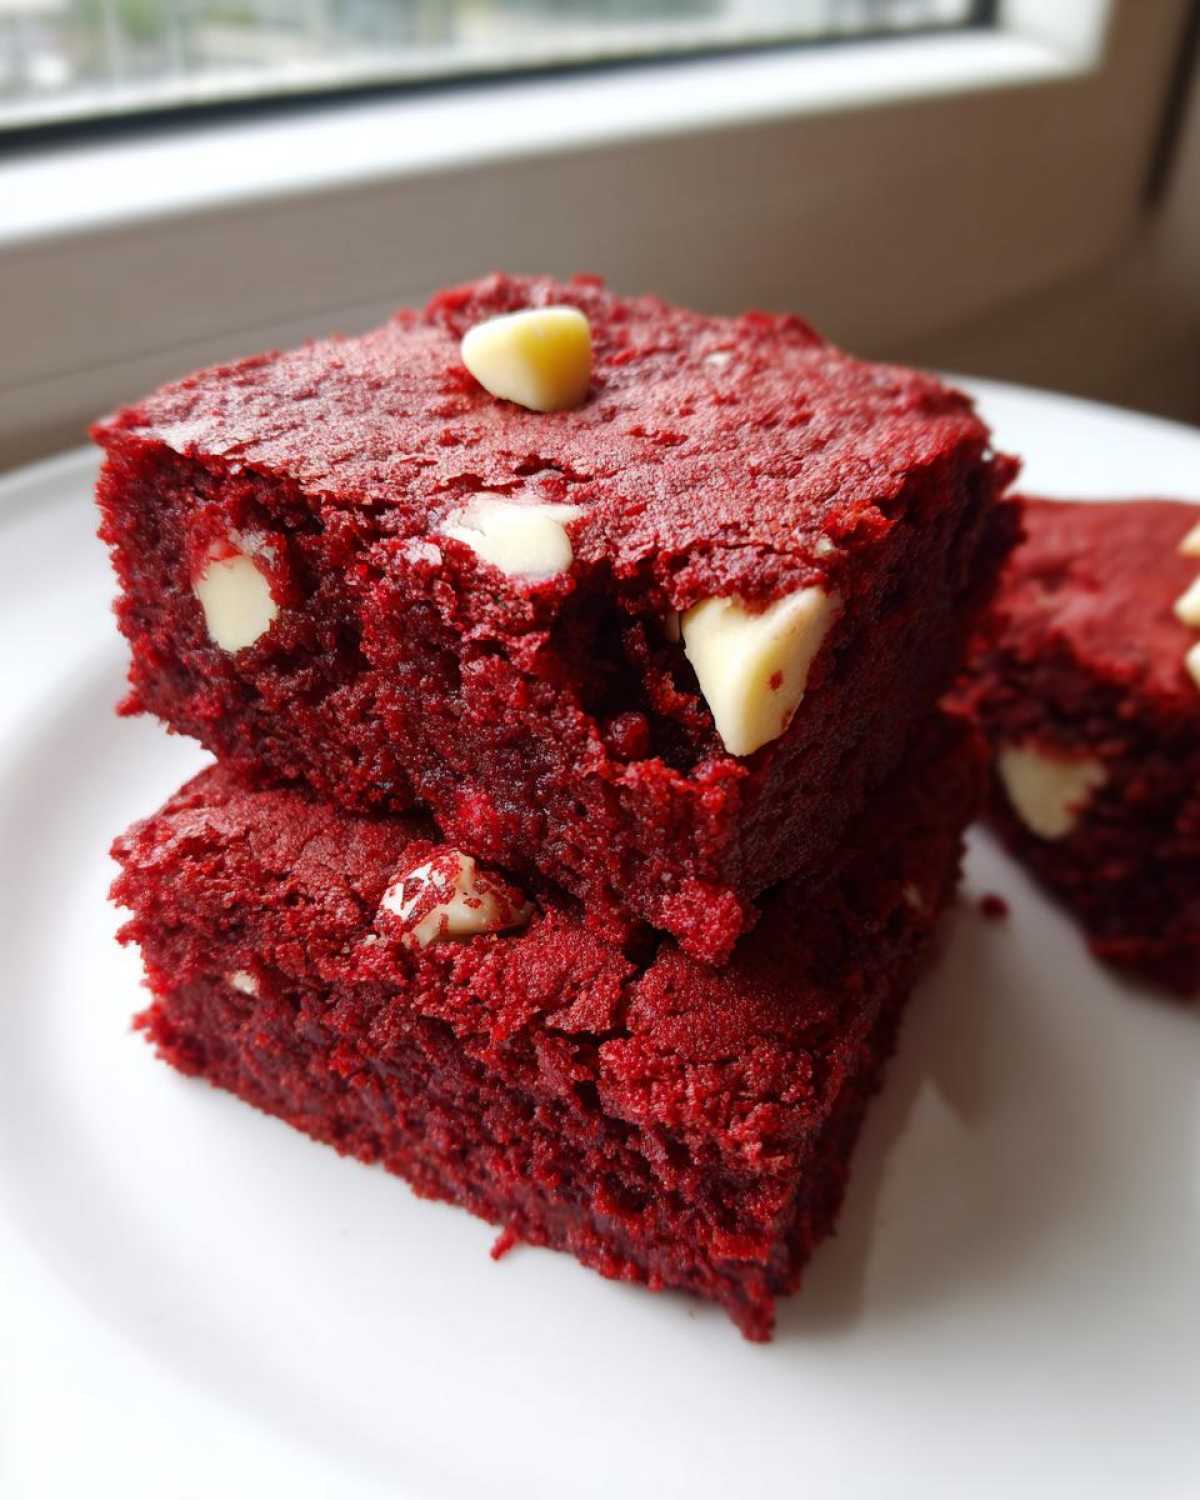
Why You Need These Fudgy Red Velvet Brownies Now
Forget everything you think you know about cakey brownies, because these are different. I spent so long trying to nail the texture, and wow, did we get there! If you need a show-stopping treat for a gathering or just a serious chocolate fix, look no further. Here’s why you need to run to your mixing bowl right now:
- You get that amazing Perfectly Fudgy Texture—dense, chewy, and zero cake allowed!
- The flavor is complex: deep chocolate layered with that classic, subtle tang of red velvet.
- We achieve these gorgeous, Vibrant Red Desserts using a trick that keeps the batter thick.
- These are surprisingly quick for such a gourmet feel! You can see how to make them fast here: fudgy date brownies.
Ingredients for The Fudgy Red Velvet Brownies
Okay, let’s talk about what goes into these magnificent things. Because we are aiming for pure fudge here and that deep, gorgeous red color, ingredient quality and type really matter. Don’t waste your time grabbing liquid coloring—trust me on this one, it just waters down the incredible density we are working so hard to achieve! You want that thick batter to stay thick.
You’ll need the following basics for your batch of 16 bars. You can check out how others handle their fudgy red velvet brownies, but this is my tried-and-true list:
- 1 cup (2 sticks) unsalted butter, melted
- 1 3/4 cups granulated sugar
- 1 cup packed light brown sugar
- 4 large eggs
- 1 tablespoon vanilla extract
- 1 tablespoon white vinegar
- 1 teaspoon salt
- 1/2 cup unsweetened cocoa powder
- 1 cup all-purpose flour
- 2 tablespoons buttermilk powder (or 2 tablespoons buttermilk plus 1 teaspoon flour)
- 2 teaspoons red gel food coloring
- 1 cup white chocolate chips (optional—I usually toss these in!)
Ingredient Notes and Substitutions for The Fudgy Red Velvet Brownies
We need every ingredient pulling its weight to hit that perfect dense texture. The secret sauce for chewiness is definitely the blend of sugars—that heavy dose of light brown sugar locks in moisture and helps prevent the structure from setting up too much like a cake. That’s vital for a Dense Brownie Recipe!
Now, about the buttermilk. If you don’t keep buttermilk powder on hand (I love mine for quick baking!), you can swap it out for regular liquid buttermilk. But listen closely: if you use liquid buttermilk, you must take out 1 teaspoon of the flour to balance the moisture the liquid adds back in. We never want the batter too thin!
Preparing Your Perfect Fudgy Red Velvet Brownies
Before we even touch the sugars or the cocoa, we need to set up shop correctly. Making Easy Brownies from Scratch shouldn’t be a stressful cleanup job, so preparation is everything here. I highly recommend getting everything laid out—your bowls, your whisk, that gorgeous red coloring—before the oven even starts to warm up. It makes the whole process flow so much better!
For this batch, you’ll need a few key things. The star player in the equipment department is your 9×13 inch baking pan. Don’t try to cram this batter into a smaller pan, or you’ll end up baking a brick instead of a brownie! You absolutely must line that pan with parchment paper. I always make sure to leave a generous overhang on two sides. Think of those overhangs as built-in handles—they are the easiest way to lift these delicate fudgy bars out later without breaking their perfect edges. If you are looking for other easy baking ideas, you might enjoy checking out my recipe for easy baked appetizers that require minimal fuss!
Step-by-Step Instructions for The Fudgy Red Velvet Brownies
Alright, let’s get baking! Preheat that oven to 350°F (175°C) while you start mixing. Remember, we are going for fudgy, which means we focus heavily on mixing wet fats and dry flour just enough to combine. Overmixing is the enemy of chewiness!
- First things first: Preheat and prep that parchment-lined pan as we discussed. A little grease on the paper doesn’t hurt either!
- Grab your big bowl. Whisk together your melted butter with both the granulated and brown sugars until everything looks smooth and cooperative.
- Beat those four eggs in, one at a time. You want to see the mixture lighten up a little bit with each addition. Then stir in the vanilla and the white vinegar—that vinegar is essential for activating that classic red velvet flavor profile!
- In a separate bowl, just quickly whisk your dry stuff: salt, cocoa powder, flour, and that magic buttermilk powder.
- Now, the crucial part for achieving that Dense Brownie Recipe: Add the dry mix to the wet ingredients slowly. Mix on low speed, or better yet, gently by hand with a spatula. Stop mixing the second you don’t see any more flour streaks. Seriously, stop! We don’t want any gluten development here.
- This is the fun part! Pour in that red gel coloring and quickly fold it through until you get that stunning, consistent ruby hue. If you’re using white chocolate chips, fold them in now, too.
- Spread that beautiful, thick batter evenly into your ready pan.
- Bake for about 28 to 32 minutes. This time frame is vital. You are looking for the edges to look set and firm, but when you insert a toothpick near the middle, you want moist, dark crumbs clinging to it—not wet batter, but definitely NOT clean! That clean toothpick means you’ve gone too far into cake territory.
- Patience! Let them cool completely in the pan on a wire rack. If you try to cut them warm, they’ll just collapse into a gooey mess. Once they are totally cool, use those parchment handles to lift them out and slice them into perfect squares.
Expert Tips for The Best Chewy Brownie Recipe Texture
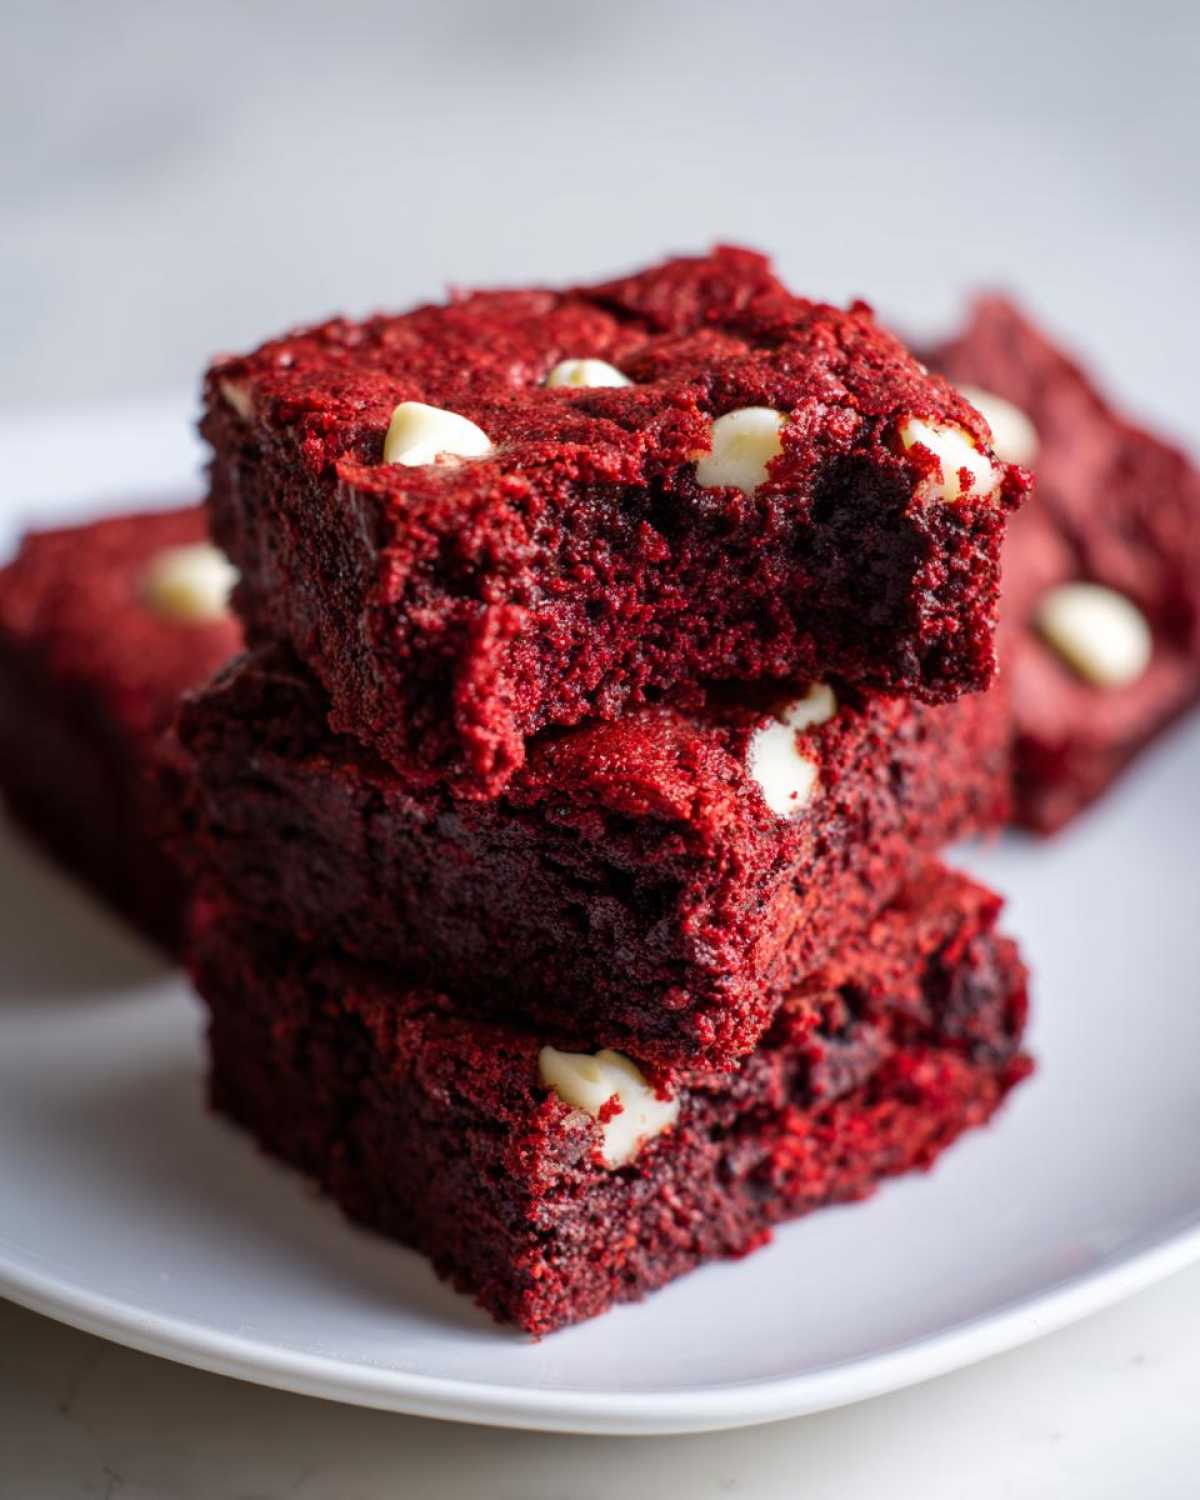
If you want that perfect, dense chewiness—the hallmark of the Best Chewy Brownie Recipe—it all comes down to two things: fat and time. We are intentionally keeping the flour low compared to the sugar and fat. That higher proportion of fat (from the butter and eggs) coats the flour particles, preventing too much gluten from forming. More gluten means more structure, which means more cake! We are fighting hard in this recipe to have No Cakey Brownies allowed near our mixing bowls!
I learned this the hard way once when I was rushing before a party. I pulled them out because the timer went off, but they were slightly warm in the center. They looked fine, but when they cooled, they were almost chewy in the center but had these weird, drier edges. Ugh! I realized I had to let them sit at least fifteen minutes longer than I thought they needed, just until that toothpick only had moist crumbs. Trust me, the cooling time is part of the cooking time when you’re chasing the fudge. I even checked out this quick fudgy brownie mug cake recipe for those days I just need one serving, but for the full pan, patience is non-negotiable!
Storage and Reheating for The Fudgy Red Velvet Brownies
One of the best things about a rich brownie recipe like this is that they actually get better the next day! Since these are so super fudgy, they hold their moisture really well stored correctly. I keep mine right there on the counter in an airtight container. They stay perfectly soft and chewy at room temperature for about four days. No refrigeration needed unless your kitchen is super hot, but even then, they tend to dry out a bit faster in the fridge.
If you want to warm one up later because you need that extra molten quality, here’s my quick trick! Put a single square on a microwave-safe plate and hit it for about 10 to 15 seconds. That little burst of warmth softens the chocolate chips inside and brings back that incredible fresh-from-the-oven melt. If you prefer something baked warm, you can pop them in a 300°F oven for just five minutes. If you’re looking for icing ideas that set nicely, check out how to make cookie icing that dries hard—it’s great for topping these bars!
Making The Fudgy Red Velvet Brownies Ahead of Time
I almost always bake these a day ahead, honestly! You cannot cut these beauties properly until they are completely cool, and letting them sit overnight actually lets that cocoa and red velvet flavor deepen up nicely. So yes, baking them the day before you plan to serve them is actually my preferred route. They keep beautifully in that airtight container on the counter—do not worry about them losing that fudge factor!
Now, if you’re planning ahead for a major holiday or you just want to prep for an emergency chocolate craving, freezing is totally possible. The key to freezing is protecting their perfect shape! First, make sure they are fully cooled, then cut them into squares. Wrap each square tightly in a piece of plastic wrap first—this is your moisture seal! Then, bundle those wrapped squares together in a heavy-duty freezer bag. They will hold up great for about two months this way.
When you’re ready to eat one, just pull it out and let it thaw on the counter for about an hour until it reaches that perfect room temperature chewiness. If you love prepping foods ahead of time, you should check out my guidance on that amazing easy egg muffin recipe for meal prep—it makes busy mornings so much less stressful!
Serving Suggestions for Your Chocolate Red Velvet Bars
Okay, once you’ve successfully navigated the cooling period and managed to cut these Chocolate Red Velvet Bars into uniform squares (a feat of pure willpower, I know), the real fun begins: deciding what to serve them with!
Because these brownies already have that gorgeous hint of traditional red velvet tang from the vinegar and the slight buttermilk flavor, they pair wonderfully with things that are slightly acidic or intensely creamy. Seriously, these bars are rich enough to stand alone, but if you need to make them a true dessert centerpiece, I have a few tried-and-true favorites.
Number one, and this is non-negotiable for a truly gourmet experience, is a cool scoop of really good vanilla bean ice cream. The warm brownie against the cold, melting ice cream just makes everything better. That subtle coolness enhances the chocolate flavor so much. If you are feeling ambitious and want to make your own topping, you absolutely have to check out how I make my easy vanilla buttercream frosting. A thin layer of that pale frosting against the intense red is just stunning!
For a simpler daytime treat, ditch the ice cream and just serve them alongside a really strong cup of hot coffee or maybe a latte. The bitterness of the coffee cuts right through the brown sugar and cocoa richness perfectly. Honestly, once you have that perfectly fudgy texture achieved, everything else is just gravy!
Frequently Asked Questions About The Fudgy Red Velvet Brownies
I get so many questions about these brownies because everyone wants that perfect combination of deep chocolate and vibrant red! People often worry about the texture turning cakey or if the color will be bright enough, so I pulled together the most common things I hear. If you’ve ever made a batch that didn’t quite hit the mark, these tips should help you nail it next time and ensure you get that decadent, Homemade Fudge Brownies result every single time.
What is the secret to achieving a perfectly fudgy texture in these brownies?
If you take one thing away from this whole post, please let it be this: fat-to-flour ratio and the toothpick test are your best friends! To get that ultimate Perfectly Fudgy Texture, you need to use more fat and sugar than flour, and you have to handle the flour gently. That means mixing the dry ingredients in until they are *just* incorporated—literally stop stirring when you still see a tiny bit of flour streak left. Then, when you test for doneness, you are looking for moist, fudgy crumbs attached to the toothpick, not a clean one. A clean toothpick means you’ve baked all the fudge right out of it!
Can I use liquid red food coloring instead of gel for The Fudgy Red Velvet Brownies?
You absolutely *can*, but I strongly advise against it if you are aiming for the vibrant color without sacrificing the texture. Remember how we talked about keeping the batter thick? Liquid food coloring is mostly water. If you add enough liquid red coloring to get a good color, you are adding extra liquid to the batter, which works against achieving that dense, chewy brownie structure! Red gel coloring provides intensely concentrated color with just a few drops of thick paste, keeping your batter exactly where it needs to be for superior results.
If you’re interested in other deep flavor profiles but maybe want something a bit smoother, you might enjoy my recipe for homemade chocolate pudding too—it’s great for layering!
Nutritional Estimates for This Dessert Squares Recipe
Now, because these are just pure, glorious indulgence, I never really check these numbers too closely! But for those of you who like to keep track, I ran the recipe through a calculator to get a rough idea of what one of these beautiful Dessert Squares Recipe portions looks like. Remember, because we used real butter and a good amount of sugar to get that perfect fudge texture, these aren’t exactly light, but wow, are they worth it!
These estimates are for one square, assuming you cut the pan into 16 pieces. Keep in mind that the brand of cocoa powder or if you skip the optional white chocolate chips can slightly change these totals. Think of this as your best guess to keep you on track!
- Serving Size: 1 square
- Calories: 280
- Sugar: 30g
- Fat: 16g (with about 10g saturated fat from that wonderful butter!)
- Carbohydrates: 33g
- Protein: 3g
- Cholesterol: 75mg
So, yes, there’s sugar, but that’s how we get that incredible chewiness and moisture—it’s necessary for the Rich Chocolate Brownies texture we love! Just treat yourself, no need to apologize for an extra square when they are this fudgy!
PrintFudgy Red Velvet Brownies
Make dense, chewy brownies with the distinct flavor and color of red velvet cake.
- Prep Time: 15 min
- Cook Time: 30 min
- Total Time: 45 min
- Yield: 16 squares
- Category: Dessert
- Method: Baking
- Cuisine: American
- Diet: Vegetarian
Ingredients
- 1 cup (2 sticks) unsalted butter, melted
- 1 3/4 cups granulated sugar
- 1 cup packed light brown sugar
- 4 large eggs
- 1 tablespoon vanilla extract
- 1 tablespoon white vinegar
- 1 teaspoon salt
- 1/2 cup unsweetened cocoa powder
- 1 cup all-purpose flour
- 2 tablespoons buttermilk powder (or 2 tablespoons buttermilk plus 1 teaspoon flour)
- 2 teaspoons red gel food coloring
- 1 cup white chocolate chips (optional)
Instructions
- Preheat your oven to 350°F (175°C). Line a 9×13 inch baking pan with parchment paper, leaving an overhang on the sides for easy removal. Lightly grease the paper.
- In a large bowl, whisk together the melted butter, granulated sugar, and brown sugar until smooth.
- Beat in the eggs one at a time, mixing well after each addition. Stir in the vanilla extract and white vinegar.
- In a separate medium bowl, whisk together the salt, cocoa powder, flour, and buttermilk powder.
- Gradually add the dry ingredients to the wet ingredients, mixing on low speed or by hand until just combined. Do not overmix.
- Add the red gel food coloring and mix until the batter is uniformly colored. Fold in the white chocolate chips, if using.
- Spread the batter evenly into the prepared baking pan.
- Bake for 28 to 32 minutes. The edges should look set, and a toothpick inserted near the center should come out with moist, fudgy crumbs attached, not wet batter. Avoid overbaking to maintain a fudgy texture.
- Let the brownies cool completely in the pan on a wire rack before lifting them out using the parchment overhang.
- Cut into squares once fully cooled.
Notes
- Use red gel food coloring for the most intense, vibrant color without thinning the batter.
- For the fudgiest texture, ensure you use the specified amount of brown sugar and do not overbake.
- If you do not have buttermilk powder, substitute 2 tablespoons of liquid buttermilk and reduce the flour by 1 teaspoon.
Nutrition
- Serving Size: 1 square
- Calories: 280
- Sugar: 30
- Sodium: 150
- Fat: 16
- Saturated Fat: 10
- Unsaturated Fat: 6
- Trans Fat: 0.5
- Carbohydrates: 33
- Fiber: 1
- Protein: 3
- Cholesterol: 75