

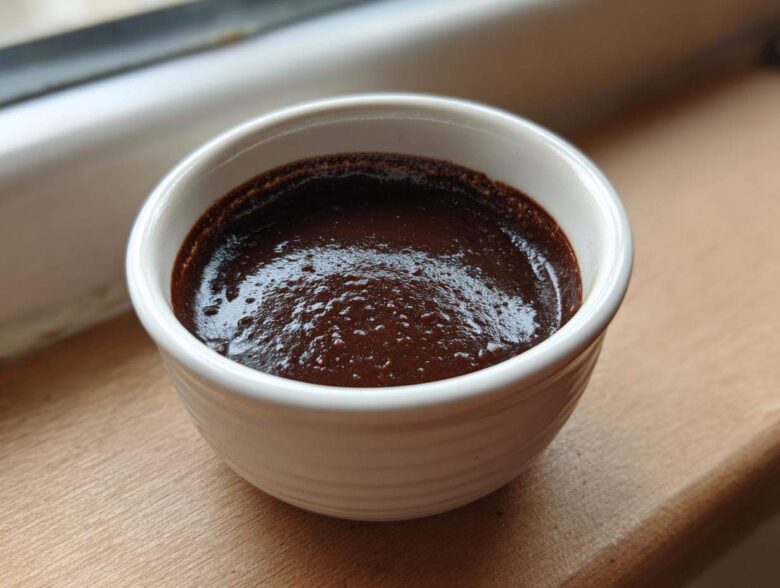
Oh, friends, let’s be honest for a second. Boxed pudding mixes? They tried their best! But if you’re anything like me, you grew up hoping for that rich, silky smoothness that just doesn’t come from a little packet of powder and cold milk. I spent years trying to whip those mixes into something decadent, and trust me, I ended up with grainy disappointments more times than I care to admit!
That ends today. I’m giving you the recipe for the absolute best **homemade chocolate pudding** you will ever make. It’s rich, it’s unbelievably creamy, and honestly, it’s quicker than driving to the store. We’re talking true comfort food dessert made completely from scratch on your stovetop. You won’t believe how simple it is to make this superior, velvety chocolate pudding at home.
Why This is the Best Homemade Chocolate Pudding Recipe from Scratch
There is simply no comparison when you make a rich chocolate dessert from scratch. This isn’t cake mix consistency we’re aiming for; we want that deep, almost fudgy texture that melts in your mouth. I’ve messed around with so many recipes over the years, trying to get away from that waxy taste you sometimes get from store-bought tubs.
What sets this recipe apart is the pure, unadulterated chocolate goodness and the way the starches interact. When you follow these steps, you get a truly velvety chocolate pudding. You’re going to love how quickly you can whip up this silky smooth pudding, especially since it uses pantry staples. If you’re looking specifically for the best homemade chocolate pudding, you’ve landed in the right spot!
Achieving that Velvety Chocolate Pudding Texture
The secret to avoiding graininess is a careful partnership between cornstarch and egg yolks. Gelatin just can’t give you that luxurious mouthfeel we’re after! The cornstarch creates the deep set, while the yolks add an incredible richness and body that makes it ultra-creamy. We’re building layers of texture here, not just thickening a liquid. Don’t skip the yolks; they are essential for that perfect, velvety chocolate pudding finish.
Ingredients for Your Ultimate Homemade Chocolate Pudding
Alright, pulling together the components for this easy chocolate pudding is half the battle, but you need to be precise here because we aren’t using a box, remember? You’ll need sugar—a good amount of granulated sugar to balance the dark notes—and it’s crucial that you use unsweetened cocoa powder. I demand Dutch process cocoa for this, as it gives you that incredibly deep chocolate color and flavor that makes this a real showstopper.
Next up, we have our thickening agents: cornstarch is doing most of the heavy lifting here, balanced lightly with salt. You’ll need whole milk—don’t skimp by using skim; we need the fat for richness! And please, pay attention: two large egg yolks, and they must be lightly whisked separately before they meet the hot mixture. Finally, two tablespoons of unsalted butter for that final glossy sheen, and a teaspoon of good vanilla extract. That’s it! Simple pantry staple desserts, elevated!
Ingredient Notes and Substitutions for Homemade Chocolate Pudding
Let’s talk cocoa powder for a minute. If you only have natural cocoa, it’s fine, but your pudding will be a bit lighter in color and slightly more acidic. For the richest flavor, the Dutch process is unmatched for this classic chocolate pudding. Also, if you want to go gloriously decadent, swap out half a cup of your regular milk for heavy cream. Seriously, the richness is unreal! But stick to the recipe if you need a quick homemade dessert; the whole milk version is fantastic on its own.
How to Prepare Easy Stovetop Homemade Chocolate Pudding
Making this amazing **homemade chocolate pudding** from scratch is truly a stovetop affair, and timing is everything! Start by grabbing a medium saucepan—no funny business here, just plain stainless steel. You’re going to whisk your dry stuff first: sugar, that gorgeous Dutch cocoa powder, cornstarch, and salt. Whisk it until it looks like one uniform chocolate dust cloud. Then, you slowly whisk in the whole milk until every single speck of dry ingredient has dissolved. Seriously, make sure it’s smooth; it’s almost like prepping for homemade applesauce—we want no lumps!
Now, put it over medium heat. This is where dedication comes in. You absolutely MUST stir constantly! I mean it—keep that whisk moving in slow circles against the bottom and edges. After about 8 to 10 minutes, the mixture will start to thicken up nicely; it should coat the back of a spoon beautifully. This is your cue to pull it off the heat before it boils over in a huge, messy volcanic eruption! That constant stirring prevents scorching, which is my expert tip for keeping things creamy.
The Critical Tempering Step for Creamy Chocolate Pudding Recipe
This is the step that shows you’re not messing around with boxed kits! Before we add the yolks, we have to warm them up gently so they don’t shock and curdle when they hit the hot base. Slowly, I mean *painfully* slowly, whisk about half a cup of that hot milk mixture into your whisked yolks. This gentle introduction is tempering. It warms the yolks up perfectly so when they go back into the pot, you get that dreamy, silky smooth pudding texture, not instant scrambled eggs!
Chilling Your Homemade Chocolate Pudding for Perfect Set
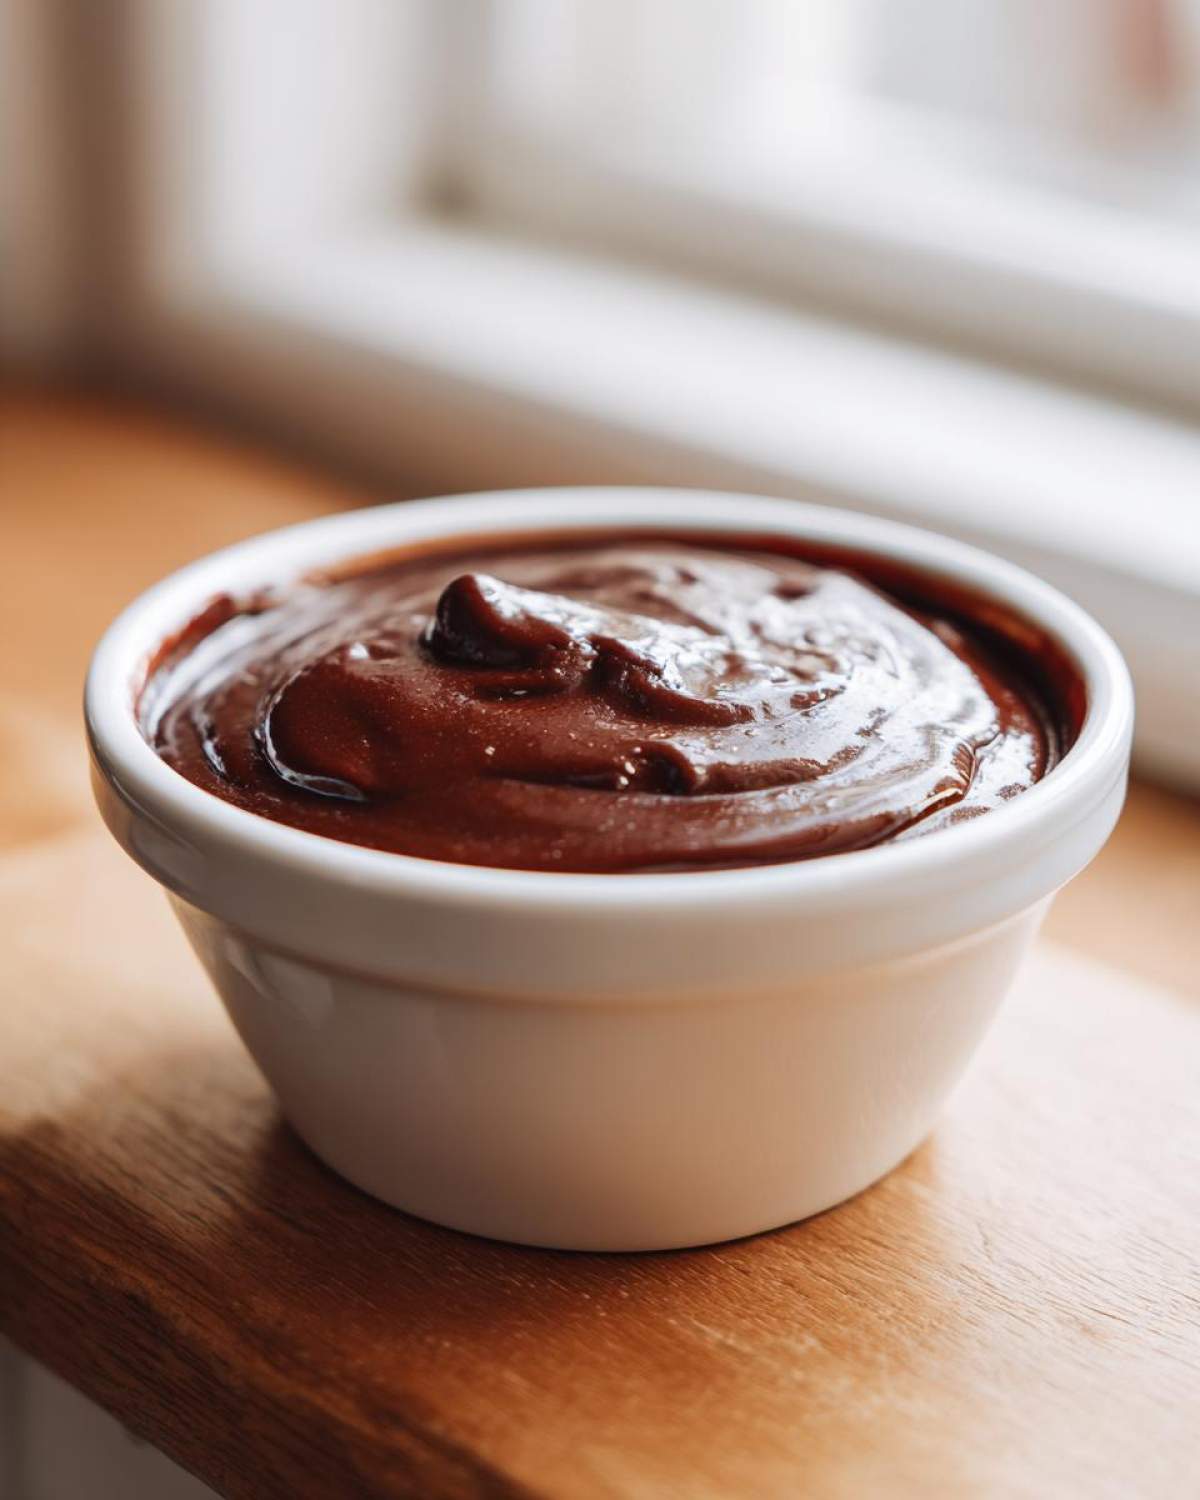
Once all the butter and vanilla are stirred in, it’s time for the waiting game. Pour your pudding into the dishes you plan to serve it in. Here’s the pro tip that separates the novices from the pudding masters: grab a sheet of plastic wrap and press it down *directly* onto the surface of the pudding. Don’t leave any air between the wrap and the pudding! If you let air touch it, you get that wrinkly, sad skin on top, and we absolutely won’t stand for that on our decadent chocolate treat. Pop it in the fridge for at least two hours until it’s completely chilled and firm.
Tips for Success When Making Homemade Chocolate Pudding
Okay, now that you know the routine—mixing, heating, tempering—let me give you a few quick pointers I’ve picked up over the years that guarantee this is the best homemade chocolate pudding ever. These aren’t in the main steps, but they make a huge difference, I promise!
First, about that chocolate flavor: If you really want to level up your rich chocolate dessert game, try adding just a tiny pinch—maybe 1/4 teaspoon—of instant espresso powder along with your cocoa. Don’t panic, it won’t taste like coffee! It just deepens the chocolate notes and makes the pudding taste intensely fudgy. It’s a trick I learned from watching my favorite bakery chefs work their magic.
Tip number two is about the heat: don’t rush it. When thickening the pudding on the stovetop, medium heat is your friend. If you crank it up to medium-high because you’re impatient, you’ll scorch the bottom before the center is properly thickened. I learned this the hard way—nothing ruins a batch faster than that burnt sugar smell clinging to your creamy chocolate pudding!
My third must-know tip relates to serving temperature. While this pudding is great cold, if you want the texture to be slightly looser, just let it sit on the counter for about 15 minutes after taking it out of the fridge. It takes the chill off just enough so it’s not rock hard, making it even more luscious. However, if you like it super firm, like spoonable fudge, straight from the fridge is the way to go. Trust me when I say you want to try this next level cookie recipe while you wait for your pudding to chill!
Variations for Your Classic Chocolate Pudding
Part of the fun of mastering the **homemade chocolate pudding** is knowing you can tweak it endlessly once you have the base technique down! This recipe is so versatile; it’s the perfect canvas for little flavor experiments that take it from ‘great’ to ‘legendary.’ We aren’t going for a no bake chocolate pudding here since the stovetop method is king, but we can certainly jazz up the flavor profile.
Since we already talked about using espresso powder for depth—hello, richer chocolate!—let’s look at extracts. Vanilla is non-negotiable, but if you want to get cozy, try swapping out some of that vanilla for a half teaspoon of almond extract instead. It gives the dessert a wonderful, slightly marzipan-like background note that is totally unexpected but delicious. Or, maybe you are prepping for a chilly evening? You could treat this like a pudding version of hot chocolate; a splash of bourbon or even some coffee liqueur stirred in right at the end when it comes off the heat makes it an amazing adult treat. Think of it like my recipe for hot chocolate, but served cold and spoonable!
Another simple change is focusing on the dairy. If you use all heavy cream instead of milk, you get something so incredibly thick that it’s almost like a chocolate pot de crème—truly decadent! You’ve got the template for the best homemade chocolate pudding; now go ahead and find your favorite twist!
Serving Suggestions for Rich Chocolate Dessert
Once that beautiful, cold, velvety chocolate pudding has set up, it’s time for the fun part: dressing it up! While it honestly stands perfectly well on its own, a little topping takes this rich chocolate dessert over the top. My go-to suggestion is always a generous dollop of freshly whipped cream—make sure you sweeten it just a touch with powdered sugar!
If you want to feel fancy, grate some high-quality dark chocolate right over the top, or try a sprinkle of flaky sea salt to contrast all that sweetness. And if you’re feeling adventurous, you could even try spreading a thin layer of homemade vanilla frosting on top instead of cream, just like we do for my fluffy frosting recipe. Whatever you choose, these additions just enhance the homemade chocolate pudding experience!
Storage and Make-Ahead Tips for Homemade Chocolate Pudding
The best part about this comfort food dessert is that you absolutely can—and should—make it ahead of time! Since this is a stovetop pudding, it needs that chilling period to fully set up into the perfect texture. I usually make a big batch on Sunday afternoon, covered tightly, and we enjoy it straight through Tuesday.
Now, listen closely about storage duration. While I wish it would last forever, I strongly recommend eating this **homemade chocolate pudding** within a maximum of three days. After that, even with the plastic wrap pressed directly onto the surface, the texture starts to change slightly, and frankly, it disappears too fast to worry about day four!
If you’ve stored it overnight and it seems a little too stiff the next day—which can happen, especially if you used a little extra cornstarch—don’t worry about reheating it. Reheating changes pudding texture, making it soupy again. Instead, just let it sit on the counter while you finish dinner. Giving it about 15 to 20 minutes to come up slightly in temperature makes it perfectly spoonable again. This is much better than trying to warm it up slowly on the stove, which risks breaking the structure we worked so hard to achieve! Whether you are storing cookies or fudge, make-ahead meals are the best helper, and this pudding is no exception. If you are looking for something else you can prepare ahead, you should check out my recipe for creamy maple fudge!
Frequently Asked Questions About Homemade Chocolate Pudding
It’s natural to have questions when you switch from a mix to a completely homemade chocolate pudding recipe! Dealing with dairy and eggs on the stovetop can feel a little intimidating the first time around, but trust me, once you see how silky smooth it gets, you won’t ever go back to what comes in a box.
Can I make this chocolate pudding recipe from scratch without egg yolks?
Oh, that’s a tricky one! The egg yolks are one of the secrets to making this recipe the best homemade chocolate pudding because they add fat, richness, and incredible body. They help give us that luscious, decadent chocolate treat texture. If you absolutely must leave them out—maybe due to an egg allergy—you can try increasing your cornstarch by about one extra tablespoon. You’ll need to whisk that extra cornstarch slurry into the cold milk before you heat it. However, I have to warn you: the resulting creamy chocolate pudding will be thinner and won’t have that rich, satisfying mouthfeel that the yolks give it. It will be more like a standard stovetop custard than this deep, luxurious version.
How do I fix homemade chocolate pudding that is too thin?
Don’t panic if you pull your pan off the heat and it seems too runny! This happens sometimes if you didn’t cook it *quite* long enough to fully activate the cornstarch. But it’s easily fixable! This is the simplest fix for any too-thin pudding. Go grab a tiny amount of cold milk—maybe 2 tablespoons—and mix that with about a teaspoon of extra cornstarch in a separate little bowl to make a smooth slurry. Then, return your thin pudding to very low heat and slowly whisk in that slurry. Keep stirring gently; it should thicken up within a minute or two! Just before it bubbles, take it off the heat, stir in your half-tablespoon of extra butter if you have some, and chill. Easy rescue for a classic chocolate pudding!
If you’re looking for other solutions using common ingredients, make sure to check out my tips for homemade garlic butter—sometimes the best fixes use the simplest things you already have on hand!
Nutritional Estimates for This Decadent Chocolate Treat
Now, I know what you’re thinking after enjoying such a rich chocolate dessert: what exactly am I digging into here? It’s important to remember that because we’re making this deliciousness from scratch, these numbers are always just estimates based on the specific ingredients we put in the pot. We are making four generous servings of this incredible homemade chocolate pudding, so keep that in mind as you look at these figures.
Based on the whole milk and the butter we use to make sure we get that unbelievably silky smooth pudding texture, here’s a general breakdown per serving. Don’t let the numbers scare you—this is a treat, meant to be savored! For the full scoop on everything, I always post a general disclaimer on my site, but this gives you a good idea of what’s in your bowl of comfort food.
- Calories: About 320 per serving
- Fat: Roughly 14 grams (Mind the saturated fat, that’s the butter doing its magic!)
- Carbohydrates: Around 45 grams, mostly from that sugar and the cornstarch thickener
- Protein: A respectable 7 grams
Enjoy every spoonful of this perfect, velvety companion to whatever meal you pair it with. Knowing what goes into making **homemade chocolate pudding** from scratch always makes it taste better, right?
PrintThe Ultimate Creamy Homemade Chocolate Pudding from Scratch: Rich, Quick, and Better Than Boxed
Make rich, velvety chocolate pudding from scratch on the stovetop. This easy recipe yields a silky smooth, decadent dessert that surpasses any boxed mix.
- Prep Time: 10 min
- Cook Time: 15 min
- Total Time: 25 min
- Yield: 4 servings
- Category: Dessert
- Method: Stovetop
- Cuisine: American
- Diet: Vegetarian
Ingredients
- 2/3 cup granulated sugar
- 1/4 cup unsweetened cocoa powder (Dutch process recommended)
- 2 tablespoons cornstarch
- 1/4 teaspoon salt
- 2 cups whole milk
- 2 large egg yolks
- 2 tablespoons unsalted butter
- 1 teaspoon vanilla extract
Instructions
- In a medium saucepan, whisk together the sugar, cocoa powder, cornstarch, and salt until combined.
- Gradually whisk in the milk until the mixture is smooth and no lumps remain.
- Place the saucepan over medium heat. Cook, stirring constantly with a whisk, until the mixture thickens enough to coat the back of a spoon (about 8 to 10 minutes). Do not let it boil rapidly.
- In a small bowl, lightly whisk the egg yolks.
- Remove the saucepan from the heat. Temper the egg yolks by slowly whisking about 1/2 cup of the hot milk mixture into the yolks.
- Pour the tempered yolk mixture back into the saucepan with the remaining milk mixture.
- Return the saucepan to medium-low heat. Cook, stirring constantly, for 1 to 2 minutes until the pudding is thick. Do not boil after adding the yolks.
- Remove from heat. Stir in the butter and vanilla extract until the butter is fully melted and incorporated.
- Pour the pudding into individual serving dishes or a single bowl. Press plastic wrap directly onto the surface of the pudding to prevent a skin from forming.
- Chill in the refrigerator for at least 2 hours, or until completely cold and set.
Notes
- For an extra rich flavor, substitute 1/2 cup of the milk with heavy cream.
- If you prefer a less intense chocolate flavor, use natural cocoa powder instead of Dutch process.
- This pudding is best eaten within three days.
Nutrition
- Serving Size: 1 serving
- Calories: 320
- Sugar: 38
- Sodium: 150
- Fat: 14
- Saturated Fat: 8
- Unsaturated Fat: 6
- Trans Fat: 0
- Carbohydrates: 45
- Fiber: 2
- Protein: 7
- Cholesterol: 85