

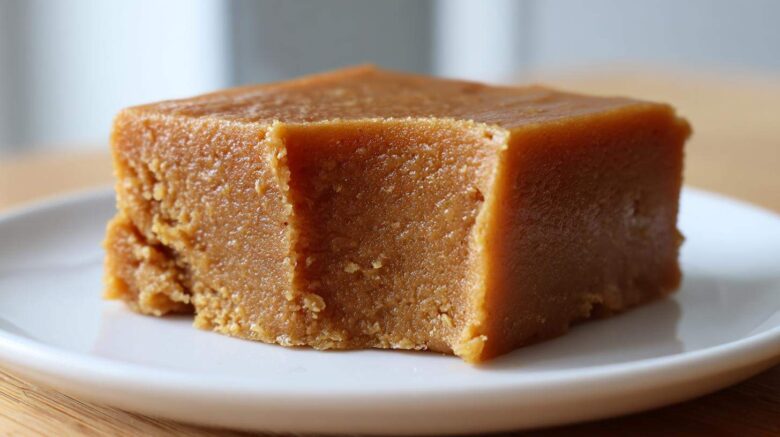
The Ultimate Creamy Maple Fudge Project
Welcome to our kitchen, friends. I’m Amelia, the planner here.
Jacob, my partner, is the artist. He makes magic happen.
We spent months perfecting this recipe for you.
This is our no-fail guide to amazing maple fudge.
You get rich, authentic flavor every single time.
Forget grainy candy; we promise creamy perfection.
This creamy fudge recipe is a true showstopper.
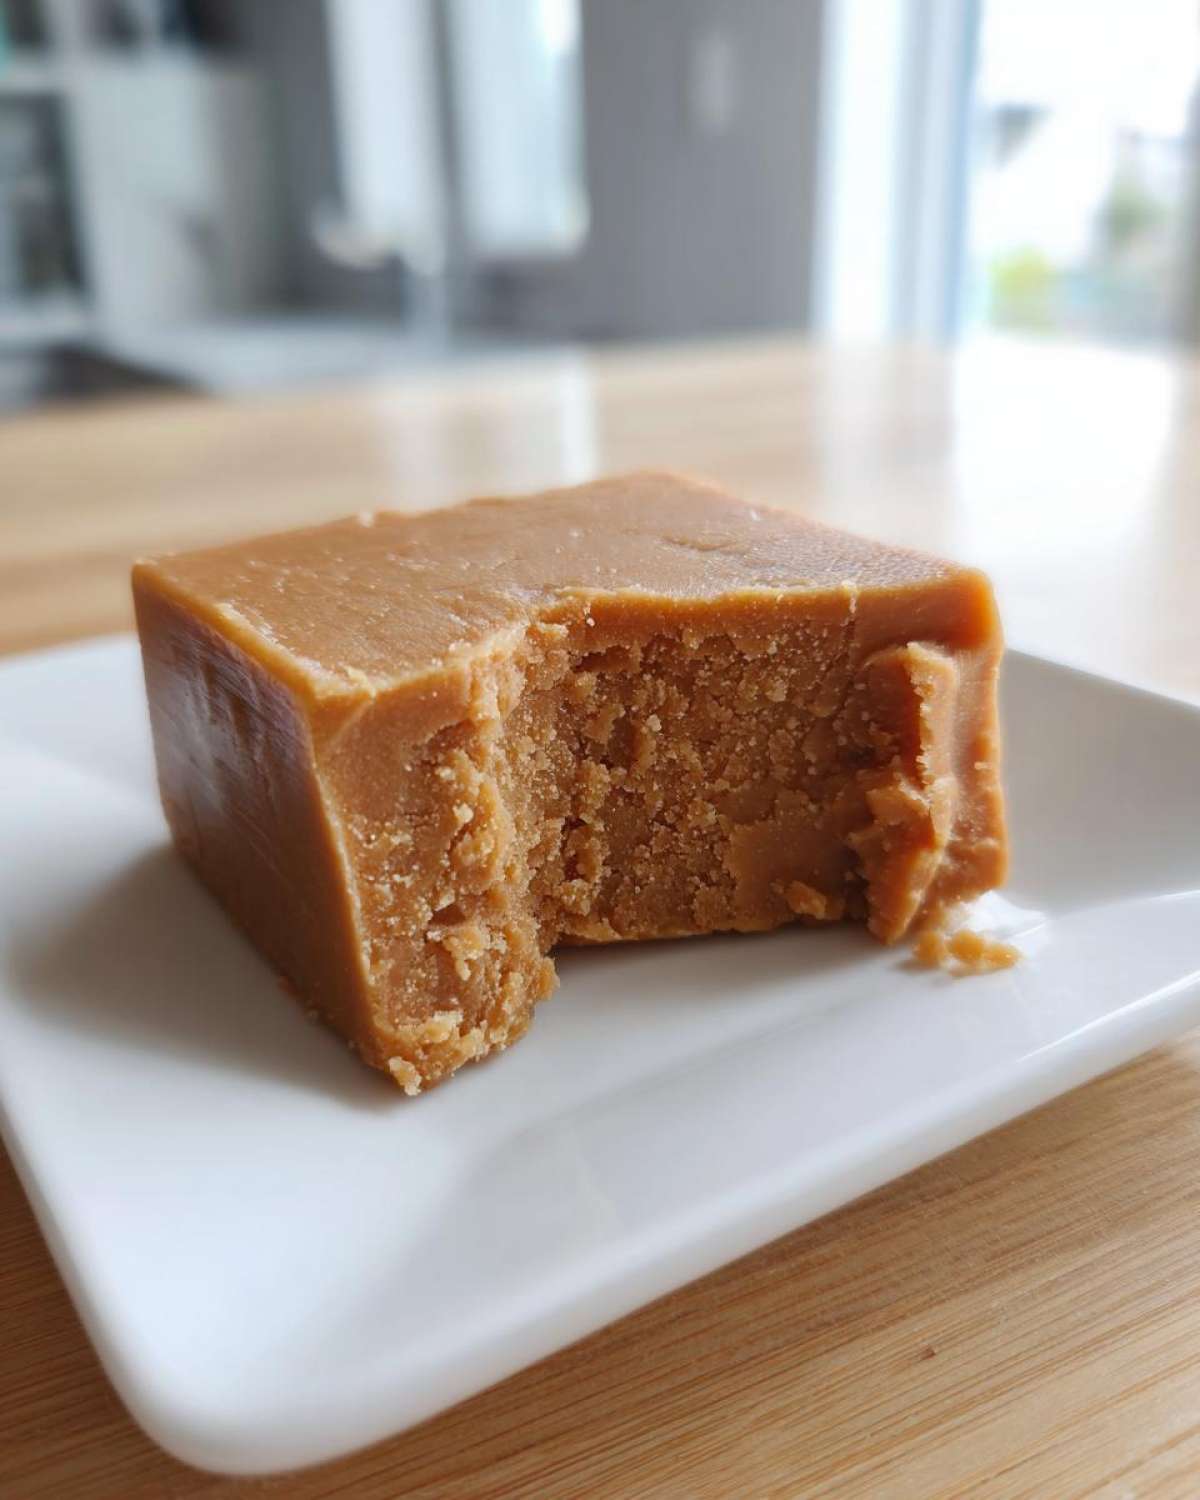
Why This Maple Fudge Recipe Belongs In Your Portfolio
Jacob tested this batch again and again.
He chased that perfect melt-in-your-mouth feel.
We insist on pure maple syrup, no substitutes.
That pure syrup gives our final maple fudge its depth.
You’ll see the difference in texture right away.
This guaranteed smooth result is why we trust it.
It’s truly restaurant-quality homemade fudge.
Essential Items For Perfect Maple Fudge
Making candy requires some accuracy, truly.
This isn’t like tossing a quick cake together.
Precision helps us avoid a sticky mess later.
We need the right gear for candy making success.
Gather these items before you start your project.
Equipment Checklist
- 8×8 inch baking pan.
- Parchment paper for lining.
- Medium, heavy-bottomed saucepan.
- Reliable candy thermometer.
- Wooden spoon or heat-safe spatula.
Pure Ingredients for Rich Maple Fudge
The flavor of this confection relies completely on quality.
We aren’t making just any sweet treat here.
We are crafting authentic maple fudge.
That means the maple syrup must be pure stuff.
Pancake syrup has no place in this recipe, ever.
Using the best ingredients guarantees a fantastic result.
Jacob insists on clarity for every single item.
Ingredient List with Specifics
- 2 cups Granulated Sugar for sweetness.
- 2 tablespoons Light Corn Syrup for smoothness.
- 1 cup Heavy Cream, full fat works best.
- 1/2 cup Pure Maple Syrup (Grade A Dark Robust is ideal).
- 1 teaspoon Vanilla Extract for depth.
- 1/4 teaspoon Salt to balance the sugar.
- 1 cup Chopped Pecans or Walnuts (optional, please chop them small).
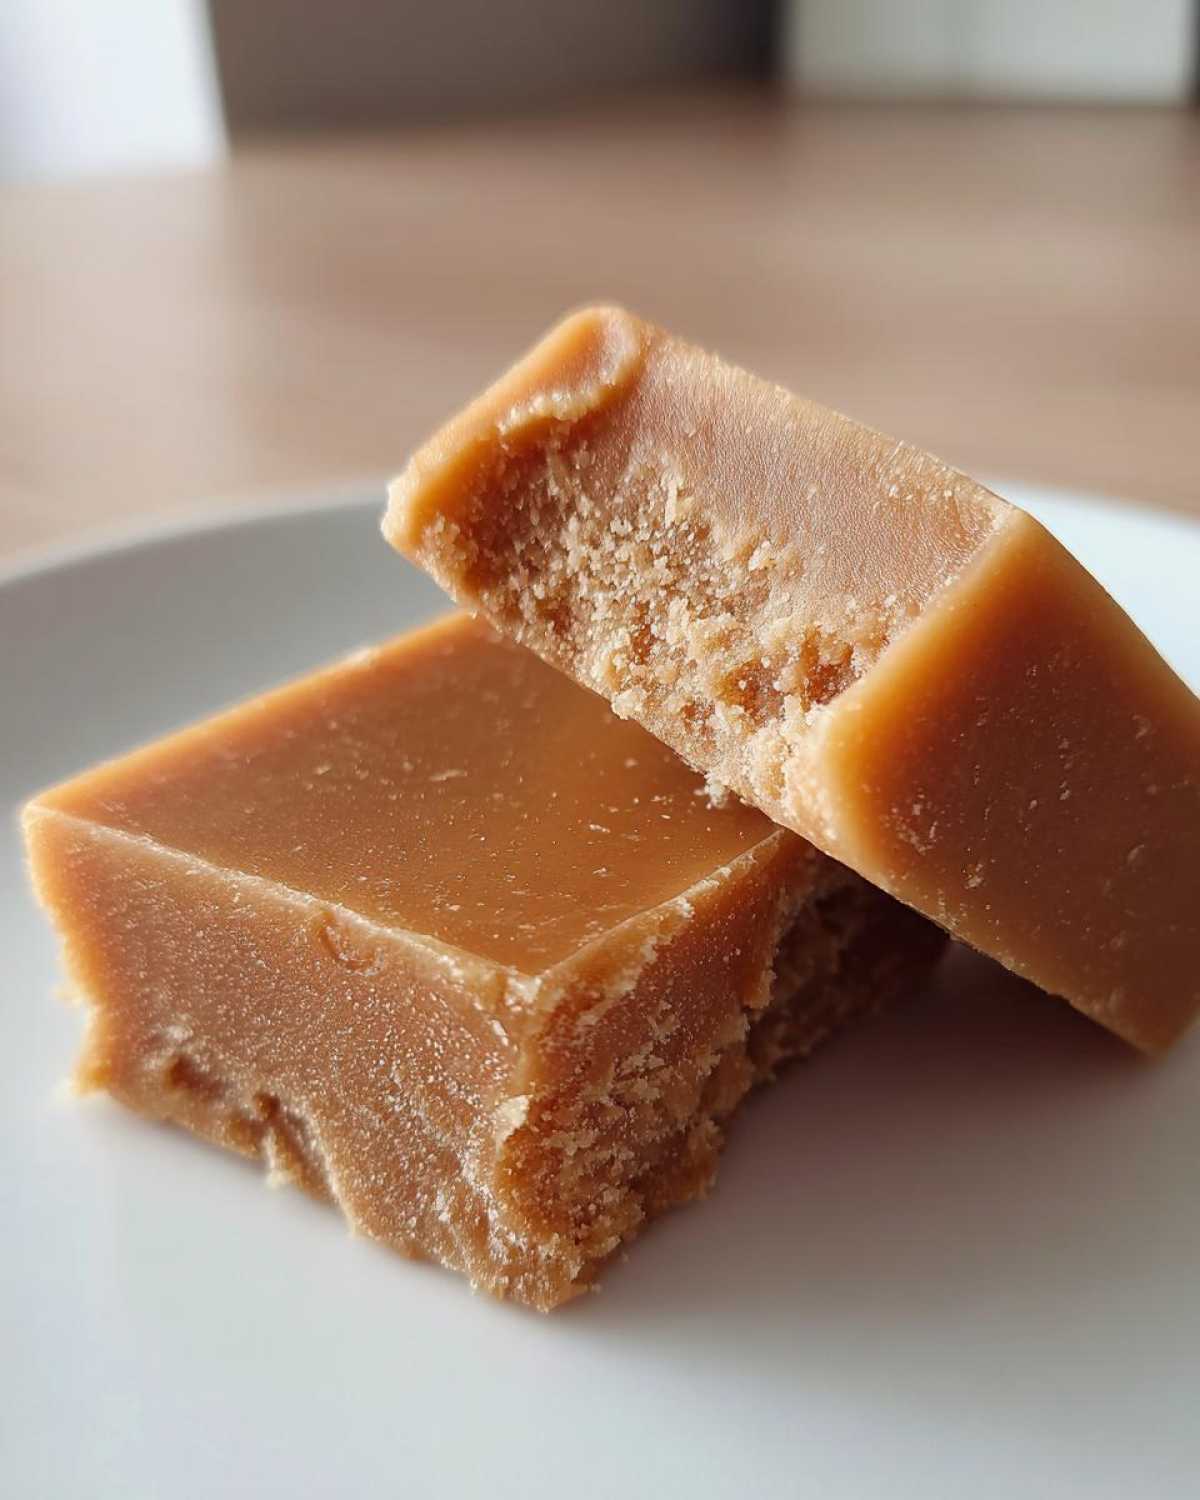
Step-by-Step Instructions for Creamy Maple Fudge
Now we move to the fun part, the actual making.
Follow Jacob’s plan exactly for success.
This process turns simple sugar into magic.
We are serious about this creamy maple fudge.
Do not try to rush any of these steps.
Patience truly pays off in the end, trust me.
Preparing Your Pan and Initial Cook
First, get your 8×8 inch pan ready now.
Line it with parchment paper, leaving an overhang.
Lightly grease that parchment paper surface.
Next, combine sugar, corn syrup, and cream.
Use a medium, heavy-bottomed saucepan for this.
Stir constantly over medium heat until sugar dissolves.
Reaching the Critical Soft-Ball Stage
Attach your candy thermometer to the side there.
Make absolutely sure the tip misses the pan bottom.
Stop stirring once the mixture starts boiling hard.
Cook until it hits exactly 234 degrees Fahrenheit.
This soft-ball stage usually takes fifteen minutes.
Do not push the heat or you risk burning things.
Cooling and The Crucial Beating Phase
Remove the pan from the heat right away then.
Stir in the maple syrup, salt, and vanilla extract.
Do not mix this part vigorously at all.
Let the mixture cool completely undisturbed now.
Wait until it reaches 110 degrees Fahrenheit exactly.
This cooling phase impacts your final maple fudge texture.
Beat the cooled mixture until it turns dull.
It will thicken fast, losing its glossy shine.
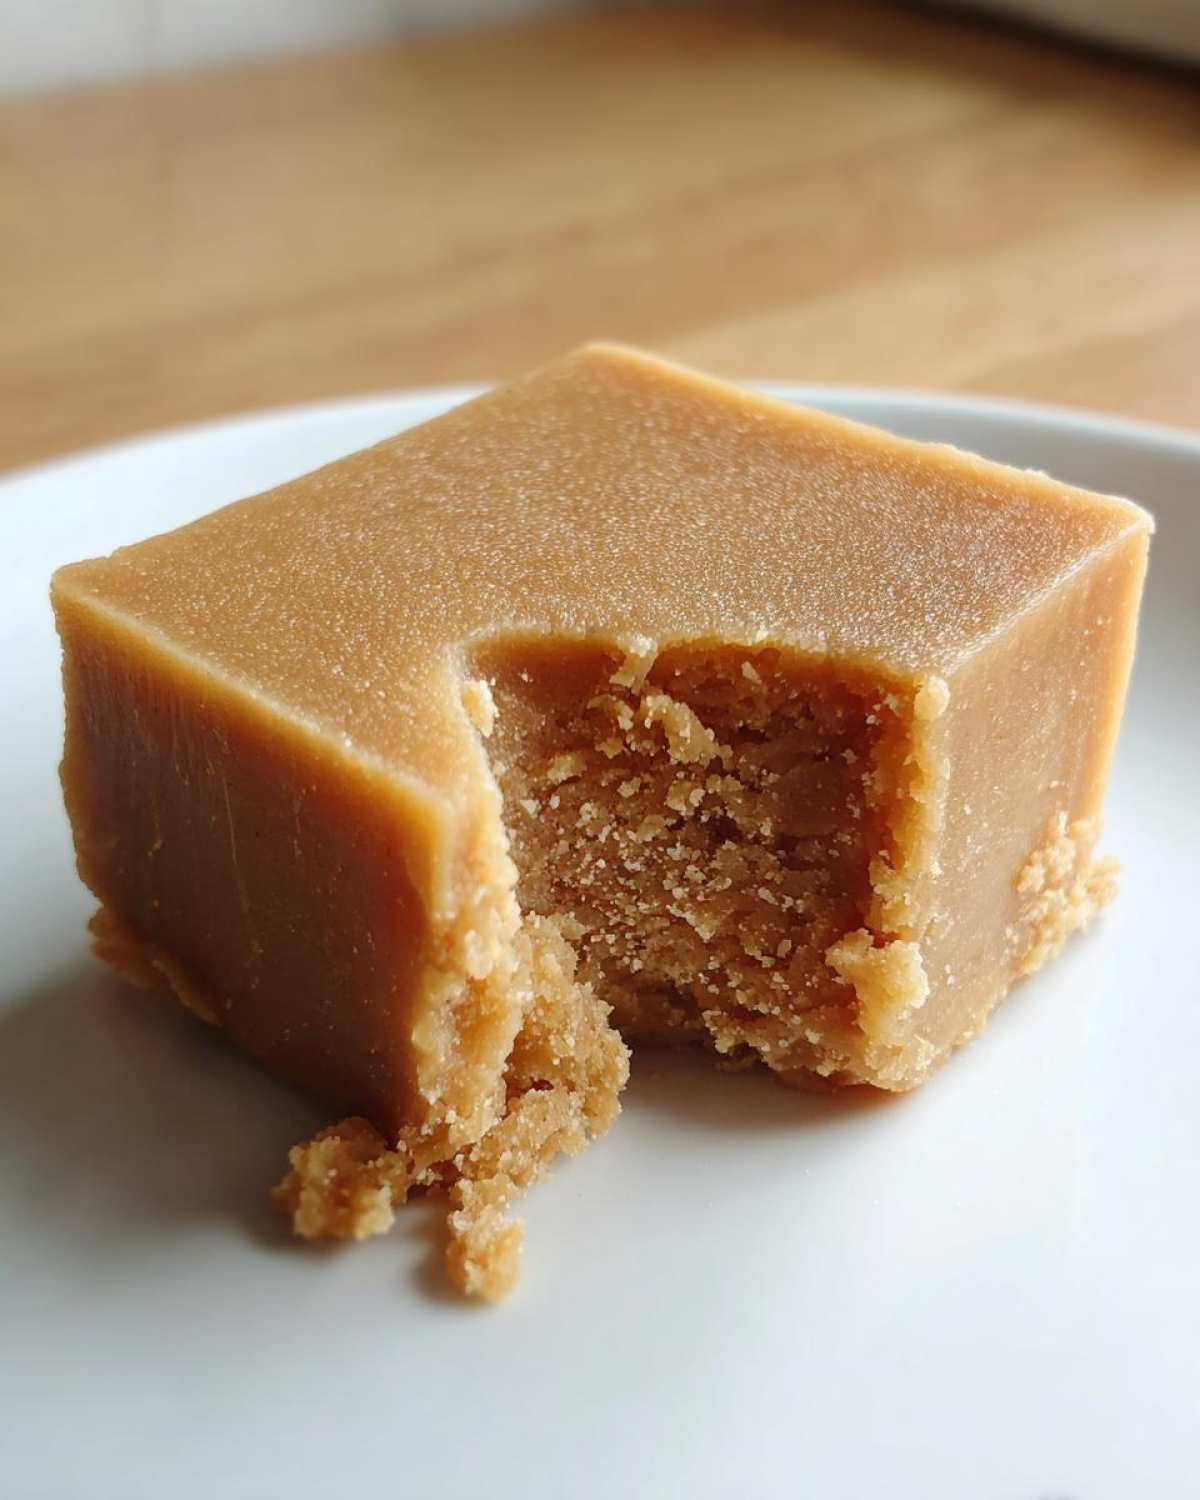
Setting and Cutting Your Maple Fudge
If using nuts, quickly fold them in right here.
Pour the thickened fudge into your prepared pan.
Do not press or spread the mixture down hard.
Let it set up fully at room temperature.
Lift it out using those parchment paper overhangs.
Cut into small, perfect squares for serving.
Tips for Achieving Perfect Maple Fudge Texture
Jacob learned these secrets the hard way.
He ruined batches chasing that perfect consistency.
Don’t let that happen to your beautiful maple fudge.
A few simple checks make all the difference here.
We want smooth, creamy candy every time.
Trust the process we developed for you.
Temperature Control Secrets
Your candy thermometer is your best friend.
It must read accurately for this recipe to work.
Test its reading in boiling water first, okay?
If you lack a thermometer, try the ice water test.
Drop a tiny bit of mixture into ice water.
It should form a soft, pliable little ball.
Troubleshooting Common Maple Fudge Issues
What if the fudge gets too stiff to beat?
Don’t panic; this happens sometimes, truly.
Gently reheat the mixture for just a few seconds.
You need it just soft enough to stir again.
Then, cool it down to 110 degrees again.
This gentle fix saves many batches of maple fudge.

Variations on Classic Maple Fudge
You’ve mastered the base recipe now.
It’s time to personalize your confection.
Making maple fudge is just the starting point.
Think about what flavors you love most.
These small additions make your batch unique.
Get creative with your final project.
Flavor Pairings and Add-Ins
Toasted pecans are great, but try options.
A small pinch of cinnamon adds warmth.
Smoked salt sprinkled on top is amazing.
It cuts through the sweetness beautifully.
Consider using toasted hazelnuts instead of walnuts.
These simple twists make a huge difference.
Storing Your Homemade Maple Fudge
We know you’ll want to savor every piece.
Keep your amazing homemade maple fudge fresh.
Store it in an airtight container always.
Room temperature is best for up to one week.
Avoid high heat or direct sunlight there.
This keeps your fudge perfectly soft and sweet.
Frequently Asked Questions About Maple Fudge
I know you probably have questions swirling.
Candy making can feel a bit mysterious sometimes.
Jacob and I gathered the most common queries.
Here are the answers you need right now.
Let’s solve those last little doubts you have.
We want your creamy fudge recipe experience to shine.
Can I Make This Maple Fudge Without a Candy Thermometer
Yes, you absolutely can try that method.
It requires careful practice, though.
Drop a very small bit of the hot mixture into ice water.
If it forms a soft, pliable ball, you’re good.
This is the traditional soft-ball test, remember.
It takes a little more guesswork than the thermometer.
What Type of Maple Syrup Works Best for Maple Fudge
Only use pure maple syrup for this treat.
Pancake syrup contains corn syrup and additives.
It won’t give you that authentic pure maple syrup candy taste.
We suggest Grade A Dark Robust for deep flavor.
The quality of your syrup really matters here.
Stick to pure, 100% maple syrup always.
How Long Does Maple Fudge Last
This homemade fudge keeps well for a bit.
Store it in an airtight container, please.
Keep it at room temperature, not too warm.
It stays great for about one full week.
It rarely lasts that long in our house, though.
Share Your Maple Fudge Project Results
You followed the plan; you made the magic happen.
Now I want to see your beautiful creations.
Did you add toasted walnuts to your batch?
Tell us about your ultimate maple fudge success.
Share photos and stories in the comments below.
We love seeing your finished projects.
PrintAmazing 1-Step Creamy Maple Fudge Secret
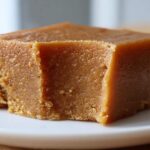
This is the ultimate, no-fail recipe for creamy maple fudge. We use pure maple syrup for an authentic, rich flavor. Follow our simple plan for a melt-in-your-mouth texture that is perfect for gifting or enjoying yourself. Jacob perfected this recipe through careful planning and testing.
- Prep Time: 15 minutes
- Cook Time: 15 minutes
- Total Time: 4 hours
- Yield: About 3 dozen pieces
- Category: Candy/Confectionery
- Method: Stovetop Cooking and Candy Making
- Cuisine: American
- Diet: Vegetarian
Ingredients
- 2 cups Granulated Sugar
- 2 tablespoons Light Corn Syrup
- 1 cup Heavy Cream
- 1/2 cup Pure Maple Syrup (Grade A Dark Robust recommended)
- 1 teaspoon Vanilla Extract
- 1/4 teaspoon Salt
- 1 cup Chopped Pecans or Walnuts (optional)
Instructions
- Prepare an 8×8 inch pan by lining it with parchment paper, leaving an overhang on the sides for easy removal. Lightly grease the paper.
- Combine the sugar, corn syrup, and heavy cream in a medium, heavy-bottomed saucepan.
- Stir constantly over medium heat until the sugar dissolves completely.
- Attach a candy thermometer to the side of the pan, making sure the tip does not touch the bottom.
- Stop stirring once the mixture boils. Cook until the mixture reaches 234 degrees Fahrenheit (Soft-Ball Stage). This usually takes 10 to 15 minutes.
- Remove the pan from the heat immediately. Carefully stir in the maple syrup, vanilla extract, and salt. Do not mix vigorously.
- Let the mixture cool undisturbed until it reaches 110 degrees Fahrenheit (about 30 minutes). Do not rush this step.
- Once cooled, beat the mixture vigorously by hand or with an electric mixer on medium speed. Beat until the fudge loses its glossy shine and starts to thicken, becoming dull and losing shape (about 5 to 10 minutes).
- If you are adding nuts, quickly fold them in now.
- Pour the thickened fudge into the prepared pan. Do not spread or press it down; let it settle naturally.
- Let the fudge set completely at room temperature for several hours, or chill briefly to speed up setting.
- Once firm, lift the fudge out using the parchment overhang. Cut into small squares.
Notes
- Use only pure maple syrup for the best flavor. Pancake syrup will not work.
- Accurate temperature readings are key for the correct texture. Use a reliable candy thermometer.
- If you do not have a thermometer, a small amount of the mixture dropped into ice water should form a soft, pliable ball.
- If the fudge becomes too hard to stir, gently reheat the mixture for a few seconds until stirrable, then cool again before beating.
- This fudge stores well in an airtight container at room temperature for up to one week.
Nutrition
- Serving Size: 1 square (approx. 1/16th of recipe)
- Calories: 200
- Sugar: 35g
- Sodium: 40mg
- Fat: 7g
- Saturated Fat: 4g
- Unsaturated Fat: 3g
- Trans Fat: 0g
- Carbohydrates: 38g
- Fiber: 0g
- Protein: 2g
- Cholesterol: 20mg