

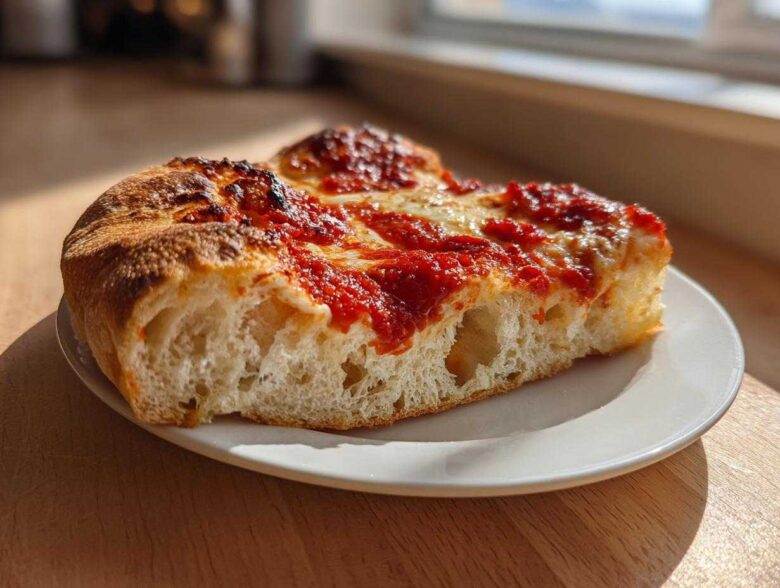
Listen, I’ve wasted enough weeks of my life eating pizza that was either gummy in the middle or so tough you needed a steak knife to cut it. It’s maddening, right? You watch those fancy chefs, and they make it look easy! But then you try a recipe at home, and it’s just… flat. Boring. Well, I got tired of ordering delivery, so I went down the rabbit hole, testing everything with flour, yeast, and tomatoes I already had in the pantry. I’m here to tell you that you absolutely do not need a \$5,000 wood-fired oven to get amazing results. Trust me, I cracked the code. Today, I’m sharing the absolute **Secrets to Perfect Pizza at Home With Simple Ingredients** so you can finally stop sighing over sad, floppy crusts!
The Foundation: Secrets to Perfect Pizza at Home With Simple Ingredients (Dough)
If you try to shortcut the crust, you’re just making a flatbread casserole, not pizza! I know, harsh words, but it’s true. The dough is where all those amazing pizza joints get their magic, and it all starts with flour you probably already have—all-purpose! Forget ordering fancy ’00’ flour; this iteration of the best homemade pizza dough recipe relies on technique, not rare ingredients, to get that beautiful bubble. We are aiming for chewy, substantial, and just a little bit crisp on the edges. This foundation takes the most time, but honestly, it’s hands-off time, which I love!
Understanding Pizza Dough Hydration Explained Simply
Okay, let’s talk hydration without needing a science degree. Hydration is just how much water you use compared to your flour. In our recipe, we are using roughly one part water for every three parts flour. That’s a medium dough! If you use too little water, your dough will be dry and crack when you stretch it. Too much water, and you’ll be chasing a sticky mess around your counter. Our ratio is the sweet spot for a home oven; it holds its structure while still being soft enough to puff up nicely when it hits the heat.
Kneading and Fermentation: Easy Pizza Crust Secrets
Don’t skimp on the kneading! Those 8 to 10 minutes of working the dough by hand are crucial because you are developing the gluten structure. Gluten is what traps the gases released by the yeast, which gives you that desirable puffiness we call oven spring. After kneading, you have to let it rest—this is one of the biggest easy pizza crust secrets! The 1.5 to 2-hour rise isn’t just about doubling in size; it’s about developing depth of flavor. If you rush this step, your pizza will taste… well, like flour water instead of real Italian goodness.
Mastering Home Oven Pizza: Heat is the Real Secret to Perfect Pizza at Home With Simple Ingredients
Okay, you’ve got the dough looking beautiful. Now, where most people totally mess up—and where we pull ahead—is the oven temperature. Seriously, your oven is cooler than you think it is! To get that beautiful char and chew, you have to trick your home oven into thinking it’s a professional deck oven. That means cranking that dial all the way up, usually to 500°F (260°C) or maybe even higher if yours can handle it. But raw heat isn’t enough; you need a surface that can absorb and radiate that heat instantly back into the bottom of the dough. This is the core of mastering home oven pizza without buying one of those specialty pizza ovens!
Preheating Your Baking Surface for Crispy Chewy Pizza at Home
This is non-negotiable, folks. You need a pizza stone or, if you’re like me and don’t always have one handy, an inverted heavy-duty baking sheet. You put that surface in the oven the very moment you turn it on. Why? It needs a full 45 minutes to soak up the heat. When that cold dough hits that screaming hot surface, it causes an immediate reaction, which is exactly what gives you that gorgeous crispy chewy pizza at home. Don’t even think about putting the pizza in before that stone is blazing hot!
Assembling Your Pizza: Simple Pizza Ingredients Guide
Alright, the dough has rested, the oven is screaming hot—now we get to the fun part! This is where we build flavor using just a few things from the cupboard, totally nailing that simple pizza ingredients guide vibe. Remember, less is often more here. We aren’t piling on a pound of toppings that will make the crust soggy. We’re going for that classic, authentic balance where you can actually taste the baked dough under the sauce and cheese. Keep your toppings minimal so the heat has a chance to work its magic evenly across that beautiful crust we worked so hard on.
The Secret to Good Oven Spring Pizza: Handling the Dough Gently
I see so many people immediately reach for the rolling pin, and I want to gently take it away from you! A rolling pin squishes all those beautiful air bubbles right out of your crust. We want to stretch or gently poke the dough out using your fingertips, starting from the center and pressing outward to save that nice plump rim. This preserves the gas pockets, which is the absolute secret to good oven spring pizza. If you feel any resistance while stretching and the dough starts fighting you or tearing? Stop! Tent it with a bowl and let it chill out for ten minutes. The gluten just needs a little break before you try again.
Secrets to Authentic Pizza Flavor: The No-Cook Sauce
Now, I know what you’re thinking: Sauce has to be simmered for hours, right? Wrong! That’s another one of those complicated methods that just isn’t necessary when you’re making **Secrets to Perfect Pizza at Home With Simple Ingredients**. The real secret to that bright, punchy flavor you get in the best pizzerias is using the sauce completely cold and uncooked!
When you use high-quality crushed tomatoes from a can—and please, get the good stuff if you can—it concentrates the flavor beautifully. When you bake that raw sauce on the pizza stone at 500 degrees, it cooks *fast* right there on the pie. This keeps the tomato flavor fresh and vibrant, not stewed or dull. I just mix the canned tomatoes with a little bit of minced garlic, some dried oregano, and just a pinch of sugar to balance the acidity. That’s it! It’s so simple, and it genuinely locks in those secrets to authentic pizza flavor. Don’t cook it ahead of time; just stir, spread, and bake!
Essential Tips for Success When Making Secrets to Perfect Pizza at Home With Simple Ingredients
I’ve covered the big three—dough development, brutal oven heat, and that amazing no-cook sauce—but nailing pizza at home often comes down to little things we overlook. Think of these checks as the final layer of polish on your creation. These little adjustments are the true beginner pizza making tips that separate the ‘meh’ pizzas from the ones you dream about. You don’t need a secret ingredient list a mile long; you just need to pay attention to the timing and the state of your components going into the oven.
Ingredient Temperature and Quality Matters
Remember how I said the water needs to be warm for the yeast? Make sure it’s just lukewarm—not hot! If the water is too cold, that yeast just naps through the whole process, and you lose volume. Room temperature is ideal for everything else too, especially if you can let your mozzarella sit out for about 15 minutes before shredding. And even though we are keeping this simple, please use good, good canned tomatoes. A simple recipe relies heavily on the quality of those few ingredients shining through!
Recipe Card: How to Prepare Secrets to Perfect Pizza at Home With Simple Ingredients
Alright, put on your apron, friend! This is the blueprint for perfection right here. I wanted to lay out the ingredients list so you can see how truly simple this is—all-purpose flour, yeast, salt, oil, canned tomatoes, and mozzarella. That’s virtually the whole list! We aren’t dealing with anything complicated, but the *method* is everything. I’ve laid out the steps below exactly as I follow them every single time I make pizza, ensuring we get that crispy-chewy crust thanks to those high-heat secrets we just talked about. Keep this handy! And if you’re ever looking for fun ways to use leftover dough, check out these easy pizza muffins!
Preparing the Dough
First things first: activate the yeast. Gently mix the yeast into your warm water and let it hang out for about five minutes until you see a little bit of foam on top—that means your yeast is alive and ready to work! While that’s going, whisk together your flour and salt in a big bowl. Pour in your bubbly yeast water and the olive oil. Mix it up until it looks like a shaggy mess, then dump it onto a *lightly* floured surface. Now, get ready to work those arms for a good 8 to 10 minutes. You’re kneading until the dough feels smooth, elastic, and no longer sticky—it should spring back when you poke it! Finally, oil a clean bowl lightly, toss your dough ball in there, cover it tightly with plastic wrap, and shove it somewhere warm for at least an hour and a half. I always give mine two hours if I can spare it; that long rise builds so much flavor!
Sauce and Oven Setup
While the dough is doing its job, let’s mix up that ridiculously simple sauce. In a small bowl, just dump your can of crushed tomatoes (don’t drain them!), the minced garlic, oregano, and sugar. Stir it up good. That’s it! Remember what I said? We are *not* cooking this sauce ahead of time; it cooks perfectly *on* the pizza. Now, the oven setup is timed perfectly with when the dough should be done rising. About 45 minutes before you want to eat, put your pizza stone or that inverted baking sheet right in the middle rack. Turn that oven to its absolute highest temperature—500°F or even 550°F if you’re feeling brave! You need that stone to absorb heat for the whole 45 minutes.
Shaping, Topping, and Baking
Gently punch down that beautiful risen dough and divide it into two equal pieces. Take one piece and start gently stretching it; remember, no rolling pin! Work from the center out to leave a silly little rim, which will become your crust. Place this stretched dough onto a pizza peel dusted heavily with cornmeal or, even easier, onto a square of parchment paper. Spread half the sauce (leaving that 1-inch border) and sprinkle on half the mozzarella. Carefully slide the whole thing onto your screaming hot stone or pan. Bake it for 8 to 12 minutes. Watch it—when the crust is golden brown and the cheese is bubbly and speckled, it’s done! Rotate it halfway through if one side is cooking faster. Let it rest two minutes before you slice it—that resting time is important!
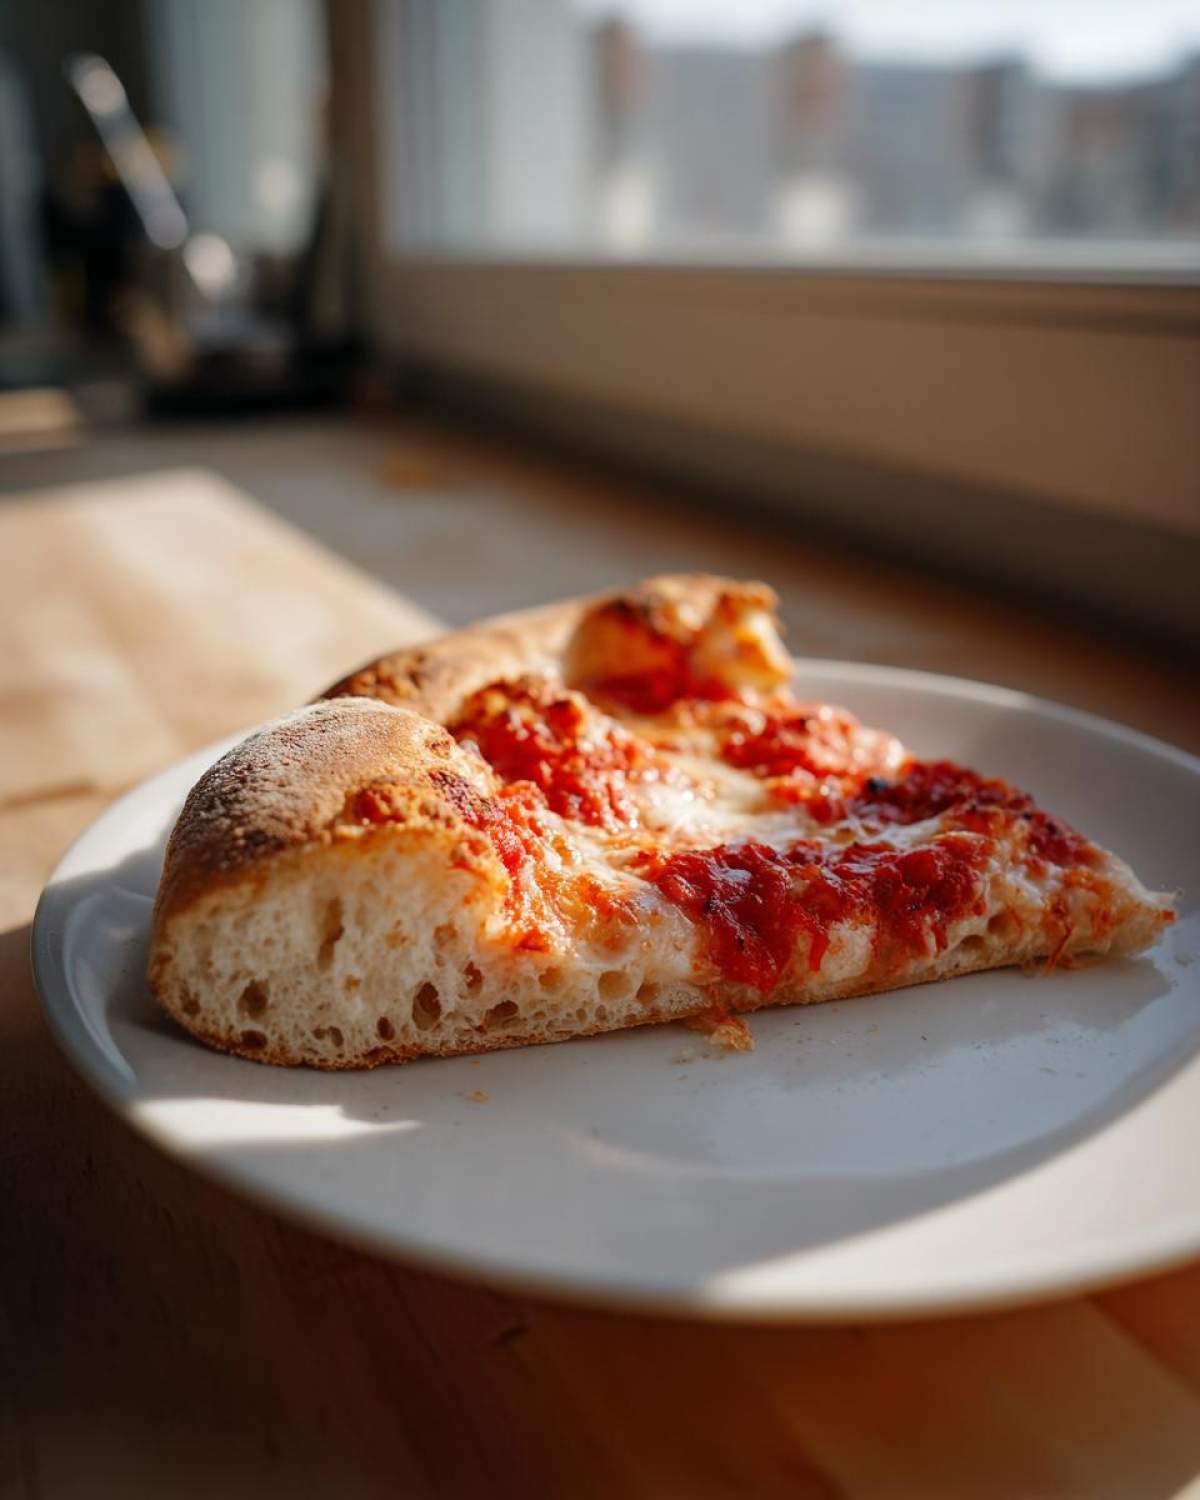
Frequently Asked Questions About Secrets to Perfect Pizza at Home With Simple Ingredients
I get so many questions after people try this recipe, which tells me everyone is chasing that perfect slice! Most of the time, the answers lie in small adjustments to the process rather than needing fancy, specialized gear. It’s all about wringing the most flavor and texture out of those pantry staple pizza recipes we are using here.
Can I use bread flour instead of all-purpose flour for this recipe?
Oh, absolutely! You totally can. If you swap out the all-purpose flour for bread flour, you’ll notice the texture of the finished crust is a bit chewier, almost bouncier. That’s just because bread flour has higher protein content, which means more gluten development. But honestly, stick to the all-purpose flour if you want that classic Neapolitan-style softness we are going for. This pantry staple pizza recipe works brilliantly with the basic stuff!
What if I don’t have a pizza stone? What is the best no fancy equipment pizza recipe alternative?
Don’t panic for a second! If you don’t have a stone, use a heavy-duty baking sheet, but you *must* flip it upside down and use the bottom surface. The real key—and this is the most important part of this whole guide—is preheating it for the full 45 minutes at your highest temperature. That retained, fierce heat transfer is what gives you that incredible crispy chewy pizza at home, stone or no stone. It’s the best no fancy equipment pizza recipe trick in the book!
How long can I let the dough cold-proof in the refrigerator?
This is my favorite move when I’m planning ahead for the weekend! After you let the dough do its initial rise on the counter (that first hour and a half), you can punch it down gently, put it in an oiled, sealed container, and stick it in the fridge for up to three full days. The cold significantly slows down the yeast activity, but the enzymes keep working away, which deeply develops the complex flavors. It truly improves the secrets to authentic pizza flavor overnight!
Storage and Reheating Instructions for Your Homemade Pizza
If you somehow manage to have leftover pizza—which, honestly, is a miracle in my house—you need to treat it right! Don’t just toss the box in the fridge; that steam makes the crust instantly gummy. Store any slices in an airtight container, making sure to place a little piece of parchment paper between any stacked slices if you can. This helps keep the toppings from getting too mushy together. But here’s the real trick for reheating: skip the microwave entirely! It’s a texture killer. Instead, reheat slices on a baking sheet right inside a toaster oven or your regular oven set to about 350°F. Give it about 8 to 10 minutes. You’ll bring back the crispness we worked so hard for! For more great tips on making the most of leftovers, check out my recipe for crispy leftover cakes.
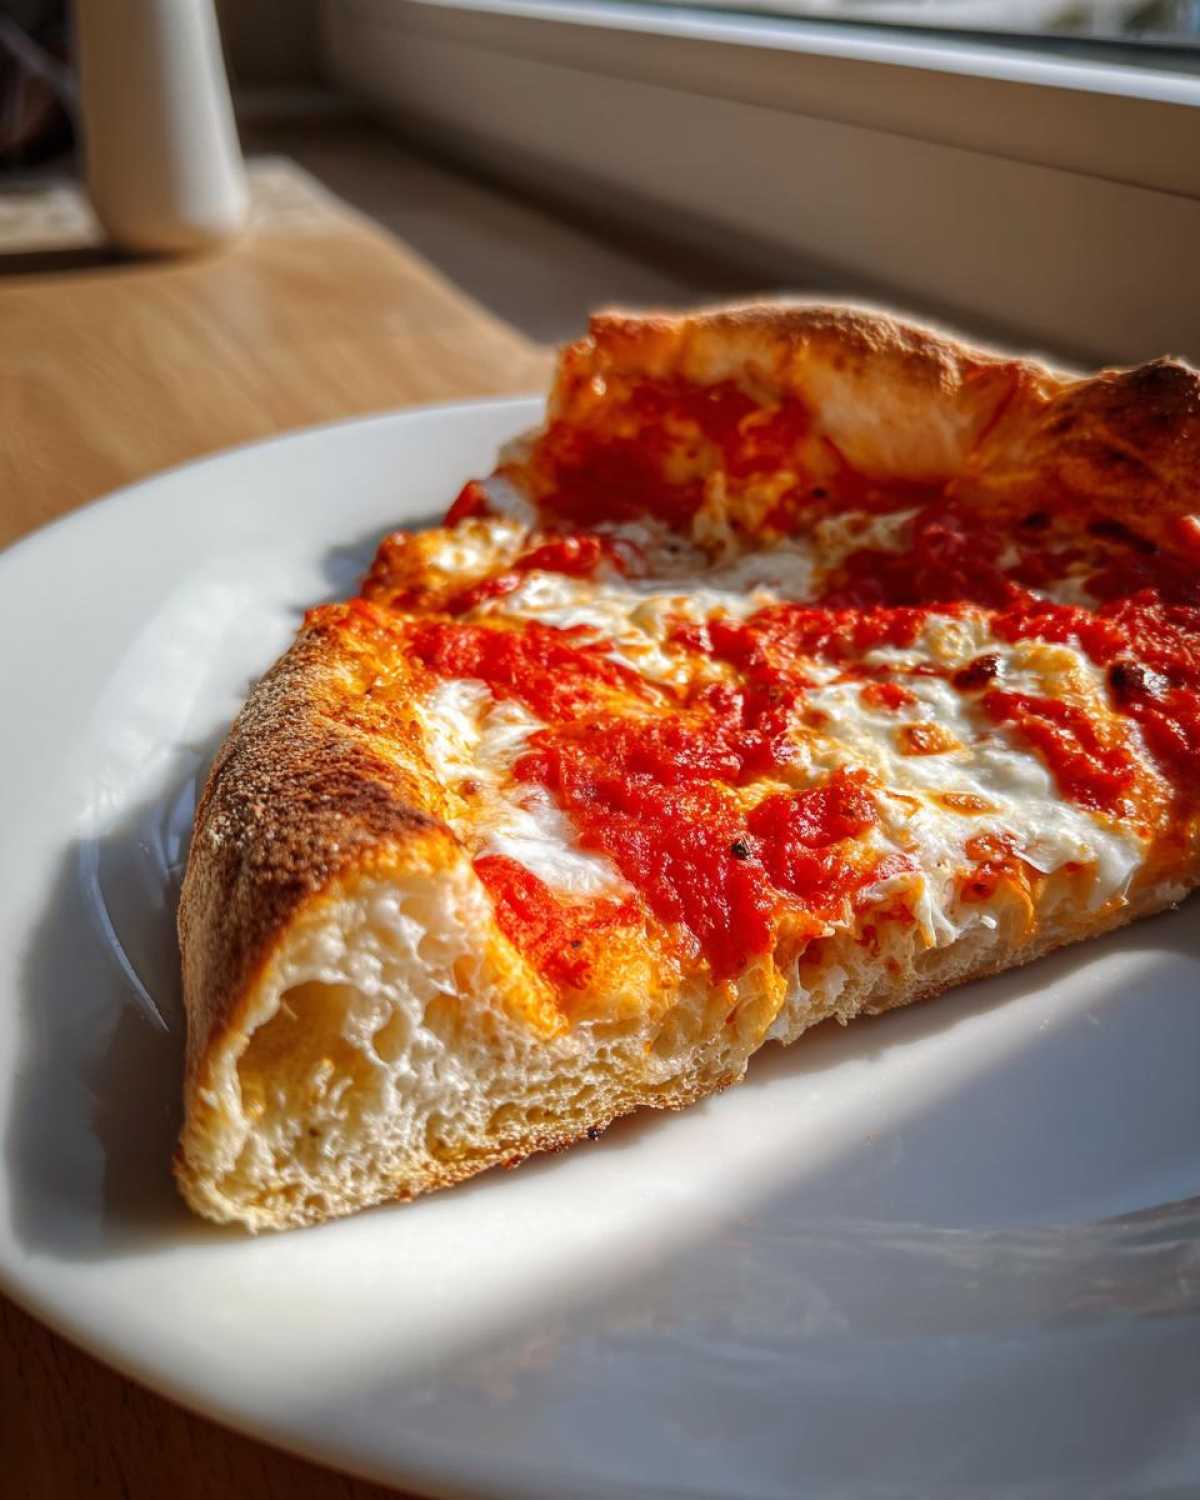
Share Your Homemade Pizza Creations
Okay, you’ve got the flour, the heat, and the patience! Now it’s your turn to go into the kitchen and execute these simple secrets. I really, truly hope this guide helps you ditch delivery for good. Once you taste that crust—crispy, chewy, and bursting with flavor from basic ingredients—you’ll never look back. I absolutely love seeing the pizzas you all make! When you nail that perfect puffy edge, or when that bottom crust finally gets that beautiful speckle from the preheated stone, snap a picture!
Don’t forget to tag me or send me a note! Knowing that this recipe helped another home cook finally conquer pizza night makes all my testing worth it. If you run into any unexpected issues or just want to show off, feel free to send a message through my contact page. I’d love to hear how you rated this batch of pizza—five stars if you followed the secrets, only if you skimmed the preheating instructions, ha!
PrintSecrets to Perfect Pizza at Home With Simple Ingredients

Learn the essential techniques to make bakery-quality pizza at home using only basic, readily available ingredients. Focus on dough handling and oven heat management for a crispy, chewy crust.
- Prep Time: 20 min
- Cook Time: 12 min
- Total Time: 2 hours 32 min
- Yield: 2 medium pizzas
- Category: Dinner
- Method: Baking
- Cuisine: Italian
- Diet: Vegetarian
Ingredients
- 3 cups all-purpose flour
- 1 teaspoon instant dry yeast
- 1 teaspoon fine sea salt
- 1 cup warm water (about 105-115°F)
- 2 tablespoons olive oil
- 1 (14.5 ounce) can crushed tomatoes (undrained)
- 1 clove garlic, minced
- 1 teaspoon dried oregano
- 1/2 teaspoon sugar
- 8 ounces low-moisture mozzarella cheese, shredded
Instructions
- Mix the yeast into the warm water and let it sit for 5 minutes until slightly foamy.
- In a large bowl, combine the flour and salt. Pour in the yeast mixture and the olive oil. Mix until a shaggy dough forms.
- Turn the dough onto a lightly floured surface and knead for 8 to 10 minutes until smooth and elastic.
- Place the dough in a lightly oiled bowl, turning to coat. Cover the bowl tightly with plastic wrap and let it rise in a warm place for 1.5 to 2 hours, or until doubled in size. This long fermentation builds flavor.
- While the dough rises, prepare the sauce: Combine the crushed tomatoes, minced garlic, oregano, and sugar in a small bowl. Stir well. Do not cook the sauce.
- About 45 minutes before baking, place a pizza stone or an inverted heavy baking sheet on the middle rack of your oven. Preheat the oven to its highest setting, usually 500°F (260°C). Allow the stone/sheet to heat for the full 45 minutes.
- Gently punch down the risen dough and divide it in half for two medium pizzas. Shape one half into a ball.
- On a lightly floured surface or a piece of parchment paper, stretch or roll the dough into a 12-inch circle, leaving a slightly thicker edge for the crust. Avoid using a rolling pin if you want maximum oven spring.
- Transfer the dough to a pizza peel dusted with cornmeal or semolina (if using parchment, place the parchment directly on the peel). Spread half of the sauce evenly over the dough, leaving a 1-inch border. Top with half of the mozzarella.
- Slide the pizza (with or without parchment) onto the preheated stone or baking sheet in the oven.
- Bake for 8 to 12 minutes, rotating halfway through if necessary, until the crust is golden brown and the cheese is bubbly.
- Remove the pizza, let it rest for 2 minutes, slice, and serve. Repeat with the remaining dough and toppings.
Notes
- For a crispier bottom crust, use the highest oven temperature your appliance allows. Preheating the baking surface is the most important step for home ovens.
- If your dough tears while stretching, let it rest for 10 minutes before trying again; the gluten needs time to relax.
- Use room temperature ingredients, especially water, to help the yeast activate quickly.
- For a more authentic flavor, use high-quality canned whole peeled tomatoes and crush them by hand instead of using pre-crushed tomatoes.
Nutrition
- Serving Size: 1/4 pizza
- Calories: 450
- Sugar: 5
- Sodium: 550
- Fat: 15
- Saturated Fat: 7
- Unsaturated Fat: 8
- Trans Fat: 0
- Carbohydrates: 65
- Fiber: 3
- Protein: 18
- Cholesterol: 25