

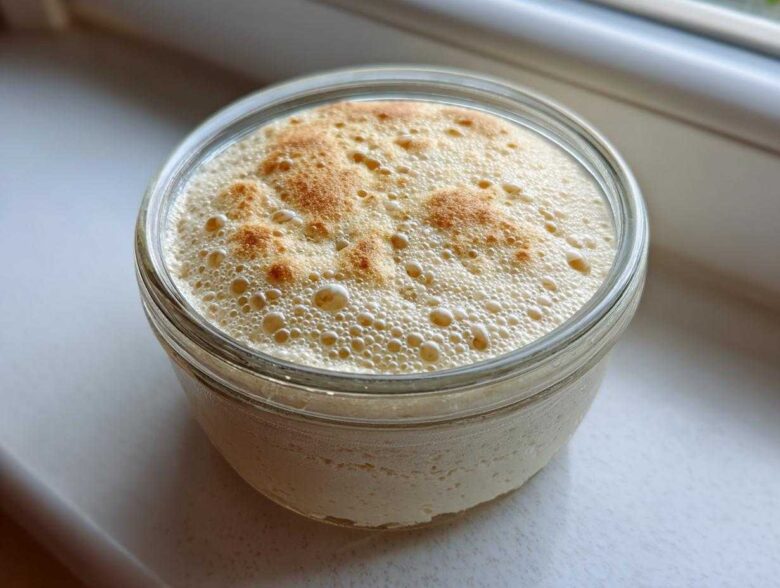
There’s just something magical that happens when you manage to capture wild yeast in a jar. Seriously, baking bread with just flour, water, and time? It feels a little bit like alchemy! If you’ve stared at those beautiful, airy loaves and thought, “I could never do that,” I’m here to tell you: Yes, you absolutely can. This isn’t some advanced baker secret society stuff; it’s straightforward, honest work. I remember my very first attempt at making a sourdough starter felt so fragile, but sticking to the schedule kept me going. This entire guide is built to walk you, step-by-step, through creating your own vibrant, active starter from pure scratch, perfect even if you’ve never baked before. Head over to my main blog if you need general baking inspiration later!
Why You Need an Easy Homemade Sourdough Starter
Forget those expensive store-bought packets or trying to get a piece of someone else’s old starter that’s traveled too far! Making your own sourdough starter from scratch is incredibly satisfying. It connects you directly to how bread was made for centuries. It might sound intense, but trust me, the payoff is huge.
- Better flavor than any instant yeast can offer.
- Total control over what goes into your bread—no weird additives!
- The sheer pride when it finally bubbles up for the very first time.
Benefits of Creating Your Sourdough Starter From Scratch
The deep, complex tang you get from natural fermentation simply can’t be replicated. Plus, nurturing just flour and water into something alive is a huge confidence booster. Once this whole process is done, you’ll have a gorgeous, active bubbly sourdough starter ready every morning!
Essential Ingredients for Your First Sourdough Starter
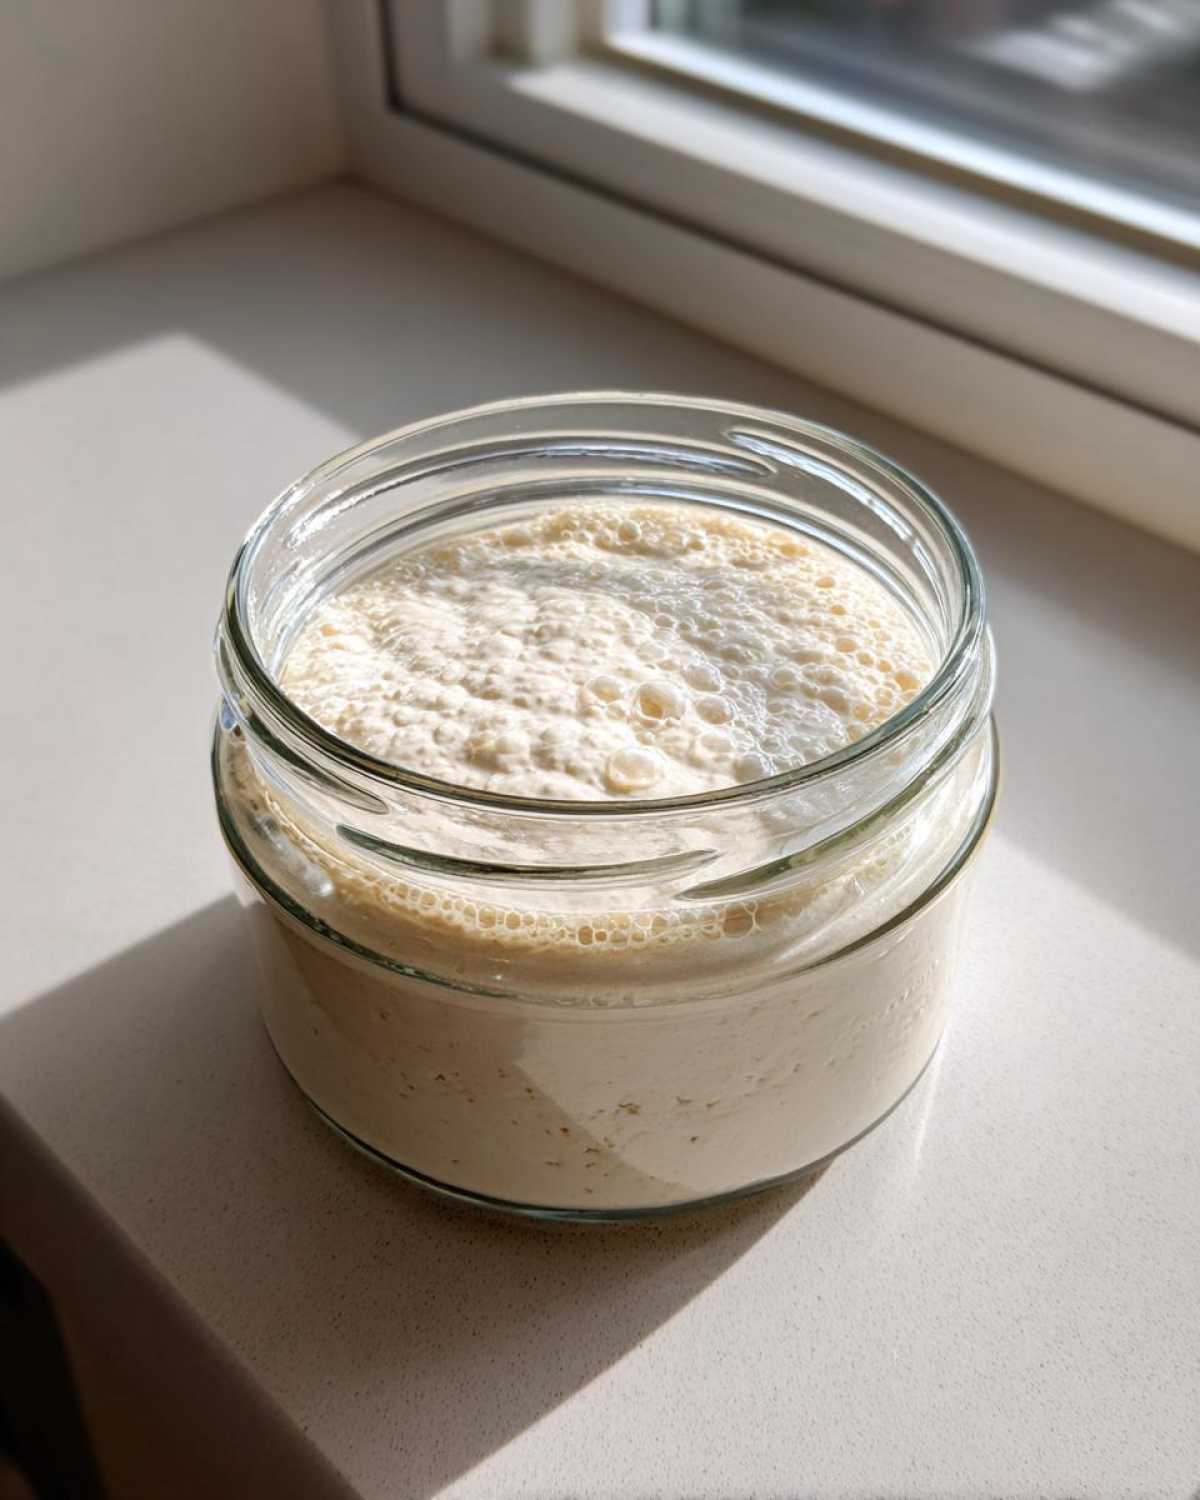
Okay, so we’re keeping this super simple, which is exactly what we need when starting out. Don’t go out and buy five different fancy flours—you only need two types, and water! The magic of a successful sourdough starter isn’t in spending a fortune; it’s about consistency and quality basics. We’re using what we already have. The initial setup is critical, so pay close attention to the water we use here. Get these few things right, and you’re already halfway there.
Flour and Water Selection for Sourdough Starter Care Tips
For the first mix, whole grain rye or whole wheat is my absolute go-to. Those grains have all that extra wild goodness trapped inside them, which the yeast needs to wake up! After Day 1, we switch to good, plain unbleached all-purpose flour—nothing special required. And please, please, use unchlorinated water. Chlorine is meant to kill things, and we are trying to *grow* things! These basic sourdough starter care tips make a massive difference in getting your starter happy quickly.
The Day-by-Day Guide to Make Sourdough Starter From Scratch
This is where the fun begins! We are moving from just mixing ingredients to actively cultivating life. Don’t panic if nothing happens for the first couple of days—that’s totally normal for a sourdough starter. We need time for those natural yeasts and friendly bacteria to wake up and start throwing a party in your jar. I highly recommend keeping your jar in a consistently warm spot, maybe on top of the fridge, especially during these early days.
Days 1-3: Initial Mixing and First Signs of Activity
On Day 1, grab your whole grain rye or wheat flour and mix 50 grams of it with 50 grams of room-temperature water in a clean jar. Stir it until it looks like paste. Cover it loosely—we want air to get in! Days 2 and 3 often look like nothing happened, or maybe you’ll see a few tiny pinprick bubbles. If you smell something a bit stinky, don’t sweat it! Just discard half (about 50g) and feed the rest with 50g all-purpose flour and 50g water. This small feeding routine is key for a sourdough starter for beginners.
Days 4-7: Establishing the Sourdough Feeding Schedule
By Day 4, you should see some real action and maybe some smelly, cheesy activity. That means the good guys are winning! If it’s doubling, switch to feeding twice a day, every 12 hours. You’ll be using what is often called a 1:1:1 feeding ratio. Always discard down to about 50g of starter, then add 50g flour and 50g water. Maintaining this steady sourdough feeding schedule is what trains your yeast colony to be reliable. Keep that temperature steady, aiming for that cozy 72°F range, by the way!
Day 8+: Confirming Your Active Bubbly Sourdough Starter
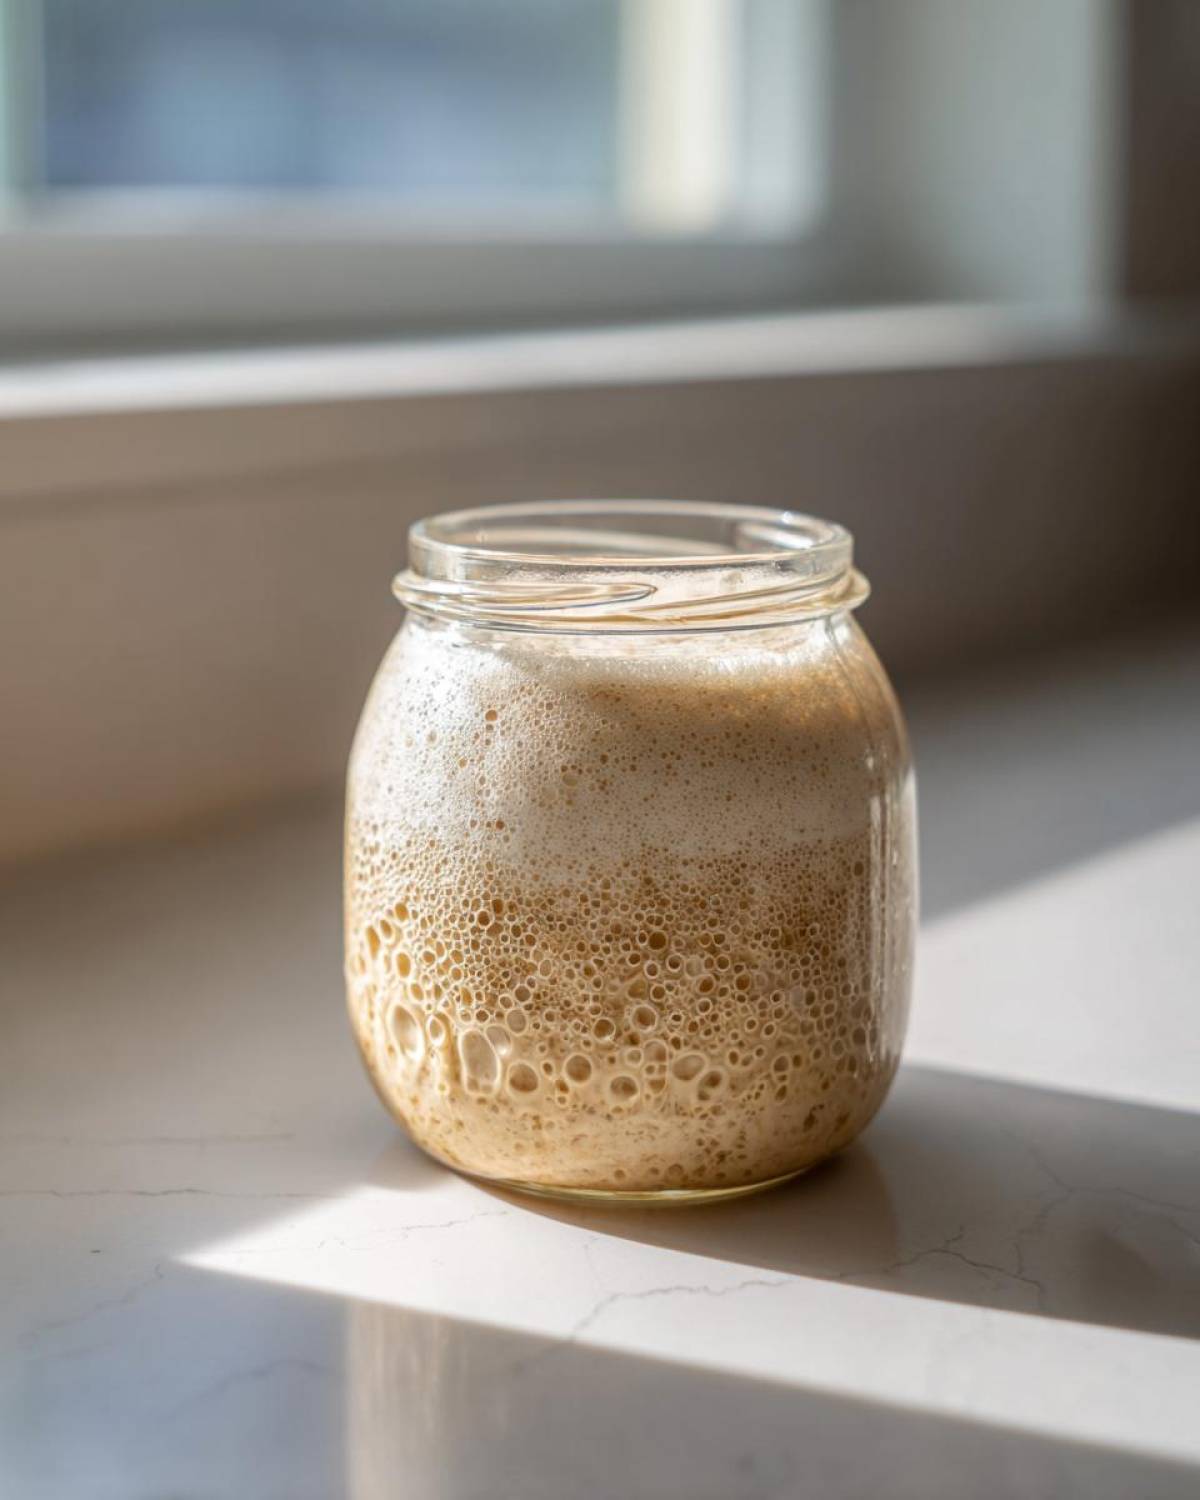
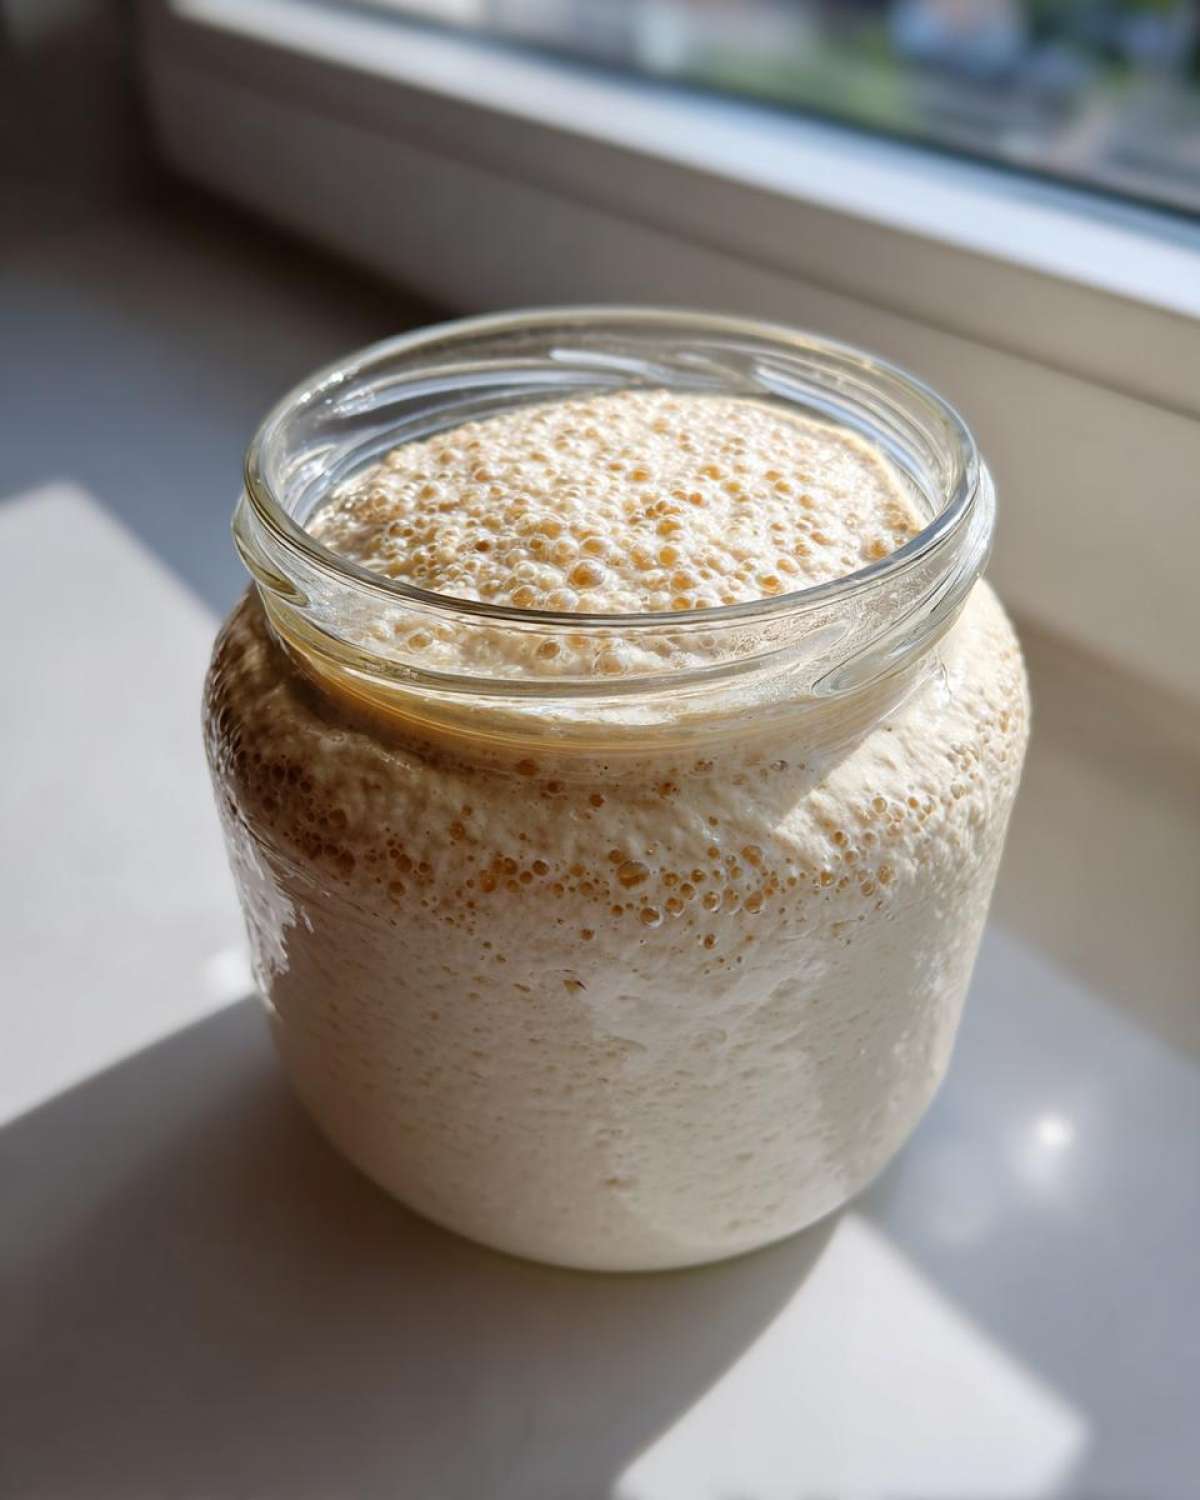
You know your starter is ready when it consistently doubles—or even triples!—in size within four to six hours after you feed it. It needs to look totally webby and full of fresh bubbles, like a fluffy sponge. When you see that reliable doubling happen, you’ve officially done it! Say hello to your new active bubbly sourdough starter! Once it’s this dependable, you can start planning that first loaf. If you want a recipe to test it out on, check out my guide to homemade whole wheat bread.
Understanding Sourdough Ratios Explained for Maintenance
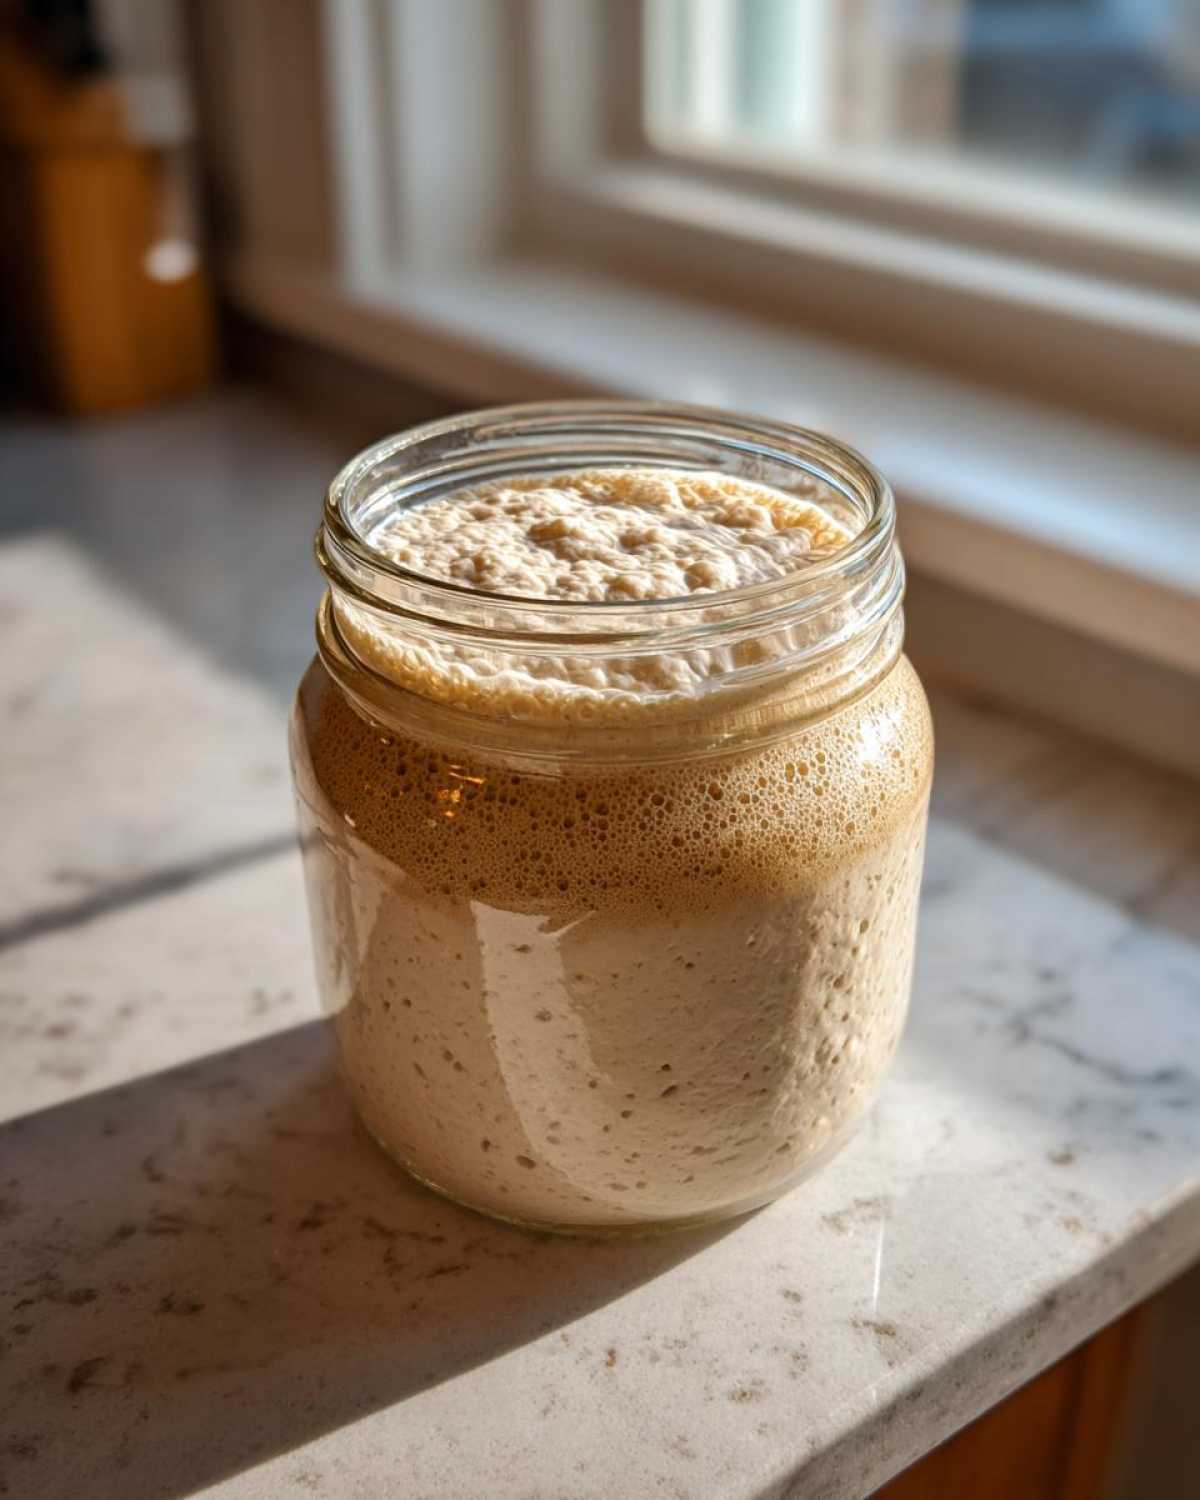
So, your beautiful beast is alive and doubling! Now we need to talk about maintenance, and honestly, ratios sound scary, but they’re just recipes for feeding. When people talk about ratios for your sourdough starter, they are usually talking about weights—Starter : Flour : Water. The most common maintenance ratio is 1:1:1. That means for every one part of existing starter you keep, you feed it one part flour and one part water. If you keep 50 grams of starter, you add 50 grams of fresh flour and 50 grams of water. It’s that simple! This ratio keeps the yeast well-fed without getting them too sluggish.
How to Feed Sourdough Starter After Activation
If you want real accuracy when you are performing the steps for how to feed sourdough starter, you absolutely have to use a kitchen scale. Seriously, ditch the measuring cups for this part! Weight ensures that your ratio stays perfect every single time you feed. Volume measurements (like cups) are super inconsistent depending on how you scoop your flour. Weighing everything—the starter you keep, the flour you add, and the water—ensures your established colony has exactly what it needs to thrive and keep that magnificent flavor.
Sourdough Maintenance and Long-Term Sourdough Starter Care Tips
Now you have this amazing, bubbly living thing in your kitchen, and you can’t just ignore it, right? If you plan on baking every day, you’ll need to keep your sourdough starter on the counter and feed it every 12 to 24 hours. It needs food regularly since it’s warm in the kitchen! Remember that 1:1:1 ratio we talked about? Keep using that same exact amount of food each time you feed it.
But let’s be honest, most of us only bake on the weekends! If you won’t be baking for a bit, pop that jar into the fridge. This slows down the yeast’s appetite dramatically. When it’s chilling out in there, it only needs a feeding once a week, maybe every 10 days if you forget once or twice. It’s super resilient, which is why I love this stuff so much!
Troubleshooting Common Sourdough Beginner Guide Issues
Even with the best intentions, things can look weird when cultivating a natural yeast starter. Don’t panic the first time you see liquid on top, okay? That liquid is called “hooch,” and it’s nothing scary—it just means your starter is hungry! It’s a little bit alcoholic and acidic, and it means it ran out of food too fast. If you see hooch, just pour it off or stir it in, then give your starter a generous feeding. Seriously, just feed it more!
Slow activity is another common gripe in any sourdough beginner guide. If it’s sluggish, check the temperature of your kitchen first. Yeast like it warm! If the temperature is fine, try increasing the amount of whole grain—maybe throw a tiny tablespoon of rye back into the mix when you feed it. It gives them a nice boost.
Now for the only time you should *actually* panic: mold. If you see *any* streaks of pink, orange, or black fuzz growing on the top or sides, that batch is done. You have to throw the whole thing out and start over. It’s a bummer, but it happens, and it’s just the environment catching up with you. But if you avoid that, you can usually fix flatness or smelliness by adjusting how often you feed. For example, if you are ready to bake, check out my homemade French bread recipe for inspiration!
What to Do With Sourdough Discard Recipes
So, you’re feeding your starter twice a day now, and suddenly you have this giant bowl of starter that you keep having to throw half of away. It feels like such a waste! Trust me, I always felt guilty tossing that tangy, ready-to-go flour mix. But guess what? That leftover starter, your sourdough discard, is gold! You absolutely do not have to dump it down the sink. We’re going to turn that discard into amazing treats. This is where you can start experimenting with sourdough discard recipes to keep your kitchen smelling amazing without overfeeding your main project.
My absolute go-to when I have a lot of discard is pizza dough—it’s fast because you don’t have to wait for a rise! You can find my favorite method over here: sourdough discard pizza dough recipe. Alternatively, pancakes, crackers, or even quick drop biscuits are fantastic ways to use up that leftover volume without affecting your main, active starter. Never waste it!
Frequently Asked Questions About Your Natural Yeast Starter
Once you get past the initial seven days, you’ll probably have a list of little things you’re wondering about regarding your brand-new natural yeast starter. It’s okay to have questions! Everyone does when they first start cultivating their own wild yeast. Think of this like quizzing a toddler—they’re learning so fast, but sometimes they act up! Don’t worry about small hiccups; we can usually fix them with just one more feeding.
How long until my sourdough starter is ready to bake with?
Honestly, I say be patient and plan for about 7 to 10 days, depending on how warm your kitchen is. The real sign isn’t the calendar date, though; it’s performance. Your starter is ready when you feed it, and it consistently doubles its size within 4 to 6 hours every single time. If you’re seeing that reliable doubling, you’re good to go! If you’re eager to bake sooner, remember that a warmer room speeds things way up.
Can I use regular bread flour instead of all-purpose after Day 1?
Yes, absolutely! Bread flour has a higher protein content than all-purpose, which means it develops stronger gluten structures. This is fantastic once your starter is established. If you want a starter that really climbs high and fast after Day 3, switching to bread flour for your feedings is a great way to boost its strength. Just make sure it’s unbleached, which is true for all ingredients here!
I see dark gray/brown liquid on top of my starter. What is that?
That liquid is hooch! As I mentioned earlier, that’s just a byproduct of fermentation, and it means your starter is super hungry and needs to be fed sooner or given a bigger meal. Don’t throw it out! You can either pour it off before feeding, or just stir it right back in if you want an extra tangy flavor in your next bake. I usually stir it in unless the layer is really thick.
What should I do if my starter smells vaguely like nail polish remover?
That sharp, vinegary, or sometimes acetone-like smell means the starter is slightly too acidic—it’s hungry and throwing off a lot of acid waste. Don’t toss it! The fix is simple: you need to feed it more frequently or increase the amount of food slightly for a few feedings. If you were feeding 1:1:1, try feeding 1:2:2 (keep 50g starter, feed 100g flour, 100g water) for two cycles, and that sharp smell should calm right down. It’s amazing how responsive these little colonies are! When you eventually want to use a lot of that mature starter, you can try my sourdough pancakes recipe.
Next Steps: Baking with Your New Sourdough Starter
Congratulations! You’ve nurtured something amazing, and now you have the foundation for the best bread you’ve ever made. Don’t let your amazing sourdough starter for beginners adventure end here; now is the time to bake! Start with something simple, like a rustic boule, to learn how your unique starter behaves in the dough. You can look at my recipe for garlic breadsticks for a low-stakes way to practice using your discard alongside your active starter. Happy baking, and please let me know in the comments when you see that first big rise!
PrintHow to Make a Sourdough Starter From Scratch: A Beginner’s Guide
Follow this day-by-day guide to create your own active, bubbly sourdough starter using only flour and water.
- Prep Time: 5 min
- Cook Time: 0 min
- Total Time: 7 days (for activation)
- Yield: Approximately 100g active starter
- Category: Baking Base
- Method: Fermentation
- Cuisine: General
- Diet: Vegetarian
Ingredients
- 100g Whole Grain Rye Flour or Whole Wheat Flour (for initial mix)
- 100g Unbleached All-Purpose Flour (for subsequent feedings)
- 100g Unchlorinated Water (room temperature)
Instructions
- Day 1: Mix 50g of whole grain flour and 50g of water in a clean jar. Stir until fully combined. Cover loosely and let it sit at room temperature (68-75°F or 20-24°C) for 24 hours.
- Day 2: You may see little to no activity. Discard half of the mixture (about 50g). Add 50g of all-purpose flour and 50g of water to the remaining starter. Mix well, cover loosely, and wait 24 hours.
- Day 3: You might see some small bubbles or smell a slight sour odor. Discard half. Feed with 50g all-purpose flour and 50g water. Wait 24 hours.
- Day 4: Activity should increase. If you see significant bubbles, switch to feeding twice a day (every 12 hours) using a 1:1:1 ratio (50g starter : 50g flour : 50g water). Discard down to 50g before each feeding.
- Day 5 – 7: Continue feeding twice daily using the 1:1:1 ratio. The starter should begin to double in size consistently within 4-8 hours after feeding. If it smells strongly acidic or vinegary, increase the feeding amount slightly or feed more frequently.
- Day 8+: Your starter is ready when it reliably doubles in size within 4-6 hours after feeding and is full of bubbles. You can now transition to a maintenance feeding schedule if you are not baking immediately.
Notes
- Use filtered or bottled water if your tap water is heavily chlorinated.
- Maintain a consistent temperature for best results; warmer temperatures speed up fermentation.
- If you see pink or orange streaks, discard the entire batch immediately and start over, as this indicates mold.
- To keep your starter active long-term, feed it daily if kept at room temperature, or store it in the refrigerator and feed it once per week.
Nutrition
- Serving Size: 100g
- Calories: 200
- Sugar: 0.5
- Sodium: 1
- Fat: 0.5
- Saturated Fat: 0.1
- Unsaturated Fat: 0.4
- Trans Fat: 0
- Carbohydrates: 40
- Fiber: 3
- Protein: 6
- Cholesterol: 0