

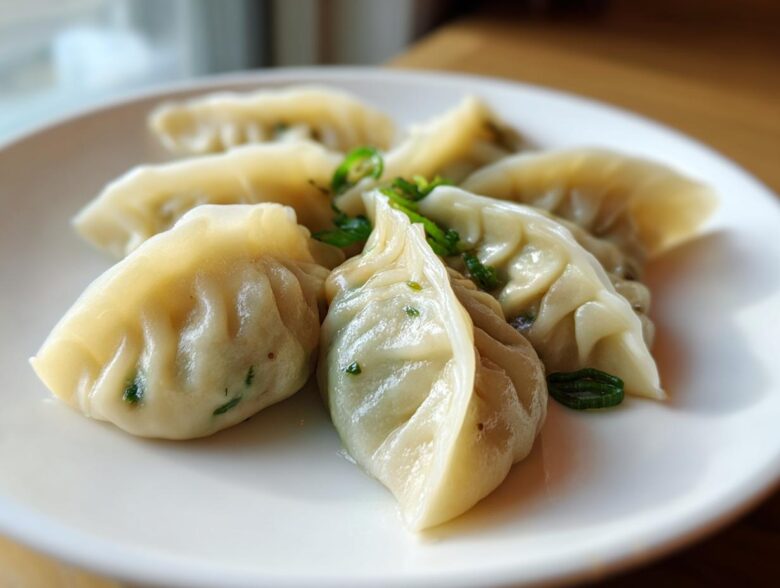
There’s a special kind of victory that comes when you conquer one of those recipes that looks absolutely amazing on your Pinterest board but seems too complicated to actually attempt. For Jacob and me, that victory finally came when we successfully made a huge batch of Traditional Chinese Dumplings from scratch. Honestly, my organizational spreadsheets screamed with delight when Jacob nailed the perfect one-direction mix for the filling!
I always felt intimidated by the idea of making homemade dumpling wrappers, but trust me, the difference in texture is unbelievable. This project really showed how we work best: I planned the hydration percentages for the dough (using that exact ratio we found!), and he did the intuitive work of kneading until it was just right. These truly are authentic jiaozi.
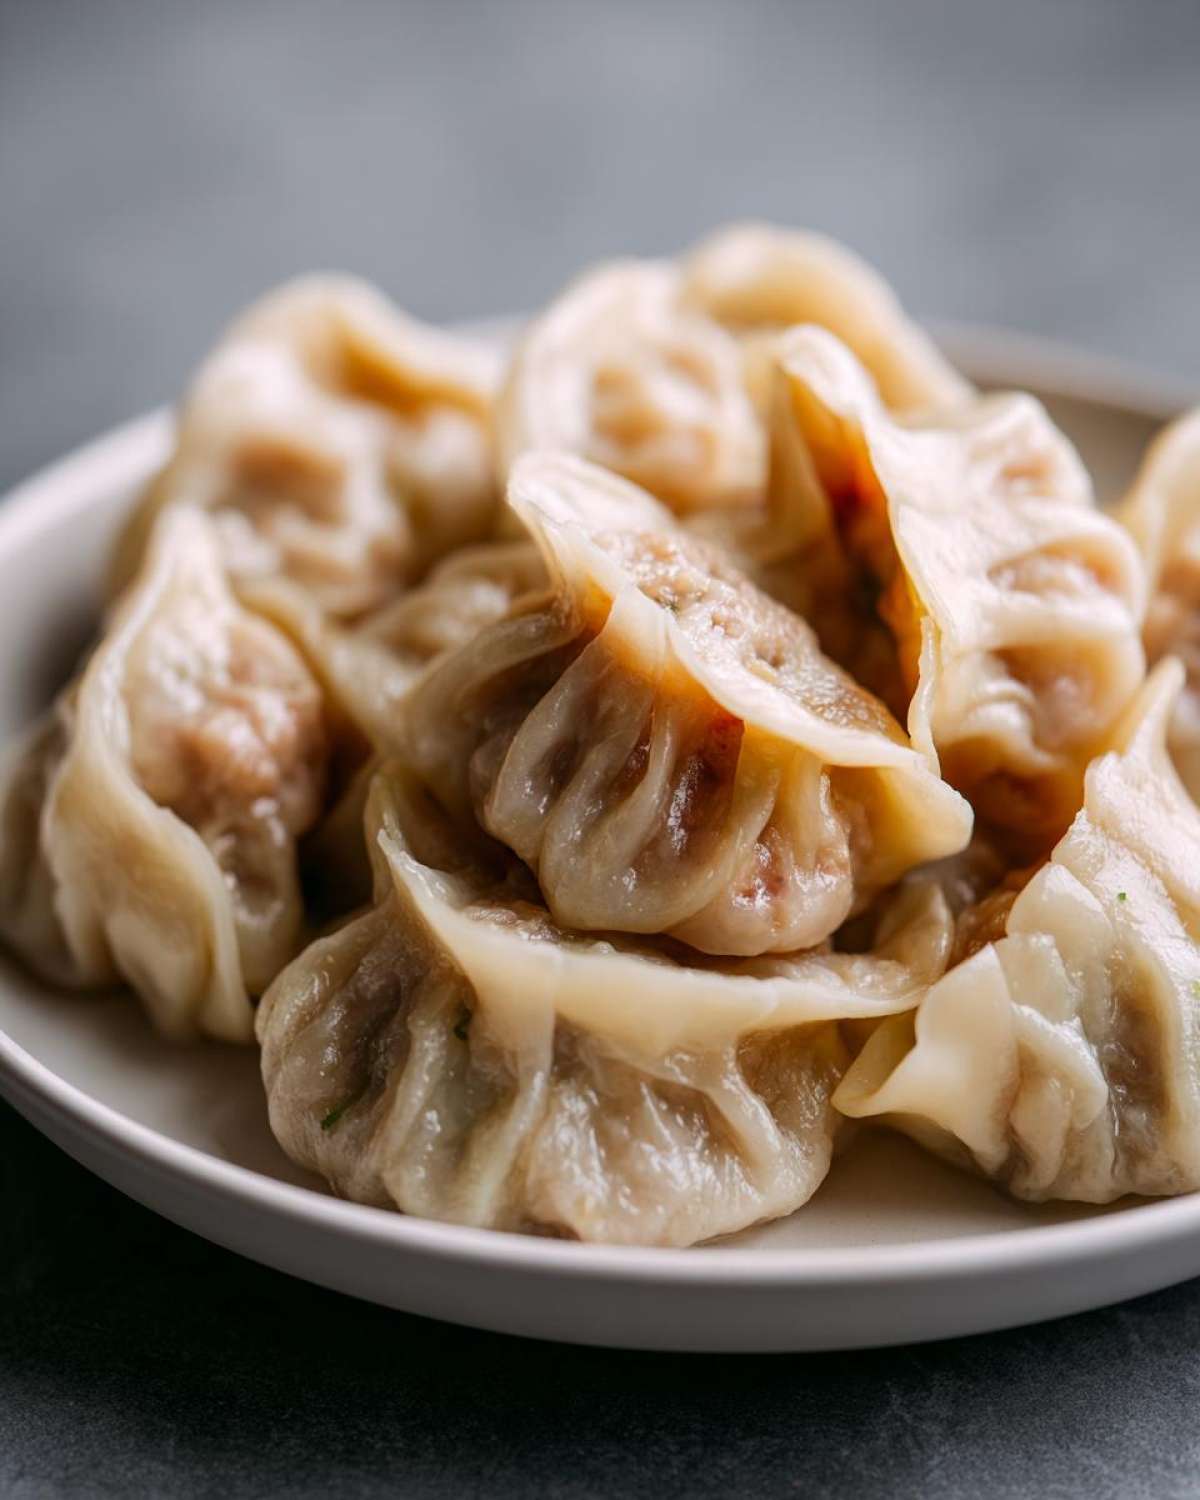
If you’ve been dreaming of making perfect, savory dumplings, I promise that our blueprint—developed from hours of testing—is the structure you need to succeed. Check out our story here if you want to know more about how we team up to take on these big culinary projects!
Why This Traditional Chinese Dumplings Recipe is a Keeper
Honestly, ditching the store-bought sheets for these really elevates everything. Why follow this blueprint? Because it delivers on flavor and texture, making incredible authentic jiaozi that taste just like they came from a bustling restaurant, but made right in our kitchen. This recipe works beautifully whether we’re prepping for big lunar new year dumplings celebrations or just need delicious comfort food on a Tuesday.
- We’ve streamlined the process so you can manage it, even if you’re a first-timer!
- The resulting texture rivals anything you can buy pre-made.
You can find a close variation optimized for batch cooking here: Lunar New Year Dumplings.
Perfectly Pliable Homemade Dumpling Wrappers
This is the absolute game-changer, folks. When you make your own dough, the wrapper becomes tender yet strong enough to hold all that rich filling without ripping when boiled. That snap and chew you get? That’s the hallmark of amazing Traditional Chinese Dumplings! Don’t skip this part!
Flavorful Pork Cabbage Dumplings Filling
The filling is classic for a reason—it hits all the right notes. The salty soy sauce anchors the savory ground pork, while the ginger and sesame oil just wake everything up. This specific blend of pork cabbage dumplings ingredients keeps them juicy and richly flavorful, which is exactly what you want in every single bite.
Gathering Supplies for Your Traditional Chinese Dumplings
Okay, before we jump into flour-to-water ratios, let’s get organized! Because making these Traditional Chinese Dumplings is a bit of a project—a super rewarding one, obviously—knowing what you need just makes the process flow faster. I love setting up the ‘assembly line’ before Jacob starts rolling. It avoids that chaotic scrambling halfway through Step 4!
Essential Tools for Making Authentic Jiaozi
Thankfully, you probably already have most of this stuff lying around, which is great for keeping this project accessible. Forget needing special machinery; this isn’t that kind of baking! You will definitely need:
- A large bowl for mixing that dough—make sure it’s sturdy!
- A big pot because we are doing boiled Chinese dumplings today, remember?
- A decent rolling pin. This is non-negotiable for those beautiful, thin wrappers.
- Two large cutting boards or sheet pans, lined with parchment paper, to keep your raw filling and finished dumplings separate. Safety first, always!
Step-by-Step Guide to Homemade Dumpling Wrappers
Okay, you’ve seen the end result and now you think making the dough for these Traditional Chinese Dumplings is impossible. Wrong! Start simple: just dump the flour and the warm water into a big bowl. Use your hand or one of Jacob’s wooden spoons to get it shaggy. You don’t want to add all that water right away, trust me on this one. Remember what the notes said? Start stingy with the water, and only add sprinkles more if the dough is fighting you. Get it roughly combined, then bring it onto the counter!
Once it’s on the board, you need to work it—really work it—for a solid 8 to 10 minutes until it feels silky. This is where Jacob usually takes over, putting the elbow grease in! Check out our tips for making easy homemade naan dough; the muscle required is surprisingly similar!
Kneading and Resting the Traditional Chinese Dumplings Dough
Those 8 to 10 minutes of kneading are vital. You’re developing the structure so your wrappers don’t collapse when they hit the boiling water. Once you feel smooth perfection, cover that dough ball up tightly. It needs a good 30 minutes minimum to rest. This resting time is crucial because it lets the gluten relax, which is what gives you those gorgeous, easy-to-roll homemade dumpling wrappers later. Don’t rush the nap!
Preparing the Perfect Pork Cabbage Dumplings Filling
Now for the best part—the savory interior! For truly authentic jiaozi, the filling prep is just as important as the wrapper. Grab your biggest mixing bowl because we are loading it up. You must make sure that Napa cabbage is finely chopped; anything too chunky will throw off the balance when you pleat them.
Combine that pork, the cabbage, the soy sauce, sesame oil, ginger, salt, and white pepper. Here is Jacob’s secret—and honestly, the key to keeping these pork cabbage dumplings bound together: you have to mix it all in one direction. Don’t go back and forth! Keep stirring only clockwise (or counter-clockwise, just stick to one!) until the mixture starts getting a little sticky. That stickiness means the proteins are binding, which gives our Traditional Chinese Dumplings that perfect, cohesive texture when cooked. If you want to see how we add flavor depth to other dishes, check out our guide to easy chicken fried rice here!
Assembling and Pleating Your Traditional Chinese Dumplings
Now for the fun (and slightly nerve-wracking) part—turning those flat circles into plump packets of joy! We finished resting our dough and we’re ready to build these beauties. Remember, the size matters for even cooking. Aim for wrappers that are just about 3 inches in diameter. They should look thin enough that you can almost see your finger through them, but sturdy enough to handle a spoonful of that amazing filling.
Take about a teaspoon of your pork cabbage dumplings filling and place it right in the center of the wrapper. Don’t overfill, or you’ll be crying when they split open in the pot! Next, wet just the edges of the wrapper with clean water—this acts like edible glue. Then, fold it into that classic half-moon shape. This seals the whole thing up, so be firm but gentle!
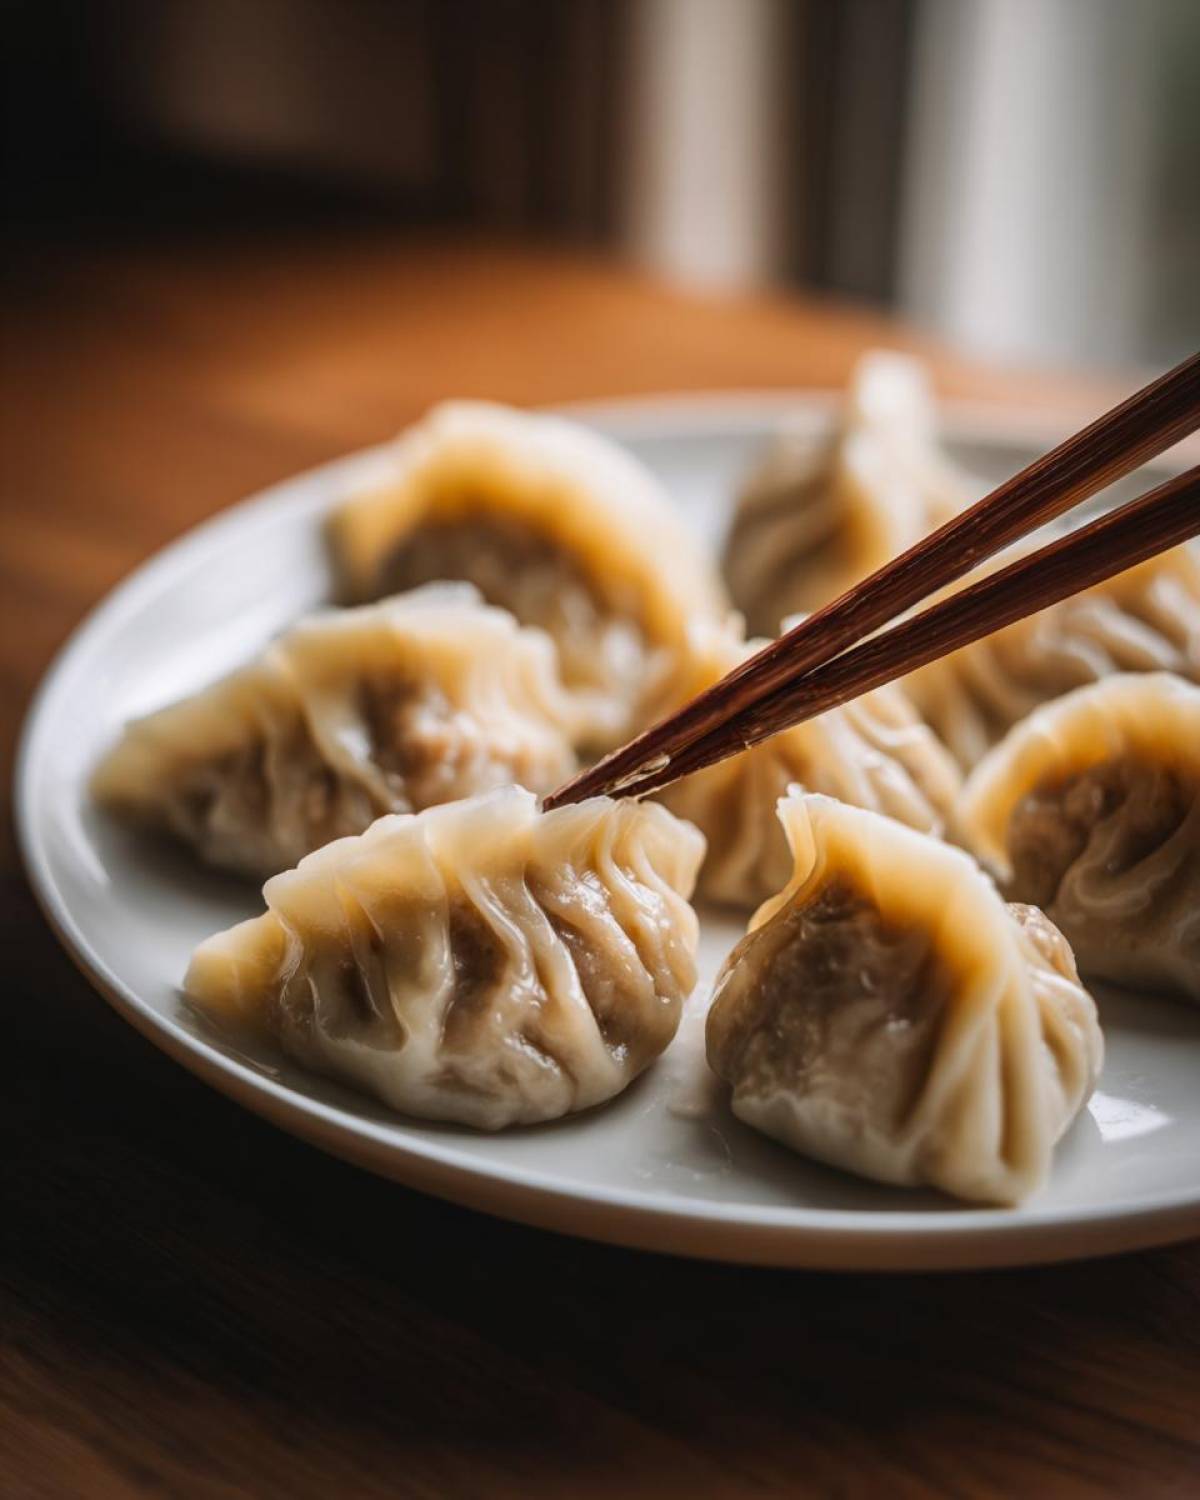
If you want to see a visual guide for sealing, I recommend flipping through my inspiration board of crispy rice paper dumplings—the sealing technique is similar! We want these Traditional Chinese Dumplings to hold tight until they hit the water.
Tips for Perfect Pleating on Your Authentic Jiaozi
Pleating is where the artistry comes in, but don’t stress if your first few look a little wonky! That’s totally normal. My best tip for creating a solid seal on your authentic jiaozi is to press the center shut first and then work outward, creating little accordion folds only on the top edge while keeping the bottom edge flat against the table. Keep practicing those little pinches; they aren’t just for looks—they are vital insurance to keep the deliciousness inside when you boil your Traditional Chinese Dumplings!
Cooking Methods for Boiled Chinese Dumplings
We’ve done all the hard work making the filling and rolling the wrappers, so now we need to treat our precious Traditional Chinese Dumplings gently! Boiling is the classic, most forgiving method, resulting in those soft, slightly chewy skins that are iconic for boiled Chinese dumplings.
First things first: you need a really good, rolling boil in a large pot. Don’t sneak them in when the water is just simmering! When the water is churning nicely, gently drop them in. And I mean gently! You don’t want to shock them or have them clump together into one big, doughy mess. If you’re making a huge batch, cook them in stages so the water temperature doesn’t totally crash.
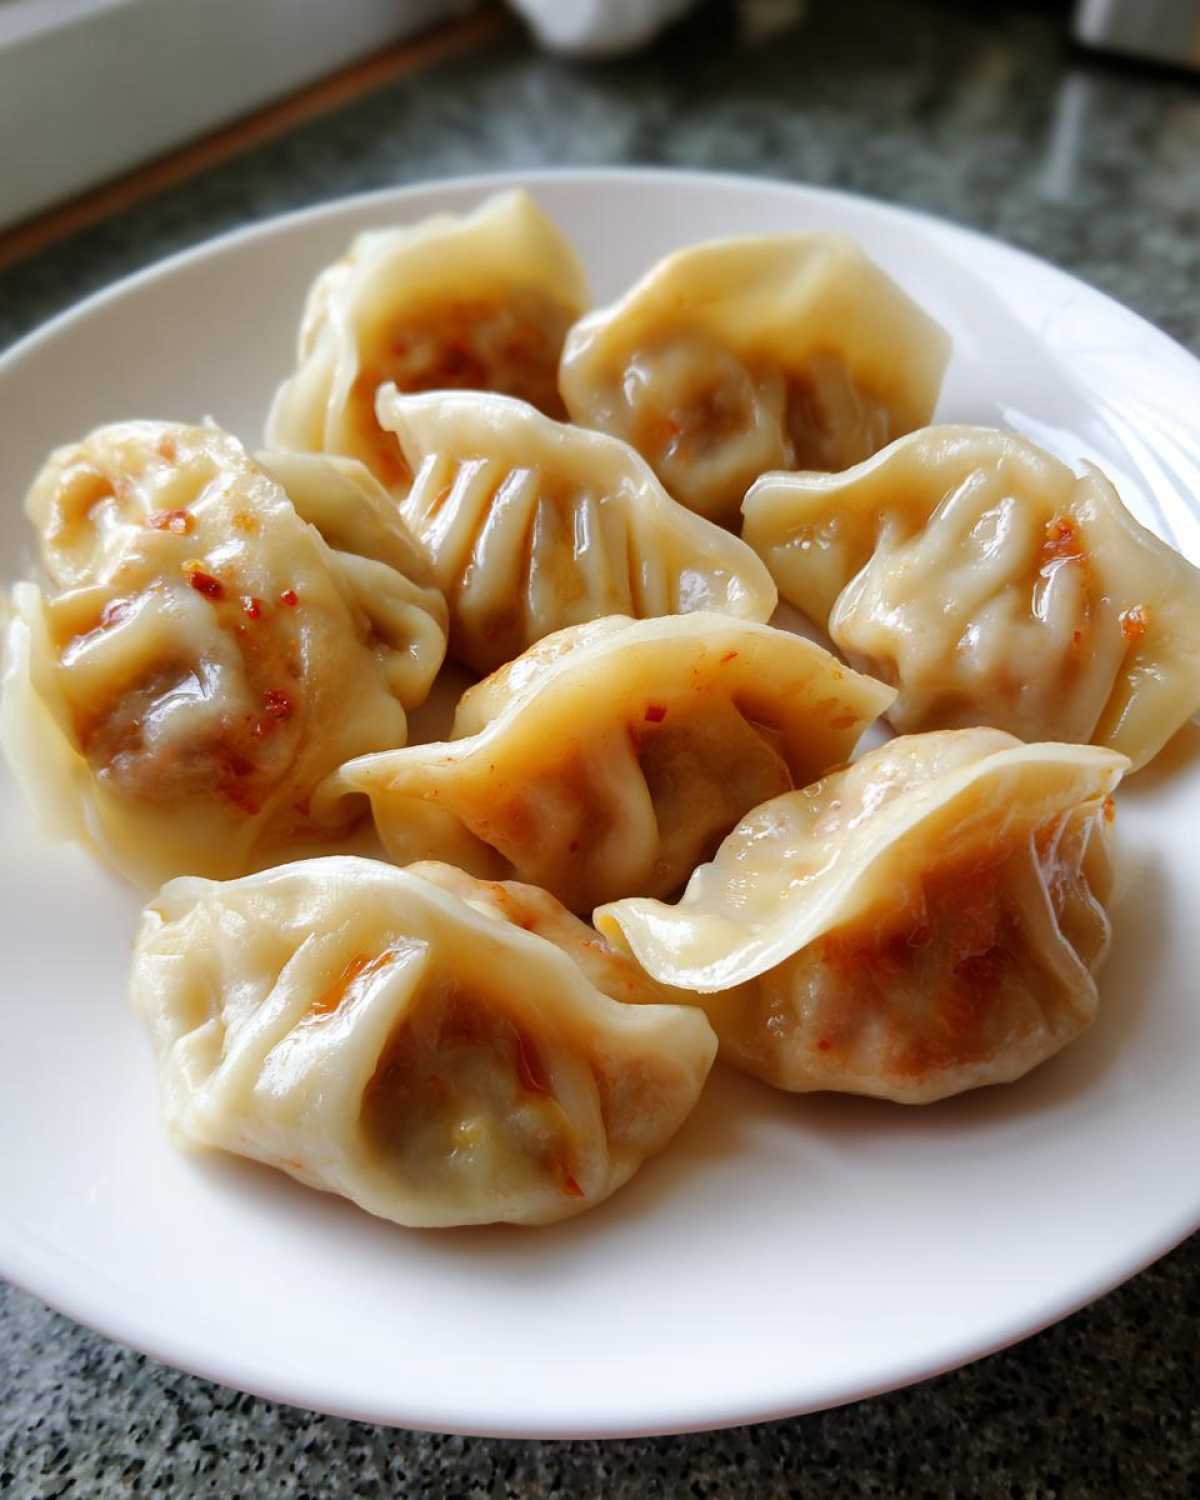
Once they are in, give them a very light stir with a wooden spoon to make sure none are sticking to the bottom. Now you wait. They typically take about 5 to 7 minutes—but honestly, the best sign is when they float right up to the surface! Once they’re all bobbing happily, let them cook for another minute just to be sure that pork filling inside is perfectly cooked through.
Pull them out of the water quickly with a slotted spoon and serve them right away! They look amazing on their own, but you definitely need a little something extra. We usually mix a splash of soy sauce, a tiny bit of rice vinegar, and, if we’re feeling fancy that night, a drizzle of the lovely garlic oil from our homemade garlic butter recipe.
Making Traditional Chinese Dumplings Freezer Friendly
One of the best discoveries Jacob and I made about mastering Traditional Chinese Dumplings is that they are absolutely perfect for making ahead! Seriously, if you spend a whole afternoon folding these beauties, you don’t want to eat them all right away, right? The real secret here is flash freezing.
Lay your uncooked dumpling creations out on a parchment-lined sheet pan—make sure they aren’t touching! Pop that entire tray right into the freezer until those little guys are rock solid. Once they’re hard as pebbles, you can just sweep them into an airtight bag. Perfect! These freezer friendly dumplings save us when we need a quick meal during the week.
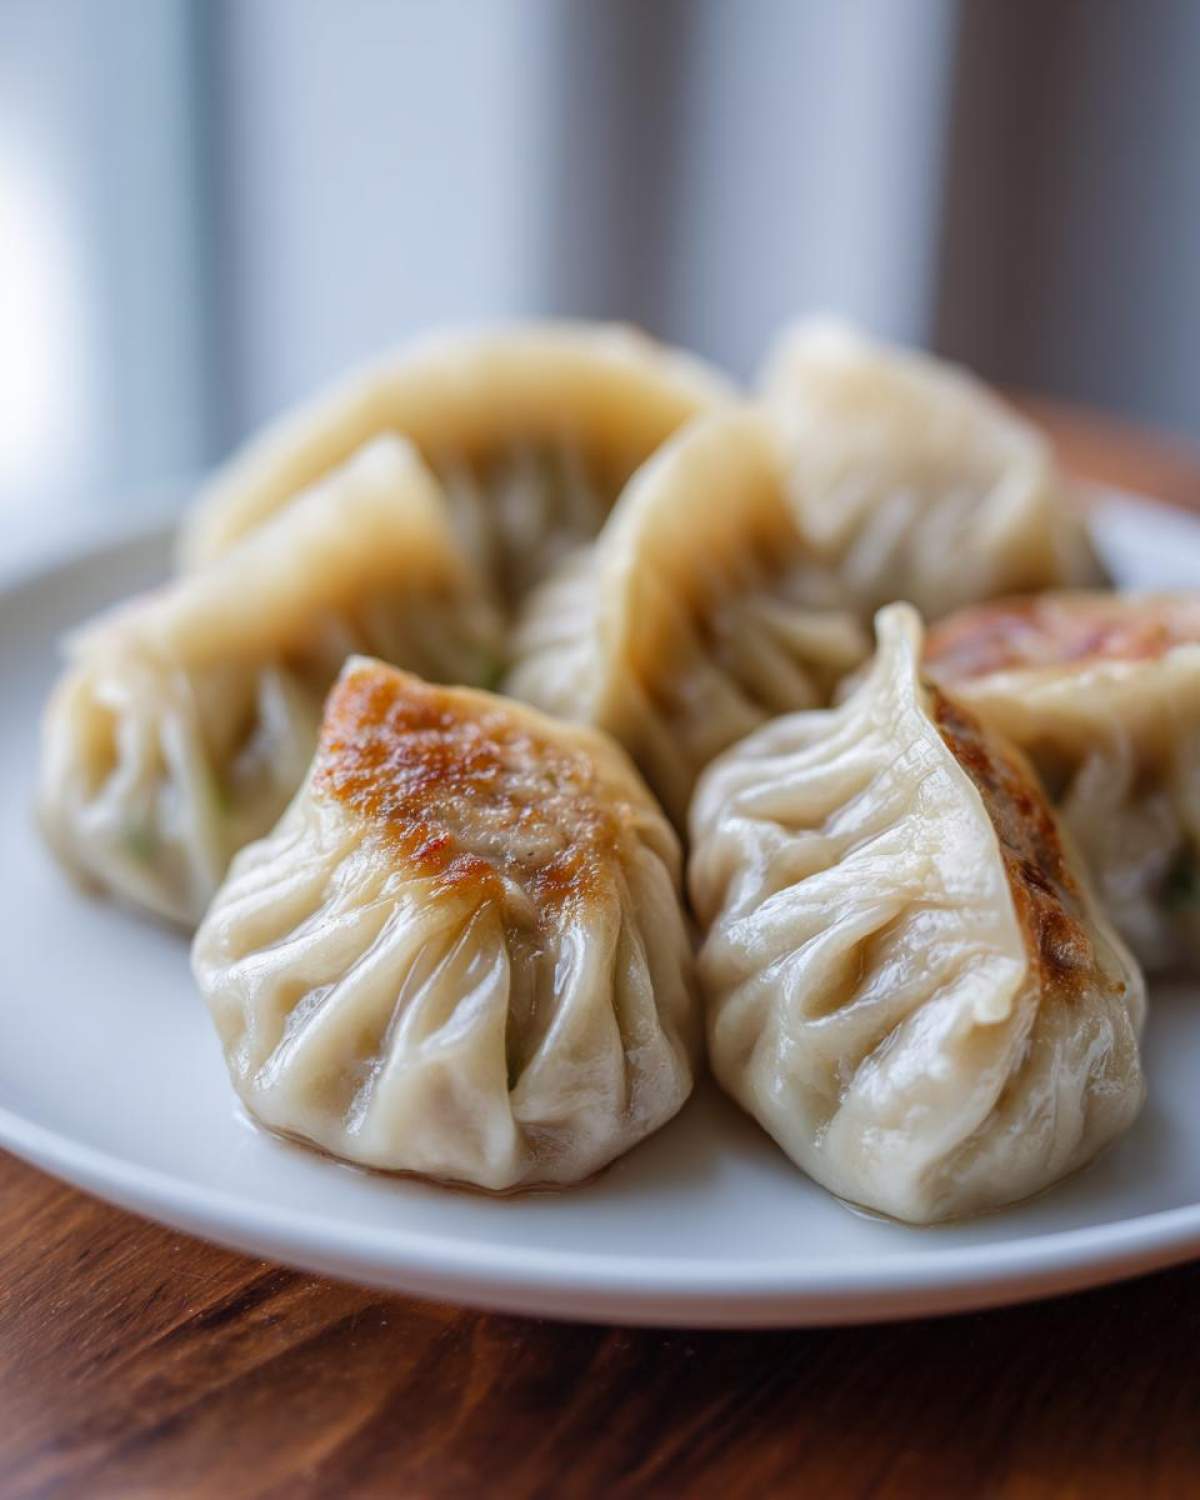
When you go to cook them straight from frozen, just remember to add about 2 or 3 extra minutes to the boiling time to ensure that pork filling gets fully heated through. You can look at our system for freezing other meals, like this make-ahead chili, for more bulk-prep wisdom!
Frequently Asked Questions About Pork Cabbage Dumplings
Even with our detailed plan, I know you might have a few little questions bubbling up before you tackle your first batch of Traditional Chinese Dumplings. That’s totally normal! Jacob and I asked ourselves everything under the sun when we started. For example, if you’re trying to shake things up, you might wonder about other preparation methods. Don’t worry, we’ve got you covered!
If you’re looking for ways to use up leftovers or try new flavor profiles, check out our chicken chow mein recipe for inspiration!
Can I pan-fry these pork cabbage dumplings instead of boiling?
Absolutely! You can totally turn these into phenomenal potstickers if you prefer that crispy bottom. For boiled Chinese dumplings, we just drop them into the water, but for searing, heat a little oil in a non-stick pan over medium-high heat. Place your folded dumplings (frozen or fresh can work!) flat side down in the pan and let them sear for 2-3 minutes until the bottoms are golden brown. Then, add about a half cup of water, quickly cover the pan, and let them steam for 5-7 minutes until the liquid evaporates and the filling is cooked. You get the best of both worlds!
How should I prepare the Napa cabbage for the filling?
For the most integrated and savory pork cabbage dumplings, preparation is key! You really need that cabbage to be finely chopped—we are looking for small, almost confetti-like pieces so they blend seamlessly with the pork. After chopping, here’s an old trick my aunt taught Jacob: toss the chopped cabbage with about half a teaspoon of salt and let it sit for 10 minutes. The salt draws out excess moisture. Squeeze that water out really well before mixing it into the rest of the filling ingredients in that one direction. This prevents your beautiful Traditional Chinese Dumplings from getting soggy insides.
Sharing Your Culinary Project
And there you have it! We’ve officially completed the blueprint for making truly spectacular Traditional Chinese Dumplings that are worth bragging about. I need to know how it went! Did Jacob’s one-direction mixing technique work magic for your filling, or did you discover your own secret trick?
Please don’t be shy! We built Taste Portfolio to be a collection of successes, and your finished dumplings deserve to be showcased. Take a picture of your beautiful folding work—even if the pleats aren’t professional grade!—and tag us online so we can celebrate with you!
If this recipe sparked joy or if you have little tweaks you discovered while perfecting your homemade dumpling wrappers, please drop a comment below. Hearing your success stories helps us refine our portfolio even more. If you’re ready for your next delicious project, you can browse our full collection of completed recipes right here!
PrintAuthentic Pork and Cabbage Chinese Dumplings (Jiaozi)
Learn to make traditional Chinese dumplings with homemade wrappers, filled with savory pork and cabbage. This recipe is perfect for Lunar New Year or any weeknight meal.
- Prep Time: 45 min
- Cook Time: 10 min
- Total Time: 55 min
- Yield: About 40 dumplings
- Category: Main Course
- Method: Boiling
- Cuisine: Chinese
- Diet: Low Fat
Ingredients
- 2 cups all-purpose flour
- 2/3 cup warm water (plus more if needed)
- 1 pound ground pork
- 3 cups finely chopped Napa cabbage
- 1 tablespoon soy sauce
- 1 teaspoon sesame oil
- 1 teaspoon grated fresh ginger
- 1/2 teaspoon salt
- 1/4 teaspoon white pepper
Instructions
- Make the dough: Combine flour and warm water in a bowl. Mix until a shaggy dough forms. Knead on a lightly floured surface for 8-10 minutes until smooth. Cover the dough and let it rest for at least 30 minutes.
- Prepare the filling: In a large bowl, combine the ground pork, chopped Napa cabbage, soy sauce, sesame oil, ginger, salt, and white pepper. Mix thoroughly in one direction until the mixture becomes slightly sticky.
- Roll the wrappers: Divide the rested dough into four equal pieces. Roll each piece into a long rope and cut into 1-inch pieces. Roll each piece into a thin circle, about 3 inches in diameter.
- Assemble the dumplings: Place about 1 teaspoon of filling in the center of a wrapper. Moisten the edges with water. Fold the wrapper in half to form a half-moon shape and pleat the edges to seal securely.
- Cook the dumplings: Bring a large pot of water to a rolling boil. Gently drop the dumplings into the water, ensuring they do not stick together. Cook for 5-7 minutes, or until the dumplings float and the filling is cooked through.
- Serve immediately, perhaps with a dipping sauce of soy sauce and vinegar.
Notes
- For freezer friendly dumplings: Place uncooked dumplings on a parchment-lined baking sheet and freeze until solid. Transfer the frozen dumplings to an airtight freezer bag. Cook directly from frozen, adding 2-3 minutes to the cooking time.
- To get the best texture for your homemade dumpling wrappers, use slightly less water initially, then add a few drops at a time until the dough is pliable but not sticky.
- If you want a richer flavor, substitute half of the ground pork with ground pork shoulder.
Nutrition
- Serving Size: 5 dumplings
- Calories: 280
- Sugar: 2
- Sodium: 350
- Fat: 14
- Saturated Fat: 5
- Unsaturated Fat: 9
- Trans Fat: 0
- Carbohydrates: 25
- Fiber: 1
- Protein: 15
- Cholesterol: 55