

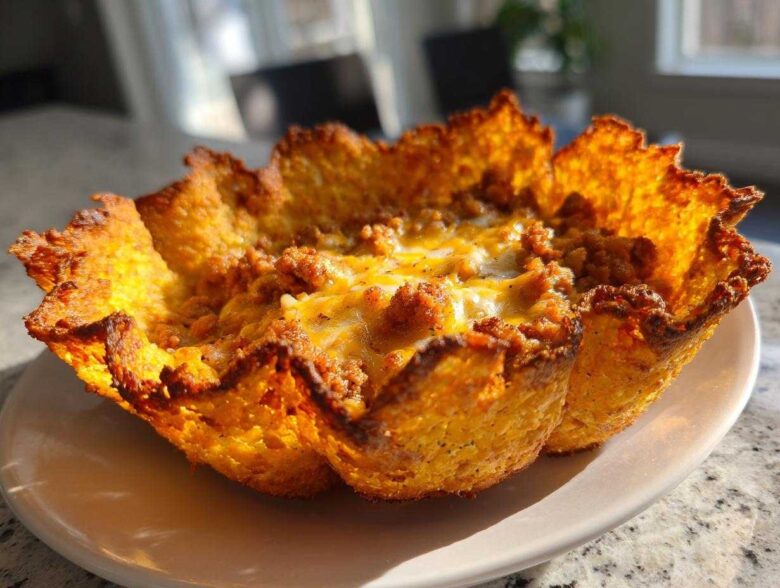
Oh my gosh, are you tired of giving up the CRUNCH when you go keto? I totally was! I tried every flour substitute out there—almond flour tortillas that weeped, coconut flour discs that tasted like cardboard—and nothing gave me that satisfied *snap* you get from a traditional taco shell. It was driving me crazy. I was this close to giving up my Taco Tuesday dreams entirely! But then, the light bulb went off, and I realized the answer was right there staring me in the face: just cheese!
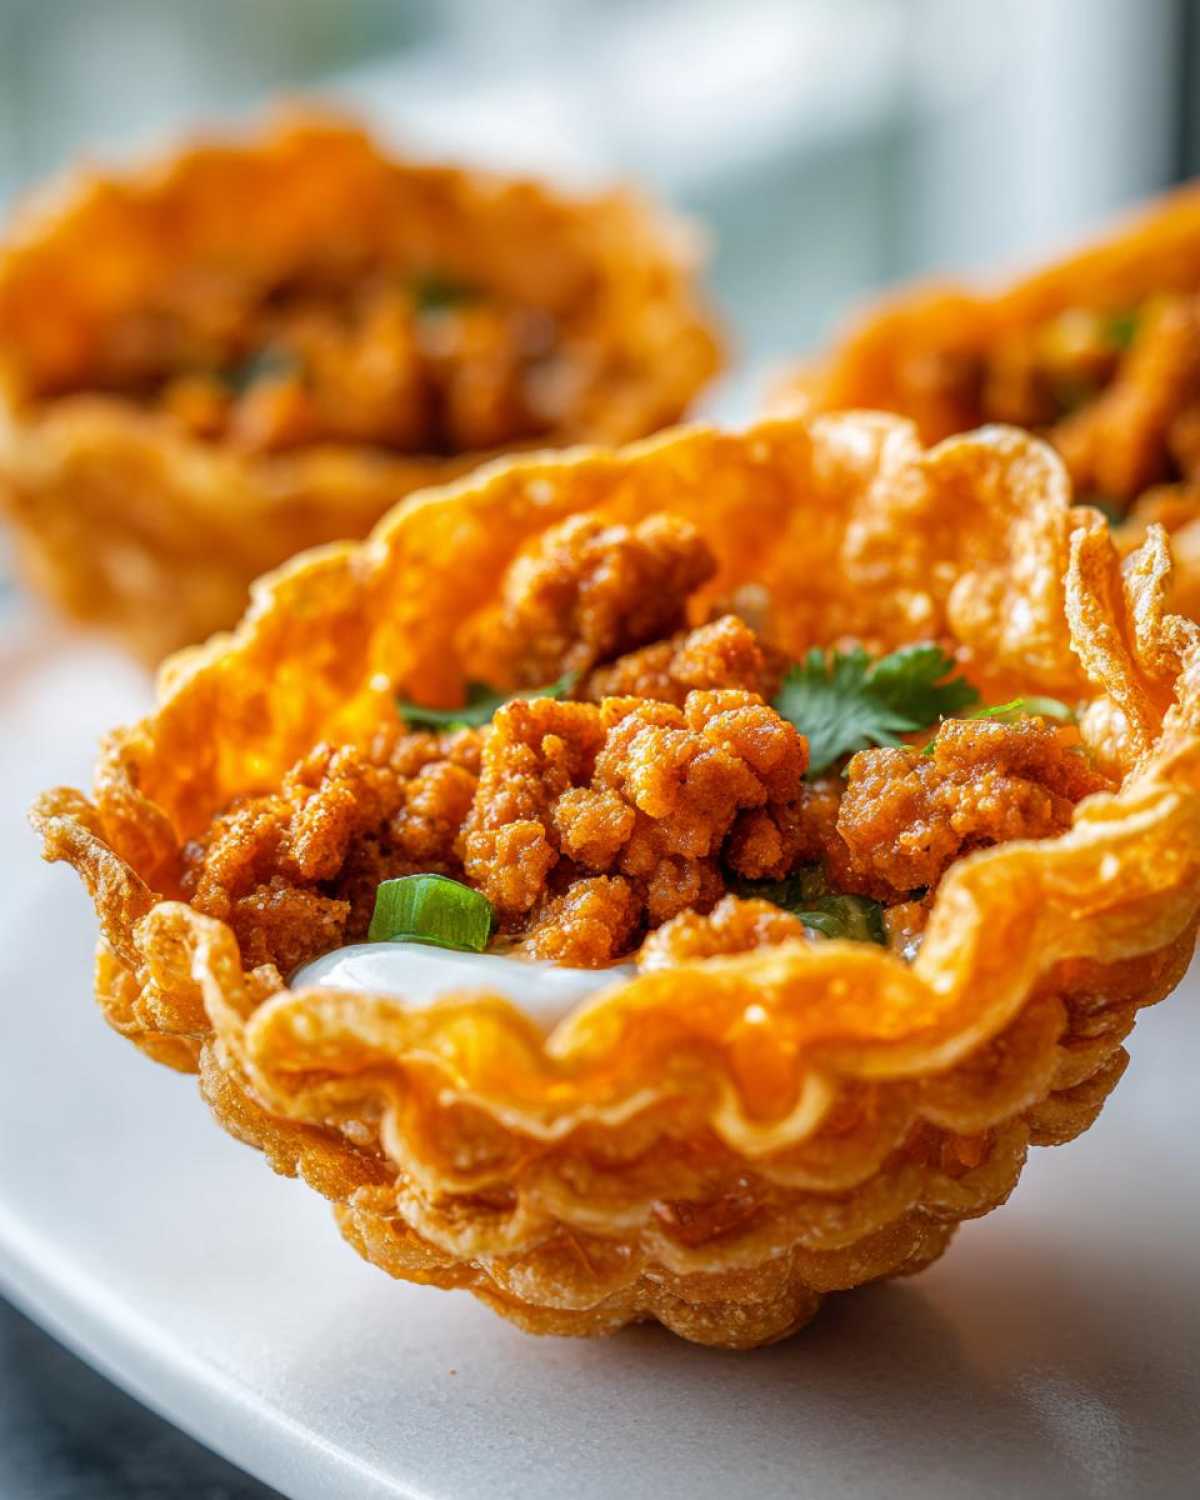
Seriously, forget the gluten, forget the nuts; we are going back to basics. I am absolutely obsessed with my **Keto Crispy Cheese Taco Shell Bowls**. They are the ultimate low-carb vessel for all your ground beef and salsa needs. These aren’t flat melts, either; we’re forming them into perfect bowls! I even have a whole meal idea using the cheeseburger bowl recipe in these bowls soon. Trust me, pure melted, baked, and molded cheese is the secret weapon your keto diet has been missing for that perfect Mexican night fix.
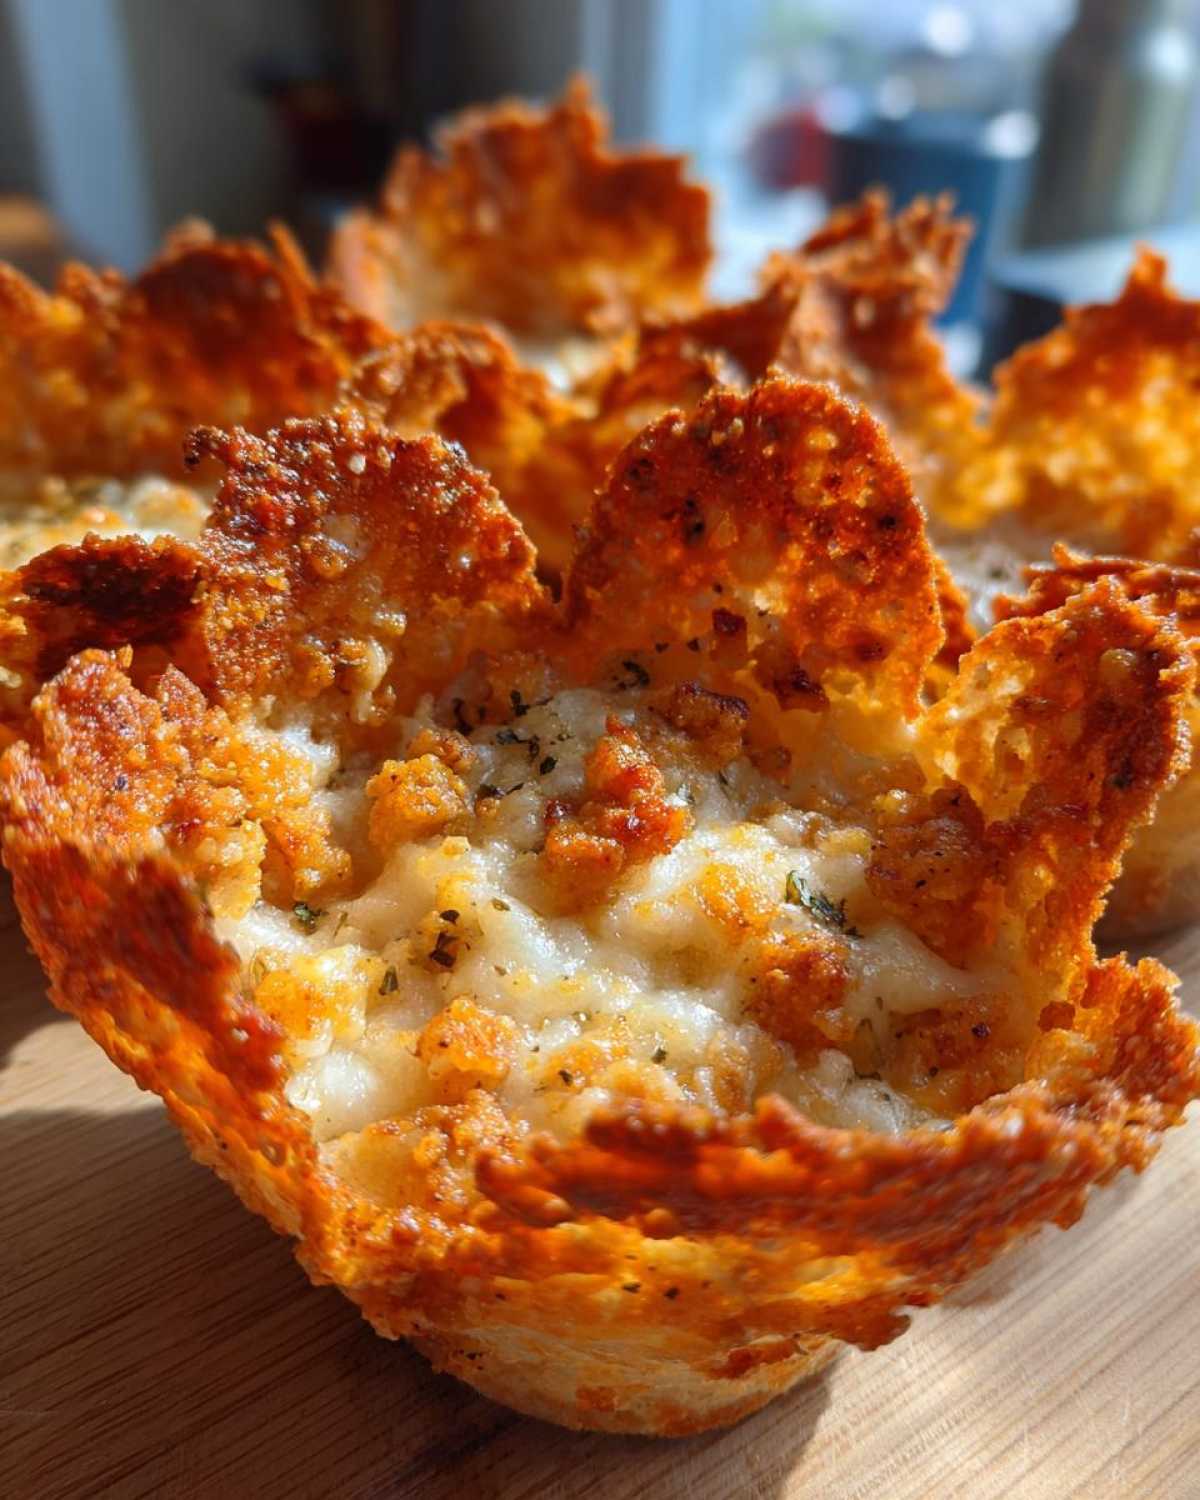
Why You Need These Keto Crispy Cheese Taco Shell Bowls
You need these shells because they solve every single low-carb taco problem in one glorious, greasy bite. Seriously, once you nail this, you’ll never look back. I’ve linked my favorite keto pumpkin cheesecake recipe for dessert later, but right now, we focus on the main course!
-
Purely Dairy: Strict Keto Compliance
This is the best part! These **Keto Crispy Cheese Taco Shell Bowls** are made entirely out of cheese. We aren’t messing around with almond flour or coconut flour here, which can sometimes sneak in carbs or just taste… nutty. Nope! This is pure, beautiful dairy doing the heavy lifting.
-
Achieving the Perfect Bowl Shape and Crispness
Nobody wants a floppy taco! We tackle the biggest fear—sogginess—head-on. The key is getting the cheese perfectly melted and then immediately molding it over an inverted bowl. It’s that fast shaping while the cheese is hot that locks in that awesome, durable, crunchy texture.
Ingredients for Perfect Keto Crispy Cheese Taco Shell Bowls
You don’t need a pantry full of specialty keto flours for this, which I absolutely love. The ingredient list is short, sweet, and checks every low-carb box. Please measure these out—we’re aiming for precision here so everything melts evenly!
- 4 oz shredded mozzarella cheese (This is our glue!)
- 2 oz shredded sharp cheddar cheese (For color and tang!)
- 1 tablespoon grated Parmesan cheese (This helps with that extra crispy edge.)
That’s it! Four ounces of mozzarella gives you the bulk and melt, and combining it with cheddar and Parmesan prevents it from tasting totally one-note. Seriously, just three things!
Essential Equipment for Your Keto Crispy Cheese Taco Shell Bowls
Okay, so since we are ditching traditional dough, we don’t need rolling pins or tortilla presses. But we absolutely need the right setup for shaping, or you end up with flat hockey pucks instead of perfect bowls! My twice-baked potato shells use a similar trick, so I learned this lesson early!
The star piece of equipment here is your mold. You have to work fast, so have everything ready to go before that cheese comes out of the oven. Here’s what you need:
- Baking Sheet and Parchment Paper: This is non-negotiable! If you try baking the cheese directly on a metal pan, it will fuse itself to the surface, and you’ll cry. Trust me. Parchment paper is your best friend.
- Oven-Safe Bowls or Ramekins: This is how we get the bowl shape! I use small, glass Pyrex ramekins, but any small, oven-safe bowl that fits upside down where you need it will work. Metal bowls work fantastic too because they conduct heat well, but be careful when molding—they get hot fast!
- Mixing Bowl and Whisk/Spoon: Just a simple bowl to combine your three cheeses really well before you portion them out.
Make sure whatever you plan to use for molding is clean and ready to go right next to your oven. We only have about 60 seconds to drape that melted cheese before it sets permanently!
Step-by-Step Instructions: How to Make Keto Crispy Cheese Taco Shell Bowls
Okay, deep breath. This part moves fast, but if you follow the order, you’ll have perfect, crunchy little baskets ready for your taco meat. Don’t stress about the baking, but definitely pay attention when we get to the shaping part! Think of this as making an awesome easy baked popper dip—it’s all about the melted cheese!
Preparing the Cheese and Baking the Crisps
First thing, crank that oven up to 400°F (200°C). Line your baking sheet with parchment paper; I cannot stress this enough—you will regret skipping that step. Mix your mozzarella, cheddar, and Parmesan together really well. Then, drop little mounds, about two tablespoons worth, onto the paper, making sure they have plenty of space between them. They will spread like crazy! Pop them in the oven for about 6 to 9 minutes. You are looking for bubbly, melted cheese where the edges have turned a lovely, deep golden brown. Watch them like a hawk at the end because cheese goes from perfect to burnt in about thirty seconds!
Molding Your Keto Crispy Cheese Taco Shell Bowls
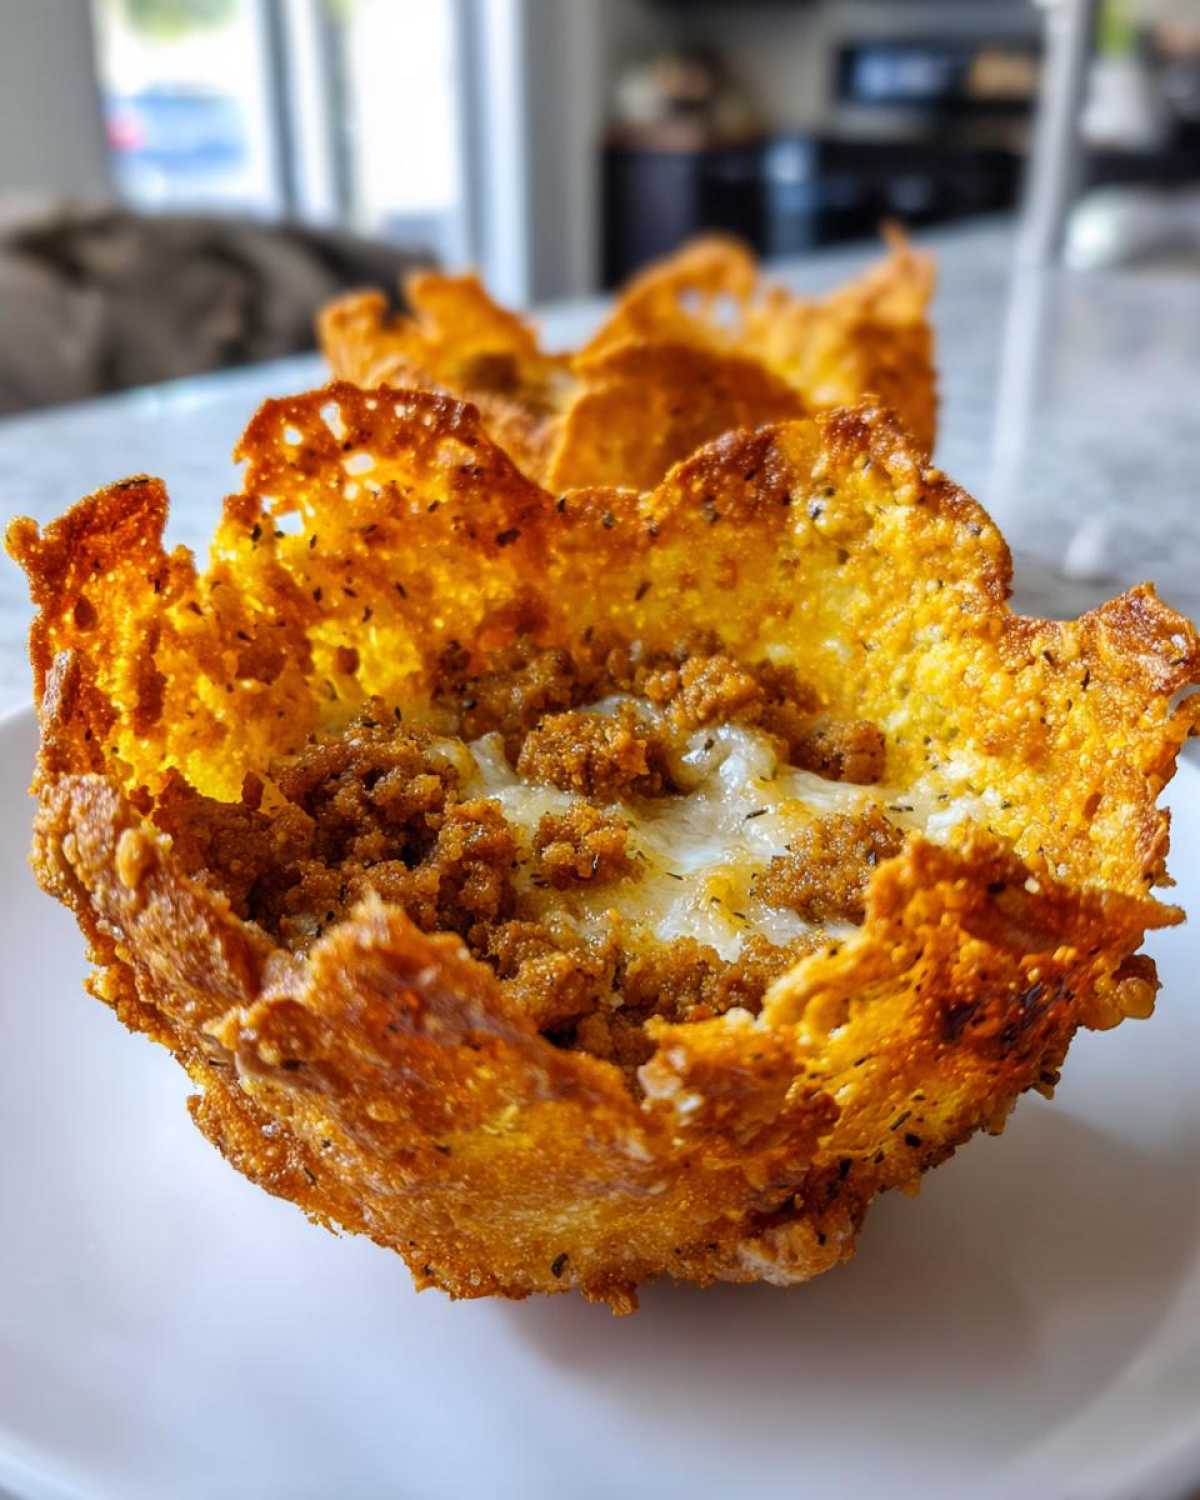
The second they come out of the oven, you have about 60 seconds, tops, before they seize up! Take the sheet out, wait just one minute until the cheese stops actively bubbling, and then gently lift a round off the parchment. Immediately drape it over the upside-down oven-safe bowl you prepared. Gently press the sides so it starts taking that bowl shape. If you’re too slow and it starts to set before you get the shape right, just slide it back onto the hot baking sheet for another 30 seconds to soften it up again!
Cooling and Hardening the Keto Crispy Cheese Taco Shell Bowls
Once shaped, leave them alone! Let those newly formed bowls sit right on top of the molds for about 5 to 10 minutes until they cool completely and get rock hard. That cooling is essential for them to hold up to ground beef! If you want them extra crunchy, you can pop the shaped bowls back into the turned-off, but still warm, oven for another minute or two of drying out. Once they are totally cool, carefully peel them off the molds. Ta-da! Instant **Keto Crispy Cheese Taco Shell Bowls**!
Tips for Success with Your Cheese Taco Shells Recipe
Look, I’ve learned a few things the hard way so you don’t have to end up staring sadly at cheese fused to your Pyrex. These shells are simple, but they demand attention during that one hot minute of shaping. If you follow these little gold nuggets of wisdom, you’ll get perfect **Low Carb Crispy Shells** every single time. I have the recipe for my easy creamy beer cheese dip saved for when I’m feeling extra dairy-obsessed, but these taco bowls are a whole meal!
Preventing the Cheese from Sticking to the Mold
This is where people get frustrated, so listen up! Ever since I started using a metal bowl as my mold, I haven’t had a single issue, but you have to grease it right. Don’t use butter (it melts too fast or makes the cheese gummy). I recommend taking a tiny bit of neutral cooking oil—like avocado oil—on a paper towel, and just lightly wiping the outside of your inverted mold. You want a sheen, not a puddle of oil, or your bowl will look uneven!
Another big thing is temperature management. If your cheese rounds cool too much on the sheet before you shape them, they will crack when you try to drape them, and forget about getting that nice basket structure. That’s why having a warm oven handy is key—if you see one getting stiff, just toss it back in for 30 seconds to rebroadcrumb. That pliability window is everything!
Also, remember that cheese mix? Use high-quality, finely shredded cheese. Those bags of pre-shredded stuff often have anti-caking agents that can affect how smoothly the cheese melts and reformulates. The fresher and finer the shred, the less likely it is to stick or tear when you try to pull it off that mold.
Keto Diet Mexican Food Variations for Your Bowls
So now you have these incredible, crunchy, pure-cheese taco bowls! You have to resist the urge to just eat them straight off the counter while they’re still warm—they are begging for fillings! Since we built these **Keto Crispy Cheese Taco Shell Bowls** to be the ultimate **Keto crunchy taco shell alternative**, we need to keep the insides low-carb and high-flavor. I keep all my favorite keto Mexican ideas saved so I can rotate through them easily.
Seriously, the possibilities are endless once you realize you can swap out corn tortillas entirely. For a really authentic flavor profile, you have to try my easy Chicken Tinga recipe. The smoky chipotle notes pair perfectly with the salty, sharp mozzarella in the shell. You won’t believe it’s low-carb!
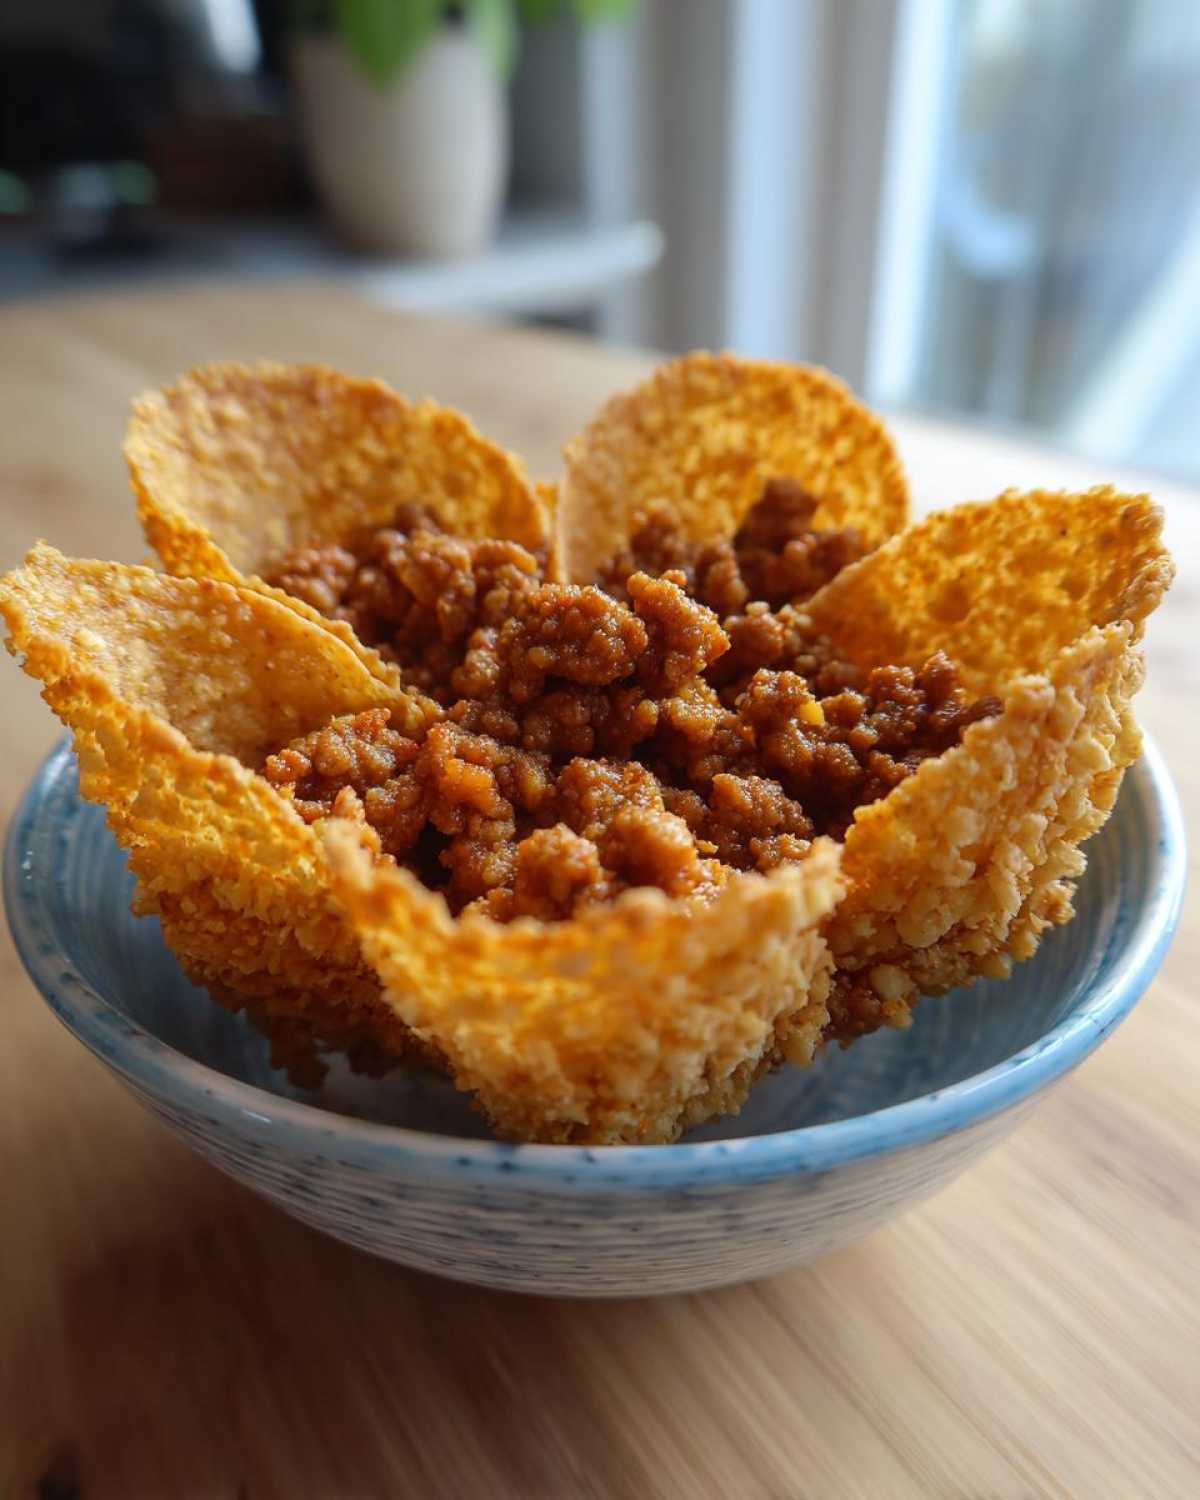
Here are a few of my go-to ways to fill these beauties:
- The Standard Keto Taco Filling: Ground beef seasoned heavily with taco spice, topped with sour cream, fresh cilantro, and massive amounts of shredded monterey jack. Don’t forget the avocado slices!
- The Breakfast Bowl Base: Forget eggs and toast! Scramble up some eggs with chorizo and bake them right into the base while the cheese is still slightly warm for a neat little savory cup. This makes an amazing **quick keto lunch idea** if you prep the shells ahead of time.
- Soup Alternative: This is my dark horse idea. If you have leftover easy tortilla soup recipe broth, don’t pour it into a regular bowl! Ladle the soup right into your cheese bowl. The cheese melts just enough into the broth, mimicking the flavors of a traditional tortilla soup bowl without any of the carbs. It’s so decadent!
Remember, these are dairy-based taco bowls, so keep your fillings focused on healthy fats and proteins!
Storage and Reheating Low Carb Crispy Shells
Okay, so you’ve made these amazing **Keto Crispy Cheese Taco Shell Bowls**, and you have a few leftovers! This is the good news: since these shells are basically pure fat and protein, they are incredibly stable. They aren’t like bread or baked goods that go stale quickly. The main fight here is keeping that beautiful crunch, so storage needs to be airtight, just like when you’re saving those easy egg muffins for the week.
The absolute best way to store the empty shells is completely dry and at room temperature. Put them in a container with a tight-fitting lid, maybe with a little paper towel inside to absorb any stray humidity from the air. They will stay perfectly crisp for a good 3 to 4 days this way. If you try to put them in the fridge, the humidity will absolutely turn them soft faster than you can say “low carb,” and we can’t have that!
Now, about reheating: while they are truly best eaten fresh or at room temperature totally empty, sometimes you want to warm them up a smidge before filling them. You can either eat them cold—which is fine, they are basically a big cheese crisp—or you can crisp them back up quickly. Do NOT use the microwave! The microwave will make them rubbery and limp almost instantly. Instead, pop the empty shell directly onto the wire rack in a toaster oven or conventional oven set to about 300°F (150°C) for just two or three minutes. That short burst of dry heat pulls out any residual moisture and makes them snap again. Then, immediately fill them up before they have a chance to cool down too much!
Frequently Asked Questions About Cheese Taco Shells Recipe
I figured you might have some questions pop up after trying this magic trick! It feels a little too good to be true, right? Making **Low Carb Crispy Shells** out of just cheese takes a different mindset, but these are the classic questions I get every time I serve these up on Taco Tuesday. If you’re looking for more inspiration after this, I just posted my recipe for easy creamy chicken enchiladas that you could totally serve in these shells!
Can I use different cheeses for these Keto Crispy Cheese Taco Shell Bowls?
You can absolutely experiment, but you need the right blend for success! Mozzarella is essential because it has the best melt and stretch required to drape it successfully over that mold without cracking. If you only used a hard cheese like Parmesan, you’d end up with perfect cheese crisps, but they’d shatter when you tried to bend them into a bowl shape—so you’d just have appetizers!
The cheddar is for flavor depth, and that little bit of Parmesan adds extra structure and crispness to the edges. If you want to swap the cheddar, try Pepper Jack for a kick, or Gruyère for a nuttier flavor. Just try to keep the ratio of soft/melty cheese to hard/flavor cheese around two parts soft to one part hard!
How long do these low carb crispy shells stay crunchy?
This depends entirely on what you fill them with! If you eat them plain, or fill them with something dry like seasoned ground beef right before serving, they stay crunchy for ages, easily 3–4 days if stored airtight at room temperature. They are basically pure dehydrated cheese fat, so they don’t go stale like grain products do.
The crunch factor drops dramatically once you introduce moisture. If you fill them with something highly watery like tomatoes or heavy sauces, the bottom layer touching the cheese will soften within about 15 minutes. That’s why I always recommend having your fillings ready, and assembling your **Keto Crispy Cheese Taco Shell Bowls** right before you sit down to eat. If you must fill them ahead of time, use dry fillings.
Are these shells considered a fat bomb taco base?
Yes, absolutely! If you’re tracking macros on keto, these shells fit perfectly into the “fat bomb” category. They are incredibly high in fat, contain almost zero carbohydrates (just trace amounts from the lactose in the cheese), and provide a decent protein punch. They make a fantastic, crunchy, high-fat structural element to soak up all the delicious oils from your taco meat. Think of it as the ultimate **fat bomb taco base**—deliciously dense, perfectly filling, and totally carb-free!
Estimated Nutritional Data for Keto Crispy Cheese Taco Shell Bowls
Okay, here’s the part where we quickly check the macros, especially because these shells feel so rich—you know, pure melted cheese! This information is based on dividing the total recipe yield (which makes 4 shells) by one serving, so these numbers reflect just ONE **Keto Crispy Cheese Taco Shell Bowl** before you add any of your delicious, meaty fillings.
Remember, this is an estimate based on the core ingredients (mozzarella, cheddar, Parmesan). The type of cheese you use can slightly alter the final numbers, but this gives you a fantastic baseline for tracking your daily intake so you stay perfectly in ketosis!
- Serving Size: 1 bowl
- Calories: 220
- Fat: 18g (See, that fat content is fantastic for fueling you!)
- Carbohydrates: 1.5g (That’s nearly zero, folks!)
- Sugar: 0.5g
- Protein: 14g
- Fiber: 0.2g
- Sodium: 350mg (Cheese is salty, so watch your overall sodium for the day, but it’s worth it!)
See? Nearly zero sugar and barely any carbs. This is living proof that you can have a satisfying crunch on this lifestyle without touching even a speck of grain! Fill these fantastic **dairy based taco bowls** with your favorite seasoned meat, and you’ve got yourself a perfect, guilt-free meal on the table in about 15 minutes flat.
PrintKeto Crispy Cheese Taco Shell Bowls

Make crispy, bowl-shaped taco shells using only cheese for a perfect keto-friendly base for your favorite fillings.
- Prep Time: 5 min
- Cook Time: 10 min
- Total Time: 15 min
- Yield: 4 servings
- Category: Main Course
- Method: Baking
- Cuisine: Mexican
- Diet: Low Fat
Ingredients
- 4 oz shredded mozzarella cheese
- 2 oz shredded sharp cheddar cheese
- 1 tablespoon grated Parmesan cheese
Instructions
- Preheat your oven to 400°F (200°C). Line a baking sheet with parchment paper.
- In a bowl, mix the mozzarella, cheddar, and Parmesan cheeses together thoroughly.
- Place small mounds (about 2 tablespoons each) of the cheese mixture onto the prepared baking sheet, spacing them several inches apart. Flatten them slightly into rounds.
- Bake for 6 to 9 minutes, or until the cheese is fully melted, bubbly, and the edges are golden brown and crispy. Watch closely to prevent burning.
- Remove the baking sheet from the oven. Let the cheese rounds cool on the parchment paper for about 1 minute until they are slightly set but still pliable.
- Quickly drape each hot cheese round over the outside of an oven-safe bowl or ramekin to form a taco bowl shape. You may need to gently press the edges to help them hold the form.
- Allow the cheese to cool completely (about 5 to 10 minutes) until it hardens into a crisp shell.
- Carefully lift the hardened cheese bowls off the molds.
- Fill your keto crispy cheese taco bowls with your desired low-carb fillings.
Notes
- Use a metal bowl or a small glass oven-safe bowl as your mold for the best shape retention.
- If the cheese hardens before you can shape it, return the sheet to the oven for 30 seconds to soften it again.
- For extra crispness, you can bake the shells for 1-2 minutes after shaping them on the mold.
Nutrition
- Serving Size: 1 bowl
- Calories: 220
- Sugar: 0.5
- Sodium: 350
- Fat: 18
- Saturated Fat: 11
- Unsaturated Fat: 7
- Trans Fat: 0.1
- Carbohydrates: 1.5
- Fiber: 0.2
- Protein: 14
- Cholesterol: 55