

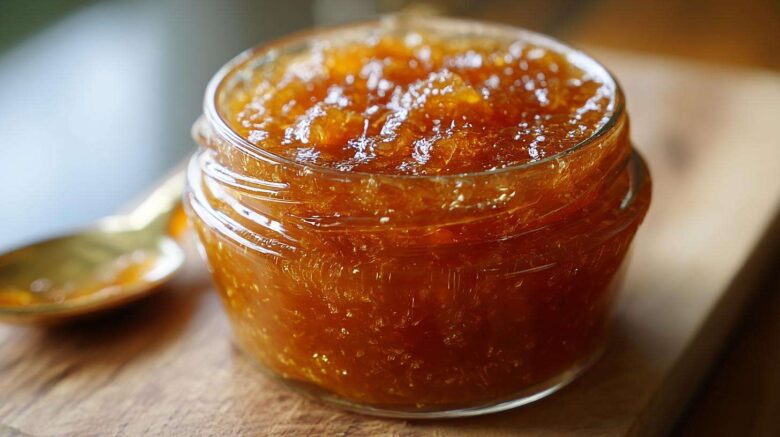
Homemade Peach Jam: Your Sweet Summer Preserve
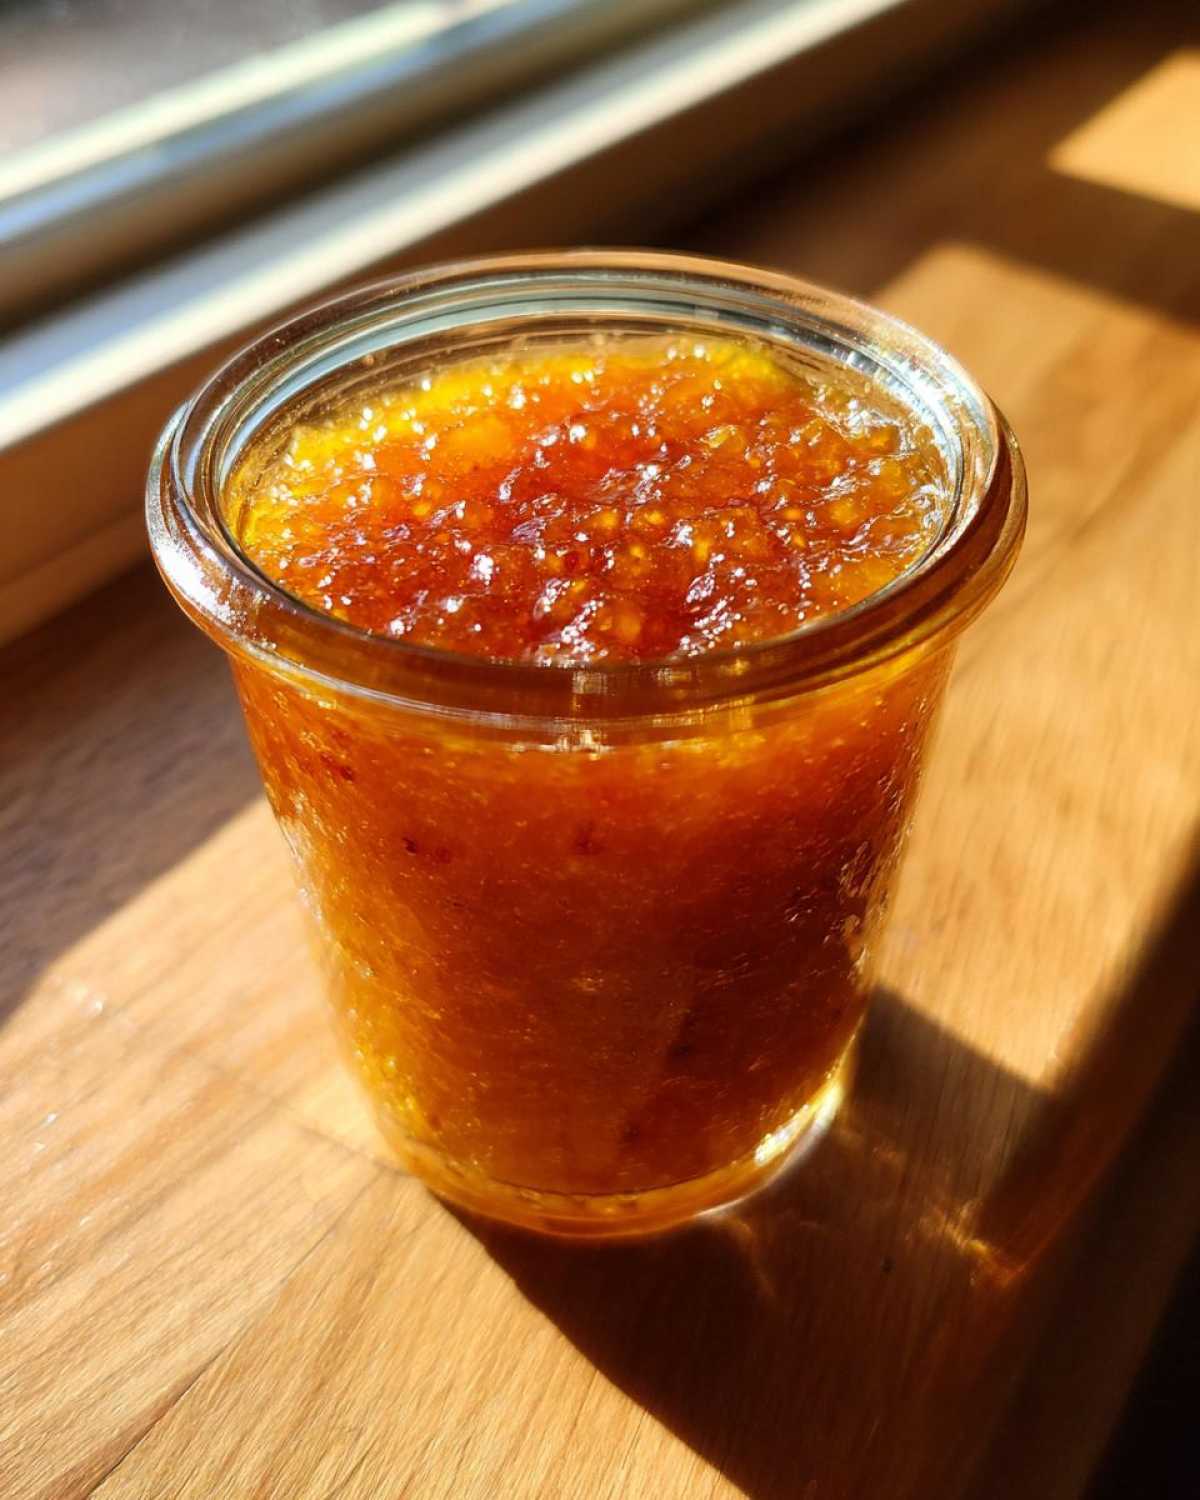
I’m so excited to share this homemade peach jam recipe with you all! It’s a truly simple yet incredibly rewarding way to capture the taste of summer. Amelia and I love it because it lets us enjoy sweet, juicy peaches long after the season ends. Jacob has a real knack for this jam; he always knows just how to get that perfect consistency. It’s one of those recipes that makes our kitchen feel extra special. We hope it does the same for yours!
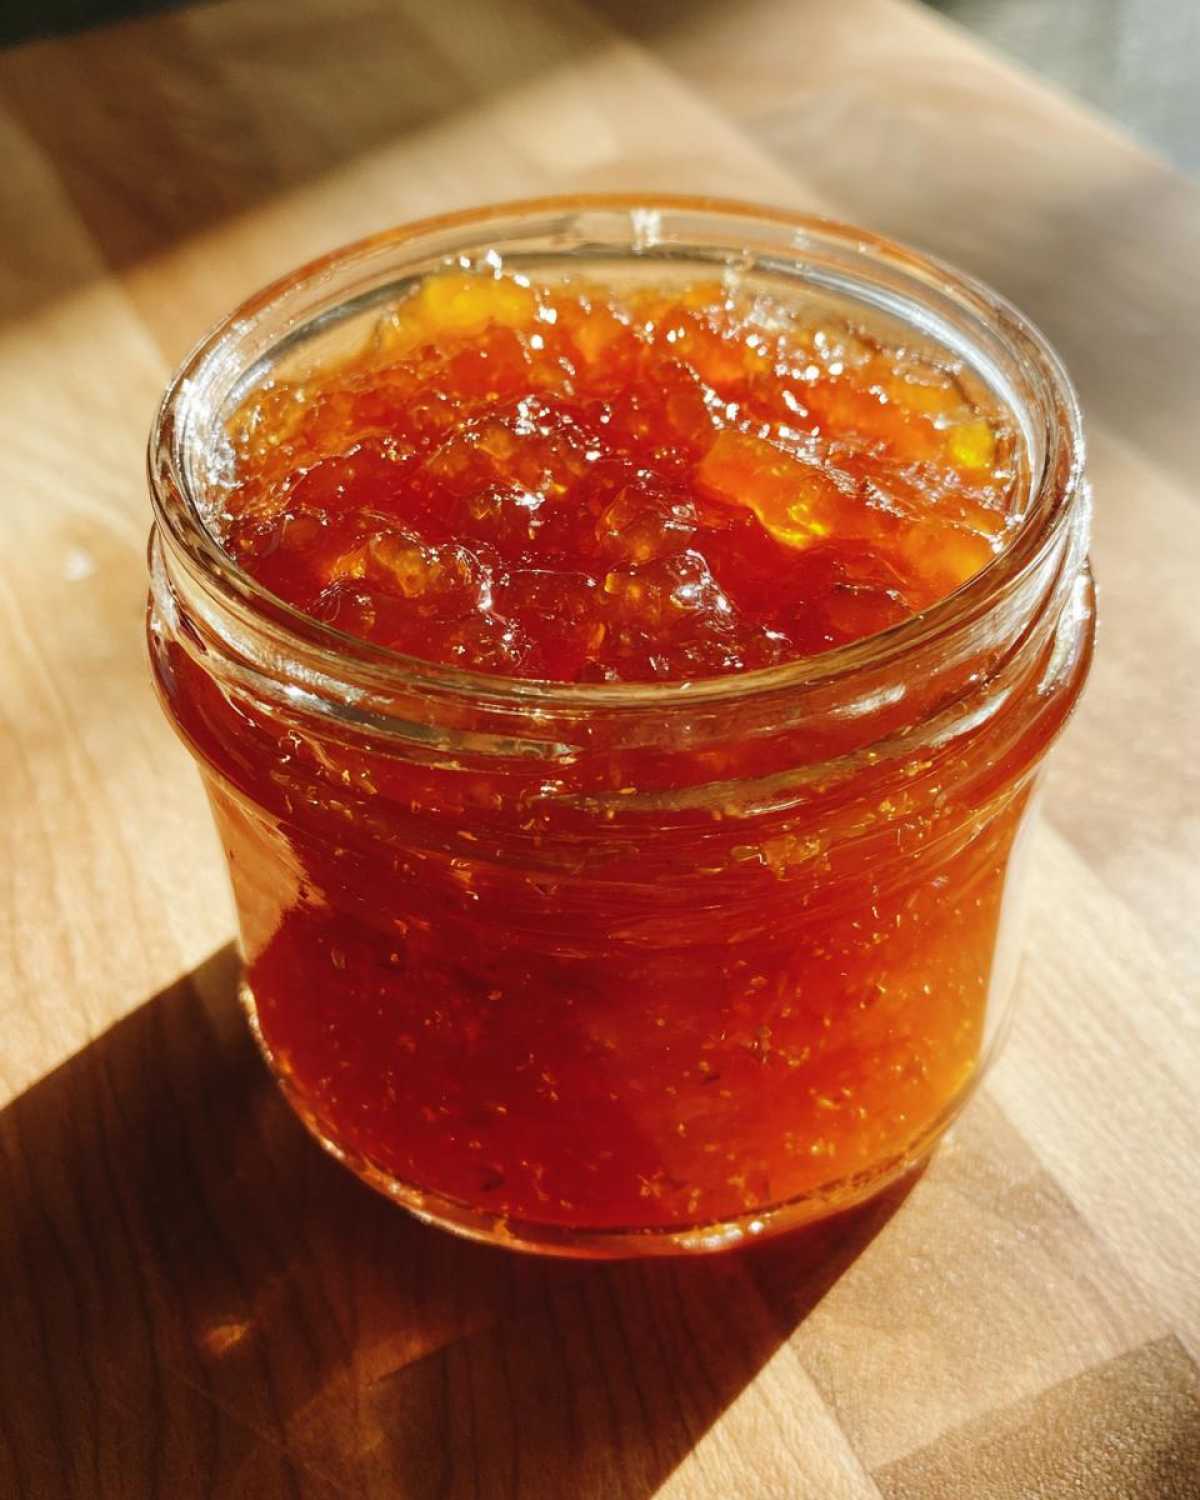
Why You’ll Love This Homemade Peach Jam Recipe
This homemade peach jam is a winner for so many reasons!
- It’s wonderfully easy to make.
- The flavor is pure sunshine.
- You can preserve those lovely seasonal peaches.
- The result is so satisfying.
It’s a sweet reminder of summer days. You’ll be making jam all year!
Gather Your Ingredients for Homemade Peach Jam
To make this delightful homemade peach jam, you’ll need just a few simple things. Jacob always insists on using the ripest, sweetest peaches he can find. It really makes all the difference! Having everything ready makes the process so much smoother. Let’s get our ingredients together.
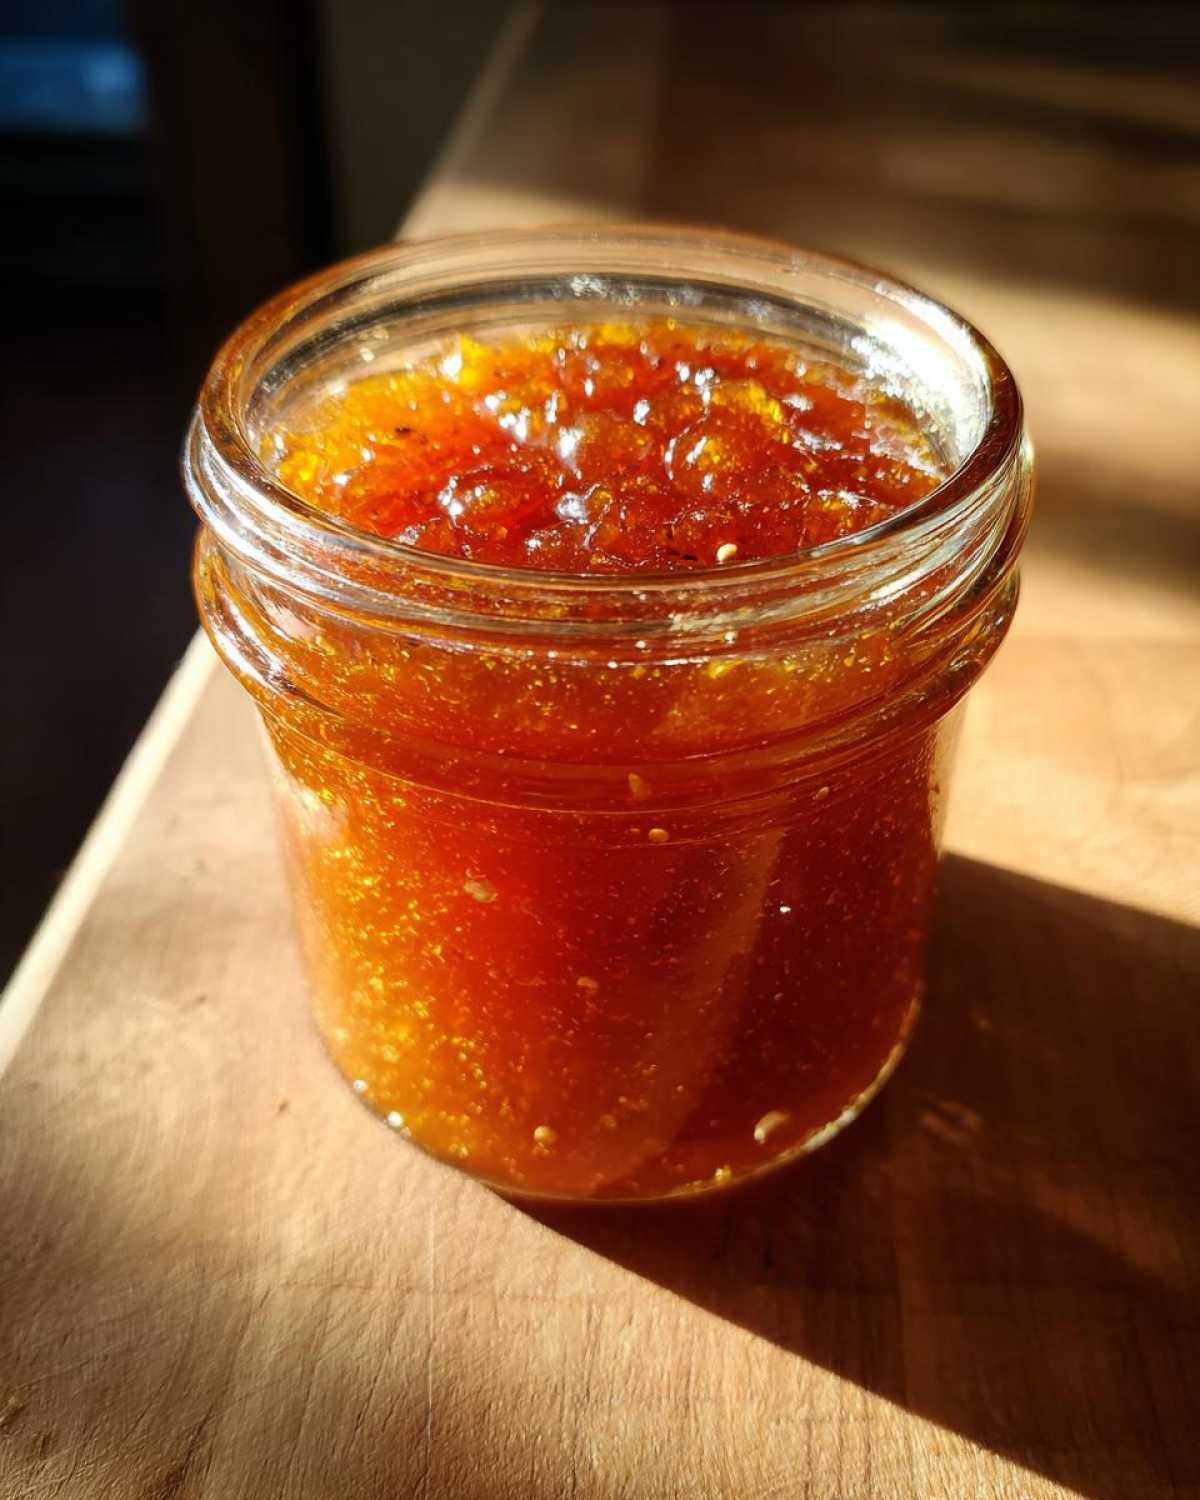
Peaches: The Star of Your Homemade Peach Jam
We need 4 cups of chopped ripe peaches. That’s about 2 pounds of fruit. Make sure they are nice and sweet. This is key for a fantastic jam flavor.
Sweeteners and Flavor Enhancers
You’ll need 2 cups of granulated sugar. This helps the jam thicken. We also use 1/4 cup of lemon juice. It adds a bright taste. It also helps preserve the jam. You can add 1 tablespoon of grated lemon zest too. It gives it an extra zing!
Step-by-Step Guide to Making Homemade Peach Jam
Now for the fun part! Making homemade peach jam is a process I truly enjoy. Jacob’s calm presence in the kitchen is always helpful. We’ll break this down into easy steps.
Preparing for Homemade Peach Jam Success
First, get your jars ready. Follow the manufacturer’s directions for canning jars and lids. This step is super important. It ensures your jam stays safe and sealed. For more information on safe canning practices, you can refer to the CDC’s canning guidelines.
Cooking and Thickening Your Homemade Peach Jam
In a big pot, combine the chopped peaches, sugar, and lemon juice. Give it a good stir. Let this sit for about 10 to 15 minutes. This lets the peaches release their lovely juices. Then, put the pot on medium-high heat. Bring it to a rolling boil. Stir it all the time. Keep boiling and stirring often. The jam will start to thicken. This usually takes 20 to 40 minutes. Want to know if it’s ready? Put a little jam on a cold plate. If it gels, it’s perfect! Jacob has a great touch for this. If you like, add the lemon zest in the last 5 minutes. It adds a lovely brightness.
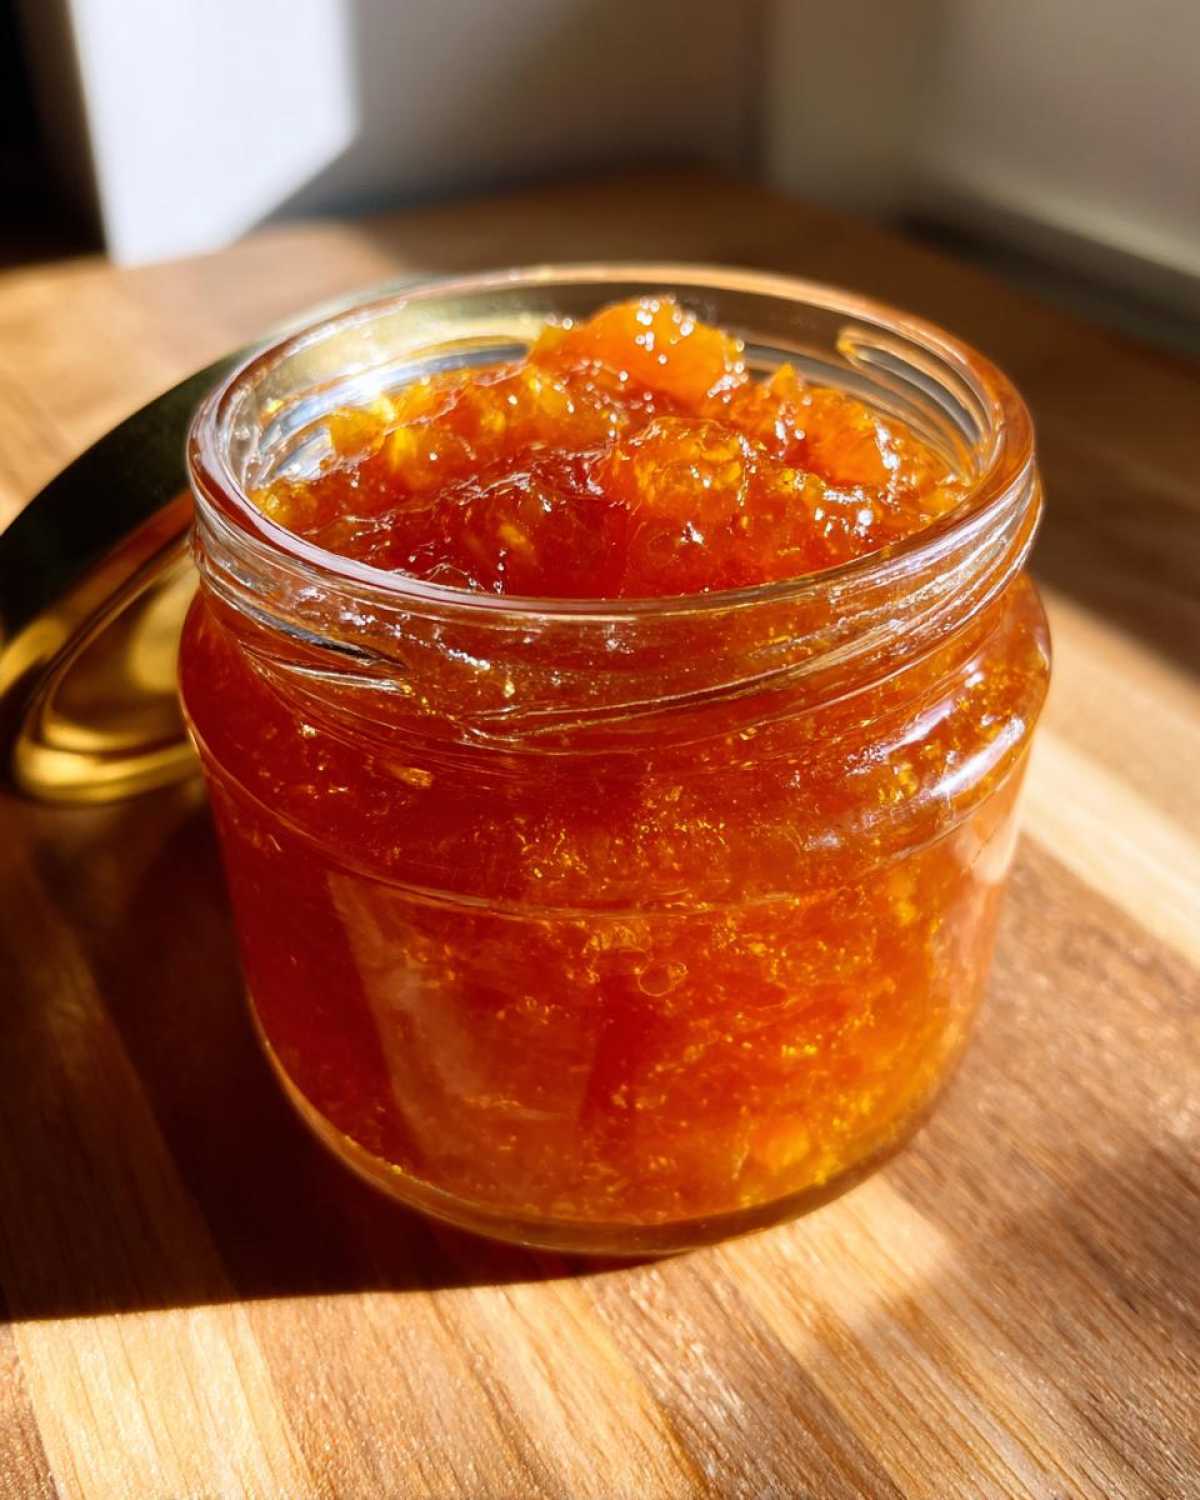
Canning and Sealing Your Homemade Peach Jam
Carefully scoop the hot jam into your prepared jars. Leave about 1/4 inch of space at the top. This is called headspace. Wipe the jar rims clean. Screw the lids on tightly. Now, we process the jars. Put them in boiling water for 10 minutes. You might need to adjust the time for your area. Take the jars out of the water. Let them cool completely on a wire rack. Check the seals after 12 to 24 hours. A good seal means your homemade peach jam is ready for storage!
Tips for Perfect Homemade Peach Jam
Here are a few tricks I’ve learned for the best homemade peach jam. Always use ripe, sweet peaches. They give the jam the most amazing flavor. Don’t be afraid to taste your peaches! You can adjust the sugar. If your peaches are super sweet, use a little less sugar. If they’re a bit tart, you might need a touch more. For a smoother texture, try lightly mashing the peaches first. This is Jacob’s favorite way. It gives a lovely, velvety jam. These simple tips really make a difference. Your jam will be absolutely delicious!
Frequently Asked Questions about Homemade Peach Jam
Have questions about making this lovely homemade peach jam? I’ve got you covered!
How long does homemade peach jam last? Properly sealed jars of this delicious peach jam can be stored in a cool, dark place for up to a year. Once opened, keep it in the refrigerator and enjoy within a few weeks.
Can I make peach jam without pectin? Yes, you absolutely can! This recipe relies on the natural pectin in peaches and the acidity from the lemon juice to help it set. Cooking it down until it thickens is key. For more on natural pectin, check out this Penn State Extension article.
What’s the best way to test peach jam for set? The easiest method is the cold plate test. Chill a few small plates in the freezer before you start cooking. When you think the jam is ready, spoon a small amount onto a chilled plate. Let it sit for a minute. If it wrinkles when you push it with your finger, it’s set!
Can I use frozen peaches? While fresh, ripe peaches are best, you can use frozen peaches. Just make sure to thaw them completely and drain off excess liquid before starting the recipe. You might need to cook it a bit longer.
Storing and Reheating Your Homemade Peach Jam
Storing your delicious homemade peach jam is simple. Once your jars are properly sealed and cooled, keep them in a cool, dark place. They’ll last up to a year! If you open a jar, pop it in the fridge. It’s best to eat that within a few weeks. Jam is usually enjoyed as is. You typically don’t need to reheat it. Just spread it on toast or scones!
Estimated Nutritional Information for Homemade Peach Jam
Here’s a general idea of what you’re getting with each tablespoon of this delightful homemade peach jam. Remember, these numbers are estimates! They can change based on your peaches and exact sugar amount. You can find more detailed nutritional information for common foods on the USDA FoodData Central website.
- Calories: 40
- Fat: 0g
- Protein: 0.1g
- Carbohydrates: 10g
- Sugar: 10g
It’s a sweet treat, perfect for enjoying!
PrintHomemade Peach Jam: 1 Jar Of Pure Summer Bliss
Learn how to make delicious homemade peach jam with this straightforward recipe. Perfect for enjoying fresh peaches year-round, this jam is a simple and rewarding project.
- Prep Time: 15 minutes
- Cook Time: 30-50 minutes
- Total Time: 45-65 minutes plus processing and cooling time
- Yield: Approximately 4-5 half-pint jars
- Category: Preserves
- Method: Canning
- Cuisine: American
- Diet: Vegetarian
Ingredients
- 4 cups chopped ripe peaches (about 2 pounds)
- 2 cups granulated sugar
- 1/4 cup lemon juice
- 1 tablespoon grated lemon zest (optional)
Instructions
- Prepare your canning jars and lids according to manufacturer instructions.
- In a large pot or Dutch oven, combine chopped peaches, sugar, and lemon juice.
- Stir well to combine. Let the mixture sit for about 10-15 minutes to allow the peaches to release their juices.
- Place the pot over medium-high heat and bring the mixture to a rolling boil, stirring constantly.
- Continue to boil, stirring frequently, until the jam thickens. This can take anywhere from 20 to 40 minutes. To test for doneness, place a small amount of jam on a chilled plate; if it gels, it’s ready.
- If using, stir in the lemon zest during the last 5 minutes of cooking.
- Carefully ladle the hot jam into prepared jars, leaving about 1/4 inch of headspace.
- Wipe the rims of the jars clean and screw on the lids tightly.
- Process the jars in a boiling water bath for 10 minutes (adjust time for altitude if necessary).
- Remove jars from the water bath and let them cool completely on a wire rack. Check seals after 12-24 hours.
Notes
- Using ripe, sweet peaches will result in the best flavor.
- Adjust sugar quantity based on the sweetness of your peaches.
- For a smoother jam, you can lightly mash the peaches before cooking.
- Properly sealed jars can be stored in a cool, dark place for up to a year.
Nutrition
- Serving Size: 1 tablespoon
- Calories: 40
- Sugar: 10g
- Sodium: 0mg
- Fat: 0g
- Saturated Fat: 0g
- Unsaturated Fat: 0g
- Trans Fat: 0g
- Carbohydrates: 10g
- Fiber: 0.2g
- Protein: 0.1g
- Cholesterol: 0mg