

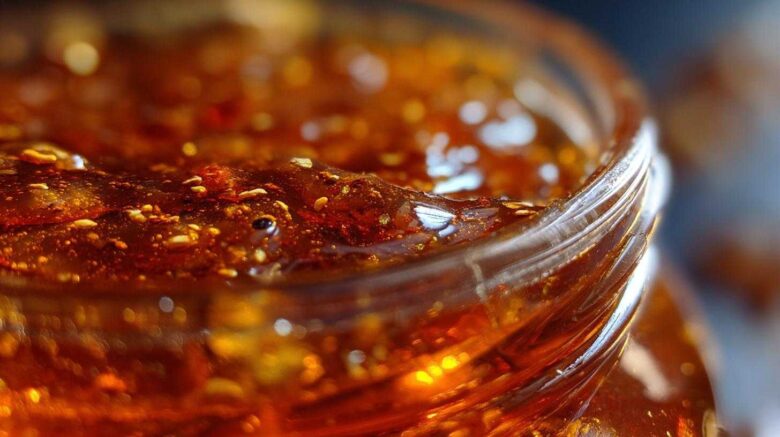
There’s something magical about autumn. The crisp air, the changing leaves, and the comforting scent of cinnamon. I’m Amelia, and my partner Jacob and I love capturing those fleeting seasonal flavors. That’s why we’re so excited to share our Homemade Cinnamon Pear Preserves with you. It’s like bottling sunshine and spice. This recipe is our way of holding onto those cozy autumn moments all year long. We hope it brings a little warmth to your kitchen too!
Why You’ll Love This Homemade Cinnamon Pear Preserves Recipe
You’ll adore making these preserves! They are:
- Super easy to whip up.
- A fantastic way to capture those beloved autumn flavors.
- Wonderful for gifting to friends and family.
- Incredibly versatile in the kitchen.
Our Story: From Planning to Preserving with Homemade Cinnamon Pear Preserves
Jacob has this amazing knack for cooking. I’m the planner. When pear season hits, I love planning our preserving projects. Making these Homemade Cinnamon Pear Preserves together felt so natural. It’s a perfect example of how we combine our skills. I organize the ingredients and steps. Jacob adds his intuitive touch. We create something delicious. It’s more than just cooking; it’s a shared experience. This recipe truly represents our collaboration. You can learn more about our journey on our About Us page.
Gather Your Ingredients for Homemade Cinnamon Pear Preserves
Let’s get cooking! Gathering fresh, quality ingredients is the first step. It makes all the difference in the final taste. We need ripe pears for sweetness. Good spices are key too. Make sure you have everything ready before you start.
Essential Ingredients for Homemade Cinnamon Pear Preserves
Here’s what you’ll need to make our delicious Homemade Cinnamon Pear Preserves:
- 4 cups ripe pears, peeled, cored, and chopped into ½-inch pieces. I like using Bosc or Anjou pears. They hold their shape well!
- 2 cups granulated sugar. This helps with preservation and sweetness.
- ¼ cup fresh lemon juice. It adds brightness and helps the preserves set.
- 1 teaspoon ground cinnamon. This is our star spice!
- ¼ teaspoon ground nutmeg. Just a pinch for cozy warmth.
- ¼ teaspoon ground cloves. A little goes a long way.
Make sure your pears are ripe but still firm. This gives the best texture. Using fresh ingredients really makes our pear preserves shine!
Step-by-Step Guide to Making Homemade Cinnamon Pear Preserves
Now for the fun part! We’ll walk through making these delicious preserves. It’s a simple process. You’ll see how easy it is to capture pear flavor. We’ll guide you every step of the way. Get ready to create something wonderful!
Preparing the Pear Mixture
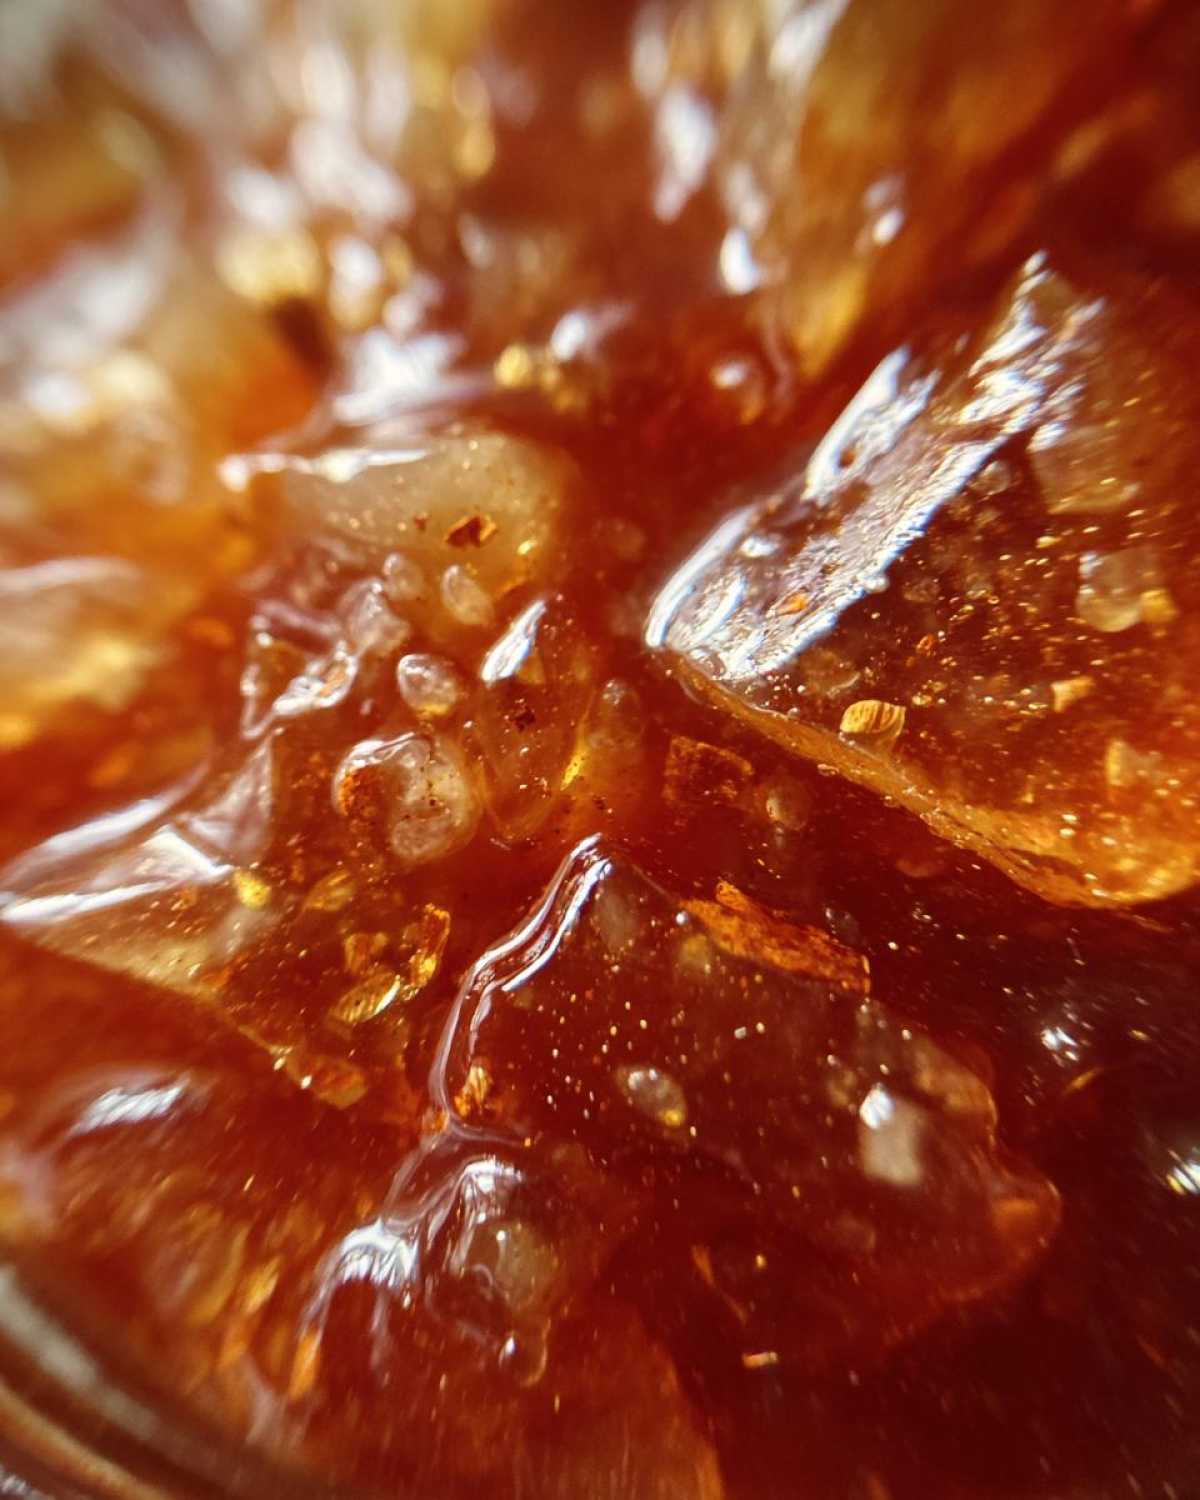
First, combine your chopped pears with sugar. Add the lemon juice too. Sprinkle in the cinnamon, nutmeg, and cloves. Stir everything gently. This coats the fruit nicely. Let this mixture sit for about 30 minutes. You’ll see the sugar start to dissolve. This resting time helps the flavors meld. It’s a key step for great taste.
Cooking Your Homemade Cinnamon Pear Preserves
Next, put the pot on medium-high heat. Stir constantly. Bring the mixture to a rolling boil. Then, lower the heat to medium-low. Let it simmer. You need to stir frequently. This keeps it from sticking. The preserves will thicken. This usually takes about 30 to 45 minutes. A good test is the chilled plate test. Drop a little onto a cold plate. It should set quickly. That’s how you know it’s ready! For more on the science of jams and preserves, check out this guide to making jam.
Canning Your Homemade Cinnamon Pear Preserves
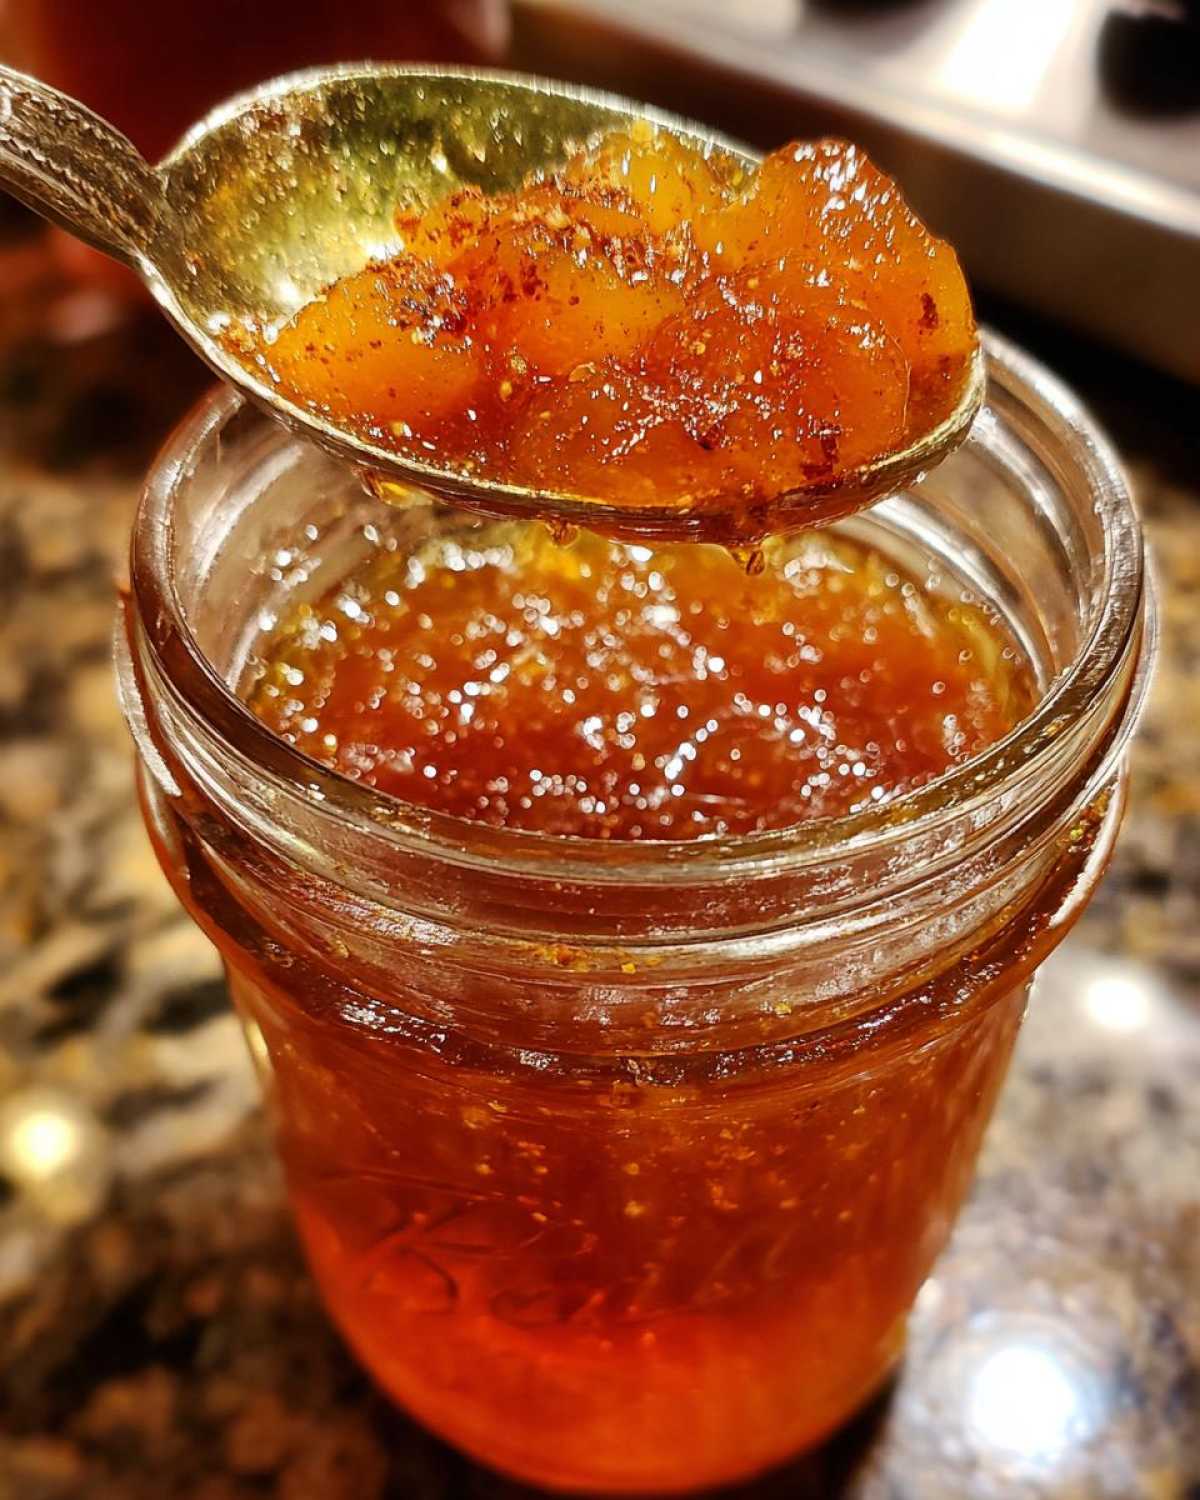
Once thickened, remove the pot from heat. Carefully ladle the hot preserves into sterilized jars. Leave about a quarter-inch of space at the top. Wipe the jar rims clean. Seal them with lids. Now, process the jars in a boiling water bath. This takes 10 minutes. Adjust for your altitude if needed. After processing, remove the jars. Let them cool completely on a towel. Check the seals by pressing the lid center. It shouldn’t move.
Tips for Perfect Homemade Cinnamon Pear Preserves
Jacob always says the little things make a big difference. For our Homemade Cinnamon Pear Preserves, choosing the right pears is key. Also, don’t be afraid to play with the spices! We want these preserves to be just right for you. Here are a few of our favorite tips gathered over many batches.
Preserving Pears: Ensuring a Great Texture
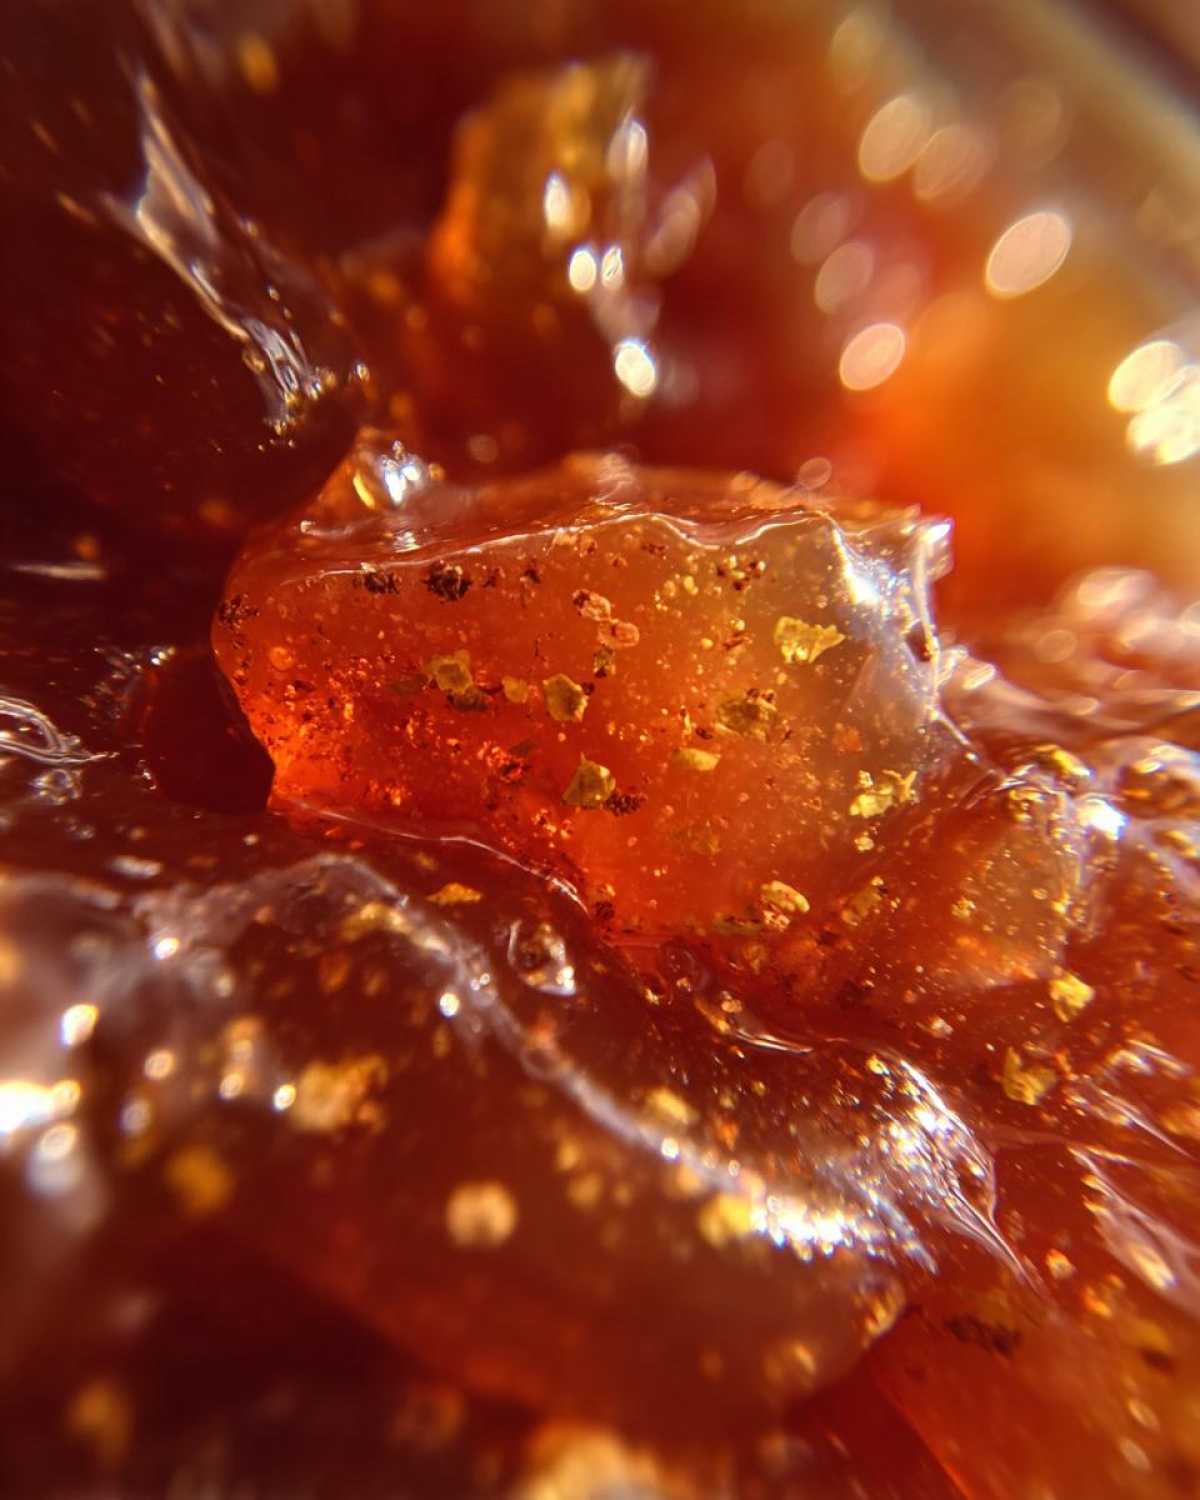
For the best texture in your fruit preserves, pick pears that are ripe but still firm. Overripe pears can turn mushy. We love Bosc or Anjou pears. They hold their shape beautifully. Make sure to peel and core them first. Chop them into even pieces so they cook uniformly.
Flavor Variations for Your Pear Preserves
Want to get creative? Try adding other warming spices! A pinch of ground ginger or cardamom works wonders. You could also add a bit of finely chopped candied ginger. This gives a lovely little zing. Experiment with the spice levels to fit your taste. We love our cinnamon pear jam just the way it is, but yours can be unique!
Storing and Enjoying Your Homemade Cinnamon Pear Preserves
Properly sealed jars of our Homemade Cinnamon Pear Preserves will last for up to a year. Store them in a cool, dark pantry. Once opened, keep them in the refrigerator. They’ll stay delicious for several weeks. We love having a jar ready for any occasion! For more on safe food storage, consult the FoodSafety.gov storage guidelines.
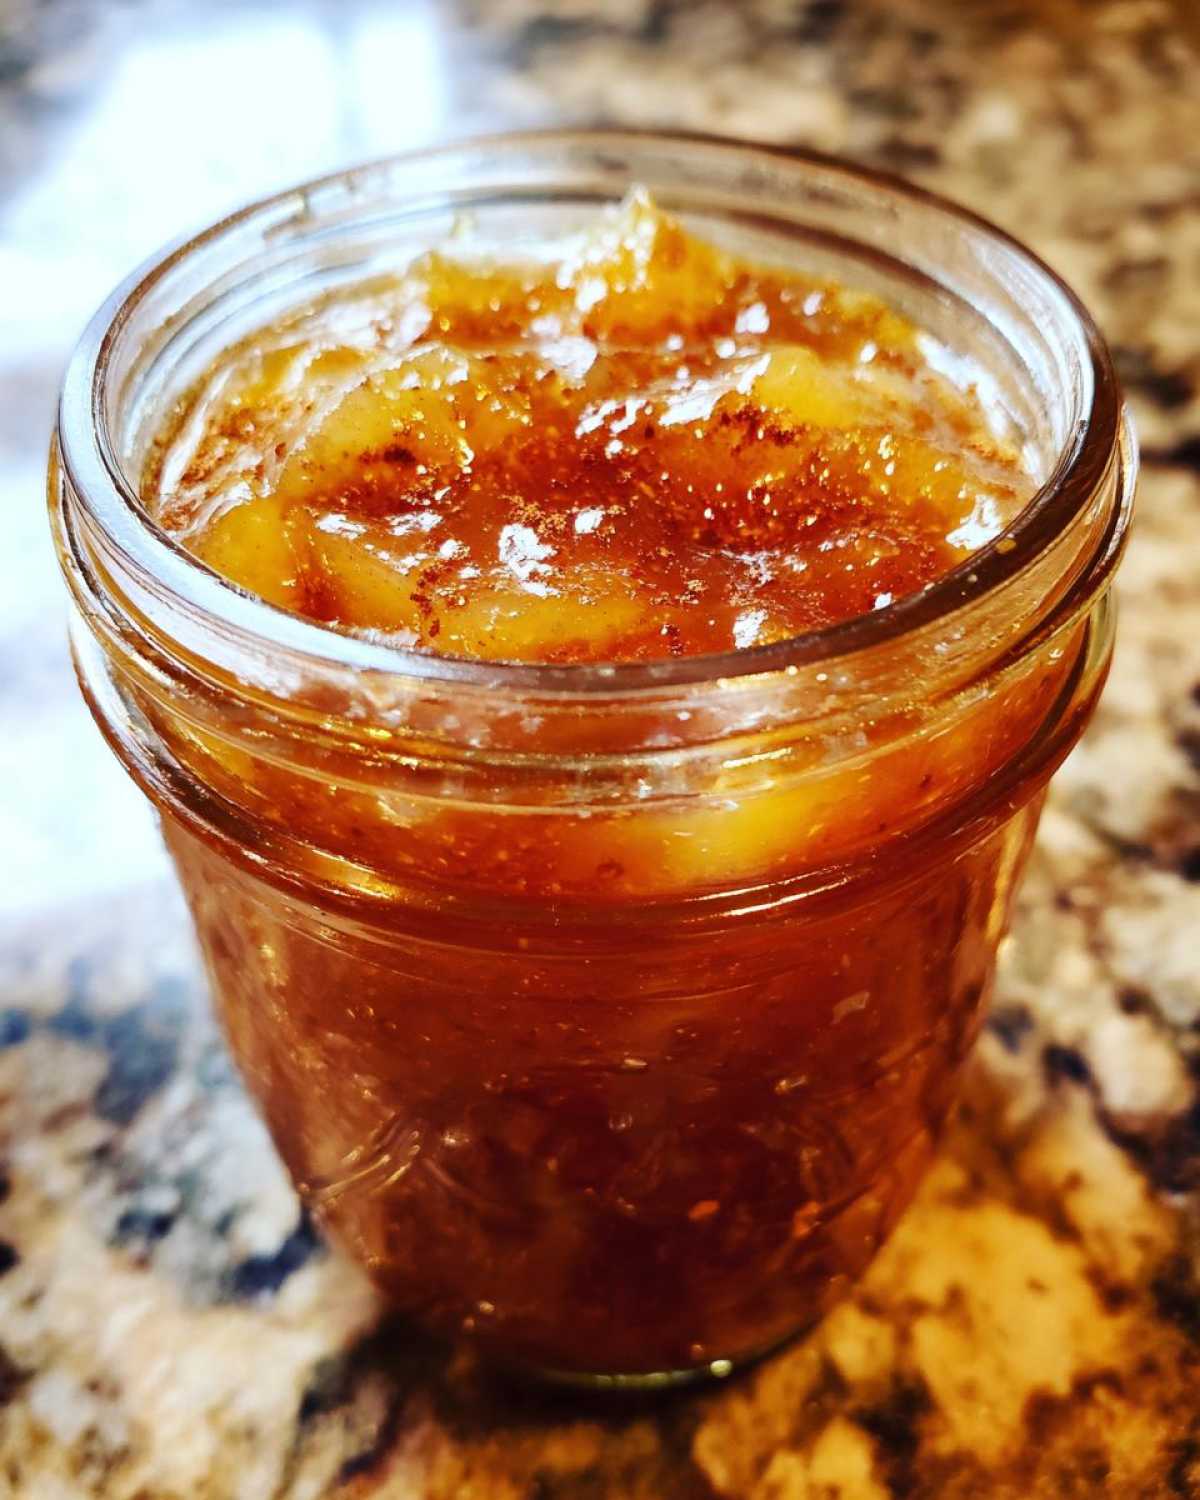
Best Ways to Serve Homemade Cinnamon Pear Preserves
These preserves are so versatile. Spread them on warm toast or scones. They’re also amazing with a cheese board. Use them as a sweet glaze for pork or chicken. They make a wonderful topping for yogurt or oatmeal too.
Frequently Asked Questions about Homemade Cinnamon Pear Preserves
Got questions about our Homemade Cinnamon Pear Preserves? We’ve got answers! Making fruit preserves can seem daunting, but it’s quite simple. Let’s clear up any confusion. Here are some common queries about this pear preserves recipe. If you have further questions, feel free to contact us.
How to Tell if Pears are Ripe for Canning Pears
For the best canning pears, look for fruit that yields slightly to gentle pressure near the stem. They should smell fragrant. Avoid pears with soft spots or bruises. Ripe but firm is the goal for great texture.
Can I Make Pear Preserves Without Canning?
Yes, you can! If you don’t want to can, store the cooked preserves in clean jars in the refrigerator. They will last about 3-4 weeks. This is a great option if you plan to use them up quickly. Just remember, they won’t have the long shelf life of canned goods.
Nutritional Estimate for Homemade Cinnamon Pear Preserves
Here’s a general idea of what’s in our Homemade Cinnamon Pear Preserves. This is an estimate, of course. Actual values can vary based on pear ripeness and exact sugar amounts. It’s good to know what you’re enjoying! For more detailed nutritional information, you can refer to our disclaimer.
- Serving Size: 2 tablespoons
- Calories: About 80
- Sugar: Around 18g
- Fat: 0g
- Carbohydrates: Roughly 21g
Amazing Homemade Cinnamon Pear Preserves
Create delicious Homemade Cinnamon Pear Preserves to capture the sweet flavors of pears and warm cinnamon. This recipe is perfect for preserving your harvest and enjoying a taste of autumn year-round.
- Prep Time: 20 minutes
- Cook Time: 45 minutes
- Total Time: 1 hour 5 minutes
- Yield: Approximately 3 cups
- Category: Preserves
- Method: Canning
- Cuisine: American
- Diet: Vegetarian
Ingredients
- 4 cups ripe pears, peeled, cored, and chopped
- 2 cups granulated sugar
- 1/4 cup lemon juice
- 1 teaspoon ground cinnamon
- 1/4 teaspoon ground nutmeg
- 1/4 teaspoon ground cloves
Instructions
- Combine chopped pears, sugar, lemon juice, cinnamon, nutmeg, and cloves in a large pot.
- Stir well to coat the pears.
- Let the mixture sit for about 30 minutes, stirring occasionally, until the sugar begins to dissolve.
- Place the pot over medium-high heat and bring to a rolling boil, stirring constantly.
- Reduce heat to medium-low and simmer, stirring frequently, until the preserves thicken. This can take 30-45 minutes. The preserves are ready when a small amount dropped onto a chilled plate sets quickly.
- Remove from heat.
- Ladle the hot preserves into sterilized jars, leaving 1/4 inch headspace.
- Wipe jar rims clean and seal with lids.
- Process in a boiling water bath for 10 minutes (adjust for altitude if necessary).
- Remove jars from the water bath and let them cool completely on a towel-lined counter.
- Check seals by pressing the center of the lid; it should not flex.
Notes
- Use ripe but firm pears for the best texture.
- Adjust spices to your preference.
- Ensure jars are properly sterilized to prevent spoilage.
- Properly sealed preserves can be stored in a cool, dark place for up to a year.
Nutrition
- Serving Size: 2 tablespoons
- Calories: 80
- Sugar: 18g
- Sodium: 5mg
- Fat: 0g
- Saturated Fat: 0g
- Unsaturated Fat: 0g
- Trans Fat: 0g
- Carbohydrates: 21g
- Fiber: 1g
- Protein: 0g
- Cholesterol: 0mg