

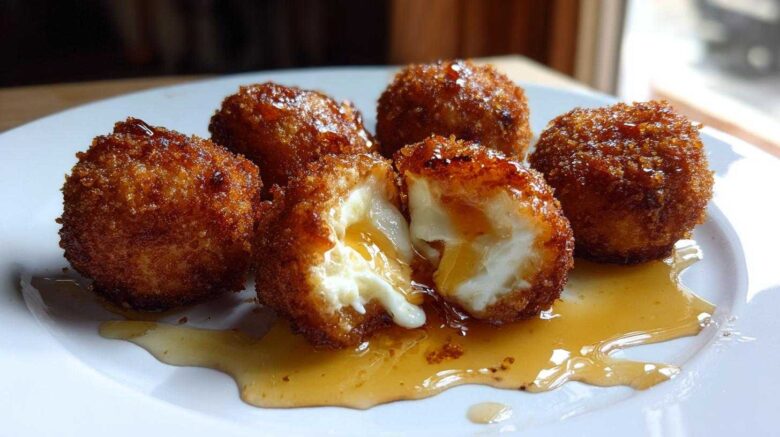
Welcome to Taste Portfolio: Our Perfect Crispy Fried Goat Cheese Balls
I used to just pin recipes. Now, Jacob and I make them together.
This recipe for goat cheese balls is truly special.
It blends my planning with his kitchen magic.
We spent weeks perfecting this appetizer.
My lists met his intuitive cooking style.
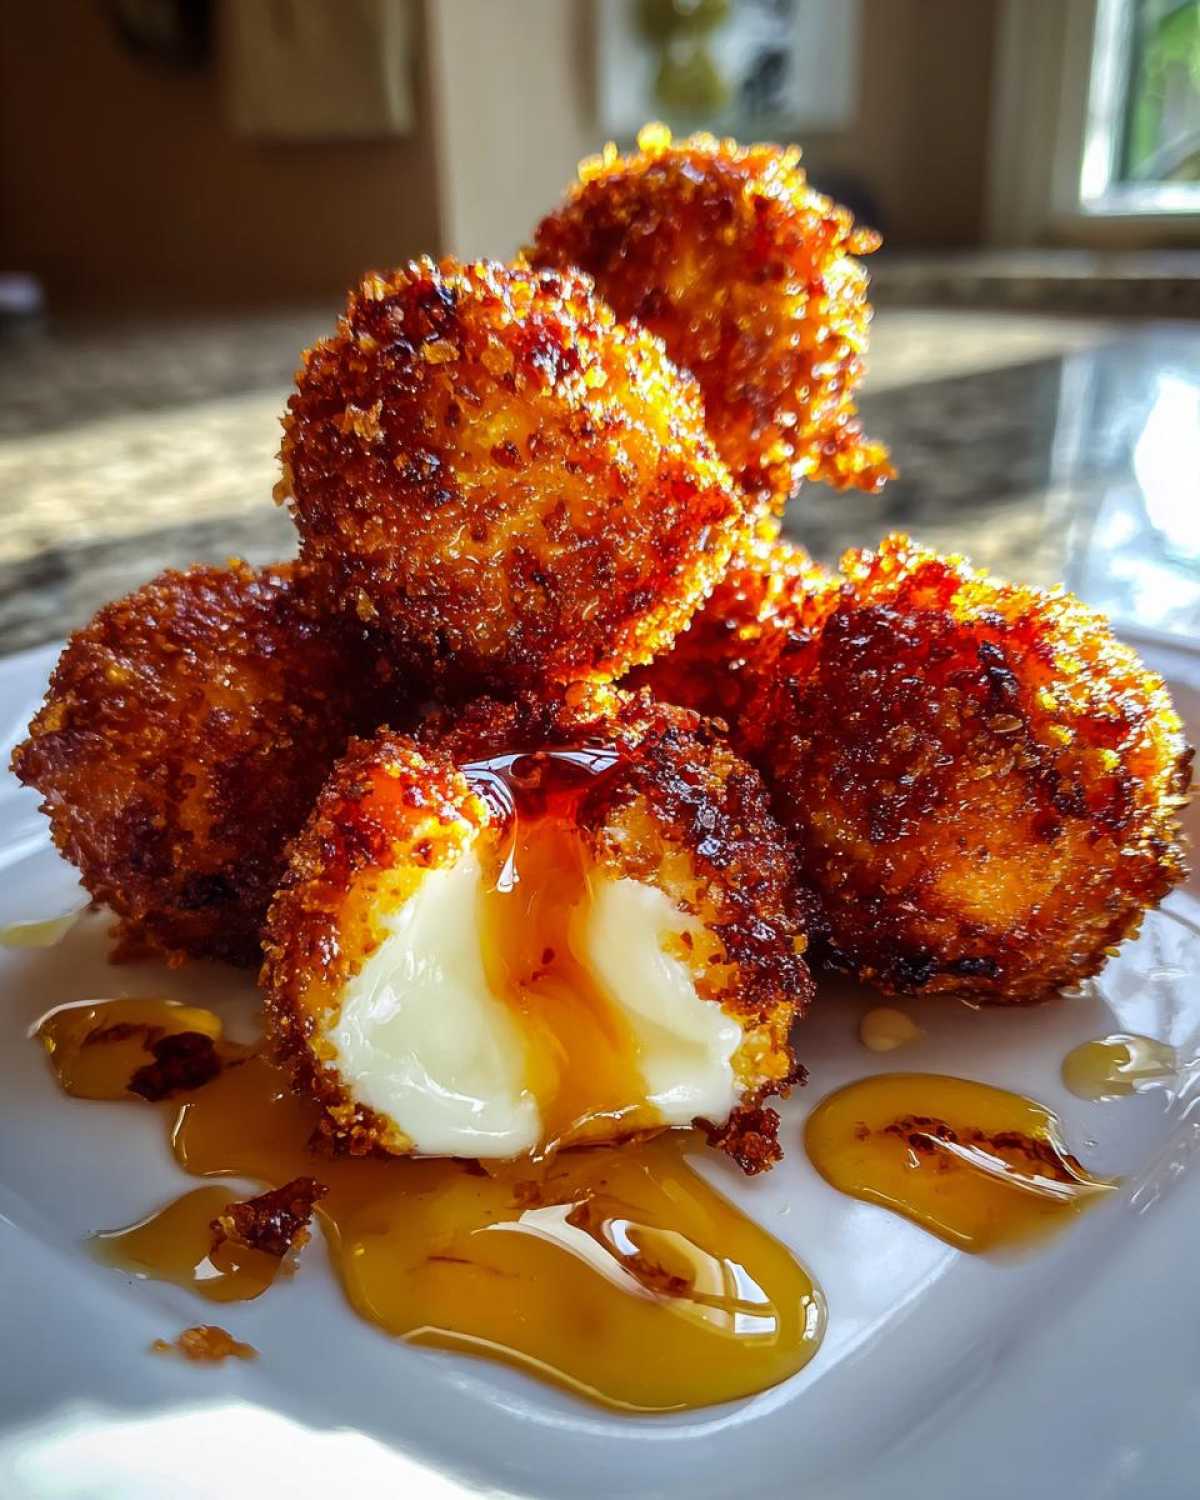
The result is pure, crispy, cheesy joy.
Get ready for the best party food ever.
Why You Will Love These Crispy Fried Goat Cheese Balls
I think everyone needs a showstopper appetizer.
These little bites are truly fantastic.
They check every box for easy entertaining.
Here is why this recipe became a staple for us:
- The texture contrast is simply amazing.
- They are surprisingly simple to prepare ahead.
- The flavor combination always gets rave reviews.
Creamy Interior Meets Crispy Exterior
That first bite is pure satisfaction, friends.
You get the snap of the panko crust.
Then the warm, soft cheese just melts.
Freezing keeps the structure perfect for frying.
Perfect Party Appetizer
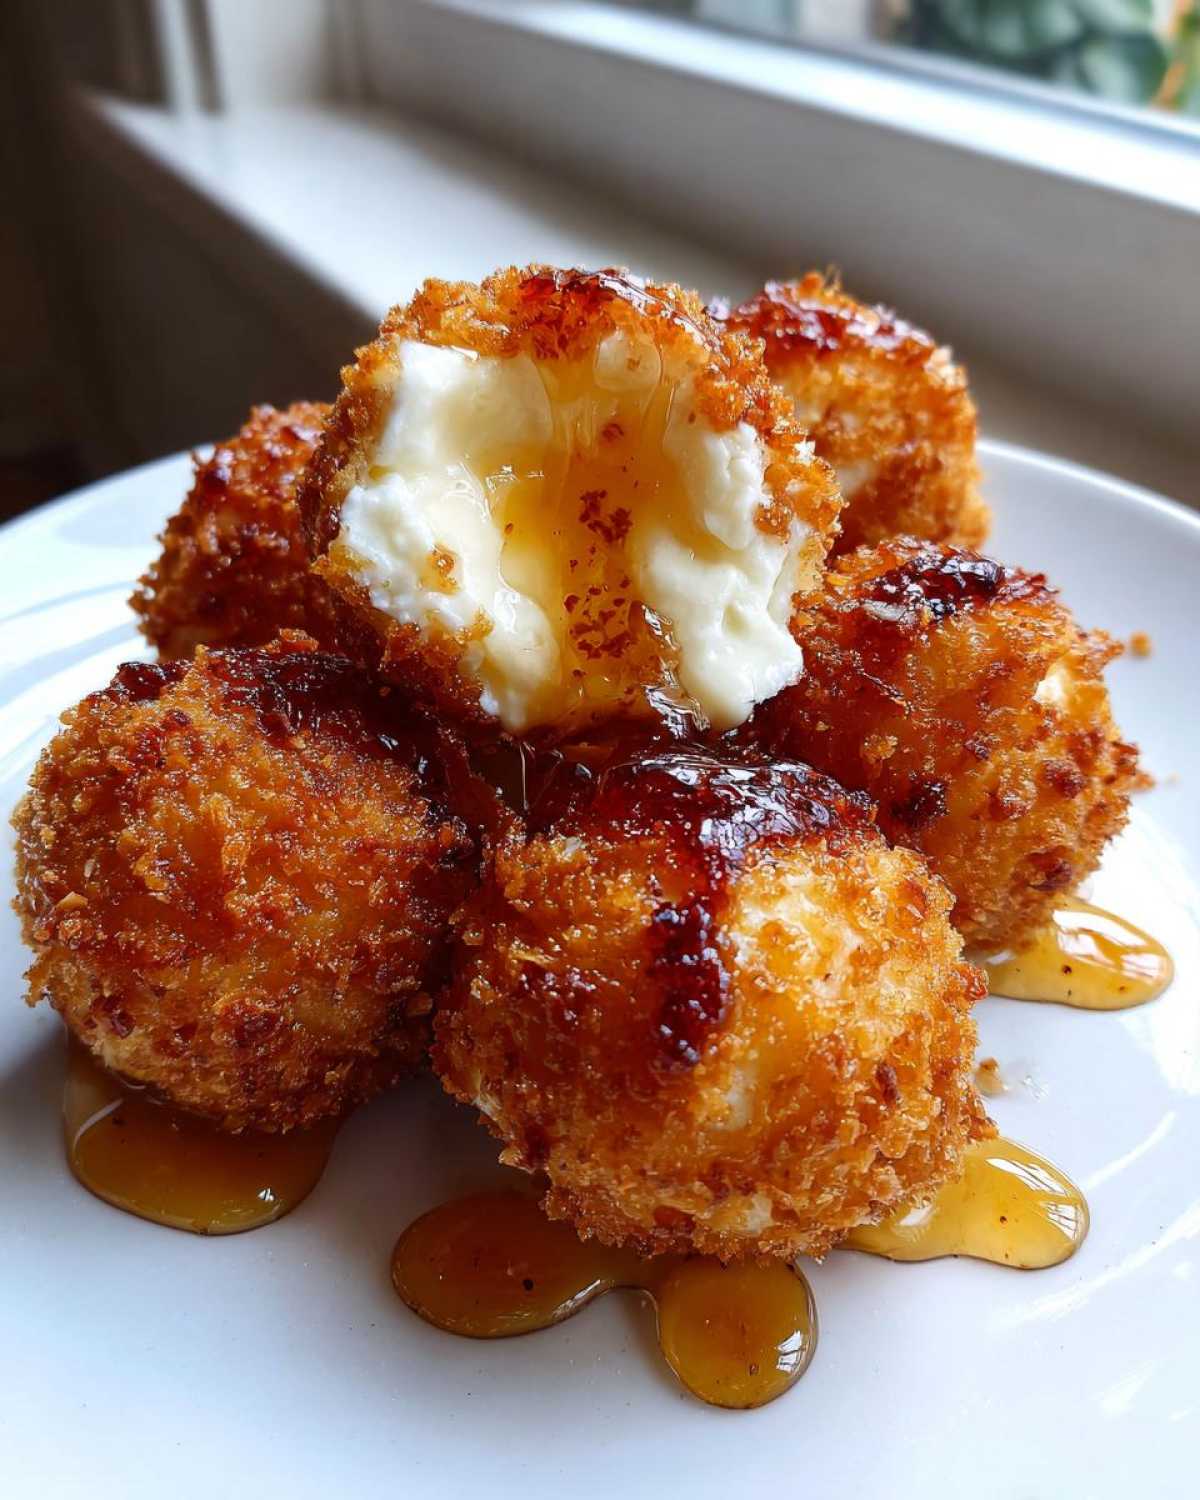
Jacob says these disappear first at every party.
They look fancy but use simple steps.
They taste gourmet without the fuss.
You will feel like a hosting superstar.
The Blueprint for Perfect Goat Cheese Balls: Ingredients List
Every great project needs a solid plan, right?
As the planner in our duo, I call this the blueprint.
Gathering the right supplies is half the battle won.
These ingredients create the best texture.
Follow these precisely for success.
We need quality components for our goat cheese balls.
Core Components for Crispy Goat Cheese Balls
- Eight ounces of soft goat cheese.
- It must be well-chilled before rolling.
- One half cup of plain all-purpose flour.
- Two large eggs, beaten until smooth.
- One full cup of panko breadcrumbs.
- Vegetable oil for deep frying later on.
Drizzle and Seasoning Details
Don’t forget the flavor enhancers here.
We use just a quarter teaspoon of salt.
A tiny pinch of black pepper works well.
For drizzling, grab about one quarter cup of honey.
Jacob loves mixing red pepper flakes in that honey.
That optional spicy kick really elevates things.
Jacob’s Method: Preparing Your Goat Cheese Balls
Now we move from planning to action.
This is where Jacob shines brightest.
He focuses on precision and texture.
Getting these goat cheese balls ready is key.
Temperature control is our secret weapon here.
Don’t rush these chilling steps at all.
Forming and Freezing the Goat Cheese Balls
First, grab that chilled goat cheese.
Roll it into small, even balls.
I aim for about one inch each time.
Place them on parchment paper carefully.
Into the freezer they go for thirty minutes.
This initial chill keeps them firm for rolling.
If they are too soft, they’ll squish everywhere.
Setting Up the Breading Station
We set up a classic three-dish station.
Dish one holds the all-purpose flour.
Dish two gets those beaten eggs mixed well.
The third dish gets our panko mix.
Remember the salt and pepper are in that panko.
Work fast when coating each ball.
Dredge in flour, shake off the extra bits.
Dip it completely into the egg wash.
Finally, coat it thoroughly in panko.
Press those crumbs gently onto the surface.
Good adhesion stops leaks later on.
The Crucial Second Chill
Jacob insists on this step every time.
The coated balls go back to the freezer now.
We chill them for fifteen more minutes.
This sets the breading perfectly tight.
It’s the best defense against cheese blowout.
Cold coating hits hot oil beautifully.
Mastering the Fry: Cooking Your Goat Cheese Balls
This part needs Jacob’s steady hand.
Frying is where technique truly matters.
We want golden crusts, not brown mush.
Proper heat prevents the cheese from escaping.
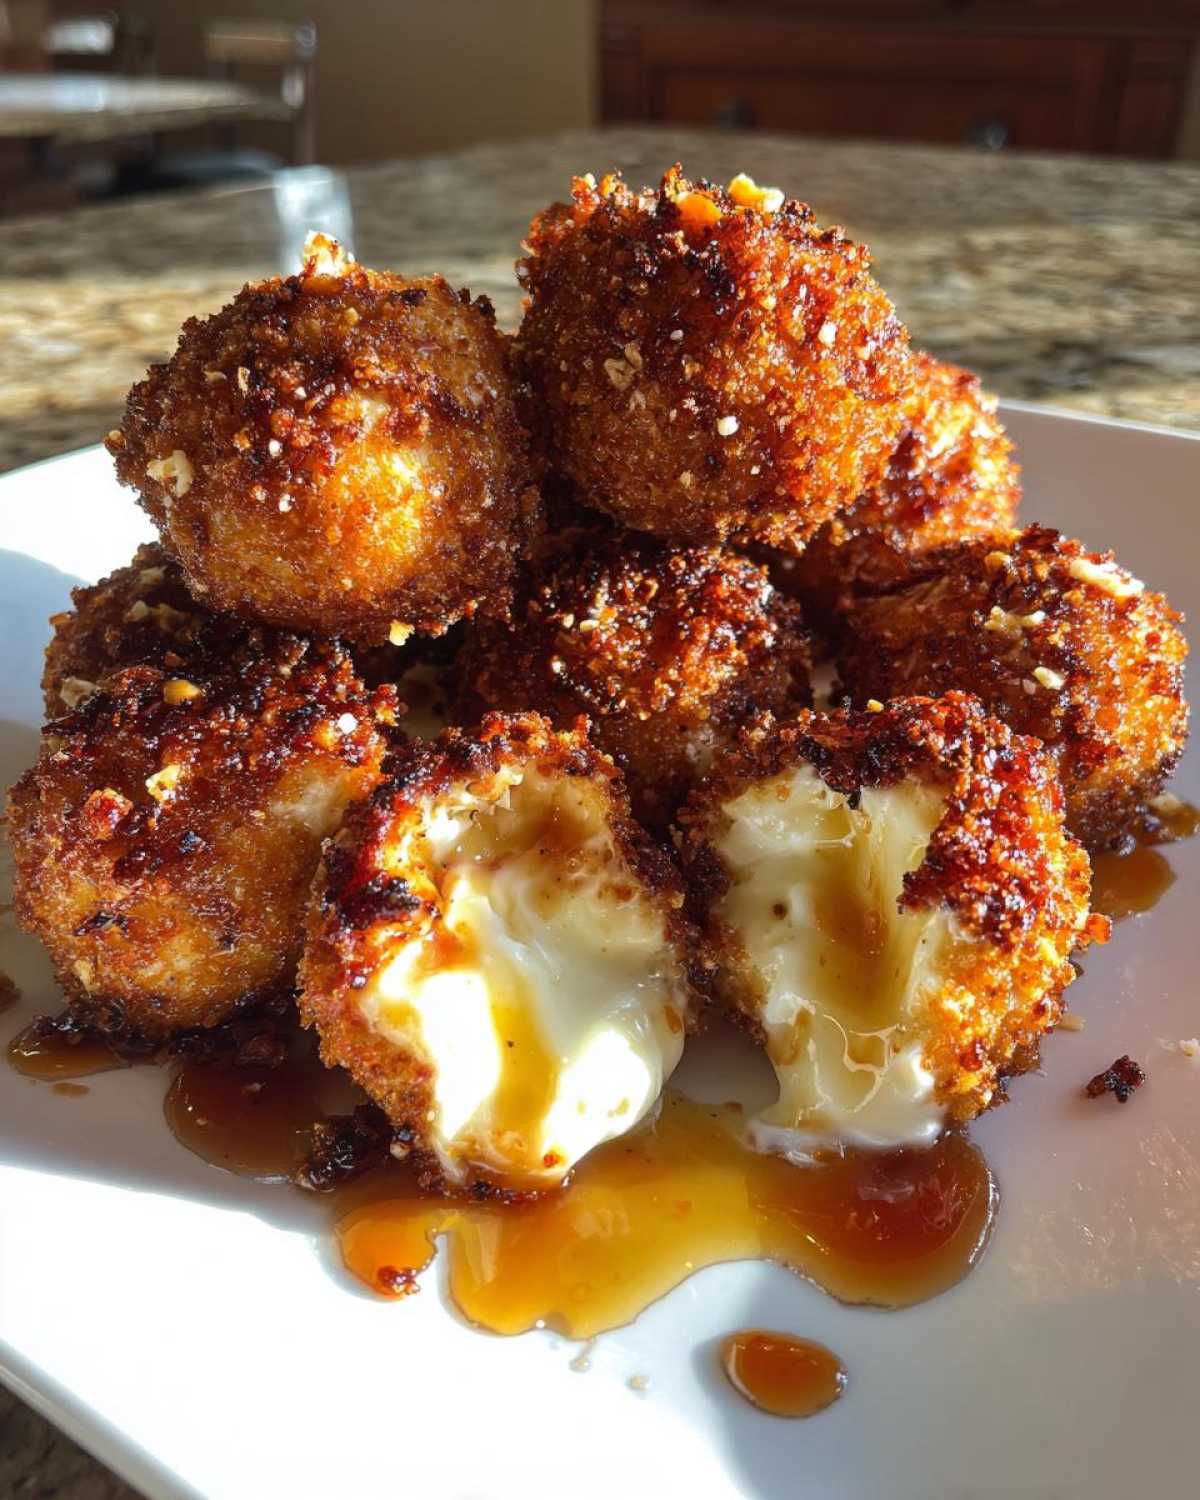
These crispy goat cheese balls need quick cooking.
Safety first when dealing with hot oil, always.
Achieving the Ideal Frying Temperature
Grab your heavy-bottomed pot now.
Pour in about two inches of oil.
You absolutely need a good thermometer.
Heat the oil until it hits 350 degrees Fahrenheit.
That is 175 degrees Celsius for my metric friends.
If the oil is too cool, the crust gets soggy.
Never put too many balls in at once.
Overcrowding drops the oil temperature fast.
Quick Frying and Draining
Use a slotted spoon to gently lower them in.
Fry for only one to two short minutes.
Turn them carefully while they cook.
Look for that deep, beautiful golden color.
Remove them right when they look done.
Place them immediately on a wire rack.
The rack must sit over paper towels.
This lets excess oil drip right away.
We want crispness, not greasy coatings.
Serving Suggestions for Your Goat Cheese Balls
The cooking is done, but presentation matters.
These little orbs look wonderful on a platter.
They are ready for their final touches now.
Presentation makes any appetizer shine brightly.
Let’s make these irresistible for your guests.
The Signature Honey Drizzle
Don’t skip that sweet, sticky drizzle.
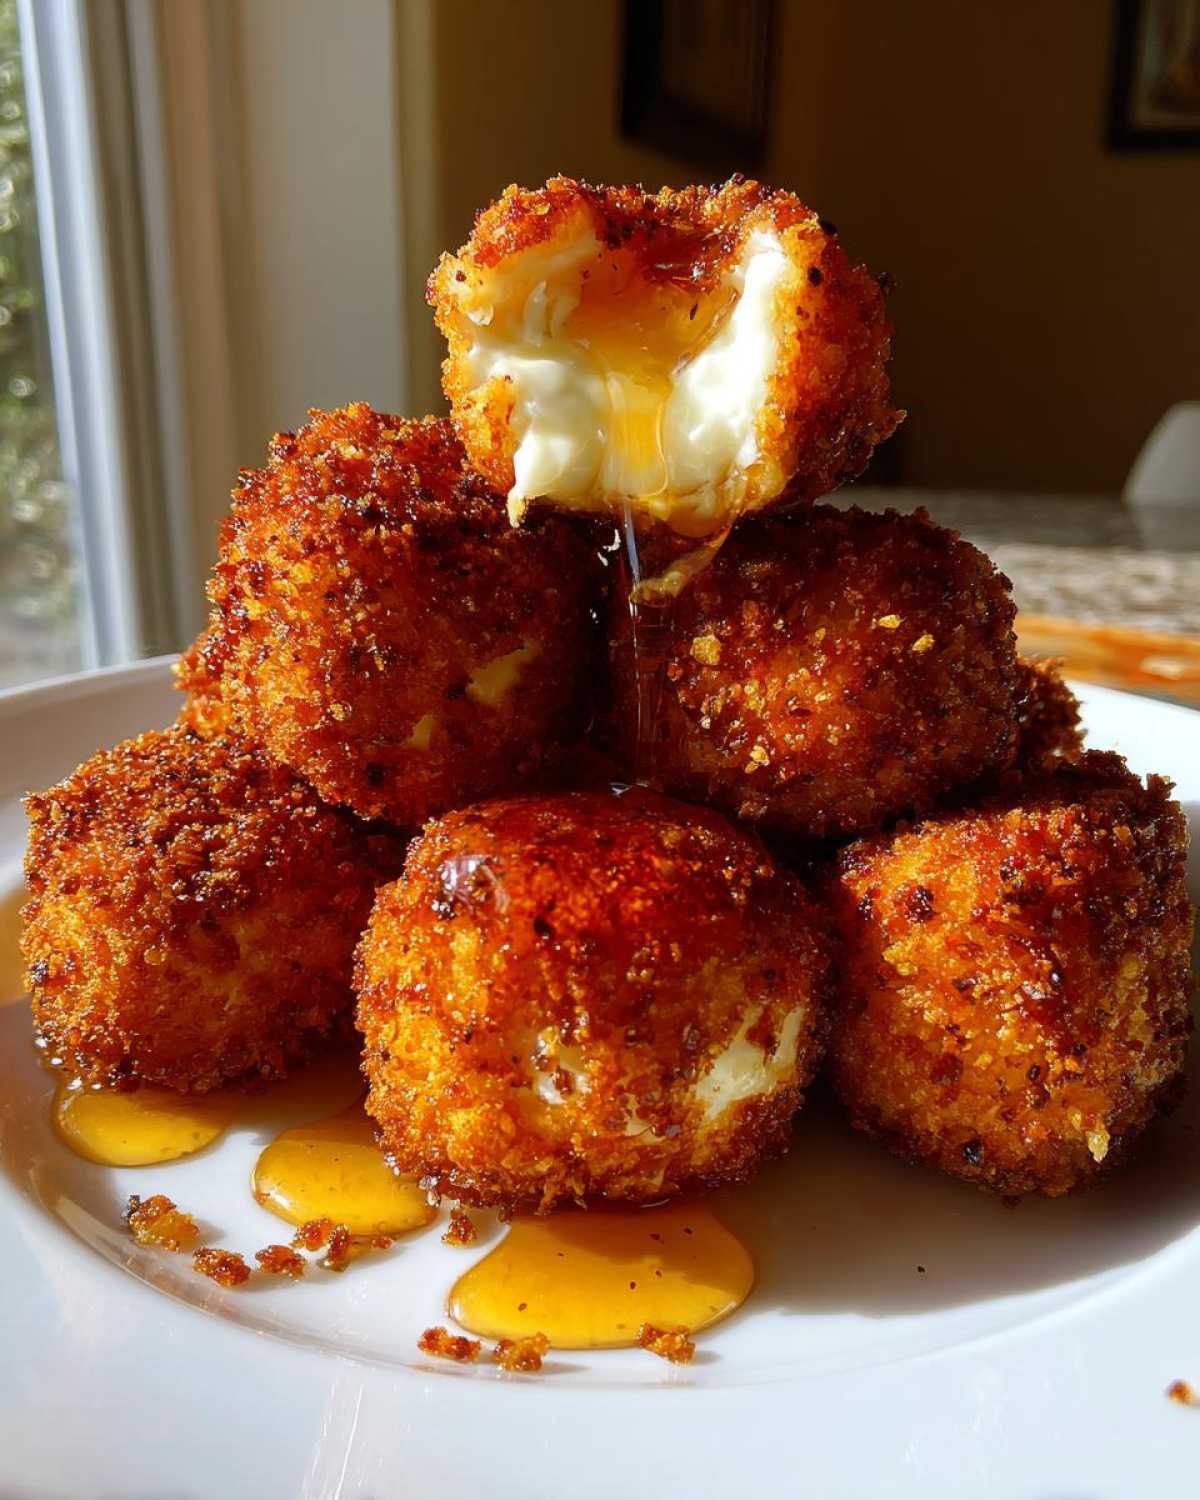
Drizzle the honey right before serving them.
This keeps the panko coating perfectly crisp.
Serving them warm with the honey is heaven.
Pairing Ideas for This Appetizer
Rich cheese needs something fresh sometimes.
Try sprinkling a little fresh thyme on top.
A side of peppery arugula cuts the richness.
A small bowl of tart cranberry sauce works too.
These pairings balance the whole flavor profile.
Troubleshooting Common Goat Cheese Balls Issues
Even with Jacob’s precision, things can go wrong.
Don’t panic if your first batch has issues.
We learned these lessons the hard way.
Let’s fix common problems with your goat cheese balls.
This helps you keep your hosting confidence high.
Why Did My Cheese Balls Melt While Frying?
This is the most common kitchen disaster.
It usually means one of two things happened.
First, the cheese was too warm going in.
It needed more time in the freezer, trust me.
Second, your oil temperature dropped too low.
Use that thermometer every single time.
Tips for Achieving Uniform Coating
A patchy coating lets oil seep inside.
Make sure you press the panko firmly.
Use your fingertips to push crumbs on.
Don’t skip the initial light flour dusting.
Flour helps the egg stick to the cheese.
A complete coating seals everything inside.
Storing Leftover Goat Cheese Balls
Did you have too many amazing bites?
Don’t worry about leftovers just yet.
Store cooled, leftover balls in an airtight container.
They keep well in the fridge for three days.
Reheat them quickly in a hot oven or air fryer.
This helps bring back some of the crispness.
Frequently Asked Questions About Goat Cheese Balls
I know you might have a few last questions.
We’ve covered all the main steps now.
Here are a few things people always ask me.
These answers should help you finish strong.
Can I Bake or Air Fry These Goat Cheese Balls?
Yes, absolutely, you can use an alternative method.
You can bake them at 400 degrees Fahrenheit.
They need about ten to twelve minutes total time.
Flip them halfway through for even cooking.
Just know the texture differs greatly.
The air fryer or oven makes a good fried cheese appetizer.
It won’t be quite as perfectly crisp as deep-frying.
Can I Make the Goat Cheese Balls Ahead of Time?
Prep work ahead saves so much stress.
You can certainly roll the cheese balls first.
Keep the plain balls chilled until ready to bread.
It’s best to bread them right before frying, though.
If you must bread early, freeze the coated ones solid.
This keeps the coating stuck on tight.
Share Your Finished Project
We love seeing your kitchen successes!
Did you make these amazing bites?
Tell us how they turned out below.
Rate this project for our portfolio.
Share your own little twists too.
PrintPerfect Crispy 2-Chill goat cheese balls recipe
Make these Crispy Fried Goat Cheese Balls for an appetizer everyone loves. We plan the recipe, and Jacob perfects the frying for a creamy inside and golden outside. Drizzle with honey before serving.
- Prep Time: 25 minutes
- Cook Time: 10 minutes
- Total Time: 45 minutes
- Yield: About 18-20 balls
- Category: Appetizer
- Method: Frying
- Cuisine: American
- Diet: Vegetarian
Ingredients
- 8 oz soft goat cheese, chilled
- 1/2 cup all-purpose flour
- 2 large eggs, beaten
- 1 cup panko breadcrumbs
- 1/4 teaspoon salt
- 1/8 teaspoon black pepper
- Vegetable oil, for frying
- 1/4 cup honey, for drizzling
Instructions
- Take the chilled goat cheese and roll it into small, uniform balls (about 1 inch in diameter). Place the balls on a parchment-lined plate and freeze for 30 minutes to firm them up.
- Set up a standard breading station with three shallow dishes. Place the flour in the first dish. Whisk the eggs in the second dish. Mix the panko breadcrumbs, salt, and pepper in the third dish.
- Working quickly, take the chilled cheese balls one at a time. Dredge each ball in flour, shaking off excess. Dip it into the beaten egg, letting excess drip off. Finally, coat it thoroughly in the panko mixture, pressing gently so the crumbs adhere well.
- Return the coated balls to the freezer for another 15 minutes. This step helps prevent the cheese from leaking during frying.
- Pour about 2 inches of vegetable oil into a heavy-bottomed pot or deep fryer. Heat the oil to 350°F (175°C). Use a thermometer to monitor the temperature.
- Carefully lower 4-5 cheese balls into the hot oil using a slotted spoon. Do not overcrowd the pot.
- Fry for 1 to 2 minutes, turning occasionally, until the coating is deep golden brown and crisp.
- Remove the fried balls immediately and place them on a wire rack set over a paper towel-lined baking sheet to drain excess oil.
- Arrange the warm goat cheese balls on a serving platter. Drizzle generously with honey just before you serve them.
Notes
- For an easier cleanup, you can bake these at 400°F (200°C) for 10-12 minutes, flipping halfway, though the texture will be less uniformly crisp than frying.
- If you prefer a spicy kick, mix a pinch of red pepper flakes into the honey drizzle.
- Ensure your cheese balls are very cold before breading and frying; this is the key to keeping their shape.
Nutrition
- Serving Size: 4 balls
- Calories: 220
- Sugar: 5g
- Sodium: 250mg
- Fat: 18g
- Saturated Fat: 10g
- Unsaturated Fat: 8g
- Trans Fat: 0g
- Carbohydrates: 10g
- Fiber: 1g
- Protein: 7g
- Cholesterol: 45mg