

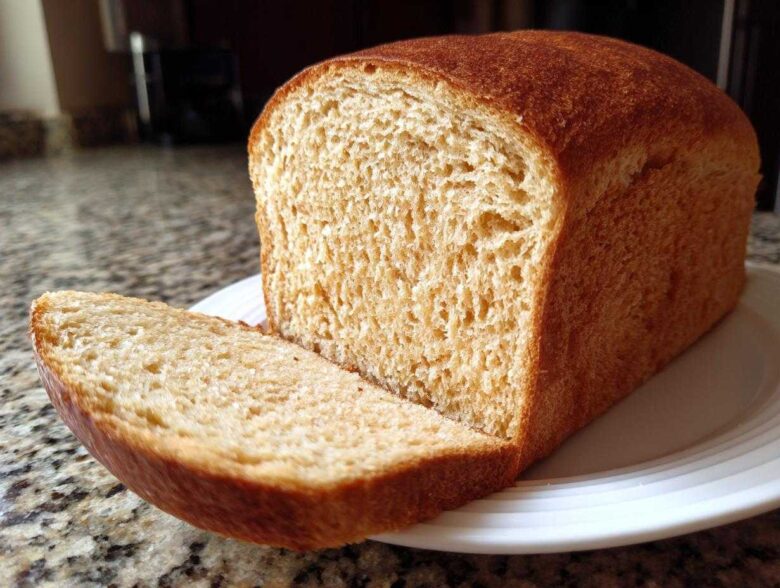
Okay, stop right there! If you’ve ever looked at a loaf of homemade whole wheat bread and sighed because it came out dense, heavy, and tasted like… well, feed, you know the struggle. I have been there! I wanted that hearty goodness paired with that unbeatable sandwich softness, and honestly, it took me years to crack the code for a truly fluffy homemade bread.
But guess what? We’re done with brick loaves! This recipe for my Soft & Easy Honey Whole Wheat Sandwich Bread is the one. I’m sharing my no-fail secrets today to guarantee you get that beautiful rise and tender crumb every single time you bake whole wheat bread. Trust me, this recipe changed my entire baking game and it’ll change yours too. Ready to see how easy it is? Check out my main baking blog here: Get inspired for more baking adventures!
Why This Soft & Easy Honey Whole Wheat Bread Recipe Works
You’re probably wondering what makes this recipe different from all those other whole wheat attempts that ended up flat. It really comes down to a few smart tweaks that respect the whole grain but stop it from getting too heavy. When you bake with whole grains, you have to treat the flour gently!
- Achieving Fluffy Homemade Bread Texture: We only use 3 cups of dense whole wheat flour, but that half-cup of all-purpose flour is super important right at the start! It helps give the gluten just enough stretchiness to hold the air bubbles we create during kneading, making it much less likely to turn into a hockey puck. And that 8 minutes of kneading? It’s worth every second!
- The Sweetness of Honey Wheat Bread Recipe: Forget just sugar; honey is our secret weapon here. Not only does it taste beautiful paired with the nutty flavor of the wheat, but honey is naturally hygroscopic. That means it loves drawing moisture and holding onto it, keeping this loaf soft for days! That’s what makes this a true Honey Wheat Bread Recipe that stays fresh.
Essential Ingredients for Your Whole Wheat Bread
Baking successfully with whole wheat flour is all about respecting what you put in the bowl. I’ve listed everything below, but pay close attention to the water temperature—it’s non-negotiable for happy yeast! We need that yeast to wake up ready to work its magic. You only need a few things for this whole wheat bread, but quality matters.
Here’s what you need:
- 1 cup warm water—and when I say warm, aim for 105 to 115°F. If it’s too hot, you kill the yeast!
- 2 1/4 teaspoons active dry yeast (that’s one packet).
- 1/4 cup golden honey—it’s the flavor backbone here!
- 2 tablespoons unsalted butter, melted and slightly cooled.
- 1 1/2 teaspoons salt.
- 3 cups whole wheat flour (this is where the nutty flavor comes from).
- 1/2 cup all-purpose flour (don’t skip this unless you know what you’re doing!).
Ingredient Notes and Substitutions for Whole Wheat Bread
Let’s talk about that flour situation, because I know some of you purists want 100 percent whole wheat baking, and I get it! If you swap out that half-cup of all-purpose flour for more whole wheat flour, you absolutely *can* do it, but you have to adjust your expectations. The loaf will be noticeably heartier, maybe a little more rustic, and definitely won’t achieve the same soft, fluffy sandwich texture we’re aiming for here. For the best healthy homemade bread that still feels tender, stick to the recipe. If you want to dive deeper into milling and flour types, check out my guide on baking with whole wheat flour!
Step-by-Step Instructions for Your Easy Whole Wheat Loaf
This is where we bring it all together! Even though this is an easy whole wheat loaf, we have to treat the yeast right. Pay attention to the temperatures and times here, and you’ll have fluffy bread coming out of the oven, I promise!
Activating Yeast and Mixing the Soft Whole Wheat Sandwich Bread Dough
First things first: water and yeast. Mix your warm water, yeast, and that lovely honey together in a big bowl. You absolutely must wait about five minutes. If you don’t see activity—that foamy layer on top—that means your yeast is dead, and we need to start over! Once it’s foamy, stir in your melted butter and salt.
Now things get shaggy! Add in the whole wheat flour first, then the all-purpose flour gradually. Mix it with a spoon or a paddle attachment until it just comes together. Don’t overmix it yet! You want it looking like a messy pile of dough, not smooth, before you move it to the counter.
Kneading and Proofing for Optimal Rise
Turn that shaggy mess out onto a lightly floured surface. Now, we knead this soft whole wheat sandwich bread dough for a solid 6 to 8 minutes. Don’t stop early! You need to feel it transform from sticky to smooth and elastic. You can check out my technique over on my pizza dough guide; the mechanics are similar: see how I knead doughs here.
When it’s ready, lightly grease your bowl, put the dough in, and cover it. Let it rise in a warm spot for 1 to 1.5 hours until it has doubled. If your kitchen is drafty, I always slide my covered bowl into the turned-off oven with just the light on—perfect warmth!
Baking Your Perfect Whole Wheat Bread
Okay, we’ve mixed, we’ve kneaded, and now we get to the payoff! The baking process itself is relatively quick once the oven is hot. Don’t even think about slicing this beauty right out of the oven, though; patience is key here, even at the end!
First, make sure your oven is fully preheated to 375°F (190°C). While it’s heating, gently punch down the dough we let rise—that was the first glorious rise! Shape it neatly into a log that fits snugly in your greased 9×5 inch loaf pan. We need that second rise, often called the ‘proof.’
Cover the pan loosely and let it sit in a warm spot for about 30 to 45 minutes. How do you know it’s ready for the oven? I look for the dough to puff up about one inch above the rim of the pan. If you poke it gently, it should spring back slowly—not immediately (under-proofed) and not stay indented (over-proofed).
Bake this perfect whole wheat bread for 30 to 35 minutes. You want a beautiful golden-brown top. To be absolutely sure your loaf is done, pull it out gently (use oven mitts!) and tap the bottom. If it sounds hollow, you’ve nailed it! If you have an instant-read thermometer, you are aiming for an internal temperature of about 200°F (93°C). Pull it out immediately and get it onto a wire rack to cool completely before you dare slice it. Trust me, cooling makes all the difference in the final crumb structure!
Tips for Success with Homemade Whole Wheat Bread
Baking whole wheat bread is mostly about patience, but I have a few tricks up my sleeve to make sure your hearty grain baking is successful every time. The biggest enemy of whole wheat is dryness, so we fight that by controlling our kneading time and making sure we don’t overbake it. Remember that tip about tapping the bottom? If you don’t have a thermometer, that hollow thump is your best friend! It means the internal moisture has turned to steam and finished cooking the center without drying out the crust.
Also, don’t try rushing your rises! Whole wheat flour needs a bit longer to absorb liquid and develop structure compared to white flour. If your dough seems sluggish, try the warm-oven-with-the-light-on trick I mentioned earlier. You can find some other great ways to keep your baked goods from drying out in my muffin post, too—the principles overlap surprisingly well! Check out how others make moist pistachio muffins for more ideas on holding moisture.
Serving Suggestions for Your Hearty Whole Grain Baking
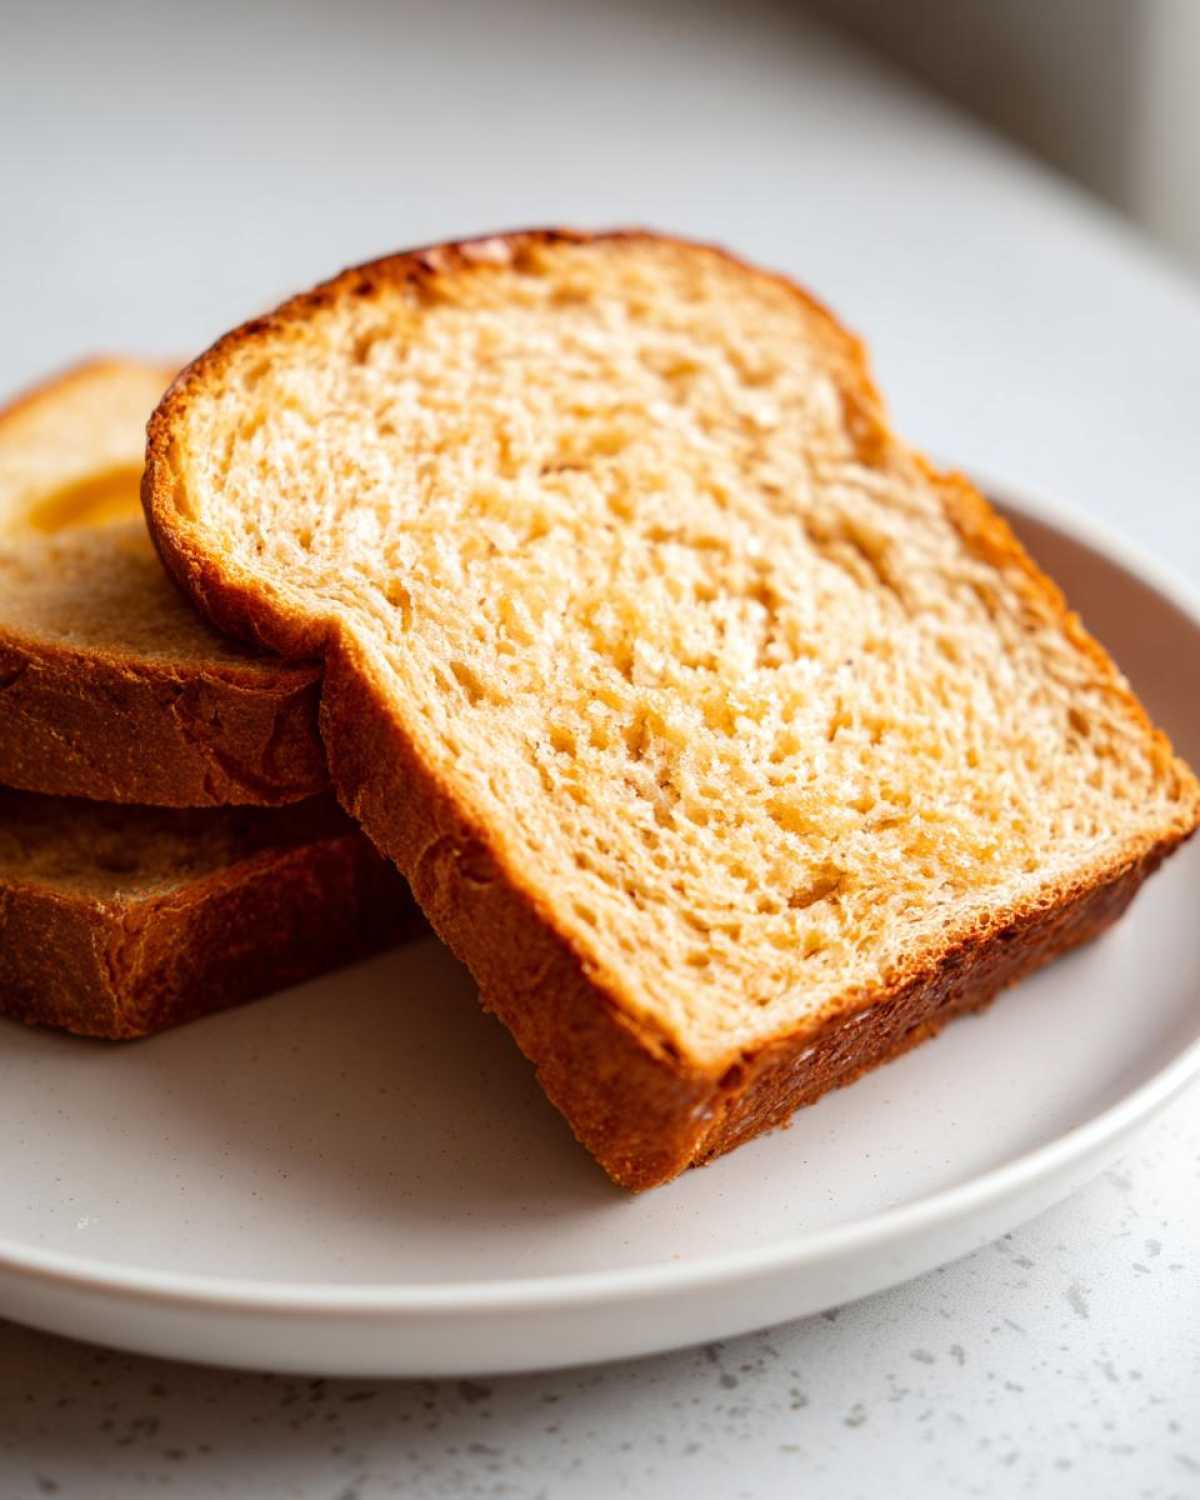
Now that you have this incredible loaf of whole wheat bread, what are you going to do with it? Honestly, because it’s so soft, it shines as your everyday sandwich loaf. Ditch those store-bought bland slices! The slightly sweet, nutty flavor totally upgrades your lunchbox.
It’s also incredible toasted! A thick slice of this warm bread with melted butter is my favorite breakfast. And since this loaf holds up so well, it’s perfect for turning into hearty grilled cheese or using as the base for my favorite chickpea tuna salad sandwich. It’s just wholesome, good bread for every meal.
Storage and Reheating Instructions for Whole Wheat Bread
So you baked the perfect loaf! Since this whole wheat bread is so moist thanks to the honey, we need to store it correctly or it might get a little sad too fast. I always let mine cool completely on the rack—remember that! Once cool, keep it sliced-side down in a breathable container, like a paper bag or just loosely wrapped in a tea towel, on the counter for up to three days. Don’t seal it airtight right away; that traps moisture and encourages sogginess!
If you have more than you can eat in three days (which I doubt, knowing how good it smells!), slice it first and freeze it! It freezes like a dream. When you want a slice, just pop it straight from the freezer into the toaster. It re-heats perfectly. For any dinner sides that need it soft again, a quick 10 seconds in the microwave works magic. You can use that technique for reheating leftovers from my skillet pepper steak recipe, too!
Frequently Asked Questions About This Whole Wheat Bread
I get so many lovely messages about this recipe, and honestly, I love hearing about everyone’s success! Baking whole wheat bread can feel intimidating, but once you understand these simple rules, you’ll feel like a pro. Here are a few things folks always ask me about making this healthy homemade bread.
Can I make this a No-Knead Whole Wheat recipe?
That’s a great question for any beginner whole wheat bread baker! While you totally *can* approach this as a no-knead recipe—just mix everything until shaggy and let it rise overnight in the fridge—I really, really recommend the 8 minutes of kneading for this specific loaf. Why? Because we are trying to create an incredibly soft, flexible whole wheat sandwich bread, and kneading is what develops the structure needed to hold those nice, light air pockets. If you skip it, you’ll get a bread that is definitely edible and hearty, but it won’t have that lovely, fluffy pull apart. Try kneading the first time, and if you love the results, maybe experiment next time!
How can I make this a 100% whole wheat bread without it being too dense?
Ah, the eternal quest for the fluffy loaf using only the whole grain! As I mentioned under ingredients, swapping the half-cup of AP flour for more whole wheat flour will get you to 100% whole wheat, but density is almost guaranteed unless you focus intensely on the rising steps. The best way to combat density when you go 100% is to supercharge your yeast and give it extra time to work! Make sure that initial yeast proof is aggressive—it should look like a mushroom cloud on top of the water! And don’t rush the second rise; wait until it’s really rounded and pillowy over the pan, even if it takes an extra 15 minutes. The yeast activity throughout the entire process is the biggest defense against a dense outcome in 100 percent whole wheat baking.
Estimated Nutritional Information for This Loaf
Now, I’ll be the first to admit I’m a baker, not a certified nutritionist! These numbers are just estimates based on the standard ingredients listed above, and they should definitely help you track your healthy homemade bread intake. Since this loaf is sweetened lightly with honey, these figures reflect a fairly wholesome product perfect for daily use, but every ingredient you swap changes the math!
- Serving Size: 1 slice
- Calories: Approximately 120
- Sugar: About 4g (natural and honey)
- Fat: Only 2g per slice, keeping things light!
- Protein: A solid 5g to keep you full.
Keep in mind that if you choose to go 100% whole wheat by leaving out the white flour, the fiber count will happily go up! Check out more tips for keeping your baking wholesome over at my guide on making healthy homemade bread.
PrintEasy Soft Honey Whole Wheat Sandwich Bread

Bake a soft, fluffy loaf of 100% whole wheat bread sweetened lightly with honey, perfect for daily sandwiches and toast.
- Prep Time: 20 min
- Cook Time: 35 min
- Total Time: 2 hours 5 minutes
- Yield: 1 loaf
- Category: Baking
- Method: Baking
- Cuisine: American
- Diet: Vegetarian
Ingredients
- 1 cup warm water (105-115°F)
- 2 1/4 teaspoons active dry yeast
- 1/4 cup honey
- 2 tablespoons unsalted butter, melted
- 1 1/2 teaspoons salt
- 3 cups whole wheat flour
- 1/2 cup all-purpose flour (or more whole wheat flour for denser bread)
Instructions
- In a large bowl, mix the warm water, yeast, and honey. Let stand for 5 minutes until foamy.
- Stir in the melted butter and salt into the yeast mixture.
- Add the whole wheat flour and all-purpose flour gradually, mixing until a shaggy dough forms.
- Turn the dough out onto a lightly floured surface. Knead for 6 to 8 minutes until the dough is smooth and elastic. It will feel softer than white bread dough.
- Place the dough in a lightly oiled bowl, turning once to coat. Cover the bowl with plastic wrap or a clean towel and let it rise in a warm place for 1 to 1.5 hours, or until doubled in size.
- Gently punch down the risen dough. Shape it into a loaf and place it in a greased 9×5 inch loaf pan.
- Cover the pan loosely and let the dough rise again for 30 to 45 minutes, or until it has risen about 1 inch above the rim of the pan.
- Preheat your oven to 375°F (190°C).
- Bake for 30 to 35 minutes, or until the top is golden brown and the internal temperature reaches 200°F (93°C).
- Remove the bread from the pan immediately and let it cool completely on a wire rack before slicing.
Notes
- For a softer crumb, use bread flour instead of all-purpose flour for the second cup of flour.
- If your kitchen is cold, place the bowl in an oven that is turned off with the light on to create a warm rising spot.
- To check if the bread is done, tap the bottom; it should sound hollow.
Nutrition
- Serving Size: 1 slice
- Calories: 120
- Sugar: 4g
- Sodium: 180mg
- Fat: 2g
- Saturated Fat: 1g
- Unsaturated Fat: 1g
- Trans Fat: 0g
- Carbohydrates: 23g
- Fiber: 3g
- Protein: 5g
- Cholesterol: 5mg