

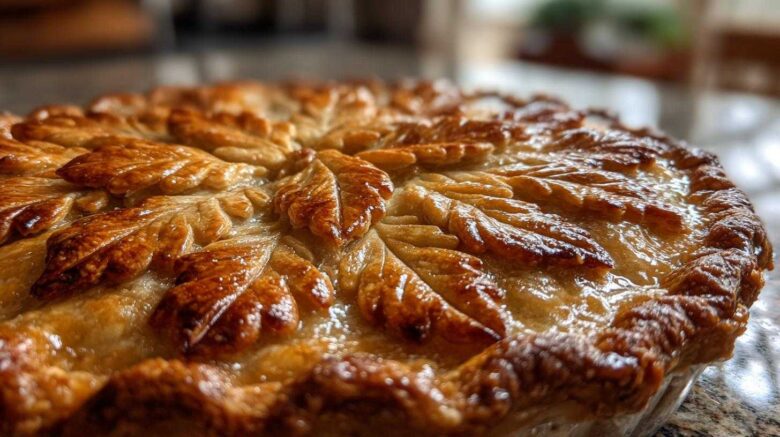
Decorative Leaf Pie Crust Tutorial: Add a Touch of Nature to Your Baking
I’m so excited to share this Decorative Leaf Pie Crust Tutorial with you! It’s a simple way to make any pie feel extra special. Think of it as nature’s artwork for your dessert. Jacob and I love how it transforms a regular pie into something truly memorable. We started this blog, Taste Portfolio, to share these kinds of projects. It’s our collection of delicious moments. My planning and Jacob’s cooking skills blend perfectly here. We hope it inspires you too.
Why You’ll Love This Decorative Leaf Pie Crust Tutorial
This tutorial makes creating a beautiful pie crust so easy. You don’t need to be a pastry chef to wow your guests. Here’s why you’ll adore it:
* **Stunning Visuals:** Your pies will look like they came from a fancy bakery. The leaves add such a natural, elegant touch.
* **Simple to Master:** Even if you’re new to pie making, this leaf design is straightforward. It’s a fun project for anyone.
* **Personalized Touch:** You can customize the look easily. Use different leaf sizes or arrange them in unique patterns.
* **Pure Satisfaction:** There’s nothing quite like the feeling of creating something beautiful with your own hands. This leaf pie crust tutorial brings that joy.
Meet the Curators: Amelia and Jacob’s Baking Journey
Hi, I’m Amelia, and Jacob is my partner. We started Taste Portfolio to share recipes. My love is planning projects. Jacob’s talent is making them delicious. When we met, I was all about the research. Jacob had this natural cooking magic. The kitchen became our creative space. This blog is our story. It’s our collection of culinary successes. We’re here to help you create your own.
Essential Ingredients for Your Decorative Leaf Pie Crust Tutorial
Gathering your ingredients is the first step to a truly beautiful pie! For this Decorative Leaf Pie Crust Tutorial, you won’t need much. It’s all about simple elements that create a stunning effect. I always make sure I have everything ready before I start rolling. It makes the whole process so much smoother, just like Amelia likes her plans!
Pie Crust Dough
You’ll need one recipe of your favorite pie crust dough. Whether you make it from scratch or use a good quality store-bought version, just ensure you have enough for a double-crust pie. This is the canvas for our lovely leaf design.
Egg Wash for a Golden Finish
To get that gorgeous golden-brown color, we’ll whip up a simple egg wash. Just grab one egg and beat it well. Then, mix it with one tablespoon of water. This mixture is what gives our pastry that lovely sheen and inviting color.
Optional Sweetness and Shine
For an extra touch of sparkle and sweetness, you can have one tablespoon of sugar ready. A light sprinkle over the egg-washed leaves before baking adds a delightful crunch and a beautiful, glossy finish. It’s a small detail that makes a big difference!
Step-by-Step Decorative Leaf Pie Crust Tutorial Instructions
Now for the fun part! Let’s get our hands a little floured and create these beautiful leaves. This Decorative Leaf Pie Crust Tutorial is all about making your pies look as good as they taste. Don’t worry if your first few leaves aren’t perfect. Mine certainly weren’t! The joy is in the process.
Rolling and Cutting Your Decorative Leaves
First, grab half of your prepared pie crust dough. On a lightly floured surface, roll it out nice and even. Aim for about 1/8-inch thickness. This is key for the leaves to bake up nicely. Next, use a leaf-shaped cookie cutter. If you don’t have one, no worries! A sharp knife works wonders. Just carefully cut out your leaf shapes. You’ll need plenty to cover your pie.
Assembling Your Leaf Pie Crust Design
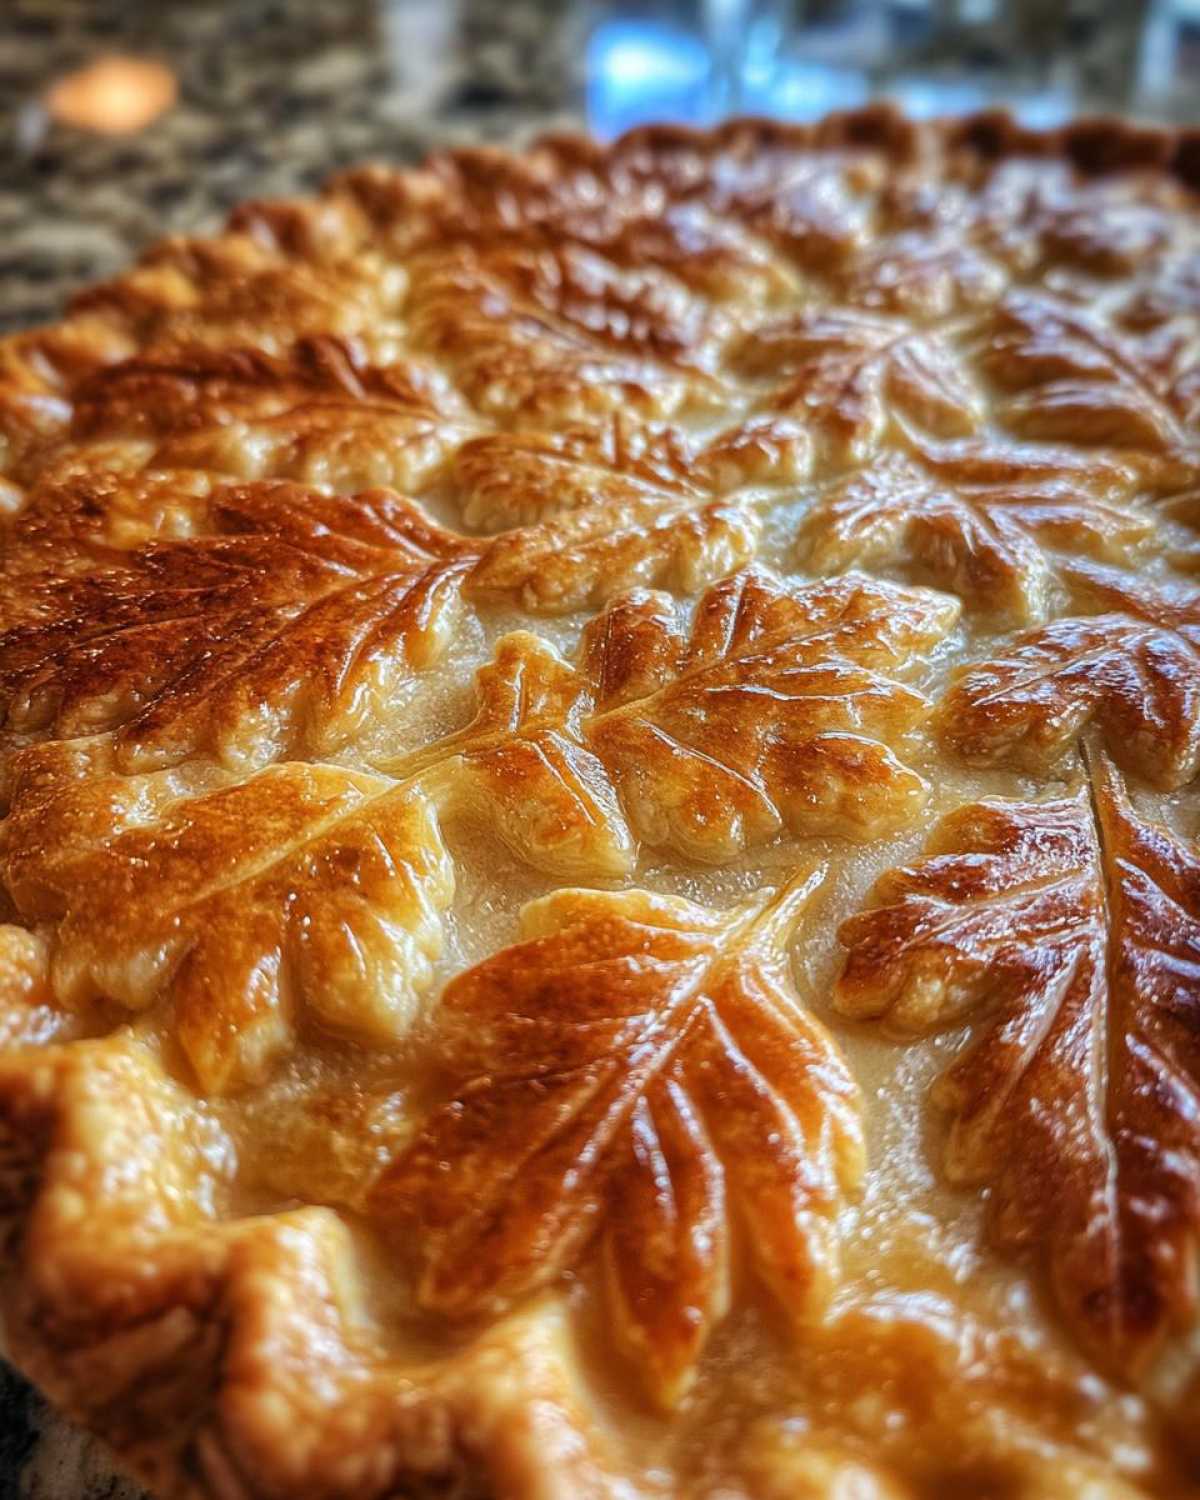
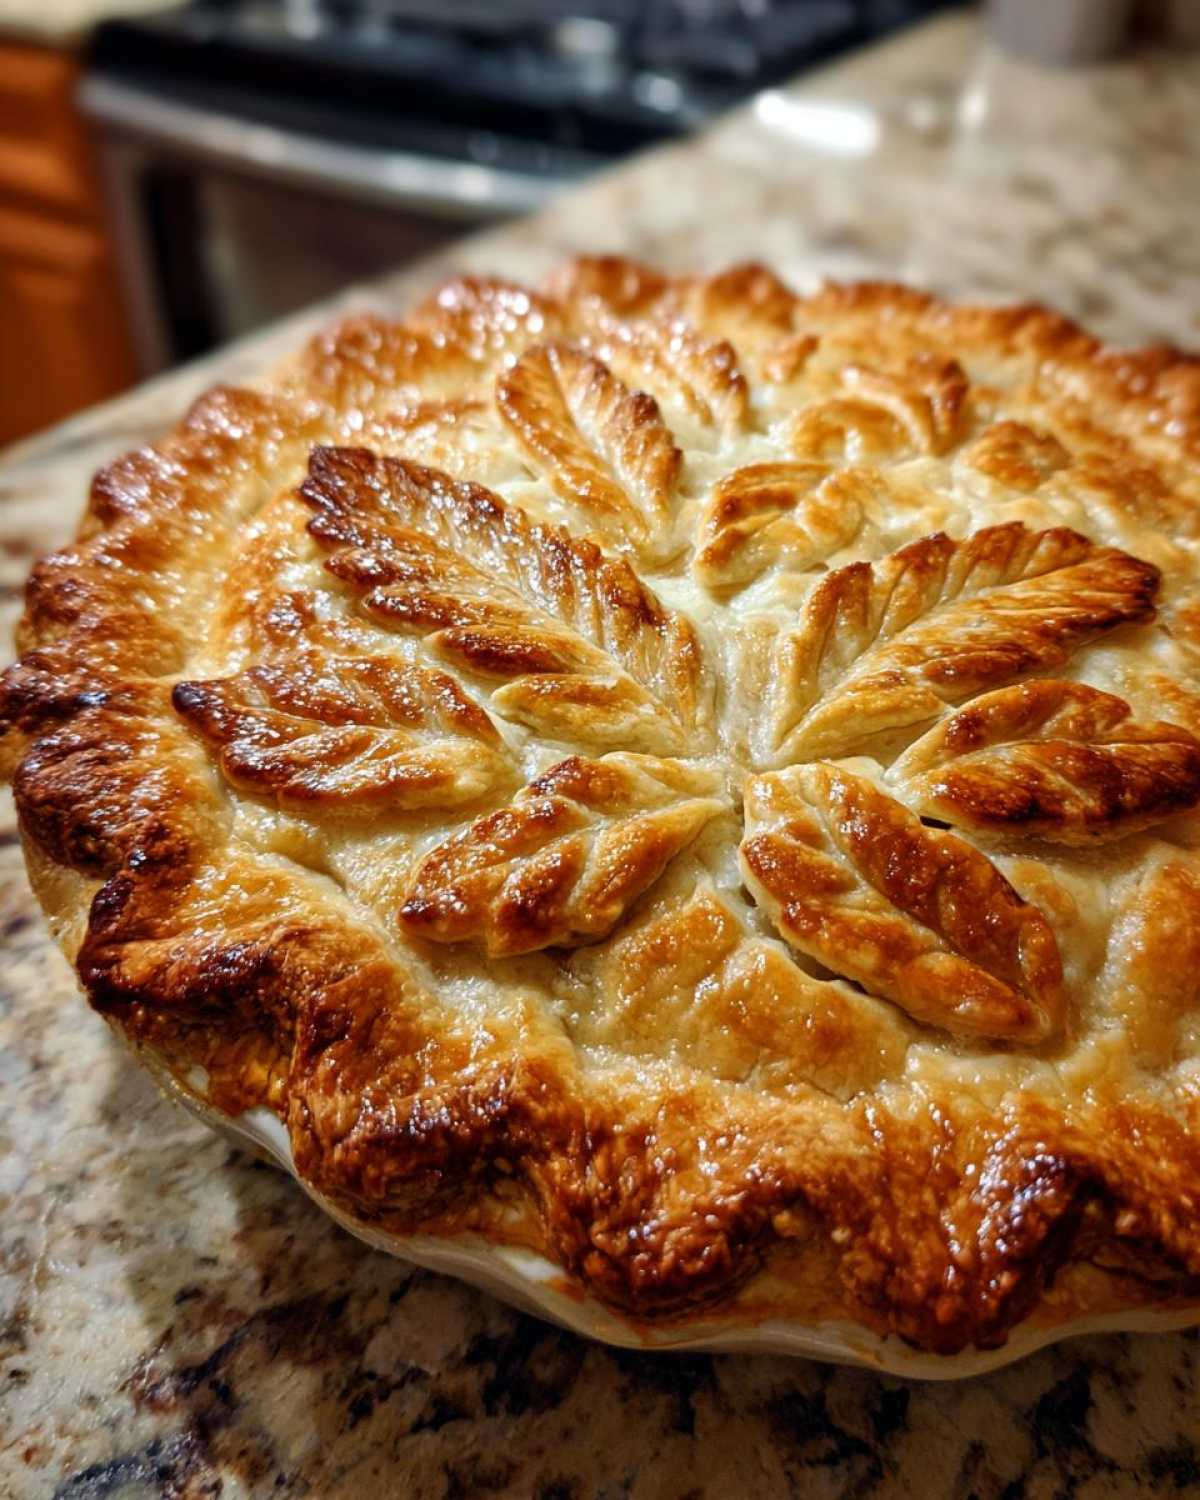
Time to get creative! Place your pie filling into its crust. Now, arrange your cut-out leaves over the top. Overlap them slightly. This creates a full, lush look. You can also make a lovely border around the edge. Think of it like a natural mosaic. I love to vary the sizes of the leaves for more visual interest.
The Finishing Touches: Egg Wash and Sugar
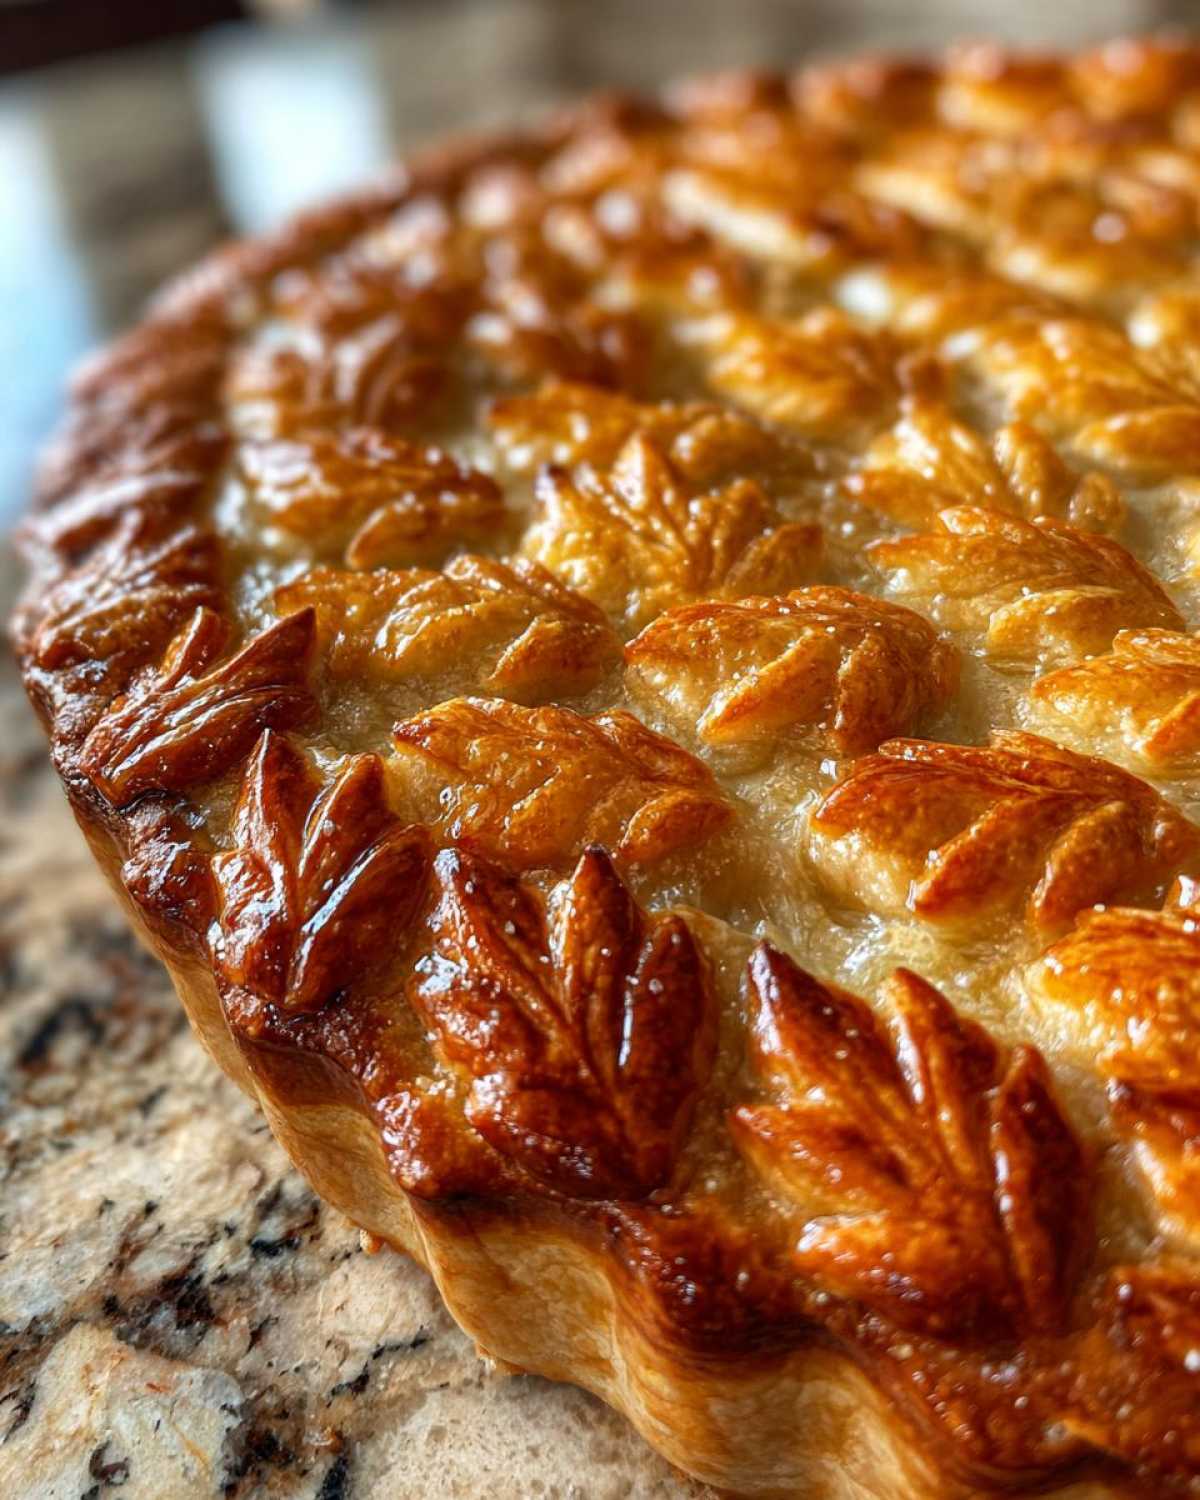
For that irresistible golden glow, we need an egg wash. Whisk one egg with one tablespoon of water. Gently brush this mixture all over your pastry leaves. This step is crucial for color. If you like a little sparkle, sprinkle a tablespoon of sugar over the top. It adds a delightful crunch and shine.
Baking Your Beautifully Decorated Pie
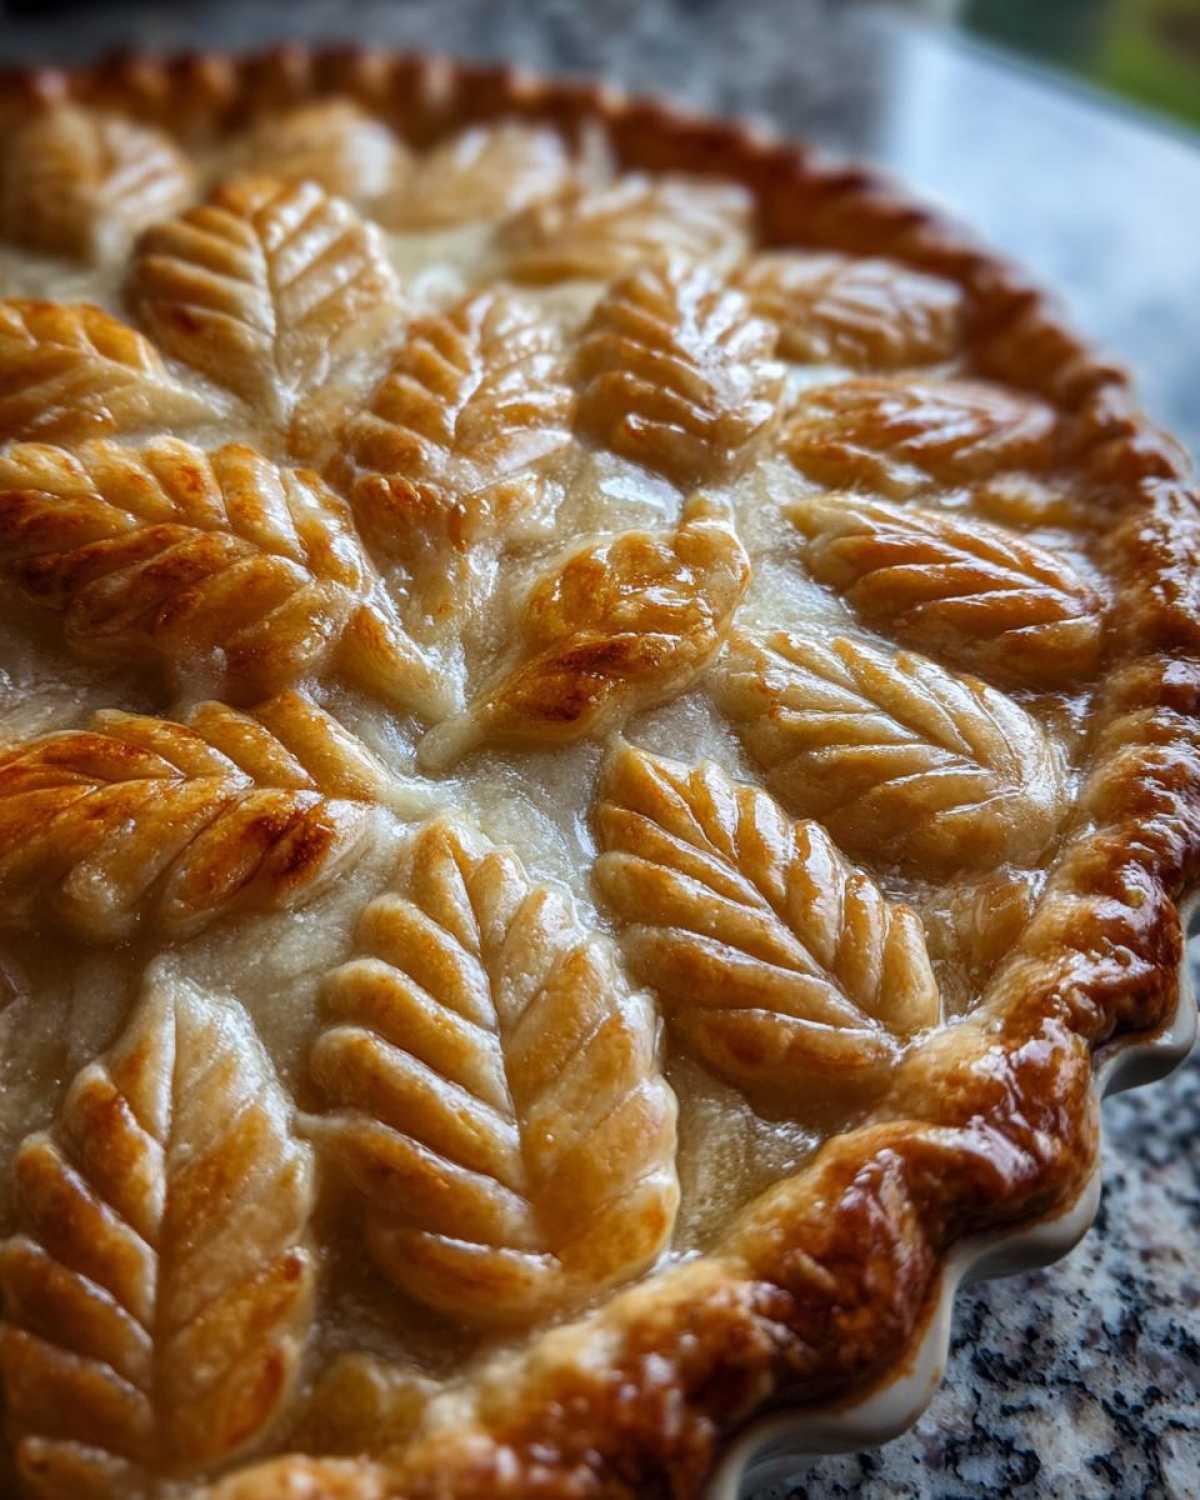
Your pie is ready for the oven! Bake it at 375 to 400 degrees Fahrenheit (190-200 Celsius). Baking time will vary with your pie filling. Usually, it’s about 40-50 minutes. Keep an eye on your beautiful leaves. If they start browning too fast, don’t panic. Loosely tent the pie with foil. This protects the delicate leaves. Continue baking until the crust is a perfect golden brown. Your pie should look amazing!
Pro Tips for a Perfect Decorative Leaf Pie Crust Tutorial
Creating a stunning pie crust is all about the little details. I’ve learned a few tricks over the years that really make a difference. Following this Decorative Leaf Pie Crust Tutorial is great, but these tips will elevate your game. They’re simple, but they truly help your pastry shine.
Chilling for Shape Retention
A little chill time goes a long way! Before you place your cut-out leaves onto the pie, pop them in the freezer for about 5-10 minutes. This firms up the dough. It helps the leaves keep their beautiful shape as they bake. No one wants sad, melted leaves!
Creative Leaf Arrangements
Don’t be afraid to play with your design! Use different sizes of leaf cutters for variety. Arrange them in overlapping rows, like shingles on a roof. Or, create a swirling pattern. You can even make a border of smaller leaves. Let your imagination guide you!
Flavorful Sugar Sprinkle
Want to add an extra layer of flavor? Mix a pinch of cinnamon into the tablespoon of sugar you use for sprinkling. It gives the leaves a warm, spiced aroma and taste. It’s a small addition that really complements fruit fillings.
Frequently Asked Questions about Your Decorative Leaf Pie Crust Tutorial
Have questions about our Decorative Leaf Pie Crust Tutorial? I get it! Sometimes the simplest things have a few tricky bits. Jacob and I have fielded a few questions ourselves. Let’s clear them up!
Can I use store-bought pie crust for this tutorial?
Absolutely! Store-bought pie crust is totally fine. It saves time. Just make sure it’s a good quality one. It should roll out nicely. You might find it a bit less forgiving than homemade. But it works great for this leaf design.
How do I prevent the leaves from burning?
Ovens can be tricky. If your leaves are browning too fast, loosely cover the pie. Use aluminum foil. Tent it over the top. This shields the delicate pastry. Keep the oven temperature steady. Watch it closely during baking.
What other shapes can I use for a decorative pie crust?
Leaves are lovely, but you’re not limited! Try little stars or hearts. You can also use flower cutters. Even simple circles or braids look nice. Get creative with cookie cutters. Or just use a knife for freehand designs. It’s your pie, make it yours!
Serving Suggestions for Your Decorative Leaf Pie Crust Tutorial
This beautiful pie, made with our Decorative Leaf Pie Crust Tutorial, is a star on its own. But what’s a slice of pie without its perfect companions? I love serving a slice of this pie with a generous dollop of freshly whipped cream. It’s light and airy. It perfectly complements the rich pastry. A small scoop of vanilla bean ice cream is also divine. The contrast of warm pie and cold ice cream is just heavenly. For a touch of tartness, a small side of raspberry coulis works wonderfully. It adds a pop of color and flavor. Enjoy every bite!
Storing and Reheating Your Decorative Leaf Pie Crust Creation
Leftover pie is a treasure! To keep your decorative leaf pie crust creation tasting its best, proper storage is key. Once the pie has cooled completely, cover it snugly with plastic wrap or aluminum foil. You can also transfer it to an airtight container. Store it at room temperature for up to two days if your kitchen isn’t too warm. For longer storage, refrigerate it. It will stay good for about 3-4 days. Reheating is simple! Gently warm individual slices in a moderate oven, around 300°F (150°C), until just heated through. This helps keep the crust from getting soggy.
Disclaimer on Nutritional Information
For this Decorative Leaf Pie Crust Tutorial, specific nutritional information is not provided. Actual values can vary greatly. This depends on the pie crust recipe you use. It also depends on the pie filling and any added ingredients. We focus on the artistry of the crust! You can find more information on our disclaimer page.
PrintDecorative Leaf Pie Crust Tutorial: 1 Easy Bake

Learn how to create beautiful decorative leaf pie crusts with this easy-to-follow tutorial. Perfect for adding a special touch to your pies!
- Prep Time: 30 minutes
- Cook Time: 40-50 minutes
- Total Time: 70-80 minutes
- Yield: 1 pie crust
- Category: Baking
- Method: Baking
- Cuisine: American
- Diet: Vegetarian
Ingredients
- 1 recipe pie crust dough
- 1 egg, beaten (for egg wash)
- 1 tablespoon water (for egg wash)
- 1 tablespoon sugar (optional, for sprinkling)
Instructions
- Prepare your pie crust dough according to your favorite recipe.
- On a lightly floured surface, roll out half of the pie crust dough to about 1/8-inch thickness.
- Using a leaf-shaped cookie cutter or a knife, cut out leaf shapes from the dough. You’ll need enough leaves to cover your pie.
- Prepare the egg wash by whisking together the beaten egg and 1 tablespoon of water.
- Arrange the pie crust leaves over your pie filling, overlapping them slightly for a full coverage effect. You can also create a decorative border.
- Brush the leaves with the egg wash.
- If desired, sprinkle the leaves with sugar for a sweet, shiny finish.
- Bake your pie according to your recipe’s instructions, usually at 375-400°F (190-200°C).
- Check the pie crust halfway through baking and cover loosely with foil if it starts to brown too quickly.
- Continue baking until the crust is golden brown and the filling is bubbly.
Notes
- You can use different sizes of leaf cutters for variety.
- Experiment with different arrangements of the leaves to create unique patterns.
- Chill the cut-out leaves for a few minutes before applying them to the pie to help them hold their shape during baking.
- Consider adding a pinch of cinnamon to the sugar for an extra flavor.
Nutrition
- Serving Size: 1 slice
- Calories: N/A
- Sugar: N/A
- Sodium: N/A
- Fat: N/A
- Saturated Fat: N/A
- Unsaturated Fat: N/A
- Trans Fat: N/A
- Carbohydrates: N/A
- Fiber: N/A
- Protein: N/A
- Cholesterol: N/A