

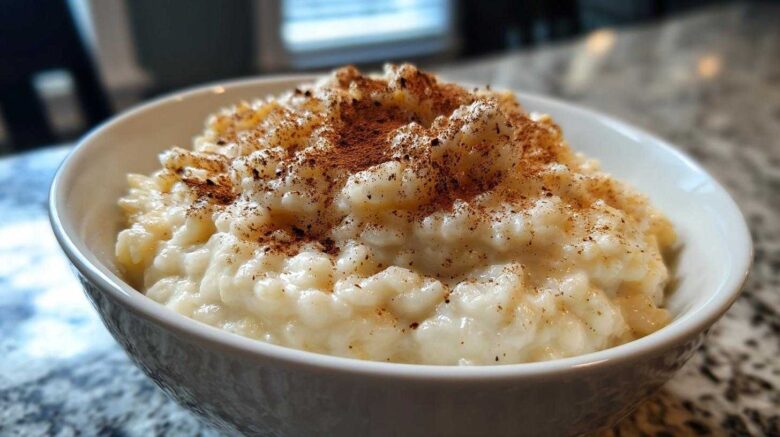
When Jacob first tried to make me a comforting dessert, my meticulously planned spreadsheets didn’t cover the lumps. But this classic rice pudding? This recipe is different. It’s the perfect marriage of my planning and his intuition. We worked hard on this version. We wanted that ultimate creamy, old-fashioned flavor. This stovetop method delivers pure nostalgia every single time. It’s simple, truly. Every spoonful feels like a warm hug we cooked up together. This is our masterpiece.
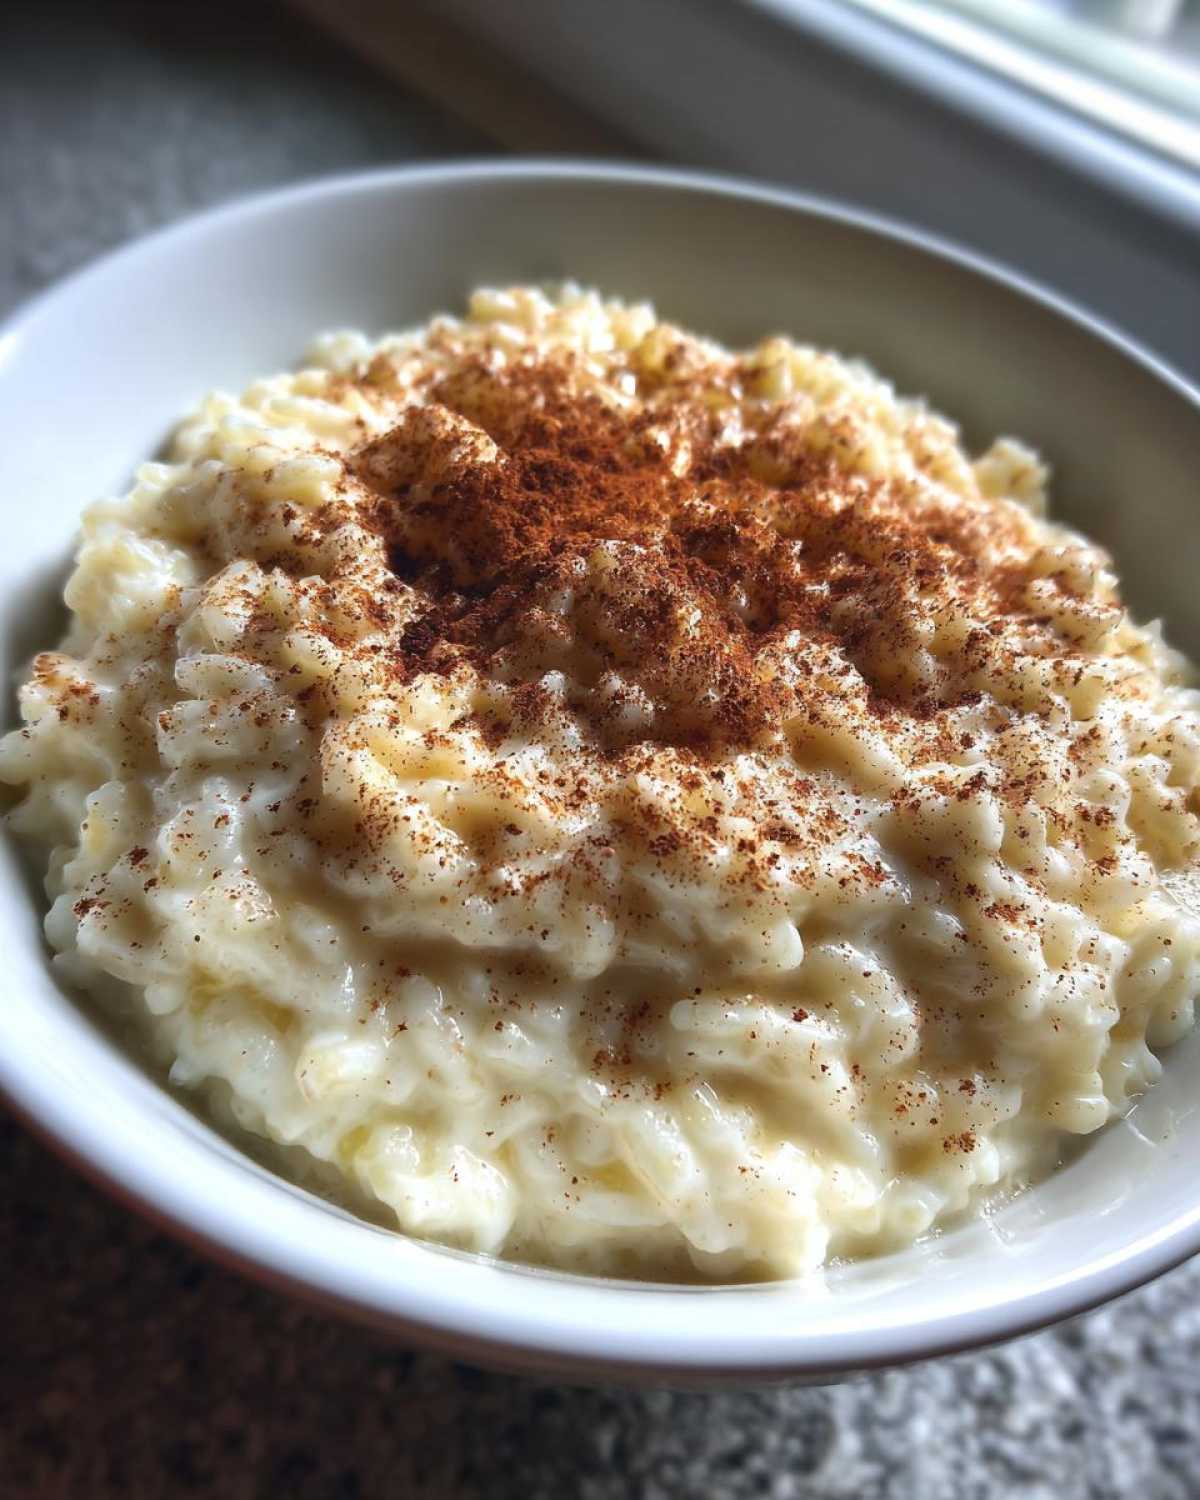
Why This Creamy Old-Fashioned Rice Pudding Belongs in Your Taste Portfolio
This dish is more than just dessert for us. It’s a finished project.
You need this recipe in your collection because it is easy.
It gives you that comforting, nostalgic flavor.
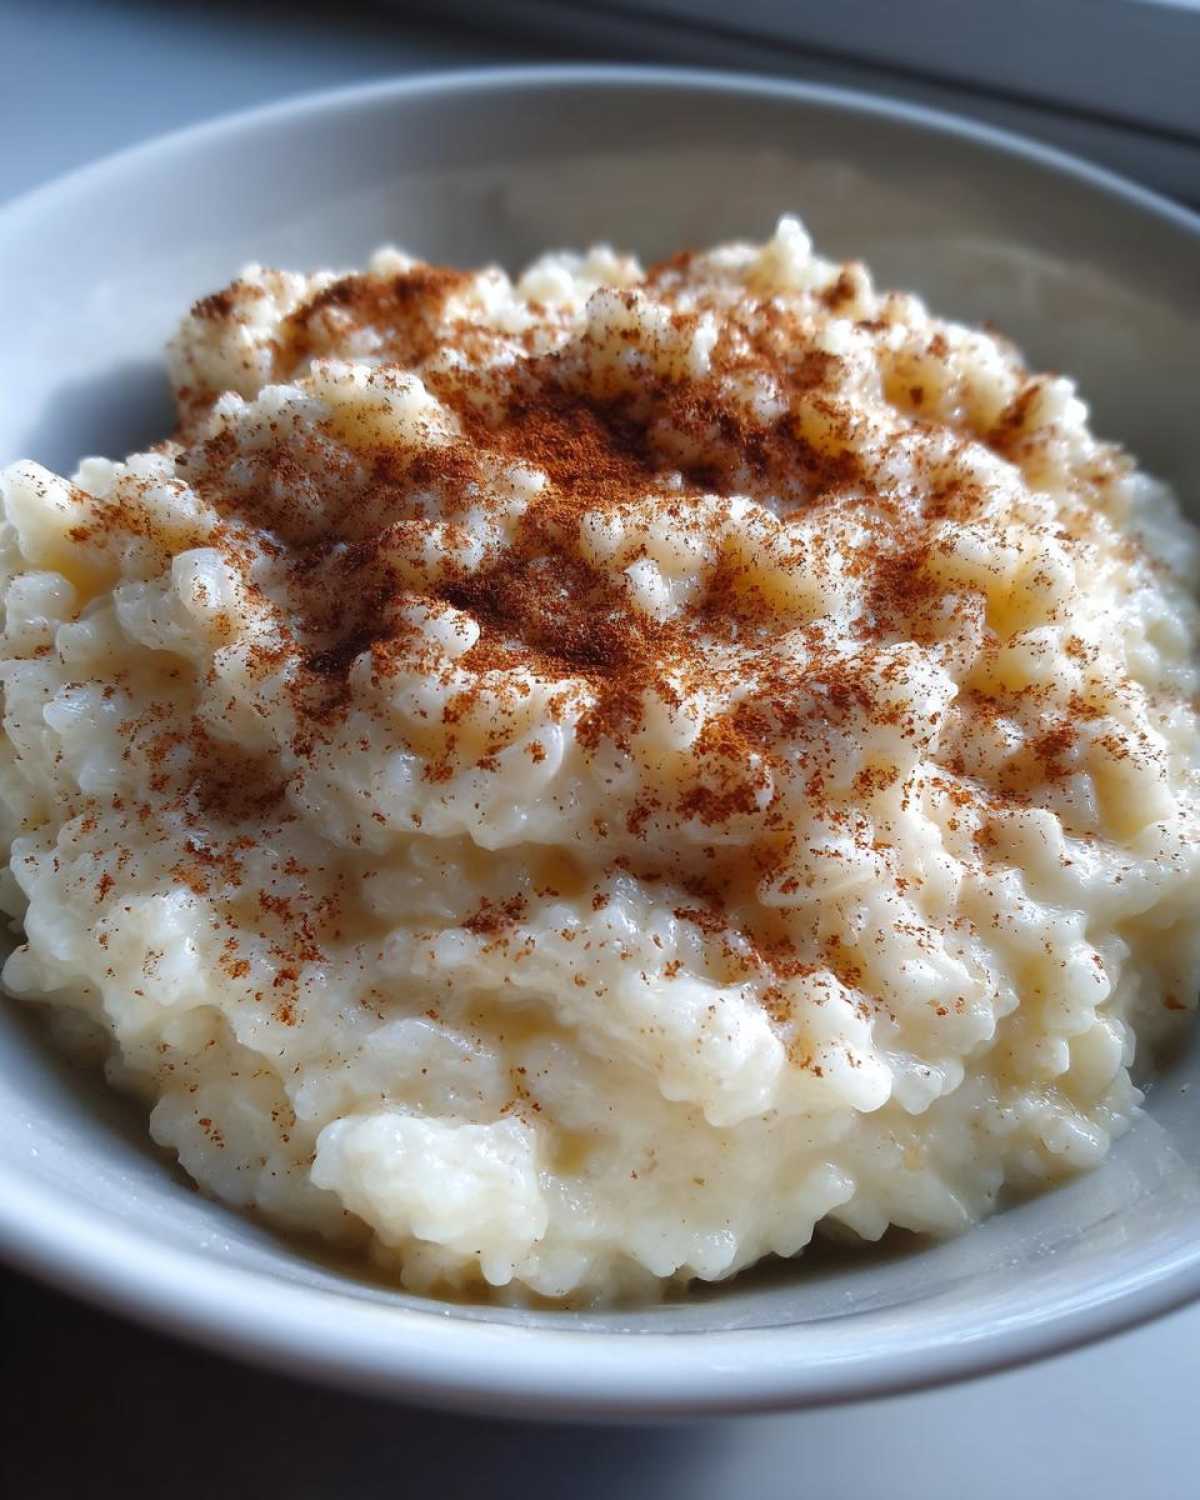
Think of the texture, so incredibly smooth.
- It uses basic ingredients you already have.
- The texture is unmatchedly creamy.
- It brings back those cozy memories.
Quick Preparation Details for Your Rice Pudding
Here are the quick facts for your planning sheet.
- Prep Time: 5 minutes
- Cook Time: 60 minutes
- Total Time: 65 minutes
- Yield: 4 servings
Equipment Required for Perfect Stovetop Rice Pudding
To nail this stovetop rice pudding, grab these few tools.
A heavy-bottomed saucepan is a must-have.
It stops the milk from scorching underneath.
You’ll need a whisk for tempering.
Also, gather measuring cups and spoons.
A wooden spoon works great for stirring.
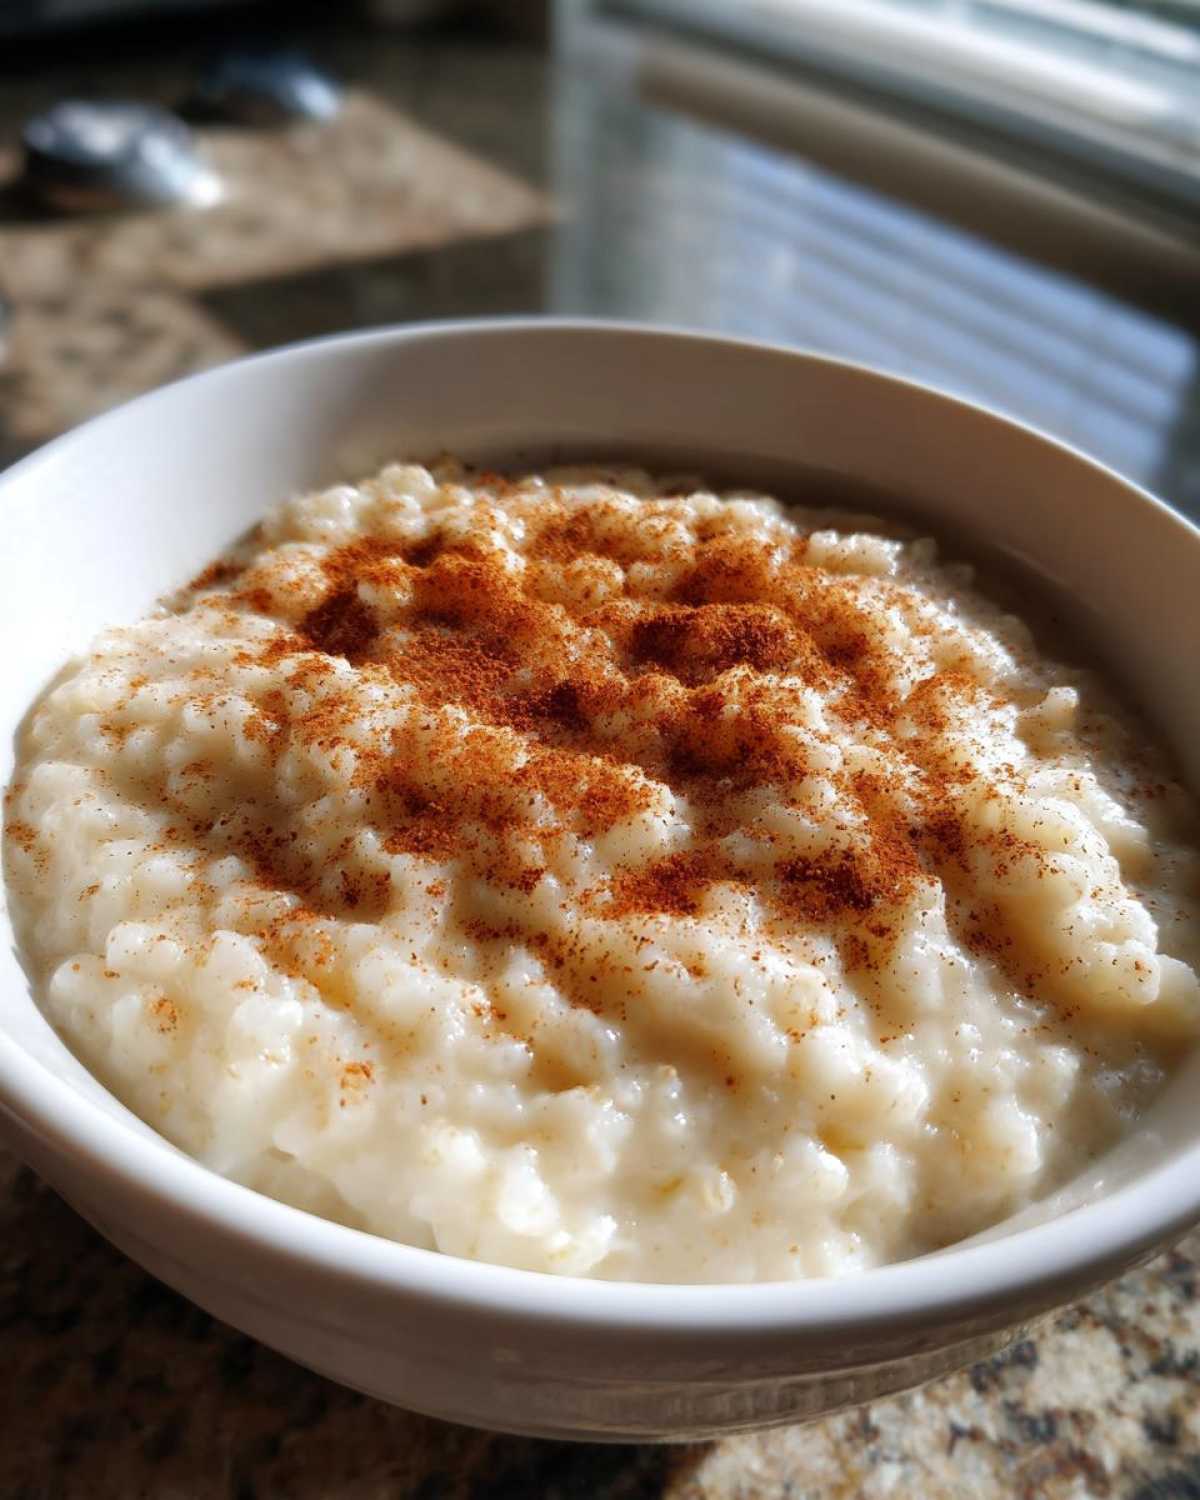
Ingredients for the Best Creamy Rice Pudding
We keep this list short and sweet. That’s part of the magic.
You only need a few things for this classic dessert.
Remember the rice type matters greatly.
- 1/2 cup short-grain white rice
- 4 cups whole milk (don’t skimp here!)
- 1/2 cup granulated sugar
- 1 large egg, make sure it’s lightly beaten
- 1 teaspoon vanilla extract
- Pinch of salt
- Ground cinnamon, just for sprinkling on top
Using short-grain rice gives us that signature creamy result.
Step-by-Step Instructions for Old-Fashioned Rice Pudding
Now we move from planning to action. This is where the magic happens on your stove. Follow these steps closely.
Good things take time, especially in the kitchen.
We are building flavor slowly and carefully.
Initial Simmering and Thickening Your Rice Pudding
- First, combine your rice, milk, and salt. Use that heavy-bottomed pan we talked about.
- Next, bring the mixture up to a gentle simmer. Use medium heat for this part.
- Stirring often is non-negotiable here. This stops the rice from sticking to the bottom.
- Once it simmers, drop the heat way down low. Cook slowly for 45 to 60 minutes.
- Keep stirring every five to ten minutes. You want the rice tender. The mixture thickens lots.
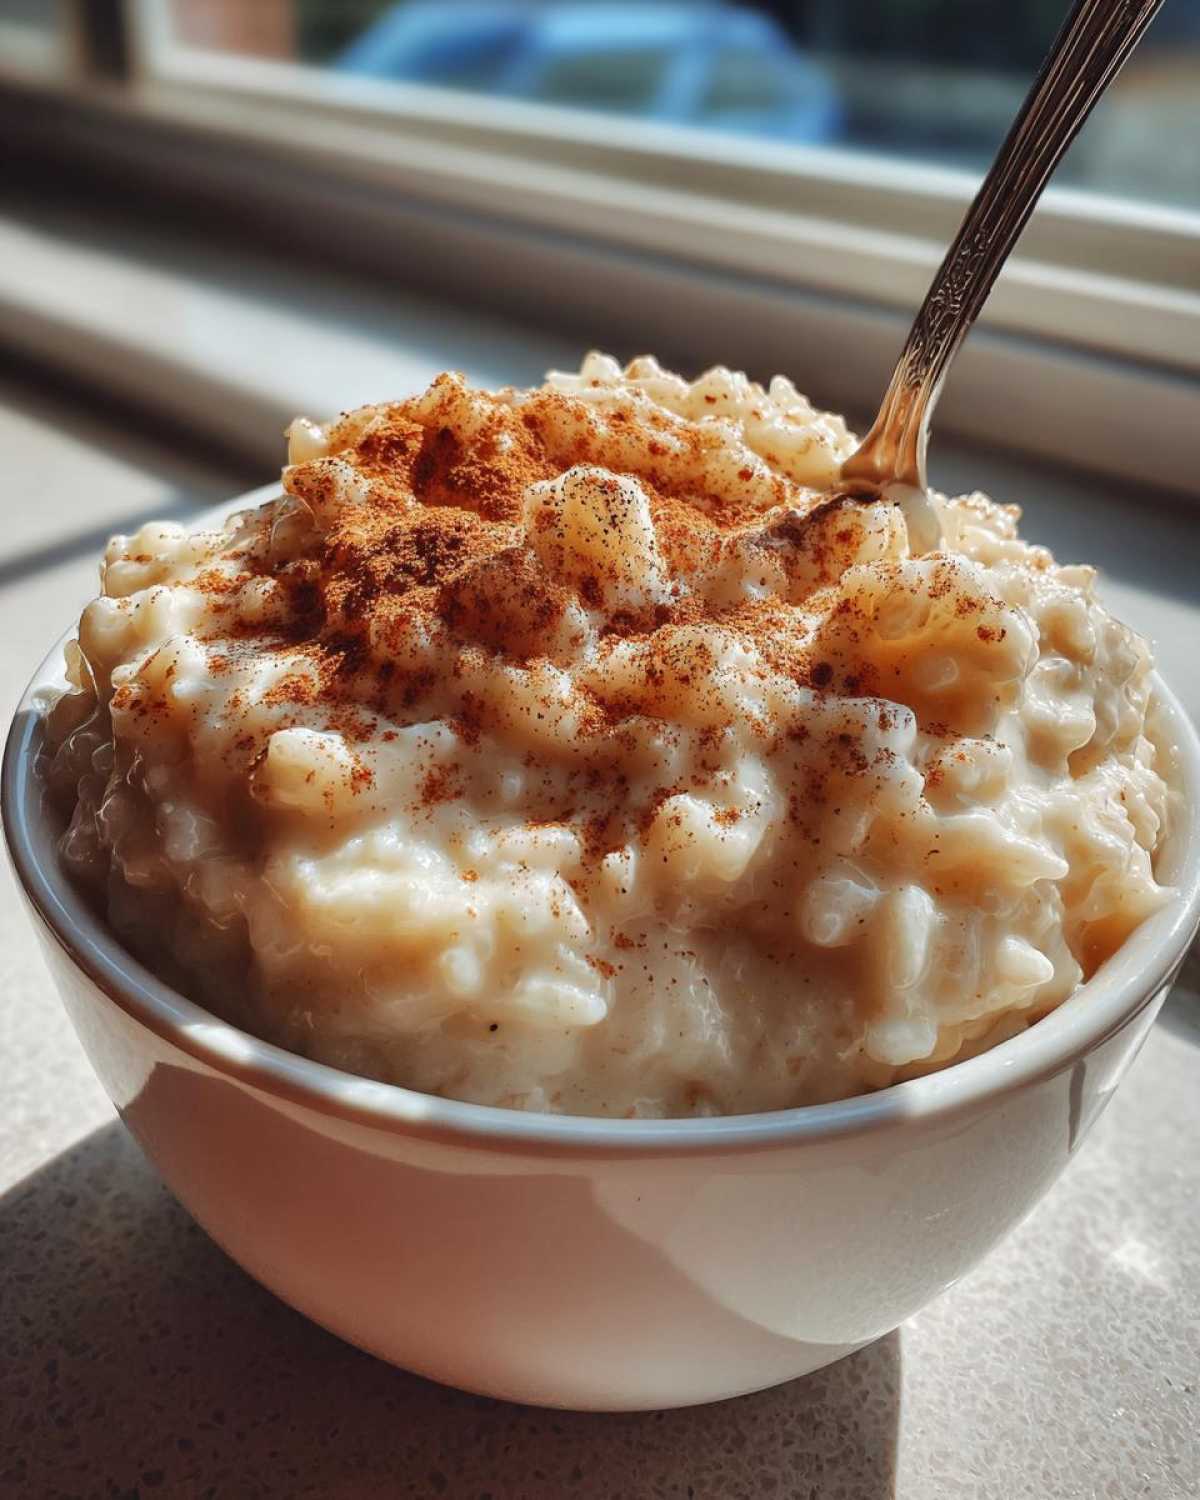
Tempering the Egg for Smooth Rice Pudding
This next part ensures you get smooth, not scrambled, pudding.
- Take the pan off the heat source completely.
- Temper your lightly beaten egg now. Slowly whisk about half a cup of hot rice liquid into the egg.
- This careful step gradually warms the egg gently.
- Now, pour that warmed egg mixture back into the main saucepan. Stir quickly and constantly.
- Return the pan to very low heat. Cook for just one or two minutes more. Watch it closely.
- Crucially, do not let this pudding boil after adding that egg in. That ruins the texture.
Finishing and Serving Your Classic Rice Pudding
We are almost at the finish line of this project.
- Remove the entire pan from the heat again.
- Stir in your teaspoon of vanilla extract right now.
- You can serve this warm immediately. Or, chill it completely for later enjoyment.
- Sprinkle ground cinnamon generously over the top before serving. Enjoy your success!
Expert Tips for Mastering Your Rice Pudding Texture
Jacob always says the secret hides in the details. I agree completely.
Getting that perfectly creamy texture takes a little insider knowledge.
We learned these tricks through many practice batches.
For the best results, choose your grain wisely.
- This recipe shines brightest with short-grain white rice. Arborio is a fantastic choice for creaminess.
- Remember that constant, frequent stirring is absolutely essential. It prevents scorching.
- Don’t worry if it looks a little loose when you turn off the heat.
- The pudding thickens significantly more as it cools down. That’s natural physics at work!
- If you chill it and it gets too firm later, just add a splash of milk when reheating.
Following these small steps builds great culinary trust.
Frequently Asked Questions About Creamy Rice Pudding
I know you might have a few lingering questions. That’s normal for a new project.
We’ve gathered the most common things people ask us.
Here are the answers about making perfect stovetop rice pudding.
Can I use long-grain rice instead of short-grain?
You can try it, but I advise against it for this recipe. Short-grain rice releases more starch. This starch is what creates that wonderful, thick, creamy texture we love in this classic dessert. Understanding the different types of rice can help you choose the best grain for any dish.
Why is my pudding burning on the bottom?
This usually means your heat is too high. Low and slow is the mantra here. You must stir frequently, especially during that long cooking time. A heavy-bottomed pan really helps prevent hot spots.
How long does this dessert keep in the fridge?
It stays fresh for about four days in an airtight container. Remember what I said about thickening as it cools? Plan to add a splash of milk when you reheat it later.
Do I really need to temper the egg?
Yes, absolutely! Tempering prevents the egg from scrambling upon contact with the hot liquid. It’s a small step for a perfectly smooth finish. Techniques like tempering are crucial for smooth sauces and custards.
Storing and Reheating Your Leftover Rice Pudding
What happens when you have too much amazing dessert? You save it, of course!
Store any remaining creamy rice pudding properly.
Use an airtight container in the refrigerator.
It keeps well for about four days total.
When you reheat it, it will be quite thick.
Add a splash of whole milk to reach that original consistency again.
This simple fix brings back the creamy dream.
Sharing Your Perfect Rice Pudding Project
You followed the plan, and now you have success!
We hope this creamy dessert made your day.
Tell us how your cooking project turned out.
Rate this recipe right below this text.
Share your photos with us online.
Amelia and Jacob love seeing your results!
PrintCraving creamy rice pudding : 1 fail-proof recipe

Achieve the ultimate creamy, old-fashioned stovetop rice pudding. This classic recipe, perfected through careful planning and intuitive cooking, delivers comforting nostalgia in every spoonful. It is simple to make and yields a wonderfully smooth texture.
- Prep Time: 5 minutes
- Cook Time: 60 minutes
- Total Time: 65 minutes
- Yield: 4 servings
- Category: Dessert
- Method: Stovetop
- Cuisine: American
- Diet: Vegetarian
Ingredients
- 1/2 cup short-grain white rice
- 4 cups whole milk
- 1/2 cup granulated sugar
- 1 large egg, lightly beaten
- 1 teaspoon vanilla extract
- Pinch of salt
- Ground cinnamon, for serving
Instructions
- Combine rice, milk, and salt in a heavy-bottomed saucepan.
- Bring the mixture to a gentle simmer over medium heat, stirring frequently to prevent sticking.
- Reduce heat to low once simmering. Continue to cook slowly for 45 to 60 minutes, stirring every 5 to 10 minutes. The rice should be tender and the mixture should thicken considerably.
- Remove the saucepan from the heat. Temper the egg by slowly whisking about 1/2 cup of the hot rice mixture into the beaten egg in a separate bowl.
- Pour the tempered egg mixture back into the saucepan, stirring quickly and constantly.
- Return the pan to very low heat and cook for 1 to 2 minutes more, stirring constantly, until the pudding thickens slightly more. Do not allow it to boil after adding the egg.
- Remove from heat and stir in the vanilla extract.
- Serve warm or chill completely. Sprinkle with cinnamon before serving.
Notes
- This recipe works best with short-grain rice, like Arborio, for maximum creaminess.
- Stirring often is key to achieving a smooth texture and avoiding scorching the bottom.
- The pudding will thicken more as it cools. Adjust milk if reheating later.
Nutrition
- Serving Size: 1 serving
- Calories: 320
- Sugar: 25g
- Sodium: 110mg
- Fat: 8g
- Saturated Fat: 4.5g
- Unsaturated Fat: 3.5g
- Trans Fat: 0g
- Carbohydrates: 55g
- Fiber: 1g
- Protein: 10g
- Cholesterol: 70mg