

Welcome to our kitchen studio! I’m Amelia, the planner here.
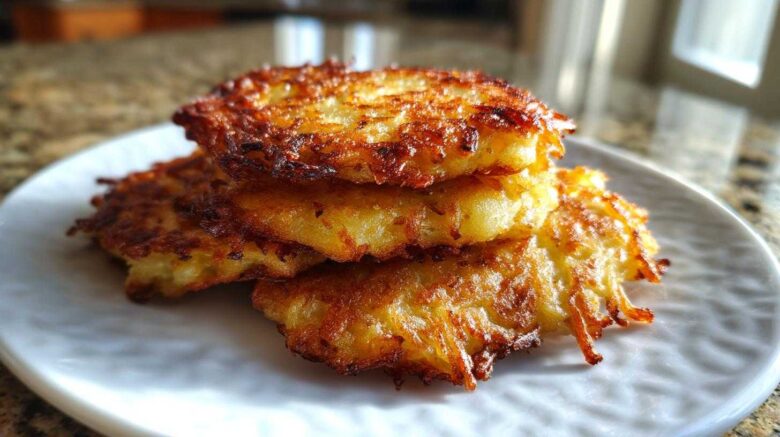
Jacob and I love sharing our best projects. Today, that means perfect potato latkes.
Forget those limp, oily disappointments you’ve had before. We cracked the code.
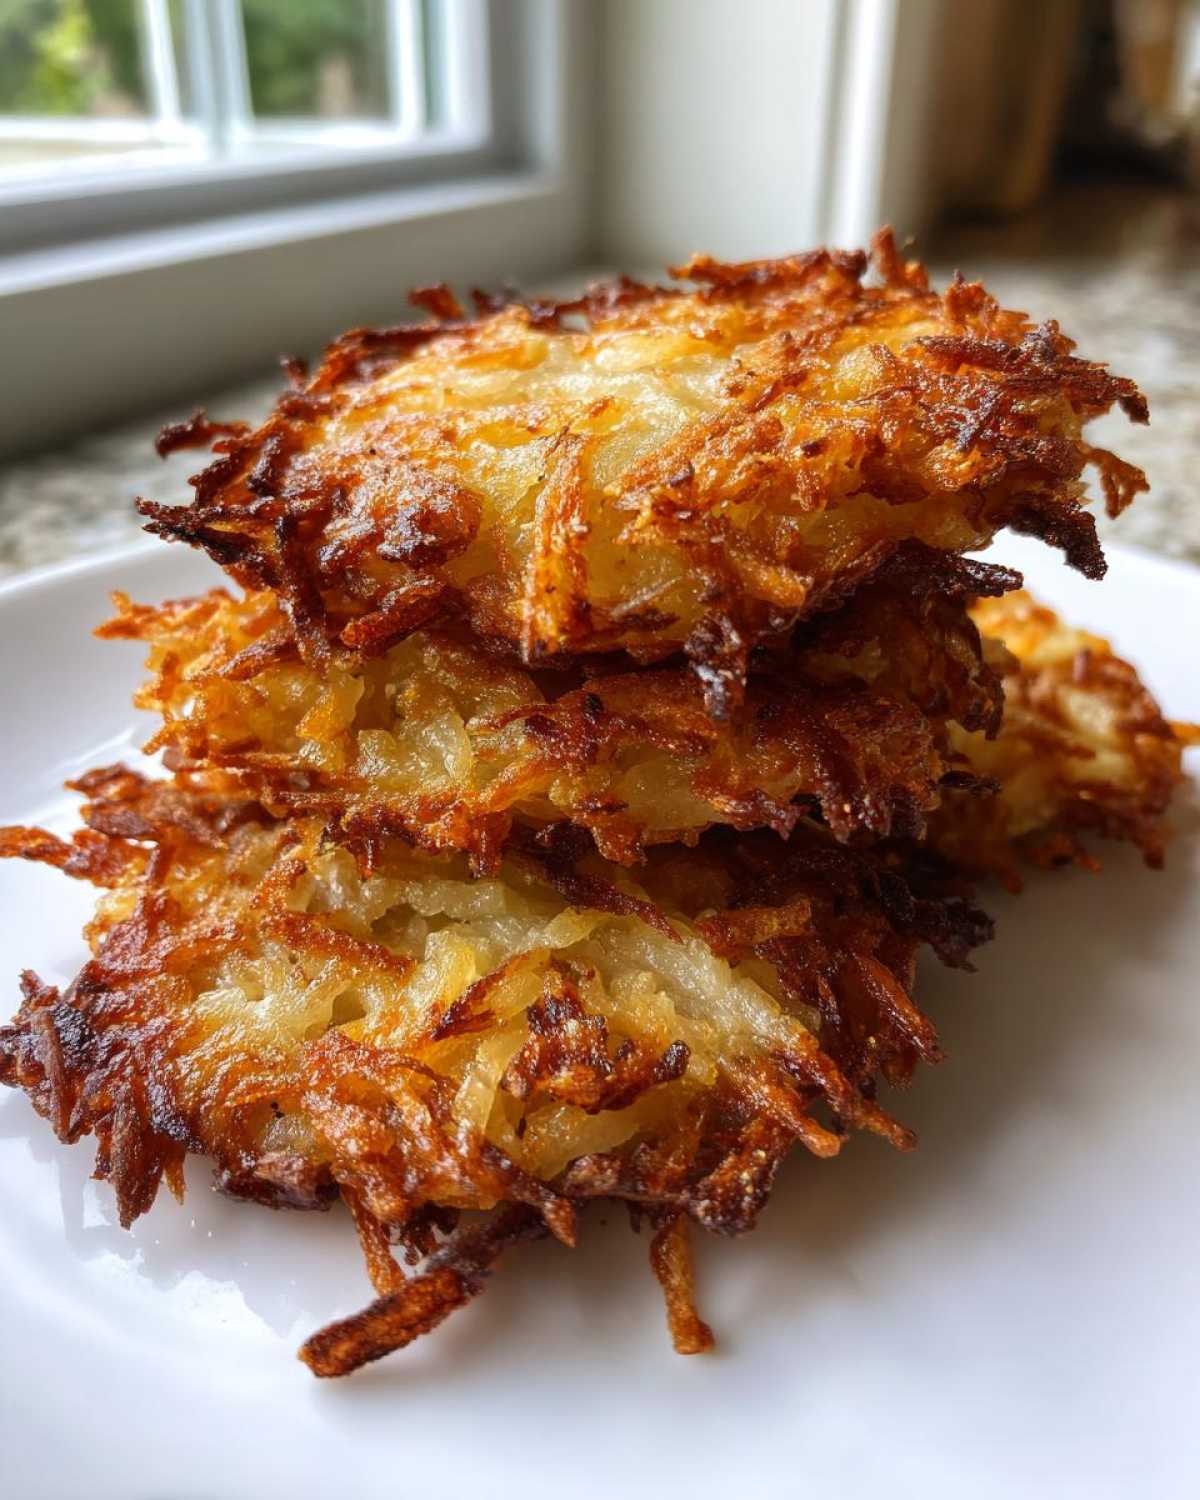
Our method guarantees shatteringly crispy edges. The inside stays wonderfully tender, too.
This recipe solves the main problem plaguing fried potato pancakes.
I used to just organize takeout menus, remember? Jacob changed everything.
He taught me that true culinary success comes from mastering the fundamentals.
These potato latkes are now the star of our holiday table.
They are a true portfolio success story for us.
Get ready for the crispiest version you’ve ever tasted.
Let’s start this delicious project right now.
Why You Will Make Perfect potato latkes
I’ve spent hours researching frying science. Jacob brings the instinct to the table.
Together, we perfected this technique for you.
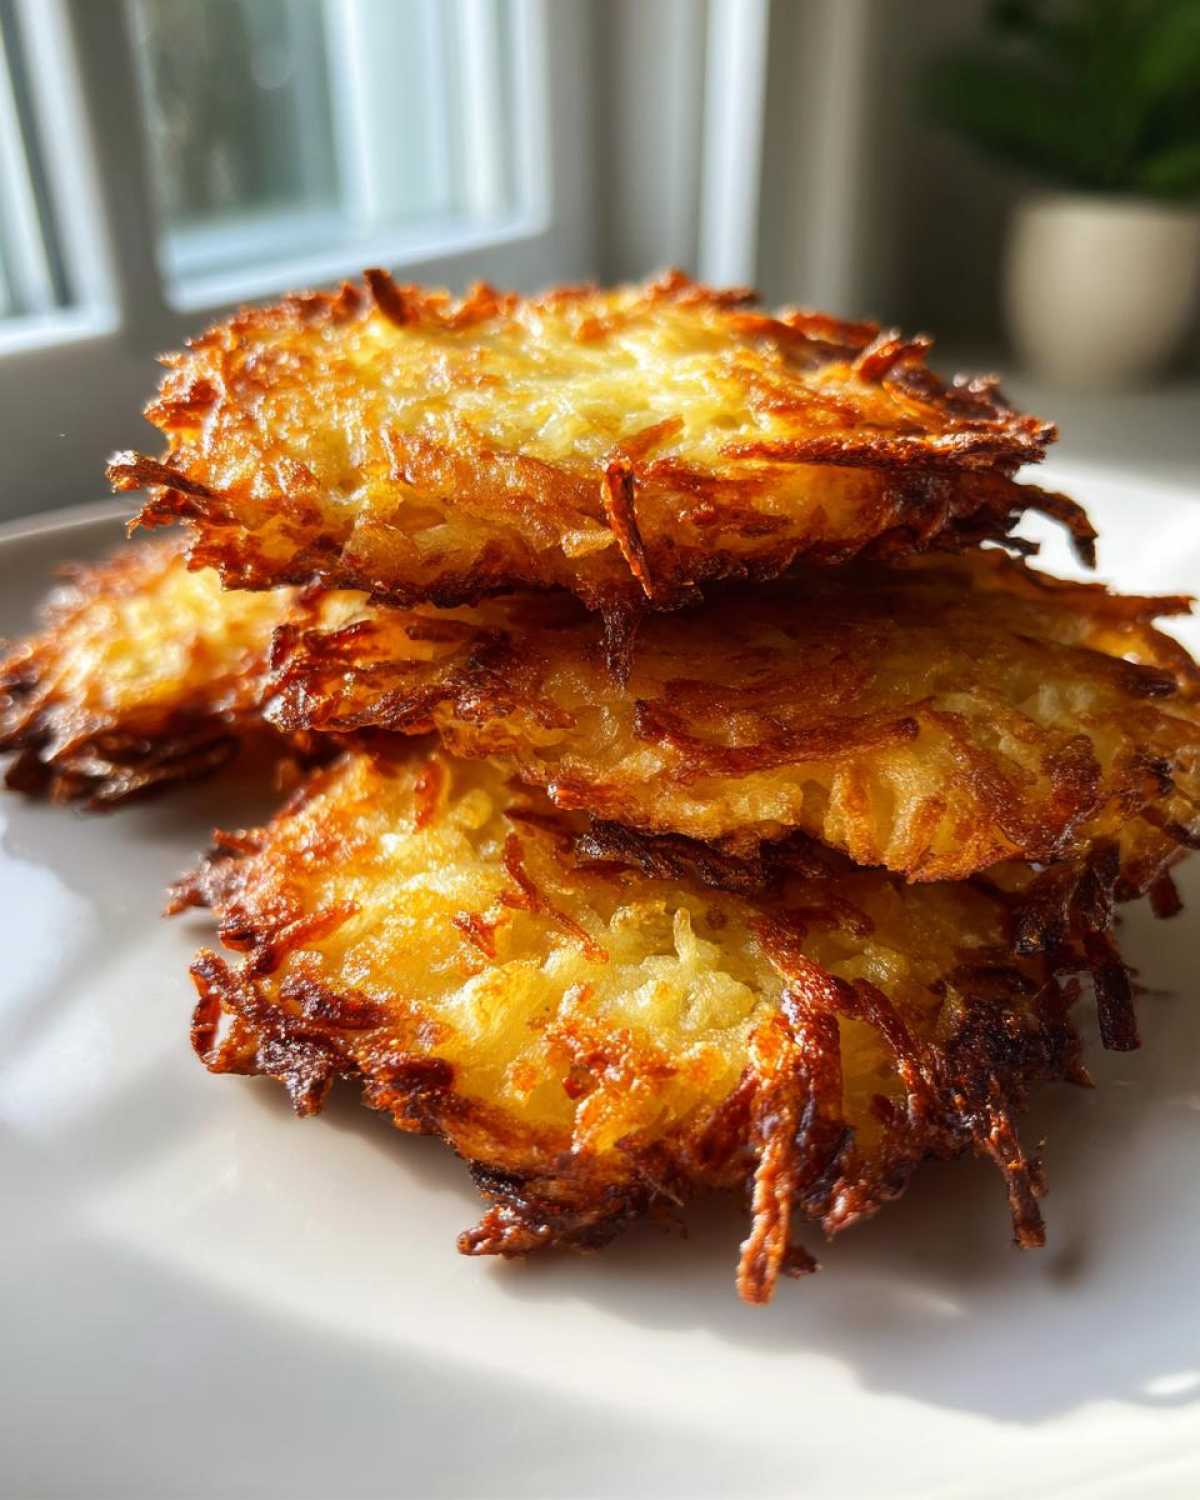
This recipe delivers that incredible, shatteringly crisp exterior.
It’s what every great Hanukkah recipe promises.
We focused intensely on texture, not just flavor.
Trust the process we developed over many kitchen experiments.
Our Secret to Crispy potato latkes
Soggy latkes are the absolute worst, right?
They soak up oil like little sponges.
That happens when you leave too much water behind.
We attack moisture immediately after grating.
You must twist that grated potato and onion mixture tight.
Squeeze every drop out using a towel or cheesecloth.
Essential Equipment for Making potato latkes
You don’t need fancy gadgets for these beauties.
A good box grater is your best friend here.
You’ll also need a heavy-bottomed skillet for even heating.
Grab a clean kitchen towel or cheesecloth.
A slotted spoon and a wire rack are also necessary.
These tools help us achieve that perfect crisp.
Gathering Ingredients for Your potato latkes
Let’s get our supplies ready for this project.
We need three large russet potatoes, peeled first.
Grab one medium yellow onion, also peeled.
Two large eggs get lightly beaten for binding.
A quarter cup of flour thickens the batter slightly.
Don’t forget the salt and pepper for seasoning.
We use plenty of vegetable or canola oil for frying.
Step-by-Step Instructions for Amazing potato latkes
Now for the fun part: turning those ingredients into gold.
Follow these steps closely for the best results.
We are aiming for that signature crunch, remember?
Precision matters when frying savory side dishes like this.
Preparation: Grating and Drying the Mixture
First, grate those potatoes and the onion using the large holes.
I like using the box grater for good texture.
Next, move the grated items to a clean kitchen towel.
Twist that towel really tightly over the sink area.
You must squeeze out every bit of excess liquid.
This drying step guarantees your latkes will be crispy.
Mixing and Oil Temperature for potato latkes
Put the dried potato mix into a large bowl now.
Gently add the beaten eggs and the flour.
Mix everything lightly until it’s just combined.
Overmixing can make these pancakes tough, so stop quickly.
Pour oil into your heavy skillet, about one inch deep.
Heat the oil to 350 degrees Fahrenheit, or 175 Celsius.
Frying Technique for Maximum Crispness
Drop heaping tablespoons of the mixture into the hot oil.
Use the back of your spoon to flatten them slightly.
Don’t crowd the pan; fry in small batches only.
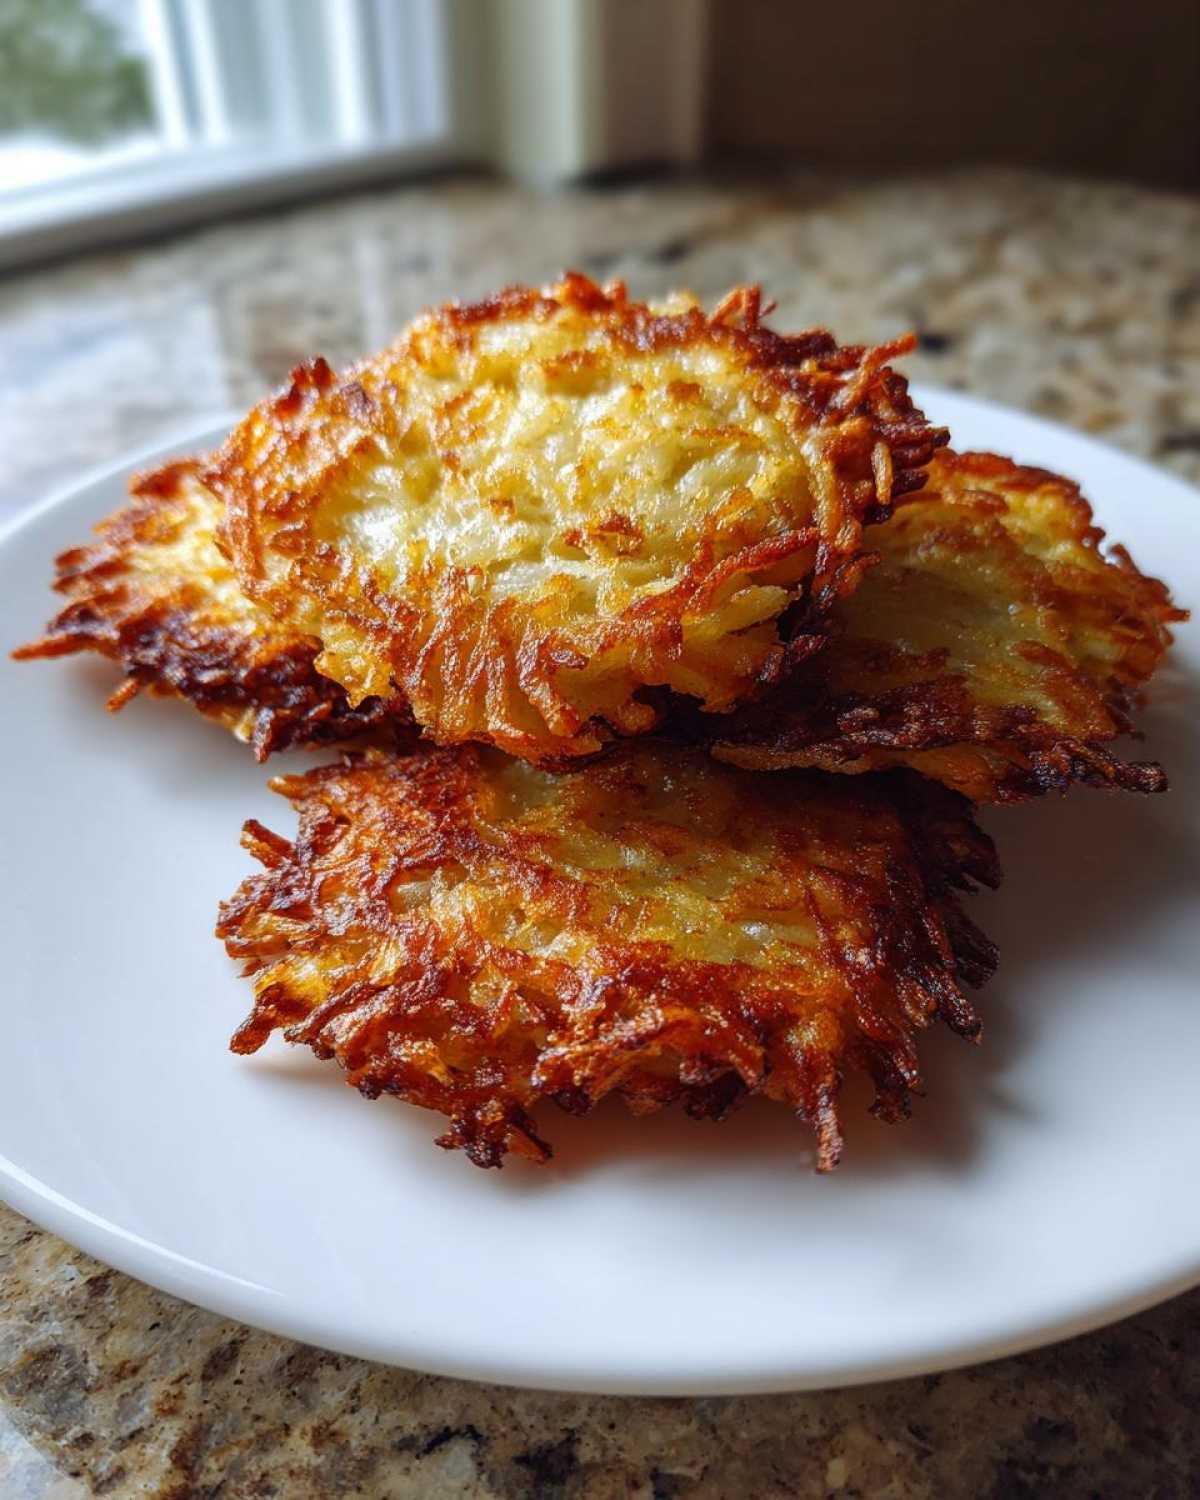
Fry each side for three to four minutes until brown.
They should look deeply golden and beautifully crisp.
Drain them well on a wire rack when done frying.
Tips for Guaranteed Crispy potato latkes
Even with the best recipe, little things can go wrong.
I learned this while planning our very first batch.
If your latkes seem too soft, check your oil temperature first.
These fried potato pancakes demand consistent heat.
We want that beautiful golden color, not a pale, oily mess.
Follow these final checks for success every time.
Maintaining Oil Heat
When you drop batter in, the oil temperature drops fast.
If the heat drops too low, the potato absorbs oil.
Soggy latkes are the direct result of low heat.
Keep your oil steady around that 350 degree mark.
This high heat seals the outside quickly.
That seal creates the crisp crust we all love.
Serving potato latkes Immediately
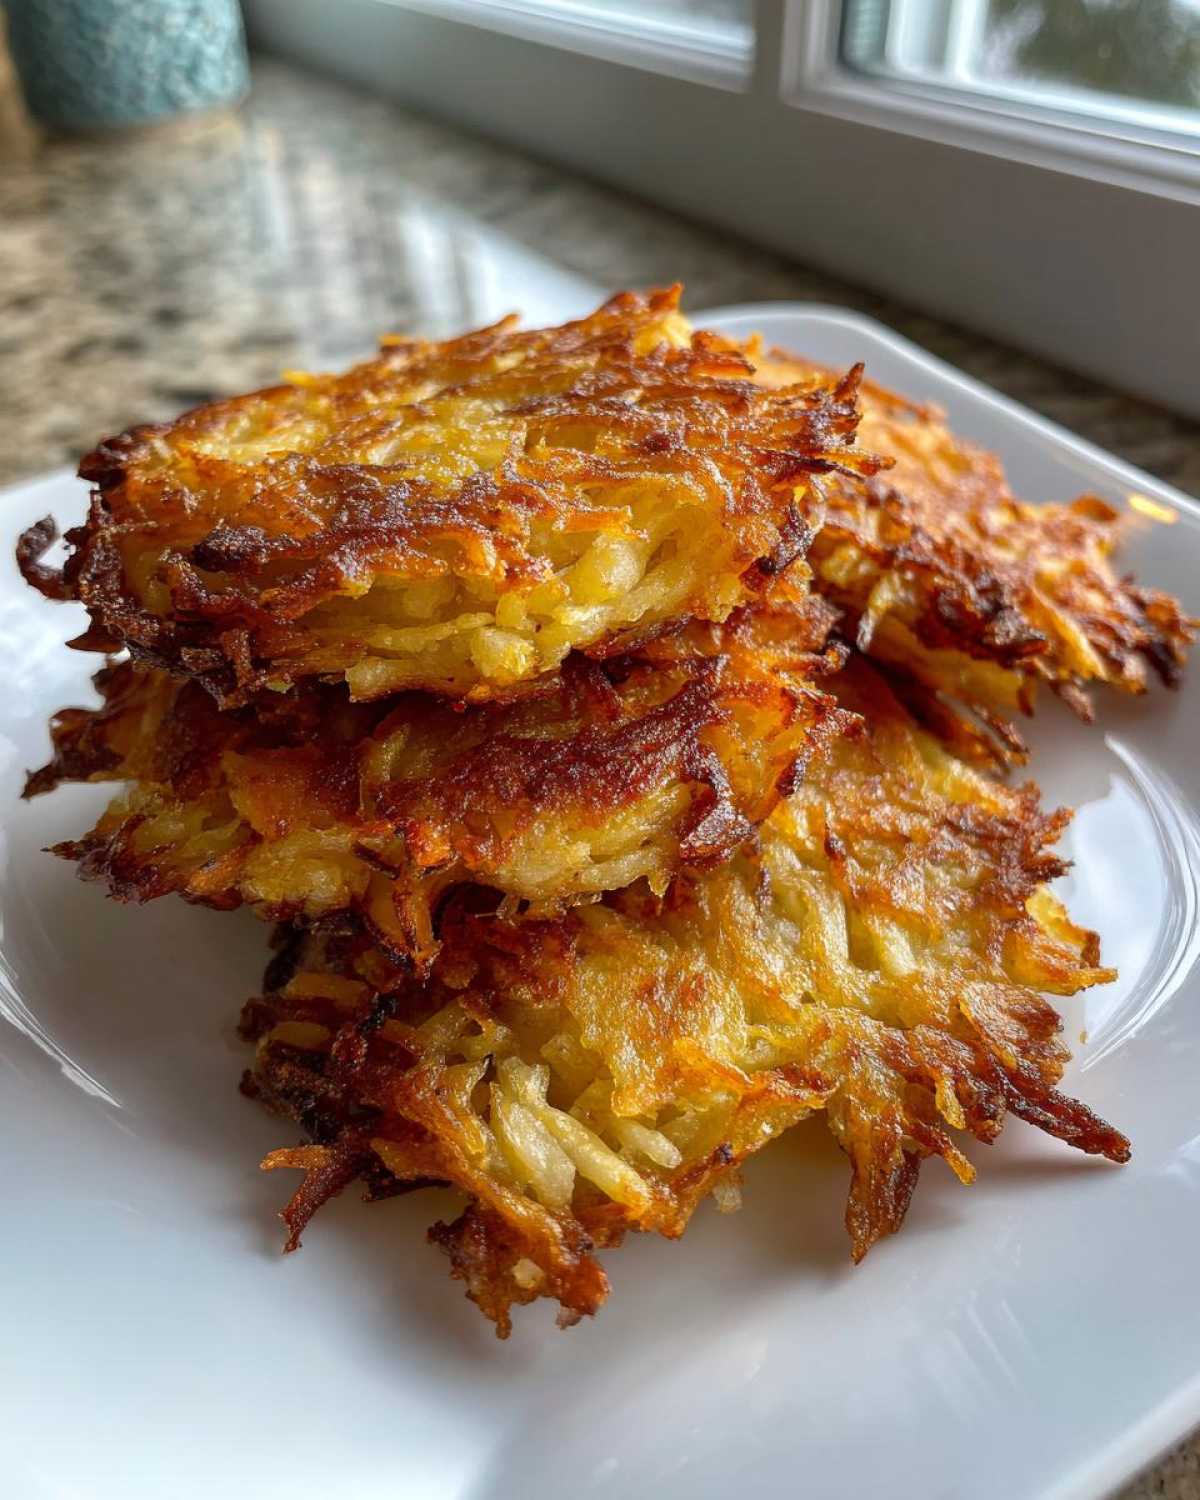
These are best served right out of the frying pan.
Jacob and I always have the toppings ready beforehand.
As soon as they hit the wire rack, they need to go out.
Resting lets steam build up underneath the surface.
That steam turns crispy edges soft again, sadly.
Eat them fast for that perfect texture experience.
Serving Suggestions for Your potato latkes
What do you serve with these amazing potato latkes?
Keep it classic, that’s my best advice.
We always offer cool sour cream right alongside them.
Homemade applesauce is another wonderful pairing.
The sweet and tart cuts the richness perfectly.
They are a fantastic savory side dish for any feast.
Storing and Reheating Leftover potato latkes
Sometimes we have leftovers, which is rare!
Store cooled latkes in a single layer container.
Line the container with paper towels first.
Keep them in the refrigerator for up to three days.
Reheating is key to bringing back that crispiness.
Skip the microwave entirely; it makes them limp.
Use a hot oven or an air fryer instead.
Five minutes at 400 degrees works wonders for texture.
Frequently Asked Questions About potato latkes
I know you might have a few last-minute questions.
Planning always brings up details, right?
Jacob and I have answered the ones we hear most often.
These thoughts should help your cooking go smoothly.
We want your final result to be the best fried potato pancakes.
Can I bake potato latkes instead of frying?
Yes, you absolutely can try baking them.
Be warned: baking changes the final texture.
You won’t get that signature shatteringly crisp shell.
Baked versions tend to be softer overall.
If you need a Hanukkah recipe lighter on oil, try it.
But for true crispness, frying is necessary here.
What kind of potato works best for potato latkes?
Starchy potatoes are what you need most.
I always rely on Russet potatoes for this recipe.
Their high starch content helps create a better structure.
They also release liquid more readily when squeezed.
Waxy potatoes just don’t give the same results.
How far ahead can I grate the potatoes?
Do not grate the potatoes too early, please.
They oxidize very quickly once exposed to air.
Oxidation turns them an unappealing gray color.
Also, the grated potato starts releasing moisture again.
Grate and squeeze them right before you mix the batter.
Freshness equals better texture in the final product.
Understanding the Nutrition in Your potato latkes
We track things loosely here in our kitchen studio.
These figures are just estimates for two latkes.
They contain about 180 calories per serving size.
You get 4 grams of protein from this side dish.
Fat content is around 12 grams total.
Enjoy these comforting bites responsibly, friends.
Share Your Perfect potato latkes
Now it’s your turn to show off this project!
Did you achieve perfect crispness?
Tell Jacob and me about your results below.
We love hearing about your culinary successes.
Rate this recipe when you’re ready to share.
PrintAmazing 3-Step potato latkes for superb crispness

Make the perfect, shatteringly crispy potato latkes every time. This recipe, brought to you by Amelia and Jacob, removes excess moisture for a guaranteed crisp exterior and tender inside, ideal for your next Hanukkah celebration or savory side dish.
- Prep Time: 20 minutes
- Cook Time: 15 minutes
- Total Time: 35 minutes
- Yield: About 12 latkes
- Category: Side Dish
- Method: Pan Frying
- Cuisine: Jewish/Eastern European
- Diet: Vegetarian
Ingredients
- 3 large russet potatoes, peeled
- 1 medium yellow onion, peeled
- 2 large eggs, lightly beaten
- 1/4 cup all-purpose flour
- 1 teaspoon salt
- 1/4 teaspoon black pepper
- Vegetable oil or canola oil, for frying (about 1 inch deep)
Instructions
- Grate the potatoes and onion using the large holes of a box grater.
- Place the grated potatoes and onion in a clean kitchen towel or several layers of cheesecloth. Twist tightly over the sink to squeeze out as much liquid as possible. This step is crucial for crispiness.
- Transfer the dried potato and onion mixture to a large bowl.
- Add the beaten eggs, flour, salt, and pepper to the bowl. Mix gently until just combined. Do not overmix.
- Pour about 1 inch of oil into a heavy-bottomed skillet and heat over medium-high heat until it reaches 350°F (175°C).
- Drop heaping tablespoons of the potato mixture into the hot oil, flattening them slightly with the back of the spoon. Work in batches to avoid overcrowding the pan.
- Fry for 3 to 4 minutes per side, until deep golden brown and crisp.
- Remove the latkes with a slotted spoon and place them on a wire rack set over a baking sheet lined with paper towels to drain excess oil.
- Serve immediately with your favorite toppings, like applesauce or sour cream.
Notes
- Removing almost all the liquid from the grated potatoes is the secret to achieving maximum crispness.
- Keep the oil temperature consistent; if it drops too low, the latkes will absorb oil and become soggy.
- These are best eaten immediately after frying for optimal texture.
Nutrition
- Serving Size: 2 latkes
- Calories: 180
- Sugar: 1g
- Sodium: 350mg
- Fat: 12g
- Saturated Fat: 2g
- Unsaturated Fat: 10g
- Trans Fat: 0g
- Carbohydrates: 16g
- Fiber: 2g
- Protein: 4g
- Cholesterol: 45mg