

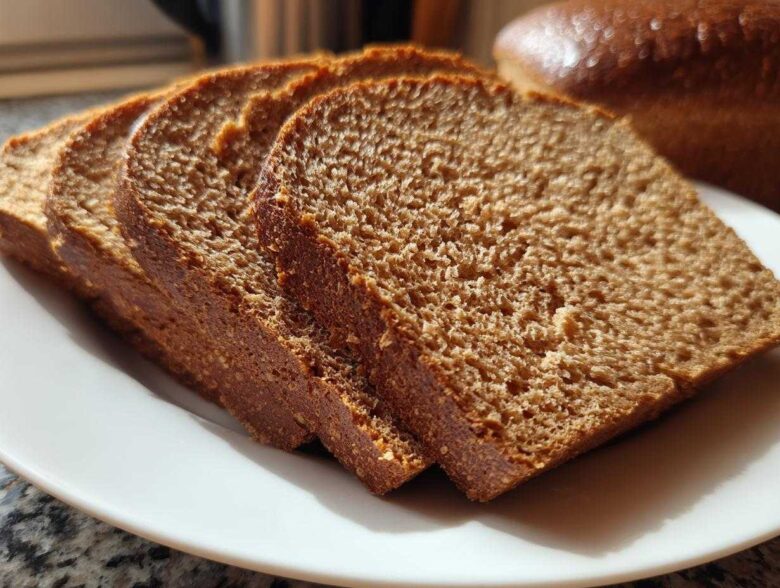
Oh, you know *that* bread, right? The one from the bakery that’s perfectly dark, wonderfully soft, and just sweet enough? I used to drive halfway across town just to grab a loaf of their Dark Brown Honey Wheat Bread. It’s comforting, perfectly sliceable for sandwiches, and just tastes like quality baking. Well, I finally cracked it! After messing around with too much honey one time and ending up with mushy dough, I figured out the secret to getting that authentic dark mahogany color and that beautiful, dense-but-tender crumb.
This recipe is my absolute best attempt at a perfect Homemade Dark Honey Wheat Bread Recipe. Trust me, perfecting the balance between the molasses and the honey took some serious testing, but what you’re getting here is a foolproof method for that signature bakery flavor and texture right in your own kitchen.
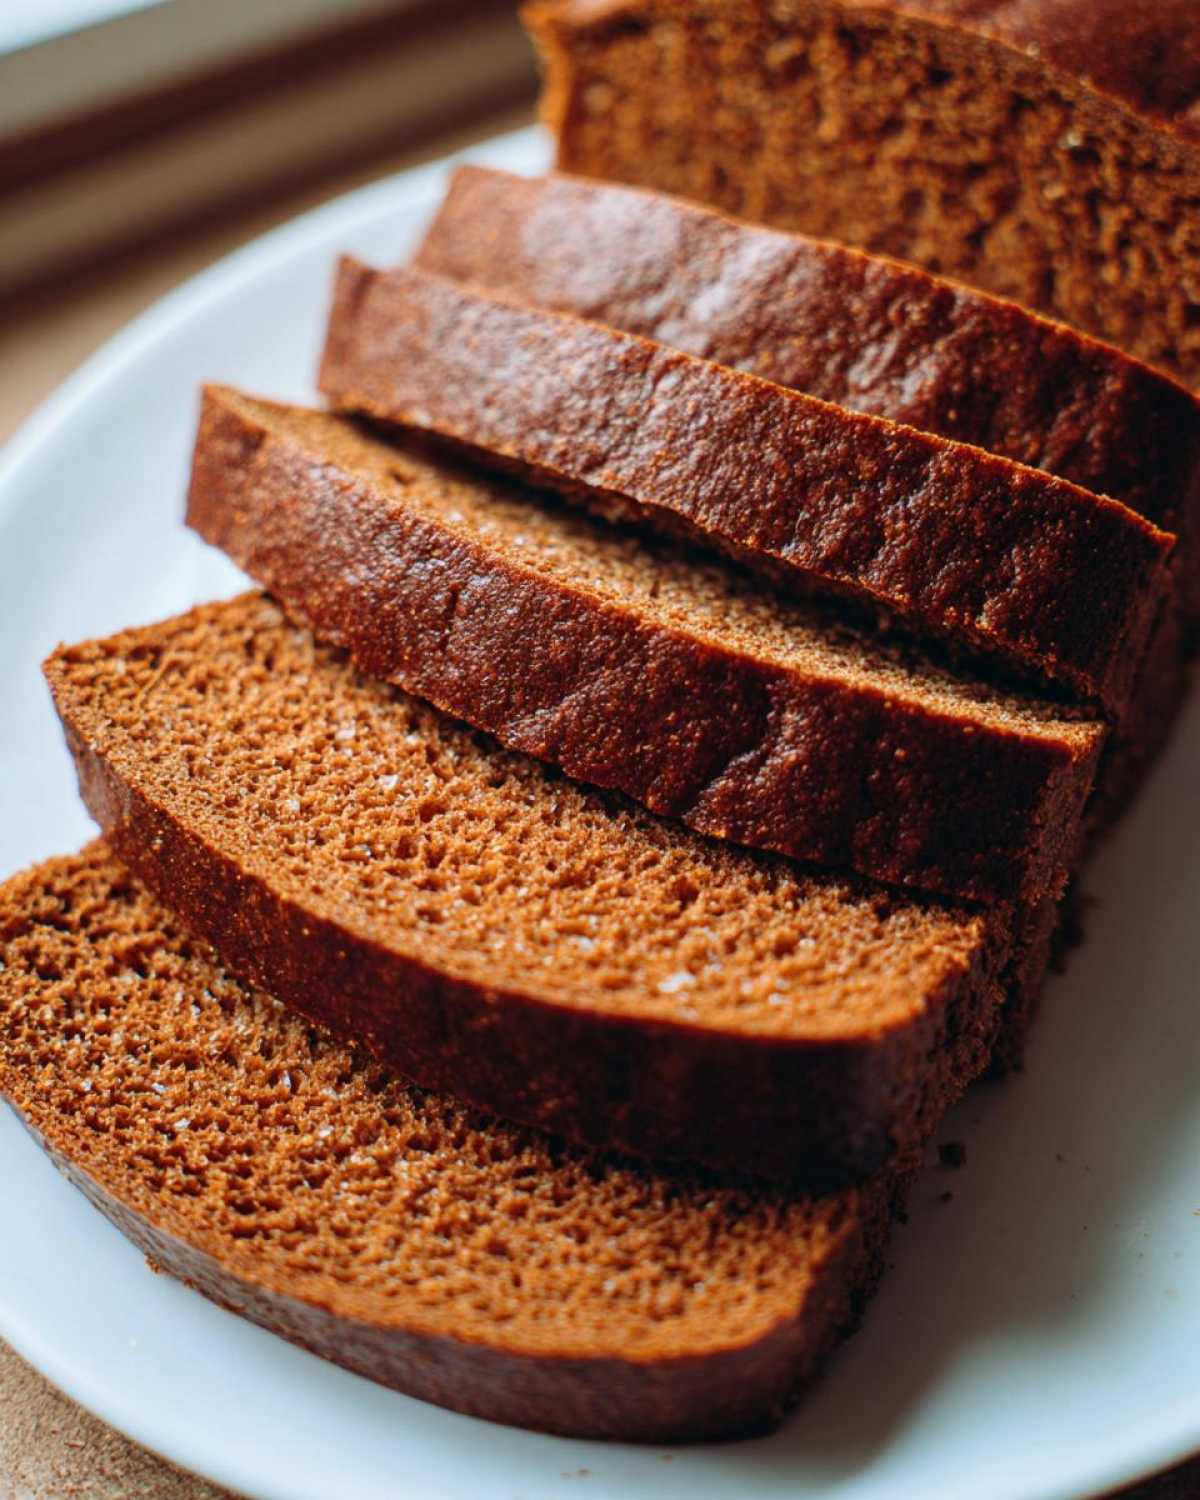
Why This Copycat Dark Brown Honey Wheat Bread Recipe Works
If you want that store-bought look, you need a little bakery magic mixed in at home. This recipe isn’t just tossed together; it’s engineered for that perfect sliceability and deep, welcoming color.
- It gives you a soft crumb without falling apart when you slice it.
- The hydration levels are spot on for a beautiful, high-crowned loaf.
- It nails that distinct, slightly sweet yet earthy flavor profile we all love.
Achieving the Signature Soft Texture
The secret to structure in this **Best Dark Honey Wheat Loaf** is the flour blend. We use just enough whole wheat flour for that lovely nutrition and mild flavor, but we bulk up the rest with high-protein bread flour. This combination creates a strong gluten network so the loaf stays soft and cushiony, but it’s sturdy enough to hold up when you try to cut it thin.
The Secret to Authentic Color in Your Copycat Dark Brown Honey Wheat Bread
Everyone thinks it’s the honey that makes this bread dark brown, but nope! It’s the molasses, friends. I’m serious—you must use the *dark* molasses here. It’s what provides that deep, rich mahogany hue and that faint, almost smoky background note that cuts through the sweetness of the honey. If you use light molasses, you’ll end up with a nice honey wheat loaf, sure, but it won’t have the true bakery color we’re after.
Gathering Ingredients for Your Copycat Dark Brown Honey Wheat Bread
Alright, let’s get your ingredients lined up! This isn’t a huge list, which I love, but quality matters here if we’re mimicking that bakery standard. We need the essentials: yeast, honey, flour, and of course, the star of the show for that deep color.
Remember when shopping:
- 1 cup warm water (needs to be right around 105–115°F—too cool and the yeast sulks; too hot and you kill it dead!)
- 2 1/4 teaspoons active dry yeast (that’s one standard packet)
- 1/4 cup honey
- 1/4 cup dark molasses (Seriously, get the dark stuff, not blackstrap, just dark!)
- 2 tablespoons unsalted butter, melted
- 1 1/2 teaspoons salt
- 1 cup whole wheat flour
- 2 1/2 cups bread flour, plus more for dusting
You can find some great tips on making simple homemade garlic parmesan breadsticks if you need a quick savory break later, but for now, focus on that molasses!
Ingredient Notes and Substitutions
That water temperature is everything for waking up the yeast, so please grab a quick thermometer if you aren’t sure! If you absolutely cannot find dark molasses—and I truly hope you can—you might try using regular molasses mixed with a teaspoon of cocoa powder to mimic the dark tone, but I can’t promise the flavor will be identical. Light molasses will certainly result in a much paler, golden loaf instead of our coveted deep brown version.
Step-by-Step Instructions for Bakery Style Honey Wheat Bread at Home
Now for the fun part—turning those lovely ingredients into an actual loaf! Bread making is really just following a few specific orders, and this recipe is designed to be super straightforward, even though it mimics that fancier bakery bread so well. We’re going to move from activation clearly through the two rises, which are essential for that airy, soft crumb. If you’re curious about other methods, I have a great no-knead bread recipe that uses a Dutch oven, but for this specific soft loaf, we need to knead!
Activating the Yeast and Mixing the Dough
First things first, get that yeast happy! Gently whisk your yeast into the cup of warm water—make sure it’s between 105°F and 115°F, so grab that thermometer! Let it sit for about five minutes until you see a nice, foamy layer develop on top. That’s the signal! Next, stir in your honey, that essential dark molasses, the melted butter, and the salt. Once those wet ingredients are happy, start mixing in the whole wheat flour first. Once that’s incorporated, slowly start adding the bread flour until you have a shaggy mass that just barely holds together. Don’t try to mix it all perfectly in the bowl; that’s what kneading is for!
Kneading and First Rise for Your Copycat Dark Brown Honey Wheat Bread
Turn that shaggy dough out onto a lightly floured surface. This is where you build structure! Knead this dough firmly for a solid 8 to 10 minutes. You’re looking for it to transform completely until it feels smooth to the touch and passes the elasticity test—it should stretch without tearing right away. Once it feels great, place it in an oiled bowl, cover it up, and stick it somewhere warm. I usually stick mine in the oven with just the light turned on! You need about 1 to 1.5 hours for it to completely double in size.
Shaping and Second Proofing
Once it’s puffed up nicely, gently punch the air out—don’t be shy; we need to deflate it! Gently shape it into a tight log right on your counter. You want a nice, tight skin on the outside. Tuck that seam side down into your greased 9×5 inch loaf pan. Cover it loosely and let it go for its second rest, usually 30 to 45 minutes. This is the time to get organized! Preheat your oven to 375°F during the last 15 minutes of this rise. The perfect visual cue is when the dough crests about an inch over the rim of the pan—it’s ready for the heat!
Baking Your Authentic Dark Brown Bread
This is the moment of truth! Remember, we preheated to 375°F (190°C) during the end of that second rise. You don’t want a cold oven—that messes up the lift we worked so hard to build during proofing.
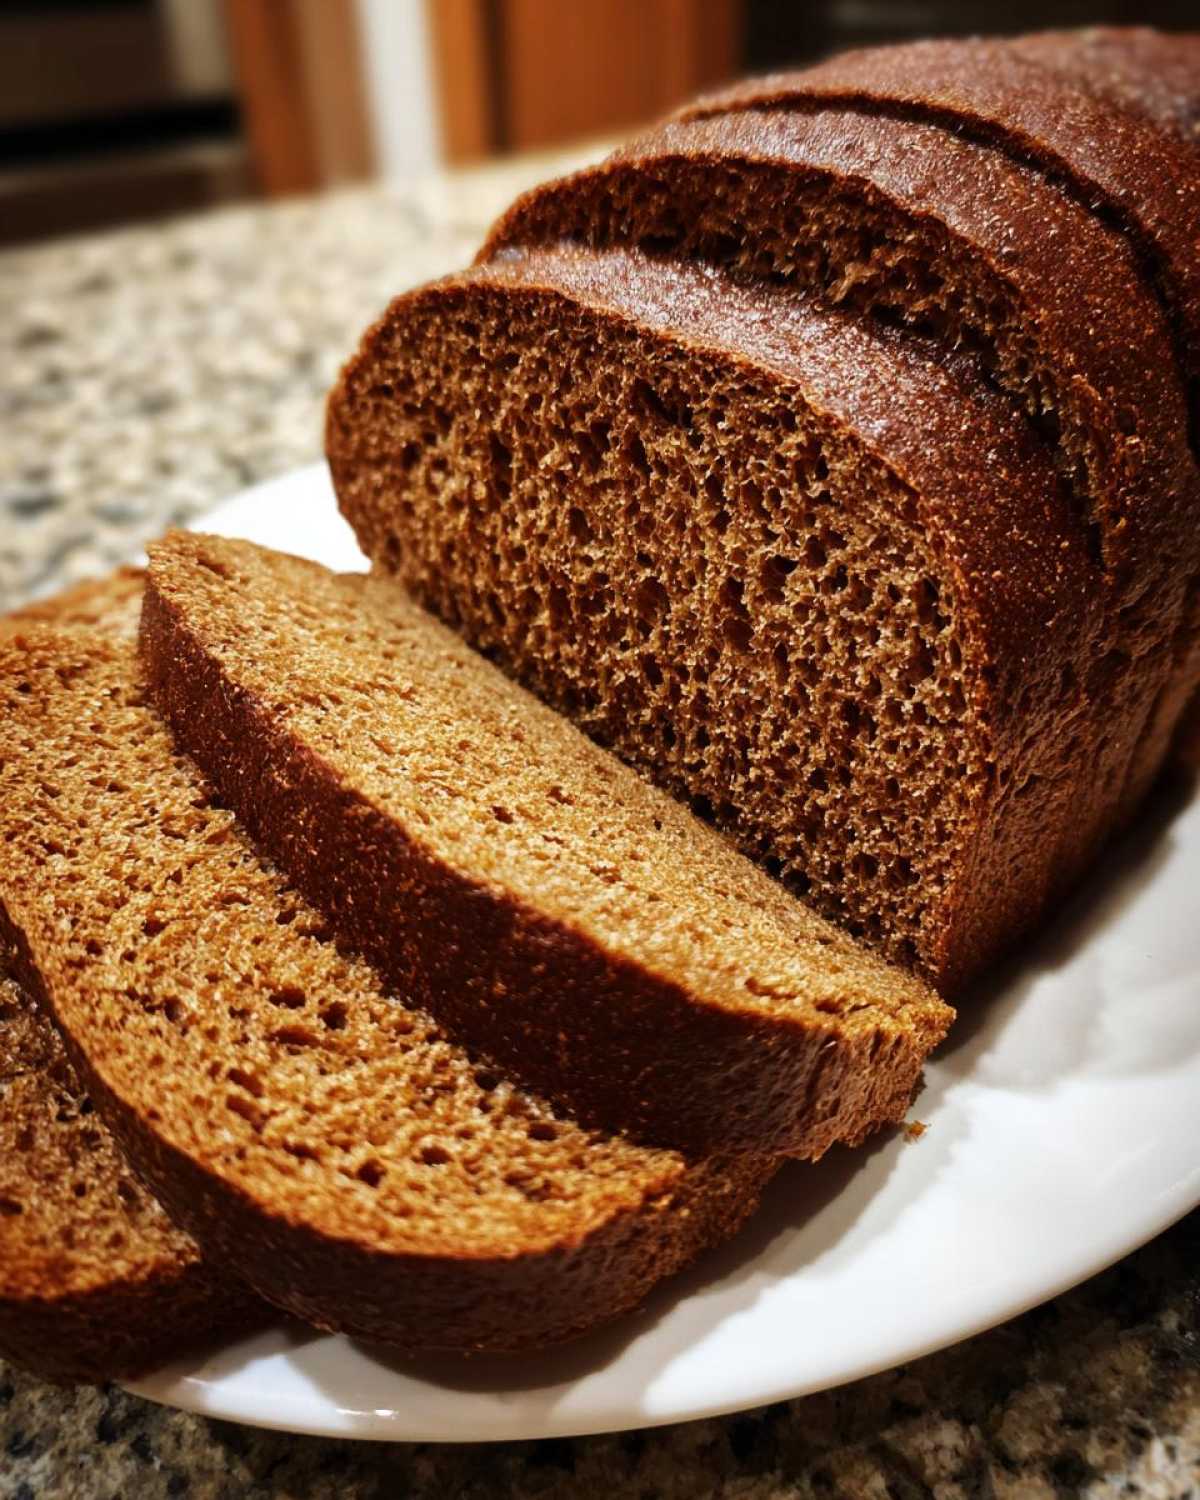
Slide that loaf pan carefully into the middle rack. The baking time is usually right around 30 to 35 minutes. Because this loaf has so much sugar from the honey and molasses, it will develop a really deep, beautiful brown crust quickly. Don’t panic when it looks darker than your standard white bread; that dark color is exactly what we’re aiming for in this **Copycat Dark Brown Honey Wheat Bread**!
Now, here’s where I check things like a total kitchen control freak—but it works! While the toothpick test is fine, the real way to know if it’s done is temperature. You need to grab an instant-read thermometer (if you don’t have one, seriously, they are lifesavers for baking and grilling!). Stick it into the center of the loaf. You’re looking for an internal temperature of 200°F (93°C). If it hits that number, pull it out immediately!
As soon as you get it out of the oven, turn it out of the hot pan right onto a wire cooling rack. If you let it sit in that metal pan, the bottom is going to steam itself soggy, and we certainly don’t want to ruin that beautiful crust we spent all that time creating! Let it cool down completely before you slice it. I know it’s torture waiting, but slicing it when it’s steaming hot destroys the internal structure, making it gummy. Stick with it; your patience pays off!
Tips for Success with Homemade Dark Honey Wheat Bread
Even with a solid recipe, sometimes things can go sideways, right? That’s why I always keep Grandma’s wisdom handy, even when making this **Sweet Dark Wheat Bread Recipe**. These little tweaks are what make the difference between a good loaf and that truly memorable bakery loaf.
First, remember the molasses rule: Use the dark stuff! It builds that amazing color and depth of flavor that light molasses just can’t touch. Also, a super helpful tip I learned the hard way: If your second rise goes a little too long and the dough looks ready to burst out of the pan, don’t just ram it into the oven. Gently deflate it, reshape it quickly, and let it rest for just 10 minutes before baking. It saves the loaf from collapsing mid-bake!
Here are the other non-negotiables:
- Soft Crust Finish: Right after you pull the pan out of the oven, brush the top of the loaf immediately with a little extra melted butter. It keeps the crust soft and shiny, which is a hallmark of bakery bread.
- Sticky Dough Handling: If you’re fighting the dough while kneading and it feels too sticky, don’t panic and dump in a ton of bread flour. Add it just one tablespoon at a time until it’s manageable. We want structure, not brick-hard bread!
- Cooling is Crucial: I mentioned it before, but it bears repeating—let it cool completely on a wire rack. Slicing warm bread releases steam that makes the crumb gummy and ruins that perfect soft texture. Patience is tough, but so worth it!
If you want to branch out after mastering this loaf, check out my guide on making skillet naan bread—it’s a totally different dough game!
Storage and Reheating Instructions for Your Loaf
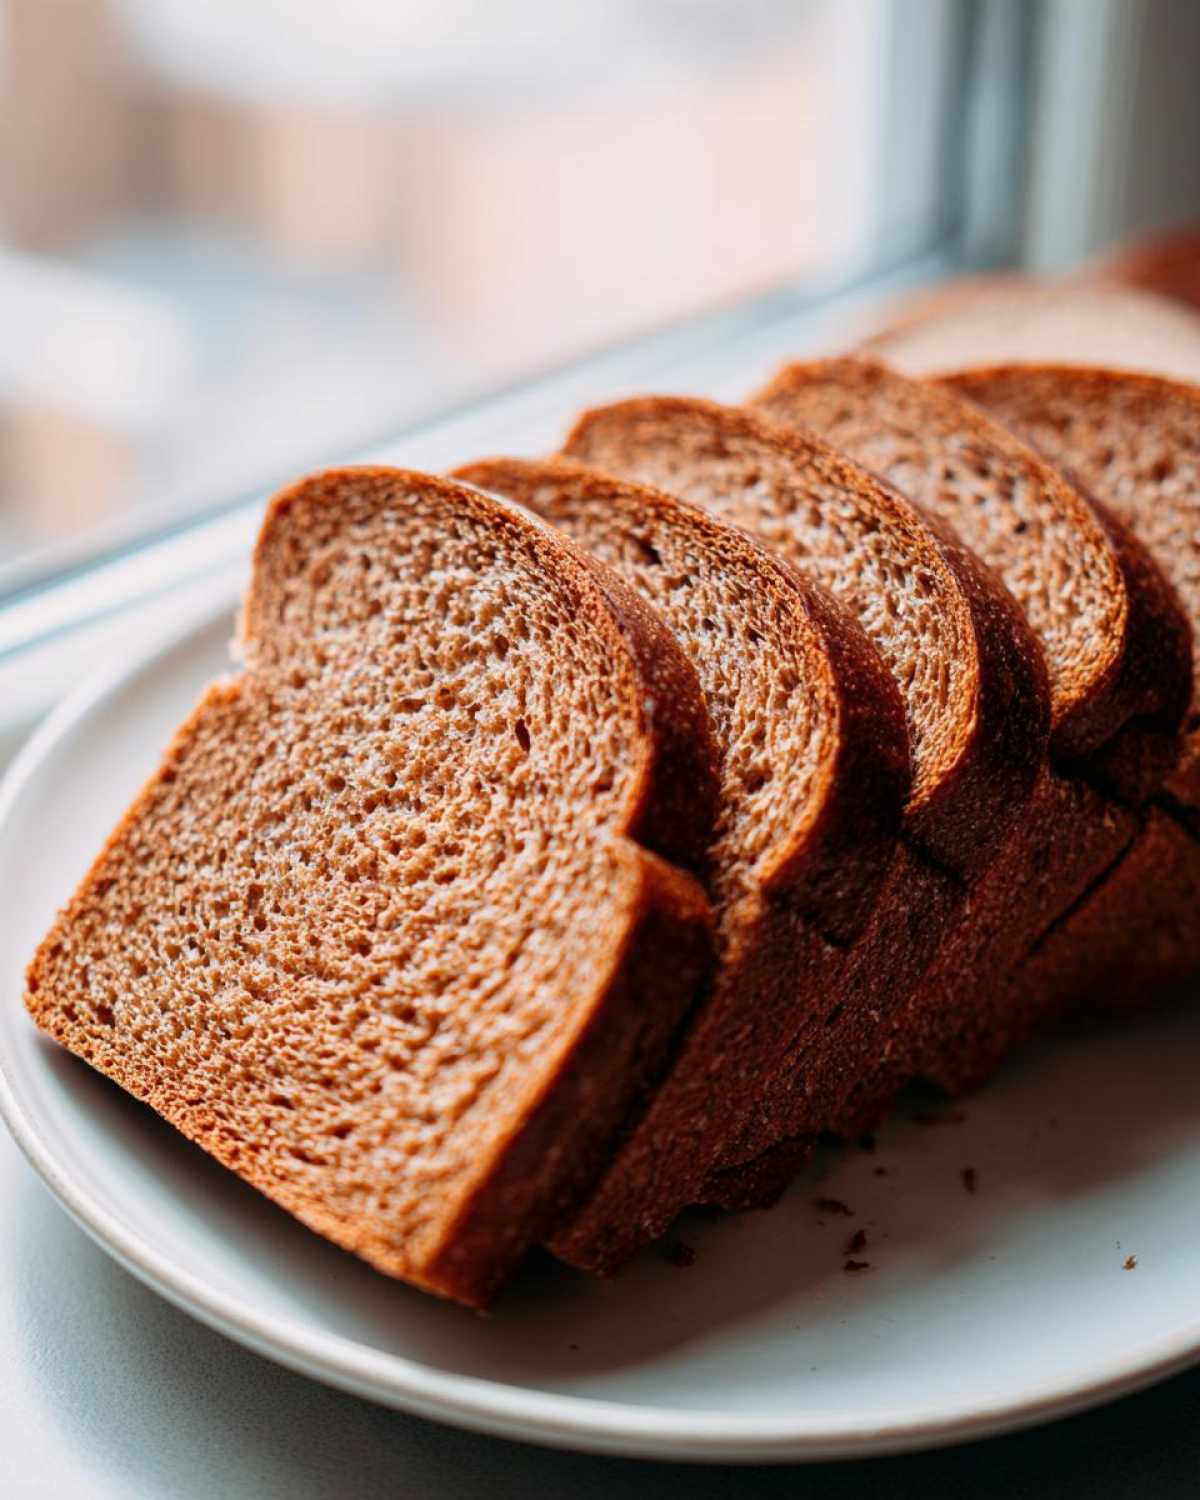
Okay, you’ve made it! The loaf is finally cool, and it smells magnificent. Now we need to make sure you don’t accidentally turn your gorgeous **Homemade Dark Honey Wheat Bread** stale overnight!
The best way to keep this bread soft is to let it cool completely first, which we already covered—don’t skip that step! Once it’s totally cold, the enemy is air. Air dries this bread out fast. You want to wrap that entire loaf snugly in plastic wrap, or if you’ve already sliced it, wrap the cut end tightly. Then, I usually pop it into a large Ziploc bag and seal it up tight. Stored this way on the counter at room temperature, it stays wonderfully soft for about three or four days. That dark molasses and honey actually help keep it fresh slightly longer than plain white bread, which is a bonus!
But what if you can’t eat it all in four days? Freezer storage is your friend! If you know the whole loaf will last too long, wait until it’s fully cooled, slice it up first—this is key so you can use just what you need later—and then freeze the slices stacked between pieces of wax paper inside a heavy-duty freezer bag. It freezes beautifully for up to three months.
When you need a slice (or three!), those frozen pieces are amazing. You can just pop them straight into the toaster; they come out perfect! If you’re thawing a whole loaf or half a loaf, take it out of the freezer and let it sit on the counter for a few hours until mostly thawed. Then, if you want that incredible, fresh-out-of-the-oven warmth, wrap the loaf loosely in foil and stick it in a 300°F oven for about 10 minutes. It wakes everything back up, makes the crust just barely crisp again, and that honey aroma fills the kitchen all over again. Isn’t that better than buying that expensive loaf? I think so!
FAQ: Mastering Your Copycat Dark Brown Honey Wheat Bread
I get so many questions about this loaf because everyone is chasing that specific bakery vibe! These are the things I hear most often, so let’s clear them up right now so you can nail this recipe on the first try. It’s really all in the details we used above.
Can I make this Soft Whole Wheat Sandwich Bread Recipe without Molasses?
Oh, I wish I could say yes, but honestly, molasses is the MVP here. It’s what gives us that deep, beautiful dark color that makes it look like a true bakery loaf. More importantly, it adds a tiny, almost imperceptible earthy bitterness that stops the bread from tasting like pure honey candy. If you skip it, you’ll just end up with a standard, pale honey wheat loaf. If you’re in a bind, you can use brown sugar instead for sweetness, but you’ll lose the color and that signature background flavor. It just won’t be the same **Rich Molasses Wheat Bread Recipe** we’re trying to copy!
How do I get the bakery-style soft crumb in this Rich Molasses Wheat Bread Recipe?
This comes down to two things we talked about: not over-baking, and cooling! If you pull the bread when it hits that 200°F internal temp, you’ve kept the moisture locked in beautifully. The second part is the hardest: letting it cool completely on the rack before you even *think* about slicing it. As it cools, the starches set and the internal structure stabilizes. Slice it early, and you crash that beautiful, airy texture we worked so hard to create!
Is this an Easy No-Fail Honey Wheat Bread for Beginners?
For a yeast bread, yes, it’s surprisingly beginner-friendly! Yeast needs a little respect, you know? You can’t rush the rises, and you have to nail that water temperature when you start. But other than that, the mixing is straightforward, and the kneading time is standard. As long as you follow the timings for the first and second rises, I promise you’ll end up with a great loaf. It’s definitely an **Easy No-Fail Honey Wheat Bread** if you just trust the process!
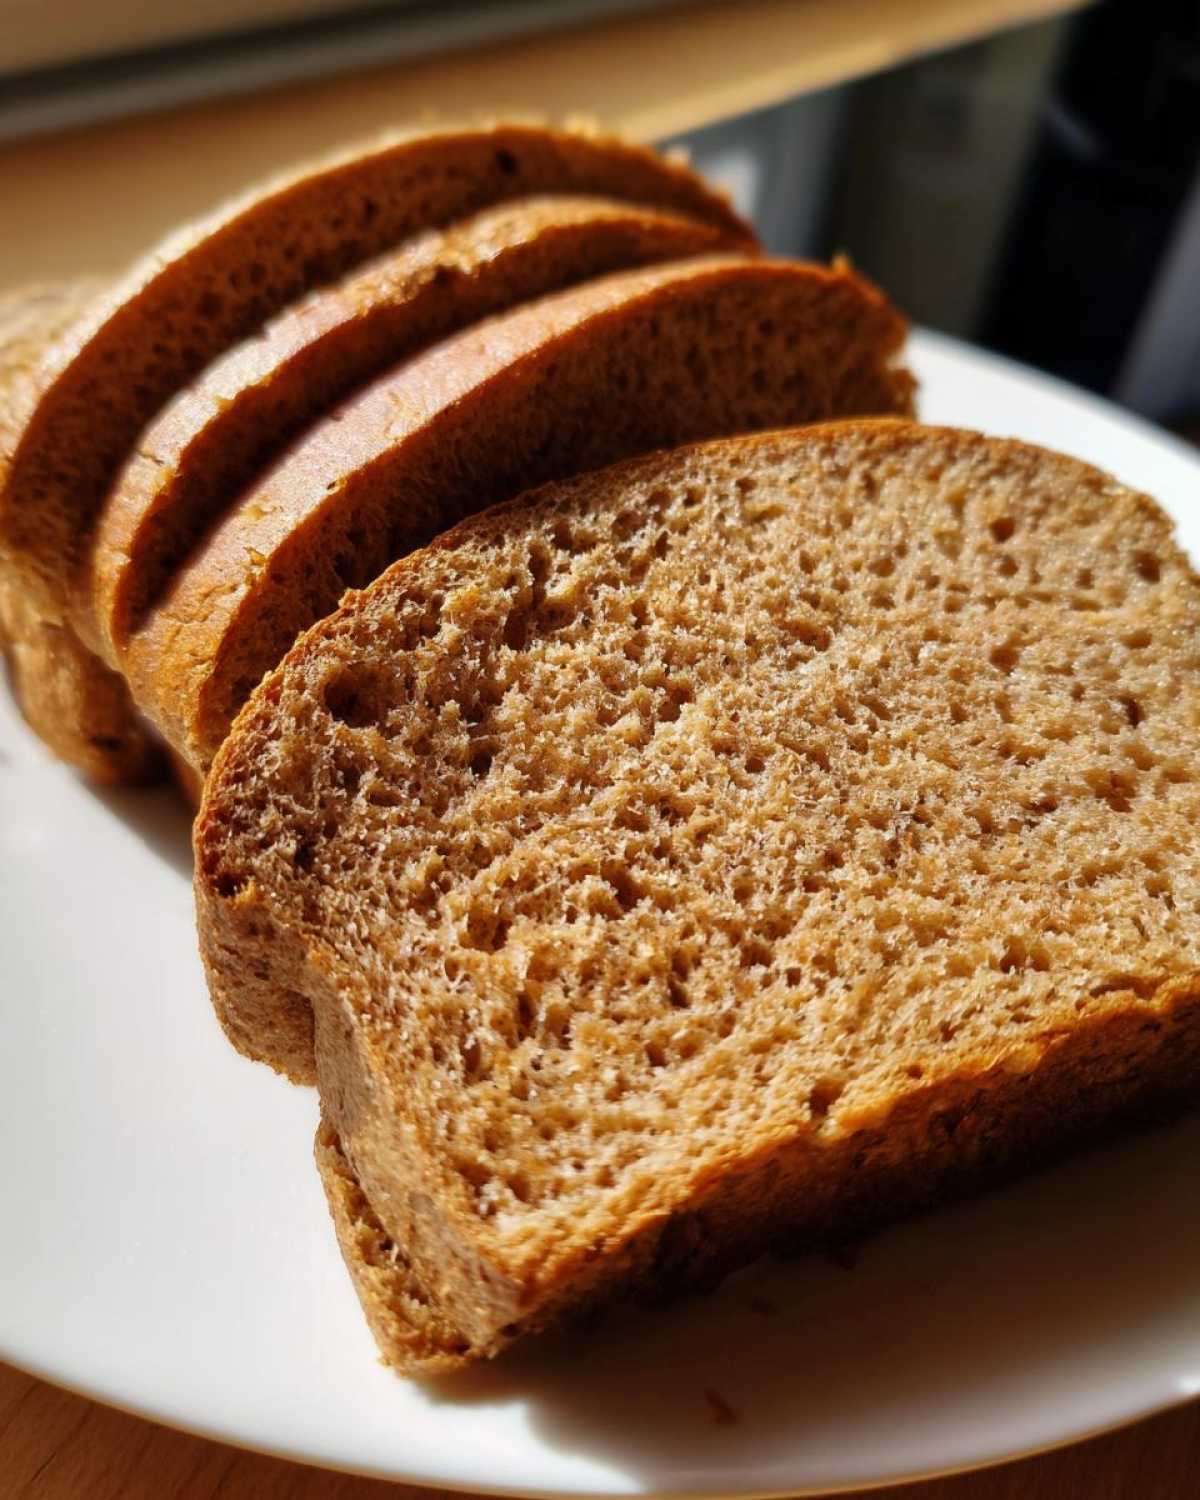
Estimated Nutritional Data for Copycat Dark Brown Honey Wheat Bread
Okay, I’m certainly no nutritionist—I’m a cook, right? But since we’re aiming for that perfect bakery loaf, I pulled together the estimated nutritional information based on the ingredients we used here. This helps you keep track, especially if you’re counting things like sugar or carbs!
Just remember, every measurement you use—if you add a tiny bit more honey or use a slightly different brand of molasses—it changes things a touch. These numbers are just a close guess for a single slice of this delicious **Dark Brown Honey Wheat Bread Baking**, based on the recipe provided.
- Serving Size: 1 slice
- Calories: 165
- Sugar: 6g
- Sodium: 280mg
- Fat: 2g
- Saturated Fat: 1g
- Carbohydrates: 34g
- Fiber: 2g
- Protein: 5g
It’s a pretty honest loaf! It has a decent bit of fiber since we used whole wheat flour, and the sugar content comes mostly from the natural honey and that rich, dark molasses. Feel good about slicing into this wonderful loaf!
Share Your Authentic Dark Brown Bread Baking Journey
Whew! We did it. We took on the challenge of recreating that absolute perfect, dark, sweet, and soft bakery loaf, and I truly think we succeeded with this **Copycat Dark Brown Honey Wheat Bread Recipe**. I’m already planning on making another batch next week; you just can’t beat the smell filling your kitchen!
Now that you’ve got the recipe, I seriously want to hear how it went for you. Did your crumb come out exactly as soft as you hoped? Did that dark molasses give you the perfect color payoff? Don’t keep all the magic to yourself!
Please, please, please take a minute to leave your thoughts below. You can rate the recipe using the star icons—it really helps other cooks know what to expect!
- Did you have any little victories or surprises while baking this **Authentic Dark Brown Bread Baking**?
- What did you end up using the first loaf for? Was it for amazing sandwiches or just eaten standing over the sink? (Be honest, I do that all the time!)
- If you tried any slight variations, shout them out in a comment so we can all learn together!
I try to answer every single question that pops up in the comments, so if something didn’t go quite right, or if you’re planning to try converting this to a big batch for the holidays, let me know! Happy baking, and I can’t wait to see what beautiful dark loaves you create!
If you’re looking for more baking adventures after mastering this one, head over to my main blog page—there’s always a new dough project waiting!
PrintCopycat Dark Brown Honey Wheat Bread
Make a soft, sliceable loaf of dark brown honey wheat bread at home that matches the flavor and texture of commercial bakery bread.
- Prep Time: 20 min
- Cook Time: 35 min
- Total Time: 2 hours 50 min
- Yield: 1 loaf
- Category: Baking
- Method: Baking
- Cuisine: American
- Diet: Vegetarian
Ingredients
- 1 cup warm water (105-115°F)
- 2 1/4 teaspoons active dry yeast
- 1/4 cup honey
- 1/4 cup dark molasses
- 2 tablespoons unsalted butter, melted
- 1 1/2 teaspoons salt
- 1 cup whole wheat flour
- 2 1/2 cups bread flour, plus more for dusting
Instructions
- Combine the warm water and yeast in a large bowl. Let stand for 5 minutes until foamy.
- Stir in the honey, molasses, melted butter, and salt into the yeast mixture.
- Add the whole wheat flour and mix until just combined.
- Gradually add the bread flour, mixing until a shaggy dough forms.
- Turn the dough out onto a lightly floured surface. Knead for 8 to 10 minutes until the dough is smooth and elastic.
- Place the dough in a lightly oiled bowl, turning once to coat. Cover the bowl with plastic wrap and let it rise in a warm place for 1 to 1.5 hours, or until doubled in size.
- Gently punch down the risen dough. Shape it into a log and place it seam-side down in a greased 9×5 inch loaf pan.
- Cover the pan loosely and let the dough rise again for 30 to 45 minutes, or until it crests about 1 inch over the rim of the pan.
- Preheat your oven to 375°F (190°C) during the last 15 minutes of the second rise.
- Bake for 30 to 35 minutes, or until the top is deep brown and the internal temperature reaches 200°F (93°C).
- Remove the bread from the pan immediately and let it cool completely on a wire rack before slicing.
Notes
- Use dark molasses for the deepest color and richest flavor.
- For a slightly softer crust, brush the top of the loaf with a little melted butter immediately after removing it from the oven.
- If the dough feels too sticky during kneading, add bread flour one tablespoon at a time.
Nutrition
- Serving Size: 1 slice
- Calories: 165
- Sugar: 6
- Sodium: 280
- Fat: 2
- Saturated Fat: 1
- Unsaturated Fat: 1
- Trans Fat: 0
- Carbohydrates: 34
- Fiber: 2
- Protein: 5
- Cholesterol: 3