

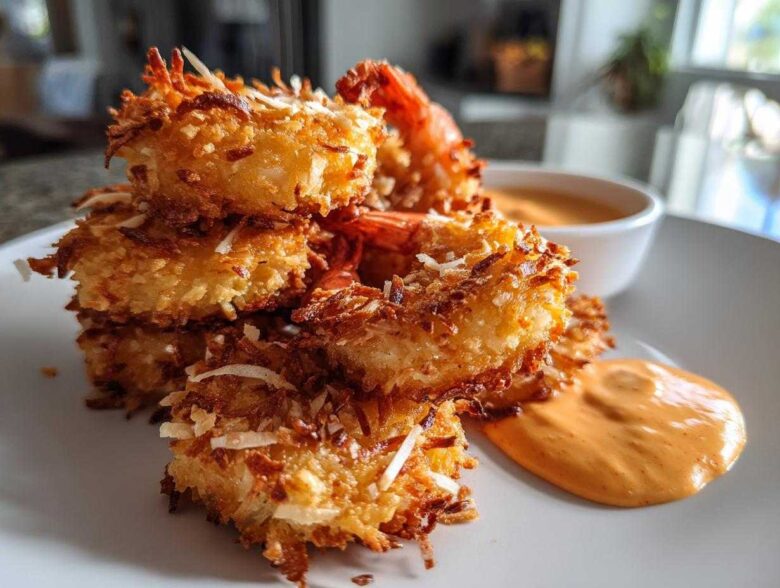
Listen, when you go out for amazing crispy coconut shrimp, that crunch you get? It’s addictive, right? Well, I finally cracked the code to get that same incredible texture—that golden, perfectly fried exterior that just sings—right here in my own kitchen. Forget soggy coatings! My secret weapon is our perfectly dialed-in three-step dredge technique, featuring that genius Panko breadcrumb mix. Trust me, getting the oil temperature exactly right at 350°F makes all the difference between beautiful golden shrimp and sad, oily messes. This crispy coconut shrimp recipe is seriously the best appetizer you’ll make all year, ready faster than delivery!
Why This Crispy Coconut Shrimp Recipe Works So Well
It truly blows my mind how many people accept mediocre, soft shrimp when the secret to restaurant-style crunch is hiding in plain sight! The texture in this homemade coconut shrimp recipe is everything. It all boils down to two crucial steps that you absolutely cannot skip. First, you have to attack that moisture. If your shrimp aren’t bone-dry before they hit the flour, the coating will never adhere properly. Second, we use Panko breadcrumbs, not the sad, fine crumbs from decades past!
We’re aiming for a truly superior tropical shrimp appetizer experience here. If you want proof that our methods work, just check out the crispiness we achieve in our fried pickle recipe—the science is the same!
Achieving the Ultimate Panko Coconut Shrimp Coating
Panko breadcrumbs are a game-changer because they are irregularly shaped flakes, not fine dust. This creates air pockets when they hit that hot oil, forming a sturdy, beautiful cage around the shrimp. Regular crumbs absorb too much oil and just turn heavy. That combination of Panko and sweet coconut is what gives you that incredible golden hue and shatteringly crisp crust we’re looking for!
Quick Shrimp Appetizer Ready in Under 30 Minutes
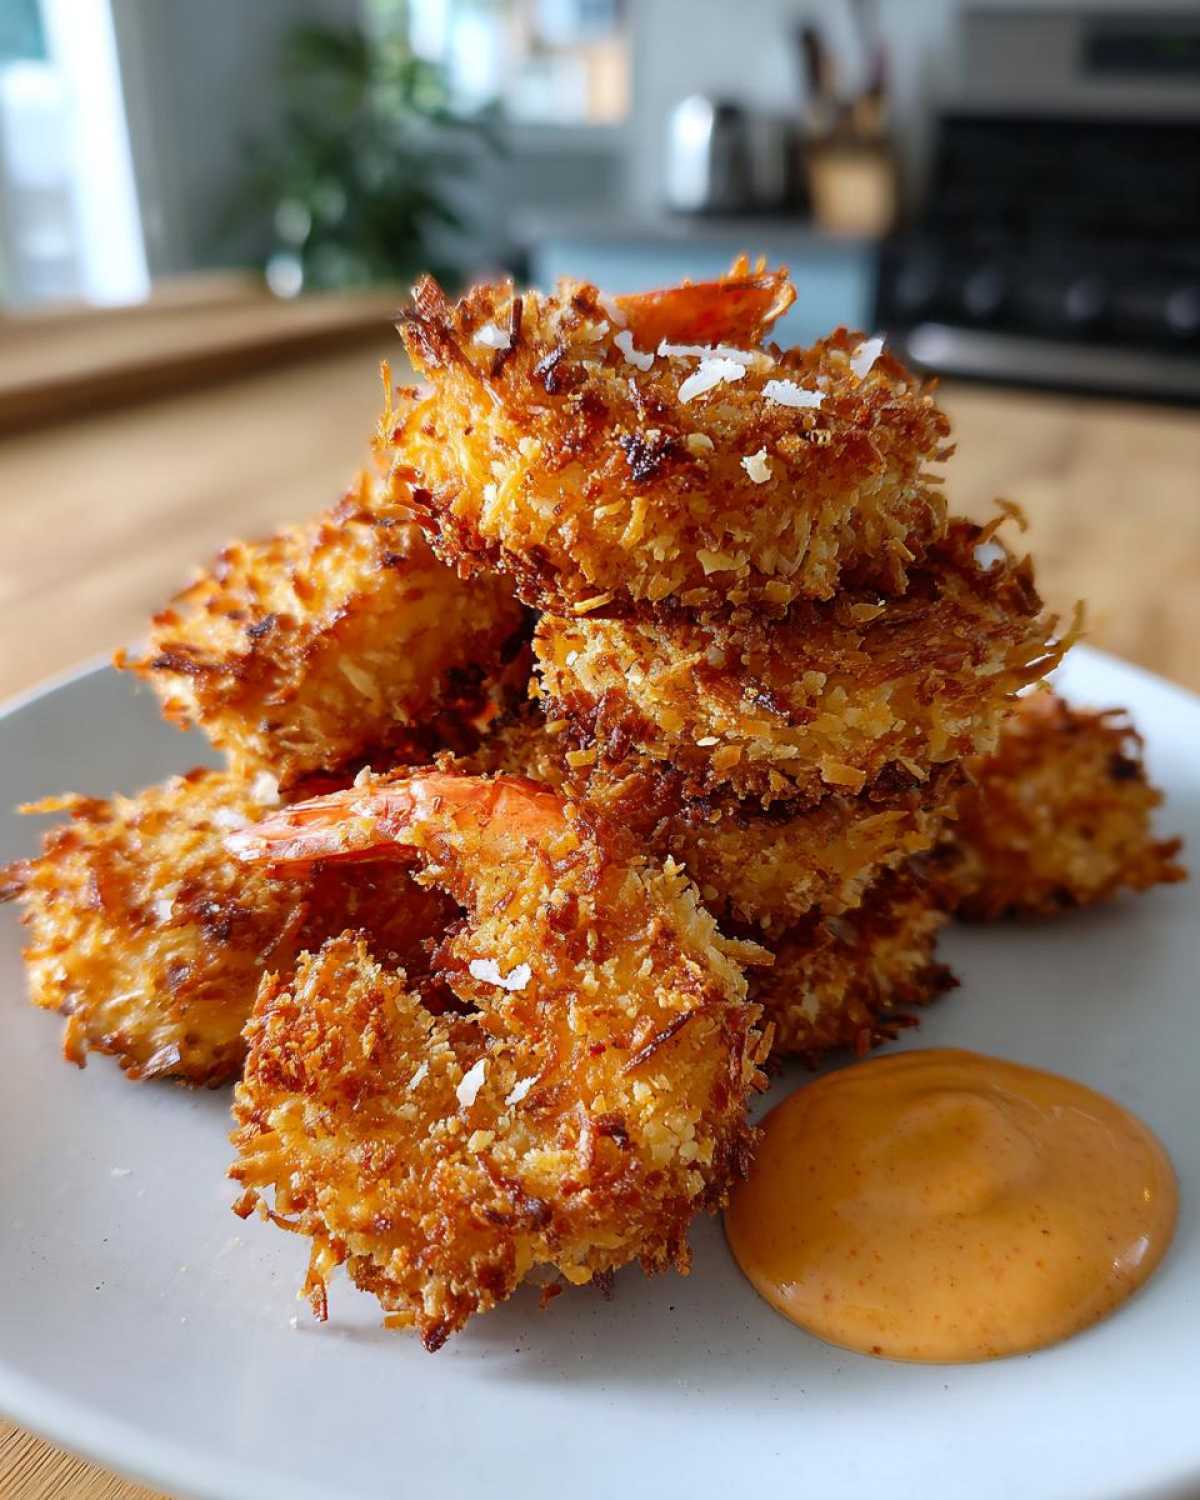
Seriously, don’t let the dredging station intimidate you. You can have this magnificent quick shrimp appetizer ready to serve in the time it takes to order takeout—total time is just about 30 minutes! The speed of the actual frying means minimal time over the stove, perfect for those impromptu gathering emergencies. Your guests will think you spent all day fussing!
Ingredients for Perfect Coconut Shrimp and Best Dipping Sauce for Coconut Shrimp
Okay, let’s talk about what you need to pull off this amazing crispy coconut shrimp recipe. The quality of the ingredients really matters here, especially with so few steps involved. We need a few things dedicated just to coating the shrimp and then a super fast list for the dip that everyone always begs me for. I’m including a link to my favorite from-scratch mayo recipe, but store-bought works in a pinch!
For the Golden Fried Shrimp Coating
- 1 pound large shrimp, peeled and deveined, tails left on (this makes them easy to pick up!)
- 1 cup all-purpose flour
- 2 large eggs, lightly beaten
- 1 teaspoon salt
- 1/2 teaspoon black pepper
- 1 cup Panko breadcrumbs
- 1 cup sweetened flaked coconut
Making the Sweet Chili Sauce for Shrimp Dip
This dipping sauce is dangerously good, and you just whisk it all together! Honestly, it’s the perfect complement to the sweet and savory flavor profile of the shrimp.
- 1/2 cup mayonnaise
- 2 tablespoons sweet chili sauce
- 1 teaspoon lime juice
Oh, and nearly forgot the frying oil! You’ll need about 1/2 cup of vegetable oil heated up to 350 degrees F to make these beauties golden brown. Make sure you use a decent amount so the shrimp can happily float!
How to Prepare Restaurant Style Coconut Shrimp at Home
Getting the structure right is key to serving up the best restaurant style coconut shrimp at home. Seriously, follow these steps exactly, and you are going to be shocked at how easy this is. Remember my biggest rant? Pat those shrimp dry! I mean, really dry them out with paper towels. That’s the foundation for flavor adherence. Once they are dry, we move straight to the assembly line—the dredging station, which is where this amazing appetizer comes together.
I’ve found that if you aren’t rushing, pop the fully breaded shrimp onto a baking sheet and let them chill in the fridge for about 15 minutes before frying. This really helps lock that coating in place so it won’t fall off in the fryer. It’s one of those little tricks that guarantees you won’t lose half your coating to the oil!
Setting Up Your Coconut Shrimp Dredging Station
Set up three shallow dishes side-by-side like a little production line. Dish one is just the regular flour. Dish two is your beaten eggs mixed with that salt and pepper we talked about. Dish three is the big show: the Panko and coconut mix blended together well. For each shrimp, dust it lightly in the flour first—shake off every single speck of excess flour! Then, drag it through the egg bath (let it drip!) before finally pressing it firmly into the coconut-Panko mix. Make sure you press hard so every bit is covered! If you’re new to frying, I highly recommend you check out my tips for getting crispy textures down, they apply here too!
Frying the Coconut Shrimp to Golden Perfection
Now for the sizzle! Get your vegetable oil heated up precisely to 350 degrees F (175 degrees C). If you don’t use a thermometer, you’ll end up guessing or burning the outside before the shrimp cook inside. Carefully drop in only five or six shrimp at a time—do not crowd the pan, or the oil temp will plummet and you get sogginess! Fry them for just 2 to 3 minutes on each side, flipping gently once, until they turn that perfect opaque color and are beautifully golden brown. Use a slotted spoon to lift them out and set them immediately on a wire rack lined with paper towels so that extra oil can escape.
Variations: Air Fryer Coconut Shrimp and Baked Coconut Shrimp Recipe
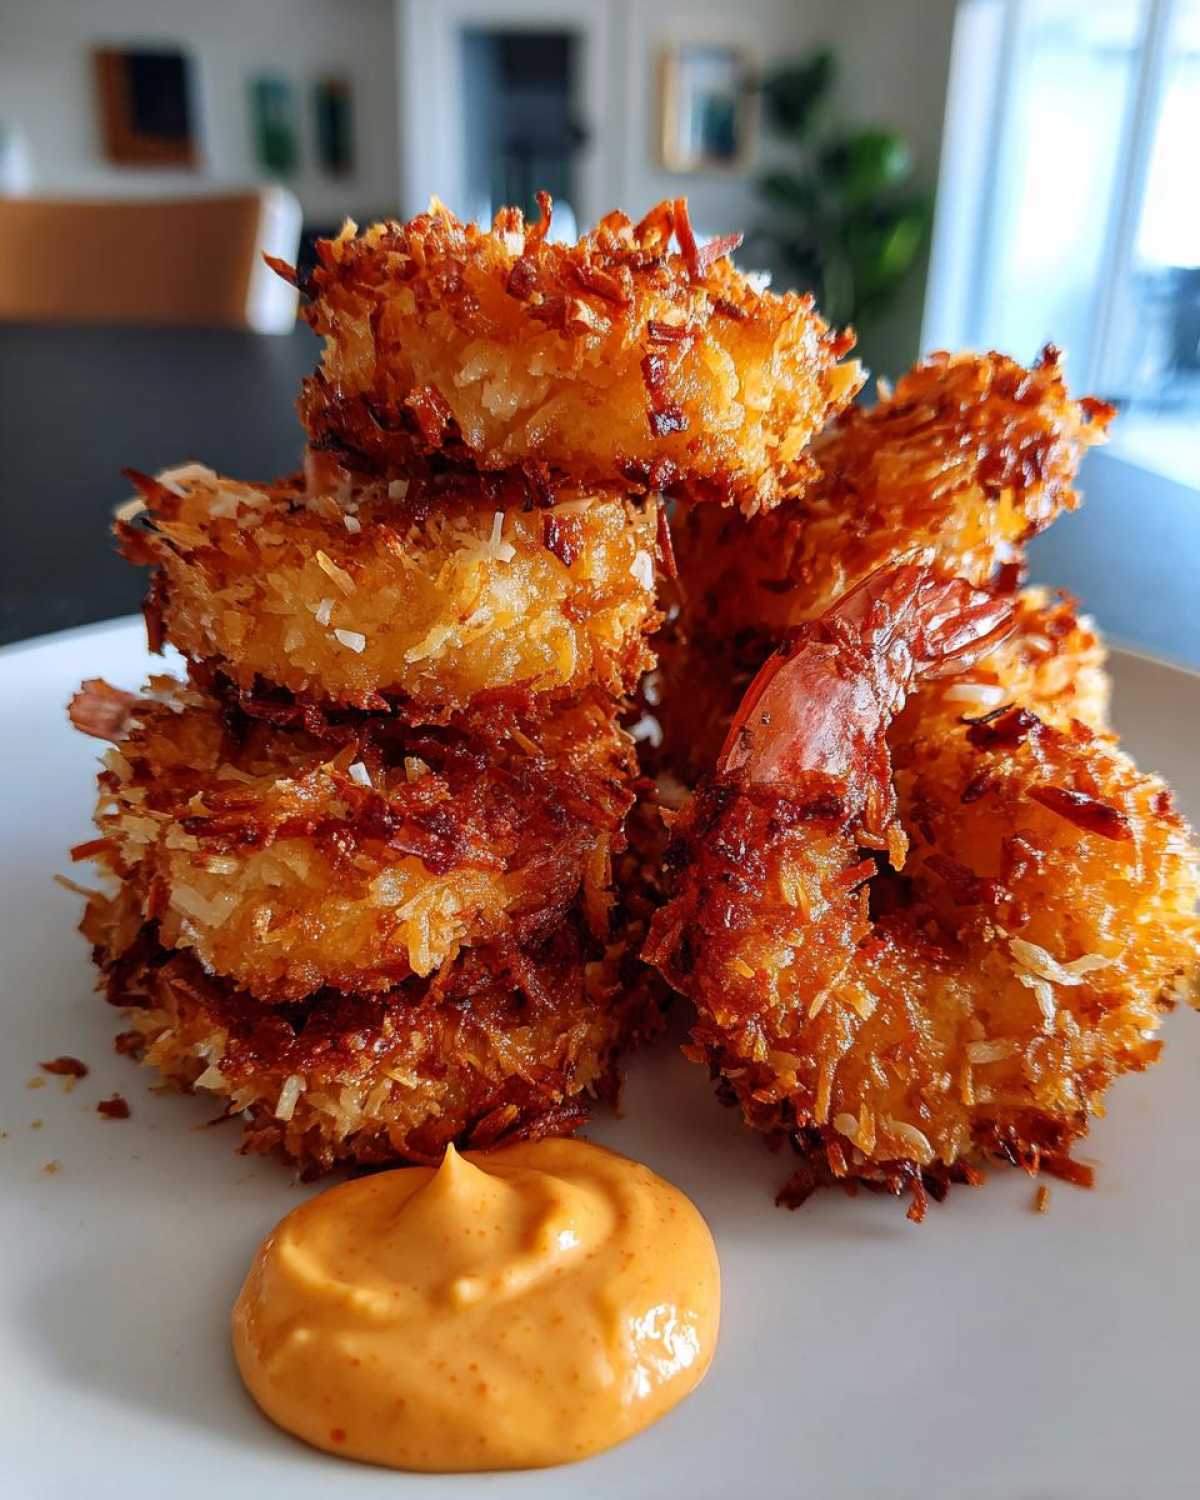
I know not everyone wants to deal with deep frying—and honestly, sometimes I don’t either! If you’re looking for a slightly healthier way to get that fantastic crunch, we’ve totally got you covered. The good news is that the coating process for these coconut shrimp variations is exactly the same as the fried version, so that crispy crust we worked so hard on stays intact!
You can adapt this easy coconut shrimp appetizer recipe for the oven or your air fryer, and either way, you’ll end up with something delicious. I love that the air fryer delivers results so much closer to deep frying without all the oil splatter. Speaking of which, if you need tips on getting the best texture out of that gadget, my guide to air fryer success has all the secrets!
Baked Coconut Shrimp Recipe Instructions
If you’re going the oven route for your baked coconut shrimp recipe, make sure you give the shrimp some breathing room so they don’t steam themselves soft. After you’ve coated them using the Panko mix, place them on a wire rack set over a baking sheet. Don’t skip the rack! This allows air to circulate underneath. Bake them high and fast at 400 degrees F (200 degrees C) for about 12 to 15 minutes total. Remember to flip them halfway through so both sides get that lovely golden color.
Tips for Perfect Air Fryer Coconut Shrimp
The air fryer cuts the cooking time down even further, which is amazing for a 15 minute shrimp recipe feel! For this version, you absolutely must spray the coated shrimp lightly with cooking spray. This fat mimics the oil bath and helps them brown instead of just drying out. Set your air fryer to 380 degrees F (195 degrees C) and cook them for just 8 to 10 minutes. Give that basket a good shake halfway through to redistribute the heat evenly. Honestly, if you want a great paired dip for this version, check out my recipe for air fryer coconut shrimp with chili dip!
Tips for Success: How to Make Coconut Shrimp Not Soggy
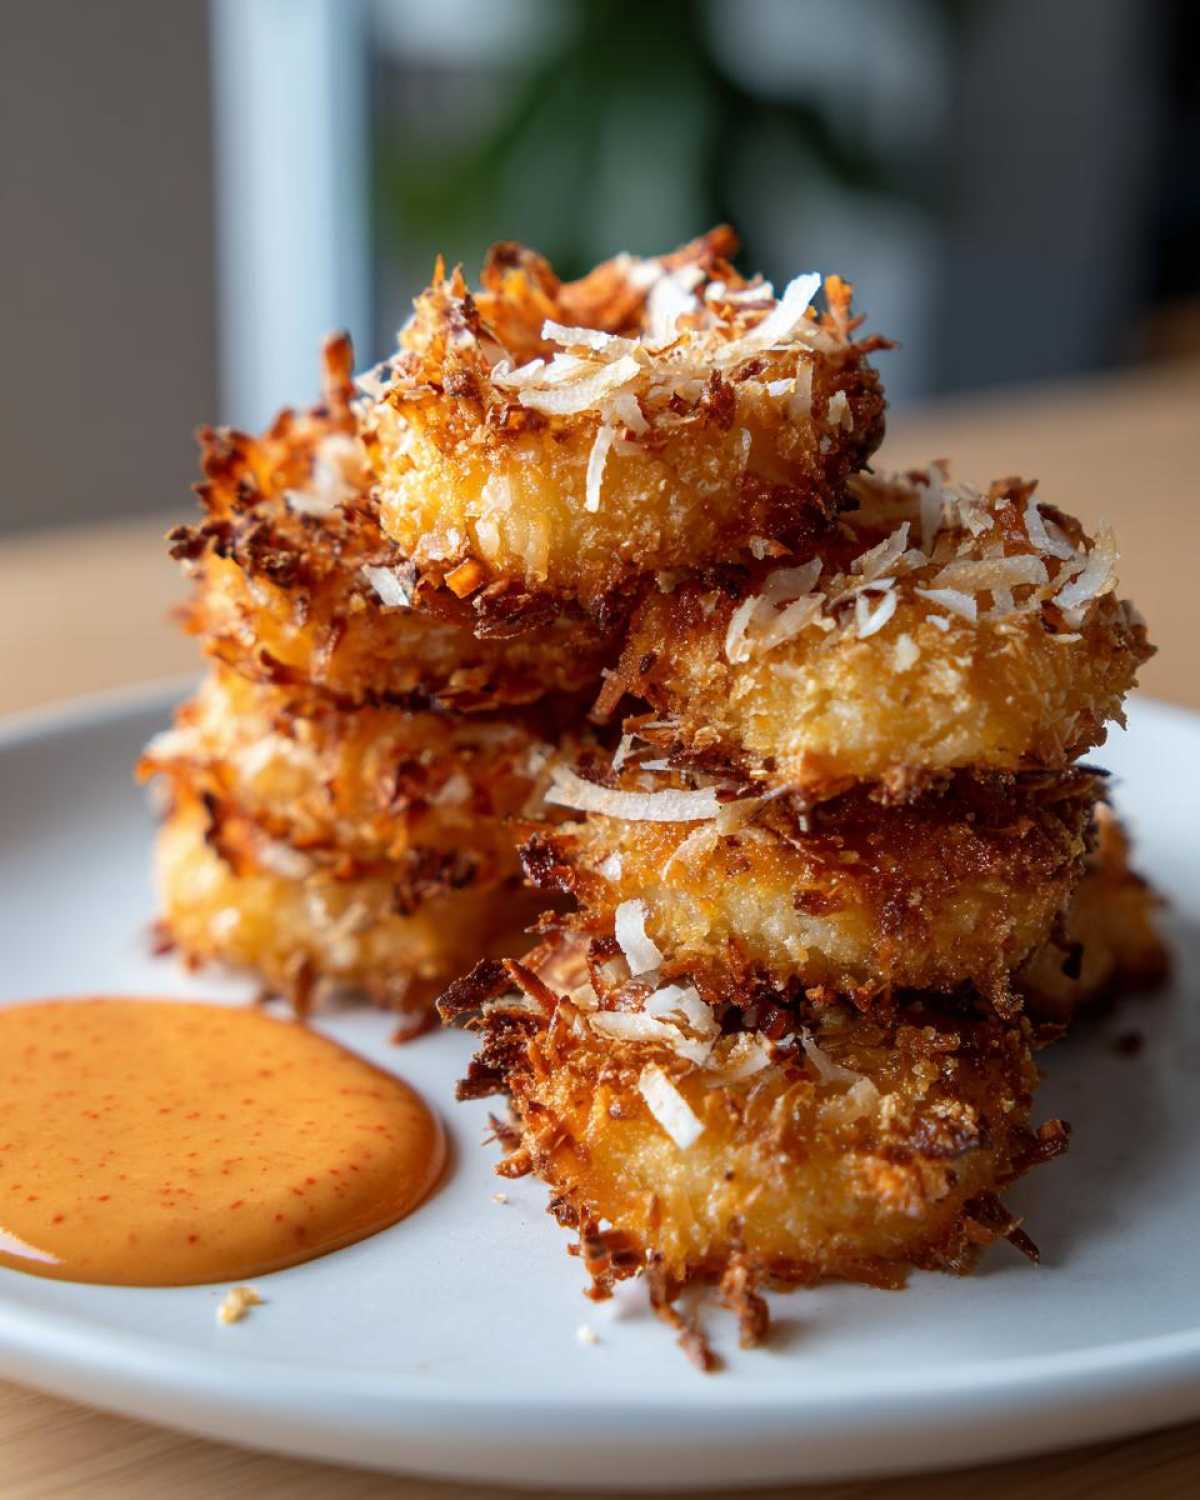
This is the absolute biggest fear when making coconut shrimp at home, isn’t it? Nobody wants to spend all that time breading only to pull out a tray of limp, oily disappointments. My biggest piece of advice, which I mentioned briefly before, is that the initial step of patting the shrimp totally dry sets the stage for everything. If there’s any lingering water on that shrimp, it instantly turns to steam when it hits the oil, blowing off your beautiful coating!
If your oil temperature dips below 350°F, you’re deep-frying, not frying—the shrimp will soak up the oil instead of crisping up instantly. Keep that thermometer close! And remember that little trick about chilling the breaded shrimp for 15 minutes? That solidifies the egg wash and coating so it adheres like cement. Finally, don’t leave the finished shrimp sitting in a puddle of oil or on a warm plate; always use that wire rack so the air circulates and keeps the undersides just as crunchy as the tops!
Serving Suggestions for Your Tropical Shrimp Appetizer
Now that you have perfected the crunchiest coconut shrimp imaginable, it’s time to make it look as good as it tastes! This recipe absolutely shines when served fresh and hot, making it an instant hit on any party platter shrimp recipes lineup or even as a light main course. Presentation is half the battle, so let’s make these shrimp look irresistible!
The obvious first move is presentation alongside that amazing sweet chili mayo we whipped up earlier. I like to put a little bowl of the dip right in the center of the platter and surround it with the golden shrimp like little edible jewels. It looks fantastic.
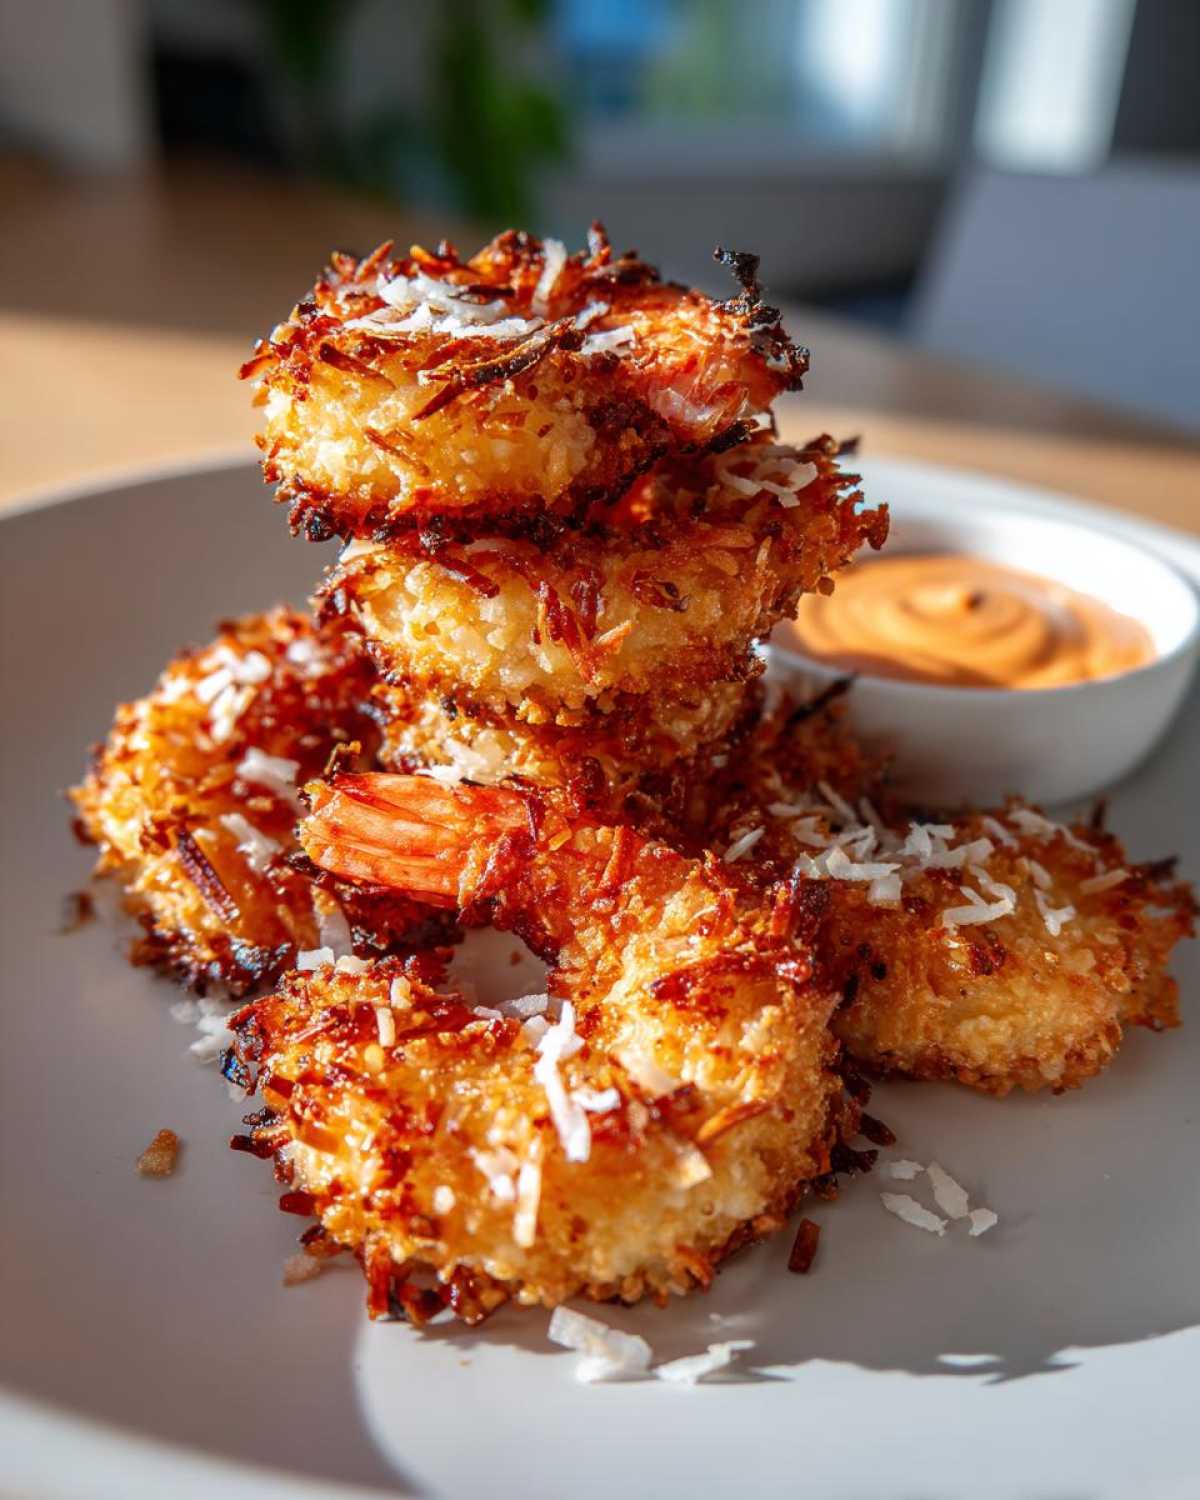
But if you are looking to bulk this out into something more substantial for dinner, you need something bright to cut through that richness. Remember, this is still a savory coconut treat, so something acidic works wonders! I love serving these spicy, sweet appetizers with a side of my super crunchy cabbage slaw. The vinegar-based dressing helps cleanse your palate between bites of the rich shrimp.
A few easy finishing touches really elevate the platter. Try scattering some fresh, finely chopped cilantro over the top right before serving—the green color looks beautiful against the gold. And if you have any lime wedges left over from making the sauce, place those around the edges too. A little squeeze of fresh lime juice right before eating brightens up the pineapple notes in the coating!
Storage and Reheating Instructions for Leftover Coconut Shrimp
Okay, confession time: I’ve never actually managed to have many leftovers of my coconut shrimp because they disappear instantly, but my sweet sister is much better at restraint. If, by some miracle, you do find yourself with some gorgeous, crunchy leftovers, storage is simple, but reheating requires a little strategy. You want to preserve that beautiful golden crust we worked so hard to achieve, right? Don’t even think about reaching for the microwave first—that is instant sogginess death, and we simply cannot allow that!
For storage, the key is getting the residual heat and moisture out quickly. Store any leftover shrimp in a single layer on a plate lined with paper towels. Cover that plate loosely with plastic wrap or foil—very loosely!—and pop it in the refrigerator. They will keep nicely for about two days this way. If you stack them up, I guarantee they will steam themselves into a soft mess.
Best Way to Reheat for Maximum Crunch
To bring that crispiness back to life, you have two excellent options, both relying on dry, circulating heat. My number one recommendation is the toaster oven or a conventional oven. Preheat your oven to about 375 degrees F (190 degrees C). Spread the cold shrimp out in a single layer on a wire rack, just like we did for draining after frying. If you have a small rack that fits inside a baking sheet, even better, as this allows air to hit the bottom crust too. Bake them for about 5 to 7 minutes. You’ll know they are perfect when they are hot all the way through and that coating sounds delightfully crisp when you tap it.
When You Absolutely Must Use an Air Fryer
If you used the air fryer method for the initial cook, resetting it will give fantastic results. Set the air fryer back to 350 degrees F (175 degrees C). You don’t need to spray them with oil again unless they look extremely dry. Pop the shrimp in the basket in a single layer—no overlapping allowed!—and cook for just 3 to 4 minutes. They heat up unbelievably fast this way, so watch them closely so they don’t burn.
Seriously, these reheating tricks are what separate the amateur cooks from the pros. Reheating properly means your impromptu snack or second-day appetizer tastes almost as good as fresh!
Frequently Asked Questions About Coconut Shrimp
It’s funny, even with a recipe that seems straightforward, people always have questions! I get it. When you’re making something this special—our amazing coconut shrimp—you want to make sure every detail is covered so you get that perfect crunch every single time. Here are some of the questions I hear most often from folks trying this party platter shrimp recipe for the first time.
Can I make Chinese Buffet Style Coconut Shrimp creamy?
That creamy style is definitely tempting! Our recipe focuses on the crispy exterior, which is why we love the sweet chili mayo dip. That mayo dip provides a cooling, slightly spicy contrast. If you absolutely crave that super creamy texture found in some restaurants, you could certainly swap out the sweet chili mayo for a homemade creamy version—maybe something using coconut cream or cream cheese whisked with a little sugar and lime. But honestly? Our crispy coating holds up so much better than the softer batter they often use at buffets!
What is the best dipping sauce for coconut shrimp besides sweet chili mayo?
While I stand by our sweet chili mayo as the best dipping sauce for coconut shrimp, I know sometimes you just need variety on the platter! If you’re looking for something completely different, try making a quick pineapple salsa. Just dice up fresh pineapple, mix it with finely chopped red onion, a jalapeño (seeds removed if you want less heat), cilantro, and a squeeze of lime juice. It’s super fresh, sweet, and offers a wonderful texture contrast to the savory coconut shrimp. It’s a real winner when you’re plating up a big tropical spread!
We have tons more inspiration for snacks and appetizers over on the main blog page if you need more ideas for your next big get-together! Don’t forget to save this page so you can come back if you have any other queries later on!
Estimated Nutrition for This Coconut Shrimp Recipe
If you’re like me, you want to know what you’re eating, even when it’s something wonderfully indulgent like this amazing coconut shrimp. Because we are frying these beauties, they are certainly richer than a simple salad, but they are still a lean source of protein! I’ve compiled the estimated nutrition for this recipe based on the ingredients listed and the standard serving size of four shrimp.
Keep in mind, these numbers are just a general guide. If you decide to use thick, jumbo shrimp instead of the large ones I specified, or if you make a huge batch of sauce and use it all, these values will shift a bit. Also, if you opt for the baked or air fryer versions, you’ll see the fat content drop significantly! For the full rundown on how we calculate these figures, you can always glance over our detailed nutritional disclaimer.
Here is the breakdown based on a 4-serving yield, meaning four pieces of the golden fried shrimp per person:
- Serving Size: 4 shrimp
- Calories: 350
- Fat: 22g (with 8g saturated fat)
- Sodium: 450mg
- Carbohydrates: 25g
- Protein: 18g
- Sugar: 12g
See? That 18g of protein is fantastic! It makes this easy appetizer feel much more satisfying. Enjoy every crunchy, sweet bite!
PrintCrispy Fried Coconut Shrimp with Sweet Chili Mayo
Make restaurant-style crispy fried coconut shrimp at home with a simple three-step breading process and a quick sweet chili mayonnaise dipping sauce.
- Prep Time: 20 min
- Cook Time: 10 min
- Total Time: 30 min
- Yield: 4 servings
- Category: Appetizer
- Method: Frying
- Cuisine: American
- Diet: Low Lactose
Ingredients
- 1 pound large shrimp, peeled and deveined, tails on
- 1 cup all-purpose flour
- 2 large eggs, lightly beaten
- 1 teaspoon salt
- 1/2 teaspoon black pepper
- 1 cup panko breadcrumbs
- 1 cup sweetened flaked coconut
- 1/2 cup vegetable oil, for frying
- For the Dipping Sauce: 1/2 cup mayonnaise
- 2 tablespoons sweet chili sauce
- 1 teaspoon lime juice
Instructions
- Prepare the shrimp: Pat the peeled and deveined shrimp very dry using paper towels. This step helps the coating stick and keeps the shrimp crispy.
- Set up the dredging station: Place flour in one shallow dish. In a second dish, whisk the eggs with salt and pepper. In a third dish, combine the panko breadcrumbs and flaked coconut.
- Dredge the shrimp: Take one shrimp and coat it lightly in the flour, shaking off excess. Dip it into the egg mixture, letting excess drip off. Finally, press the shrimp firmly into the coconut-panko mixture until fully coated. Place coated shrimp on a clean plate.
- Make the dipping sauce: In a small bowl, whisk together the mayonnaise, sweet chili sauce, and lime juice until smooth. Set aside.
- Fry the shrimp: Heat the vegetable oil in a deep skillet or pot to 350 degrees F (175 degrees C). The oil should be deep enough to cover the shrimp.
- Carefully place 5 to 6 shrimp into the hot oil, ensuring you do not overcrowd the pan. Fry for 2 to 3 minutes per side, turning once, until the coating is golden brown and the shrimp is opaque.
- Remove the cooked shrimp with a slotted spoon and place them on a wire rack lined with paper towels to drain excess oil.
- Serve the hot crispy coconut shrimp immediately with the prepared sweet chili mayo.
Notes
- For extra crispiness, chill the breaded shrimp on a baking sheet for 15 minutes before frying.
- If you prefer baked shrimp, coat the shrimp as directed, place on a wire rack over a baking sheet, and bake at 400 degrees F (200 degrees C) for 12 to 15 minutes, flipping halfway.
- For an air fryer method, spray the coated shrimp lightly with cooking spray and cook at 380 degrees F (195 degrees C) for 8 to 10 minutes, shaking the basket halfway through.
Nutrition
- Serving Size: 4 shrimp
- Calories: 350
- Sugar: 12
- Sodium: 450
- Fat: 22
- Saturated Fat: 8
- Unsaturated Fat: 14
- Trans Fat: 0
- Carbohydrates: 25
- Fiber: 1
- Protein: 18
- Cholesterol: 150