

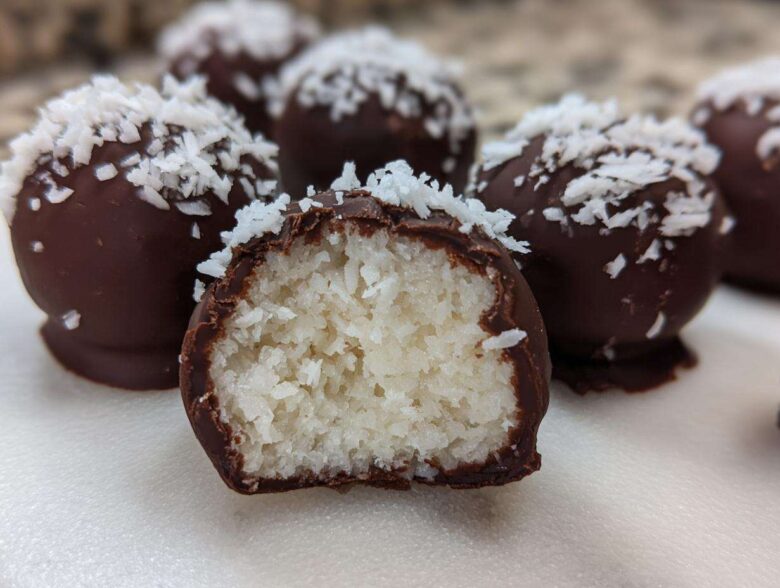
Oh my goodness, let me tell you, sometimes the craving for something sweet hits you, and you just do *not* want to fire up the oven when it’s hot outside! That’s exactly why I’m obsessed with these coconut balls. Seriously, these are the definition of a No Bake Sweet Treat that tastes like you spent hours fussing over them. They are so unbelievably creamy on the inside, and once you dip these little gems into that shiny chocolate shell? Forget about it! They melt right in your mouth.
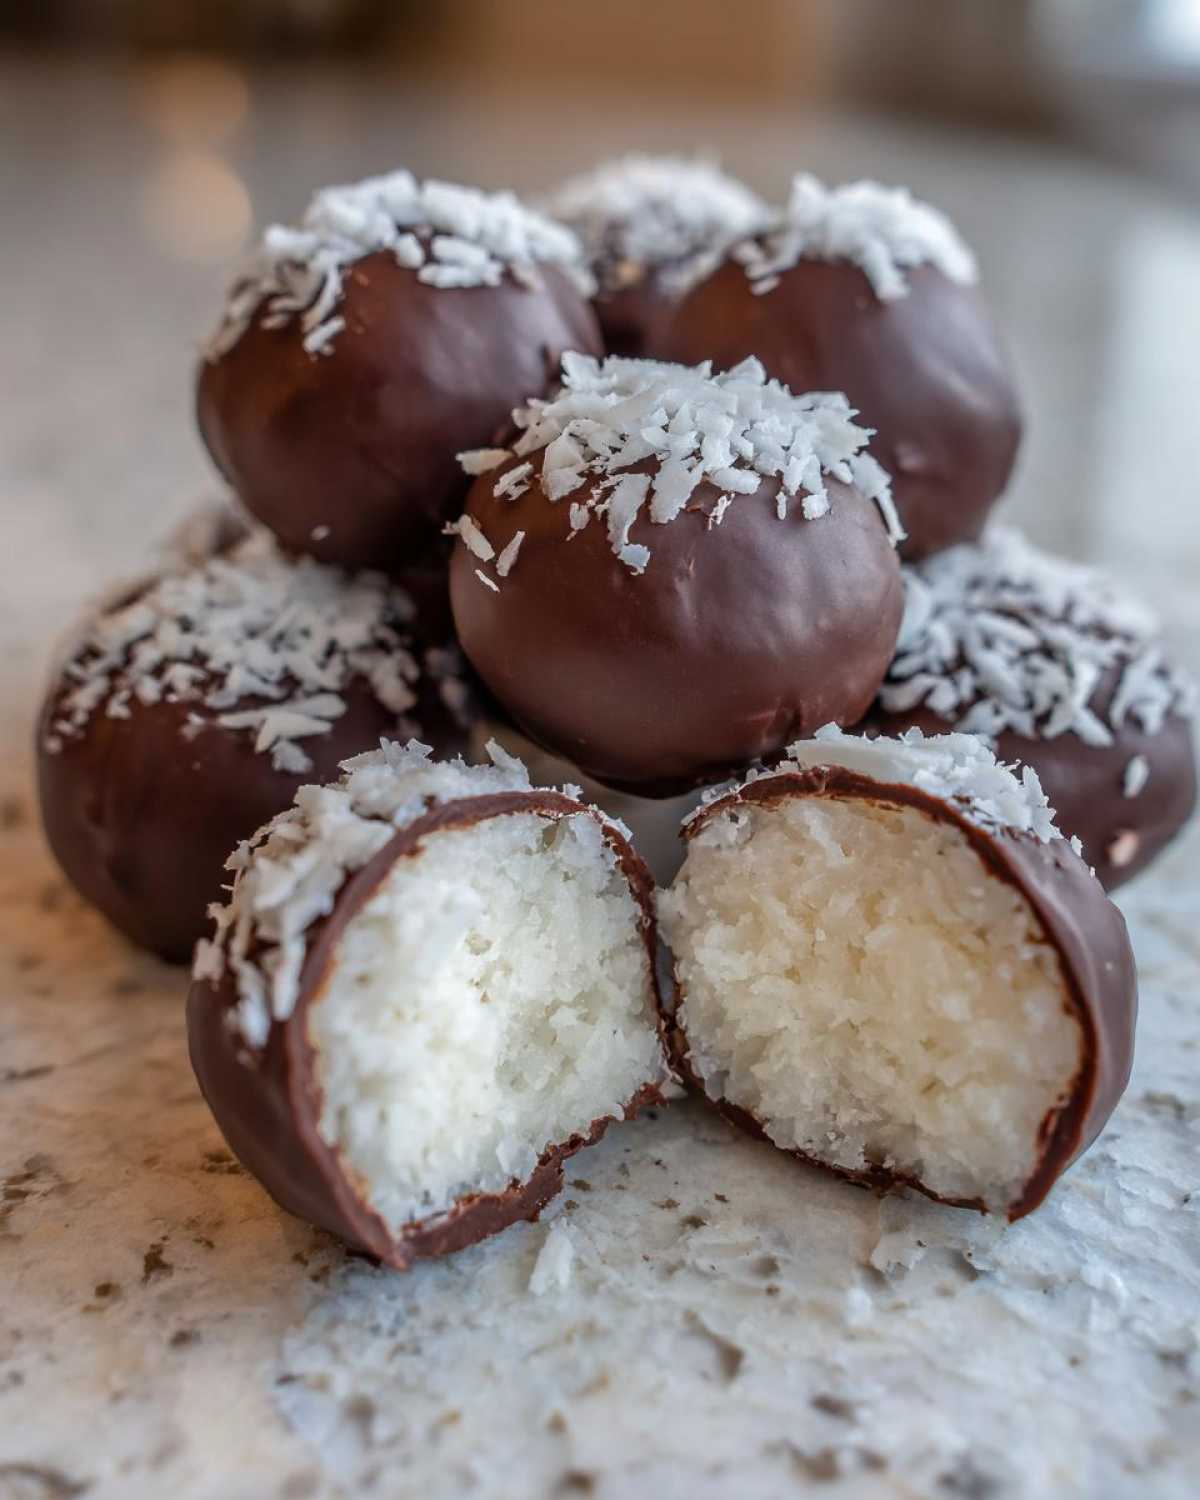
I must have made batch after batch of these coconut balls to finally nail down the perfect texture and sweetness balance. Trust me, this recipe for Condensed Milk Coconut Bites is golden. It’s simple, reliable, and always gets rave reviews at every single potluck I bring them to. I’ve tested this method countless times to make sure you get that perfect, consistent ‘melt-in-your-mouth’ result every time you try it. You can find more of my tried-and-true favorites over at my recipe index!
Why You Will Love These Easy Coconut Balls Recipe
If you need a quick fix, this is absolutely it. These are truly the ultimate Easy Coconut Balls Recipe when time is short—we’re talking about practically zero effort! Because these are such satisfying No Bake Sweet Treats, you completely skip the oven. That means sweet success even when it’s scorching outside!
Here’s why they make it into my regular rotation:
- The base is incredibly rich and Creamy Coconut Treats thanks to the secret ingredient (you’ll see it soon!).
- They look totally impressive coated in chocolate, making them fantastic Holiday Coconut Balls or party additions.
- This recipe is easily customizable; you can make them Gluten Free Coconut Treats just by double-checking your chocolate label!
- They truly are a Melt in Your Mouth Coconut Dessert that you can have ready in under an hour if you chill them properly.
Essential Ingredients for Creamy Coconut Treats
Getting the ingredients together for these Simple Coconut Desserts is honestly half the fun because there’s no fancy measuring or specialized equipment needed. We are keeping this super straightforward, which is why these turn out so reliably delicious! Having everything ready to go means you can mix up the base in about five minutes flat.
I always double-check my pantry to make sure I have these exact items on hand:
For the Coconut Balls Mixture
The magic here starts with the dairy—you absolutely must use 14 ounces of sweetened condensed milk. Don’t try to substitute evaporated milk here; you need that thick, sugary binder, and the quality really matters for the overall flavor!
- 14 ounces sweetened condensed milk
- 3 cups shredded sweetened coconut
- 1 teaspoon vanilla extract
For the Chocolate Coating on Coconut Balls
This next part is what takes these from great to absolutely show-stopping. We need just a tiny bit of fat for the chocolate coating to get that smooth, shiny look when it hardens up on your finished coconut balls. The coconut oil is crucial because it helps thin the melted chocolate just enough so you get a delicate coating, not a thick, clunky shell.
- 1 cup semi-sweet chocolate chips
- 1 tablespoon coconut oil
Step-by-Step Instructions for Perfect Coconut Balls
Okay, now that we have our fantastic ingredients laid out, let’s put these wonderful Condensed Milk Coconut Bites together! This is the fun part where everything comes together. The key here, and I cannot stress this enough, is patience during the chilling stage. If you rush the chill, rolling them later feels like trying to scoop sticky glue!
Mixing and Chilling the Base for Coconut Balls
First up, grab a good bowl and combine the three base ingredients: the whole can of sweetened condensed milk, all three cups of that lovely shredded coconut, and your vanilla extract. Mix it up really well until everything looks happy and uniform. You want zero dry spots left!
Once it’s all incorporated, cover that bowl up! Pop it into the refrigerator—this is step two—and let it chill for at least 30 minutes. If you can wait an hour, even better for getting those firm, professional-looking balls later on. Taking your time here makes sure the final treats aren’t crumbly!
Rolling and Preparing the Chocolate Covered Coconut Balls
When your mixture is nice and firm, it’s time to roll! I use a rounded tablespoon measure to keep them consistent. Scoop out a bit, roll it firmly between your warm palms into a nice sphere, and set it right onto a baking sheet lined with parchment paper. Parchment is your best friend here for cleanup, trust me!
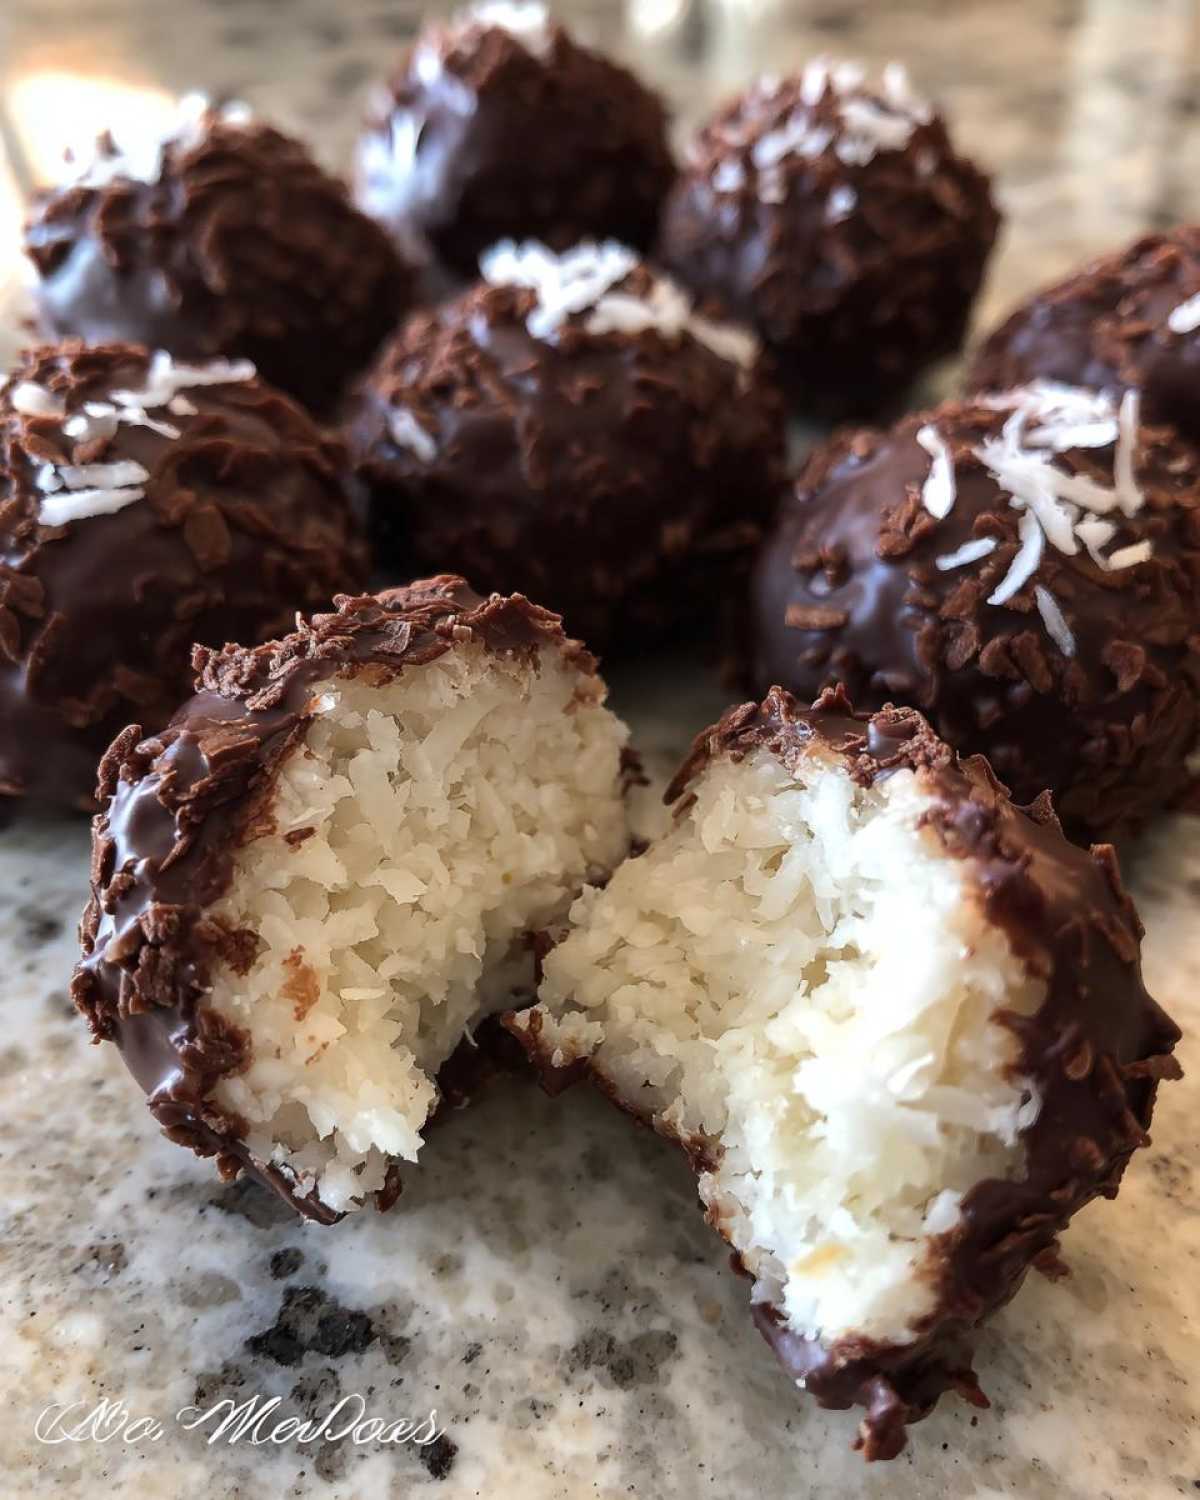
Once all your little coconut balls are rolled and resting on the sheet, put the whole tray back into the fridge while you tackle the chocolate dipping part. We want them icy cold for the best chocolate coating. Sometimes I even keep them chilling while I wipe down the counter. Gotta keep things tidy!
Melting Chocolate and Dipping the Coconut Balls
For the easy melt, put your chocolate chips and that tablespoon of coconut oil into a microwave-safe bowl. Here’s my big tip for melting chocolate so you don’t burn it: use short bursts! Heat it for 30 seconds, pull it out, stir it vigorously even if it doesn’t look melted, and repeat. Don’t rush this! Once it’s smooth and glossy (that’s step five!), it’s ready. If you need ideas for other quick desserts while you wait for these to set, check out my recipe for no-bake peanut butter pie!
Now, take a chilled ball, spear it with a fork, and dip it right into that gorgeous melted chocolate. Lift it out slowly and let any extra chocolate drip right back into the bowl. You want a thin, even coat!
Setting the Chocolate on Your Coconut Balls
Gently slide the chocolate-covered goodies back onto your parchment-lined baking sheet. They need a little nap to set up properly, so pop that sheet back into the fridge. Give them a solid hour, or at least until you tap the chocolate and it feels completely hard and won’t smudge on your finger. That shiny, hard shell means your No Oven Desserts are ready to eat!
Tips for Success Making These Simple Coconut Desserts
Even though these are called Simple Coconut Desserts, a few little tricks can take them from good to absolutely fantastic, which is why I always share my insider knowledge! If you find your mixture feels a little too soft before rolling, don’t sweat it. Just pop that bowl back into the fridge for another 15 or 20 minutes. Cold equals shape, simple as that!
If you want a thicker, more substantial bite—perfect for a fancier look—you can definitely extend that initial chill time to a full hour before you even attempt to roll them. That extra time really helps solidify that beautiful, dense interior.
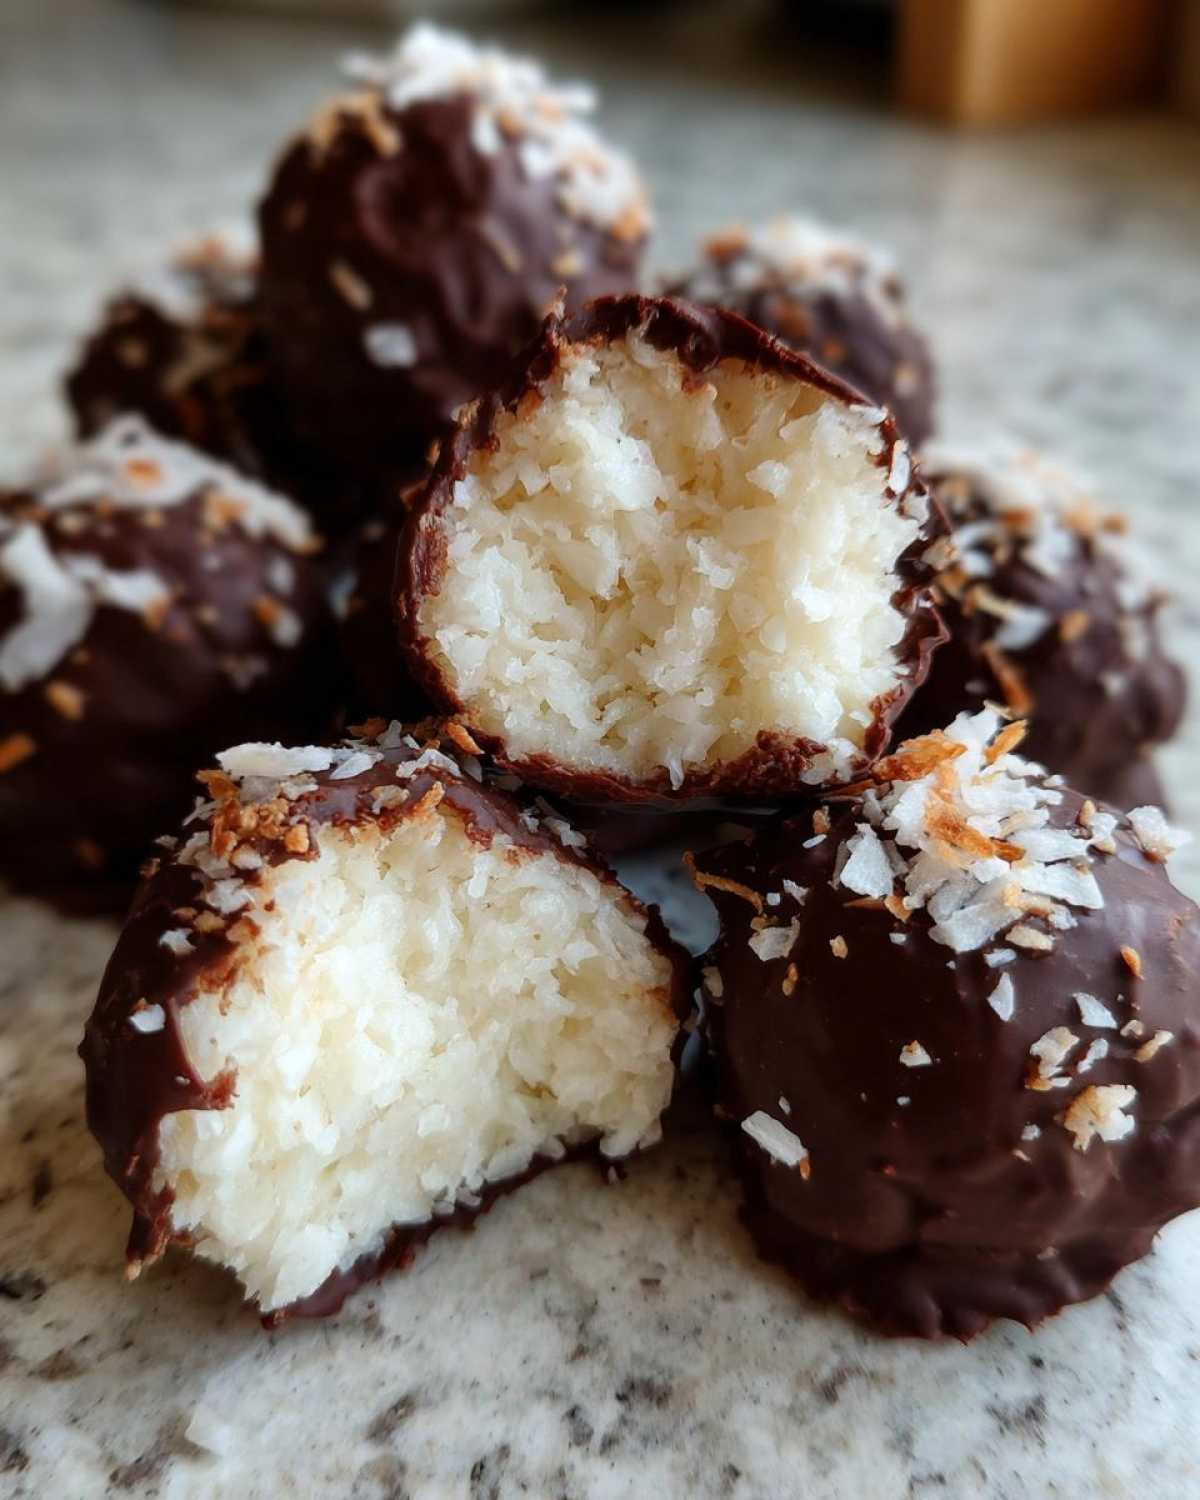
And don’t forget the flavor boosts! You can absolutely mix things up in the base. I sometimes drop in half a teaspoon of almond extract with the vanilla, and wow, does that give these coconut balls a lovely, slightly sophisticated twist. If you make any tweaks that you love, let me know over on my main recipe page; I love seeing how you customize things!
Ingredient Notes and Substitutions for Coconut Balls
I get so many questions about tweaking ingredients, and honestly, that’s part of the fun with these super simple coconut balls! Since this recipe relies heavily on the can of condensed milk, most of the base ingredients are hard to replace without changing the overall nature of the treat. But we can certainly talk about the coconut and the chocolate!
If you only have unsweetened coconut on hand, please don’t swap it out for sweetened! You just need to add back that missing sugar. I usually suggest adding about 1/4 cup of extra granulated sugar or a tablespoon or two of powdered sugar right into the mix when you add the condensed milk. You have to taste the mixture as you go, though, because you want it sweet enough to balance the chocolate later.
When it comes to the coating, semi-sweet is my go-to because it provides the perfect bitter edge against the super sweet center. If you prefer a sweeter coating, feel free to use milk chocolate chips instead! Just be warned: milk chocolate chips sometimes need a tiny bit less coconut oil because they melt a little smoother on their own. For me, nothing beats that semi-sweet contrast in these coconut balls, though.
Also, I’ve had people ask about using other flavors of chocolate, like peanut butter chips or butterscotch chips. Go for it! They dip beautifully and make a wonderful, unexpected flavor combination with the coconut base. Just remember, no matter what chips you use, that little bit of coconut oil helps make the dipping process seamless!
Serving Suggestions for Your Party Friendly Desserts
When you present these gorgeous Chocolate Covered Coconut Balls, people will assume you hired a caterer! They look so fancy sitting all shiny on a platter. For maximum impact, I always arrange these Party Friendly Desserts on a crisp white cake stand or a simple tiered tray. It really lets that chocolate coating shine!
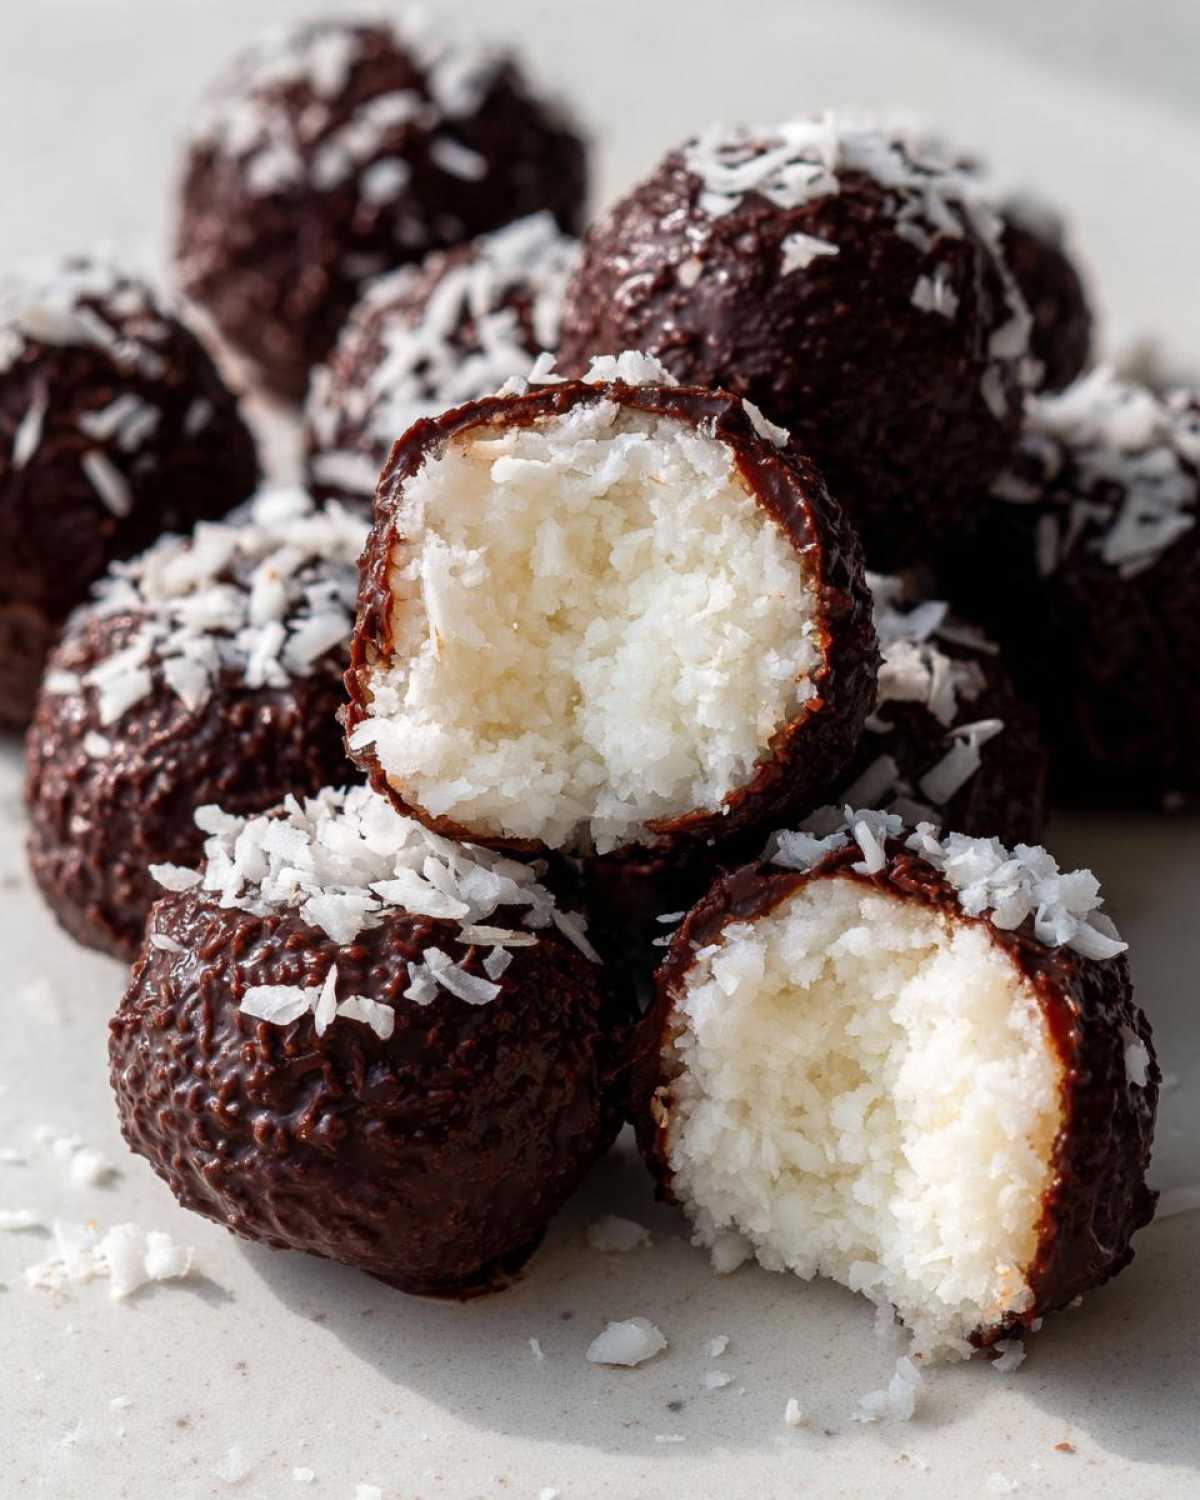
They are an amazing addition to any dessert bar. If you are hosting a holiday party, they look fantastic next to something salty, honestly. For a cozy afternoon treat, pair a couple of these coconut balls with a hot beverage. I often serve them alongside coffee or even a big batch of my favorite hot cocoa when the weather turns cooler. Enjoy making these simple treats the star of the show!
Storage and Reheating Instructions for Coconut Balls
This is the easy part! Since these are No Oven Desserts, storage is incredibly simple, which is another huge win for making these coconut balls ahead of time. Because the center is so rich and moist from the condensed milk, we need to keep them cool to maintain that perfect firmness.
For the absolute best experience, especially with that shiny chocolate coating, you should always store your finished Chocolate Covered Coconut Balls in an airtight container in the refrigerator. They behave beautifully in there!
I find that they stay wonderfully fresh and hold their shape perfectly for about a week, maybe even ten days if your home isn’t too humid. They are excellent for prepping for holidays or big gatherings because you can make them days in advance and forget about them until party time!
Now, can you leave them out on the counter? Well, if you plan on eating them all within a few hours, sure, especially in the winter! But as soon as the temperature creeps up, that lovely chocolate coating will get soft, and those soft centers might start weeping a little. If your kitchen is warm, keep ’em chilled until serving time. Trust me, nobody wants sticky fingers!
One last thing: since the center is made purely of condensed milk and coconut, reheating these isn’t really a thing. You don’t want to microwave them, or you’ll end up with a melted puddle of sugary coconut goo! They are designed to be enjoyed cool and firm, straight from that chilled, airtight container. That initial chill really locks in that delightful, melt in your mouth coconut dessert texture we worked so hard to create.
Frequently Asked Questions About No Oven Desserts
I get asked these questions all the time about these coconut balls, so I figured I’d stop rewriting the same answers in emails and just put them all here for you! Since these are Quick Homemade Candy, people often wonder how much I like to change things up, but honestly, the base recipe is magic just as it is.
Can I skip dipping these coconut balls in chocolate?
You totally can! If you skip the chocolate coating, you end up with what some folks call ‘Coconut Bliss Balls’ or simple Creamy Coconut Treats. They are still delicious, but they will be significantly softer and stickier because the hardened chocolate helps keep a nice structure around the creamy center. If you skip the dip, I’d recommend keeping them chilled right up until serving time. They are still a fantastic Tropical Sweet Snack!
Is it possible to make these without condensed milk?
This is the one substitution I really discourage if you want this specific texture. The sweetened condensed milk is what makes this an actual Easy Coconut Balls Recipe; its high sugar and low milk content act as the perfect binder and sweetener. If you’re trying to avoid dairy or sugar, you’d need a completely different recipe, maybe something using dates or protein powder, but that won’t result in this specific, decadent treat. Stick to the can for this one!
How long do these no bake sweet treats actually stay fresh?
Because of the dairy content in the condensed milk, these are best kept refrigerated in an airtight container. They stay wonderfully fresh and firm for up to a week, maybe even ten days if your fridge is cool and dry. Since they are Party Friendly Desserts, I often make them on a Tuesday for a weekend party—no stress needed! Just be sure not to let them sit out too long when serving.
I don’t have shredded coconut; can I use desiccated?
That’s a great detail to ask about! If you are using desiccated coconut (which is usually drier and coarser), you might find your mixture feels a little too dry when you mix it up, even with all that condensed milk. If you notice that, just add an extra tablespoon or two of milk or even a teaspoon of water until it comes together nicely. But generally, sweetened shredded coconut is what gives you that classic, soft texture for these Simple Coconut Desserts. Always check out my latest baking thoughts on my blog!
Estimated Nutritional Data for Coconut Balls
This information is super important, especially when you’re whipping up treats for a crowd, or maybe you’re just curious about how much goodness you’re enjoying in one bite. Remember, when you’re dealing with simple recipes like these coconut balls, the exact brands you use can make a tiny difference in the final counts!
I ran the numbers on the recipe as written, but please treat these as good guidelines rather than strict lab results. If you use a different brand of chocolate or your can of condensed milk was slightly different in weight, the values will shift just a bit. It’s all part of the fun of making quick homemade candy at home!
Here is the estimated breakdown per single coconut ball:
- Serving Size: 1 ball
- Calories: 180
- Sugar: 18g
- Sodium: 35mg
- Fat: 10g
- Saturated Fat: 8g
- Unsaturated Fat: 2g
- Trans Fat: 0g
- Carbohydrates: 22g
- Fiber: 1g
- Protein: 2g
- Cholesterol: 10mg
Overall, for a decadent, chocolate-dipped treat that requires zero baking, I think those numbers are pretty fantastic! Enjoy the richness of these melt in your mouth coconut desserts!
PrintNo-Bake Chocolate Dipped Coconut Cream Balls

Make these simple, creamy coconut balls without baking, then dip them in chocolate for a rich, satisfying treat.
- Prep Time: 20 min
- Cook Time: 5 min
- Total Time: 25 min
- Yield: 20 servings
- Category: Dessert
- Method: No Bake
- Cuisine: American
- Diet: Vegetarian
Ingredients
- 14 ounces sweetened condensed milk
- 3 cups shredded sweetened coconut
- 1 teaspoon vanilla extract
- 1 cup semi-sweet chocolate chips
- 1 tablespoon coconut oil
Instructions
- Combine the sweetened condensed milk, shredded coconut, and vanilla extract in a medium bowl. Mix until fully combined.
- Cover the bowl and chill the mixture in the refrigerator for at least 30 minutes to firm up.
- Scoop rounded tablespoons of the chilled mixture and roll them firmly between your palms into uniform balls. Place the formed balls on a parchment-lined baking sheet.
- Return the baking sheet with the coconut balls to the refrigerator while you prepare the chocolate coating.
- In a microwave-safe bowl, combine the chocolate chips and coconut oil. Microwave in 30-second intervals, stirring well after each interval, until the chocolate is smooth and fully melted.
- Dip each chilled coconut ball into the melted chocolate, ensuring it is fully coated. Use a fork to lift the ball out, letting excess chocolate drip back into the bowl.
- Place the coated balls back onto the parchment-lined sheet.
- Refrigerate the chocolate-covered coconut balls for at least 1 hour, or until the chocolate coating is set.
Notes
- For a firmer ball, chill the mixture for 1 hour instead of 30 minutes before rolling.
- If you prefer dark chocolate, substitute dark chocolate chips for the semi-sweet ones.
- You can add 1/2 teaspoon of almond extract along with the vanilla for a different flavor profile.
Nutrition
- Serving Size: 1 ball
- Calories: 180
- Sugar: 18
- Sodium: 35
- Fat: 10
- Saturated Fat: 8
- Unsaturated Fat: 2
- Trans Fat: 0
- Carbohydrates: 22
- Fiber: 1
- Protein: 2
- Cholesterol: 10