

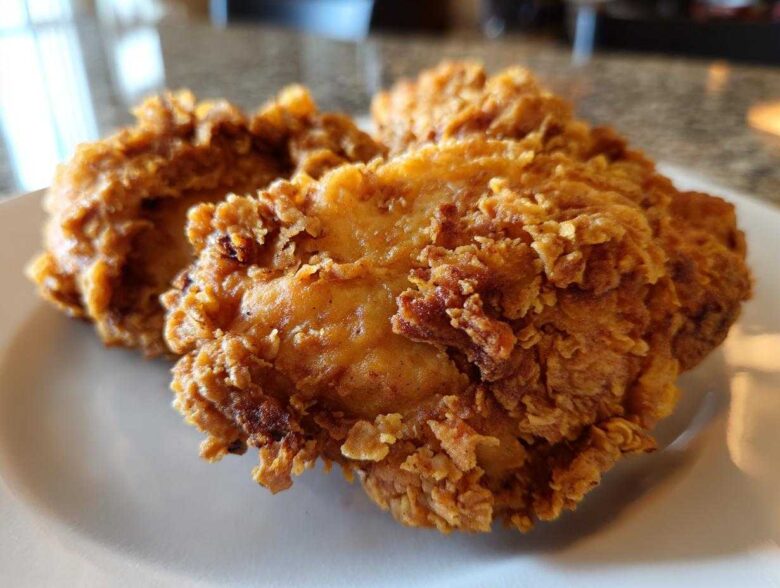
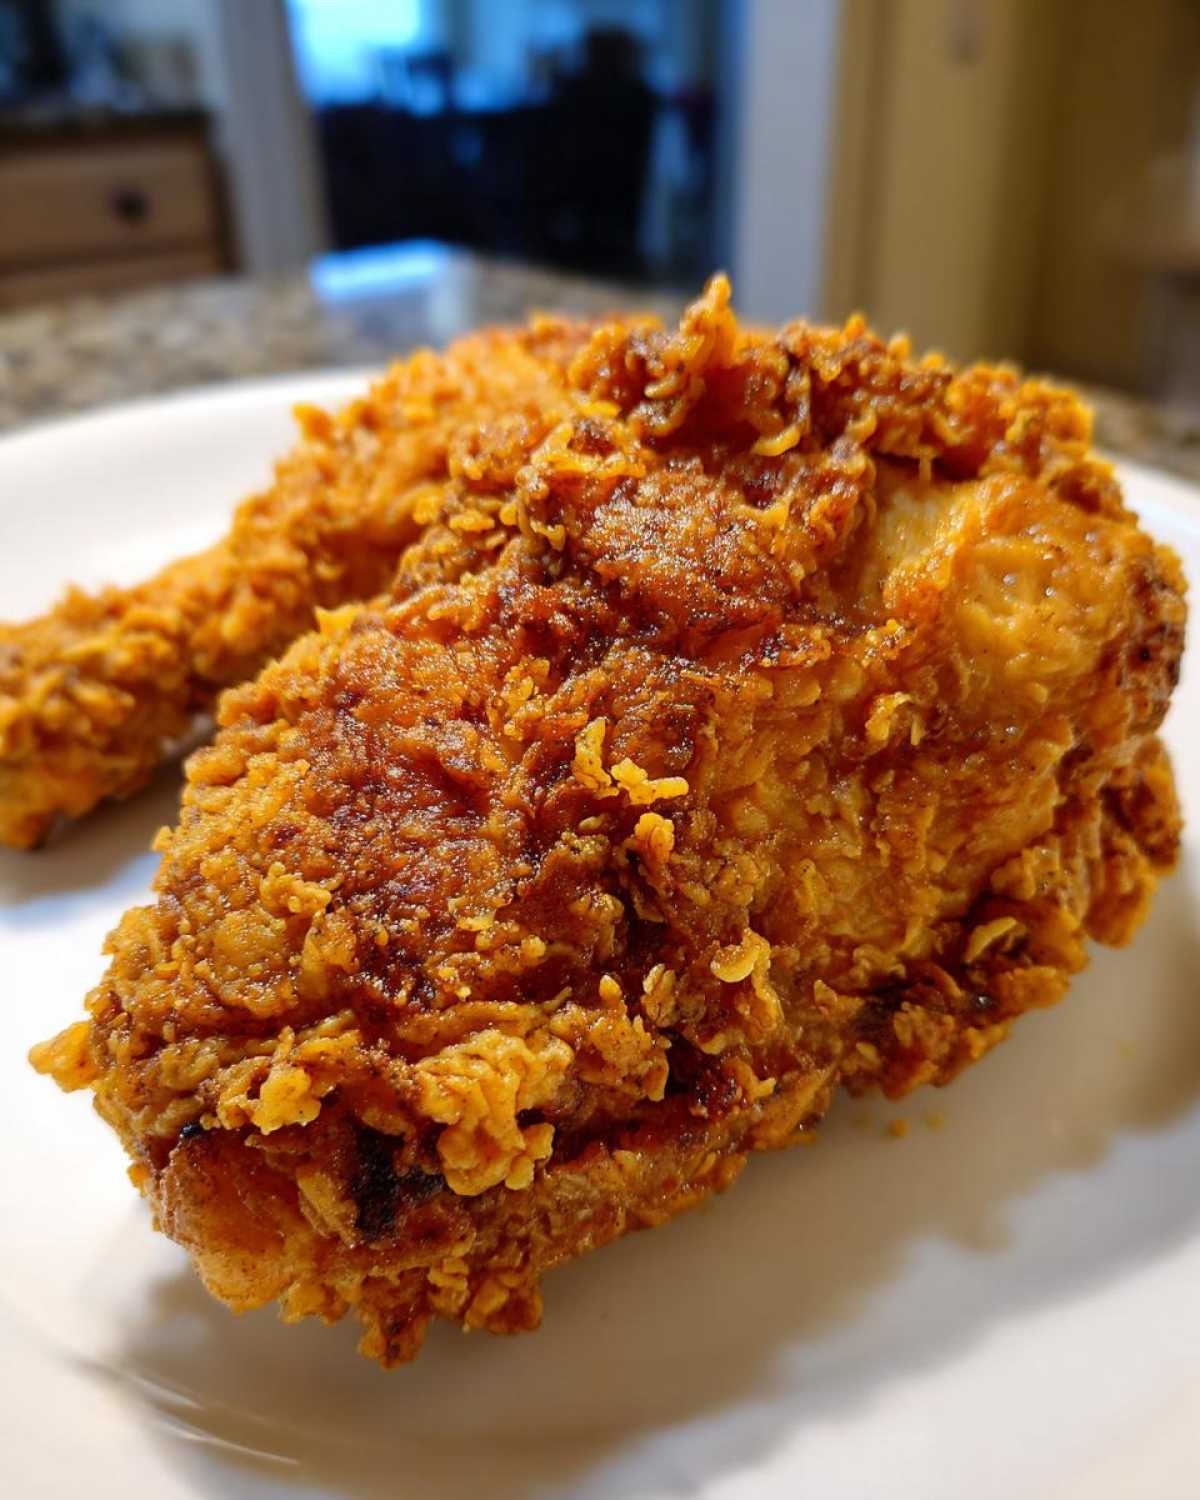
Oh my goodness, get ready because we are finally sharing the recipe that caused the most happy chaos in *our* kitchen! Trying to nail the perfect, classic comfort food is serious business, and Jacob and I spent weeks perfecting this recipe until we achieved the absolute dream: Buttermilk Southern Fried Chicken that is unbelievably crispy on the outside and unbelievably juicy inside. If you are chasing that golden, craggy crust that sings when you bite into it, this is your main event. This isn’t just any recipe; this is our definitive, tested-and-approved version of the best fried chicken you’ll ever make at home. We poured over every step; check out all our kitchen experiments over at the latest posts! Trust me, this project was worth every single savory bite!
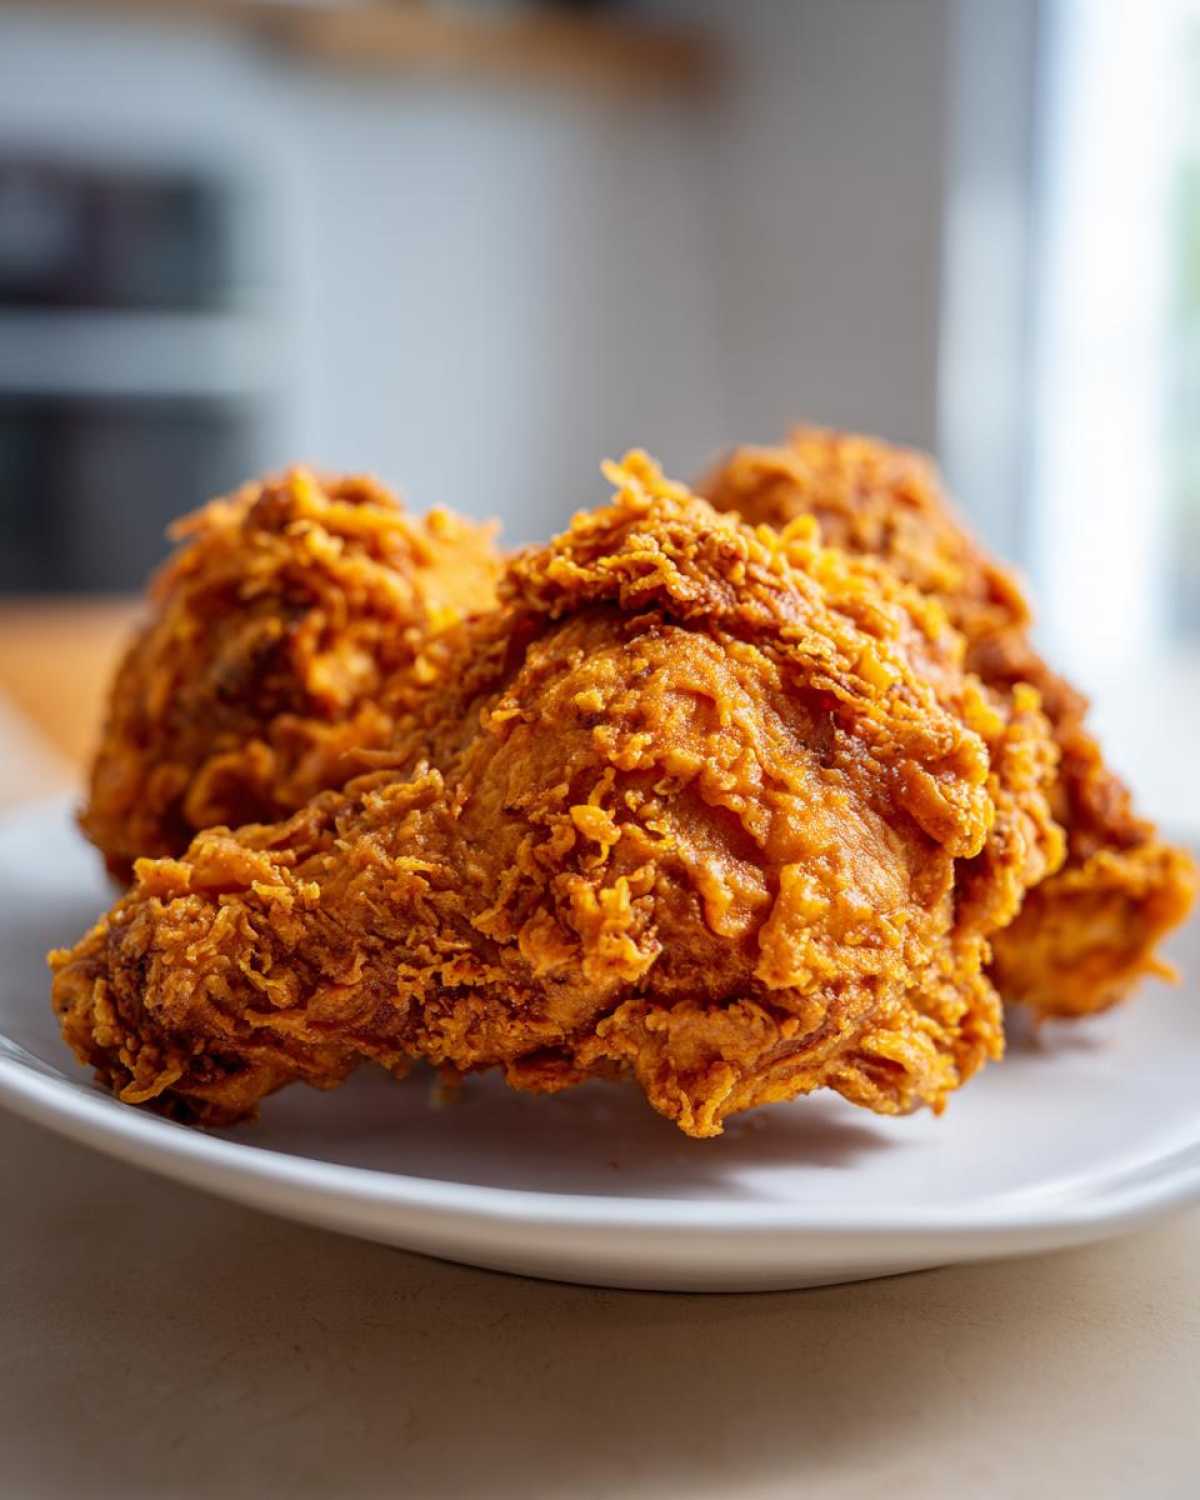
Why This Buttermilk Southern Fried Chicken Recipe Works (The Secrets to Perfect Fried Chicken)
When Jacob first tried making his version, it was okay, but it wasn’t *that* iconic, golden, pull-apart goodness. I realized we needed structure—a blueprint—for that legendary crunch! This recipe shines because we obsessively focused on three core things to guarantee juicy and crispy chicken every single time. It’s all about the marriage of tenderizing the meat and building an amazing seal for frying.
Forget flimsy coatings! We are going for that craggy, ultra-crispy outside that steals the show. If you want the real deal, pay close attention to the brine and the coating mix—those are non-negotiable steps for the best homemade fried chicken.
The Power of Buttermilk Brined Chicken
This is where the magic starts for truly tender meat. The mild acid in the buttermilk does some heavy lifting, gently breaking down the proteins in the chicken. This reaction is what makes the meat so incredibly moist and flavorful deep down. Plus, that thick, slightly acidic coating gives the dry flour something really sticky to grab onto, so nothing slides off in the hot oil!
You absolutely must commit to the time here. I know waiting is hard, but you need to let those chicken pieces soak for a minimum of four hours. If you can swing it and let it hang out overnight? Wow. The flavor payoff is huge, and it sets you up perfectly for our next project, like making some amazing buttermilk cornbread.
Achieving the Ultimate Crunchy Chicken Coating
The secret ingredient in our flour dredge that separates the kids from the champions is a half-cup of cornstarch. Seriously, this little addition is massive! It helps draw out moisture from the surface of the chicken as it fries, which locks in the crispiness and creates that thick, uneven texture everyone loves. When you dredge, you have to press that flour mixture in hard—don’t be shy!
If you *really* want that deep, craggy texture that looks like it came straight from a competition kitchen, try the optional double dip. Flour, buttermilk quick dip, then *back* into the flour and press again! It creates a thicker armor for the best crunchy chicken coating once it hits the fat. Just remember to let it rest afterwards!
Ingredients for the Best Homemade Fried Chicken
Gathering everything before we start cooking is my favorite part—it feels like setting up an artist’s palette! For the ultimate fried chicken experience, we insist on bone-in, skin-on pieces. They just stay juicier, which is essential! Everything you need is laid out below:
- 4 lbs bone-in, skin-on chicken pieces (thighs, drumsticks, breasts cut in half)
- 4 cups buttermilk
- 2 tablespoons kosher salt
- 1 tablespoon black pepper
- 1 teaspoon cayenne pepper (optional, for a kick)
- 3 cups all-purpose flour
- 1/2 cup cornstarch
- 1 tablespoon garlic powder
- 1 tablespoon onion powder
- 1 teaspoon paprika
- Vegetable oil or shortening, for frying (enough for 1 inch depth)
Seriously, all these simple components combine to make the best Southern fried chicken. Don’t forget to check out our recipe for crispy fried cornbread to go alongside this masterpiece!
How To Make Fried Chicken: Step-by-Step Instructions
Okay, now for the actual action! Making truly amazing fried chicken isn’t just about mixing ingredients; it’s about timing everything perfectly. If you follow these steps closely, you’ll see why Jacob finally got that perfect golden hue while keeping the inside totally moist. We cracked the code right here on how to make fried chicken that lives up to the hype!
Marinating the Chicken for Flavor
First things first: the marinade bath! Grab your biggest bowl and whisk together that buttermilk, the kosher salt, pepper, and if you like a little warmth, the cayenne. Toss your chicken pieces in there until they are completely drowned. Cover this setup—I use plastic wrap and sometimes a plate on top just to keep it submerged—and stick it in the fridge. Remember what I said? The bare minimum is four hours, but if you are planning this on Saturday night, make it Sunday morning. The longer it brines, the more tender it gets!
The Dredging and Resting Process for Crispy Fried Chicken
About half an hour before we fry, we move to the dry station. Whisk your flour, that magic cornstarch, garlic powder, onion powder, and paprika together really well. Take a piece out of the buttermilk, let that excess drip off—you don’t want watery batter—and press it hard into the flour mixture. Really work it in to get that rugged, craggy look. As I mentioned earlier, give the floured chicken about 20 minutes resting time on a wire rack. This step is essential so the coating stays put when it hits the hot oil!
Frying Technique for Golden Brown Chicken
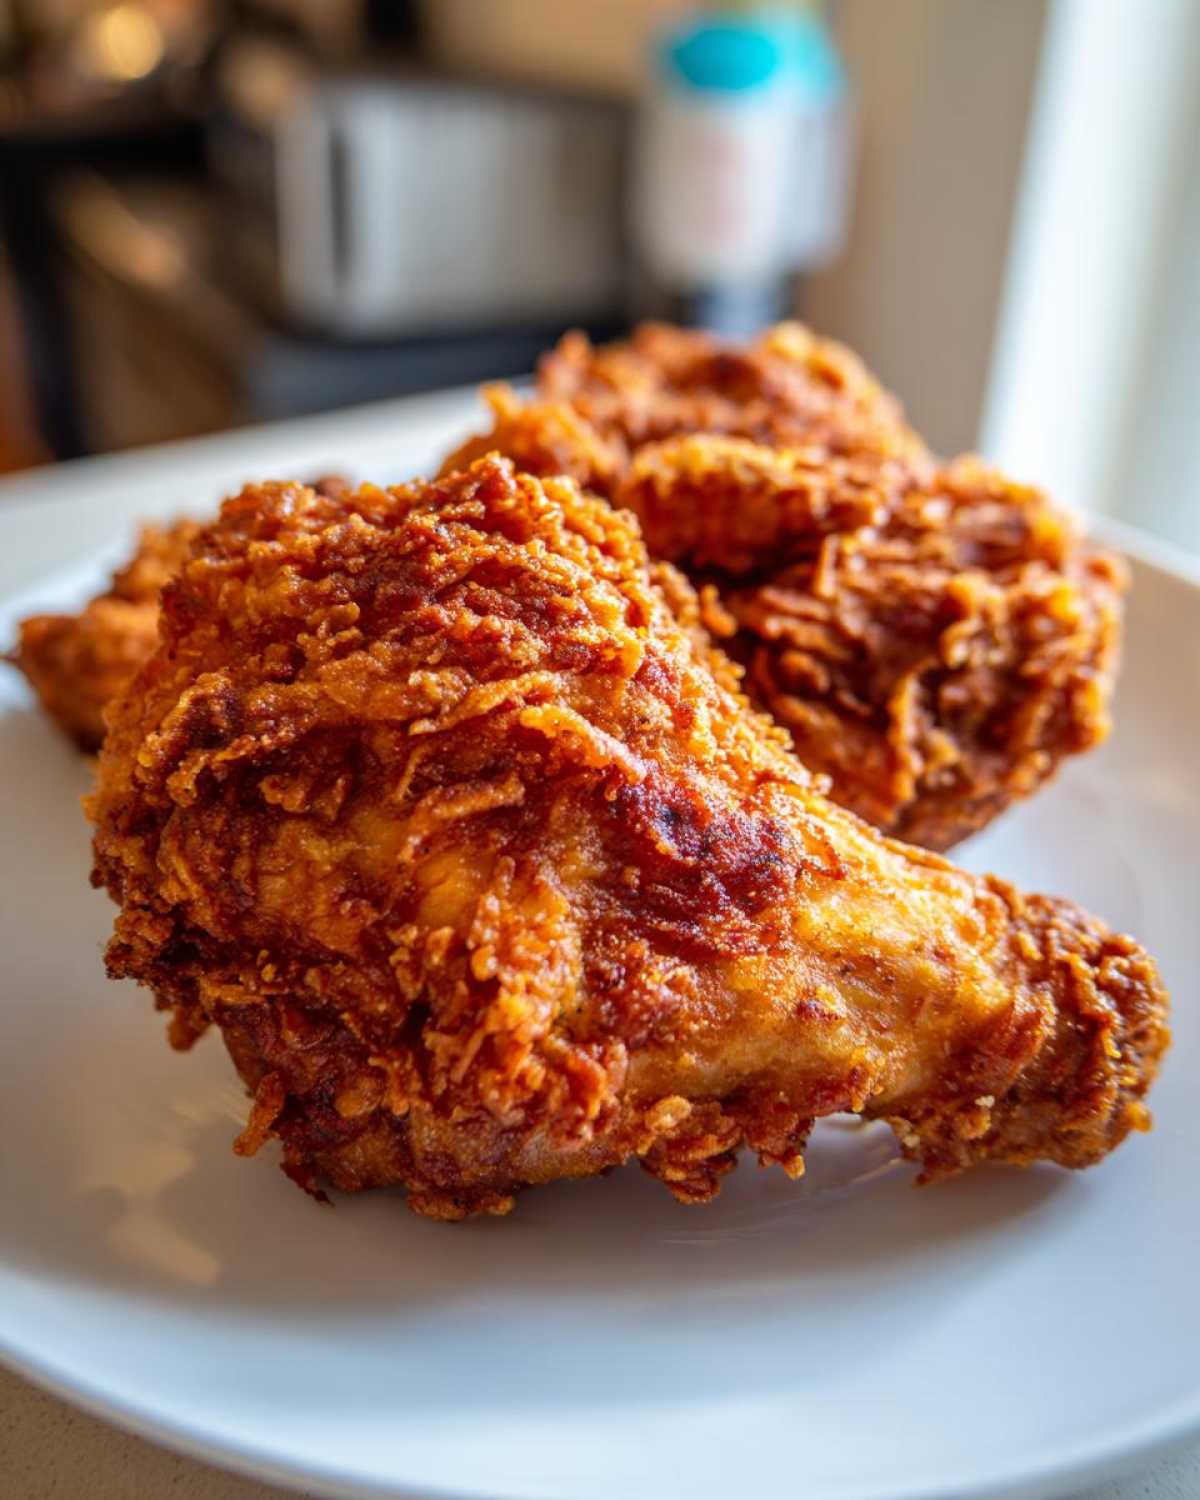
This is where Jacob keeps a hawk eye on the oil! You need at least an inch and a half of oil in a heavy pan, heated to exactly 325°F (160°C). Temperature control is everything for that golden brown chicken! Carefully place the pieces in without overcrowding—we work in batches, always. Fry them for maybe 6 to 8 minutes per side; seriously, only turn them once! You’re looking for that deep golden color and an internal reading of 165°F. Patience here means the difference between soggy grease-bombs and crispy perfection.
If you want to see some of my planning organizational tips that help keep dinner chaos away, check out my guide for easy oven baked BBQ chicken, even though this classic method can’t be beat!
Tips for Success Making Classic Fried Chicken
Jacob and I learned a few crucial things the hard way while practicing this recipe, so let me pass on our wisdom for your perfect batch of Classic Fried Chicken. These aren’t just suggestions; they are the guardrails that keep your dinner from turning into a sad, oily mess!
First, don’t even think about skipping the bone-in cuts! Those bones insulate the meat slightly and add unbelievable depth of flavor, which is why we always use thighs and drumsticks for our primary batches. Second, respect the thermometer! When the oil temperature dips, the crust soaks up grease instead of crisping. If the oil is too cool—say, below 315°F—you’ll end up with chicken that’s heavy and greasy, which is a textural disaster.
Also, if you’re making a spicy batch, try adding a nice dash of your favorite hot sauce right into the buttermilk soak. It blends into the coating so well and gives that final product a wonderful little savory punch. If you need a quicker chicken fix sometime, maybe try our honey garlic chicken, but nothing truly replaces the satisfying crunch of this fried chicken!
Serving Suggestions for Your Fried Chicken Dinner
Okay, you’ve pulled off the best homemade fried chicken—congratulations! Now, we need to think about what makes an easy fried chicken dinner truly legendary, and that means perfect side dishes. You need balance! A heavy, rich dish like this needs something bright or something creamy to cut through all that savory goodness.
My number one suggestion, always, is our creamy, moist buttermilk cornbread. It’s fantastic for soaking up any residual juices, though Jacob prefers spooning a little bit of our homemade brown gravy over his piece first. I usually balance it out with something cool and crunchy, like a crisp coleslaw or maybe some vinegar-based collard greens. Those acidic sides make every bite of that crunchy coating taste even better!
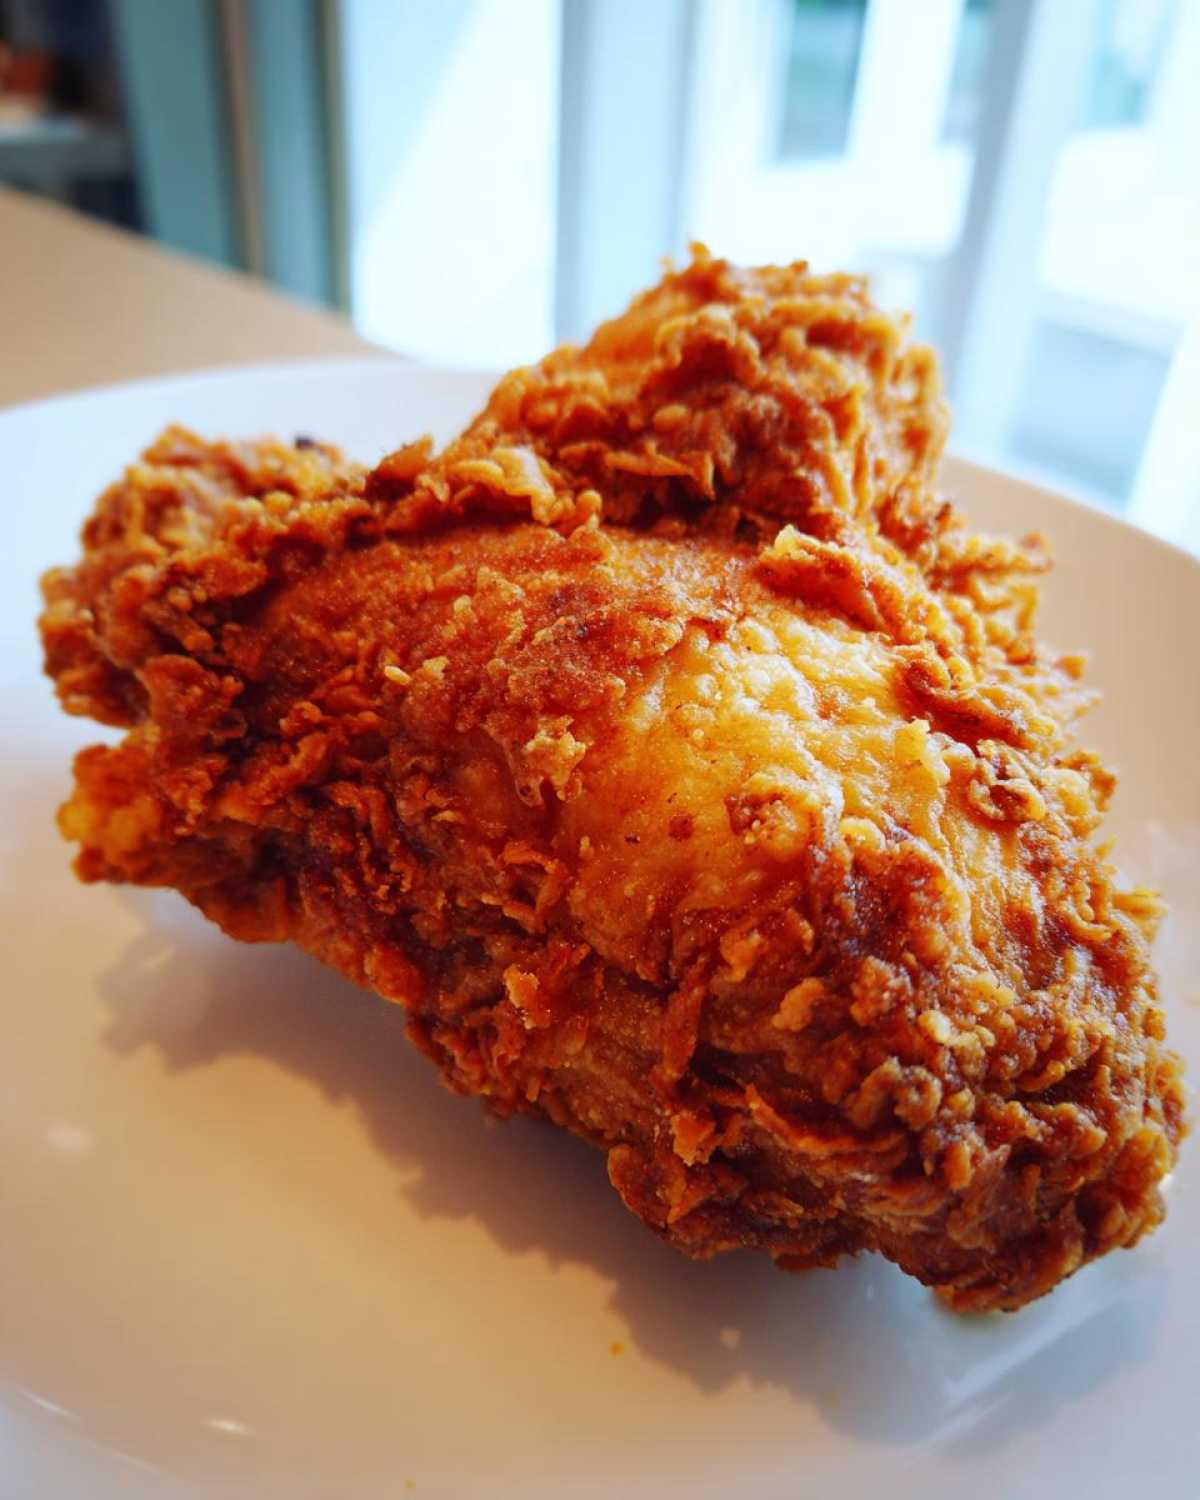
Honestly, pairing this chicken with anything slathered in our homemade brown gravy is pure Southern heaven. Serve it up hot, maybe with some mashed potatoes if you’re feeling indulgent, and prepare for silence at the dinner table!
Storage and Reheating Instructions for Leftover Fried Chicken
If, by some miracle, you have leftovers of this glorious batch of fried chicken, preserving that crunch is our highest priority! Never, ever store leftover chicken in an airtight container while it’s still warm in the fridge. That steam is the enemy; it makes the coating turn soft and sadly soggy almost instantly. Jacob learned that the hard way one night!
Instead, you need to let the chicken cool completely on a wire rack. Then, store it loosely wrapped in paper towels inside a slightly vented container—this lets any residual moisture escape. When you are ready for more savory chicken dinner ideas the next day, skip the microwave completely!
The best way to revive that crispy crust is in the oven at about 375°F (190°C) for 10 to 15 minutes, or if you’re modern like us, pop it in the air fryer for 5 minutes. Trust me, that blast of dry heat brings back that beautiful golden texture. If you need a quick side for your reheated chicken, check out our recipe for the air fryer baked potato!
Frequently Asked Questions About Making Fried Chicken
When Jacob and I were testing this recipe to get it just right, we generated a mountain of questions! It’s natural when tackling an icon like Southern Fried Chicken. I’ve gathered the top things people always ask about getting that perfect crisp and juiciness. Maybe one of these answers will help you nail your next batch!
Can I use chicken breasts instead of bone-in pieces for this fried chicken recipe?
You totally can use breasts, but you need to watch them closely! Breasts are leaner and cook faster, which means they can dry out before your drumsticks are done if you put them in together. If you are using breasts, I highly recommend slicing them horizontally into thinner cutlets or slightly pounding them to an even thickness—maybe about three-quarters of an inch thick.
If you do this, your cook time will drop significantly, so start checking the internal temperature much sooner. We stick to bone-in pieces because the bone helps regulate the heat transfer, guaranteeing that perfect separation between the juicy and crispy chicken meat and the coating, but use what you love!
What is the best oil temperature for achieving that golden brown chicken?
Hands down, the sweet spot we landed on for this recipe is 325°F (160°C). Seriously, this is where the magic happens! If you drop it too low, say below 315°F, the coating acts like a sponge and soaks up all that oil, leaving you with heavy, greasy chicken instead of that beautiful golden coating. That’s just sad!
On the flip side, if it gets too hot—like over 345°F—the outside burns beautifully, but the inside is still raw. Jacob uses a digital thermometer every single time because fluctuations happen when you drop cold chicken in. Stick to 325°F for that perfect, even cook; it’s the key to truly golden brown chicken.
Is it better to deep fry or pan fry this Southern Fried Chicken?
For this specific recipe, where we rely on the structure of the cornstarch dredge and the heavy coating, deep frying is definitely the winner. Deep frying allows the chicken to be completely submerged, cooking evenly on all sides at once, which is how you get that all-encompassing, craggy crust.
Pan frying definitely works if you don’t have enough oil or want an easier cleanup—and it’s great for that classic country-style outcome—but you’ll need to turn the pieces more often, and the bottom crust might end up slightly thicker than the top. Since our goal here was that ultra-crispy coat all the way around, we stick to deep frying. You can find some of my favorite side pairings, like a bright Grape Salad, to go with it!
Nutritional Estimate for Your Fried Chicken Serving
Now, I know Jacob and I are focused on flavor and texture when we tackle a project like this, but sticking to that E-A-T principle means being transparent about what’s on the plate! Since this is a seriously satisfying, classic comfort food, we want you to know what you’re diving into. This is the nutritional estimate for one piece of our fried chicken, based on the recipe card we developed.
Please note, because we are frying in oil and using skin-on meat, these numbers are definitely reflective of delicious, indulgent home cooking! Your exact figures might shift a tiny bit depending on the specific size of your chicken pieces or how much oil you let drain off, but this should give you a solid ballpark idea for your meal planning.
- Serving Size: 1 piece
- Calories: 450
- Fat: 28g
- Saturated Fat: 8g
- Carbohydrates: 15g
- Protein: 32g
- Sodium: 650mg
We keep the sugar really low in the recipe itself, focusing that flavor profile on savory spices, which is why you see minimal sugar listed here. Enjoy this incredible piece of culinary history, and remember that every amazing project requires a little bit of planning—and maybe a nice long walk after this fantastic Southern Fried Chicken dinner!
Share Your Perfect Fried Chicken Project
Whew! If you made it this far, you’ve conquered the ultimate comfort food project, and I am so proud of you! Jacob and I pour our hearts into these recipes, and seeing them come to life in your kitchen is truly the best part of running Taste Portfolio. Seriously, when you nail that perfect, crunchy crust on this fried chicken, you need to tell someone!
We absolutely love seeing all your successes. If this recipe made your dinner table happy, please take a moment to leave us a star rating right below this post. That’s how we know which projects we should keep perfecting and sharing with everyone! Every rating helps us build out our growing collection of delicious finished projects.
And please, tag us on your favorite social media! Show off that golden, beautiful chicken, and definitely tell us what you served alongside it. Are you a mashed potato person? Did you manage to whip up some homemade gravy? Drop your favorite side dish pairing in the comments! We love getting inspired by how you complete your plates. Happy cooking, and thank you again for trusting us with your next culinary project!
PrintThe Best Buttermilk Southern Fried Chicken: Ultra-Crispy and Juicy

Achieve the ultimate comfort food with this foolproof recipe for Buttermilk Southern Fried Chicken. You get a golden, crunchy, craggy crust and incredibly juicy meat every time.
- Prep Time: 30 min
- Cook Time: 25 min
- Total Time: 4 hours 55 min
- Yield: 4 servings
- Category: Dinner
- Method: Deep Frying
- Cuisine: Southern American
- Diet: None
Ingredients
- 4 lbs bone-in, skin-on chicken pieces (thighs, drumsticks, breasts cut in half)
- 4 cups buttermilk
- 2 tablespoons kosher salt
- 1 tablespoon black pepper
- 1 teaspoon cayenne pepper (optional, for a kick)
- 3 cups all-purpose flour
- 1/2 cup cornstarch
- 1 tablespoon garlic powder
- 1 tablespoon onion powder
- 1 teaspoon paprika
- Vegetable oil or shortening, for frying (enough to cover chicken by 1 inch)
Instructions
- In a large bowl, combine the buttermilk, kosher salt, black pepper, and cayenne pepper. Add the chicken pieces, ensuring they are fully submerged. Cover the bowl and refrigerate for at least 4 hours, or preferably overnight, for the juiciest results.
- About 30 minutes before frying, prepare the dredge. In a separate shallow dish, whisk together the flour, cornstarch, garlic powder, onion powder, and paprika. This combination creates that sought-after crispy coating.
- Remove the chicken from the buttermilk, letting excess drip off, but do not rinse. Dredge each piece thoroughly in the flour mixture, pressing the flour onto the chicken to create a thick, craggy coating. For extra crispiness, you can perform a double dip: dip the floured chicken back into the remaining buttermilk for a second, quick dip, then back into the flour mixture, pressing firmly again.
- Place the dredged chicken on a wire rack set over a baking sheet. Let the chicken rest at room temperature for 20 minutes. This resting period helps the coating adhere and prevents it from falling off during frying.
- Pour the vegetable oil or shortening into a large, heavy-bottomed skillet or Dutch oven until it reaches about 1 to 1.5 inches deep. Heat the oil over medium-high heat until it reaches 325°F (160°C). Use a thermometer to monitor the temperature; maintaining this heat is key for crispy, cooked-through chicken.
- Carefully place the chicken pieces into the hot oil, ensuring you do not overcrowd the pan. Work in batches. Fry the chicken in batches for about 6 to 8 minutes per side, turning only once, until deep golden brown and cooked through. Smaller pieces cook faster than larger breasts.
- Use tongs to remove the chicken from the oil and place it on a clean wire rack set over paper towels to drain excess grease. Check the internal temperature; it should read 165°F (74°C) in the thickest part.
- Serve your golden, crunchy, and juicy fried chicken immediately.
Notes
- For the best flavor and texture, use bone-in, skin-on chicken pieces. The bone helps keep the meat moist during frying.
- If you prefer a spicier coating, add a teaspoon of hot sauce to your buttermilk soak.
- Maintain your oil temperature carefully. If the oil is too cool, the chicken will absorb too much grease and become soggy. If it is too hot, the outside will burn before the inside cooks.
Nutrition
- Serving Size: 1 piece
- Calories: 450
- Sugar: 2
- Sodium: 650
- Fat: 28
- Saturated Fat: 8
- Unsaturated Fat: 20
- Trans Fat: 0
- Carbohydrates: 15
- Fiber: 1
- Protein: 32
- Cholesterol: 110