

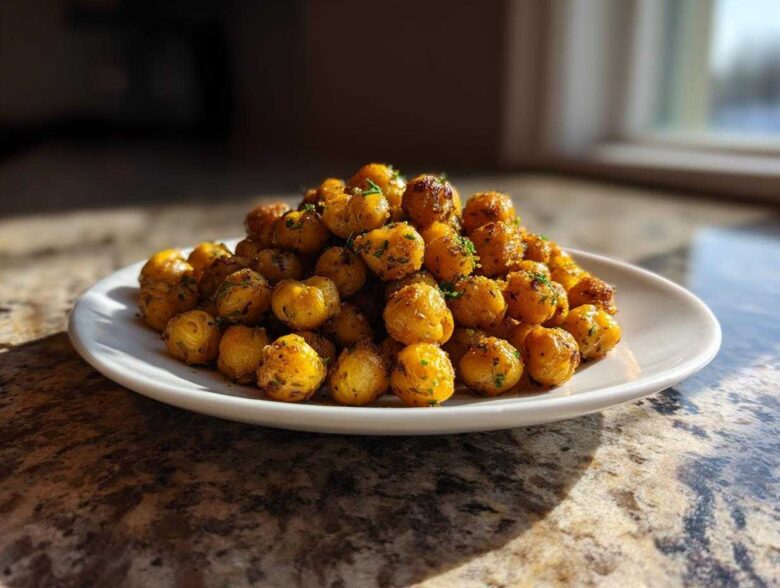
Oh my gosh, are you having one of those snack emergencies? You know, the kind where you absolutely *need* something savory, crunchy, and packed with flavor, but you don’t want to touch anything deep-fried? I get it! For years, I played around with roasting these little powerhouses in the oven, but honestly, the results were always hit-or-miss—sometimes soggy, sometimes burnt.
Then I truly committed to mastering my air fryer for snacks, and wow, what a game-changer! I finally landed on the perfect technique that guarantees that satisfying shatter in every bite. Today, I’m sharing my absolute tried-and-true recipe for Air Fryer Crispy Garlic Herb Chickpeas. Trust me, once you try these, you’ll never go back to the pantry-bought bags. We’re talking fast prep, incredible flavor from that simple garlic and herb combo, and texture perfection every single time.
Why You Will Love This Air Fryer Crispy Garlic Herb Chickpeas Recipe
Okay, so you might be thinking, “It’s just chickpeas, what’s the big deal?” Well, hang onto your apron, because these are different. I’ve spent way too much time testing basket sizes and shake times to perfect this recipe. You’re going to be obsessed because they hit all the right notes for a perfect snack:
- Maximum Crunch Factor: This is the whole reason we’re here! The air fryer dehydrates these beans perfectly, giving you that shatter-in-your-mouth texture usually reserved for deep frying. They are the definition of Crispy Roasted Chickpeas.
- Flavor Explosion: We nail the seasoning just right. It’s bold but balanced—the perfect Garlic Herb Snack that makes you reach for another handful before you even realize you’re eating legumes.
- Super Quick Snack Attack: Prep takes maybe five minutes tops! Seriously, between preheating and cooking, you can have this ready faster than you can decide what show to watch next.
- Healthy & Protein-Packed: For those of us watching what we eat, these are fantastic. They are naturally Vegan Crunchy Snack material, loaded with fiber and plant-based protein to keep you satisfied long after you finish the batch.
Go ahead, click over to my main blog if you want to see my other air fryer triumphs, but come right back—you need to see the ingredients next!
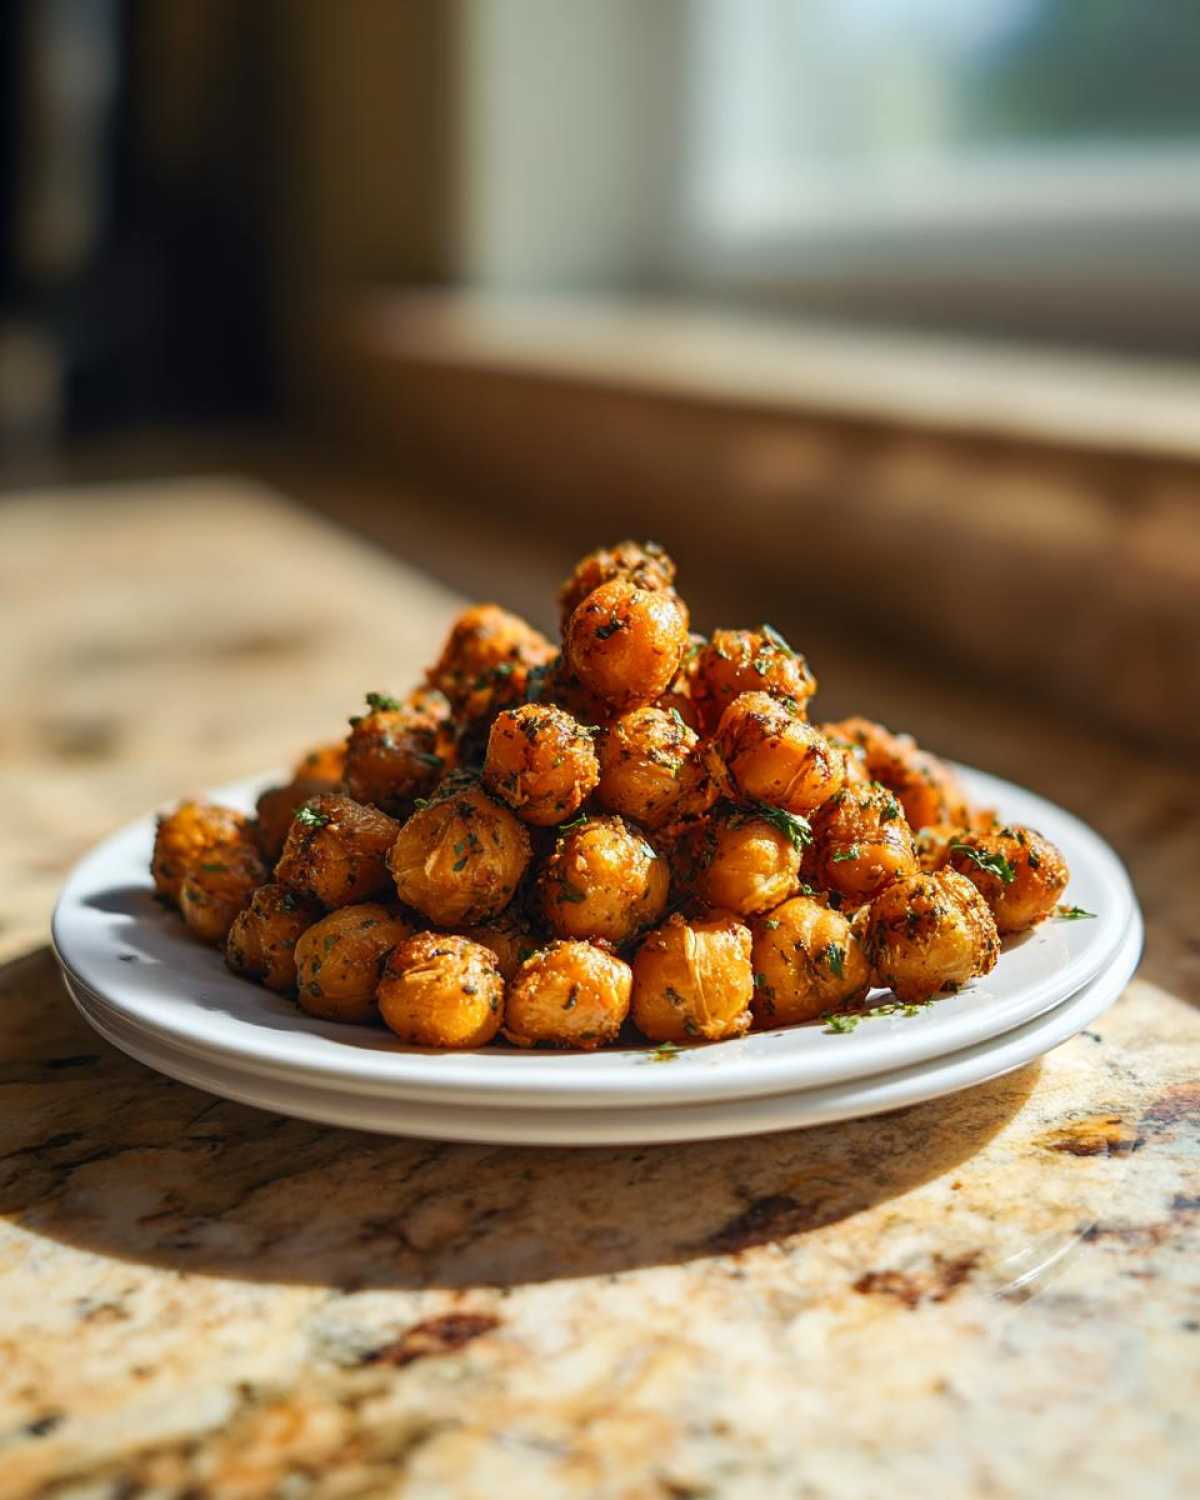
Ingredients for Perfect Air Fryer Crispy Garlic Herb Chickpeas
Now, this isn’t a complicated recipe, thank goodness! It’s built on using pantry staples, but the magic—I mean, the *real* magic—comes from getting those ratios right for the seasoning blend. If you mess with the ratio of garlic powder to dried herbs, you throw off the whole vibe. For this Air Fryer Chickpeas Recipe, precision matters just a little bit more than usual.
Here is exactly what you’ll need to gather up before you start shaking things up:
- 1 (15-ounce) can chickpeas, rinsed and drained
- 1 teaspoon olive oil
- 1/2 teaspoon garlic powder
- 1/2 teaspoon dried oregano
- 1/4 teaspoon dried thyme
- 1/4 teaspoon salt
- 1/8 teaspoon black pepper
See? Super straightforward! But I have to tell you, using quality herbs makes a huge difference in these Quick Herb Seasoning Chickpeas. If your thyme has been sitting in the spice rack since 2018, you might want to grab a fresh jar. We need that flavor punch!
Equipment Needed for Air Fryer Crispy Garlic Herb Chickpeas
I always joke that the most important piece of equipment for this recipe isn’t even the air fryer itself—it’s the paper towels! Seriously, getting these ready is half the battle, so setting yourself up with the right tools makes everything go smoothly.
You don’t need specialized gadgets for these crunchy delights, which is what makes this an amazing Easy Chickpea Crunchies recipe. Here is the simple lineup:
- Your Air Fryer (obviously! This is the star of the show for making Best Air Fryer Legumes).
- A medium mixing bowl for tossing the beans with oil and spices.
- A small bowl for mixing your dry seasoning blend.
- Plenty of paper towels or a clean, lint-free kitchen cloth for drying. This is non-negotiable for crispiness!
That’s it! No complicated layering or specialized inserts needed. Just make sure your air fryer basket isn’t too small—we definitely don’t want to skip the single-layer rule. If you’re using a small 2-quart unit, you’ll need to cook this in two or maybe even three separate batches. Trust me, overcrowding is the absolute enemy of crunch!
Step-by-Step Instructions: How to Make Air Fryer Crispy Garlic Herb Chickpeas
Alright, let’s get these little crunch machines going! This whole process flies by once you get past the drying phase. I always think of this as a simple three-part mission: Preheat, Dry, and Cook. If you follow these steps exactly—especially that first big drying effort—you’ll see why these are everyone’s favorite Savory Air Fried Snacks.
We’re aiming for that sweet spot of 12 to 15 minutes total cook time at 380°F (195°C). If you want to check out another super-crunchy air fryer fave while this is going, I highly recommend my recipe for crispy baked potato wedges—they use similar principles!
- First things first: Preheat your air fryer to 380°F (195°C). Remember, the air fryer needs to be hot *before* the food goes in so it starts crisping immediately.
- Next comes the absolute most important part of making How to make Crispy Chickpeas. Take your rinsed and drained can of chickpeas and spread them out on a thick layer of paper towels. You need to pat them completely dry—I mean really blot them down! Get rid of as much surface moisture as humanly possible.
- Now, transfer those bone-dry chickpeas to a medium bowl. Drizzle them with just 1 teaspoon of olive oil and toss gently until they look lightly and evenly coated. Oil helps the seasoning stick and promotes that beautiful golden color.
- In a separate, small bowl, whisk together all your glorious dried herbs and spices: the garlic powder, oregano, thyme, salt, and pepper. Make sure it’s all blended before you add it to the beans.
- Dump that seasoning mix right over the oiled chickpeas. Toss everything together really well until every single chickpea looks like it’s gotten a little hug from the herbs.
- Carefully place the seasoned chickpeas in your air fryer basket. Listen to me: they MUST be in a single layer. If they are piled up, the hot air can’t circulate, and instead of getting crunchy, you’ll get steamed, mushy beans. Cook in batches if you have to!
- Set the timer for 12 to 15 minutes total. At the halfway mark—so around 7 minutes in—pull the basket out and give it a really vigorous shake. This tumbles them around so all sides get direct heat exposure.
- Once the timer goes off, pull them out. They should be golden brown. Take a few out and let them cool down just for a minute or two—they firm up considerably once they stop sizzling!
The Critical Step: Drying Your Chickpeas
If you take away one thing from this whole post, please let it be this: You cannot skip drying the beans! Think about it—you are trying to cook water out of something that came packed in water. If you place wet or even slightly damp chickpeas into that 380°F air stream, the heat immediately turns that surface moisture into steam. That steam traps air pockets and keeps the skin soft, which means you end up with chewy, not crispy, snacks. I often use a clean kitchen towel and gently roll them around for almost two full minutes to make sure they are as Dry Chickpeas Air Fryer-ready as possible. It’s worth the extra effort!
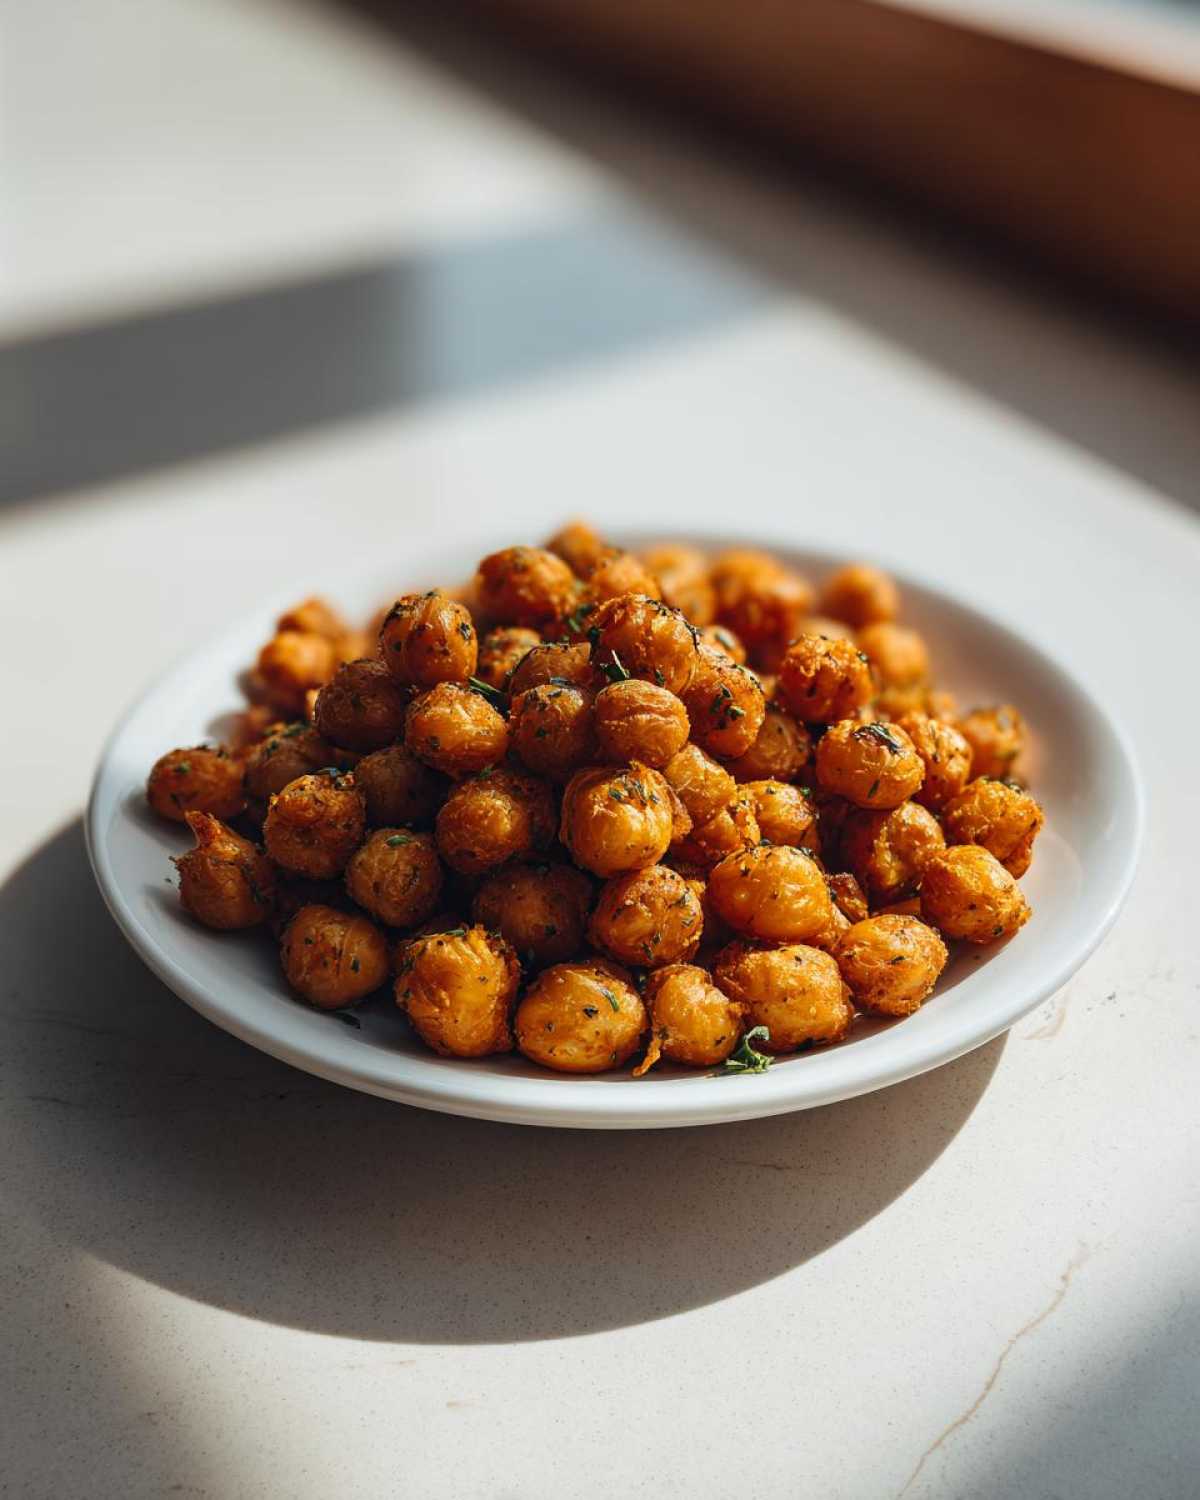
Seasoning and Air Frying for Maximum Crunch
When seasoning them, I always wait until the chickpeas are oiled first. The oil acts like the glue for the flavor. Make sure your seasoning mix is finely powdered before you toss it on; you don’t want big clumps of garlic powder sitting on one spot—that spot will just burn! As they finish up in the air fryer, don’t panic if they seem slightly softer than you expected right out of the basket. They continue to set and firm up as they cool down on the counter. That final moment as they cool is what seals the deal on that fantastic crunch!
Tips for Achieving the Best Air Fryer Crispy Garlic Herb Chickpeas
I feel like achieving true, shatteringly crisp legumes in a machine is an art form, not just science! You’ve listened to me babble about drying the beans (which is, as we know, the foundation of a great air fryer chicken recipe, too!), but I have a few more tricks up my sleeve to make sure these Air Fryer Crispy Garlic Herb Chickpeas live up to their name.
First up: want them crunchier than crunchy? Remember that 12-15 minute window is just a guideline. If you take a small test bite at 14 minutes and you’re still thinking, “Hmm, could use a little more snap,” go ahead and pop them back in. I’ve pushed batches to 17 or even 18 minutes if I’m using slightly larger, less dry beans. But word of warning: watch them like a hawk after the 15-minute mark! They go from perfect crunch to burnt really fast because that little bit of sugar in the seasoning starts to caramelize.
Another pro tip focuses on what happens *after* you pull them out. If you are planning on prepping these for the week—and hey, that’s smart meal prep—you need to think about humidity. If you seal these crispy beauties up tight in a plastic container, the little bit of residual heat and moisture they release will get trapped. By morning, they won’t have that amazing snap anymore!
So, for storage, always let your Air Fryer Chickpeas Recipe cool completely on the counter first. Once fully cooled, put them into a container, but leave the lid slightly ajar or use a container with vents. This allows air circulation. If you absolutely must use an airtight container, maybe line the bottom with a paper towel to wick away any lingering dampness. This is the real secret to keeping that satisfying texture around for up to three days!
Variations for Your Air Fryer Crispy Garlic Herb Chickpeas
While the original Garlic Herb blend is seriously addictive—it’s my go-to for a reason—sometimes you just need to shake things up, right? If you look at the simple ingredients list, you’ll see it’s like a blank canvas waiting for your personality to jump in! These are meant to be flexible, delicious Healthy Air Fryer Appetizers that you can tailor to whatever you’re craving that day.
Here are a couple of easy swaps and additions that I keep in my back pocket when I batch cook these. These barely change the prep time, but they drastically change the flavor profile for your Quick Herb Seasoning Chickpeas:
The Smoked & Savory Kick:
This one is my favorite for making them taste borderline meaty. Just before you add the oregano and thyme, throw in 1/4 teaspoon of smoked paprika along with the garlic powder. The paprika deepens the color beautifully and gives this earthy, smoky background note that is just heavenly when it gets roasted in that air fryer heat. I promise, you won’t regret this addition if you love that deep, robust flavor.
A Little Heat for Your Hunger:
If you’re like me and everything needs a tiny bit of spice to wake it up, add just a pinch—and I mean a tiny pinch—of cayenne pepper to your dry seasoning mix. We’re not trying to set off alarms here, just deliver a gentle warmth on the finish. This addition cuts through the savory garlic really nicely and makes them even more snackable, especially if you’re serving them alongside something cool and creamy.
Upgrading the Garlic Level:
I know the recipe calls for garlic powder because it’s dry and mixes easily, but if you want a real powerhouse flavor and aren’t worried about the beans tasting slightly less uniform, try this: Use 1 teaspoon of garlic powder as directed, AND add 1/2 teaspoon of onion powder. You get that savory allium base covered, and it really makes the herbs sing louder. It’s a great way to boost that background flavor profile across the board.
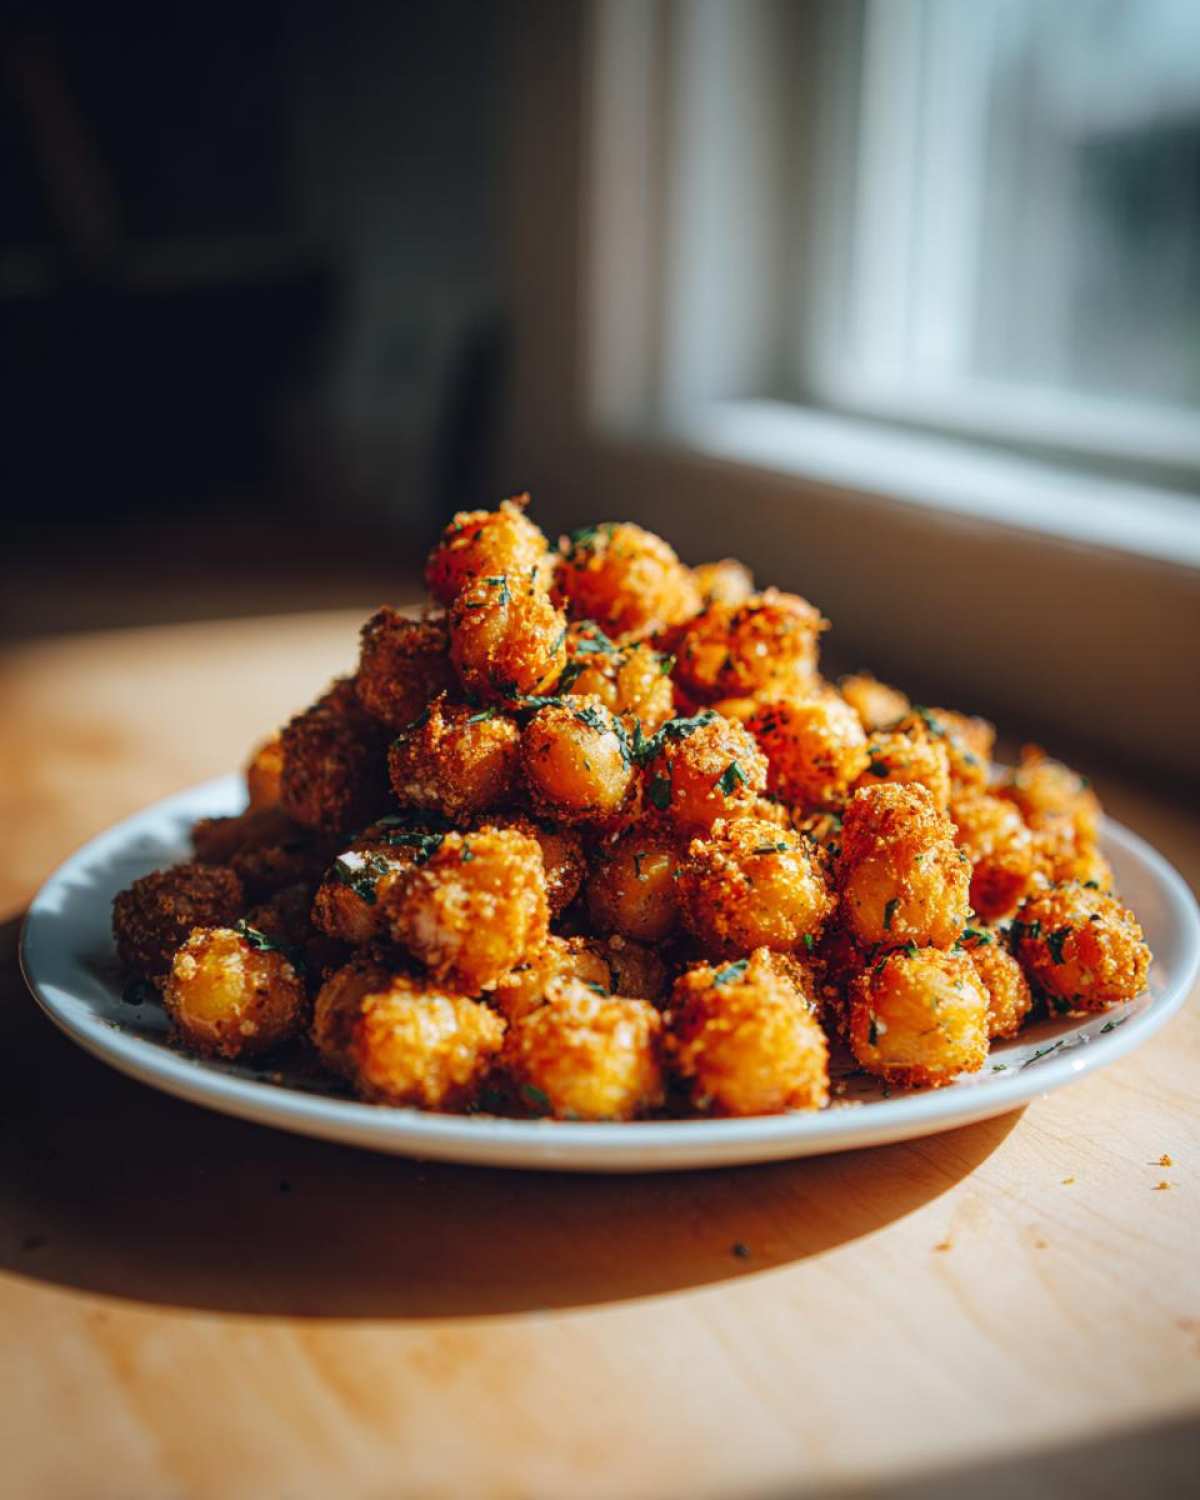
Remember, since we are keeping the cooking time the same for all these variations, you don’t need to adjust your air fryer settings! Just mix your preferred additions into the dry seasonings, toss with the oiled chickpeas, and cook them exactly as directed. Easy peasy!
Serving Suggestions for Your Garlic Herb Snack
Now that you have these impossibly crunchy, perfectly seasoned little bites—what do you do with them? Honestly, I usually eat at least half the batch right out of the basket while they are still warm, but that’s just me! They shine brightly as a simple, satisfying Garlic Herb Snack all on their own, especially when you’re craving something savory during that mid-afternoon slump.
However, these aren’t just for solo snacking! Since they come out so wonderfully dry and light from the air fryer, they make fantastic toppers for everything. I strongly advocate for using them as a Crunchy Salad Topper instead of croutons any day of the week. They add protein, crunch, and a ton of flavor without absorbing dressing too quickly. Toss them on top of a simple green salad or even over some roasted veggies—they hold up beautifully!
Thinking bigger? These are fantastic additions to heartier meals. Try sprinkling a handful over a big bowl of creamy tomato soup instead of crackers. It adds texture contrast that really elevates a simple soup night into something special. They also make a wonderful, protein-rich addition to grain bowls or veggie wraps, acting as a great binder for flavor.
If you’ve ever made my Street Corn Salad—you know, that amazing creamy, tangy elote-style salad—these chickpeas are the perfect little crunchy element to sprinkle over the top for texture consistency. They just work everywhere you need a little boost of savory crunch!
Because they are so quick to make, I often whip up a small batch specifically to serve as Healthy Air Fryer Appetizers when unexpected guests drop by. They look impressive, taste gourmet, but really only took you 20 minutes from start to finish. It always impresses people when they find out they are just beans!
Storage and Make-Ahead Tips for Air Fryer Chickpeas Recipe
Okay, this is where we talk about longevity, because nobody wants to make a perfect batch of Air Fryer Crispy Garlic Herb Chickpeas only to find them totally limp the next morning. That glorious crispiness we worked so hard for—drying, seasoning, shaking—is super fragile once it hits room temperature!
The biggest rule I live by, which applies to pretty much anything you want to keep crunchy out of the fridge, is this: Do not trap the moisture! If you seal these bad boys up tight in an airtight container the second they come out of the air fryer, you are basically creating a mini-steaming chamber for them. They might be fine for an hour, but by morning? Say goodbye to your snap.
To successfully manage this as an Air Fryer Meal Prep Snack, you need to treat them carefully:
- Cool Completely First: This is vital! Let the chickpeas sit out on the counter until they are totally, absolutely cooled down to room temperature. If you try to store them warm, that heat releases steam, which translates directly into sogginess. This might take 20 minutes, but patience pays off here.
- Room Temperature Only: Never put these in the refrigerator! Refrigerators are basically humidity factories, and cold temperatures turn crispy things chewy instantly. Keep them in the pantry or on the counter.
- Go Loose on the Lid: Once cool, store them in a container, but leave the lid cracked open a tiny bit, or use a container that has a vent. If you don’t have one like that, just use a cookie sheet with a piece of parchment paper draped loosely over the top. I’ve found this setup keeps them perfectly crunchy for up to three days.
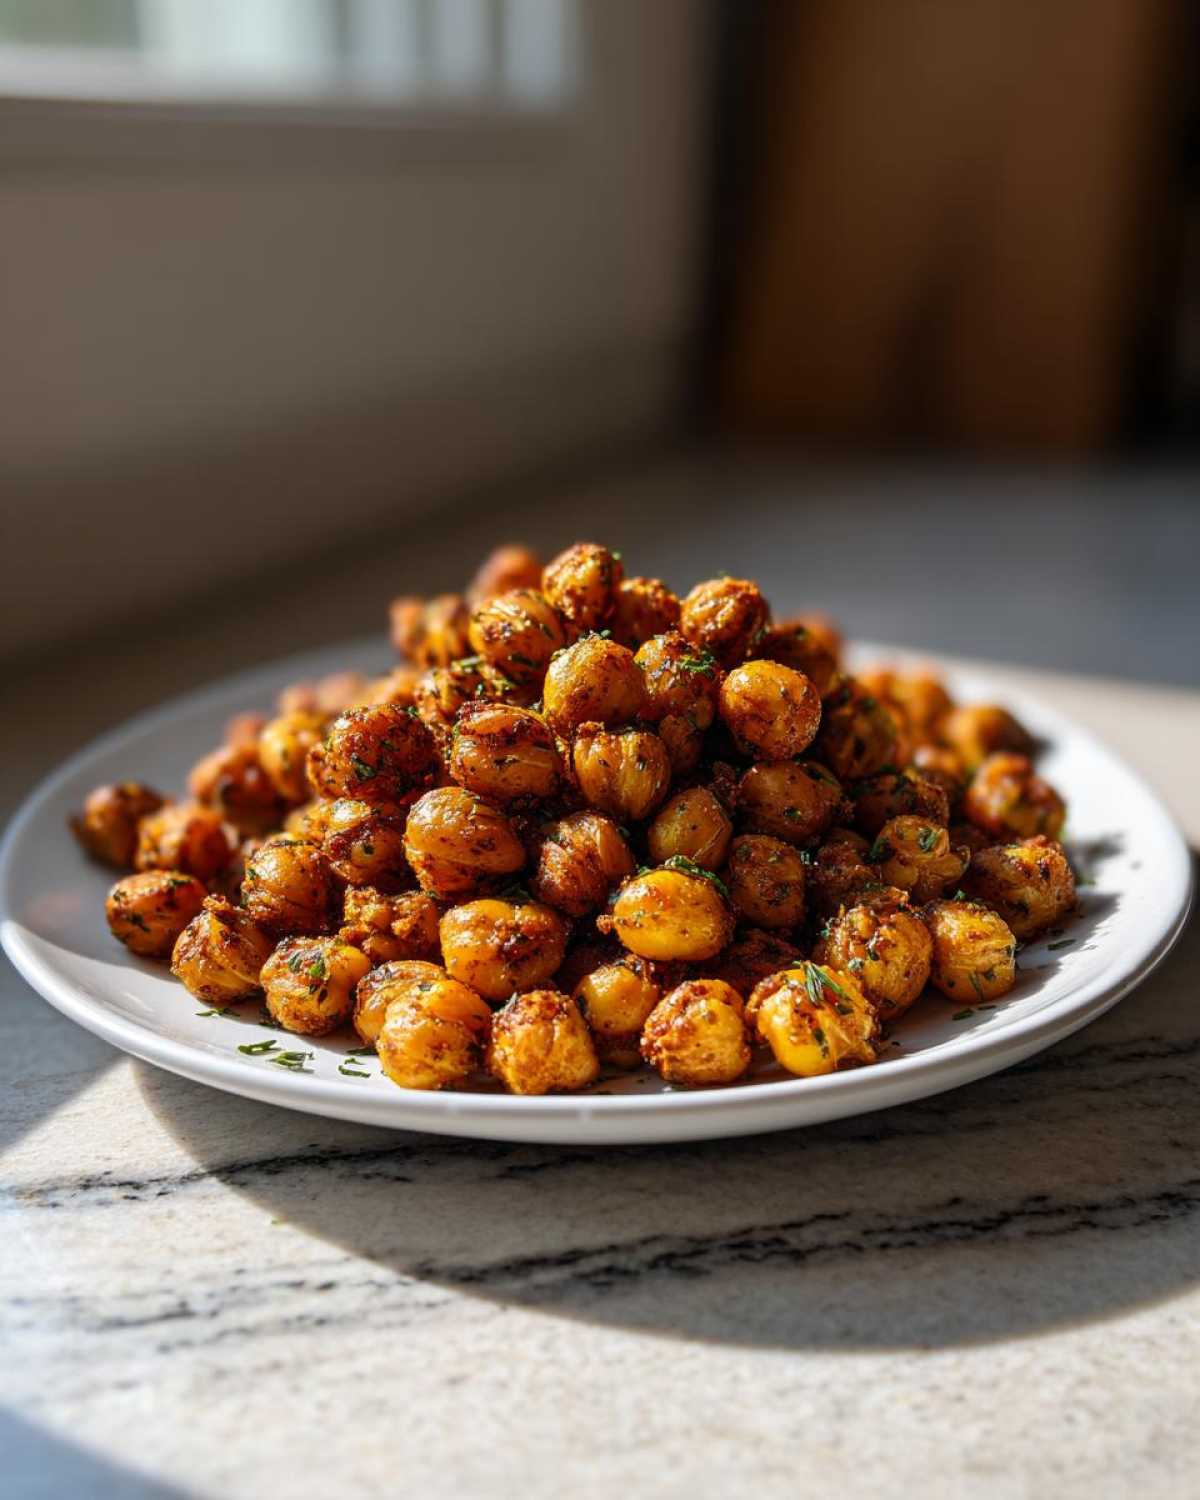
If you are making these ahead of time, I’d recommend preparing them the day before you need them. They are undeniably at their peak crunchy performance within about 12 hours of coming out of the air fryer basket. If they’ve lost a little crunch by day two or three, don’t panic! You can bring them back to life. Just toss them back into your air fryer (no need to preheat) for about 2 or 3 minutes at 350°F. That little blast of dry heat will usually wake up that crisp texture again beautifully. See? You can totally meal prep these!
Frequently Asked Questions About Air Fryer Bean Recipes
Can I use dried chickpeas instead of canned ones for this recipe?
That’s a great question that always comes up when people look at Air Fryer Bean Recipes! While you absolutely *can* use dried chickpeas, I strongly recommend sticking to canned, rinsed, and drained ones for this specific recipe. Why? Because dried beans require soaking overnight and then a mandatory pre-boil until they are tender before you even get to the oiling step. If you skip the boil, they will just burn into little charcoal rocks in the air fryer before they become remotely crunchy inside.
For the quickest, most reliable results that maintain that gorgeous Garlic Herb Snack flavor we love, stick to canned. If you *really* want to use dry, check out my detailed guide on the best air fryer legumes—it involves much more steps!
I tried making them yesterday. Do my Air Fryer Crispy Garlic Herb Chickpeas stay crispy the next day?
Ah, the great crunch dilemma! They stay *best* the next day if you store them correctly. Remember what I said about ventilation? If you store them in a sealed, airtight container, nope, they won’t stay crispy—they’ll soften up by morning. However, if you let them cool completely and store them in a container left slightly open or in a loosely covered bowl, you’ll retain about 85% of that wonderful crunch. They are always best fresh, but they are definitely still a delicious, crunchy snack the next day using that loose storage method!
Can I use different oils besides olive oil?
Yes, you totally can! Olive oil is my standard because it has a nice flavor that compliments the herbs, but for those who need a higher smoke point or just prefer a different taste, avocado oil works beautifully. Grapeseed oil is another wonderful, neutral option often used in air frying because it’s so light. Whatever you choose, you only need that single teaspoon to lightly coat the beans, so the overall amount won’t affect the technique, just the background flavor. Just avoid super heavy oils like unrefined coconut oil here, as they can sometimes weigh the seasoning down.
What temperature is best if I just want ‘Crispy Roasted Chickpeas’ without the herbs?
If you are making a basic batch of Crispy Roasted Chickpeas and just want pure crunch (maybe you want to sprinkle them over a savory dish later?), the temperature should remain the same as the recipe suggests: 380°F (195°C) is the sweet spot. This temperature is hot enough to rapidly evaporate surface moisture without burning the exterior too quickly. If you go too low, say under 350°F, they tend to dry out slowly and become hard rather than crispy.
Can these be used as a Crunchy Salad Topper?
Absolutely! I mentioned this earlier, but I’ll say it again: These are perhaps the best Crunchy Salad Topper you will ever make. Because they are made with just a touch of oil and dried herbs, they don’t get soggy nearly as fast as baked croutons do when dressing hits them. Just toss them on right before serving, and you get that fantastic, healthy crunch that makes salads so much more exciting! They really elevate anything!
PrintAir Fryer Crispy Garlic Herb Chickpeas

Make perfectly crunchy chickpeas in your air fryer seasoned with garlic and herbs for a satisfying snack or salad topping.
- Prep Time: 5 min
- Cook Time: 15 min
- Total Time: 20 min
- Yield: 2 servings
- Category: Snack
- Method: Air Frying
- Cuisine: American
- Diet: Vegan
Ingredients
- 1 (15-ounce) can chickpeas, rinsed and drained
- 1 teaspoon olive oil
- 1/2 teaspoon garlic powder
- 1/2 teaspoon dried oregano
- 1/4 teaspoon dried thyme
- 1/4 teaspoon salt
- 1/8 teaspoon black pepper
Instructions
- Preheat your air fryer to 380°F (195°C).
- Thoroughly dry the rinsed chickpeas. Pat them completely dry using paper towels or a clean kitchen cloth. This step is key for crispiness.
- In a medium bowl, toss the dried chickpeas with olive oil until lightly coated.
- In a small bowl, mix together the garlic powder, oregano, thyme, salt, and pepper.
- Add the seasoning mix to the oiled chickpeas and toss until evenly coated.
- Place the seasoned chickpeas in a single layer in the air fryer basket. Do not overcrowd the basket; cook in batches if necessary.
- Air fry for 12 to 15 minutes, shaking the basket vigorously halfway through (around the 7-minute mark).
- Continue cooking until the chickpeas are golden brown and crunchy.
- Remove from the air fryer and let them cool slightly before serving. They will crisp up more as they cool.
Notes
- For extra crunch, you can cook them for an additional 2-3 minutes, watching closely to prevent burning.
- Store cooled, leftover chickpeas in a loosely covered container at room temperature for up to 3 days. Do not seal tightly, as this traps moisture and reduces crispness.
- Add 1/4 teaspoon of onion powder or smoked paprika with the herbs for flavor variation.
Nutrition
- Serving Size: 1/2 cup
- Calories: 180
- Sugar: 2
- Sodium: 250
- Fat: 5
- Saturated Fat: 1
- Unsaturated Fat: 4
- Trans Fat: 0
- Carbohydrates: 28
- Fiber: 7
- Protein: 9
- Cholesterol: 0