

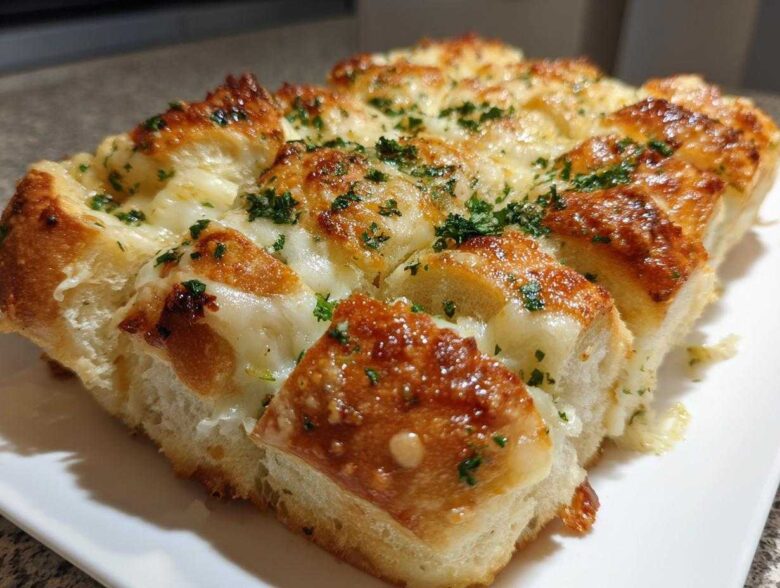
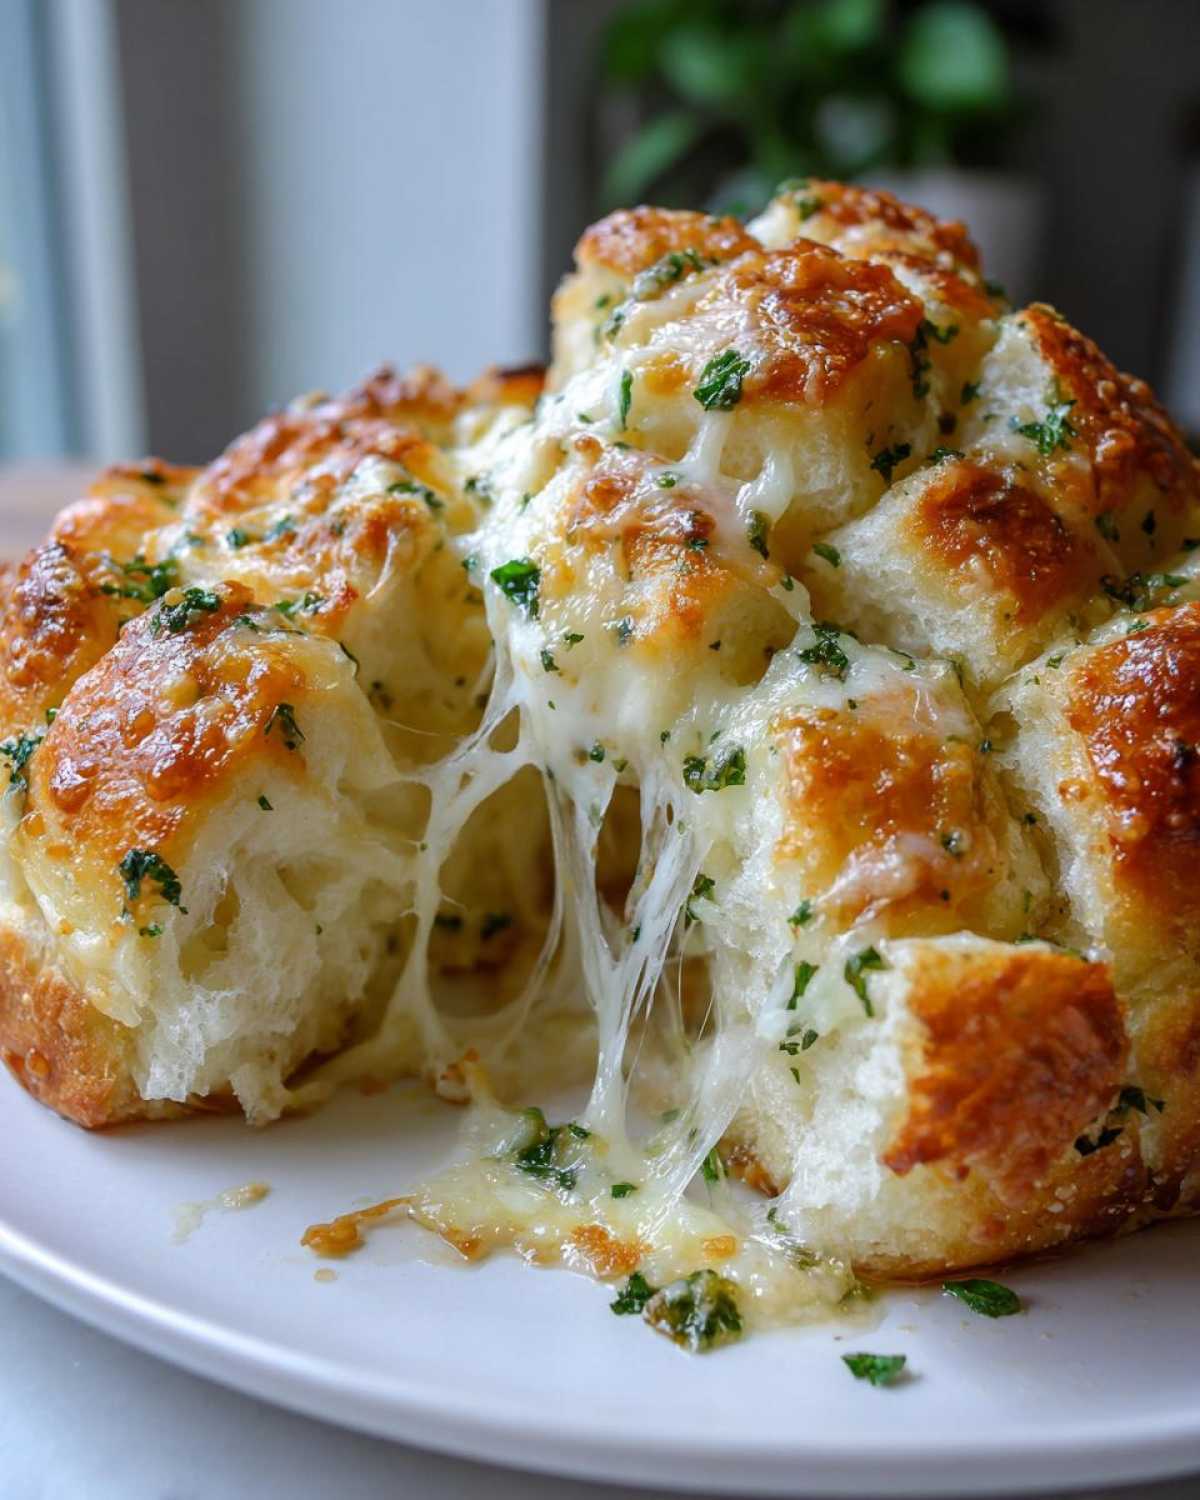
Oh my gosh, you have to try this. If you’ve ever looked at those shiny, sweet King’s Hawaiian rolls and thought, “These need garlic and cheese,” then this is the recipe you’ve been waiting for! Trust me when I say this Cheesy Pull-Apart Hawaiian Roll Garlic Bread is dangerously good. Seriously, I made a batch last week when my sister dropped by unexpectedly, and they were practically gone before the oven timer even dinged. It is absolutely the quickest, cheesiest hawaiian roll garlic bread recipe you will ever whip up. We keep the ingredients stocked all the time because they swing right from ‘I need a side dish’ to ‘dinner is served’ in under 30 minutes. It’s my absolute go-to comfort food bread!
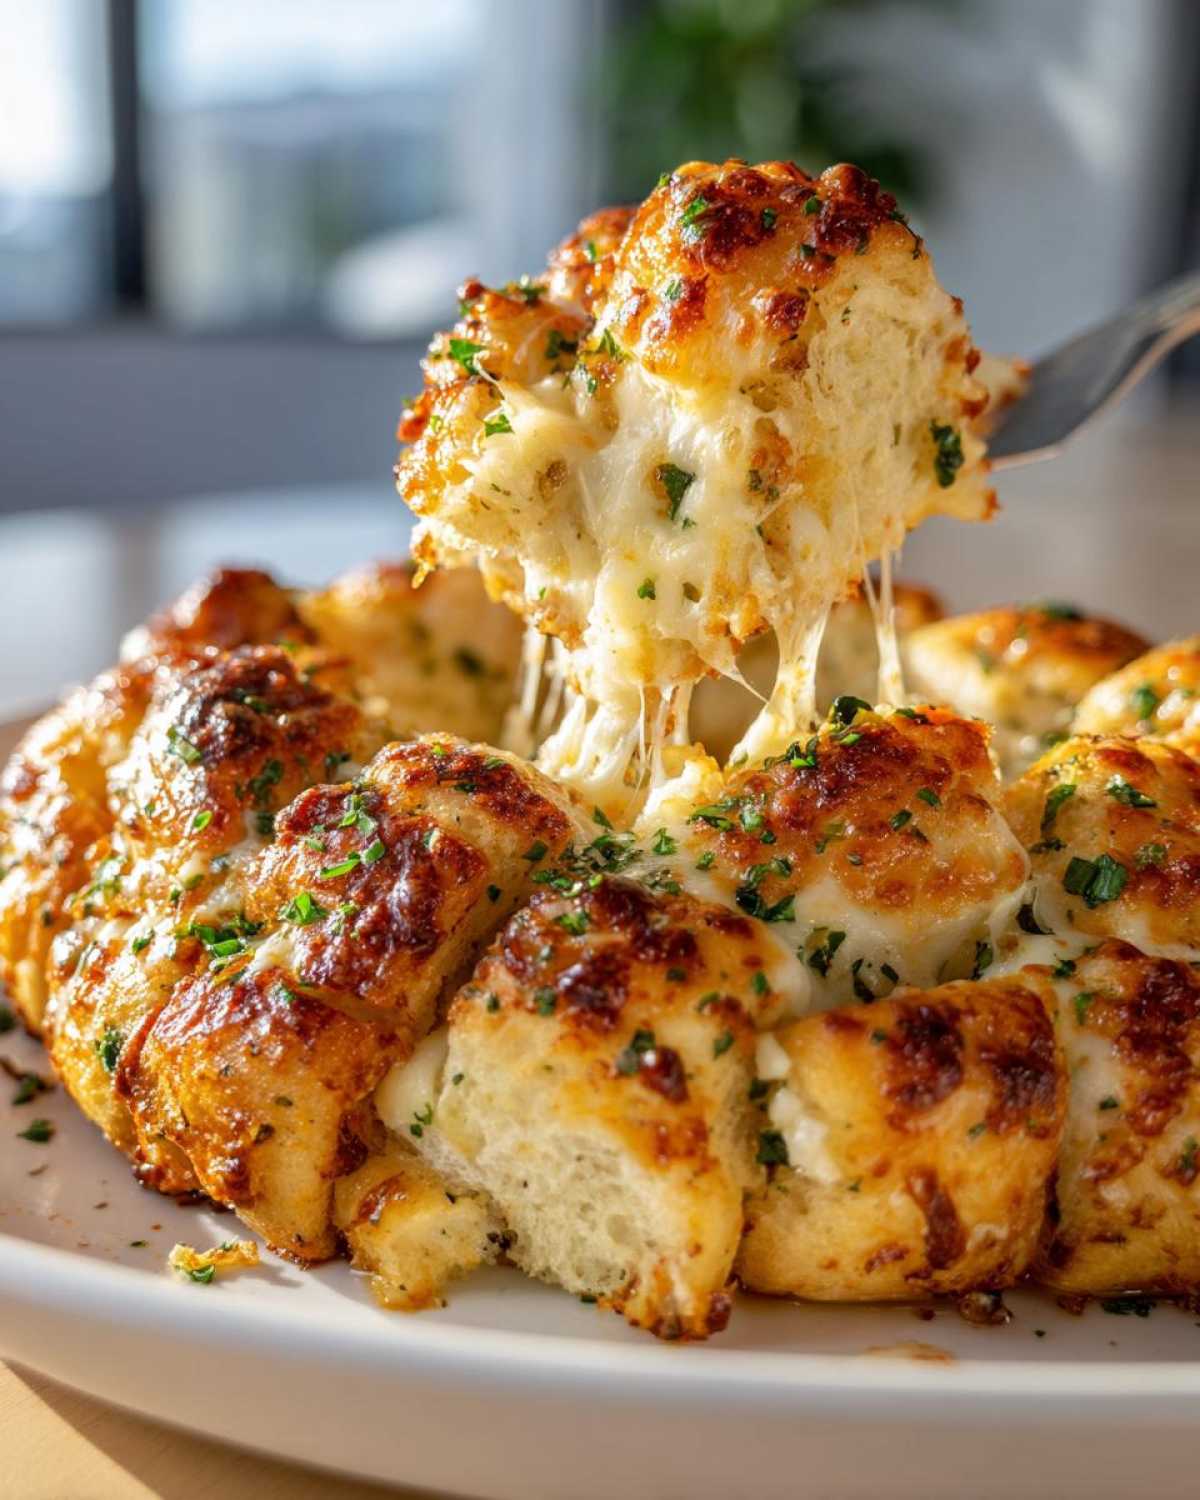
Why This Cheesy Hawaiian Roll Garlic Bread Is a Must-Make
I honestly can’t overstate how much people love these rolls. It’s the perfect appetizer that doubles as a fantastic Quick Dinner Side Dish. Forget messing with yeast; these are the easiest rolls you’ll ever make. They come out gooey, cheesy, and ready to be pulled apart!
- It’s an amazing Pull Apart Garlic Bread experience.
- The total time is under 30 minutes—unbeatable!
- They are the ultimate Crowd Pleasing Side.
Speed and Simplicity for Any Occasion
Prep time is seriously five minutes, tops. I mean, you can’t beat that when you’re scrambling for something to serve right before dinner. We’re talking about a baking time around 20 minutes, which cements this as a fantastic 20 Minute Side Dish when you need it most.
The Perfect Sweet and Savory Balance
This is where the magic happens. You get the soft, sugary sweetness from the rolls, and we completely smother that with sharp garlic, herbs, and salty, melted cheese. The way those flavors fight and mix is what makes this such a Crowd Pleasing Side for holidays or just Tuesday night.
Gathering Ingredients for Hawaiian Roll Garlic Bread
Okay, the ingredient list for this masterpiece is short and sweet, which is exactly what we want for a fast side dish. You basically need the rolls, butter, garlic, herbs, and cheese. Don’t skimp on the quality of that butter, though—it makes a world of difference in how everything melts and coats the bread!
- One whole package (it should be 12 count) of those amazing King’s Hawaiian sweet rolls. Keep them together!
- Half a cup of good unsalted butter, absolutely melted down completely.
- Four cloves of garlic, and I mean minced finely—we want maximum flavor distribution here.
- A quarter cup of fresh parsley, chopped up nice.
- Half a teaspoon of dried Italian seasoning.
- A quarter teaspoon each of salt and black pepper.
- A full cup of mozzarella cheese, shredded, for that glorious stretch.
- And finally, half a cup of Parmesan cheese to bring in the sharp, salty punch.
Ingredient Notes and Substitutions
Listen, King’s Hawaiian rolls are the gold standard because they are just so soft and sweet, which creates that incredible contrast with the garlic. But if you are in a bind and only have plain soft dinner rolls, it’s okay—just use them! You might need to add a tiny pinch more sugar to your melted butter mixture if you go that route, but honestly, they’ll still be fantastic. If you can’t find fresh parsley, dried is fine, but I always find fresh adds that little bit of brightness you need right before serving. You can check out my guide on making homemade breadsticks to see how I use fresh herbs there!
Step-by-Step Guide to Making Pull Apart Garlic Bread
Getting these rolls ready is practically faster than deciding what wine to open! I always start with the oven first, because good things take a minute to warm up. You want to preheat your oven to 350 degrees Fahrenheit. While that’s heating, grab an 8×8 inch baking dish—nothing fancy needed here—and just give it a tiny bit of grease so nothing sticks later on. Then, you just leave those glorious Hawaiian rolls exactly where they are. Don’t separate them! We want this to be a true pull-apart marvel.
As for technique, I rely on the simple instructions, but I always make sure I have a sturdy whisk or a fork ready for my butter mixture. This isn’t the time for chunky garlic, so mince it well! If you’re curious about making other soft breads, you should check out my recipe for moist date nut bread; it’s a totally different vibe but shares that focus on moisture!
Preparing the Rolls and Butter Mixture
First things first, get that oven set to 350°F and lightly grease your 8×8 dish. Now for the good stuff in a little bowl: melt that half cup of butter. While it’s still warm, toss in all four minced garlic cloves, the fresh parsley, Italian seasoning, salt, and pepper. Give it a good stir so the spices bloom a little bit in the warm butter. This infusion is the heart of the flavor!
When you pour this over the rolls, don’t just drizzle it on top. Use a spoon to gently guide the buttery mixture so it really works its way down in between all those connected rolls. You want every nook and cranny coated. Don’t worry if it looks like a lot of liquid; those rolls will soak it right up, trust me!
Baking and Achieving Cheesy Perfection
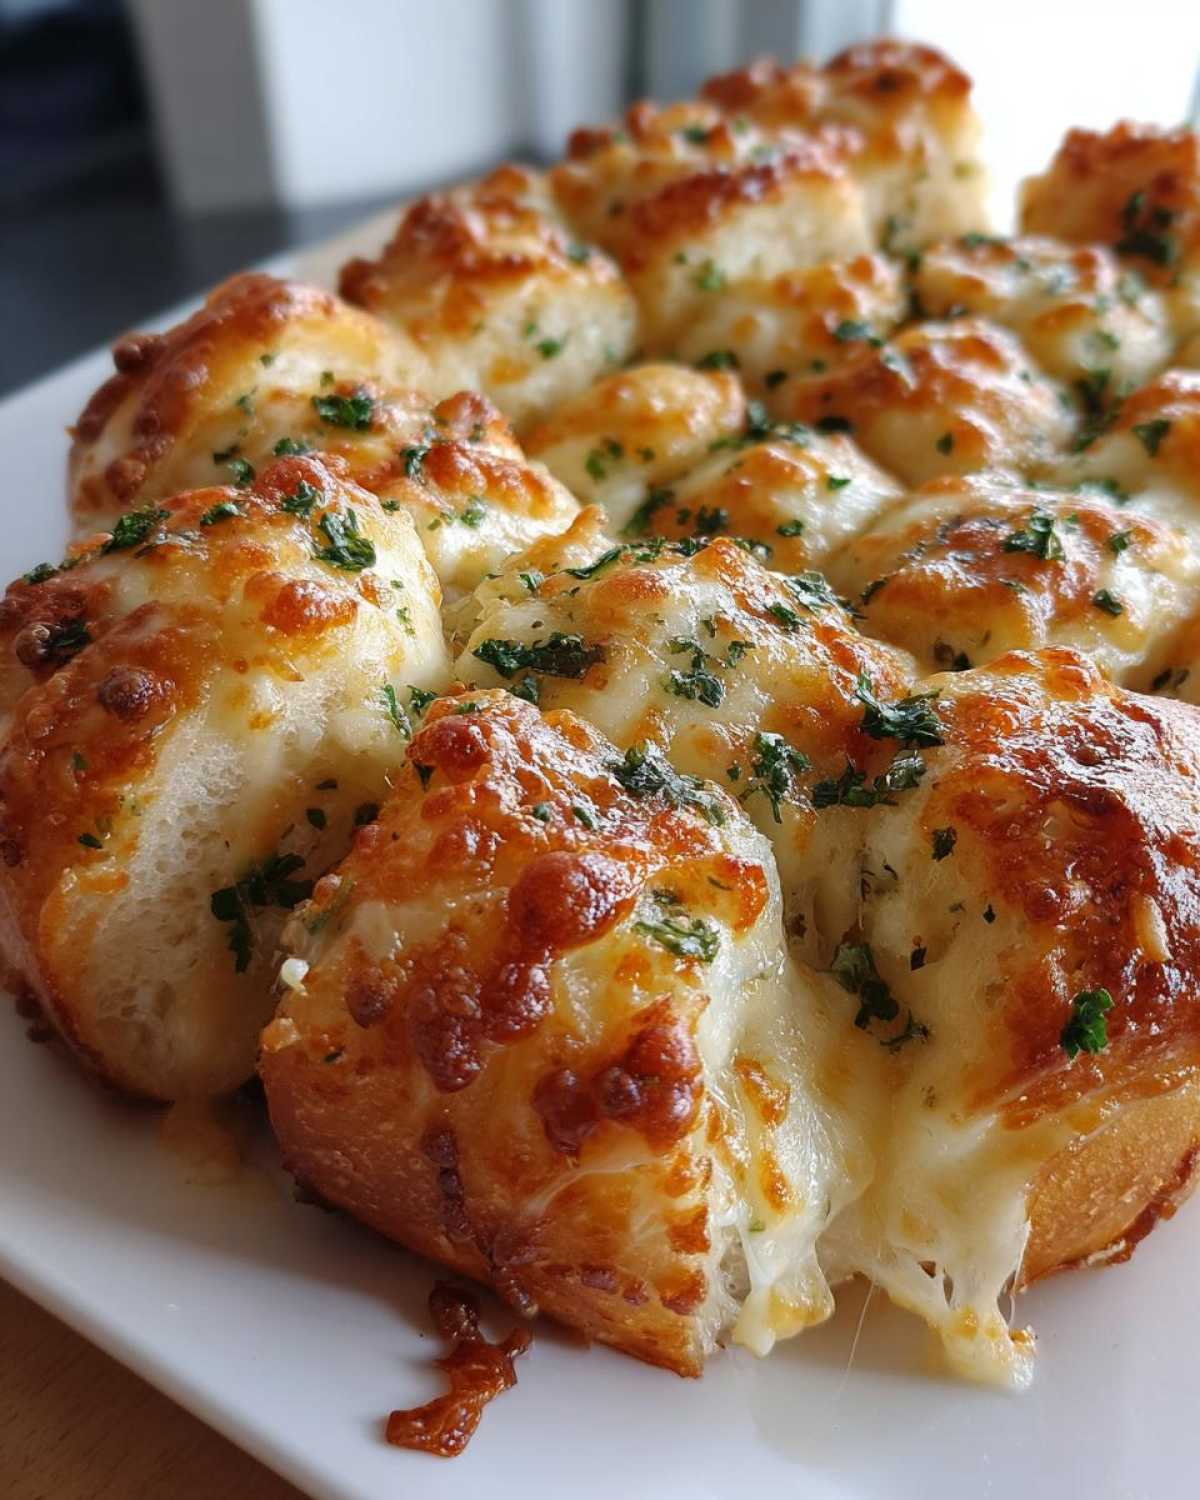
Once the butter bath is done, sprinkle both the cup of mozzarella and that half cup of Parmesan evenly over the top. Now, this is key for that soft center: you have to cover the entire dish tightly with aluminum foil. This steams the rolls just enough so they get warm and absorb the garlic flavor without the cheese burning immediately. You bake it covered for 15 minutes exactly.
After those 15 minutes, pull that foil off! We need the cheese to get gooey and brown. Pop it back in the oven uncovered for just 5 to 7 more minutes. You’ll know it’s done when that cheese is melted and just starting to get those pretty little golden spots. Serve it right away, piping hot, so everyone can tear off their own gooey section!
Expert Tips for Perfect **Hawaiian Roll Garlic Bread**
Even though this is a super simple recipe, a few little nudges can take these from great to absolutely legendary. I’ve totally over-garlicked these things before, and trust me, you want to walk that fine line perfectly. This is where we build that E-E-A-T authority, showing you the insider moves for truly stellar **Buttery Garlic Rolls**.
My biggest tip for boosting flavor without turning things harsh is to brown your butter slightly before adding the garlic. Just cook the butter until it smells a little toasty, take it off the heat so it doesn’t burn, and *then* add your minced garlic and spices. Wow! It gives the whole thing this incredible nutty background flavor that just sings against the sweet rolls.
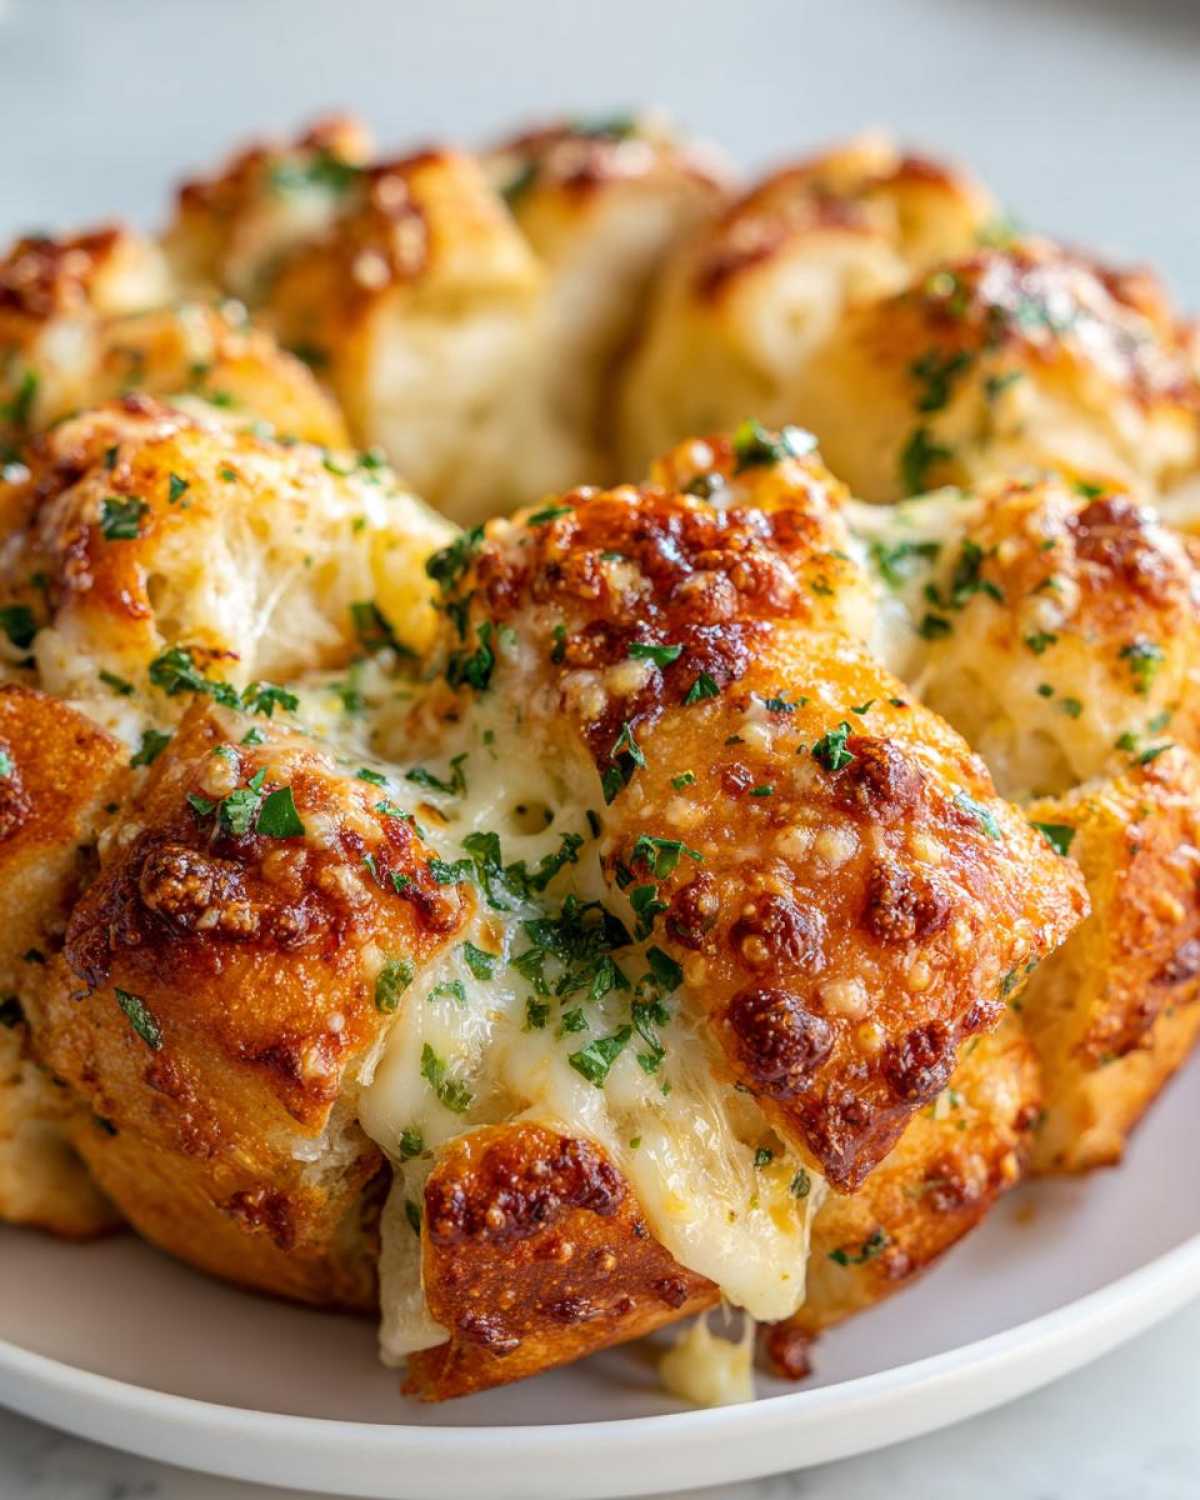
Maximizing Flavor in Your **Buttery Garlic Rolls**
If you happen to have garlic powder lying around, definitely toss in a quarter teaspoon along with your fresh garlic when you’re mixing that butter. It deepens that garlic presence without adding too much moisture. Also, let’s talk cheese placement! Make sure you get some of that mozzarella and all of your Parmesan layered right on top of the rolls, but then sprinkle a little bit more cheese *between* the cuts before you cover it with foil. That little hidden layer ensures that when you pull them apart, every single roll is laced with gooey cheese, not just the top layer. If you love that intense flavor profile, you should see my full guide on creating a garlic parmesan masterpiece!
Serving Suggestions for Your **Hawaiian Roll Garlic Bread**
Now that you have this heavenly, cheesy, garlicky centerpiece, what do you serve it with? Honestly, these rolls are so decadent they can stand alone as an Appetizer Garlic Bread for game day, but they shine brightest next to saucy main courses. They are perfect for scooping up every last bit of sauce.
If you’re making a big dinner, pair these with a hearty bowl of my easy weeknight chili—that sweet roll soaked in chili juices is just unbelievably good. They also go wonderfully alongside any rich pasta dish, like a classic Bolognese, which you can find my recipe for right here right here. Don’t forget how amazing they are next to a simple roast chicken too! If you need a recipe for that, check out my thoughts on making the best chili recipe ever.
Storage and Reheating Comfort Food Bread
I hope you have leftovers, but if you don’t, I understand! These rolls go fast. If you do manage to save some of this amazing Comfort Food Bread, you need to store them properly to keep that softness.
Seal them up tightly in an airtight container or a heavy-duty zip-top bag. They’ll stay fresh at room temperature for about two days, tops. Remember, they’re already full of butter, so skip the fridge if you can!
When you want to bring them back to life—and you absolutely must—the microwave is your friend for speed, but the oven is better for texture. Pop them back onto a small baking sheet, maybe tented loosely with foil, and heat at 300 degrees Fahrenheit for about 5 to 7 minutes. This warms the butter back up and makes them soft like they just came out of the oven. For extra crispy goodness on leftovers, check out my guide on reheating my mashed potato cakes; the principle of low, slow heat under foil works wonders!
Frequently Asked Questions About **Hawaiian Roll Garlic Bread**
I know when I find a recipe I love, I start having a million questions about switching things up or making it for different parties. This recipe is truly flexible, but there are a few things people always ask me about when they try making these Cheesy Garlic Rolls for the first time.
Can I make this **Hawaiian Roll Garlic Bread** ahead of time?
You absolutely can! If you assemble everything—butter mixture poured, cheese sprinkled—but skip the baking step, just cover the dish well with plastic wrap instead of foil. You can keep it ready like that in the fridge for up to 24 hours. Just remember, when you bake it straight from the cold fridge, add about 5 to 8 minutes to your covered baking time so the rolls warm all the way through before you pull the foil off for the browning stage.
What makes this recipe go viral (TikTok mention)?
It’s the speed and the payoff, honestly! People watching online want instant gratification, and a recipe that delivers maximum cheesy, buttery, soft rolls in basically 25 minutes is always going to be a hit. I think the secret sauce is that perfect cheese pull when you grab the first roll apart—it’s visually everything! It truly has become a dependable Viral TikTok Recipe because it requires no special skills, just a package of Sweet Hawaiian Rolls Recipe and some butter.
Nutritional Estimates for Cheesy Garlic Rolls
Now, let’s just talk real talk for a second. Because we are using sweet rolls, butter, and tons of cheese, these are absolutely a treat, not your daily bread! Remember that these estimates are based on the recipe using one roll per person, and they are just that—estimates based on the standard ingredients I listed.
If you’re tracking macros or calories for whatever reason, here’s what you are generally looking at per soft, cheesy, delicious roll:
- Calories: Right around 210. Yep, they’re rich!
- Total Fat: About 12 grams. That comes from that gorgeous melted butter and the cheese blend.
- Protein: We get about 7 grams, thanks mostly to that Parmesan and Mozzarella.
- Total Carbohydrates: Around 20 grams.
I know that sugar content is listed as 8 grams because of the nature of the rolls themselves, but trust me, when you eat this **Appetizer Garlic Bread**, you aren’t thinking about the numbers; you’re just thinking about grabbing a second one! Don’t worry about it too much, just enjoy the comfort food aspect of these incredible rolls.
Share Your **Hawaiian Roll Garlic Bread** Creations
That’s it! You’ve done it! You’ve made the easiest, cheesiest, most wonderful side dish known to humankind. Now that your kitchen smells like heaven and you’ve got a steaming hot pan of irresistible rolls, I really want to see what you cooked up!
Please do me a favor and leave a rating right here on the recipe card. Five stars means you loved the sweet and savory punch, one star means you need to tell me what went wrong so I can help you fix it! Your feedback genuinely matters so much to me.
If you snapped a picture of your beautiful, gooey Hawaiian Roll Garlic Bread—especially if you managed to capture the perfect pull-apart moment—please tag me on social media! I live for seeing how these recipes fit into your family dinners and gatherings. You can reach out to me directly through my contact page here: Let’s Connect! Happy baking, and enjoy every single buttery bite!
PrintCheesy Pull-Apart Hawaiian Roll Garlic Bread
Make quick, cheesy garlic bread using sweet Hawaiian rolls. This pull-apart style side dish is simple and ready fast.
- Prep Time: 5 min
- Cook Time: 22 min
- Total Time: 27 min
- Yield: 12 servings
- Category: Side Dish
- Method: Baking
- Cuisine: American
- Diet: Vegetarian
Ingredients
- 1 package (12 count) King’s Hawaiian sweet rolls
- 1/2 cup unsalted butter, melted
- 4 cloves garlic, minced
- 1/4 cup fresh parsley, chopped
- 1/2 teaspoon dried Italian seasoning
- 1/4 teaspoon salt
- 1/4 teaspoon black pepper
- 1 cup shredded mozzarella cheese
- 1/2 cup shredded Parmesan cheese
Instructions
- Preheat your oven to 350 degrees Fahrenheit. Lightly grease an 8×8 inch baking dish.
- Keep the Hawaiian rolls connected in their original packaging or arrange them closely in the prepared baking dish. Do not separate them.
- In a small bowl, combine the melted butter, minced garlic, chopped parsley, Italian seasoning, salt, and pepper. Mix well.
- Pour the butter mixture evenly over the top of the rolls, making sure the liquid seeps down between the rolls.
- Sprinkle the mozzarella cheese and Parmesan cheese evenly over the top of the rolls.
- Cover the baking dish tightly with aluminum foil.
- Bake for 15 minutes covered.
- Remove the foil and bake for an additional 5 to 7 minutes, or until the cheese is melted and lightly golden brown.
- Serve immediately while warm and pull the rolls apart.
Notes
- For extra flavor, add 1/4 teaspoon of garlic powder to the butter mixture.
- You can use any soft, sweet roll package if Hawaiian rolls are unavailable.
- This recipe works well as a simple appetizer for gatherings.
Nutrition
- Serving Size: 1 roll
- Calories: 210
- Sugar: 8
- Sodium: 350
- Fat: 12
- Saturated Fat: 7
- Unsaturated Fat: 5
- Trans Fat: 0.3
- Carbohydrates: 20
- Fiber: 1
- Protein: 7
- Cholesterol: 25