

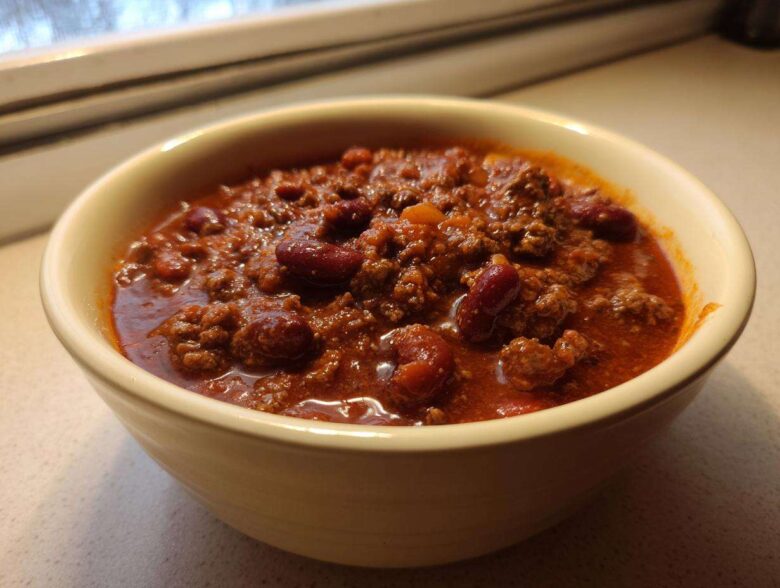
You know how it is when you’re hunting for that one perfect recipe? For me, Amelia, the one true obsession has always been *chili*. It’s the ultimate comfort food, right? But finding a recipe that truly sings—one that tastes like it could win a cook-off—felt impossible until Jacob and I teamed up. I spent weeks digitally bookmarking and analyzing every famous version out there, building the perfect structural blueprint. He then brought his artist’s touch to the stove, and together, we nailed it. What came out of that collaborative effort is what I proudly call The Ultimate Award-Winning Beef and Bean Chili Recipe. Trust me, this is the **best chili recipe** you’ll ever need for game day or just a cozy night in.
Why This is the best chili recipe You Need to Try
Listen, I’ve organized lists for things way less important than dinner, so when we set out to find the absolute **best chili recipe**, I took it seriously! This isn’t just some dump-and-stir sauce; this is a true **Ultimate Chili Recipe** that beats anything you get at a tailgate. Jacob says the first time we tasted the fully simmered batch, his jaw actually dropped. That’s how you know you’ve hit gold! It’s thick, it’s hearty, and it tastes like it simmered all day, even when we make it quick on the stovetop.
We include beans because chili should be substantial, but the real difference is in the **Deep Flavor Chili Secrets** we use. If you’re heading to a chili cook-off, this is your blueprint for winning.
Achieving Competition-Worthy Flavor in Your Hearty Beef and Bean Chili
The flavor layering is non-negotiable, people! You absolutely must brown that 80/20 ground beef until it’s just right—drain that grease, because we want taste, not oil slick! Then, we sauté those veggies quickly before hitting them with the spices. That minute you spend cooking the spices with the meat and veg? That’s called blooming, and it wakes them right up. The game-changer, though, is the unsweetened cocoa powder. Don’t panic! It doesn’t taste chocolatey; it just deepens the savory, rich profile of the meat, making this the truly **best chili recipe**.
Gathering Ingredients for the best chili recipe
Okay, now that we know *why* this is the competition-level chili, let’s talk about what you actually need to buy. Remember, Jacob and I are planners, so clarity in the ingredient list is everything. Shortcuts here mean flavor loss later, and we can’t have that if we’re aiming for the **best chili recipe** title, right?
First things first: the beef. You absolutely need 80/20 ground beef—that little bit of fat is crucial for texture and flavor in this **Hearty Beef and Bean Chili**. If you go too lean, you lose too much richness when you drain it. Also, pay attention to the tomatoes: we need canned *crushed* tomatoes for body, not just diced. And those beans? We’re using both kidney and pinto beans, and you must, must rinse and drain them well. Nobody wants that can-liquor taste messing up our layers!
Ingredient Notes and Substitutions for Your Ultimate Chili Recipe
I know people get worried about substitutions, but for this **Ultimate Chili Recipe**, the core components are firm. However, remember that note about swapping out some broth for strong brewed coffee? Seriously try it! It adds an incredible depth that screams ‘rich savory chili’ without tasting like your morning cup. If coffee just isn’t happening, stick with the beef broth!
Now, what if you’re morally opposed to beans in your chili? No problem at all! Just skip the kidney and pinto beans entirely—that gives you our fantastic no bean chili option. If you’re looking for another deeply comforting meal to serve alongside this, check out my favorite hearty old-fashioned vegetable beef soup; it pairs beautifully when it’s too cold for straight chili!
Step-by-Step Instructions for the Classic Stovetop Chili
Alright, time to put the plan into action! This is where Jacob usually takes over because he has the best wrist action for stirring, but I manage the timing to make sure we hit those flavor milestones. For the absolute **best chili recipe**, timing is everything, especially when building that deep, rich flavor profile we talked about.
- First up, get your biggest, heaviest pot—a Dutch oven is perfect—hot over medium heat with that tablespoon of olive oil. Toss in the ground beef and get it aggressively browned. We aren’t just warming it up; we want rich brown bits forming on the bottom of the pot! Once it’s fully cooked, drain off every extra bit of grease you can manage.
- Next, toss in your onion and peppers. Let those sweat down until they start getting soft and smell sweet, about 5 to 7 minutes. This softens their bite before the long simmer.
- This next step is vital for our **Classic Stovetop Chili**; we need to bloom the spices! Add your minced garlic right away, and then dump in everything else dry: the chili powder, cumin, smoked paprika, oregano, salt, pepper, and *that secret cocoa powder*. Stir this constant mixture for just one minute. If you cook them longer, they can burn—but that one minute wakes up all those earthy spice oils!
- Now, stand back a little because we’re adding the liquids! Pour in the crushed tomatoes, tomato sauce, and beef broth. Stir everything until it’s completely mixed together, scraping up those tasty brown bits stuck to the bottom of the pot—that’s pure flavor gold!
- Bring the whole beautiful mess up to a good simmer. Once it starts bubbling happily, turn the heat way down low. We need at least 1.5 hours for the real magic to happen. Seriously, don’t rush this 90 minutes; this is what separates a decent chili from the **best chili recipe**!
- With only 30 minutes left on the clock, stir in those rinsed and drained kidney and pinto beans. They just need that last half-hour to warm through and absorb the sauce.
- Finally, taste it! This is the moment of truth. Does it need more salt? More punch from the cayenne? Adjust it now. If I feel like it’s still a little too soupy, I take the lid completely off for the last 15 minutes.
Techniques for a Thick and Hearty Chili
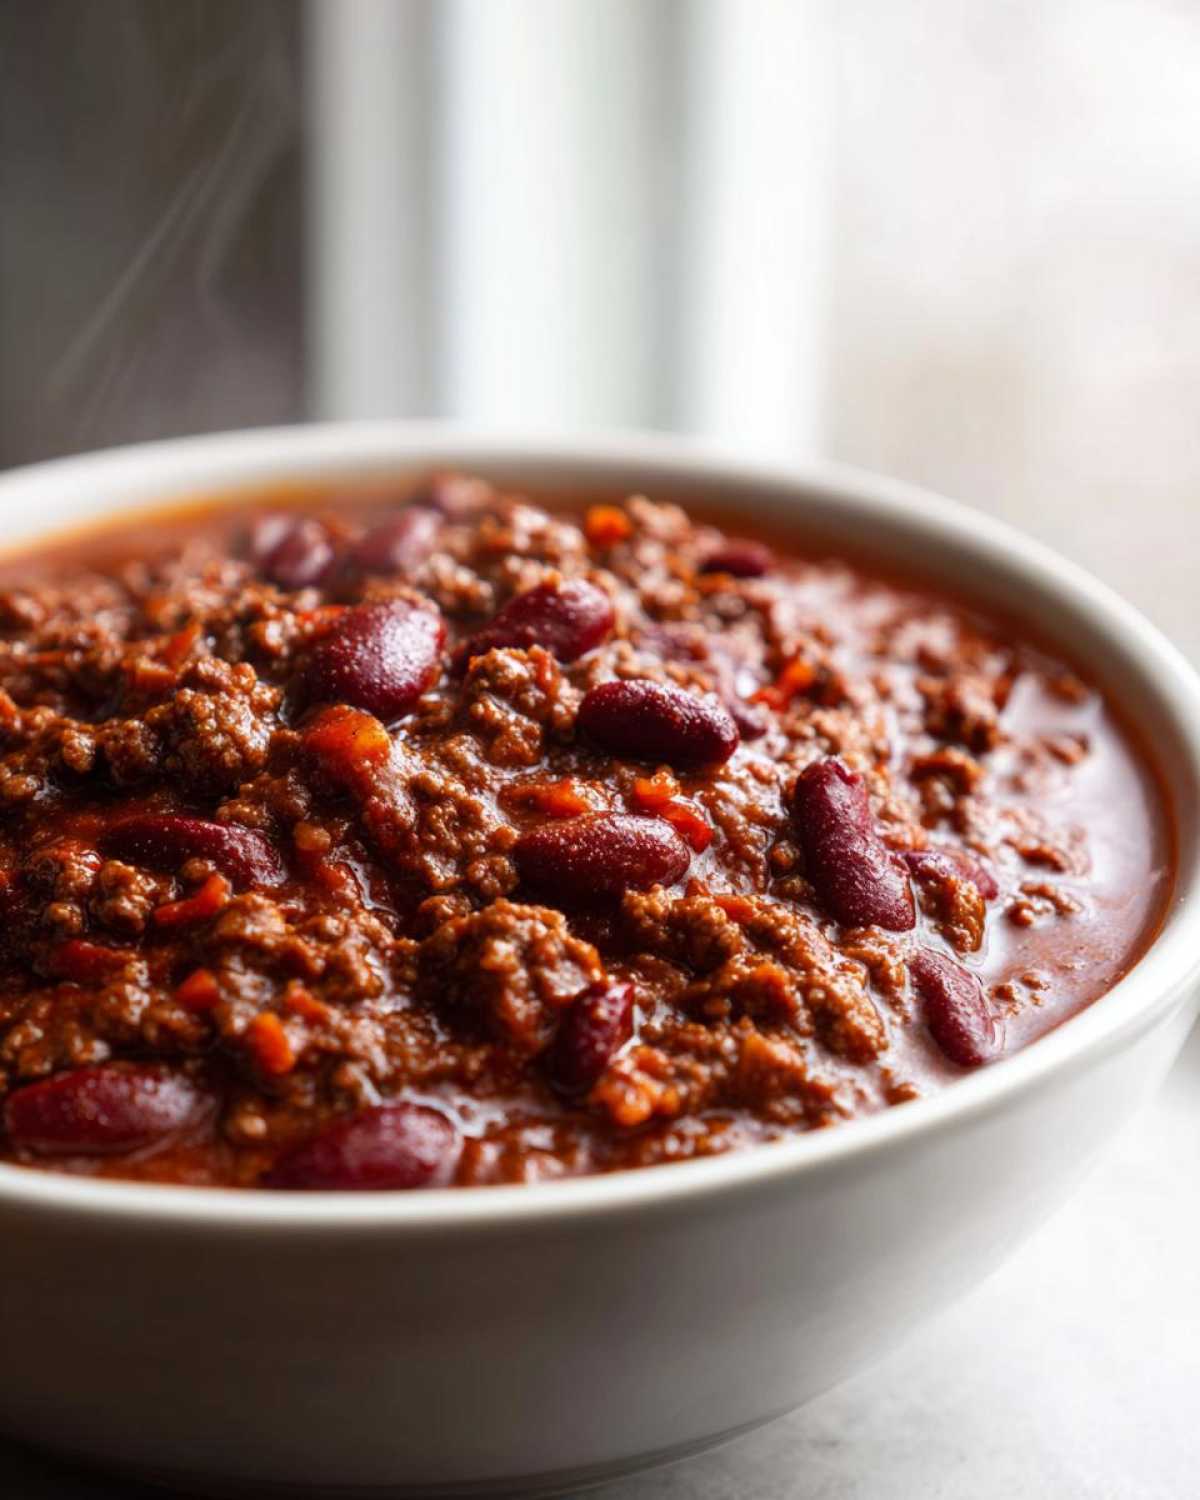
You want that signature, spoon-coating thickness that makes it a **Thick and Hearty Chili**, right? If you follow the steps above, removing the lid at the end goes a long way. But here’s my extra trick, which Jacob hates because it involves messy spoons: after those delicious beans are in, take your spoon and really mash about a quarter of them against the side wall of the pot until they burst and turn into paste.
When you stir that bean mash back in, it releases tons of natural starch. It thickens the chili perfectly without relying on flour or cornstarch goo. If you really want it beefy and thick, make sure you keep that lid off for those final 15 minutes of simmering we talked about in step seven. It helps evaporate that excess water, leaving you with a deeply satisfying bowl similar to the heartiness you find in my recipe for hearty old-fashioned vegetable beef soup.
Making the best chili recipe in a Slow Cooker Perfection
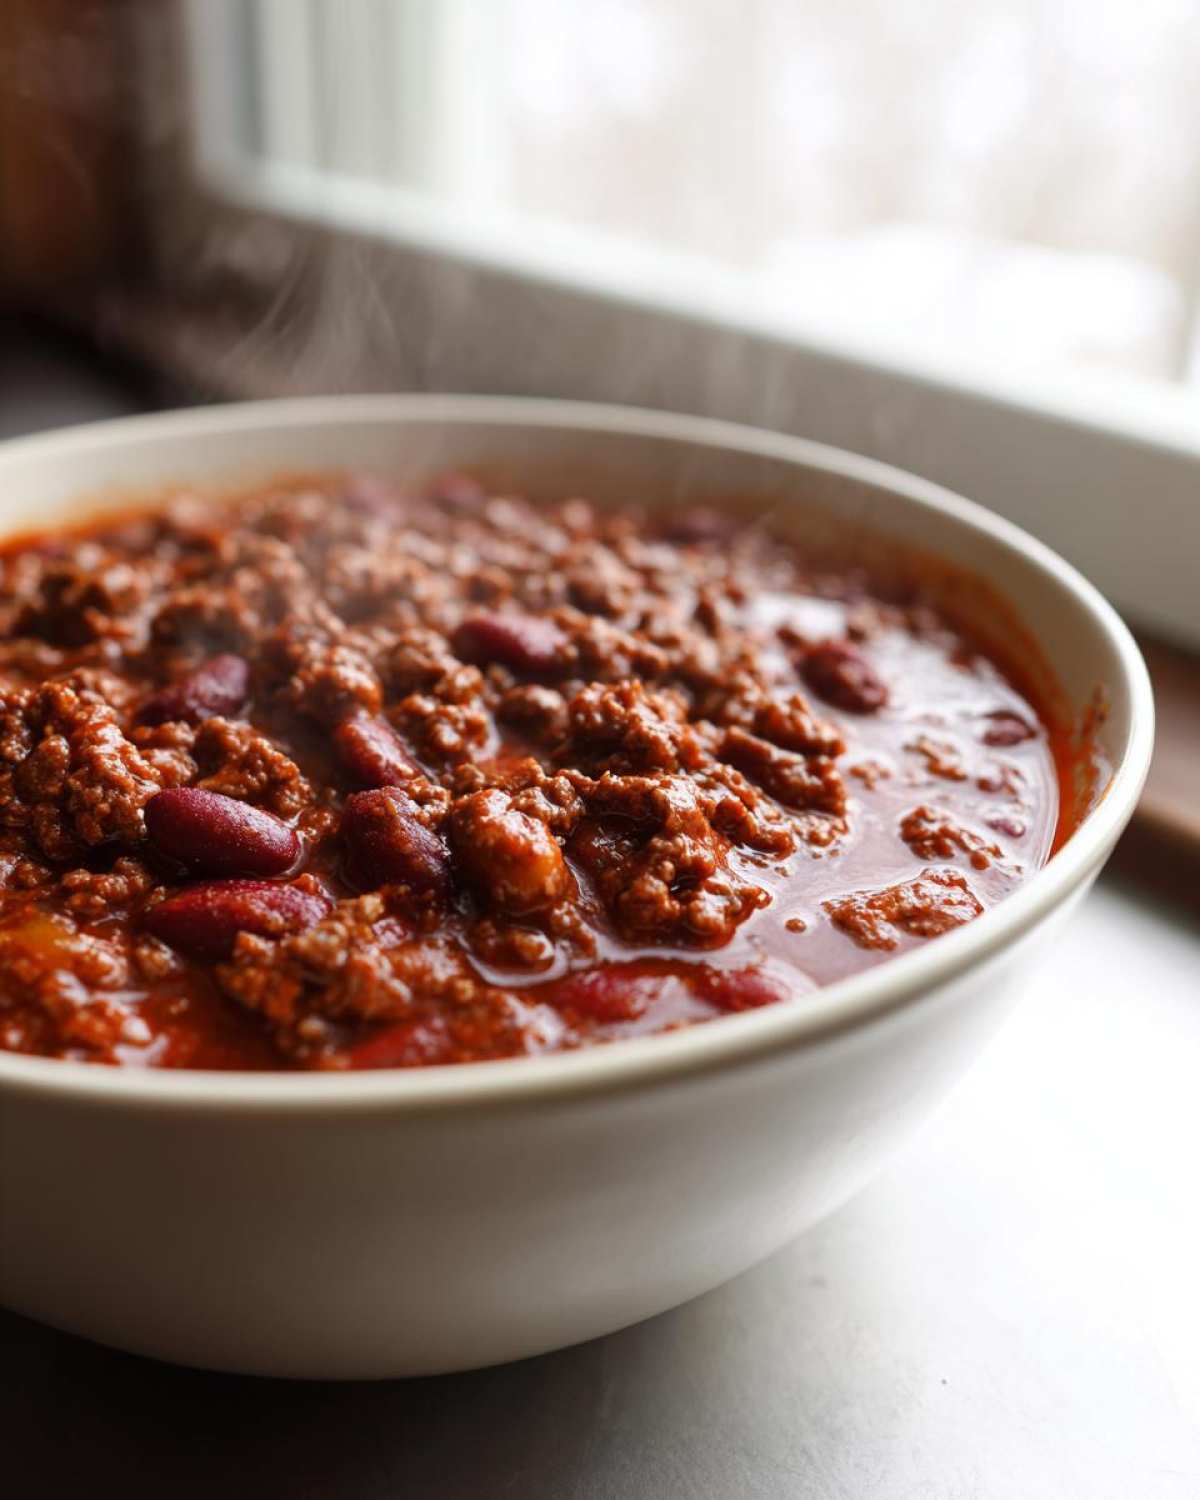
Okay, I know not everyone has three hours to babysit a pot on the stove, even if I promise it’s worth it! Life gets crazy, and sometimes you need this **best chili recipe** to just hang out while you watch Football or run errands. If you’re heading the **Slow Cooker Chili Perfection** route, I have one non-negotiable rule for you, and Jacob stresses this point constantly!
You still have to do steps 1, 2, and 3 on the actual stovetop first. Browning the beef and blooming those glorious spices is how we build that award-winning base flavor. You can’t skip that! Think of it like making a great sauce—you need that initial sear.
Once your spiced meat mixture is fragrant and gorgeous, transfer everything—and I mean everything, including the crushed tomatoes and broth—into your slow cooker insert. Skip the beans here if you want to add them later for texture. Cover it up, set it to low for about 6 to 8 hours, or high for 3 to 4 hours. When you get home, you’ll be hit with the best aroma ever! If you want my absolute favorite slow cooker dump recipe that uses turkey, check out my other post on easy crockpot chili recipes!
Tips for Success with Your Make Ahead Chili Recipe
This is where I shine—the planning part! Jacob insists this chili is fantastic right off the stove, but I’m here to tell you that this **best chili recipe** truly transforms into something spectacular when you give it time to rest. Seriously, if you can manage it, make this chili the day before you plan to serve it. That overnight chill in the fridge lets all those complex spice layers—that cumin, the smoked paprika, and yes, the secret cocoa—really marry together. You wake up to a richer, deeper chili experience.
It becomes an excellent make ahead chili recipe, which is perfect for game day when you need stress-free hosting! Now, on to preventing failure: acidity. Since we use a full big can of crushed tomatoes and some tomato sauce, sometimes that acidic bite can be a little sharp when it’s piping hot. If it tastes a bit too tangy right off the stove, stir in just half a teaspoon of sugar or, better yet, a tiny dash of baking soda. It neutralizes that harsh tomato edge instantly without making the batch taste sweet. Trust me, this simple adjustment is a lifesaver for ensuring your chili is perfectly balanced!
Serving Suggestions for Your Comfort Food Chili Dinner
Okay, folks, we’ve done the work! We’ve built the flavor upon flavor, that chili is thick, rich, and ready to go. But chili isn’t a solo act; it needs its entourage! Serving the **Comfort Food Chili Dinner** right is just as important as the simmering time. I love loading ours up with toppings because everyone gets to customize their bowl, making it feel extra special.
For the classic crowd-pleasers, you absolutely cannot go wrong with sharp, grated cheddar cheese—don’t skimp on the quality here! A big dollop of full-fat sour cream (or Greek yogurt if you’re feeling slightly lighter) cuts through the richness beautifully. And please, please, use fresh cilantro. That pop of bright green freshness makes a huge difference against all those deep, earthy spice notes.
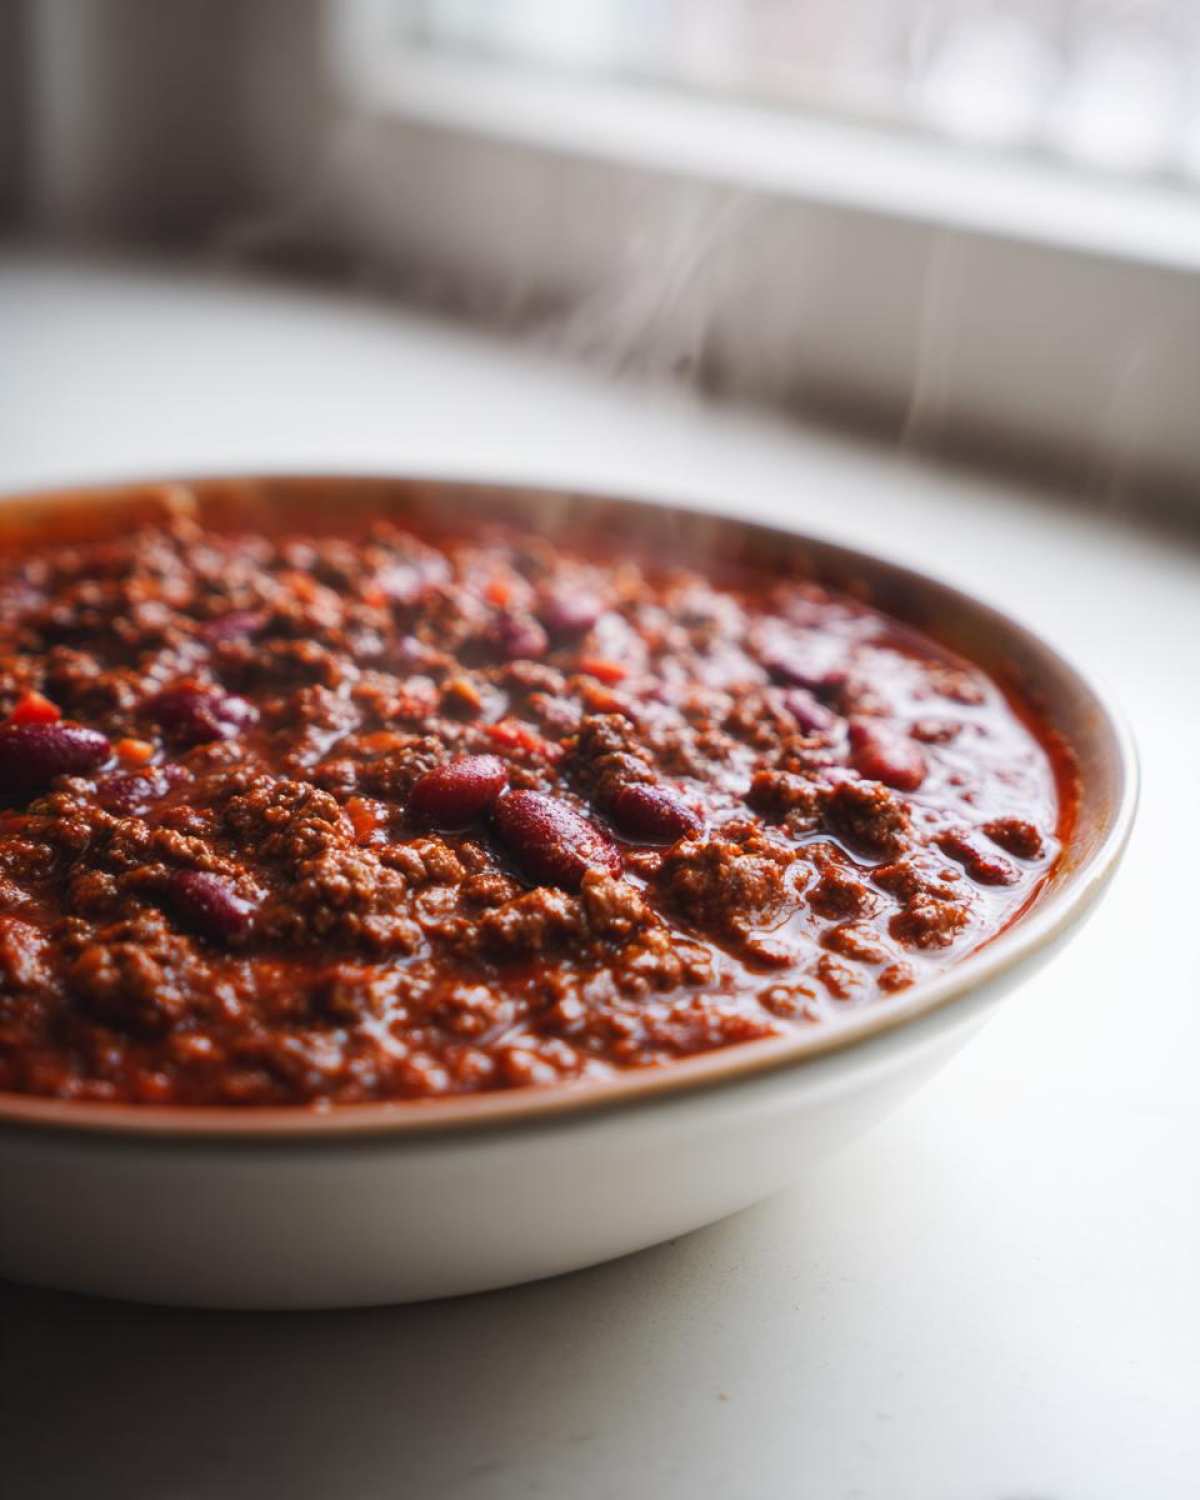
But here’s my favorite way to serve this, especially when cold weather hits: alongside something absorbent and fantastic! Nothing beats scooping up the last bits of that amazing sauce with a perfect square of cornbread. If you’re looking for a truly stellar sidekick, you have to try my recipe for moist buttermilk cornbread. It’s baked in a skillet and gets those crunchy edges that are just heavenly dipped into a bowl of this **best chili recipe**!
For a little extra heat if you have spice lovers (Jacob is one of them!), set out a bowl of pickled jalapeños or a dash of your favorite hot sauce. Honestly, once you dig into this bowl, you’ll realize why we call this the ultimate dish!
Storage and Reheating Instructions for the best chili recipe
Since this is the **best chili recipe**, we want to make sure you enjoy it all week long, not just on game day! The great thing about chili, much like a good stew, is that it actually tastes better the next day once it’s had time to chill out in the fridge. That slow marriage of flavors we worked so hard for continues overnight!
When you’re ready to store leftovers, make sure the chili has cooled down a bit, but don’t leave it sitting at room temperature for more than two hours—we’ve got to stay on top of food safety! Pop it into airtight containers. It should keep perfectly well in the refrigerator for about three to four days. I usually tackle the leftovers on Monday while Jacob is deep into planning our next dinner project.
But what if you made a gigantic batch for your **Chili Cook Off Recipe Ideas** party and can’t get through it all? Great news: this freezes like a dream! I use sturdy, freezer-safe containers and make sure there’s about an inch of headspace because liquids expand when they freeze. You can safely freeze this chili for up to three months. Label those containers clearly so you know what deliciousness is waiting for you later!
Best way to reheat for the perfect texture
When it comes to reheating, I’m going to be very clear: the stovetop method wins for texture almost every time. Transfer your chilled or frozen chili to a heavy-bottomed pot over medium-low heat. You’ll want to stir it frequently. This gentle, consistent heat prevents the bottom from scorching and allows the sauce to loosen up evenly and regain that beautiful, **Thick and Hearty Chili** consistency we aimed for.
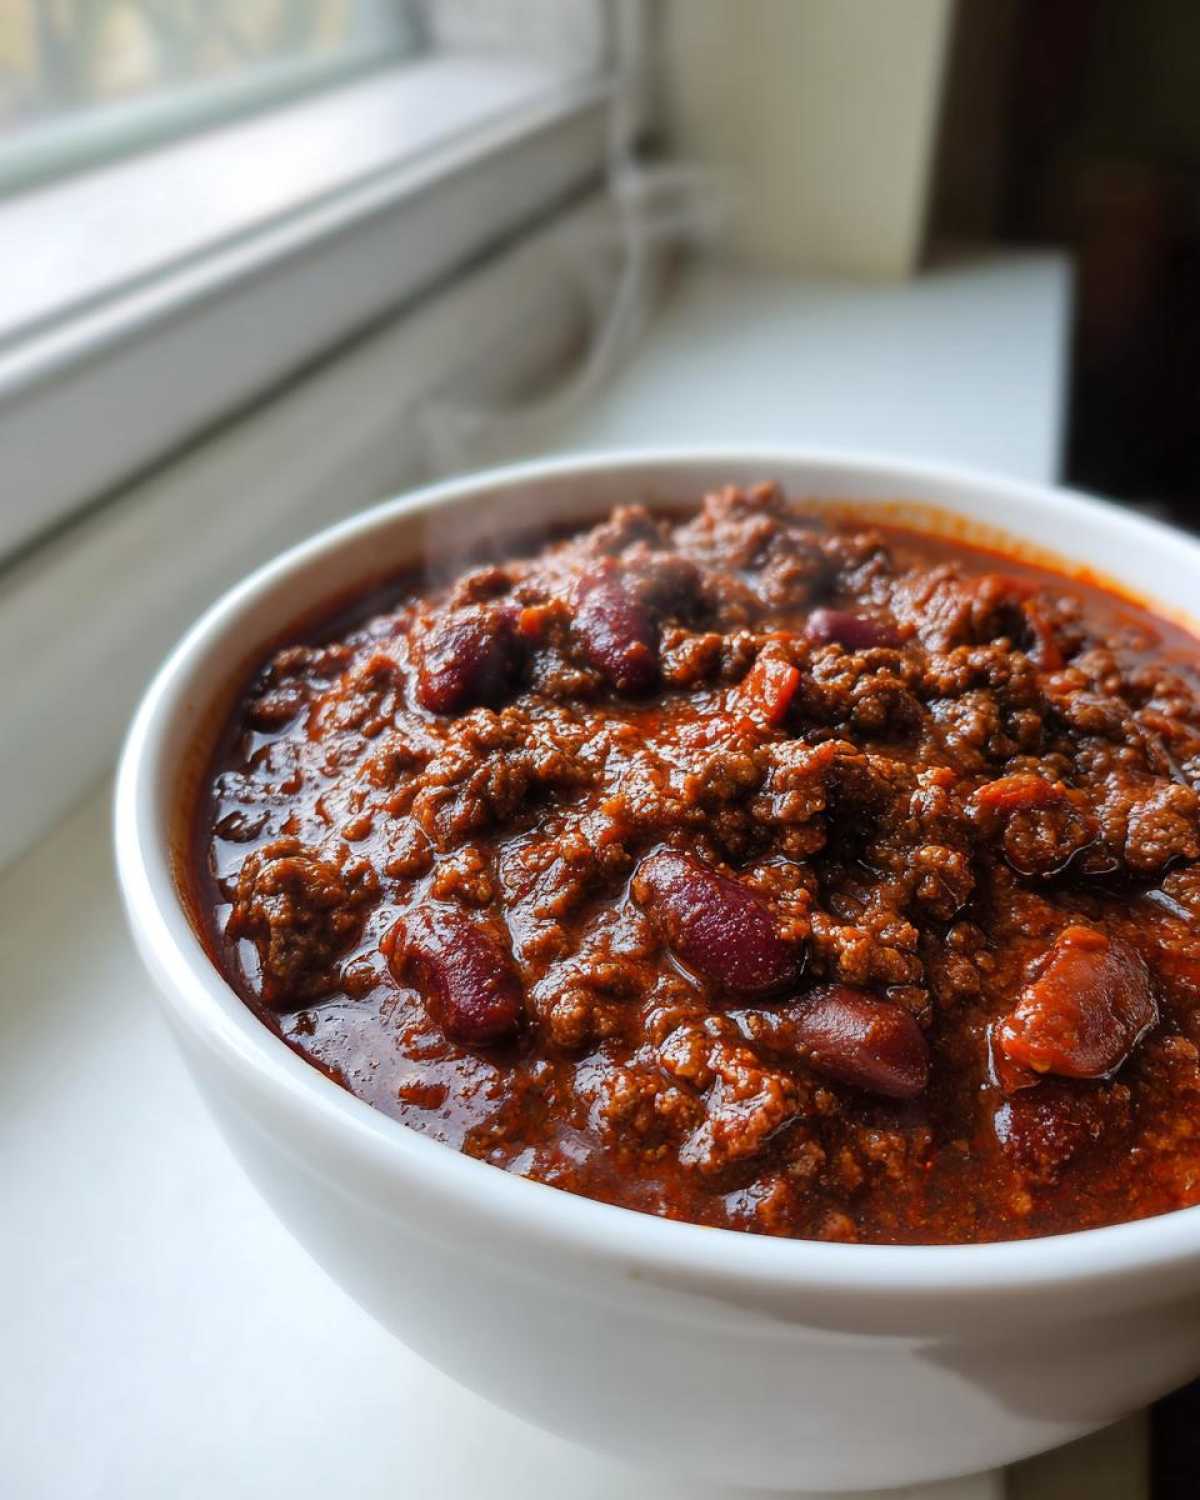
If it seems too thick after thawing or chilling, just add a splash of beef broth or water while it heats up until it hits your preferred level of sauciness. The microwave works in a pinch for single servings, but the texture can sometimes get a little uneven or seem slightly drier, so the careful stovetop reheat is always my go-to recommendation for enjoying the **best chili recipe** experience, second time around!
Frequently Asked Questions About This Rich Savory Chili
I knew you’d have questions! When you’re making something destined to be the **best chili recipe** in your rotation, details matter. Jacob and I have fielded a bunch of queries since we first published this **Rich Savory Chili**, so I compiled the big ones right here. Hopefully, this clears up anything lingering before you dive in!
Can I use turkey instead of ground beef in this recipe?
Oh, absolutely! We love swapping ground beef out for ground turkey sometimes when we want a slightly different take. However, you need to watch the fat content here. Remember how I insisted on 80/20 beef? That fat renders out and adds so much texture to our **Thick and Hearty Chili**. Turkey is leaner, so if you swap it in, you’ll want to compensate a little. I usually add an extra tablespoon of olive oil right at the start with the veggies, or if I have some bacon fat lying around (don’t judge!), a teaspoon of that goes a long, long way in keeping the mouthfeel satisfying.
How can I make this a Pioneer Woman Style Chili Homemade?
That’s a fun question! Reel Drummond’s style leans heavily into big, bold, comforting flavors, and honestly, that’s what we’re after in this **best chili recipe** too. The main components of her recipes, and ours, usually involve that hearty base of ground beef and beans. Where she often differs is in specific flavor agents—sometimes she uses brown sugar or more pronounced smoky sweetness. We achieve that depth using smoked paprika and that little secret dash of cocoa powder! So, you can consider this our interpretation of a competition-level, **Pioneer Woman Style Chili Homemade**—it hits all those rich, savory notes!
What about making this a quick weeknight chili?
I totally get it; sometimes time just doesn’t allow for the 1.5-hour simmer. While I stand by the fact that the long simmer creates the *best* flavor, you can certainly hack this for a **Quick Weeknight Chili**. Do steps 1 through 3 exactly as written—you *must* brown the meat and bloom the spices! That foundation is key. After you add the liquid, instead of simmering for 1.5 hours, bring it up to a boil, then immediately reduce to a low simmer, cover tightly, and let it go for 45 minutes. Stir in the beans at that 30-minute mark. It won’t have the *ultimate* complexity, but trust me, it’s still 100 times better than anything from a can! To read more about my research on maximizing flavor quickly, check out my main blog page!
Share Your Award Winning Chili Creation
Now, this is the fun part! We’ve spent all this time researching, planning the blueprint, and executing Jacob’s artistic flourishes to bring you what we firmly believe is the **best chili recipe** out there. But a portfolio isn’t complete until the critics weigh in, right?
I genuinely want to know what you think once you’ve made a batch. Did you try the coffee trick? Did you go for the full, slow-cooked simmer? If you followed our steps closely for this **Award Winning Chili**, I hope it earned you five stars in your house! Pop down into the comments below and leave a rating for us.
But please, don’t just leave a number! I love hearing about your final touches. What topping did you use? Did you make this a no-bean chili? Or maybe you added a secret ingredient of your own that you think beats my cocoa powder (I dare you to try!). Sharing your successful variations helps build our collection and inspires everyone else planning their next perfect pot. We built this portfolio together, so let’s see your finished projects!
PrintThe Ultimate Award-Winning Beef and Bean Chili Recipe
This recipe delivers the rich, deep flavor you seek in a hearty chili, perfect for game day or a cozy winter dinner. We combine simple ingredients with a secret spice blend for a truly satisfying, competition-worthy bowl.
- Prep Time: 20 min
- Cook Time: 1 hour 45 min
- Total Time: 2 hours 5 min
- Yield: 6 servings
- Category: Dinner
- Method: Stovetop
- Cuisine: American
- Diet: Vegetarian
Ingredients
- 2 lbs ground beef (80/20 recommended)
- 1 large yellow onion, chopped
- 1 red bell pepper, chopped
- 1 green bell pepper, chopped
- 4 cloves garlic, minced
- 1 (28 ounce) can crushed tomatoes
- 1 (15 ounce) can tomato sauce
- 1 (15 ounce) can kidney beans, rinsed and drained
- 1 (15 ounce) can pinto beans, rinsed and drained
- 1 cup beef broth
- 1/4 cup chili powder
- 2 tablespoons ground cumin
- 1 tablespoon smoked paprika
- 1 teaspoon dried oregano
- 1 teaspoon unsweetened cocoa powder (secret ingredient)
- 1/2 teaspoon cayenne pepper (adjust to heat preference)
- 1 teaspoon salt
- 1/2 teaspoon black pepper
- 1 tablespoon olive oil
Instructions
- Heat olive oil in a large Dutch oven or heavy pot over medium heat. Add the ground beef and cook, breaking it up with a spoon, until fully browned. Drain off excess grease.
- Add the chopped onion and bell peppers to the pot with the beef. Cook until the vegetables soften, about 5 to 7 minutes.
- Stir in the minced garlic, chili powder, cumin, smoked paprika, oregano, cocoa powder, cayenne pepper, salt, and black pepper. Cook for 1 minute, stirring constantly, until the spices are fragrant. This step builds deep flavor.
- Pour in the crushed tomatoes, tomato sauce, and beef broth. Stir well to combine all ingredients.
- Bring the mixture to a simmer. Once simmering, reduce the heat to low, cover the pot partially, and let it cook for at least 1.5 hours, stirring occasionally. The longer it simmers, the deeper the flavor becomes.
- Stir in the rinsed and drained kidney beans and pinto beans during the last 30 minutes of cooking.
- Taste the chili and adjust salt, pepper, or cayenne as needed. If you prefer a thicker chili, remove the lid for the final 15 minutes of cooking.
- Serve hot with your favorite toppings. This is a great make ahead chili recipe; the flavor improves overnight.
Notes
- For an even richer flavor, substitute 1/2 cup of strong brewed coffee for 1/2 cup of the beef broth.
- If you prefer a no bean chili option, simply omit the kidney and pinto beans from the recipe.
- This recipe works well in a slow cooker: brown the meat and sauté vegetables on the stovetop first, then transfer everything to the slow cooker. Cook on low for 6-8 hours or high for 3-4 hours.
- To achieve a competition-level texture, you can mash about 1/4 of the beans against the side of the pot before adding them back in, which helps thicken the chili naturally.
Nutrition
- Serving Size: 1.5 cups
- Calories: 450
- Sugar: 12
- Sodium: 650
- Fat: 22
- Saturated Fat: 9
- Unsaturated Fat: 13
- Trans Fat: 0.5
- Carbohydrates: 35
- Fiber: 9
- Protein: 30
- Cholesterol: 85